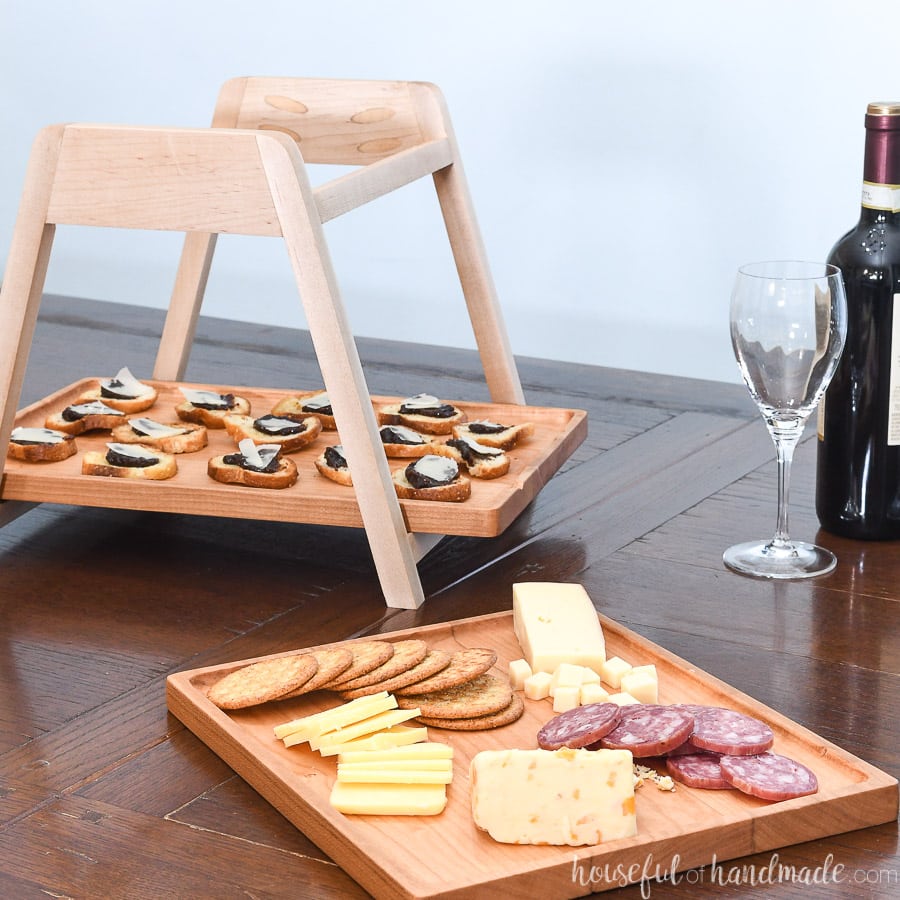
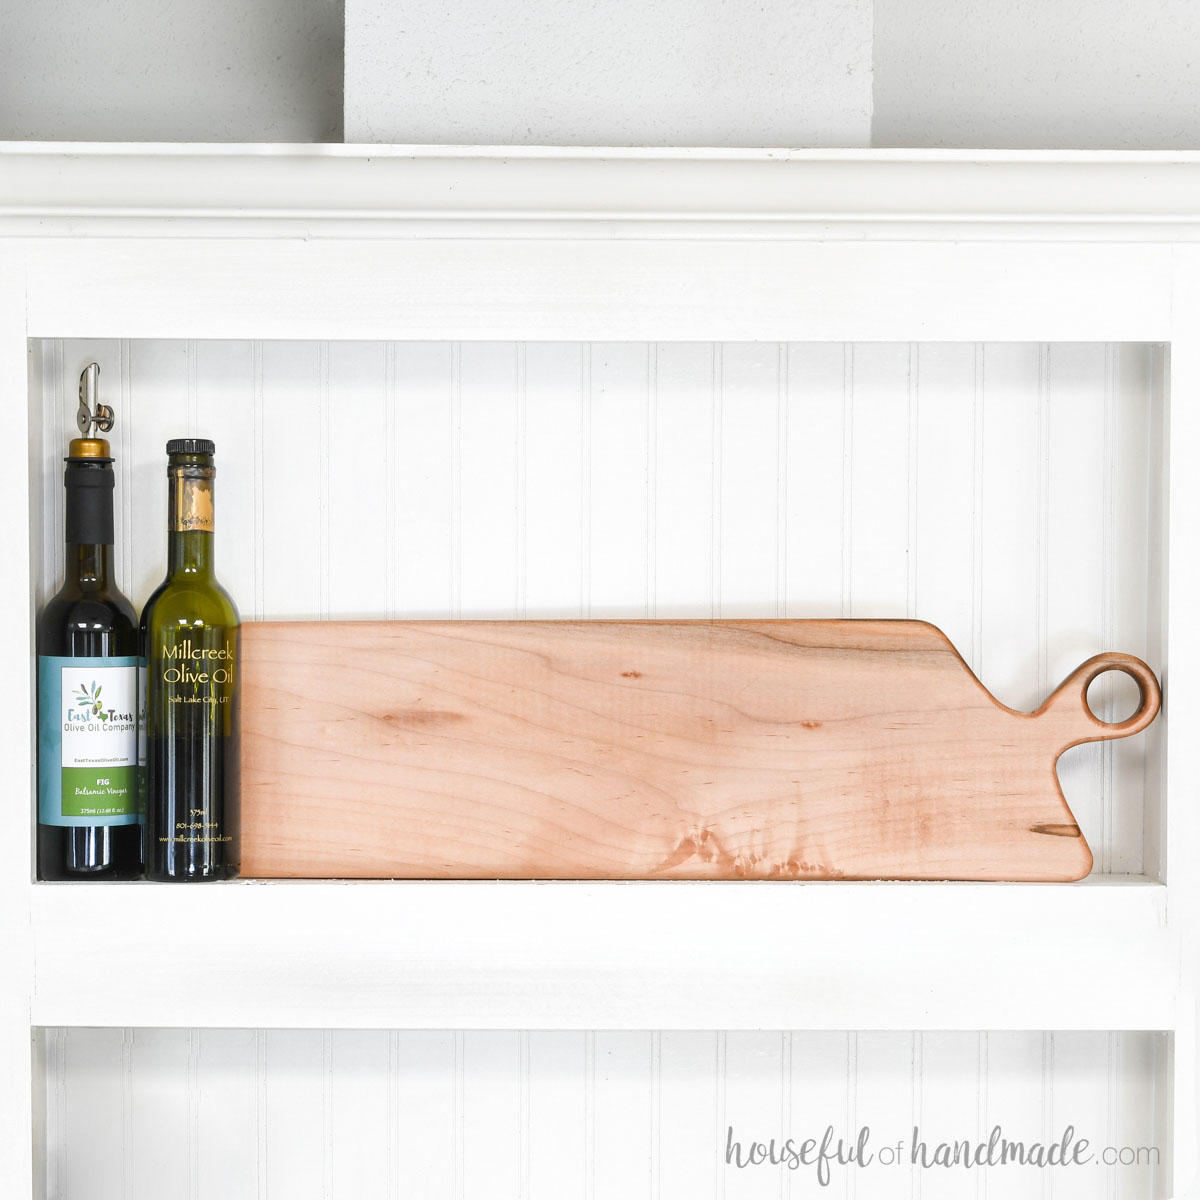
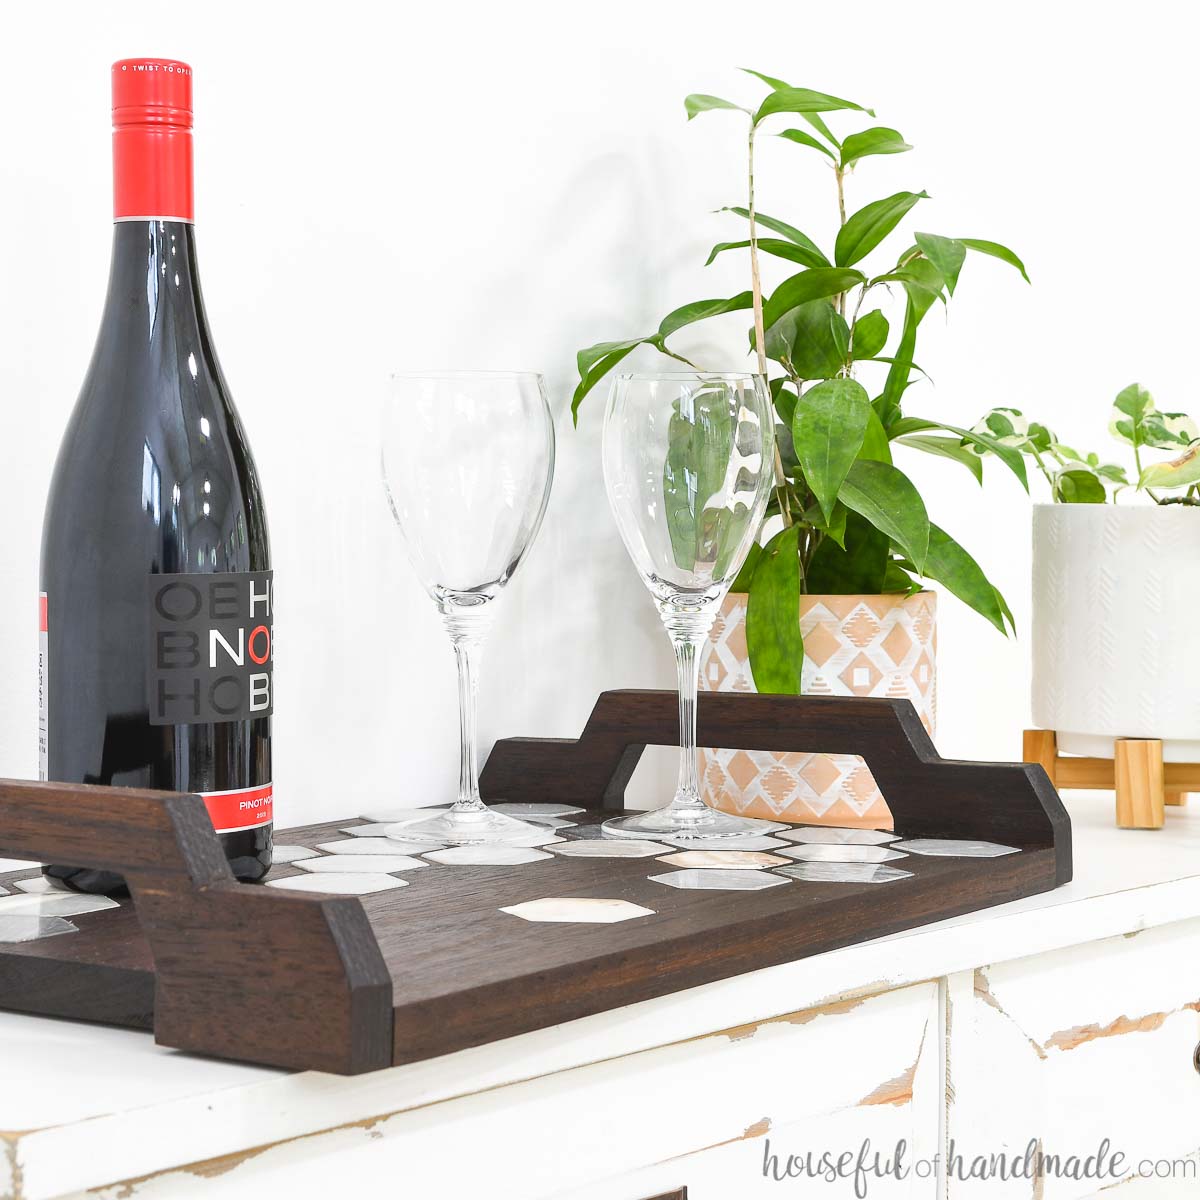
I love to entertain! And nothing is better that serving food you made on beautiful serving dishes you also made.
Making a round wood tray might seem like a hard project, but with a simple trim router, you can cut perfect circles every time.
And you do not need a fancy jig to cut the circles either. I made the perfect jig for these DIY round trays from scraps of 1/4″ MDF.
This post may contain affiliate links. As an Amazon Associate I earn from qualifying purchases. Click here to read my full disclosure policy.
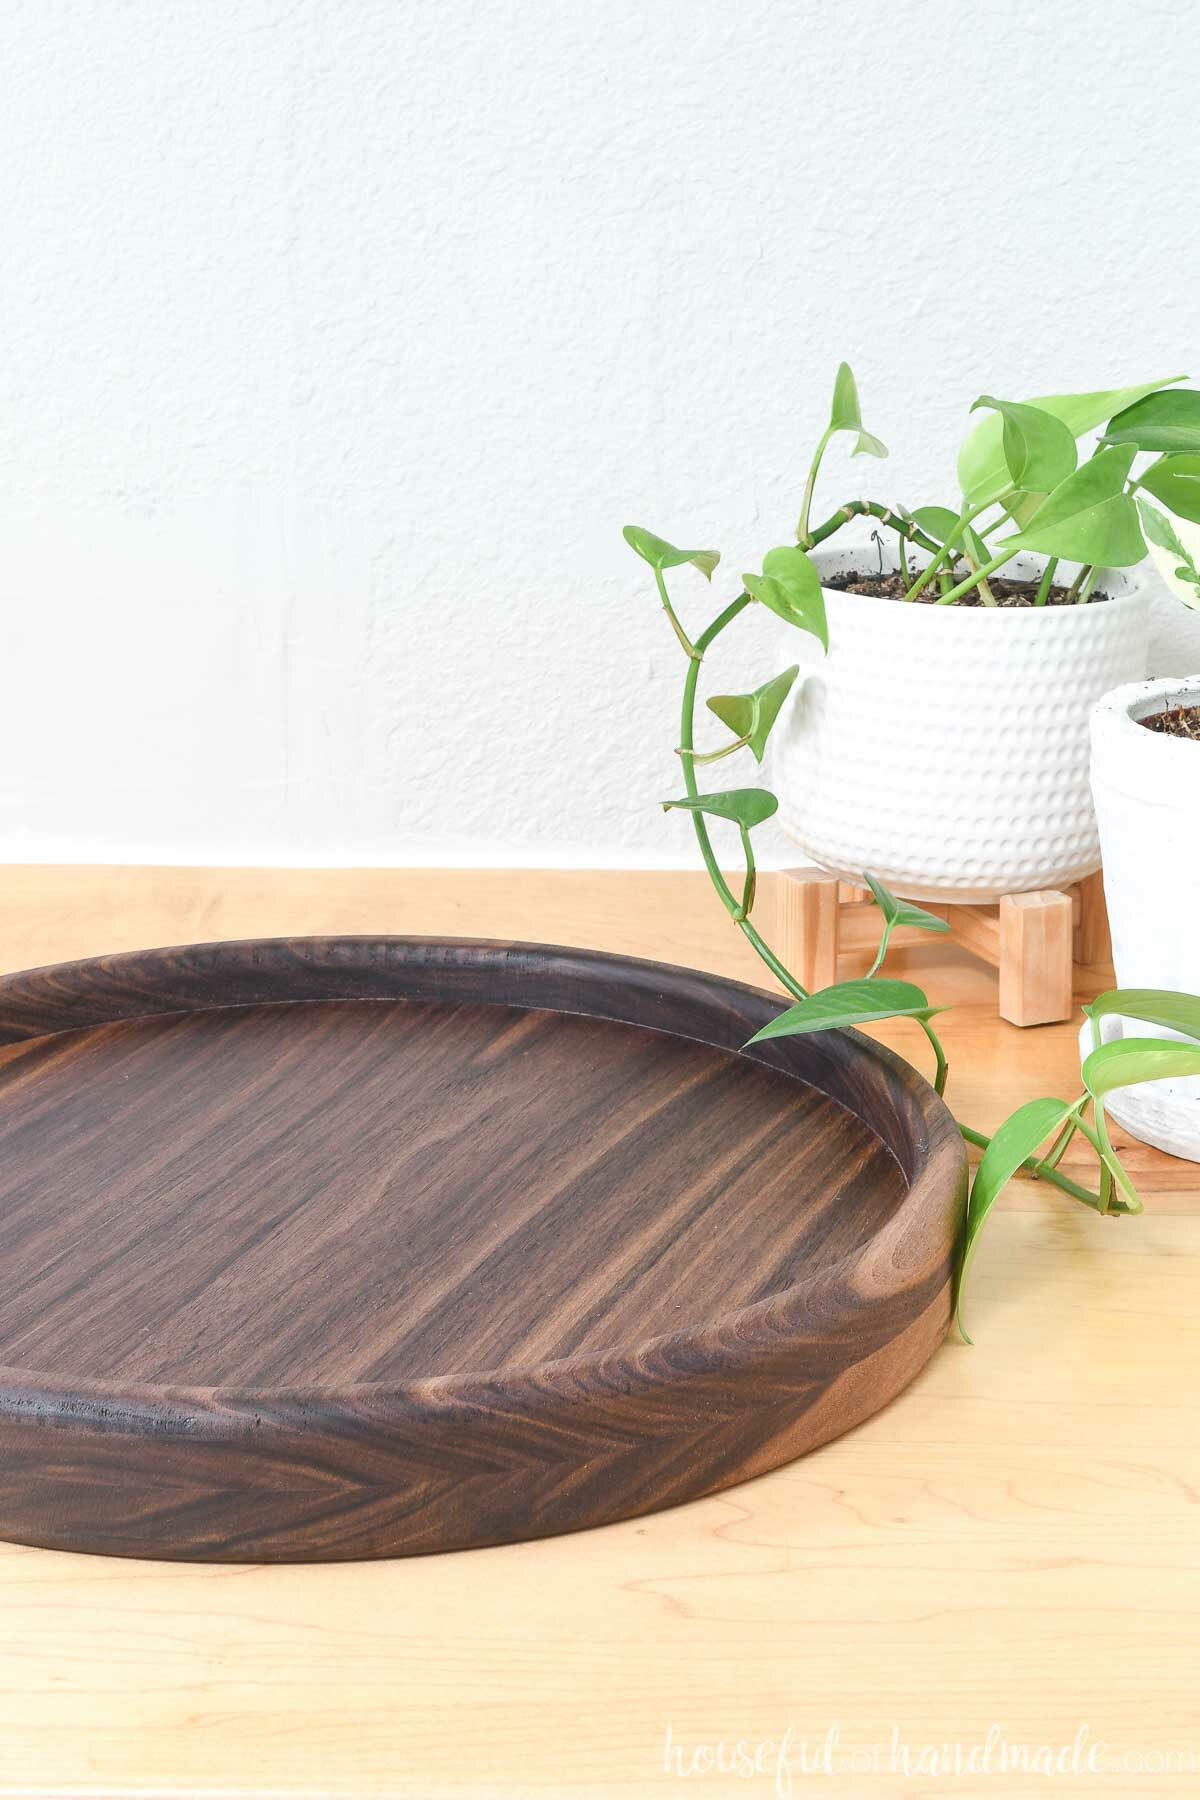
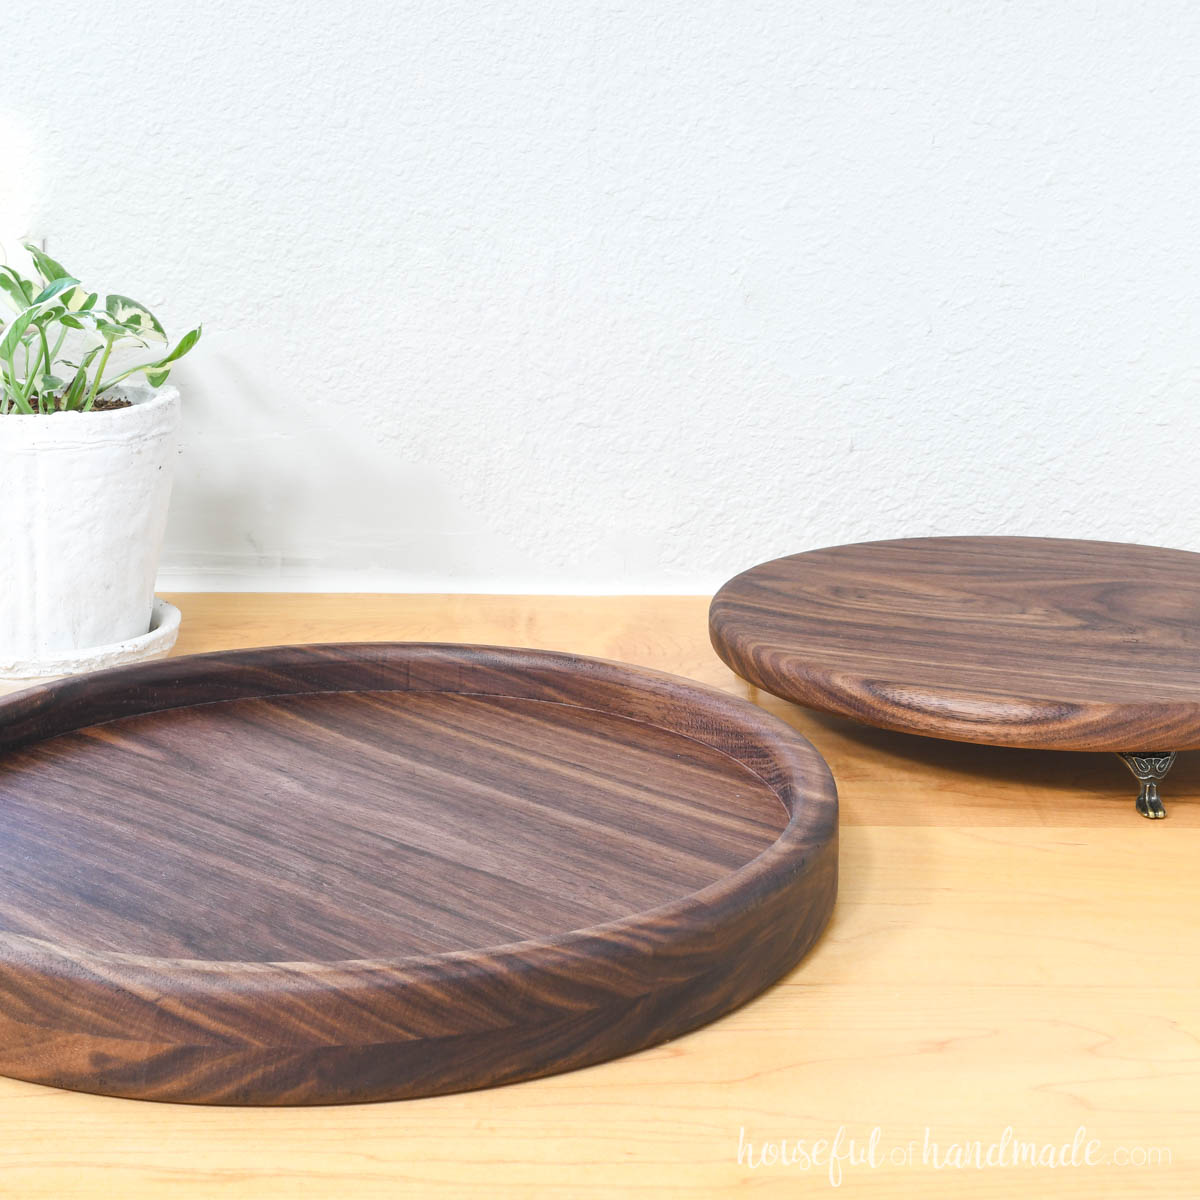
2 DIY Trays in 1
Cut once and get 2 projects? That is my idea of a great DIY!
To get the lip on the tray, you have to cut a circle out of the center of a second piece of wood. Which means you are left with a smaller circle.
You can easily reuse this small circle as a second round tray.
Or cut a second smaller circle from another scrap to create a second tray with a lip on it. You can repeat for as many nesting trays as you have wood for to create the perfect entertaining set.
More DIY Serving Dish Ideas
Love to entertain? Make a statement with these beautiful wood serving dishes you can build yourself!
How to Build a Round Tray
Tools & Materials
Recommended Tools:
- Miter saw
- I recently upgraded to this larger sliding miter saw (watch for it to go on sale), but all my projects before were built with this inexpensive miter saw that I loved.
- Trim router
- Drill
- Measuring tape
- Clamps
- Sander
Supplies:
- Wood products
- Piece of hardwood (maple, walnut or cherry are great options)
- Scrap of 1/4″ thick MDF or plywood
- Waterproof wood glue
- Sandpaper
- Food safe sealer
- I used Waterlox 100% pure tung oil
- Cutting board feet
STEP 1- Cut your boards
Determine the size of tray you want to make. You will need to glue together some boards to get a wider board for a big tray.
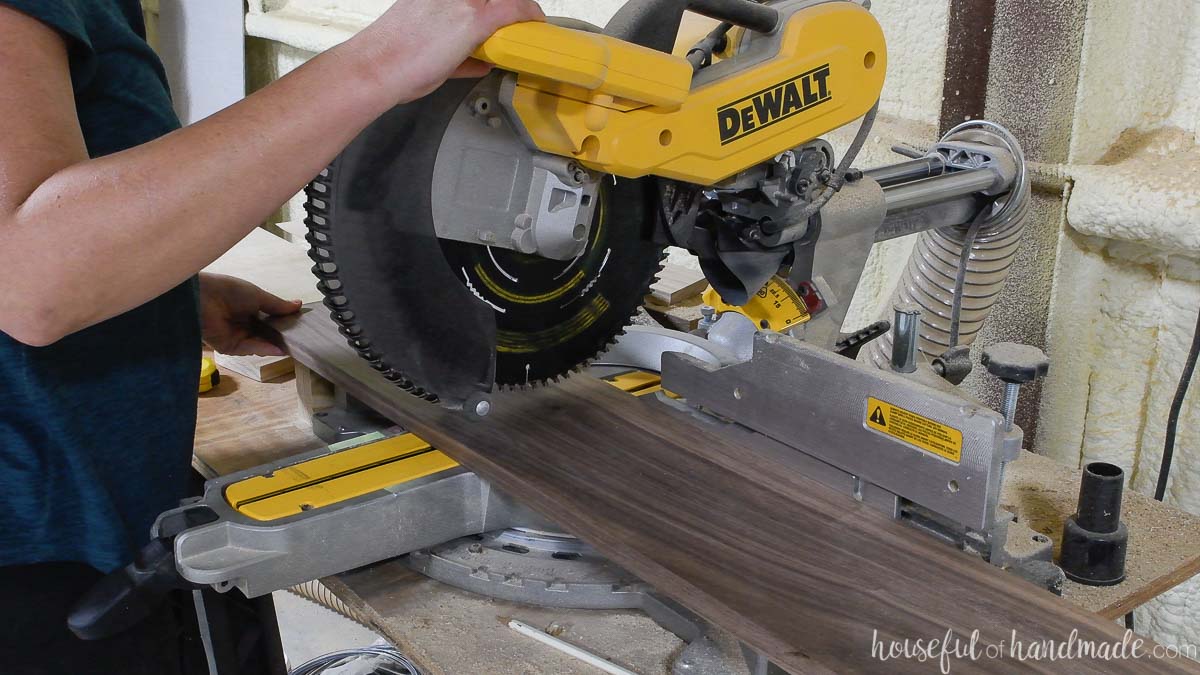
Once you decide on a size, cut the boards you need to that length + 1/2″.
I was using a 7″ wide piece of walnut so I decided to make a 14″ round tray. I cut (4) 14 1/2″ pieces.
If you have a narrower board (like a 5 1/2″ wide 1×6) you will beed 3 pieces to glue together to get a larger tray. So you will need to cut (6) boards for your tray.
STEP 2- Glue boards together
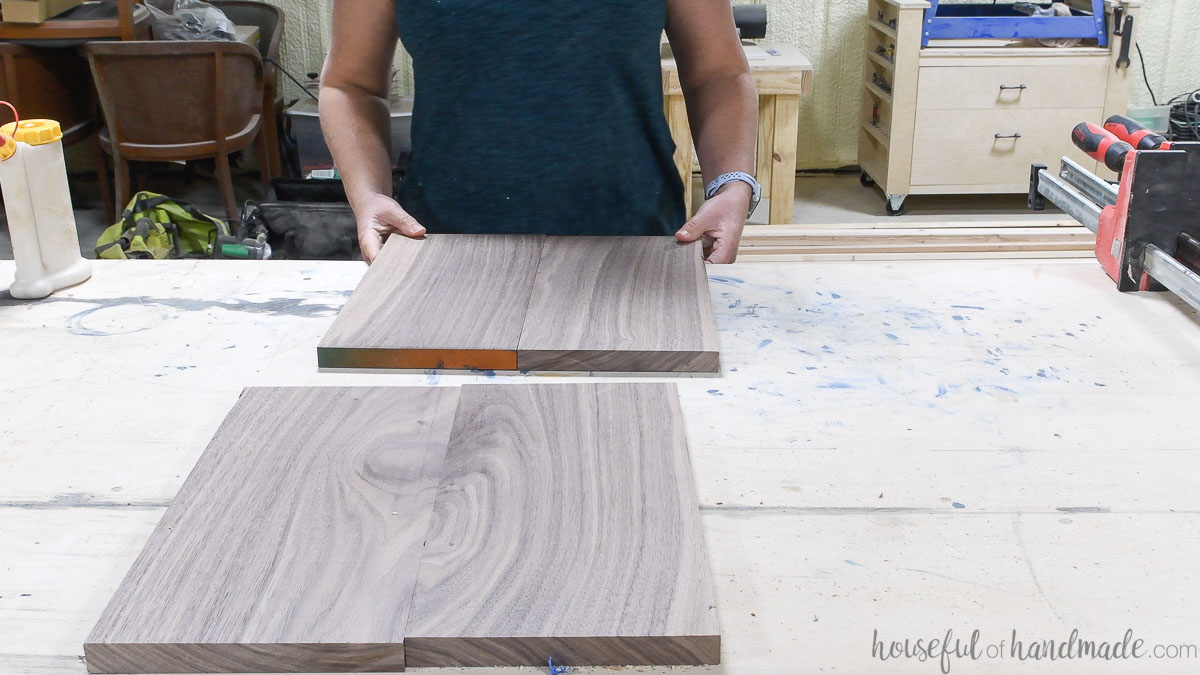
Line up you boards so the seams dissappear as much as possible. I like to try to match the grain pattern so you can’t immediately see the seam.
Also, make sure to alternate the curve in the end grain on your boards to help them stay nice and flat.
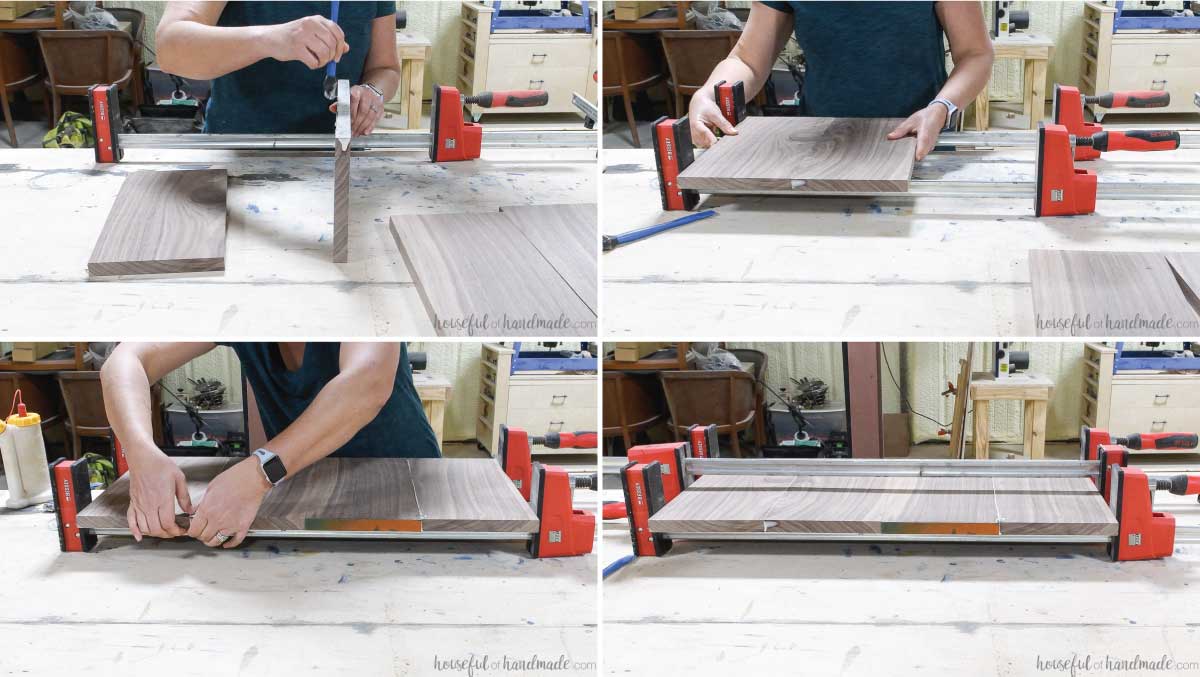
Add a thick coat of glue to the seams of you boards and clamp them together.
I used the same clamps for both glue ups, but only added glue to the one seam so I was left with (2) 14″ wide boards, not (1) 28″ wide one.
Make sure to keep the seams flat as you tighten your clamps. And alternate the clamps to prevent the boards from bowing under the pressure.
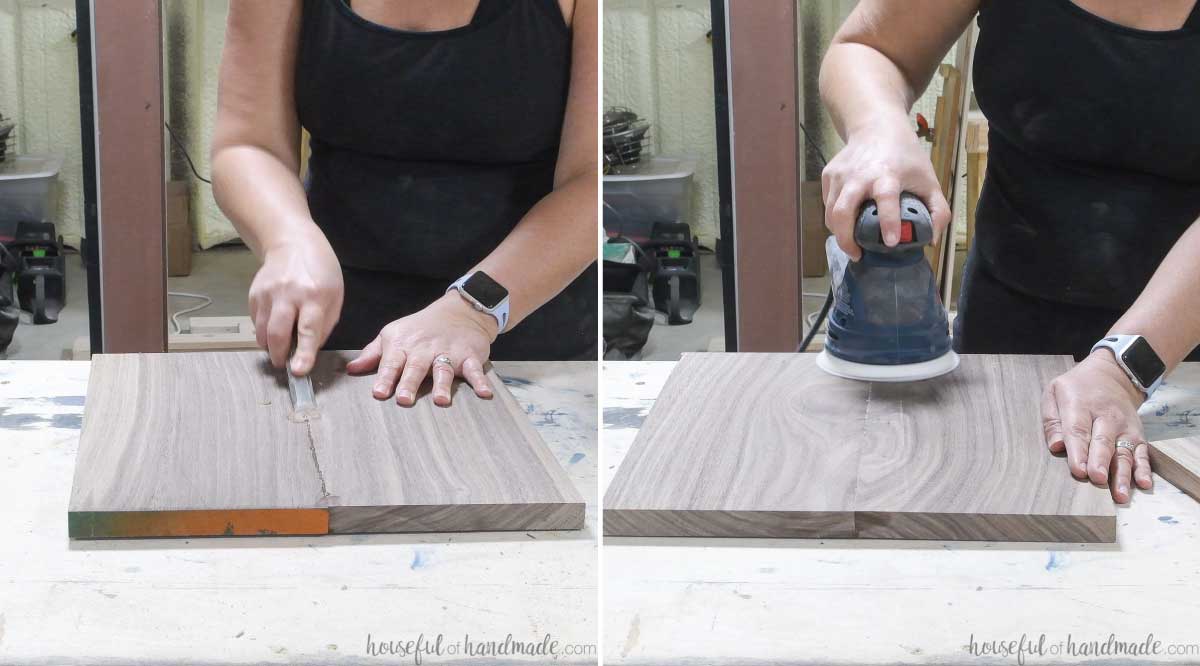
After the glue is dry, remove your boards from the clamps. Remove your glue drips with a chisel or sharp edge.
Sand your both sides of your boards with a sander with a coarse grit sandpaper to get the entire surface flat and smooth.
Repeat for both boards.
STEP 3- Cut your circles
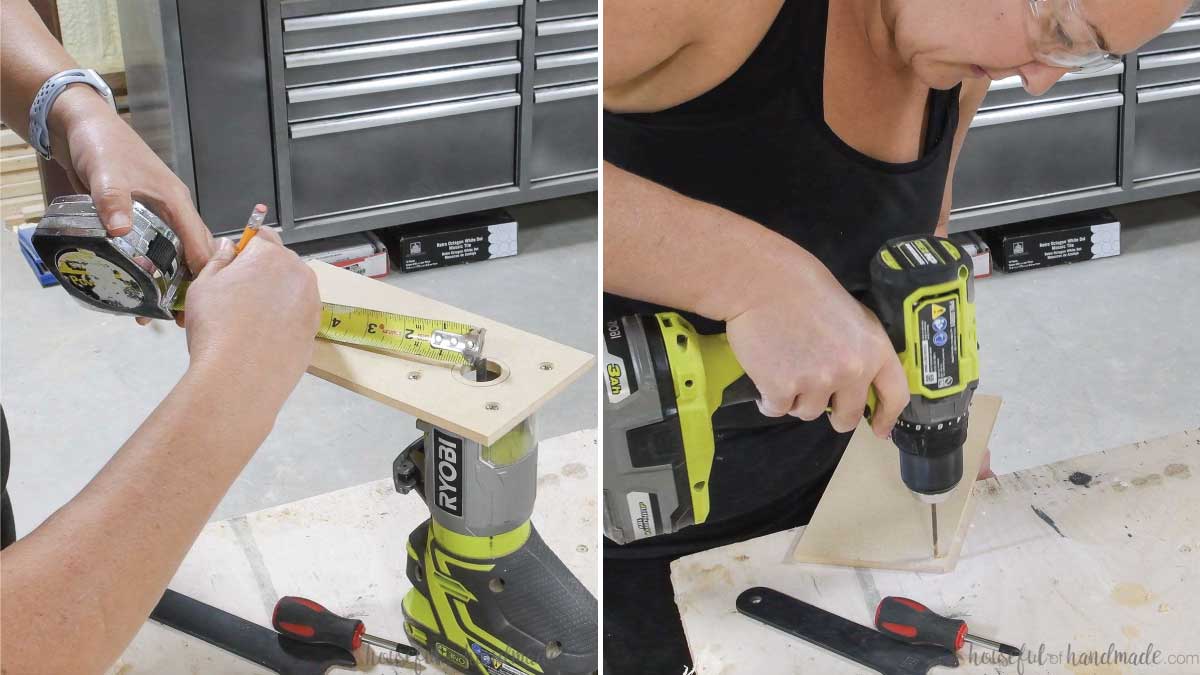
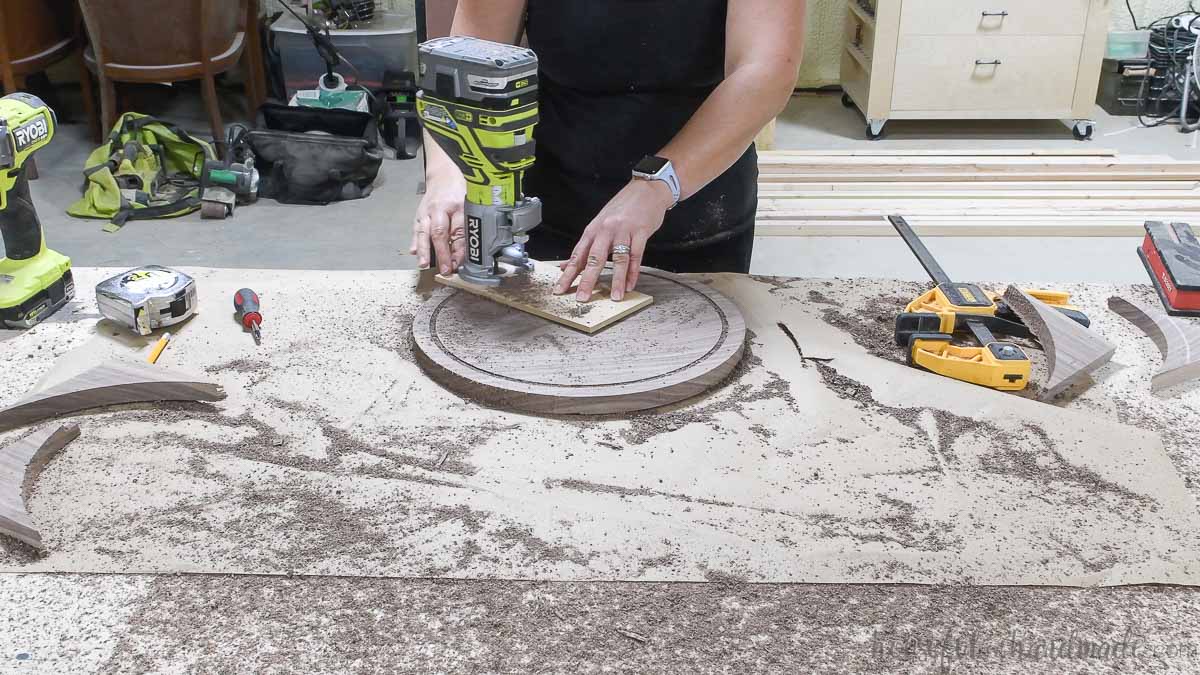
Using a scrap piece of 1/4″ MDF or plywood to make a fast & easy router circle cutting jig. Attach this new jig to your router as the plate with the screws included.
Measure from the edge of your router bit the radius (1/2 the diameter) of you circle. Make a mark.
Drill a small hole here to insert a screw as your pivot point.
Find the center on your boards that you glued together. Make a mark.
Screw a wood screw into the pivot point on your jig and secure it to the board on the center mark. Just screw it into the boards a little bit, no need to go all the way through.
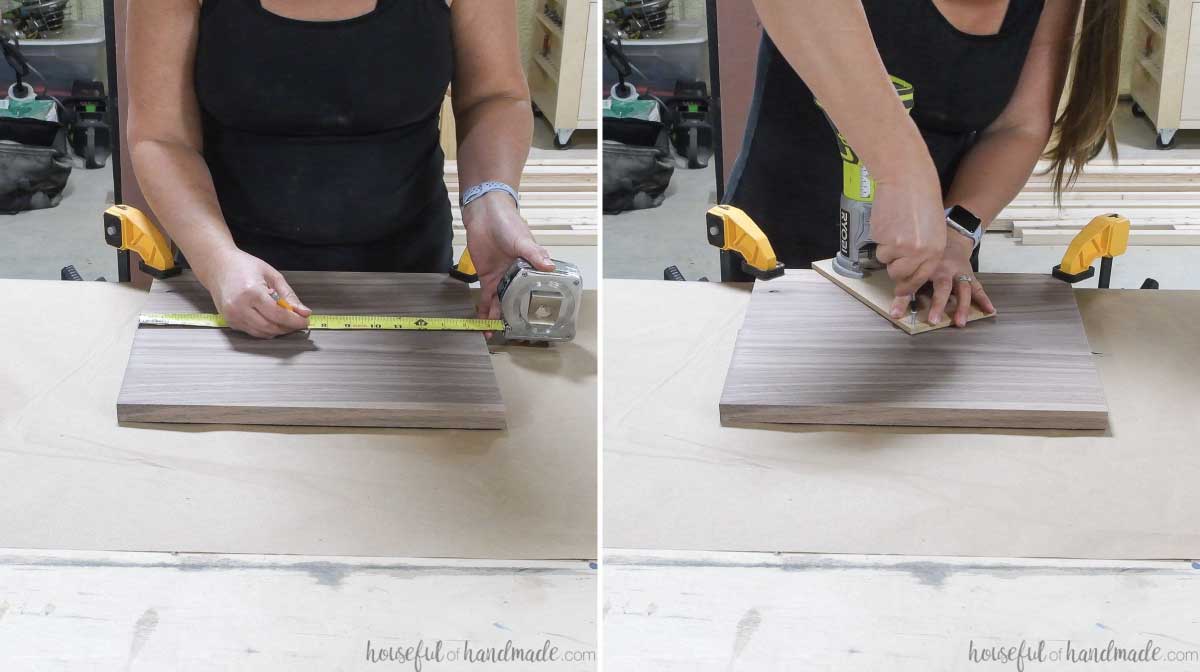
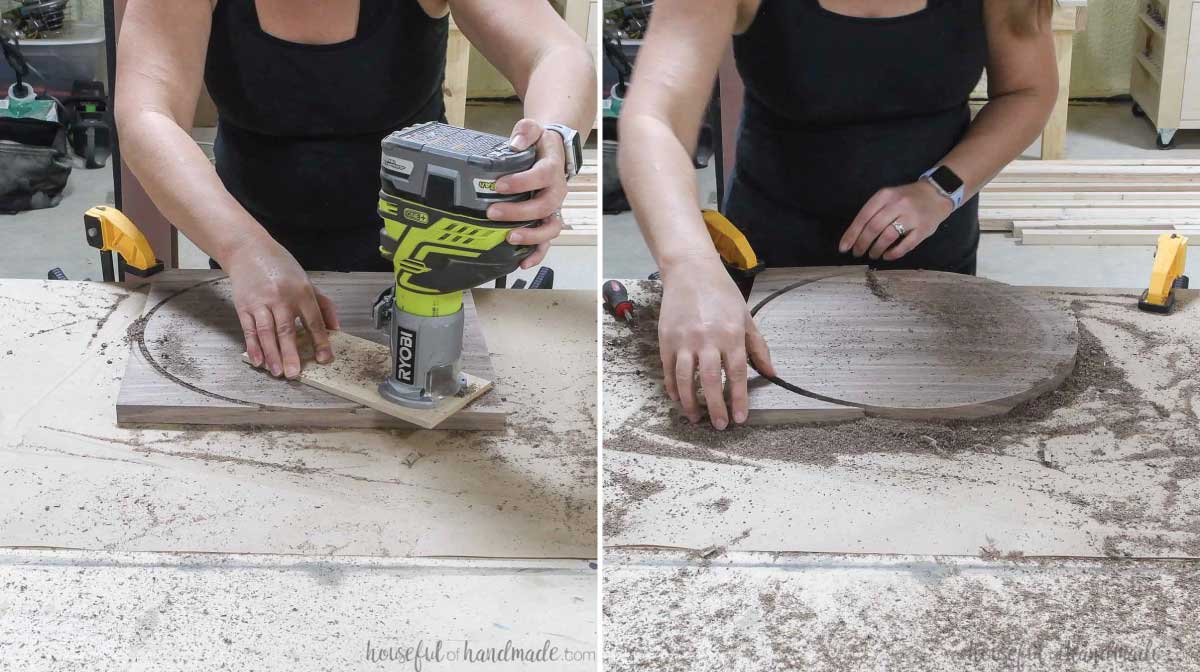
Set your router so the bit is only a small amount past the plate. Turn it on and carefully pivot it around the boards to create a perfect circle.
Turn off your router and lower the bit a little bit more. Then start the router again and take a second pass at the circle.
Repeat again and again until you have completely routed through the boards. I took about 3/16″ off with each pass.
Repeat for the second board so you have two identical circle boards.
Then measure and mark a second pivot point on your circle jig. This will create the lip around the serving tray.
I made my lip 1/2″ thick so I marked the second point to give me a 1/2″ ring inside the first.
Put the screw in the new pivot point and place that in the same center mark. Repeat the routing again, taking a little bit off with each pass.
Be careful as you get to the end of this center circle. As it comes loose from the outside circle it can bump into the router bit and cause a dent (ask me how I know).
STEP 4- Glue together circle pieces
Before glueing the top to your tray, sand the inside smooth. This is easy to do by hand.
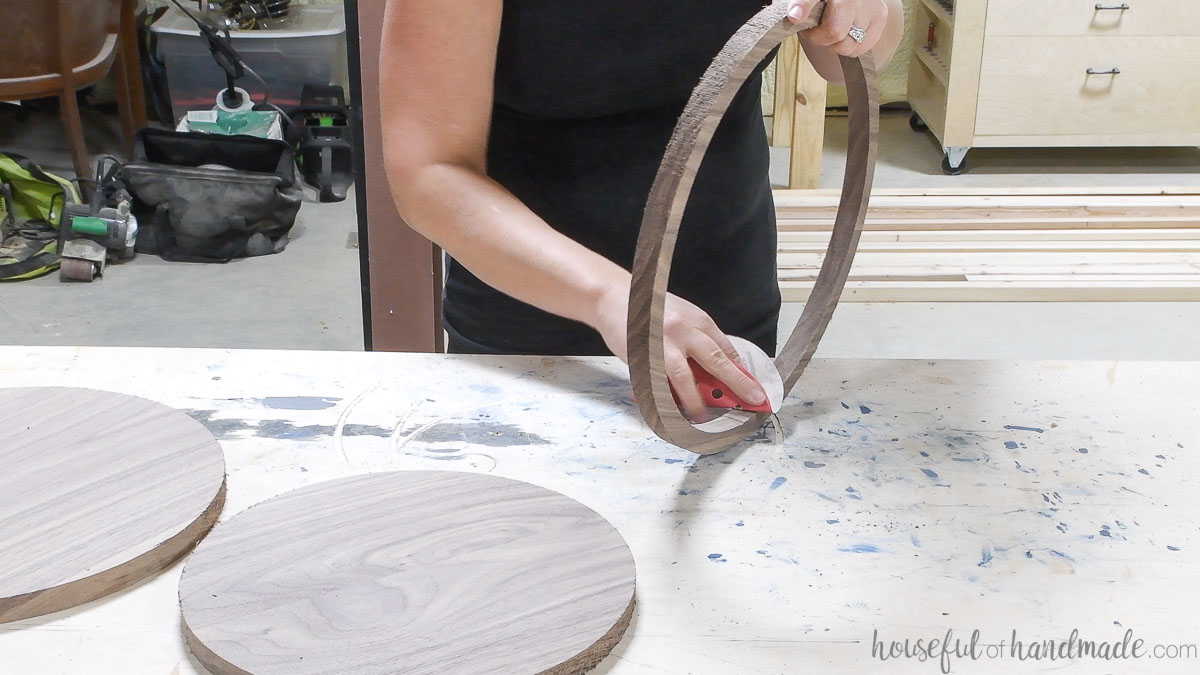
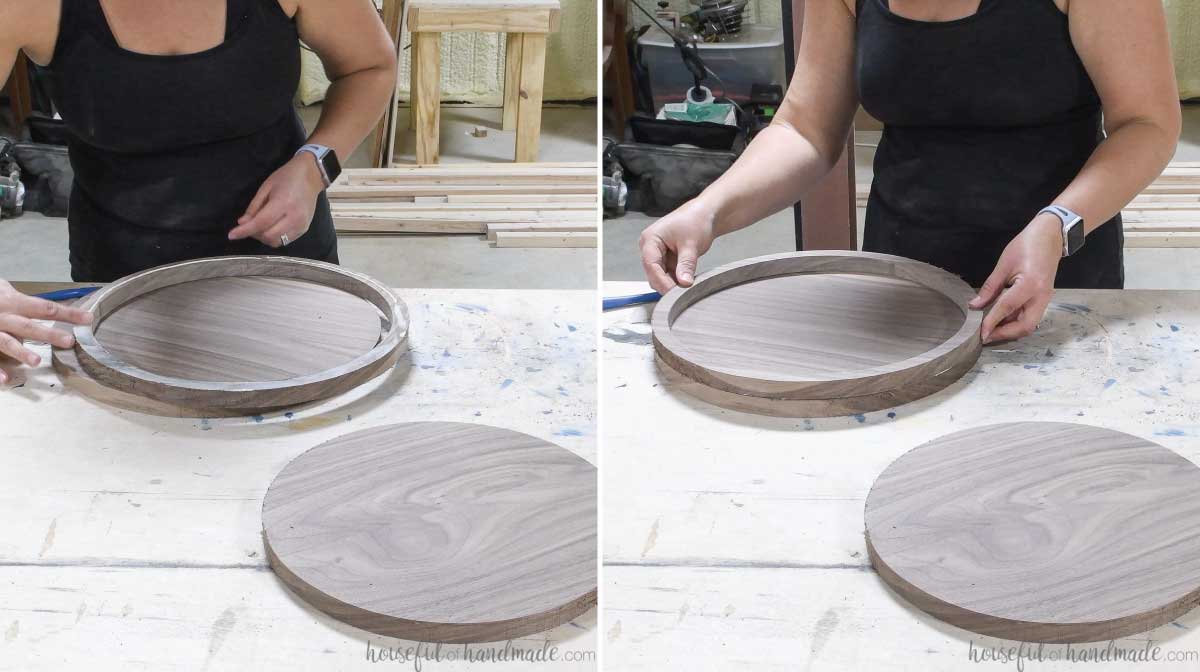
Line up the top piece so the glued together seams line up. This will keep the grain lined up on the tray. If your grain is not lined up it can look weird on the edge.
Add glue to the underside of the lip and reline it up on the tray.
Clamp it down all around the edge.
When tightening the clamps, the top can move around, especially if you have a lot of glue. Pay attention and move it back as you clamp it down.
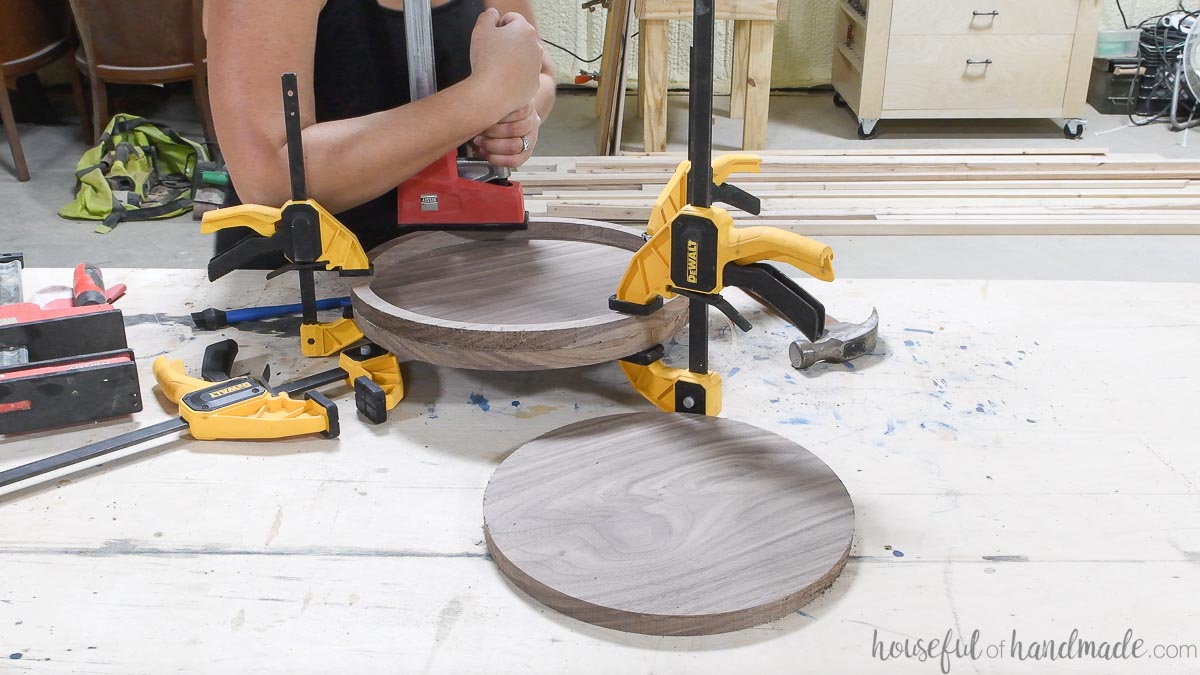
Let the glue dry, then remove the clamps. Use your chisel to remove the glue squeeze out on the outside and inside of the round tray.
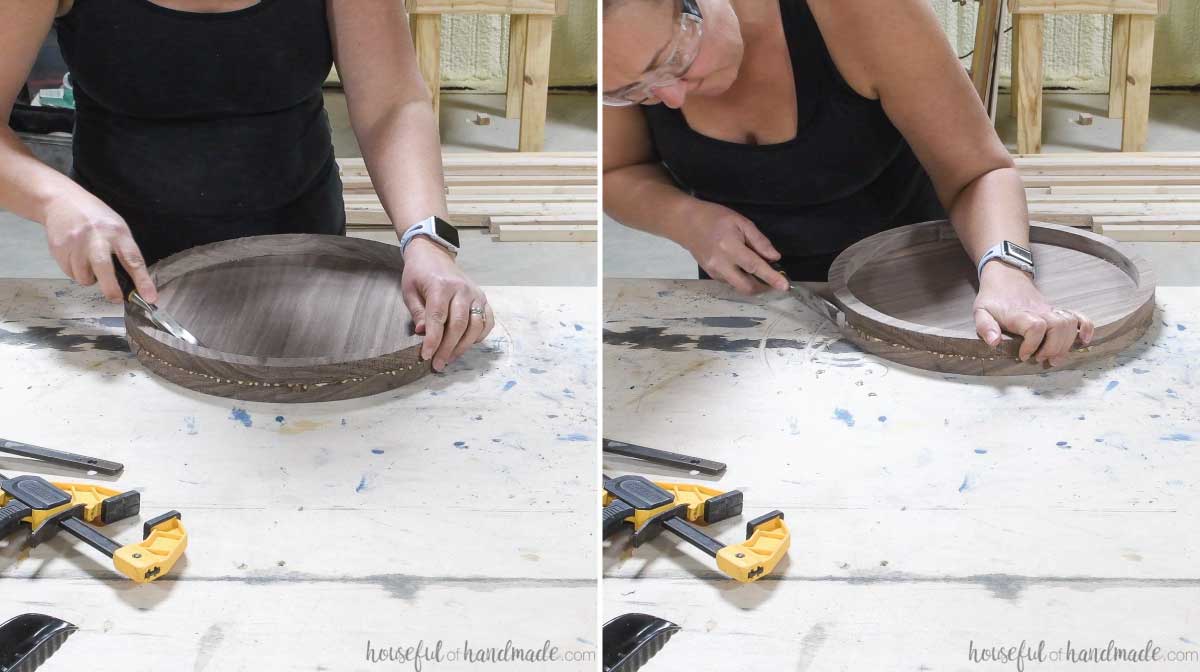
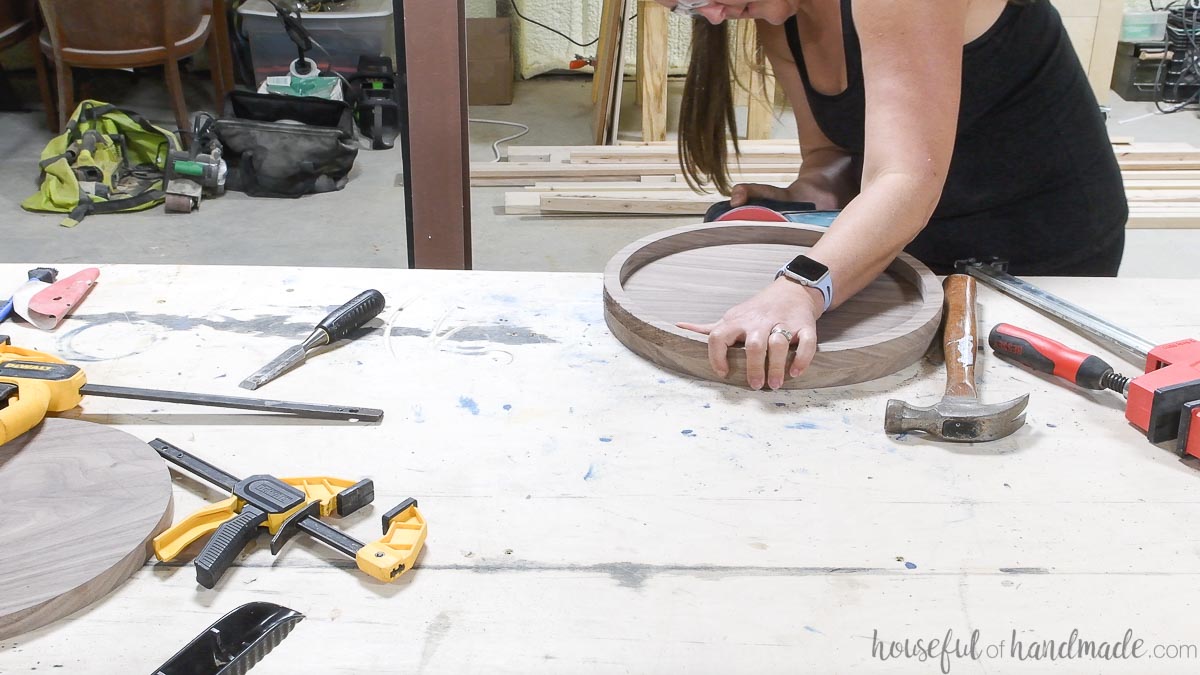
Use your sander with a coarse sandpaper on it smooth the outside of the tray. This will smooth out the outside even if the top was not lined up perfectly.
Continue all around until you are happy with the outside edge of the tray.
Then step down the sandpaper to a medium grit and sand again.
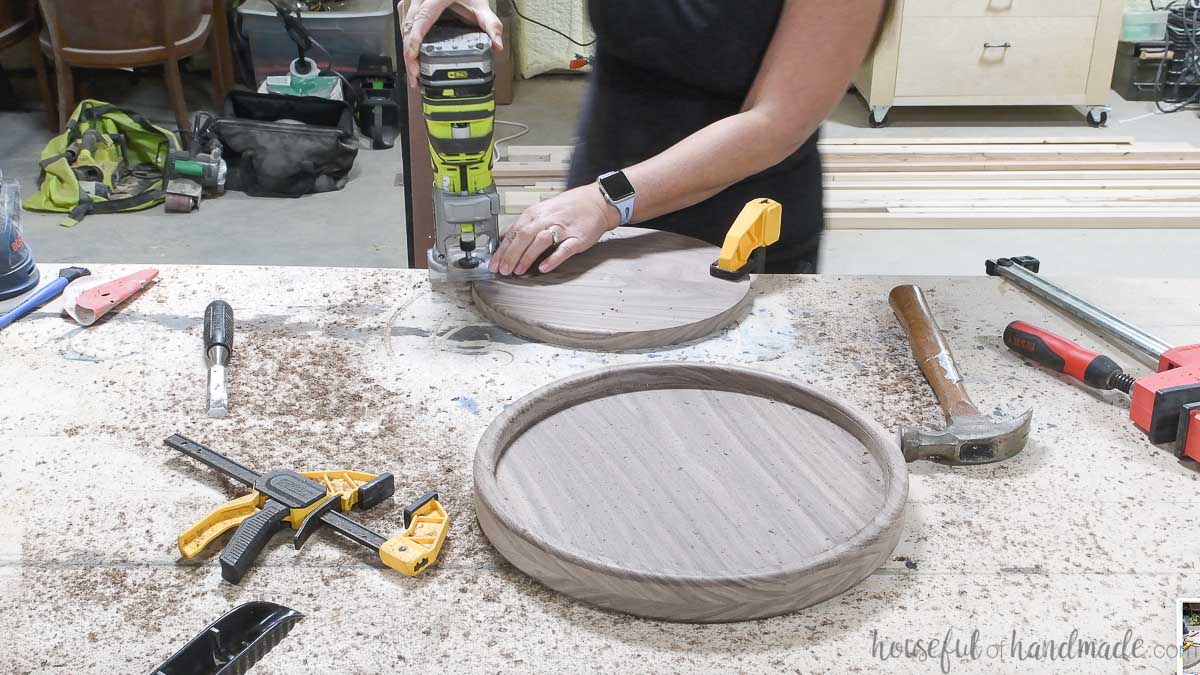
Add a round over bit to your trim router and round over the inside and outside edge on the top of the the tray. Then flip it over and round over the bottom edge too.
Of if you want a more modern look to your tray, you could use a chamfer edge instead of a router edge.
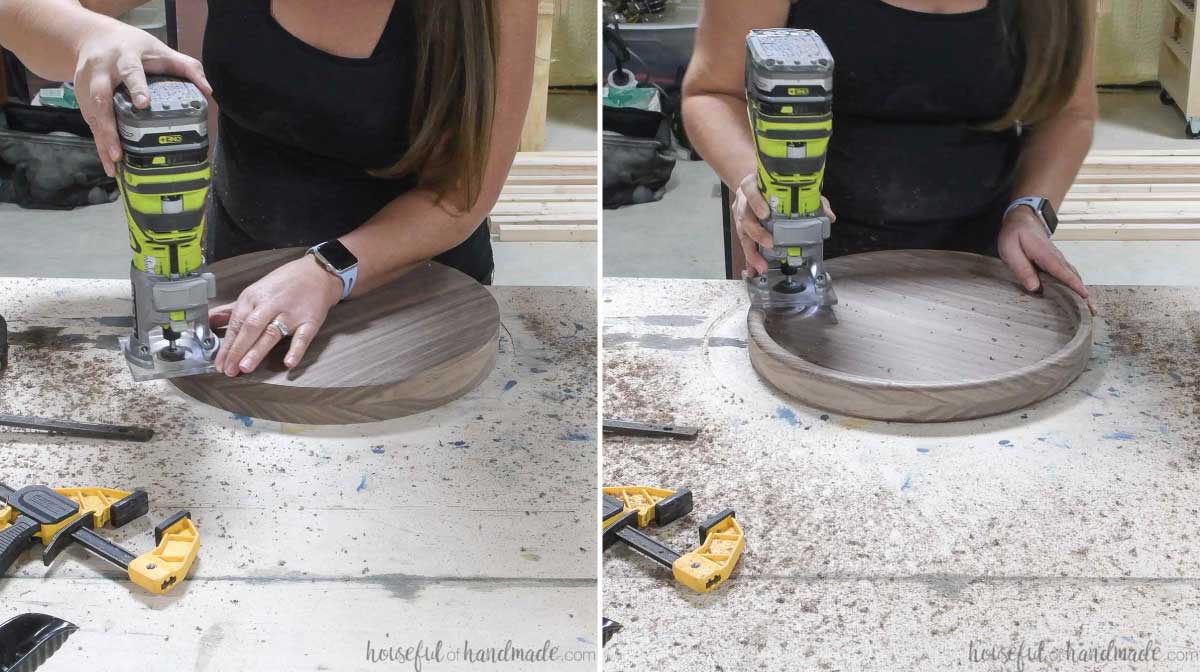
For your second tray option, add a round over to the circle left over from the center of the top piece. This smaller circle will make a great tray or serving board on it’s own.
Sand everything smooth with a 220 grit sandpaper.
STEP 5- Seal your trays
Pour your food safe sealer on your round wood trays. Rub it into the wood with a lint free cloth.
Make sure to add oil to the entire tray, including the sides and bottom.
Let the oil sit on the tray to soak into the wood as much as possible. Then remove any excess by rubbing it down with a clean lint free rag.
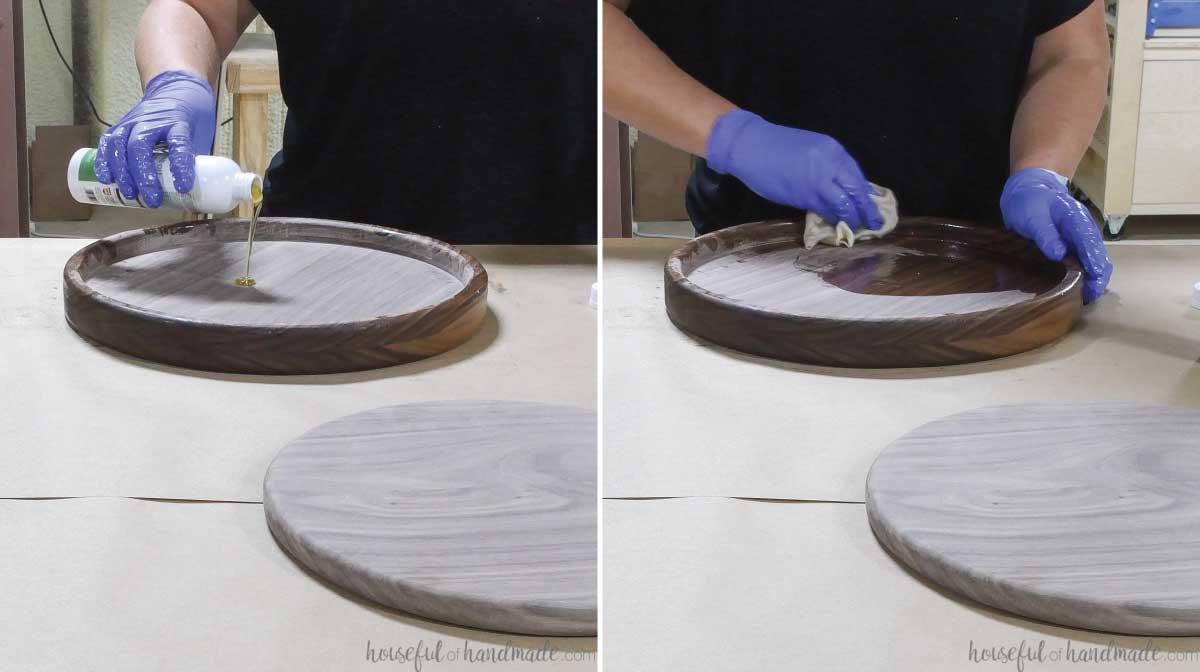
Let the sealer cure according to the directions to ensure it is food safe. If giving as a gift, make sure to give them enough cure time before gifting them.
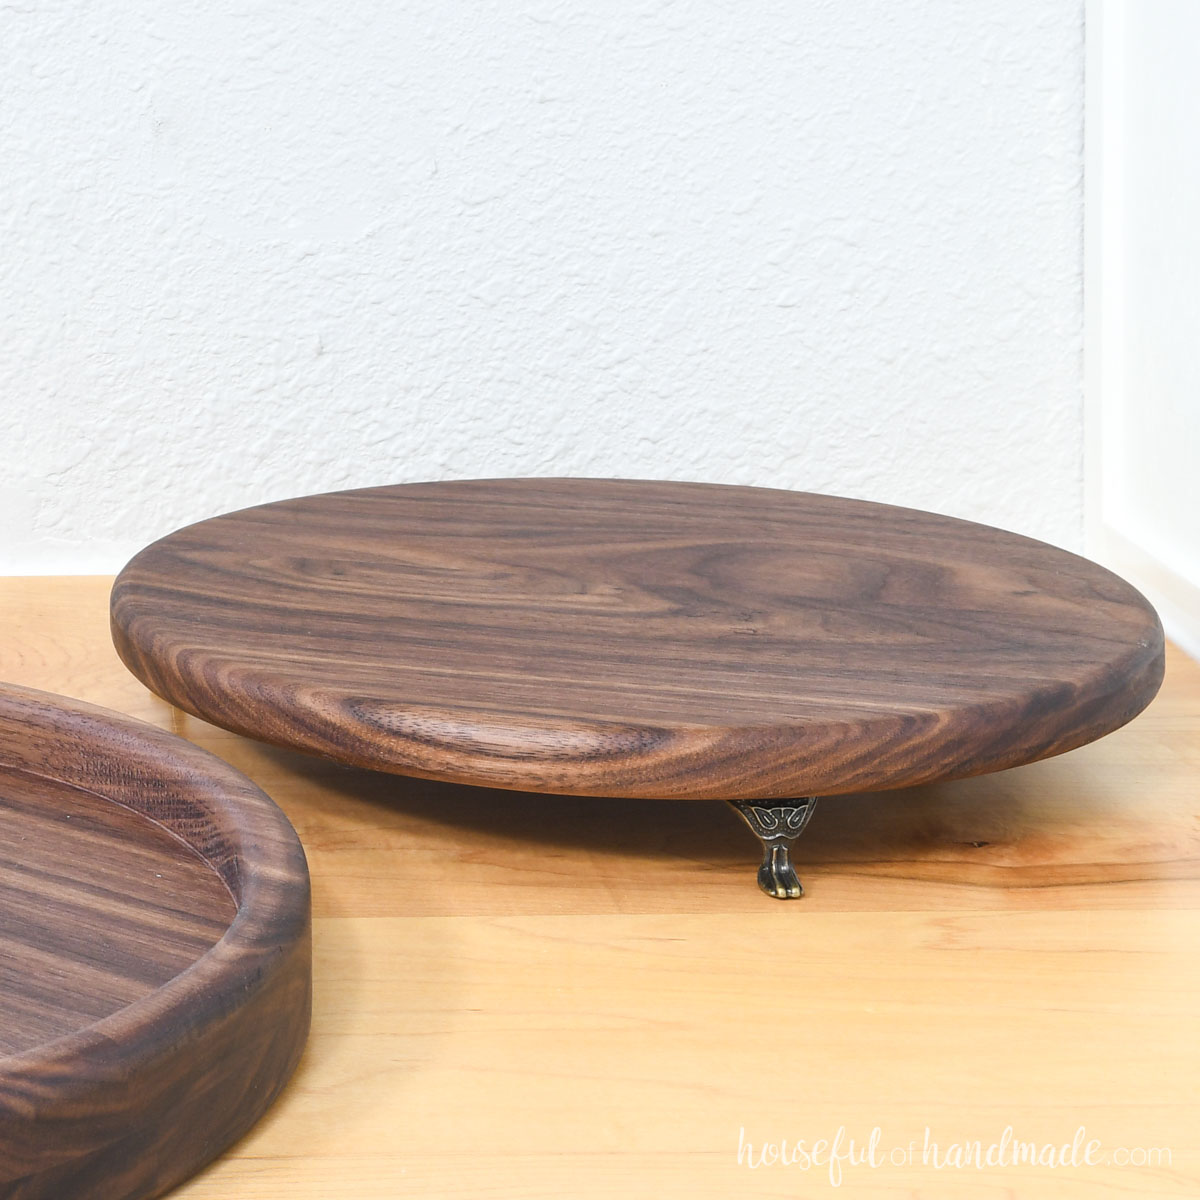
For the second smaller circle, add feet to the bottom of the circle. Since there is a small hole in the center from the router jig, the feet will ensure the hole is always on the bottom.
Or you can cut a second circle from another piece of wood. Then cut the center out of it to create a second tray with a lip on it.
You can repeat for as many nesting round trays as want. Just remember they will get smaller and smaller each time.
And you are done!
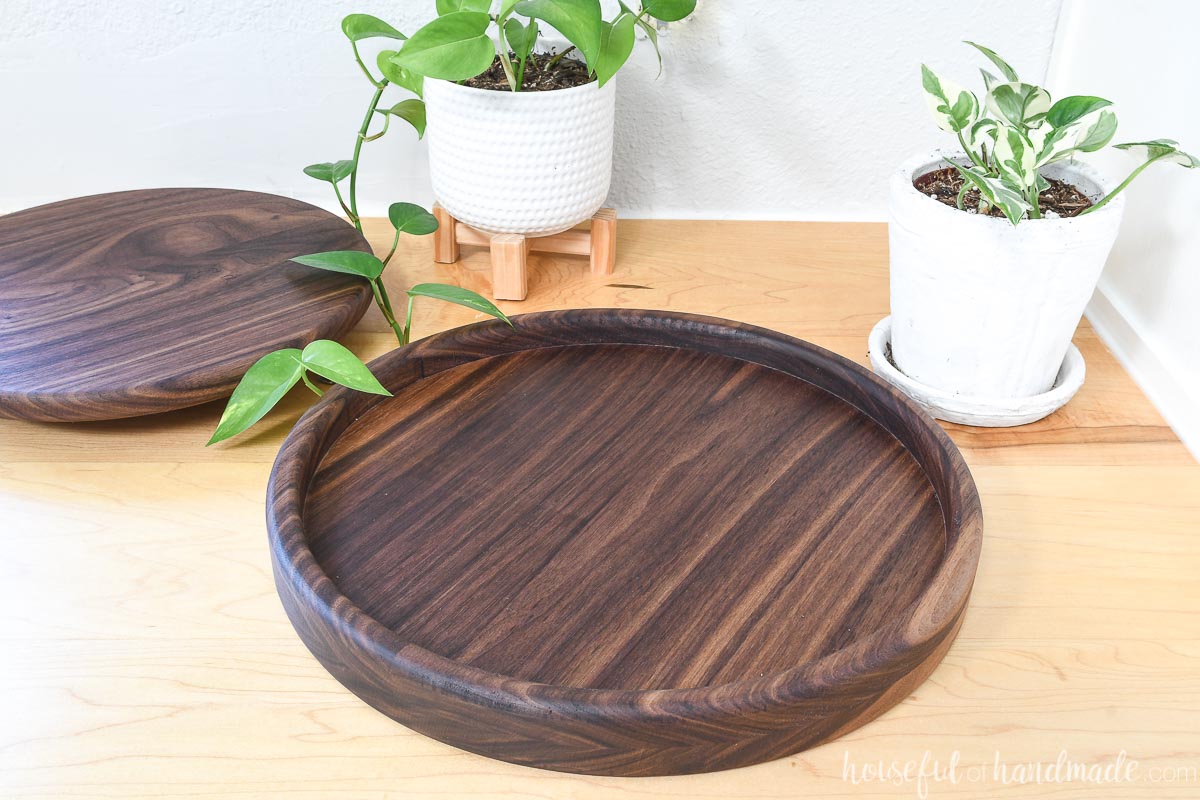
Now you can display your favorite foods in style at your next gathering. Everyone will be amazed at your beautiful wood trays.
Happy building!


