
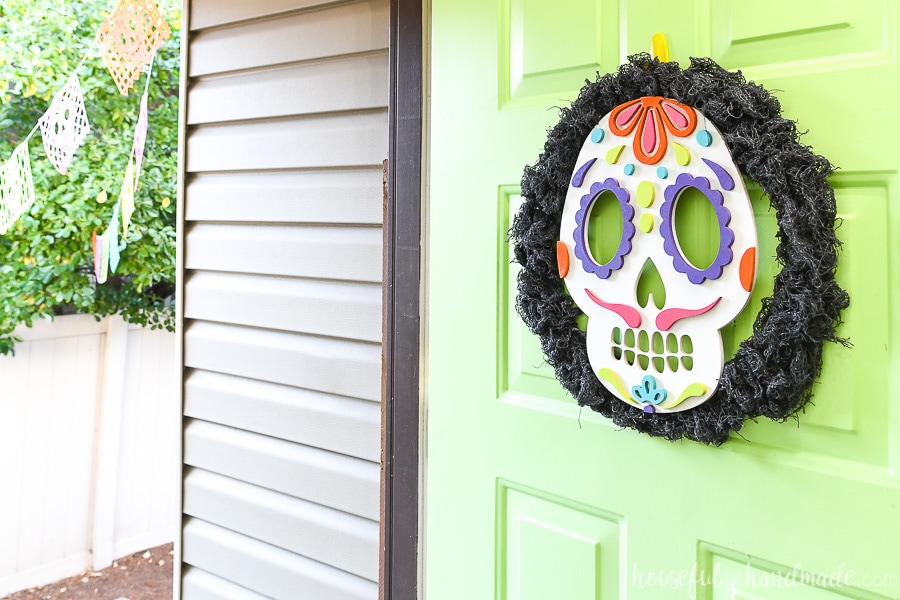
DIY a colorful sugar skull wreath to decorate your front door.
A wreath is my favorite way to decorate for each season. It’s easy and fun and doesn’t require any furniture moving! This year we decorated the house for Halloween with a Day of the Dead theme so I made a sugar skull wreath for the door.
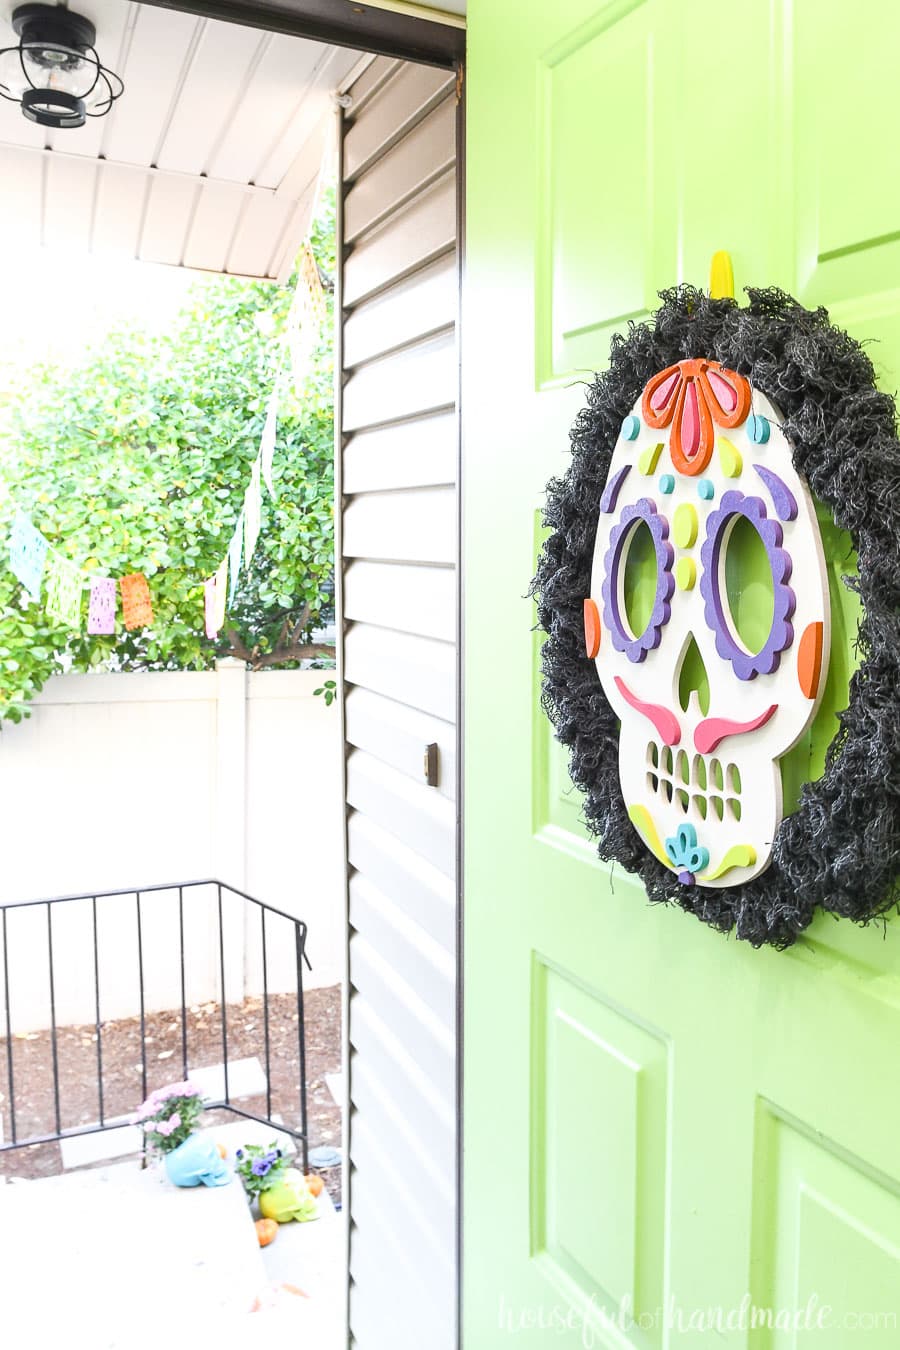
Typically my Halloween decor is primarily black. We love bats and spiders and spooky stuff. But with the Day of the Dead theme, this year we used lots of colors. And I love it!
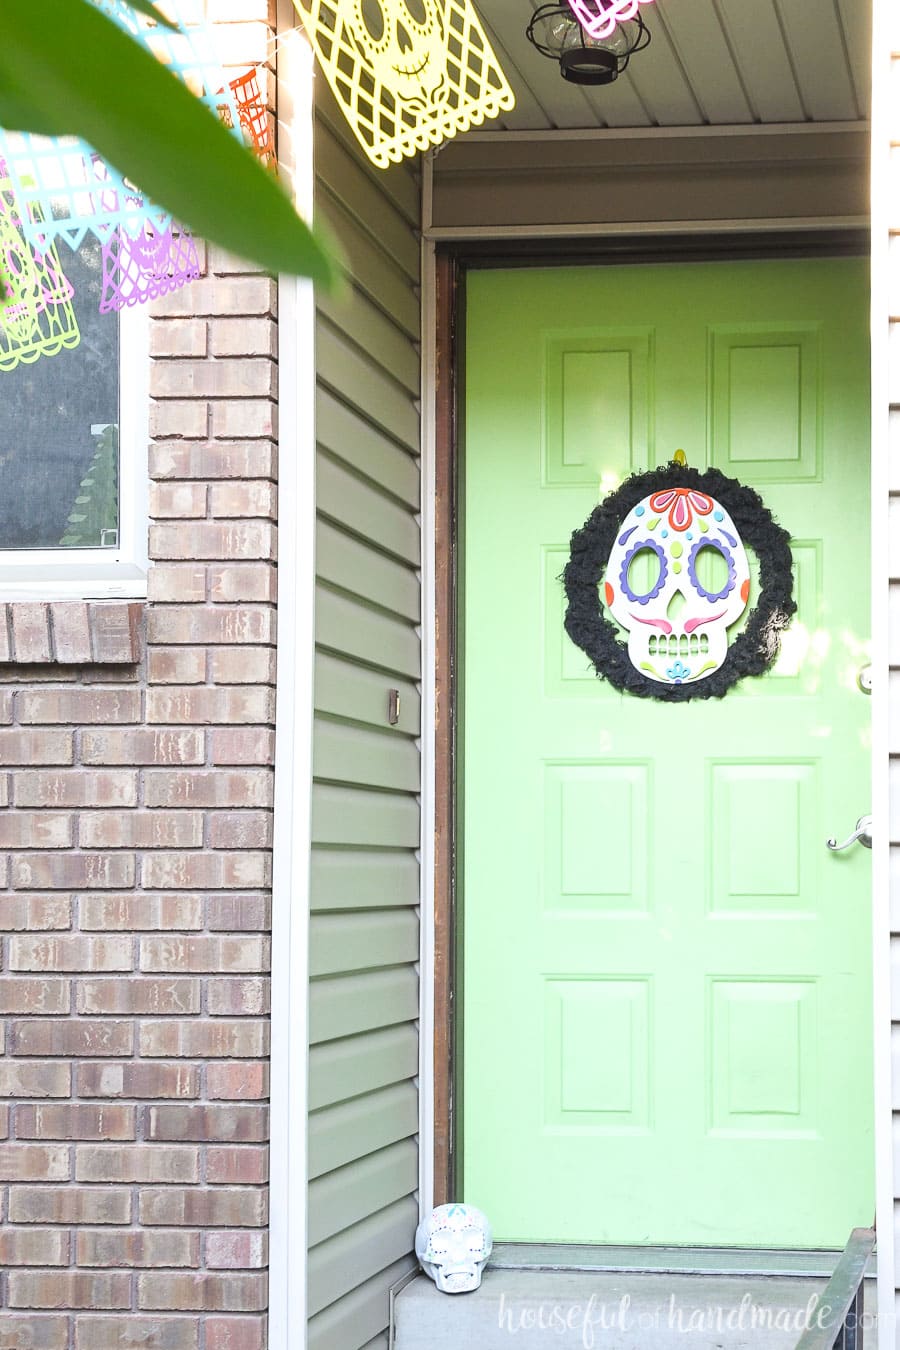
Our entryway is so colorful and cheerful, even with skulls everywhere. And this sugar skull wreath is no exception.
This post may contain affiliate links. As an Amazon Associate I earn from qualifying purchases. Click here to read my full disclosure policy.
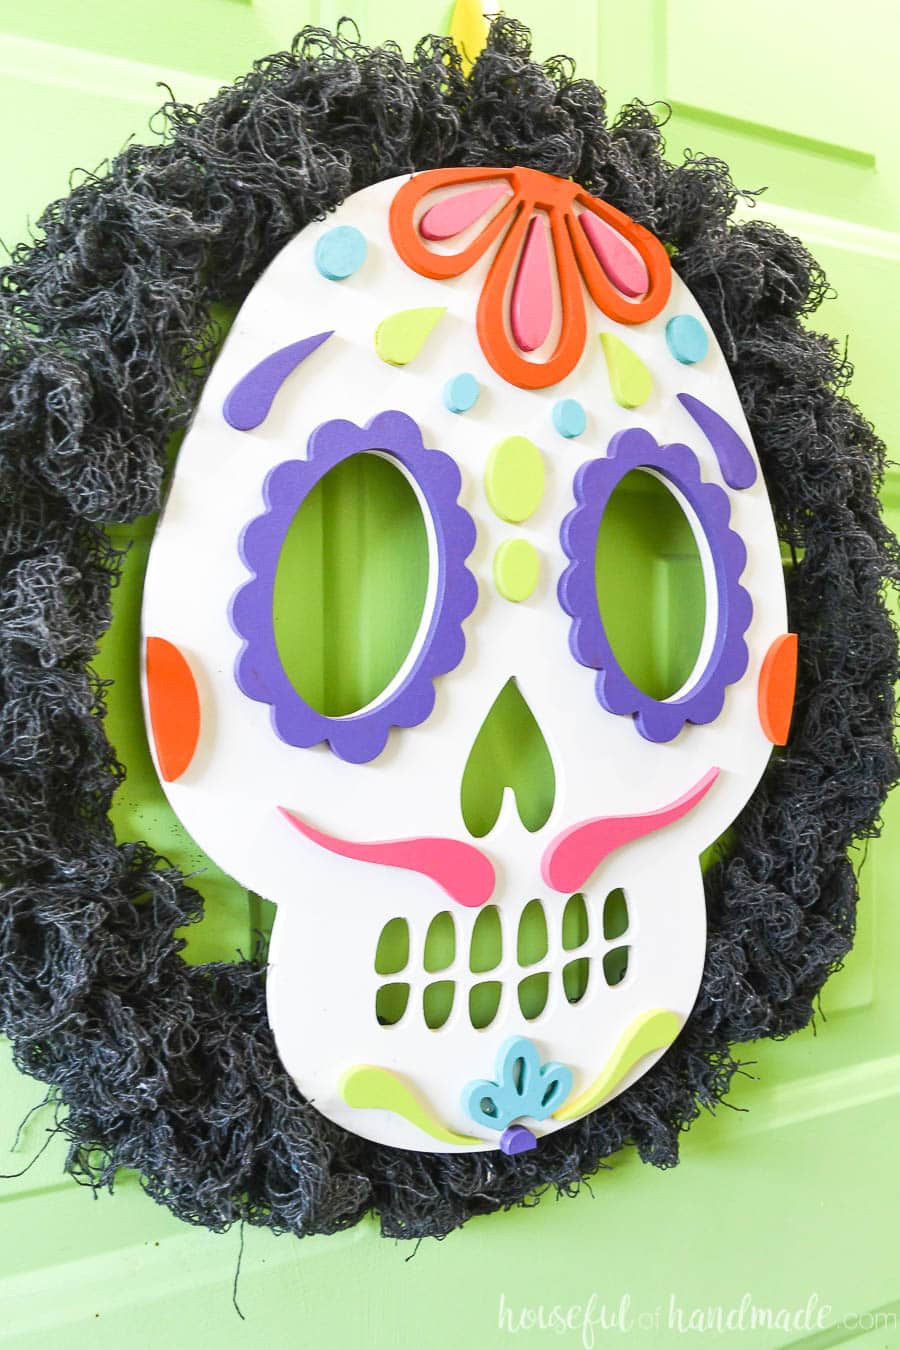
Wood Sugar Skull
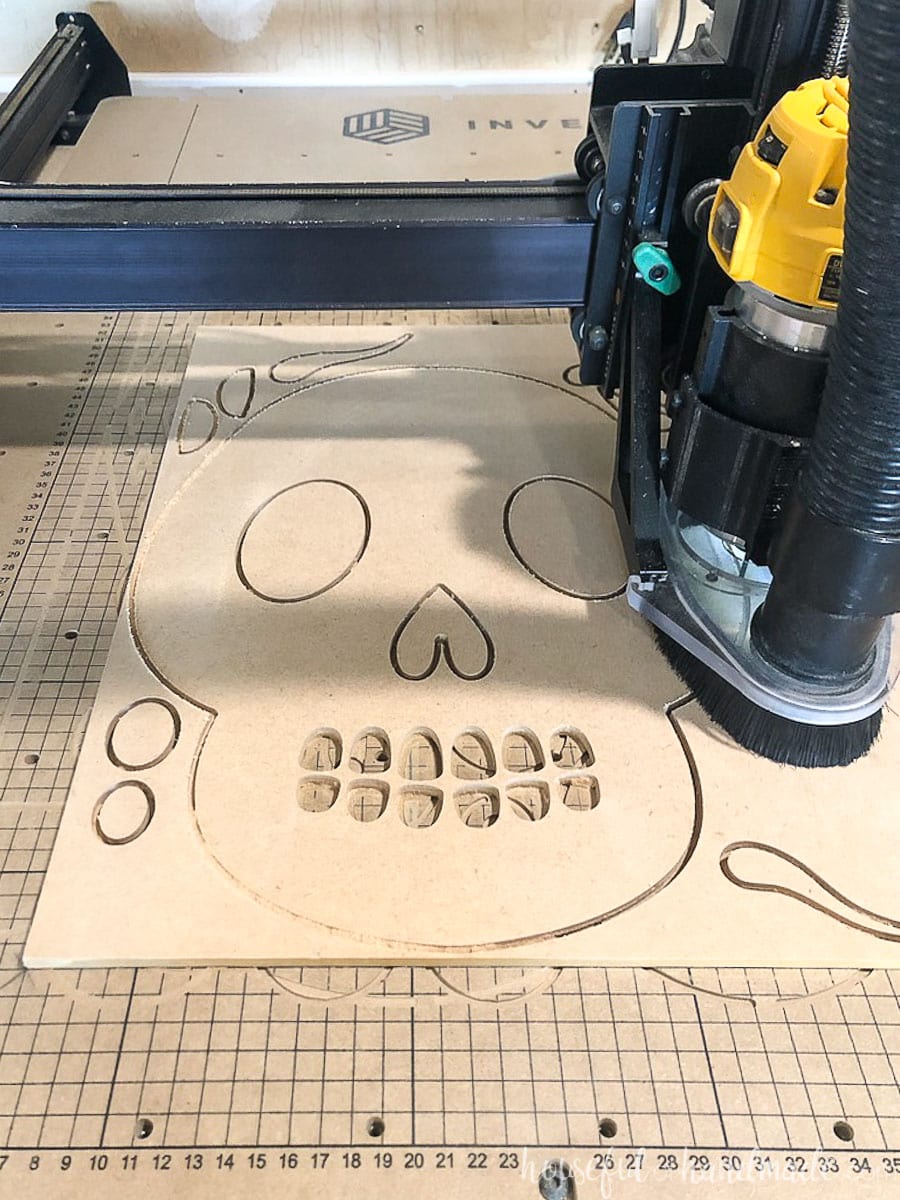
The pieces for the wood sugar skull were cut out of 1/4″ MDF. It’s inexpensive and easy to get a smooth paint finish on. I used a CNC machine to cut out all the pieces. But if you do not have one, don’t worry. You can still make this unique wreath.
You can cut out the wood pieces with a scroll saw or even a jigsaw (although the smaller pieces might be more challenging with a jigsaw).
Or for an even easier solution, you could cut the skull shape out of MDF and then add the sugar skull decorations to it with painted cardboard instead of cutting the delicate pieces out of wood.
I used a variety of spray paints to paint all the different pieces. But you can choose whatever colors you want to make it match your own style or decor.
And it’s a fun bonus how our bright green door shines through and adds to the bold colorful Halloween look.
How to Make a Sugar Skull Wreath
Tools Needed:
- Jigsaw, scroll saw or CNC to cut MDF
- Sander
Supplies:
- 1/4″ MDF
- Sandpaper
- Spray paint
- Wire wreath frame
- Hot glue gun and glue sticks
- Gorilla super glue
Cut out the Pieces
You can download the PDF template for the sugar skull design I made in the subscriber library. Click here to subscribe to my newsletter and gain access to all the freebies. If you already have your password, click here to download them.
Print out and tape the template together. Then trace out the design on the MDF.
Cut out the pieces. I used my CNC machine, but you could also cut them out with a jigsaw or scroll saw.
Also, you could cut out the large skull shape out of the MDF easily with a jigsaw and then add the colorful pieces on top with cardstock.
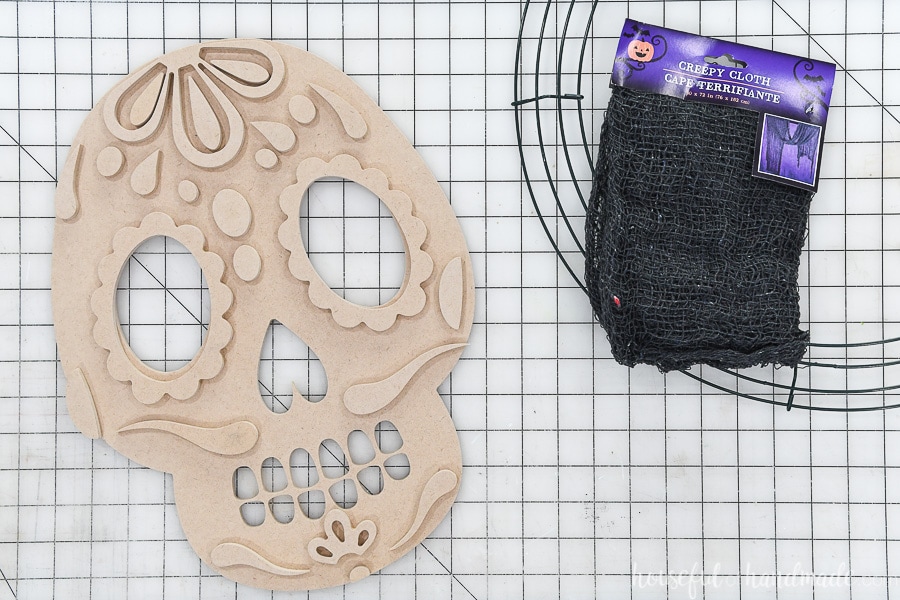
Sand all the pieces smooth to get ready for paint.
Paint the Pieces
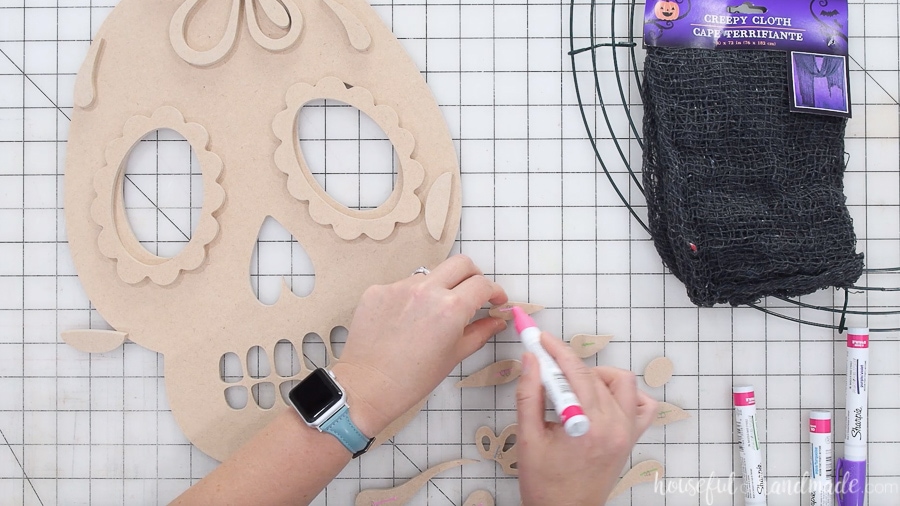
Lay all the pieces out where they will go and then decide what colors each will be. Mark the back with the desired color to help you keep everything straight.
Paint the pieces. I used spray paint since it is fast and easy to get into all the nooks and crannies of the design, but you can use whatever paint you want.
Let them dry fully.
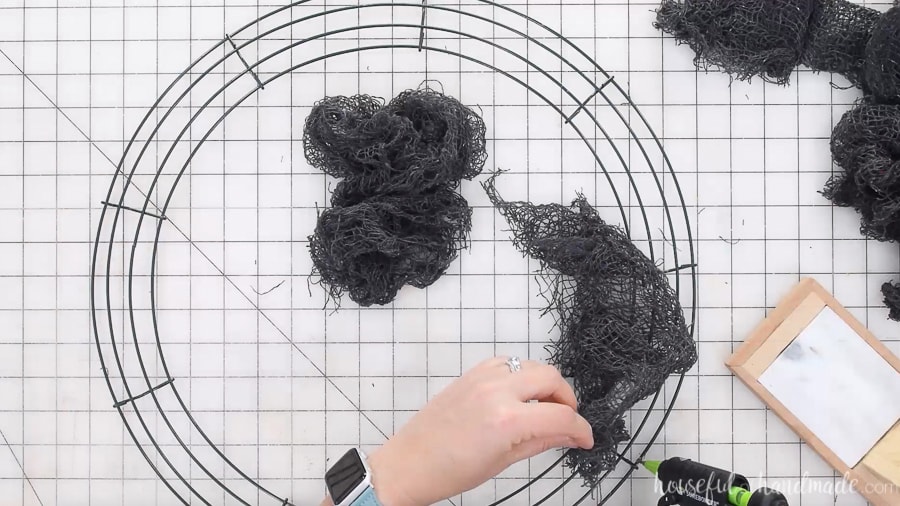
Decorate the Wreath Form
Cut the creepy cloth into strips.
I counted the number of sections around my wreath frame and cut that number of strips. That way it is easier to make sure the cloth is evenly glued around the wreath.
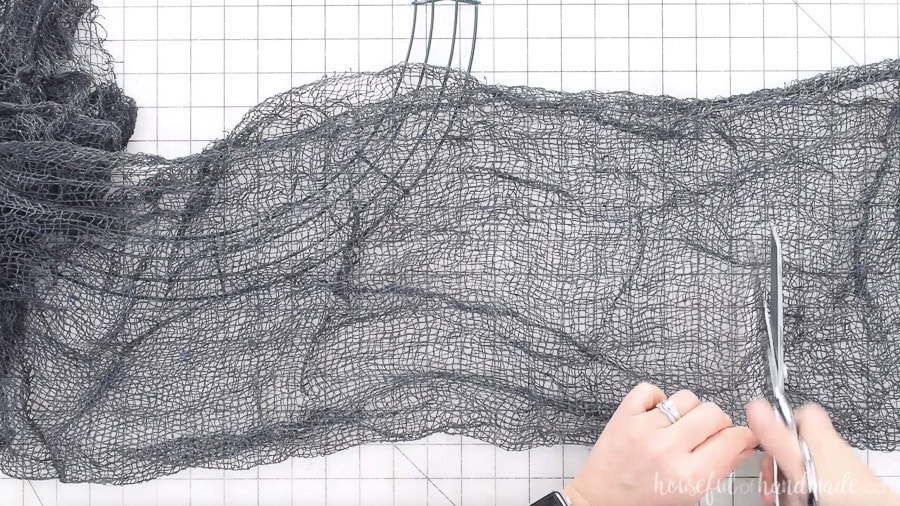
Using the hot glue gun, place hot glue on the wires of the wreath frame. Carefully press the cloth onto it to secure.
Continue to glue the cloth back and forth from the wires as you go around the wreath form. Bunch up the cloth to create a fluffy wreath.
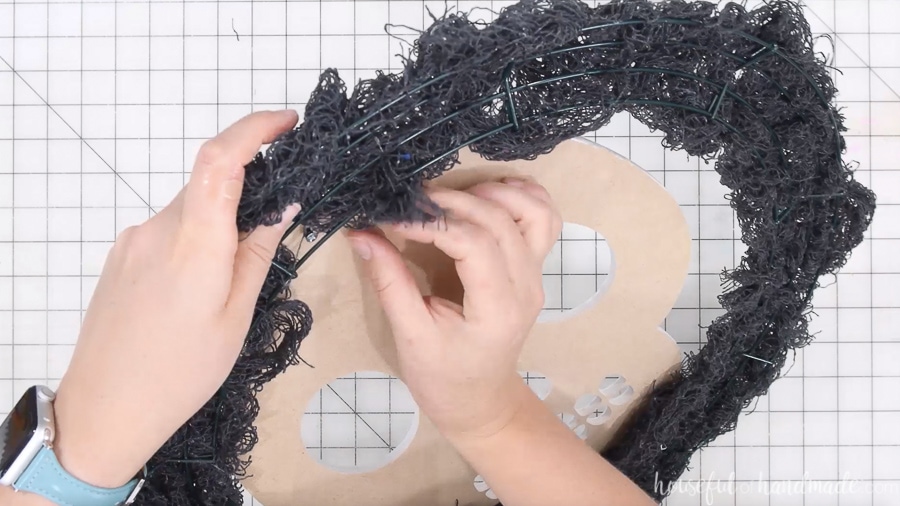
Assemble the Wreath
Screw two short screw into the back of the skull piece, one toward the top and the other toward the bottom. Make sure they do not go through the front.
Wrap a piece of floral wire around the screws and twist to secure. Then twist the wire around the wreath form to secure the skull to it.
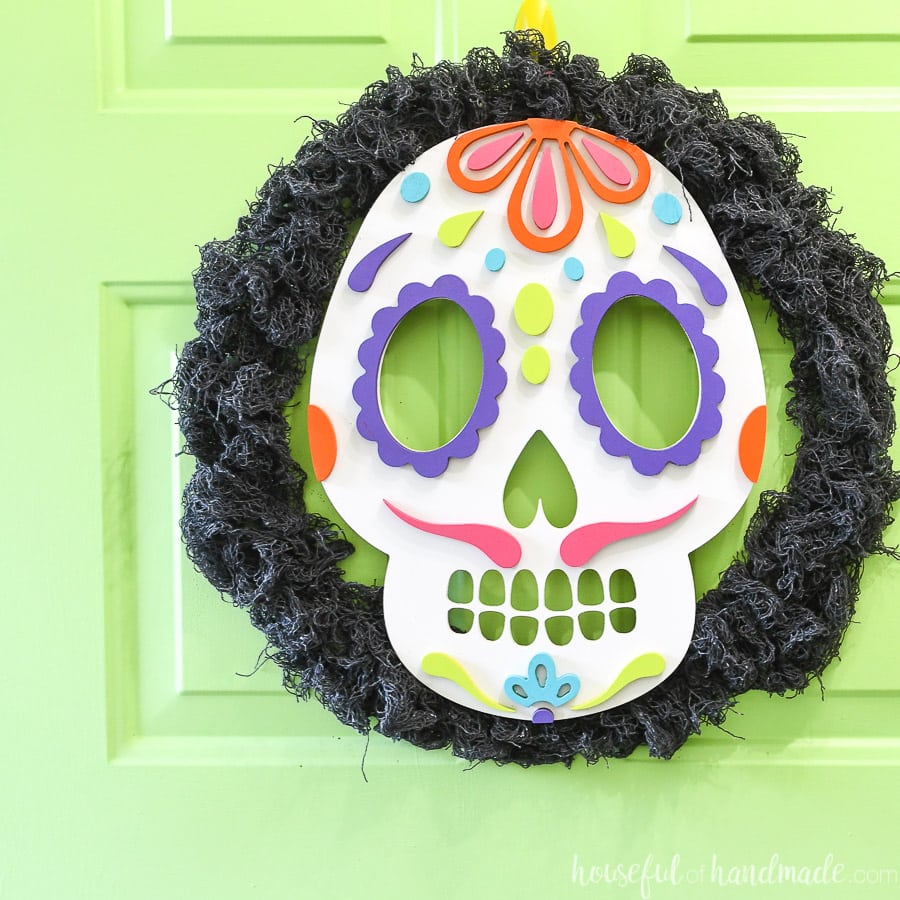
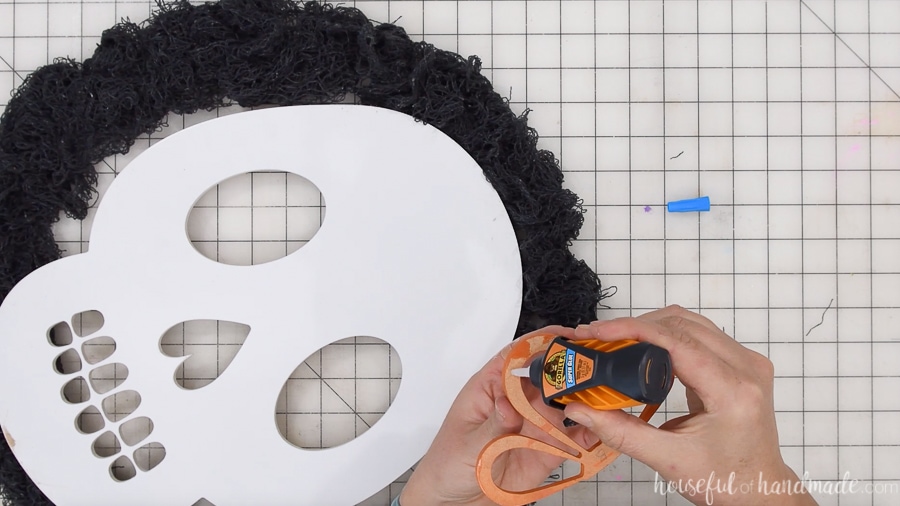
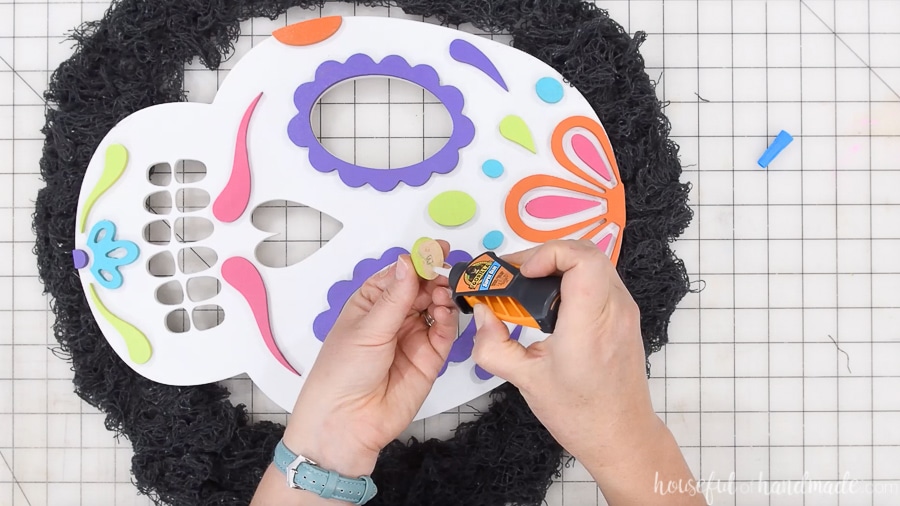
Lay the wreath down and glue the colorful sugar skull designs to the skull shape.
Use small dots of super glue around the back of the piece and place it onto the skull. Hold for 10-15 seconds until it is secure.
Continue to repeat until all the pieces are attached.
Let the glue dry for at least a few hours to allow the glue to fully cure before hanging up your new wreath.
Now our front door is all decorated for Halloween. Having this guy smile at me every time I come home is just a fun side effect!
You can see a sneak peak of some of the other Day of the Dead themed decor on the porch. For more details make sure to check out these easy DIY sugar skull planters, the paper Day of the Dead Banner, and my favorite Halloween layered doormat.
Happy Halloween,
