I never realized how much I needed a breadboard until I had one! They are extremely useful for cutting and serving bread and more.
I love to make my own bread. I bought into the sourdough crazy of 2020 and am hooked. And now my sourdough tastes even better because it is cut on this DIY breadboard.
But the best part, bread boards are a quick and fun DIY project. All you need is a small board or scrap to make something super useful!
This post may contain affiliate links. As an Amazon Associate I earn from qualifying purchases. Click here to read my full disclosure policy.
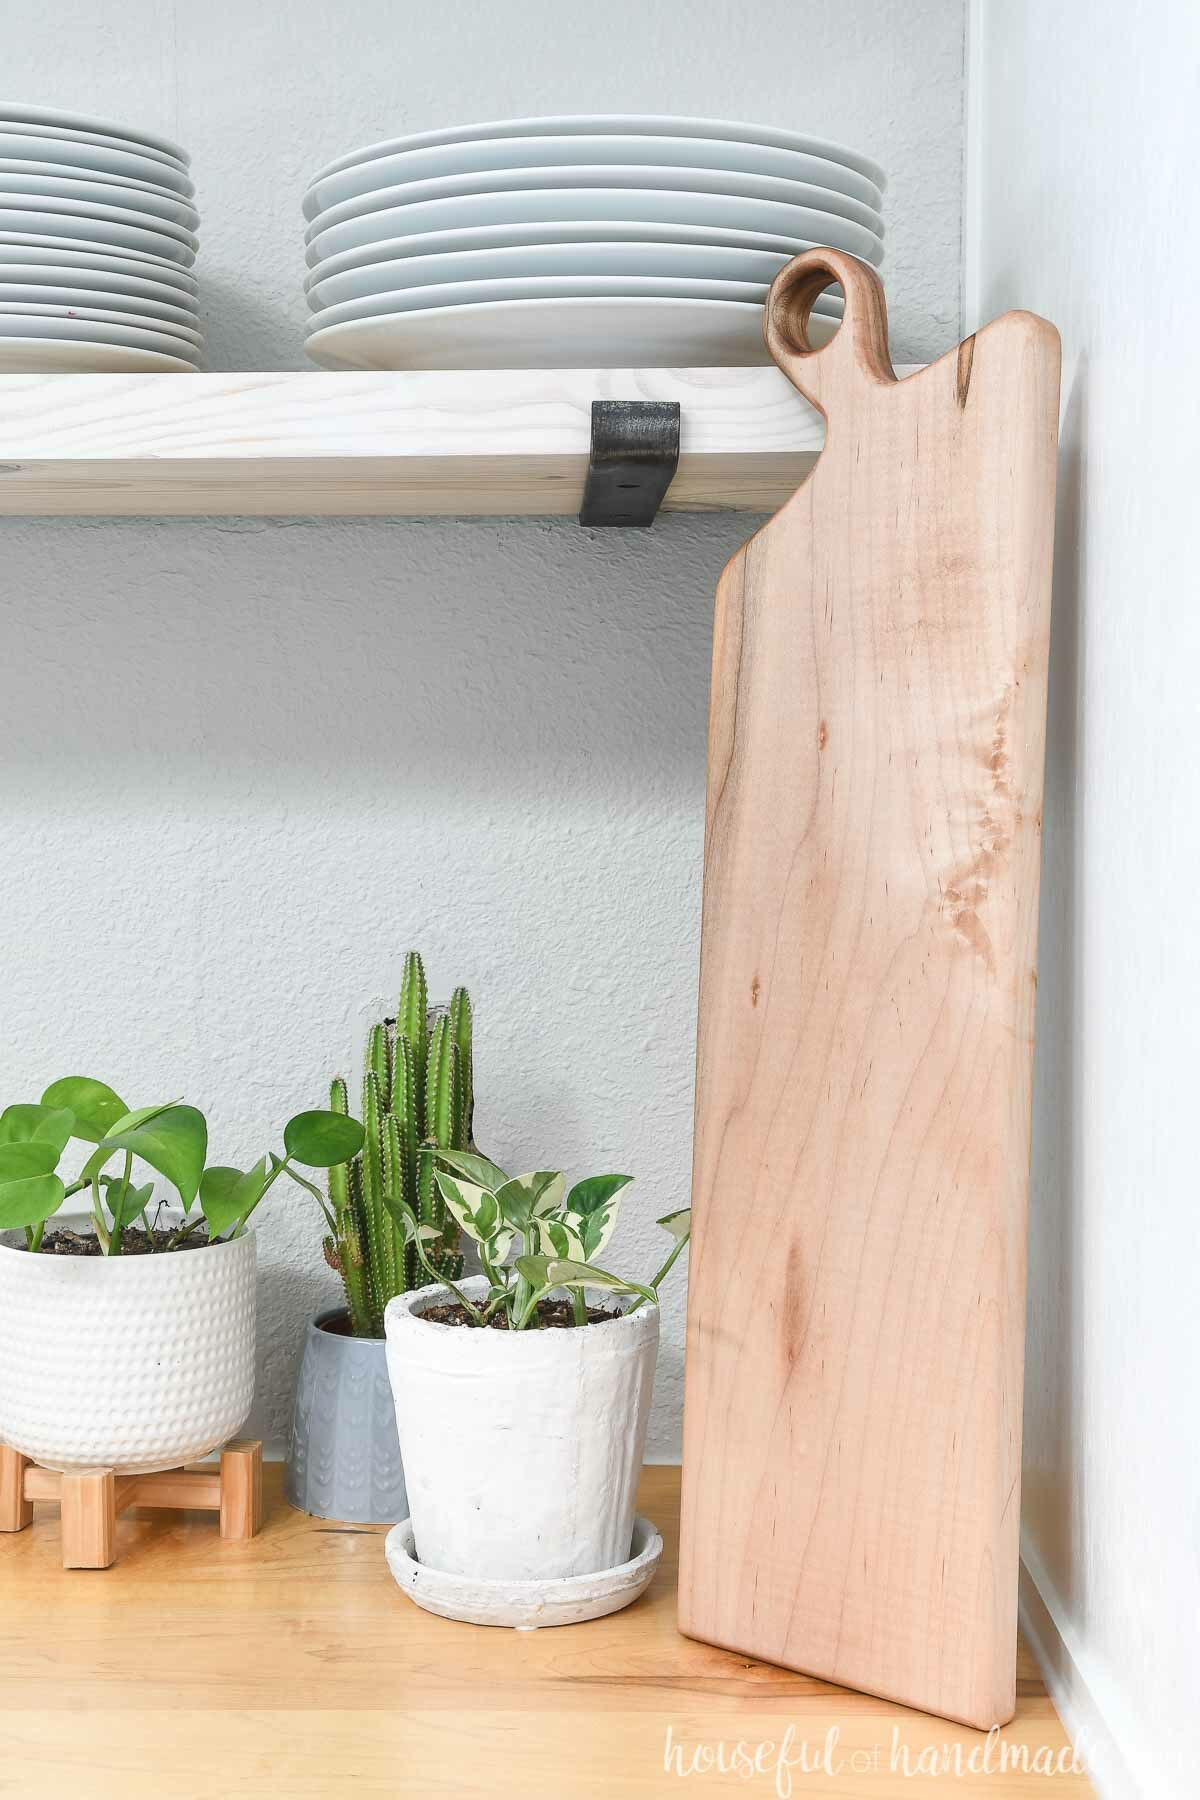
Ways to use a Wood Breadboard
Breadboards are long cutting boards, usually with a handle on one end. In the past, they were used to store and display baked goods in a patisserie or bakery.
I like to keep my breadboard right next to my DIY bread box, so I can quickly cut a fresh slice.
But you can use a breadboard for more than just cutting bread. Try using them for any of the following:
- As a small charcuterie platter
- To serve buns, bread or baked goods
- As a cutting board (but I never cut meat on my breadboard)
- Give it as a gift
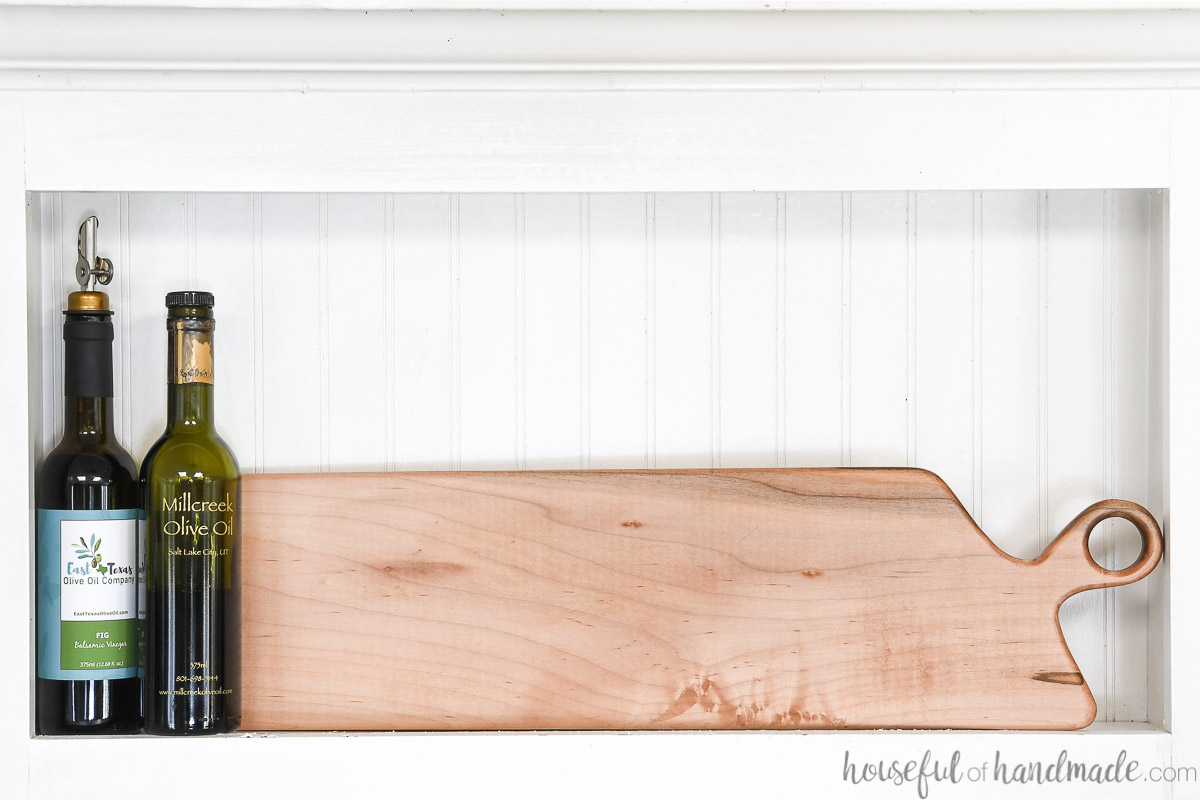
More DIY Serving Ideas
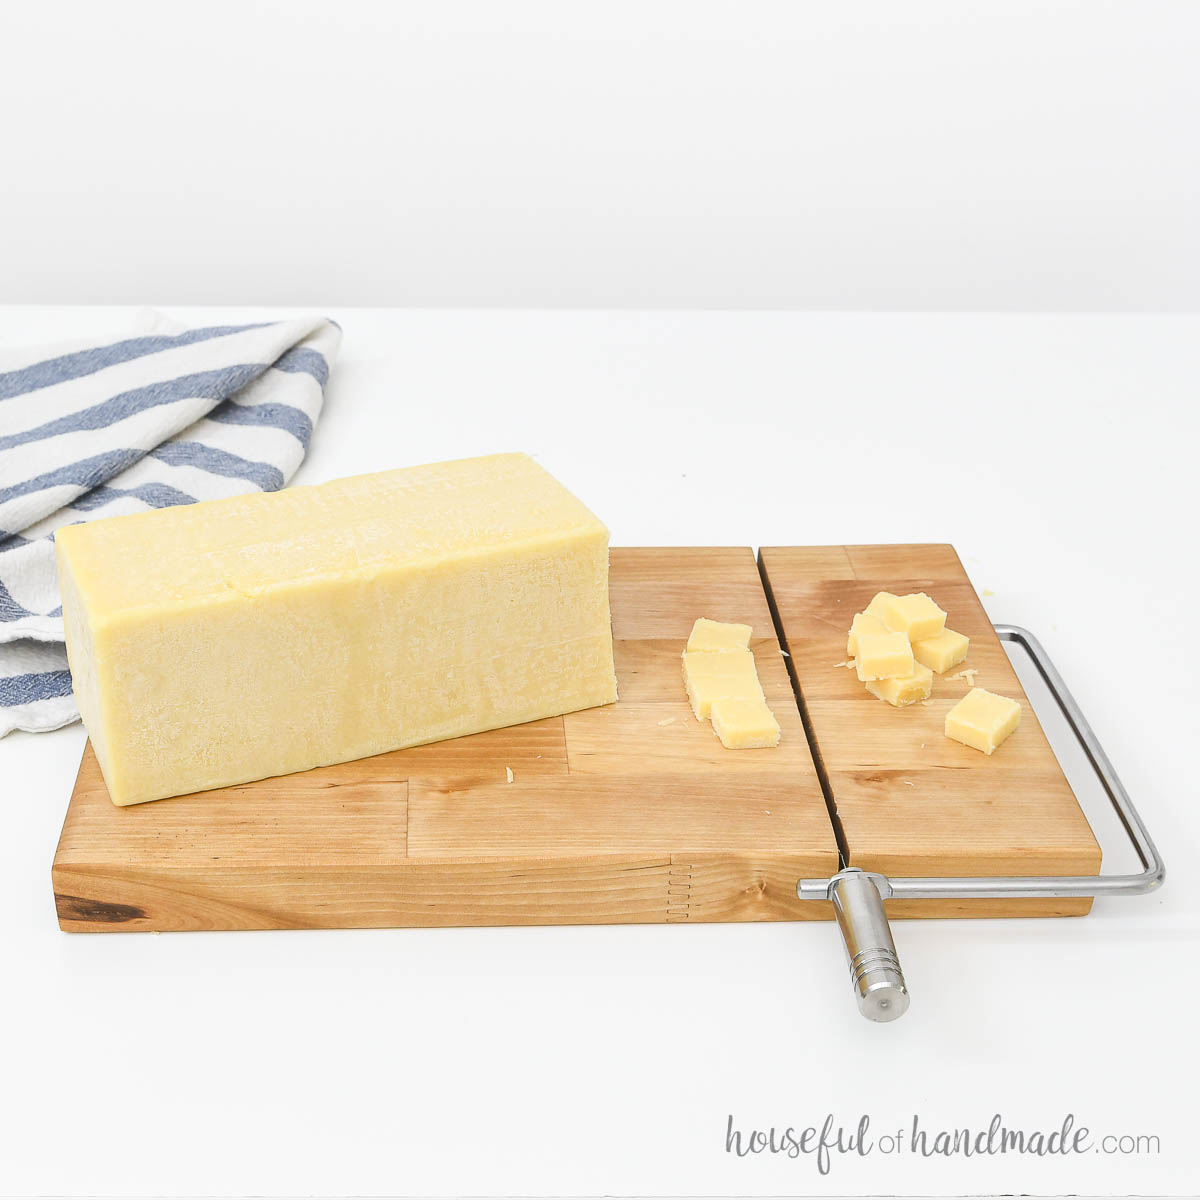
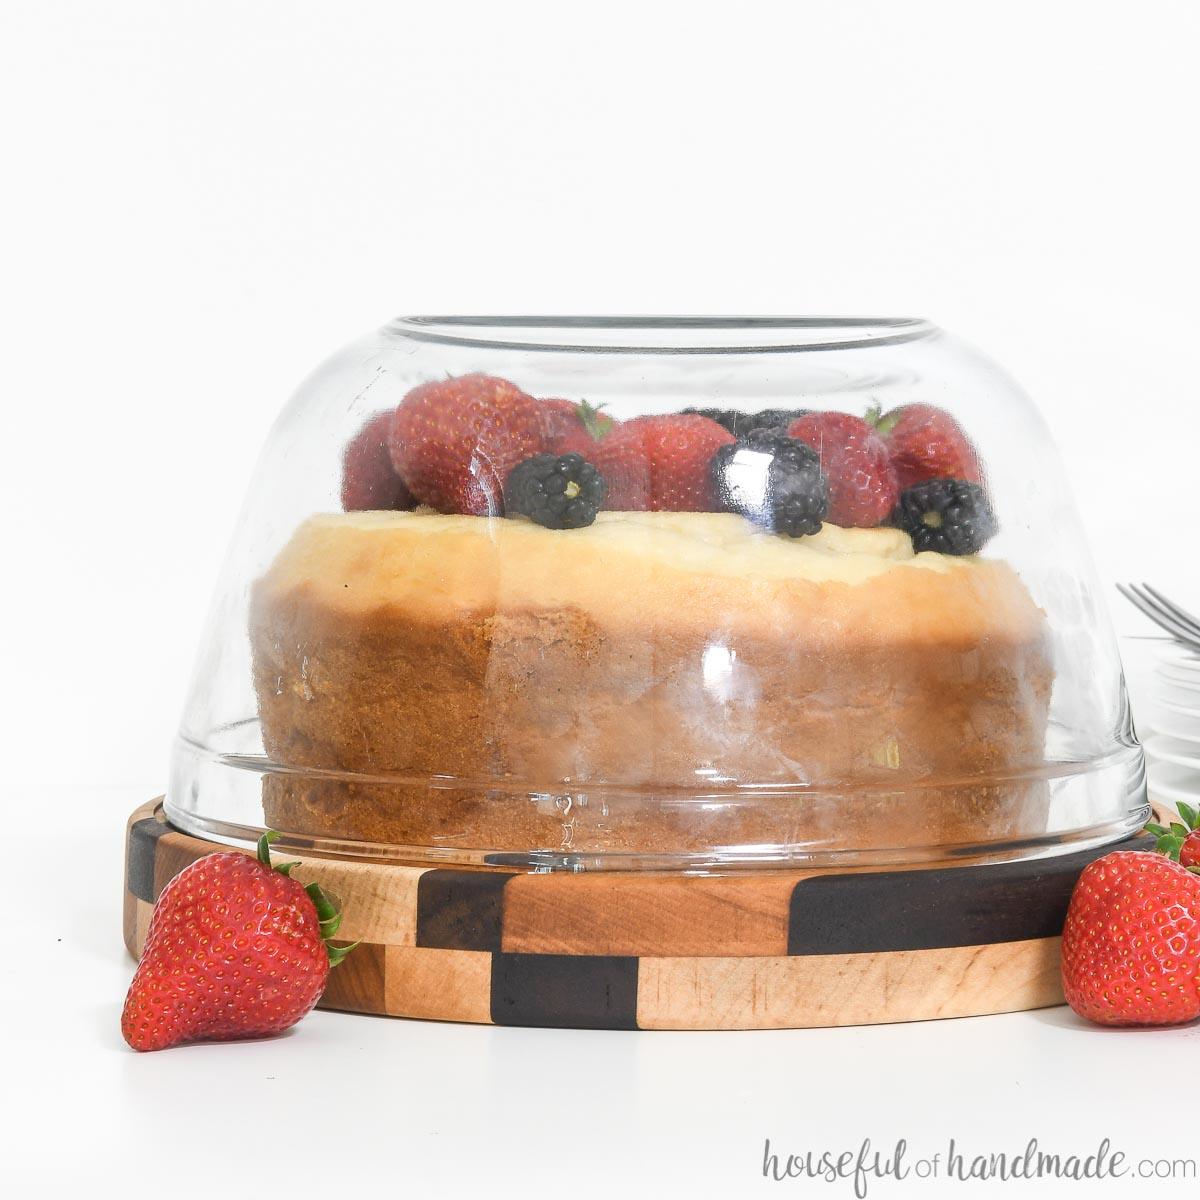
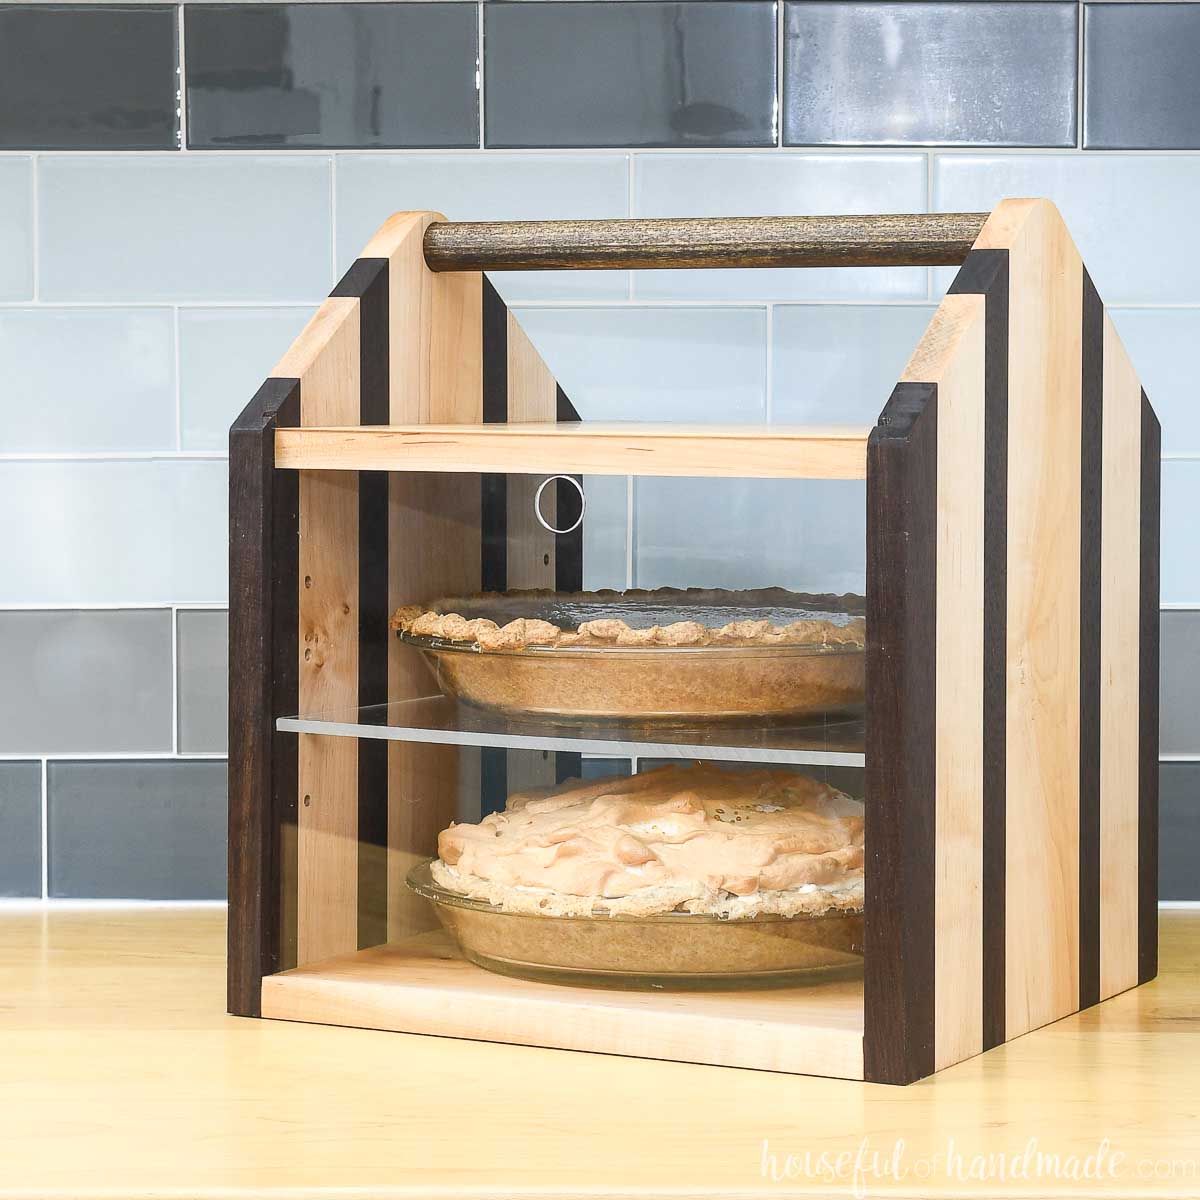
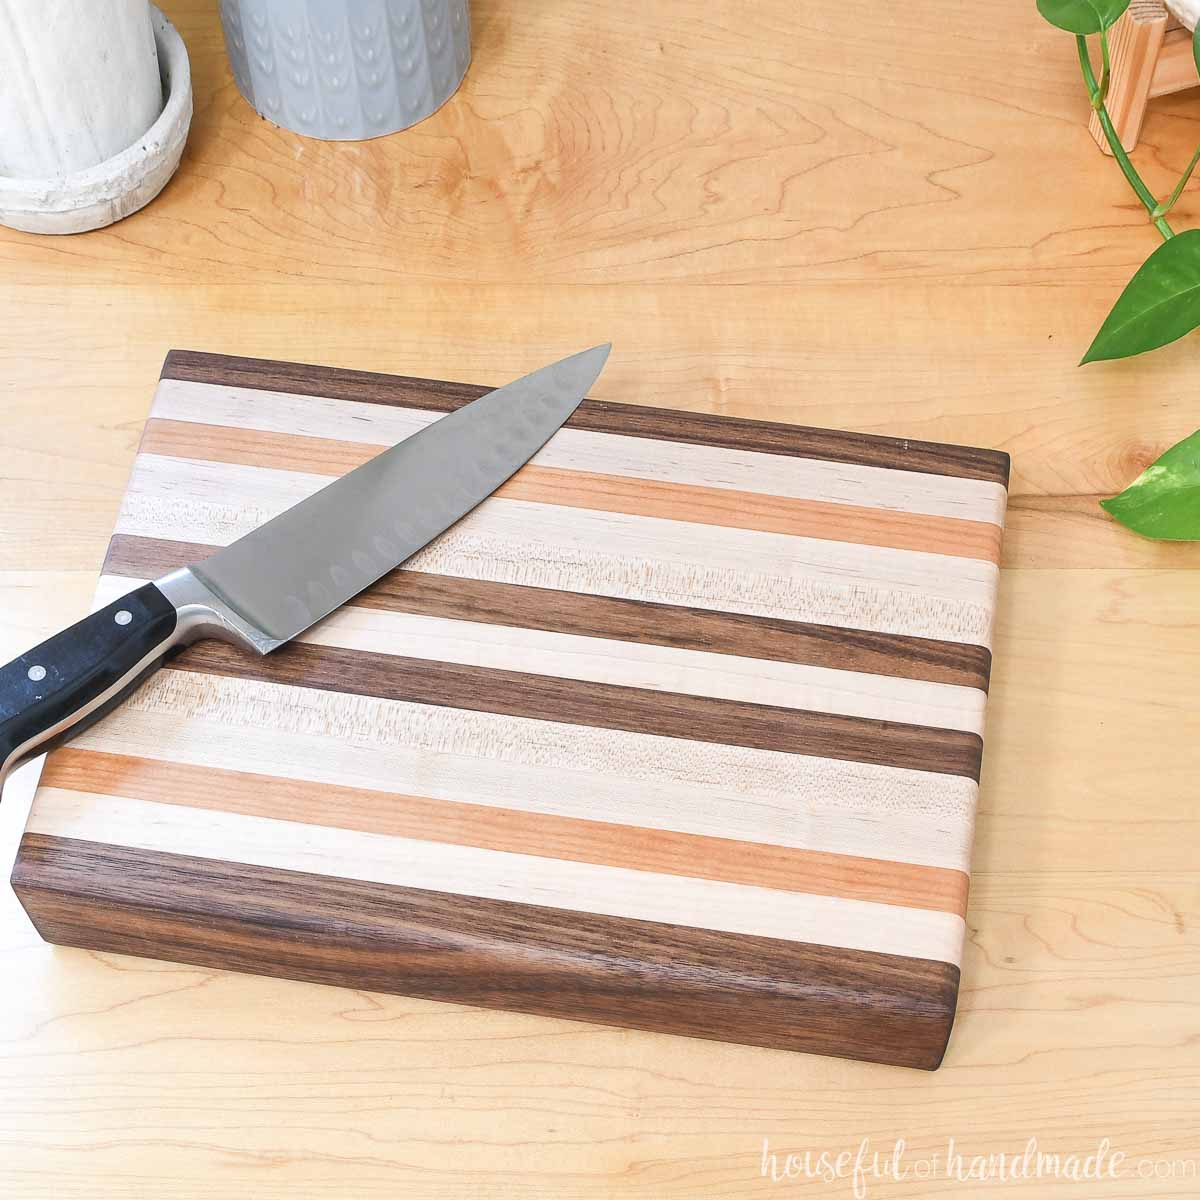
Making your own serving dishes is a fun way to elevate your dish! Check out these amazing serving and cutting ideas you can easily build.
How to Build a Breadboard
Tools & Materials
Recommended Tools:
- Jig saw
- Drill
- Measuring tape
- Clamps
- Sander
- Optional- Drum sanding attachment for drill
- Optional- Trim router
Supplies:
- Wood products
- (1) 5-8″ wide piece of hardwood (maple, walnut or cherry are great options)
- Sandpaper
- Food safe sealer
- I used Waterlox 100% pure tung oil
Overall Dimensions
There is no standard size for a breadboard. You can make it long and narrow or short and wide.
Start by picking out a beautiful piece of wood and going from there.
EXPERT TIP:
Choose hardwoods with closed grain for your breadboard. Any wood that is recommended for a cutting board is a good wood to use.
STEP 1- Cut your wood
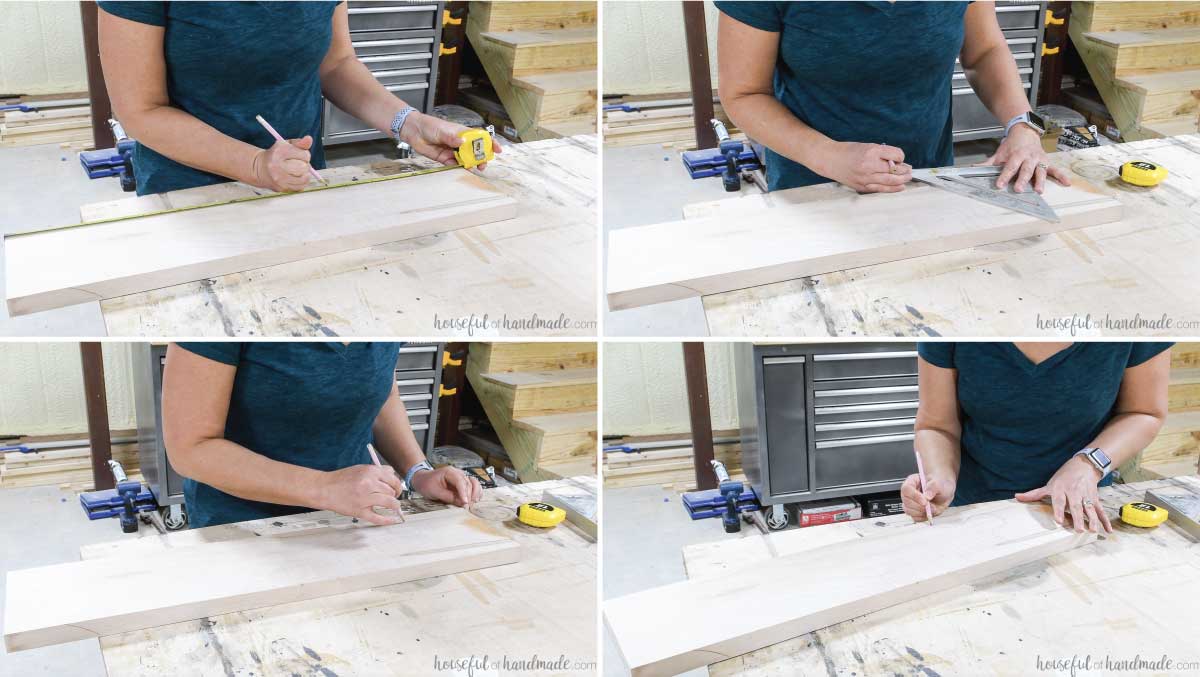
My breadboard was made from a piece of 6″ wide hard maple. I cut it to 22″ one one side and 18″ on the other to give it an angled handle.
Sketch out the design of you handle with a pencil. Again, there is no rule for where or how big your handle should be. Have fun with your design.
Create a round shape for the end of the handle then blend that into the sides of the board to create the top of your breadboard.
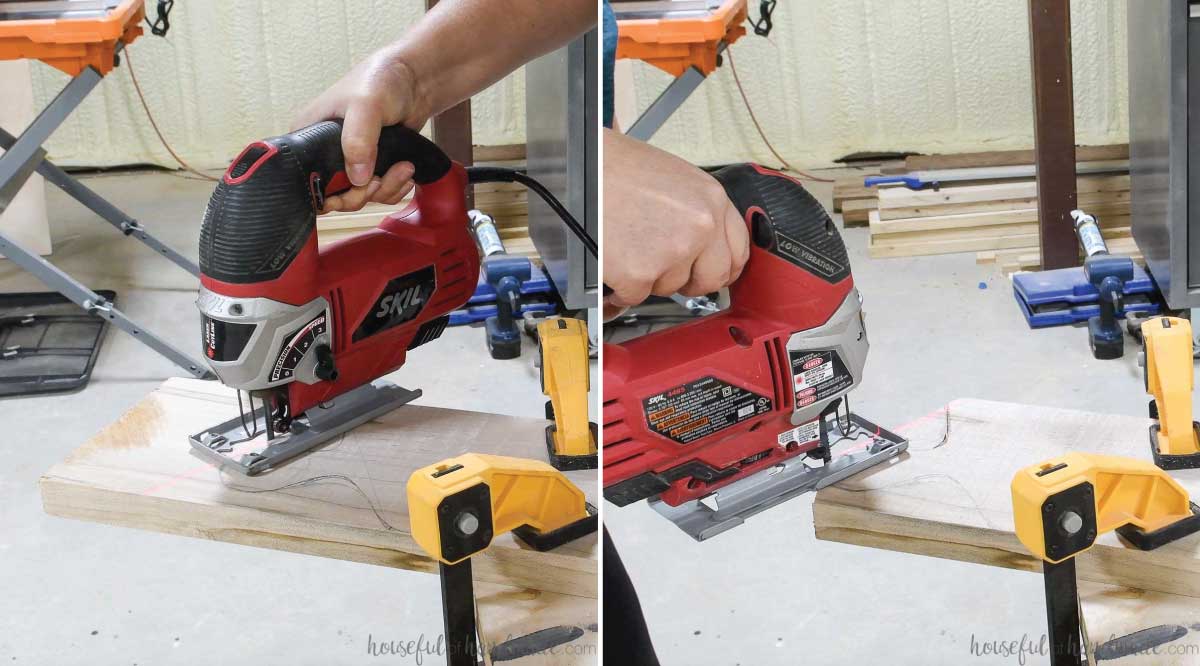
Clamp the board to a surface and cut out the handle design with your jigsaw.
Cutting around the tight curves of the handle can be a challenge. Only go half way in from one direction, then come the rest of the way from the other direction.
This prevents the blade from getting pinched and not cutting the curve properly.
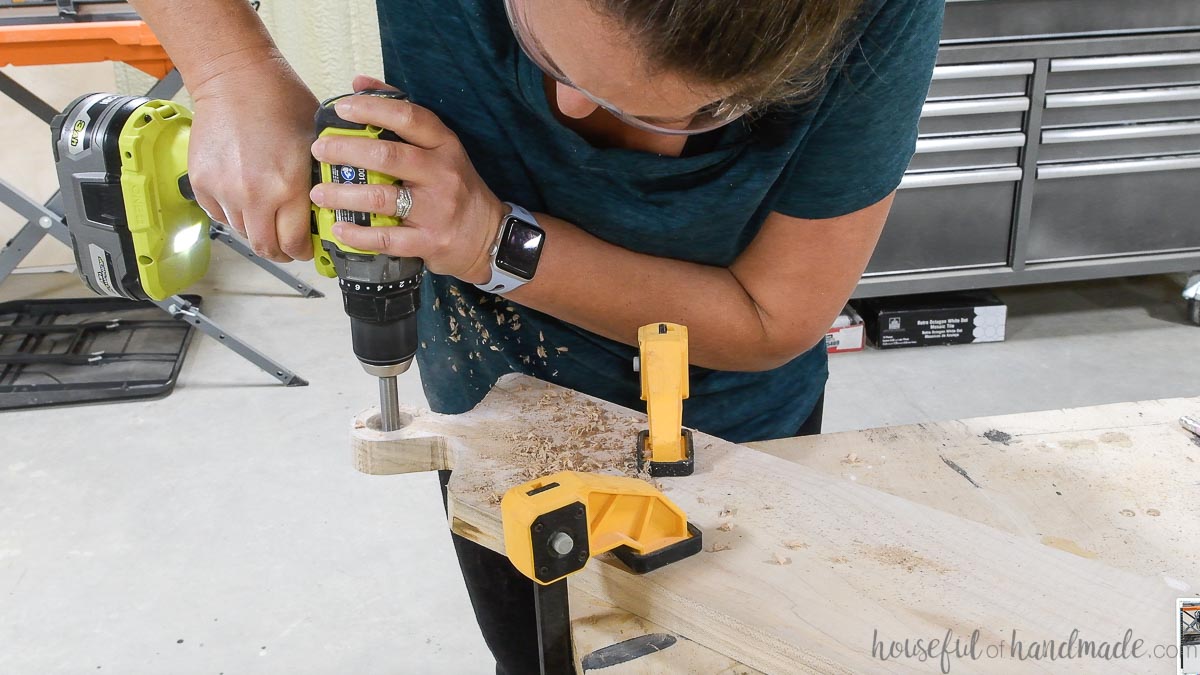
Use your drill to drill a hole in the handle of the breadboard.
I used a forstner bit because they drill a very clean hole, but you can use what you have.
STEP 2- Sand the breadboard
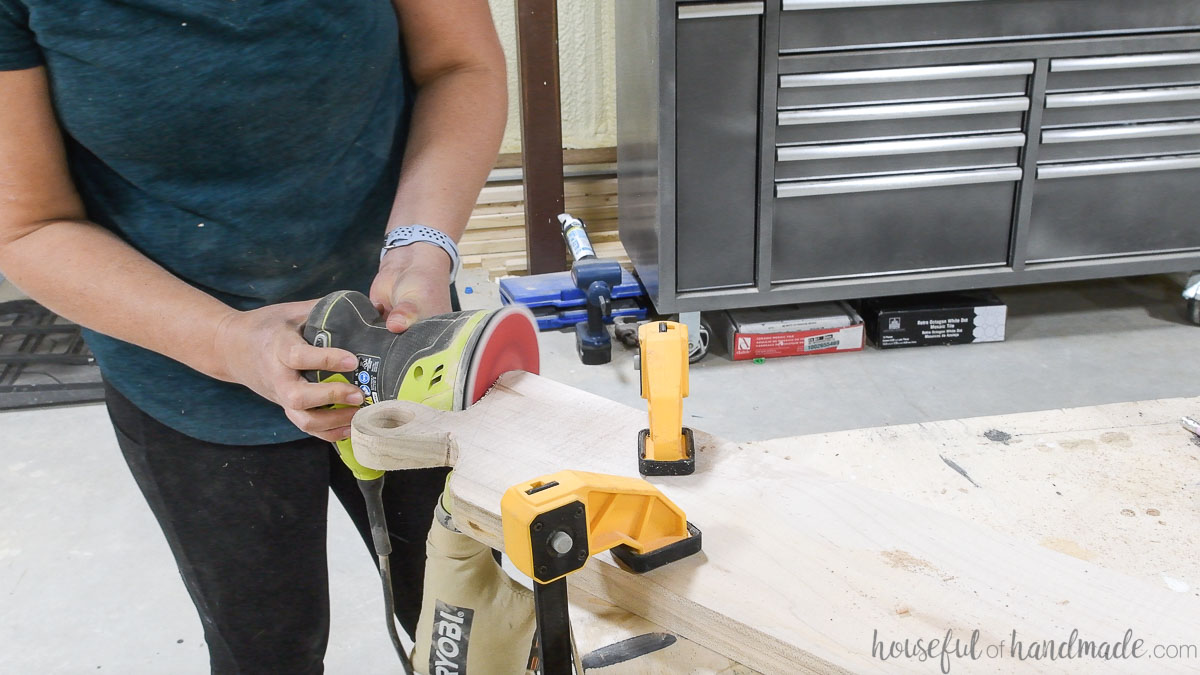
If the sides of your breadboard and handle are a little rough, start your sanding out with a low grit (very coarse) sandpaper. This will remove a lot of wood quickly and smooth out the rough surface fast.
I used an orbital sander with 40 grit sandpaper to start.
EXPERT TIP:
Make sure to hold your sander perpendicular to the breadboard to keep the sides of your board straight.
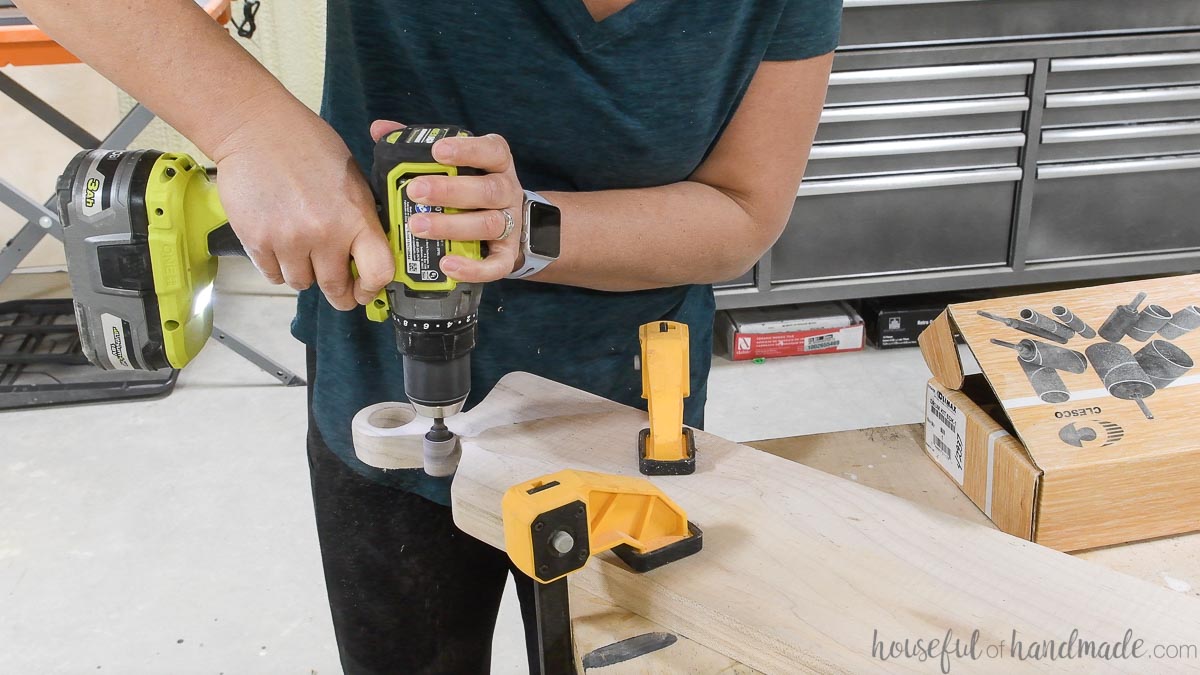
To get in and around the handle and inside the hole, this inexpensive drill attachment turns your drill into a drum sander. This will help you shape the handle and get it super smooth.
Or you can sand the tight spots that your sander cannot get into by hand.
After your have finished shaping the breadboard with the coarse sandpaper, step down to a higher grit sandpaper (80-100) and sand again.
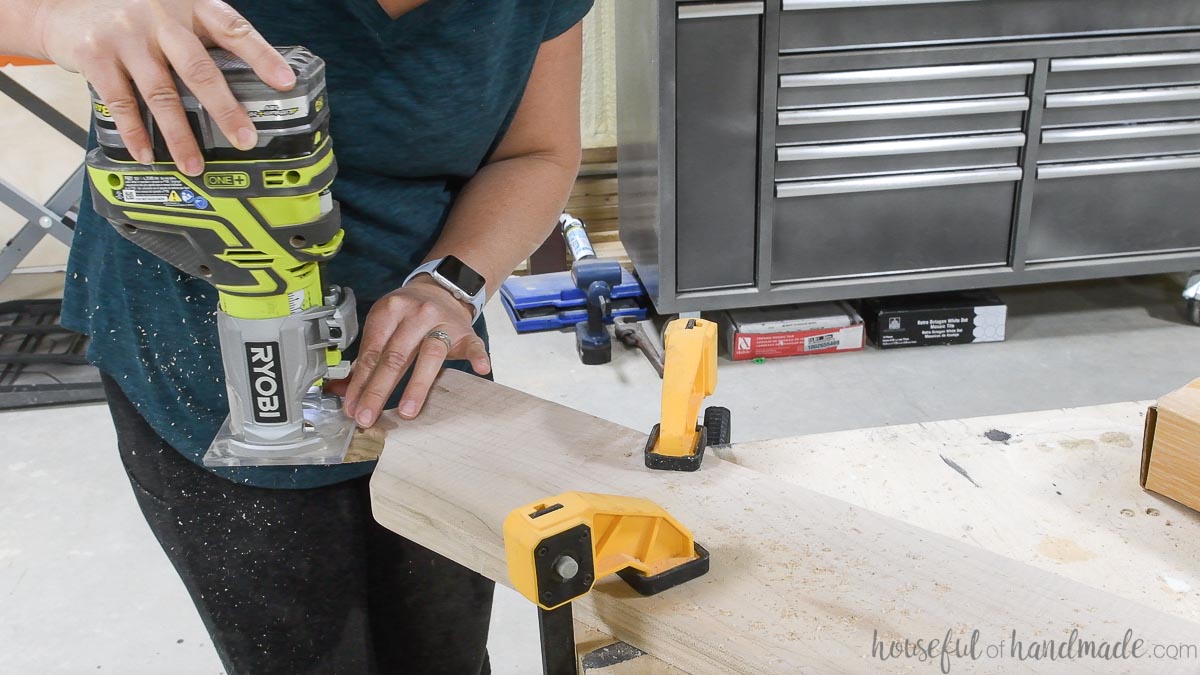
At this point you can use your sander to round over the edges of your breadboard or you can use a trim router to round over the edges.
Then step down the sandpaper grit again. I usually go from 100 to 220 because those are the most common sandpaper grits I can find at my local store.
Finish sanding your bread board with the 220 grit sandpaper over the entire thing. It should feel very smooth to the touch.
STEP 3- Apply sealer
Pour a generous puddle of food grade sealing oil on your breadboard. Using a lint free cloth, rub it into the wood.
Make sure to add oil to the entire breadboard: top, bottom, sides, ends and inside the handle.
Let the oil sit on the breadboard for 10-20 minutes to soak into the wood as much as possible. Then buff away any excess with a clean lint free rag.
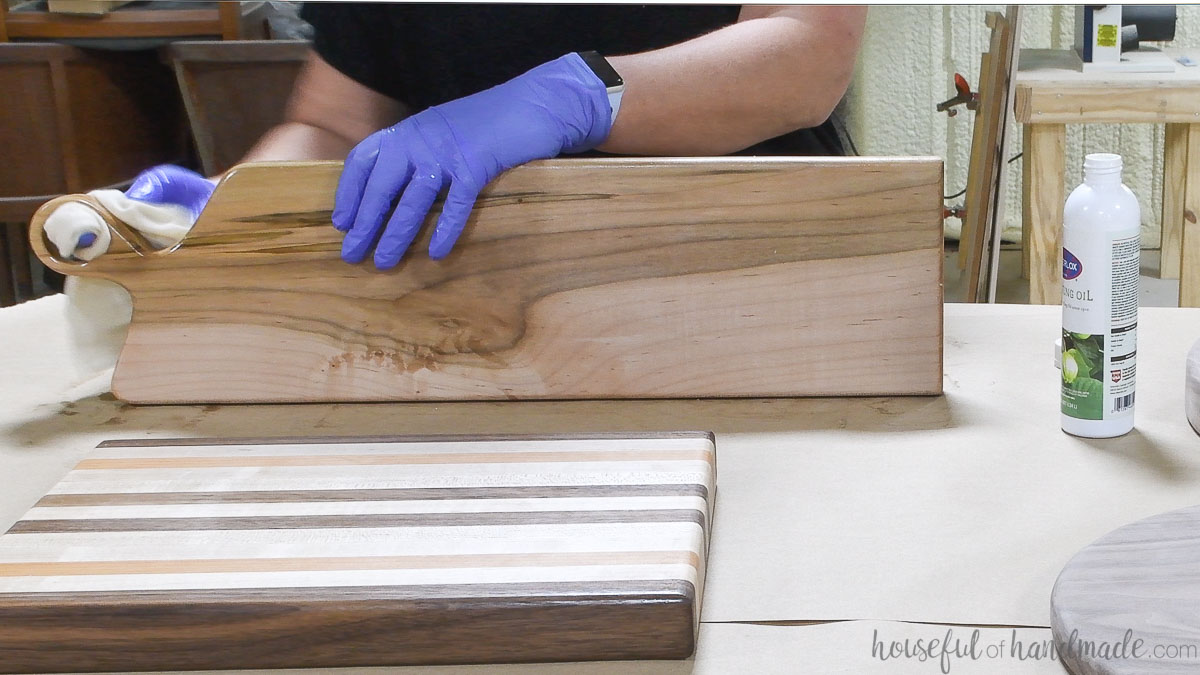
Make sure to let the sealer cure properly before use to ensure it is food safe and waterproof.
You did it!
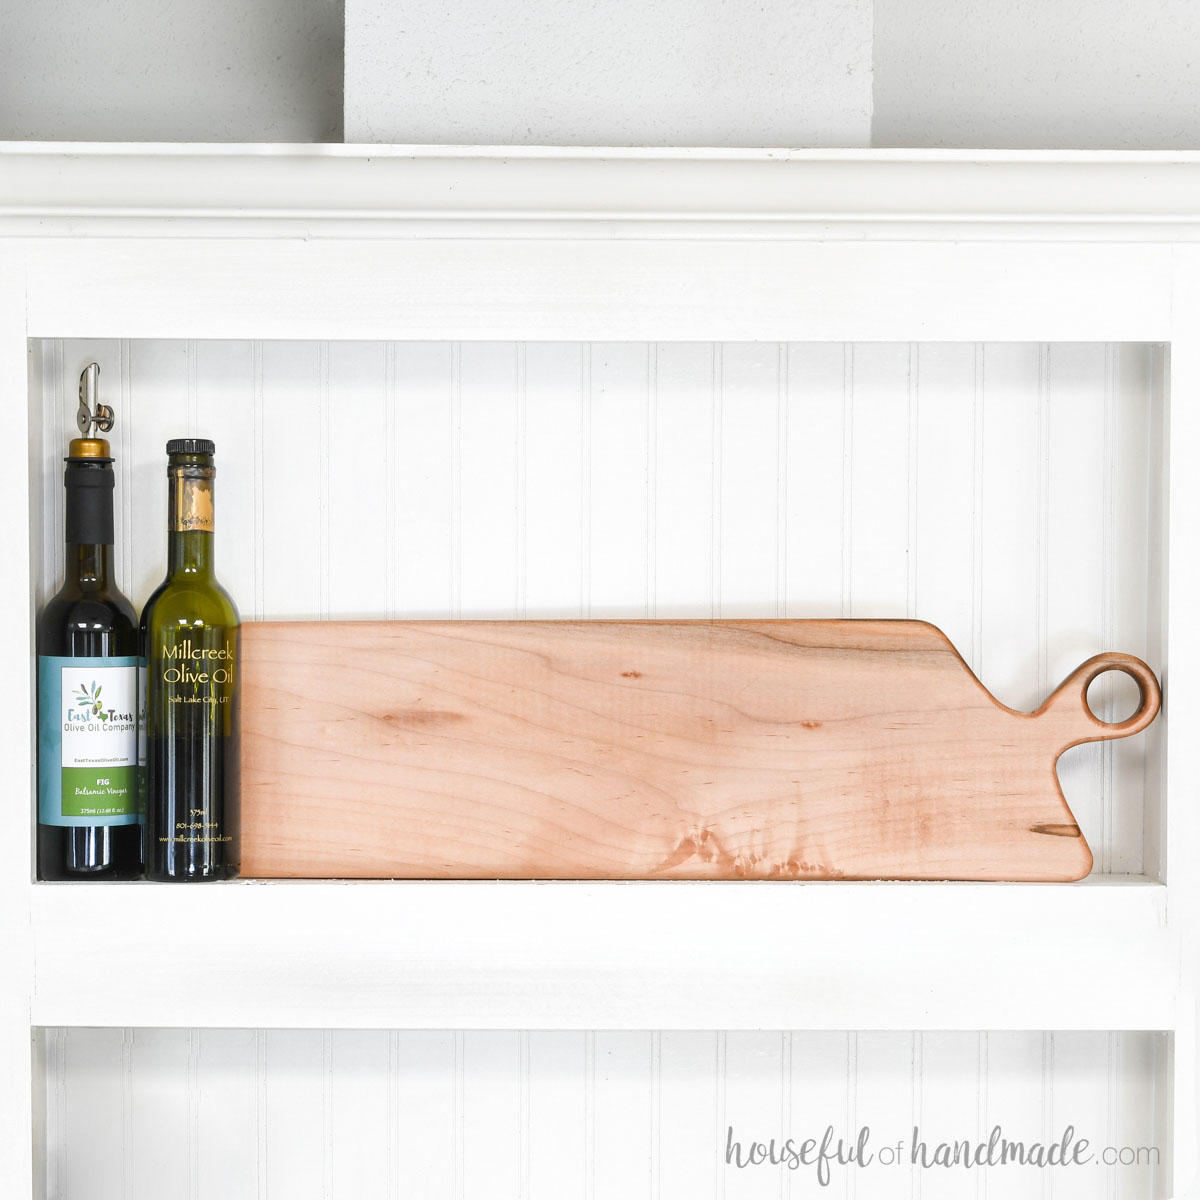
Now your breadboard is ready to be used. I love having a dedicated board to cut and serve fresh bread on.
Happy building!


