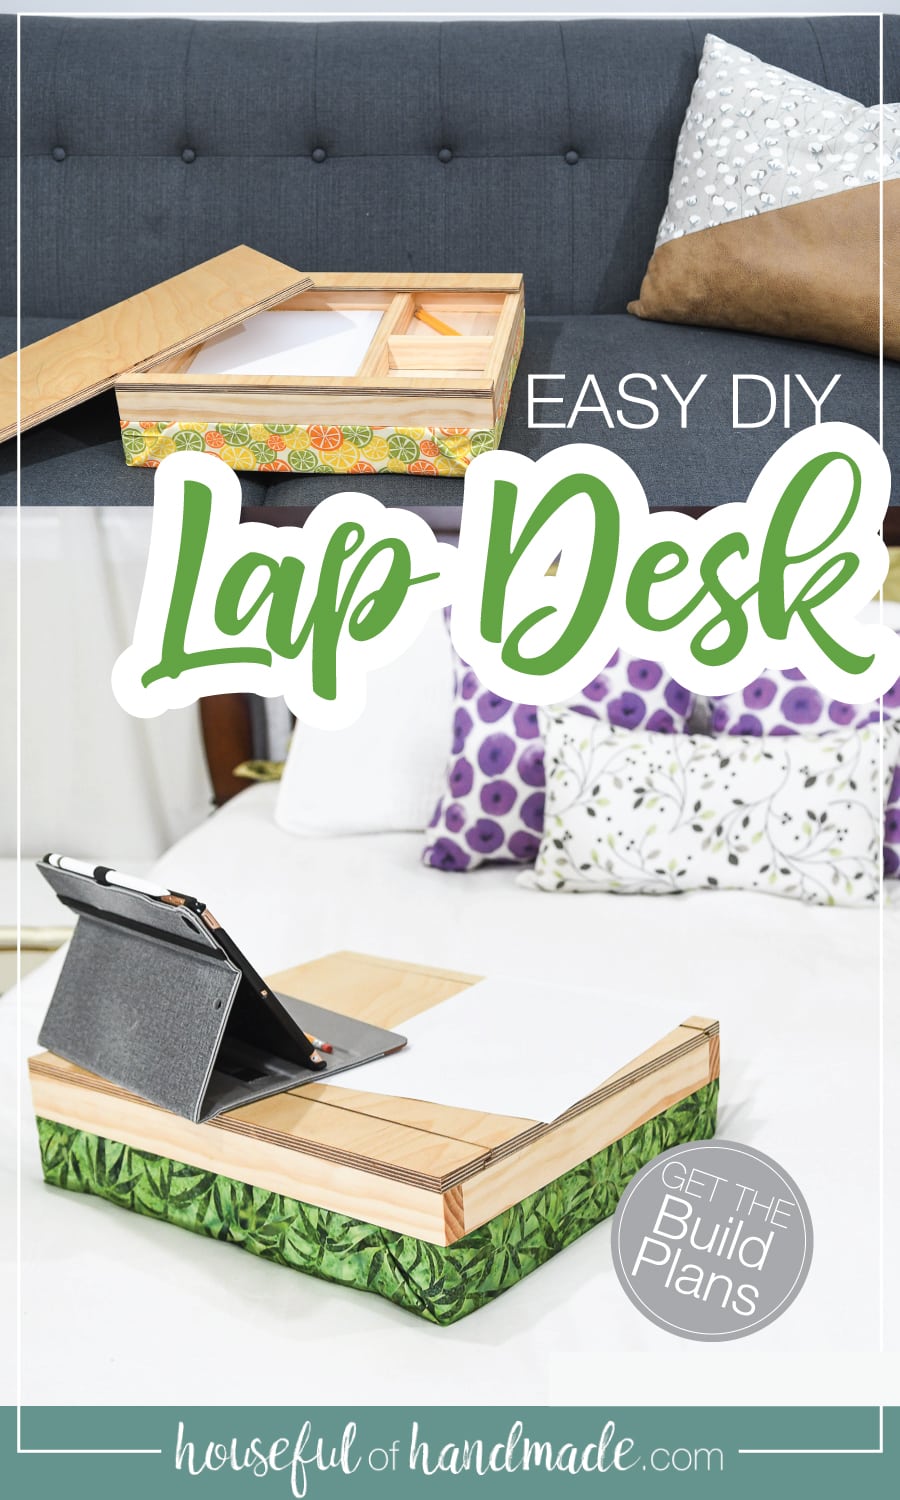
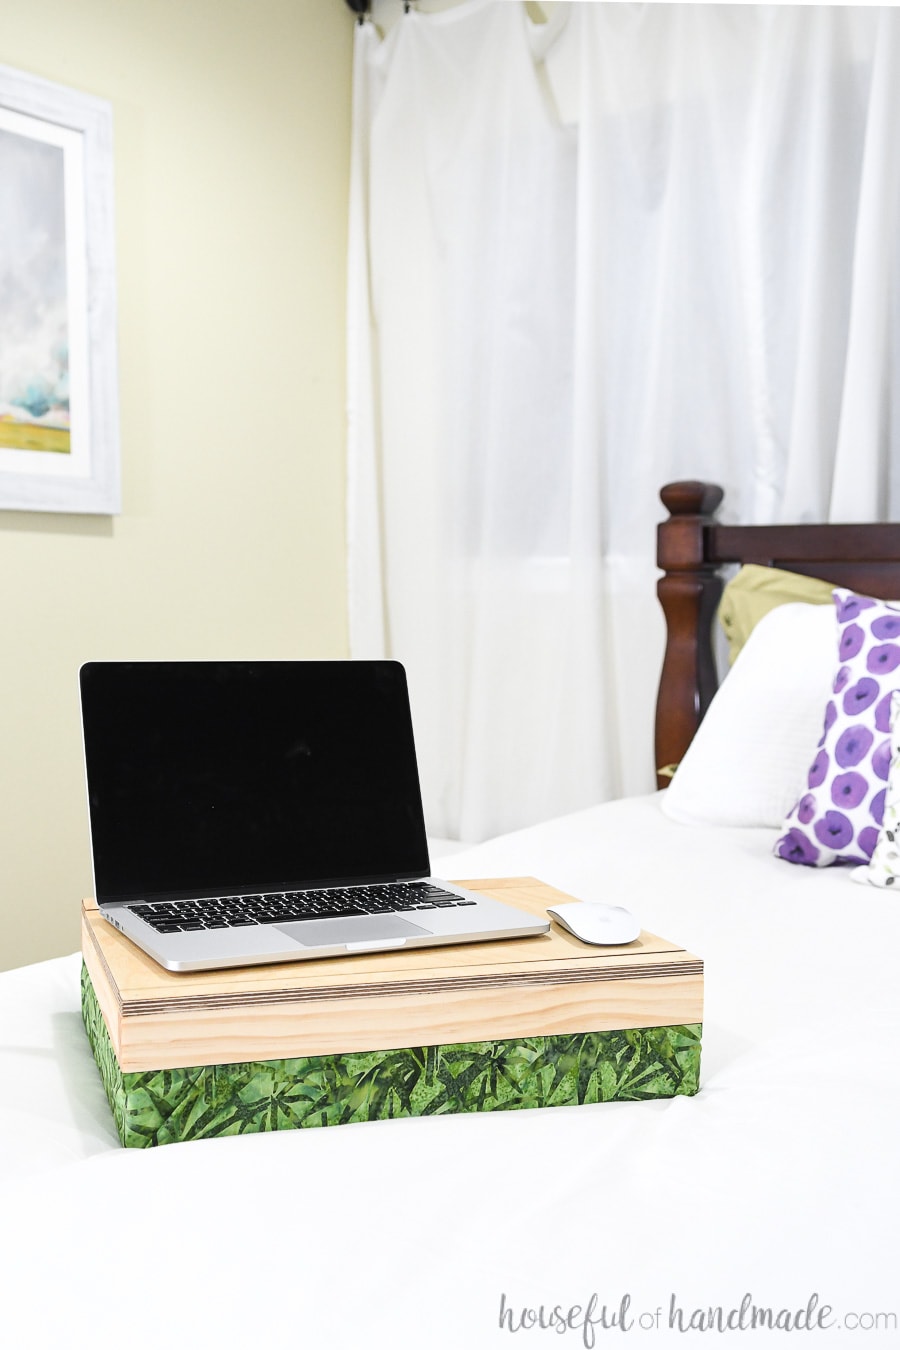
This easy to build DIY lap desk has a sliding top revealing storage compartments.
Today is the final day of the 3 easy to build DIY gifts with the Kreg Jig. It has been so much fun partnering with Kreg Tools and sharing quick gifts you can build.
The homemade gift today is this incredible DIY lap desk with a slide off top revealing storage. If you missed the other two gift ideas, check out the modern letter board and nightstand docking station here.
And even though this is the last quick DIY gift idea I am sharing this week, you still have until Jan 31, 2020 to get a $15 rebate on all Kreg Pocket Hole Jigs over $99.
This post may contain affiliate links. As an Amazon Associate I earn from qualifying purchases. Click here to read my full disclosure policy.
I just upgraded from the Kreg Jig K4 I have been using for the last 8 years, and it still works great! But I wanted to try the fancier features of the K5 system. No matter what jig you buy, you will be able to use it to build so many things. I have built everything from simple projects like these easy gifts to my entire kitchen remodel!
So don’t wait to buy or upgrade your Kreg pocket hole jig (or buy one for a gift). Get all the rebate details here.
Now get ready for todays tutorial…. a DIY lap desk with storage!
DIY Lap Desk
This lap desk is the longest build of these 3 gift ideas. It’s not hard, just a few more steps. But you can still complete the build in about an hour. Then you will need to add a little time for finishing.
The frame of the lap desk is built out of 1×2 boards. I used select pine to ensure my boards were very straight and smooth. But even with the higher priced board, this is very budget friendly since you only need 1!
The top and bottom of the lap desk are made out of 1/2″ plywood. I prefer to use baltic birch plywood anytime I have exposed edges. The baltic birch is a little pricier, but has less voids in the layers.
If you have any visible voids in the edges of your cut plywood, you can either fill them with wood putty (make sure it is stainable if you are planning to stain your project) or cover them up with edge banding.
You only need a small section of plywood for each lap desk. So from a 4×8 sheet you can actually make 8 lap desks! They are perfect for kids to use in the car or to be able to do homework or art away from the table.
I made two lap desks at the same time, only took a bit more time than just making 1. They are going to be perfect DIY gifts for our kids.
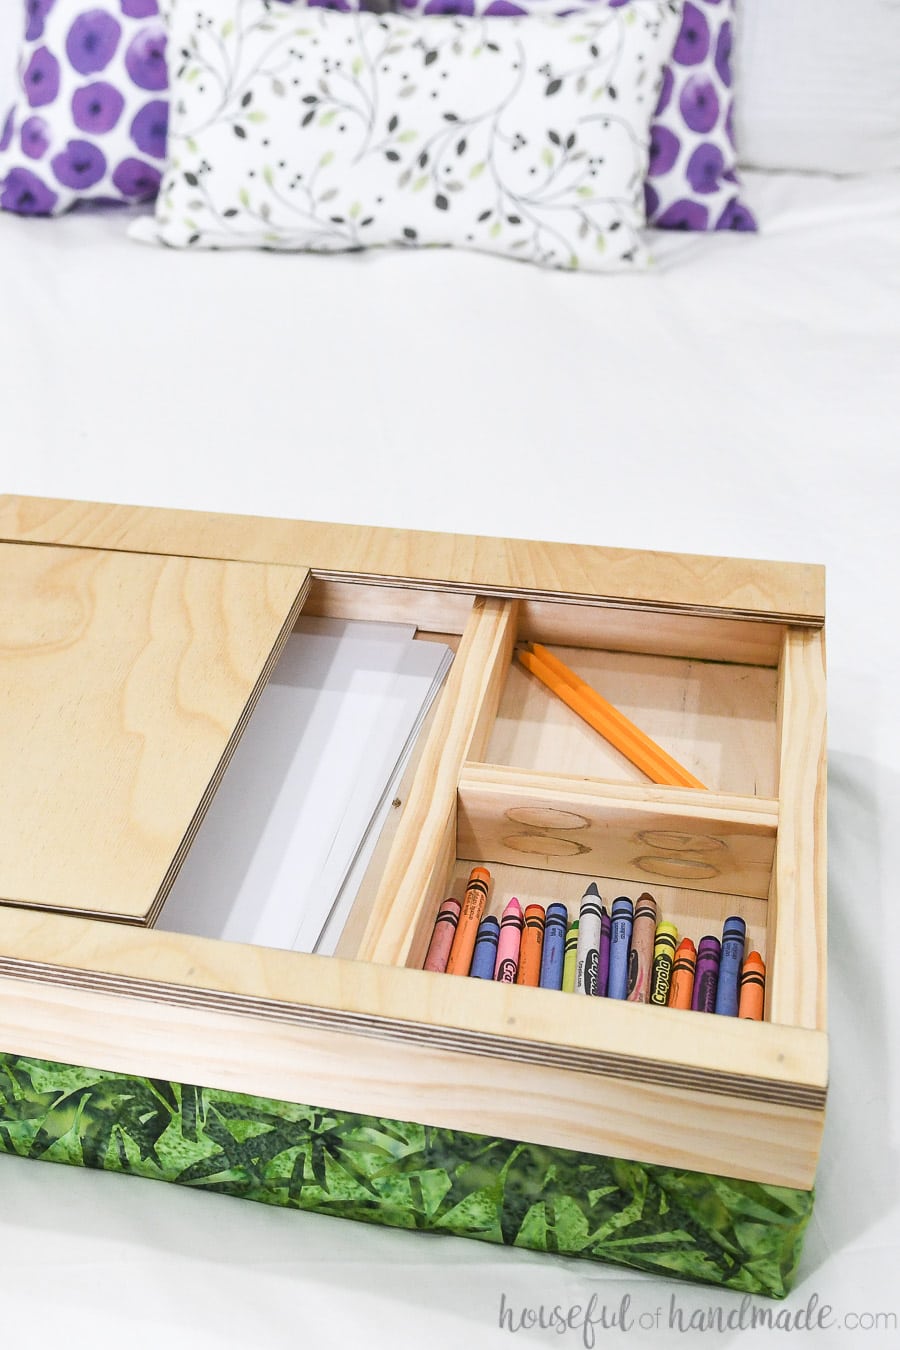
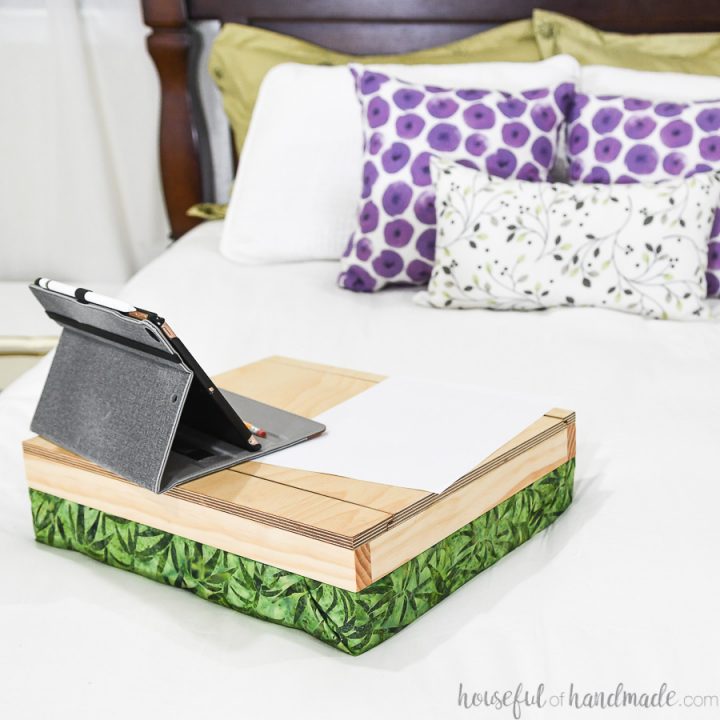
The storage inside can hold all their art supplies. The large compartment is big enough for sheets of paper. Now the creativity can easily go wherever they want it too!
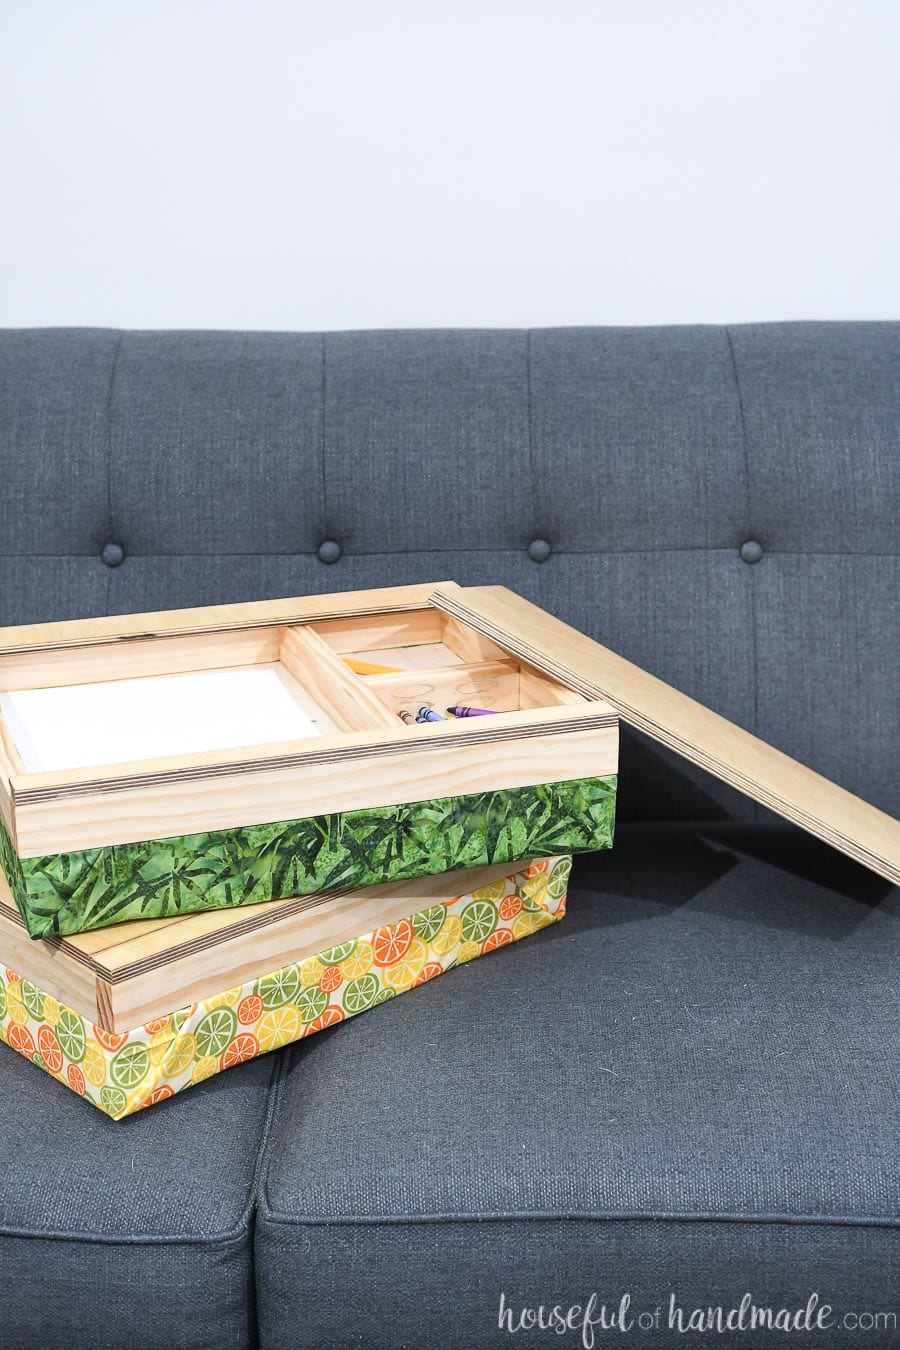
The bottom of this DIY lap desk is soft foam pad covered with fabric. But you do not need to know how to sew to make it. The fabric and cushion are glued between the lap desk frame and the bottom plywood making this super easy for anyone with a few power tools.
How to Build a Lap Desk with Storage
Tools needed:
- Kreg Jig
- Miter saw
- Table saw or circular saw with guide track
- I love using the Kreg AccuCut to break down my sheets of plywood.
- Drill
- Optional: Impact driver so you do not have to switch between drilling and driving bits.
- Router
- Finish nail gun
- Kreg corner clamps
- Measuring tape
- Optional: Kreg plug cutter
Supplies:
- (1) 8′ long 1×2 board
- (1) 17″ x 28″ piece of 1/2″ plywood
- (16) 1 1/4″ pocket hole screws
- 1 1/4″ finish nails
- Wood glue
- 17″ x 13 1/2″ piece of 2″ thick foam
- I bought mine at hobby lobby, just make sure it isn’t high density or it will be too firm. This one is a large piece of regular density that would be great if you are making more than 1 or 2 lap desks.
- 23″ x 20″ piece of fabric
- Super glue
- Epoxy glue
Cut List:
- From the 1×2:
- (2) Front/back frame pieces @ 17″ long
- (3) Side frame pieces @ 12″ long
- (1) Center divider piece @ 5″ long
- From the 1/2″ plywood:
- (1) Cover piece @ 17″ x 11″
- (1) Top cover piece @ 17″ x 2″
- (1) Lower cover piece @ 17″ x 1″
- (1) Bottom piece @ 17″ x 13 1/2″
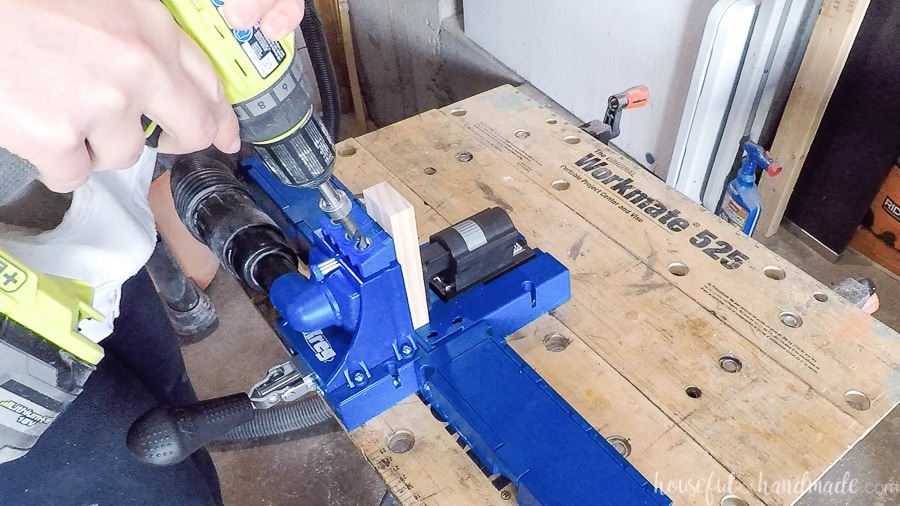
Building the Desk Frame
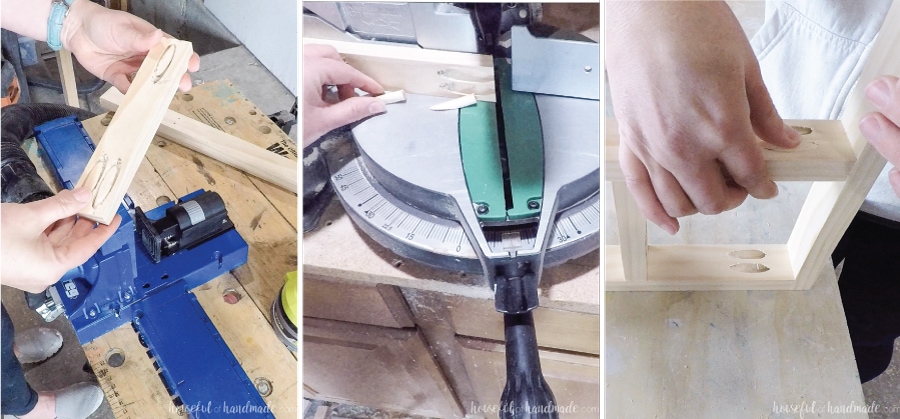
Set your Kreg pocket hole jig for 3/4″ thick material. Drill 2 pocket holes in each end of the side frame pieces and center divider.
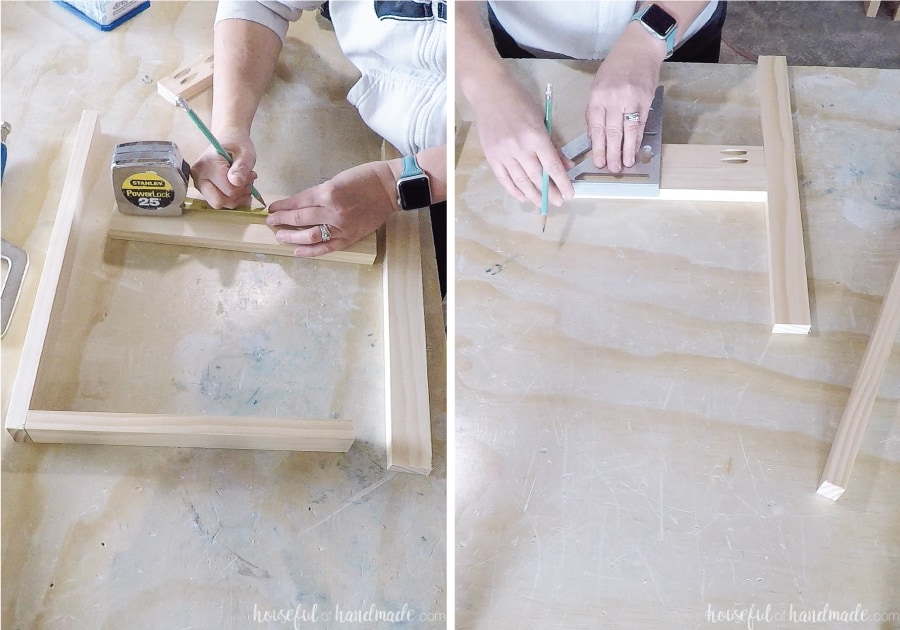
Measure 5″ up on 2 of the side frame pieces (one of these will become a divider). Draw a line across the front of one board and the back of the other.
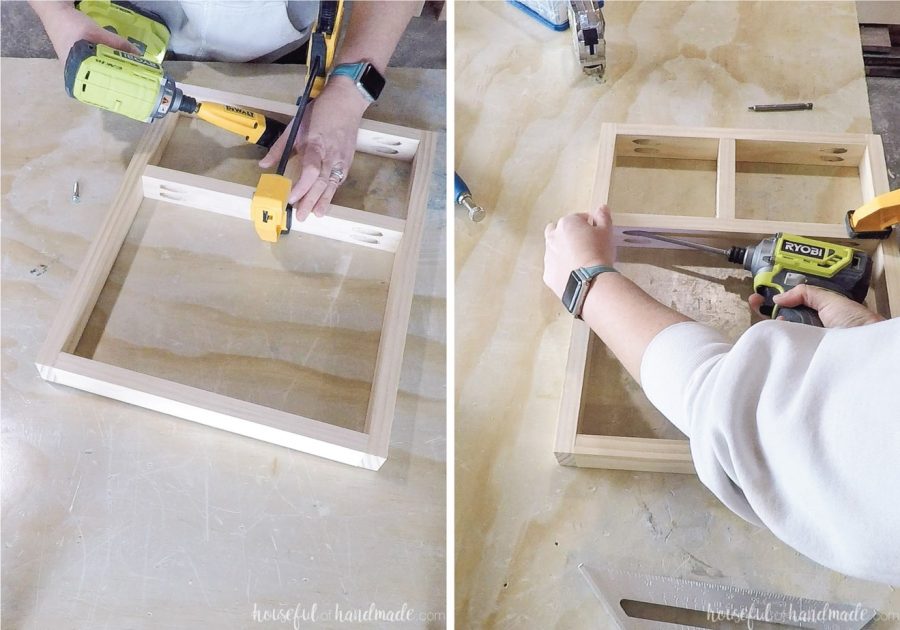
Start assembling the frame by building the outside box. Use wood glue and 1 1/4″ pocket hole screws to attach the side frame pieces to each end of the top/bottom frame pieces.
I love using the Kreg corner clamps to hold things together at a 90 degree angle when using pocket holes. This keeps the joint tight and straight so they do not move when the screws go in.
Make sure to keep the frame flat and square as you built it.

Next attach the divider and last side frame board to the inside of the frame. Line the divider up on the 5″ line on both boards. clamp together and secure with 1 1/4″ pocket hole screws.
Then attach the center side frame board with 1 1/4″ pocket hole screws as well.
Since the pocket hole will be visible on the inside of the frame when you slide the top off, I wanted to plug them. This is not necessary, but gives your DIY gift a professional look.
You can purchase plugs, and the paint grade plugs are very inexpensive. But I wanted to leave my lap desk tops natural wood color so I chose to use the Kreg Plug cutter to cut plugs out of the same material I built it out of.
Glue the pocket hole plugs into the pocket holes to fill them. Then sand or use a hand saw or chisel to remove any excess material.
For the lap desk frame, it was easiest to use a sander with 100 grit sandpaper to smooth the top of the plugs in the larger opening. But my sander would not fit into the smaller compartment, I used my chisel to scrape off the top of the plugs there.
Sand the frame down now to make it easier.
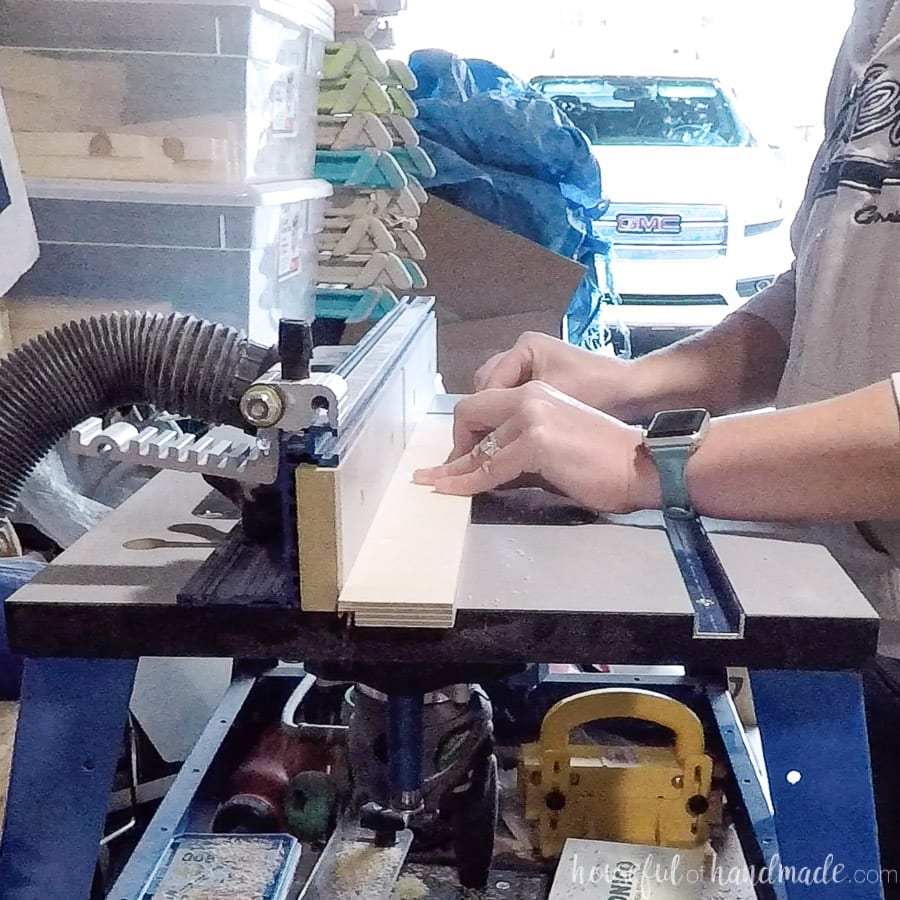
Building the Sliding Cover
The cover of the lap desk is built out of 1/2″ plywood. Each piece has a routed lip on it making it possible to slide the top on and off, exposing the storage below.
Set your router to cut a 1/4″ deep and 1/4″ wide groove. I made mine slightly (like 1/16″) bigger than 1/4″ to make sure it slides easily for the kids.
Router a groove on one of the bottom long edges of the top cover piece and lower cover piece. Router a groove on both of the top long edges of the cover piece.
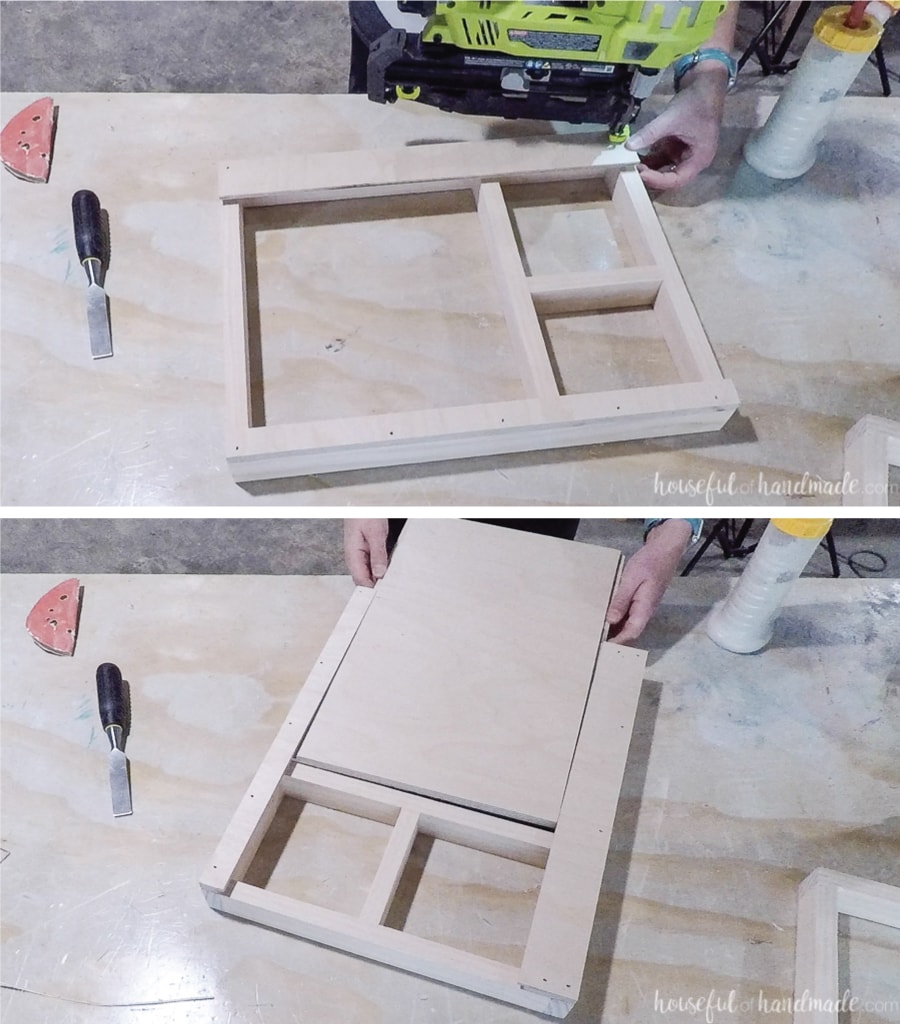
Attach the top cover piece and lower cover piece to the top and bottom of the frame with wood glue and 1 1/4″ finish nails. Make sure they are flush with the edges of the frame.
The grooves need to be on the bottom (closest to the frame) making a lip for the cover to slide into.
Test fit the cover piece and adjust if necessary. I had a couple sticky spots I needed to sand and/or re-router.
Now the top of the lap desk is ready to be finished. Paint/stain and seal it however you want. You could also have fun adding decorations to the top of the lap desk.
Adding the Bottom Cushion
Cut a piece of ply foam the same size as the bottom piece (13 1/2″ x 17″). I bought these 15″ x 17″ pieces at Hobby Lobby.
The poly foam easily cuts with a serrated bread knife.
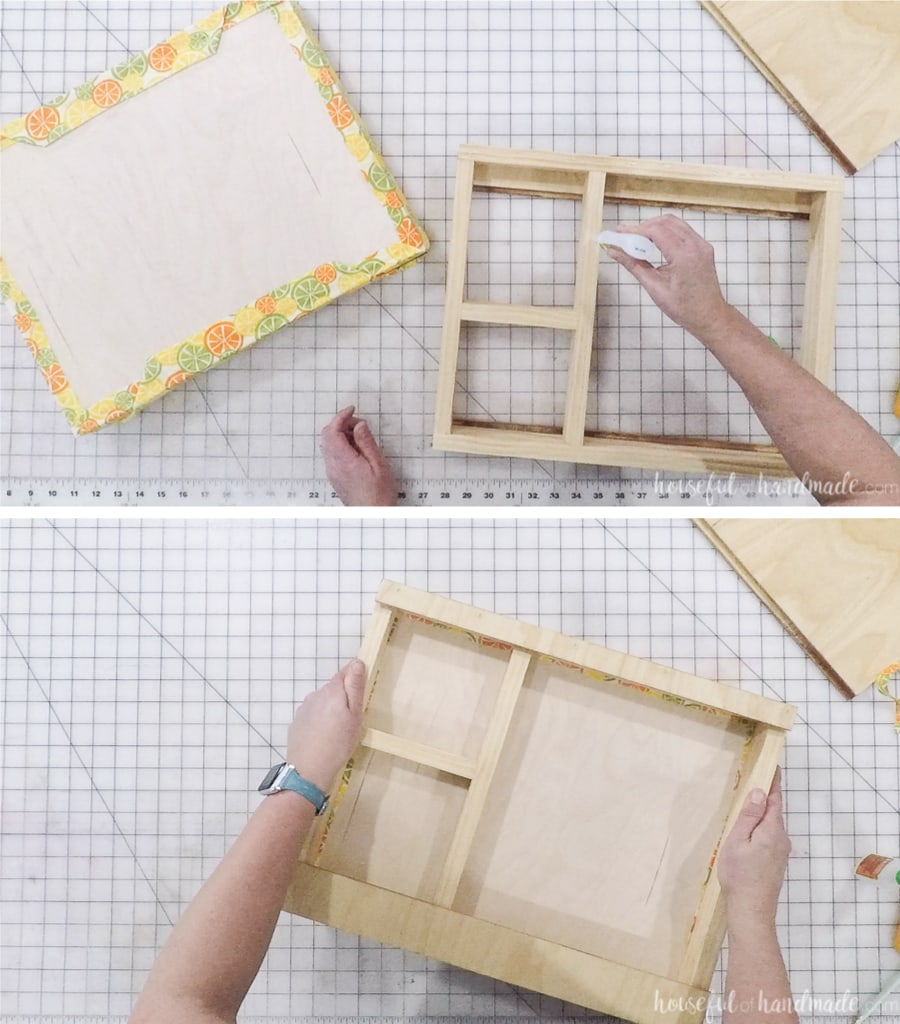
Place the fabric on your table then center the foam and wood on top of it.
Normally for upholstery I use staples, but I did not want the staples to add bulk making the a gap between the frame and the cushion. Instead, use Super Glue Gel to glue the sides of the fabric to the wood.
Make sure you have a popsicle stick or pencil around to help push the fabric into the glue or you will get it all over your fingers (ask me how I know).
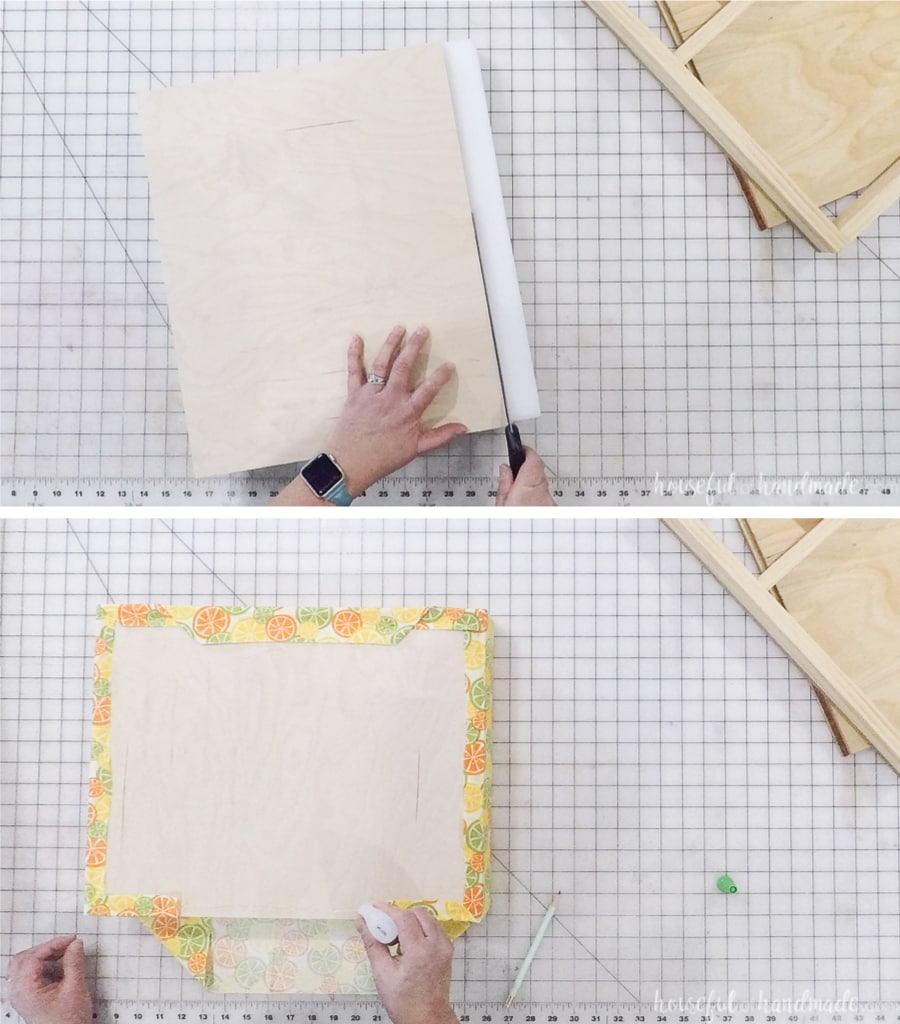
Trim off any excess fabric pieces. You can make it easy on yourself and trim them to just under 3/4″ showing so the fabric is completely hidden by the frame. Or wait and try to cut it out with an x-acto knife later.
Add the Super Glue gel the bottom of the lap desk frame. Center it on top of the cushion and press. Place something heavy on it to clamp it for about 15 minutes (the super glue dries fast).
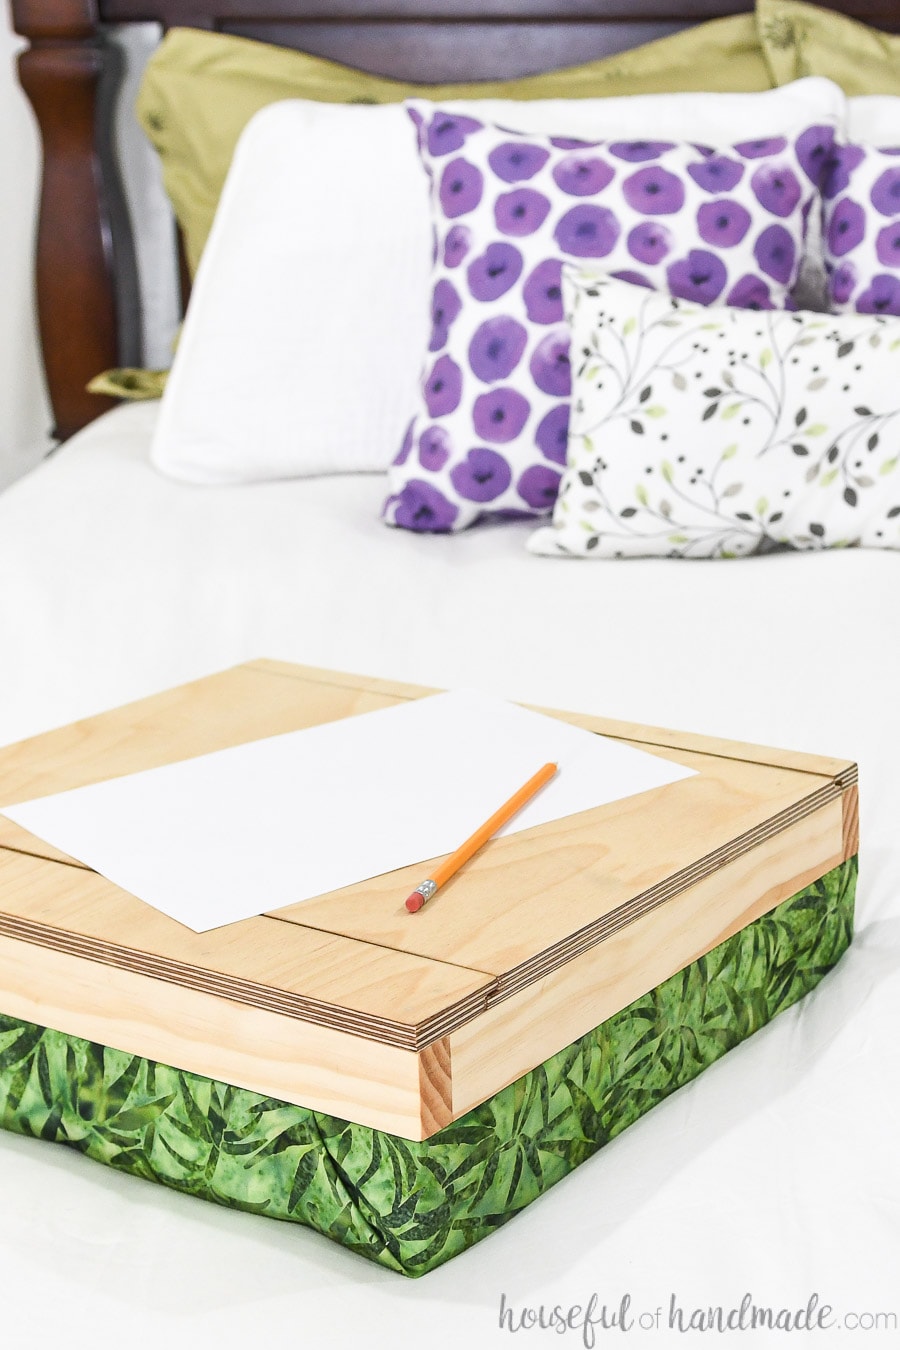
Slide the top onto your new DIY lap desk to hide the storage compartments and you are done!

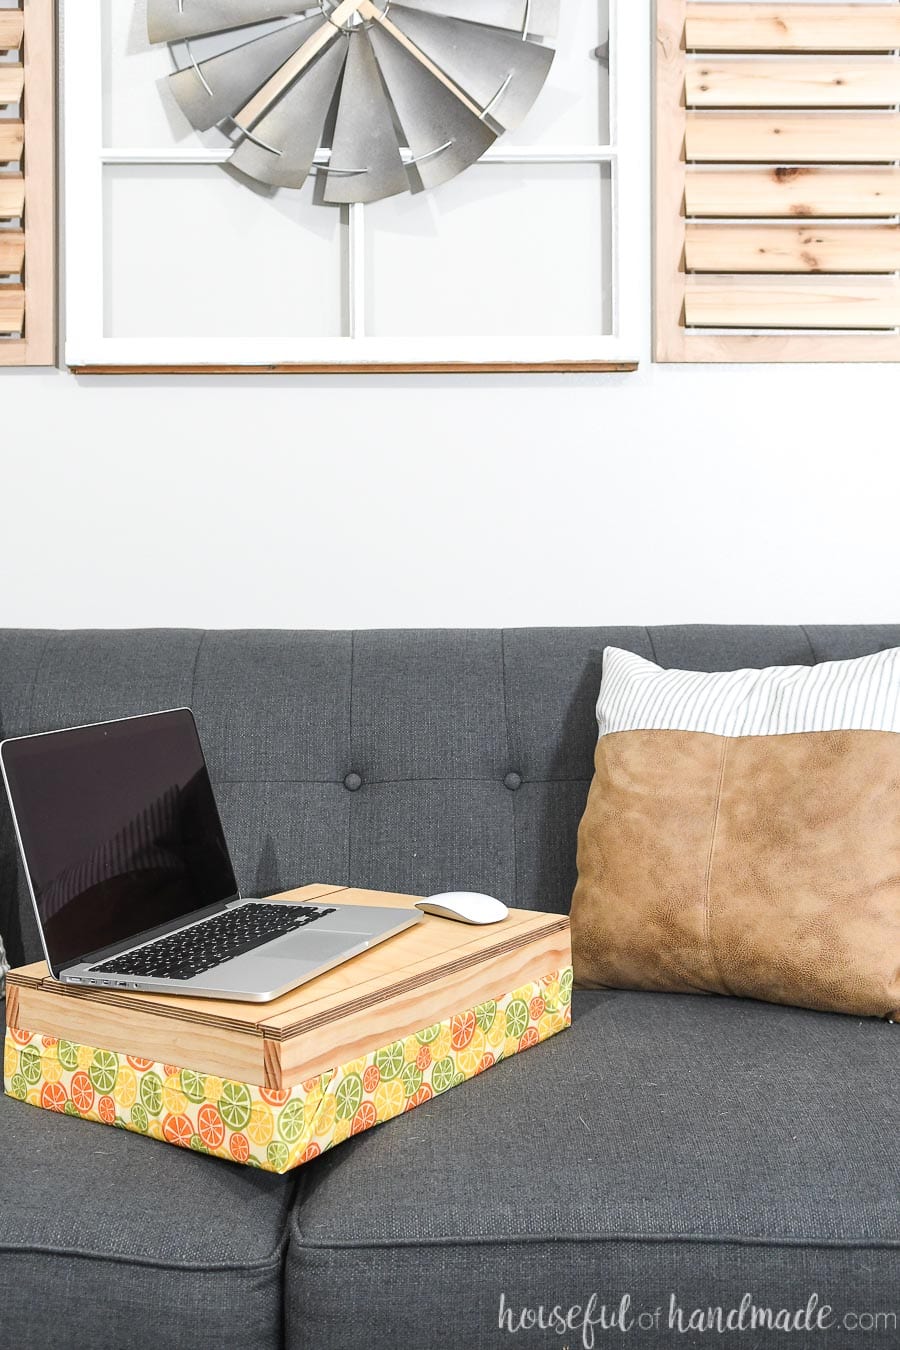
I am excited to fill the storage of these lap desks with some fun art supplies before wrapping them. And I know the kids will have fun using them for creativity in the car, on the couch, and anywhere else they can find to make a mess!
These DIY gift ideas have been so fun to make, and now I have crossed so many things off my Christmas list!
DIY Lap Desk with Storage
This easy to build lap desk has a sliding top revealing storage for all your office or art supplies. Plus the bottom is cushioned for hours of work.
Materials
- (1) 8' long 1x2 board
- (1) 17" x 28" piece of 1/2" plywood
- (16) 1 1/4" pocket hole screws
- 1 1/4" finish nails
- Wood glue
- 17" x 13 1/2" piece of 2" thick foam
- 23" x 20" piece of fabric
- Super glue gel
Tools
- Kreg Jig
- Miter saw
- Table saw or circular saw with guide track
- Drill
- Optional: Impact driver
- Router
- Finish nail gun
- Kreg corner clamps
- Measuring tape
- Optional: Kreg plug cutter
Instructions
- Cut the frame pieces from the 1x2 board. See notes for the detailed cut list.
- Drill pocket holes set for 3/4" thick material on both ends of the side frame pieces and center divider pieces.
- Draw a line 5" up from the bottom on 2 of the side frame boards.
- Build the outside of the frame by attaching one side frame board with the line and one side frame board without the line to the edges of the top/bottom frame pieces. Secure with wood glue and 1 1/4" pocket hole screws.
- Attach the center divider and last side frame piece inside the frame. Use the lines to make the center divider square. Secure with pocket hole screws.
- Fill the holes if desired with pocket hole plugs.
- Cut the plywood pieces. See notes for the detailed cut list.
- Router a 1/4" x 1/4" groove in one side of the top and lower cover pieces and both sides of the large cover piece.
- Attach the top and lower cover pieces to the top and bottom of the frame so the groove is facing down. Secure with wood glue and finishing nails.
- Slide the cover piece into the grooves to secure. Sand down any sticky spots to get a smooth slide.
- Sand and finish (paint/stain and seal) the lap desk pieces.
- Place the fabric on a table and center the foam, then plywood bottom on top of it.
- Fold the fabric up around the foam and secure to the plywood bottom with super glue gel.
- Trim off any excess fabric.
- Add super glue gel to the bottom of the frame pieces. Center it on top of the plywood bottom, covering the fabric edges. Place something heavy on top to clap it tight while the glue cures.
- Slide the top back onto the lap desk and it is all done!
Notes
From the 1x2:
- (2) Front/back frame pieces @ 17" long
- (3) Side frame pieces @ 12" long
- (1) Center divider piece @ 5" long
From the 1/2" plywood:
- (1) Cover piece @ 17" x 11"
- (1) Top cover piece @ 17" x 2"
- (1) Lower cover piece @ 17" x 1"
- (1) Bottom piece @ 17" x 13 1/2"

Thank you to Kreg Tools for sponsoring this post. I only recommend products that I use and love and all opinions are 100% my own. Click here to read my full disclosure policy.