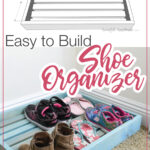
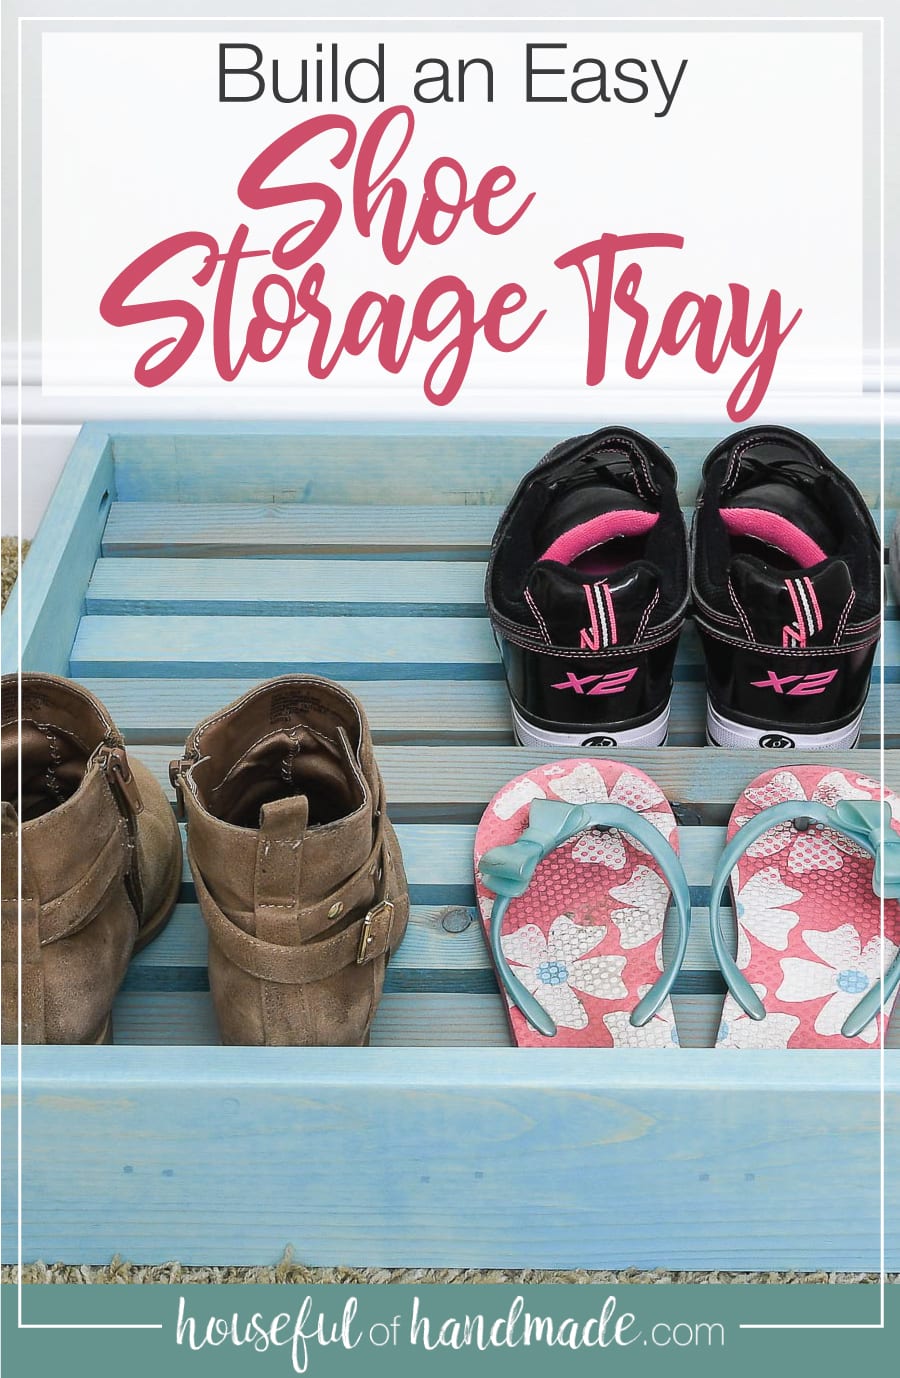
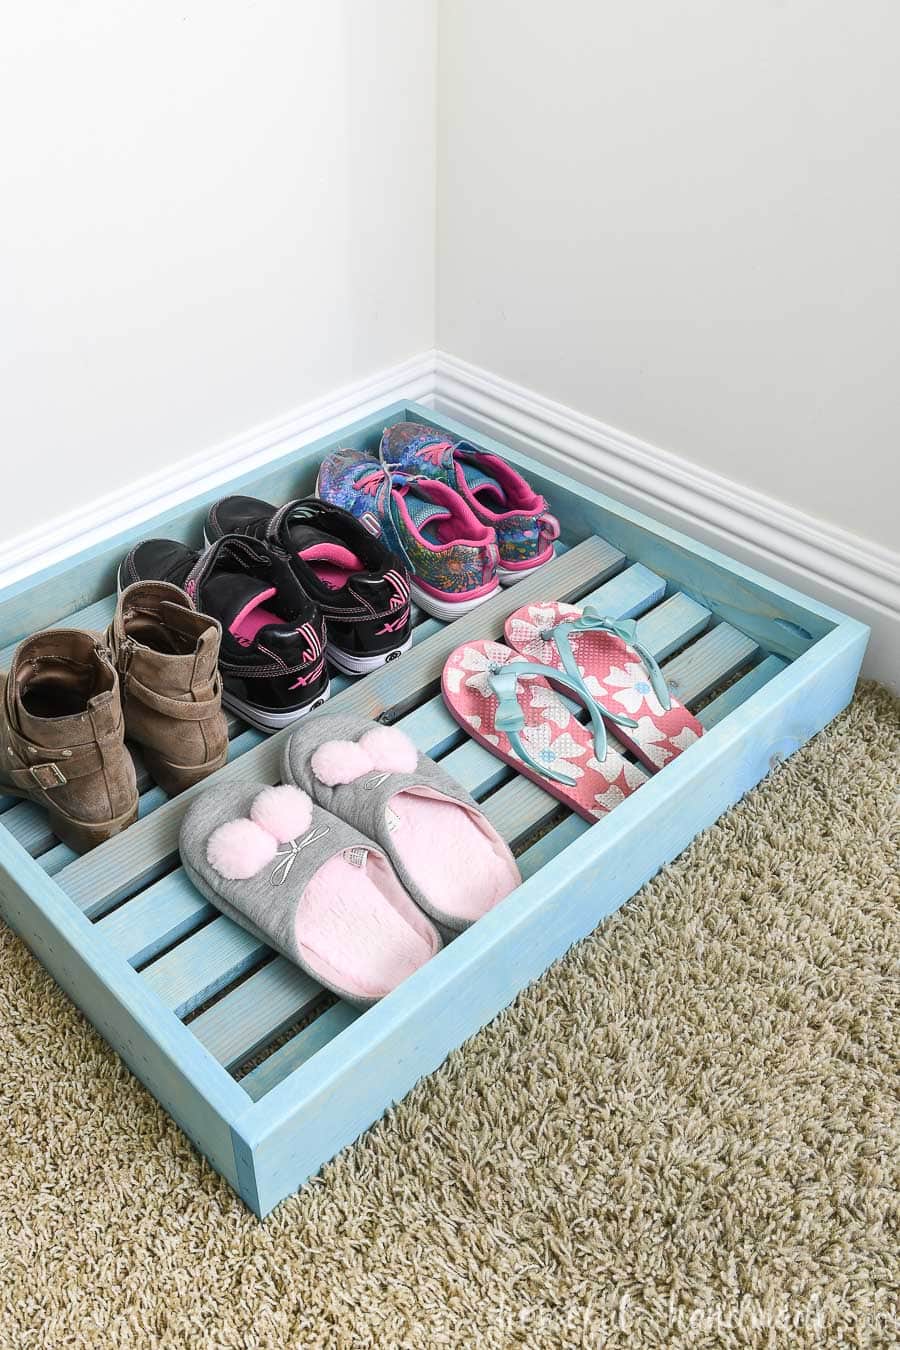
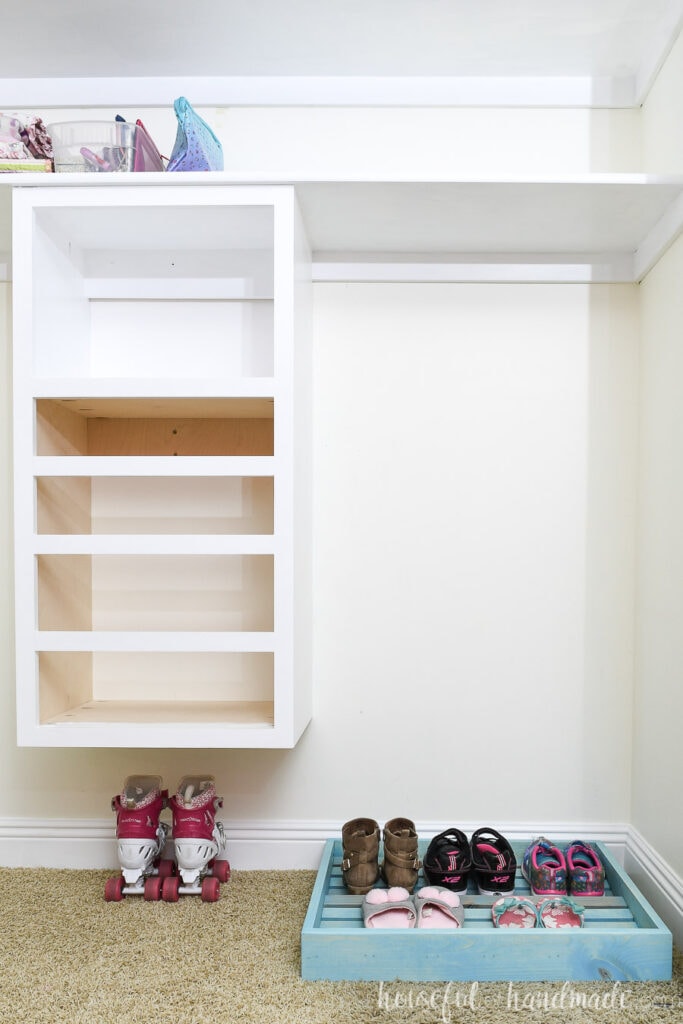
Build this easy shoe tray to organize your shoes in a closet, mudroom or entryway.
Can you believe we are already on week 3 of the $100 Kids Closet Makeover? It’s hard to believe how far we have come, and this week we are organizing shoes!
In case you missed any of the previous closet makeover posts, I am redoing my daughter’s (use-to-be) horrendous closet for the $100 Room Challenge. Yep, that means I can only spend $100 and must do the makeover in 1 month!
You can see the before photos and read about the other projects here:
This post may contain affiliate links. As an Amazon Associate I earn from qualifying purchases. Click here to read my full disclosure policy.
And this week I solved our unorganized shoe problem for her closet, check it out below!
Why Use a Shoe Organizer?
Trying to teach my kids to put thing back in their proper spot has been a bit of a challenge. But it’s even more challenging when something doesn’t have a dedicated spot!
Before I always asked the kids to just put their shoes in the bottom of their closets. They would get tossed in there… sometimes.
But when it came time to put their shoes on, they were unable to locate their shoes. Tossing them in the closet meant they could be anywhere.
So a shoe organizer means the shoes now have their own dedicated spot. And this one is built to hold the shoes in an orderly fashion. But it will still be easy for the kids to put them away.
Benefits of the Shoe Storage Tray
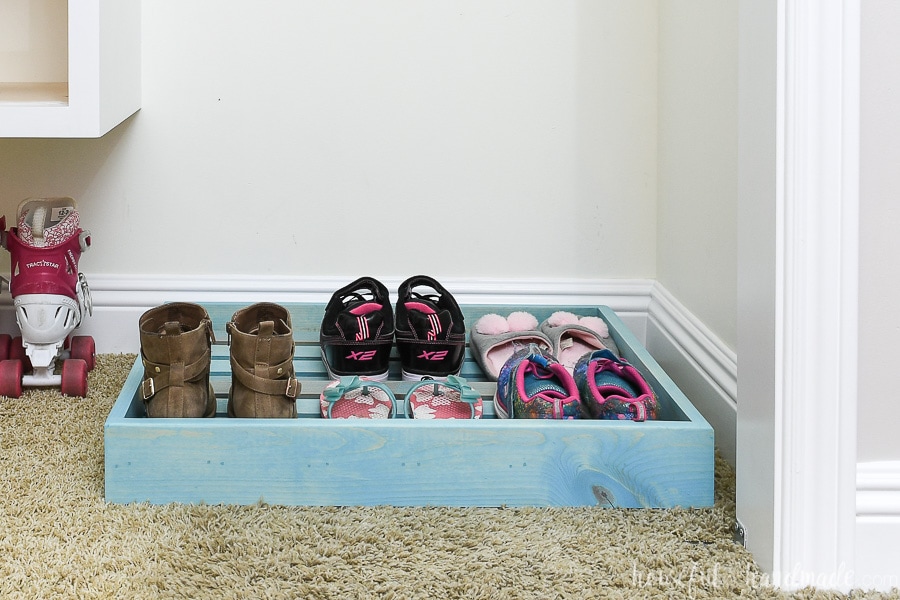
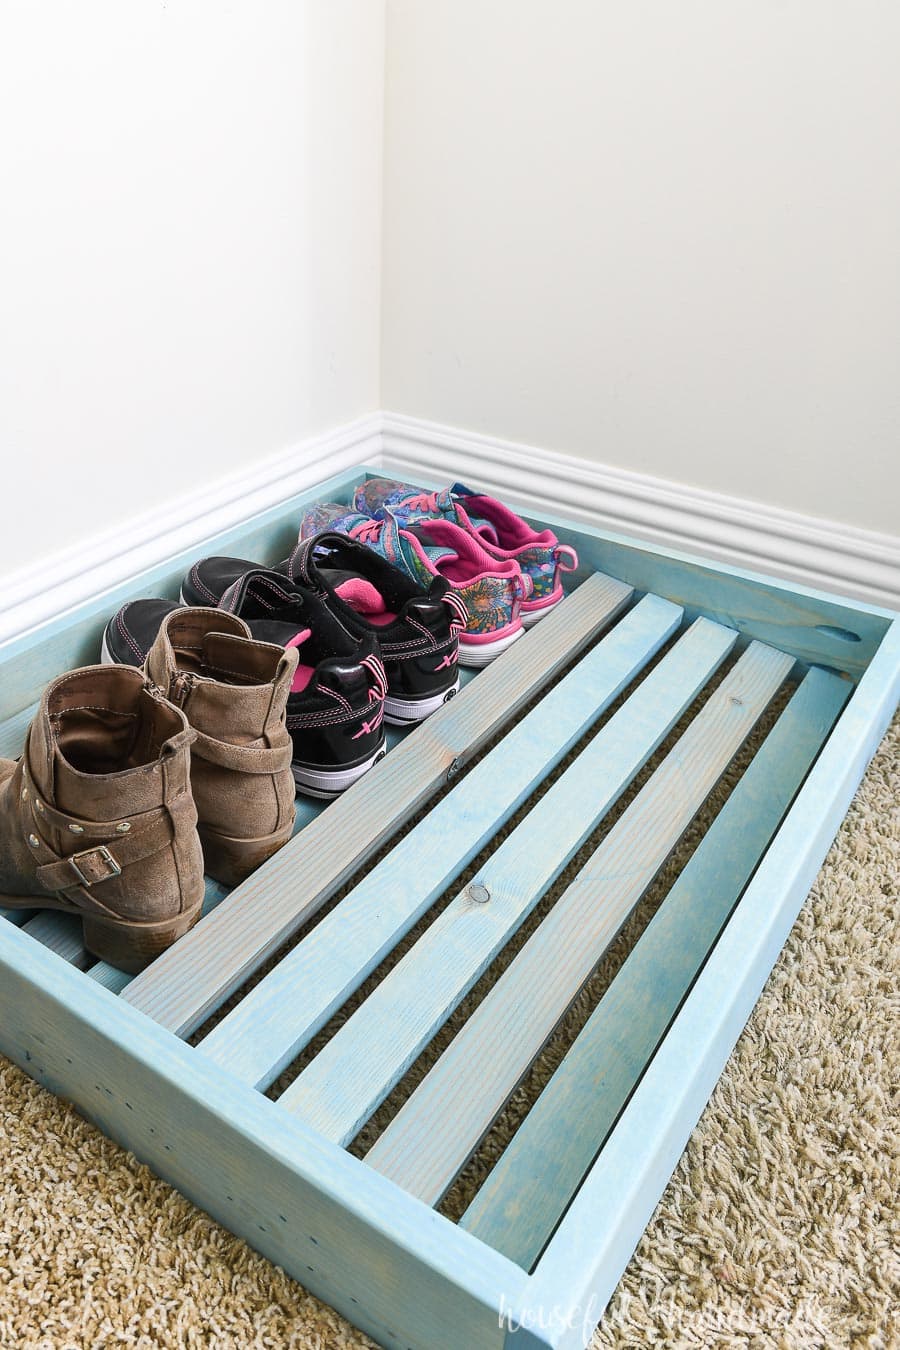
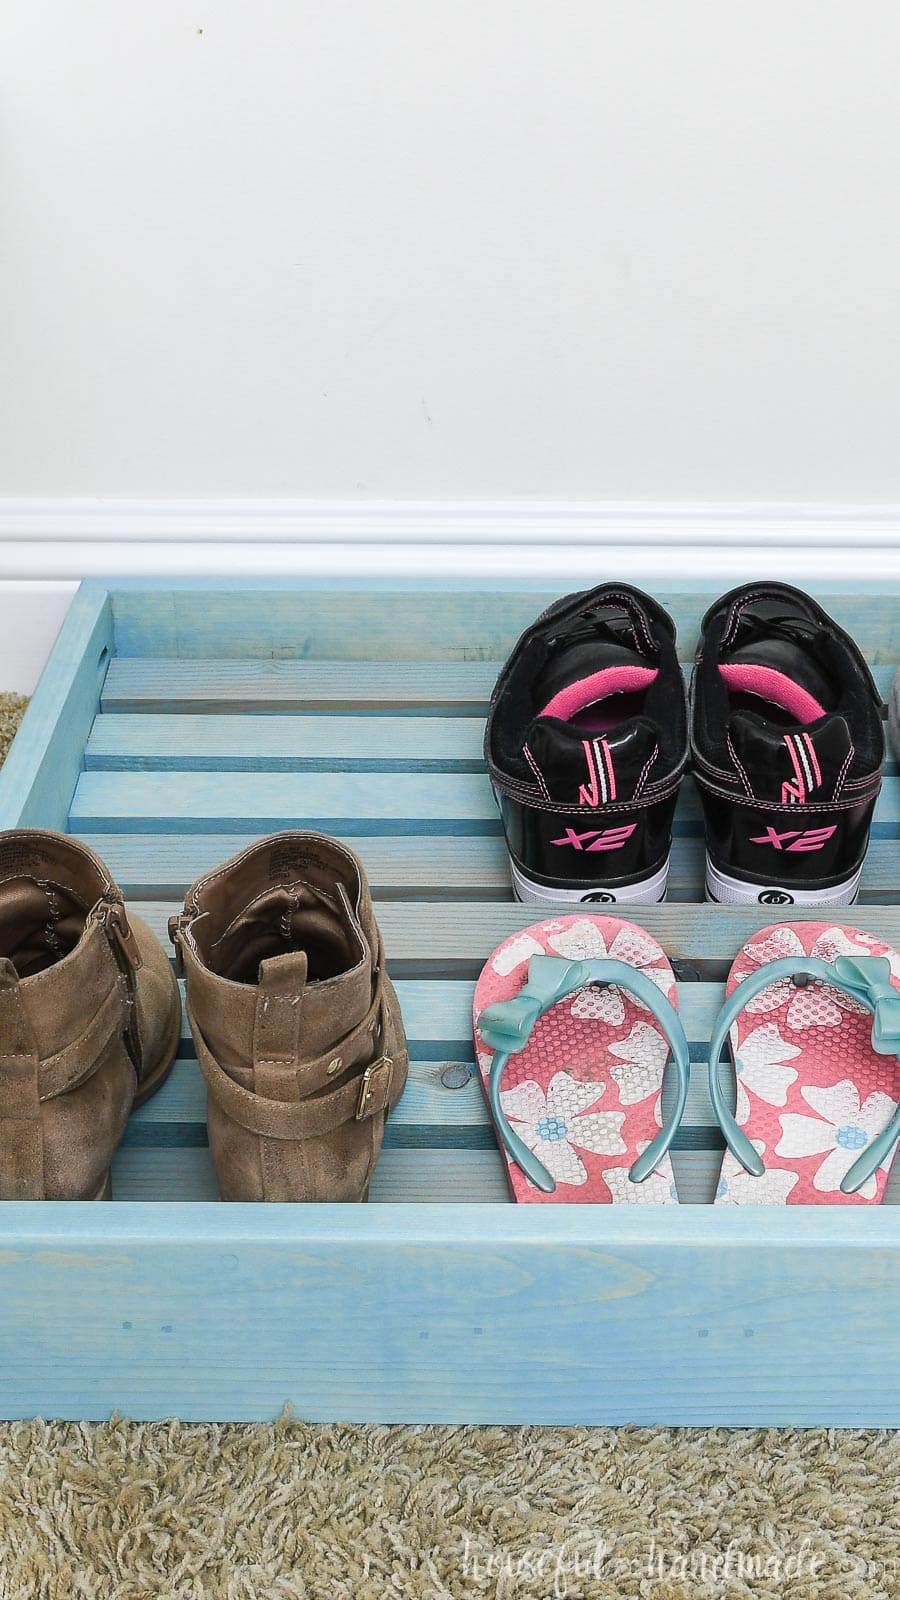
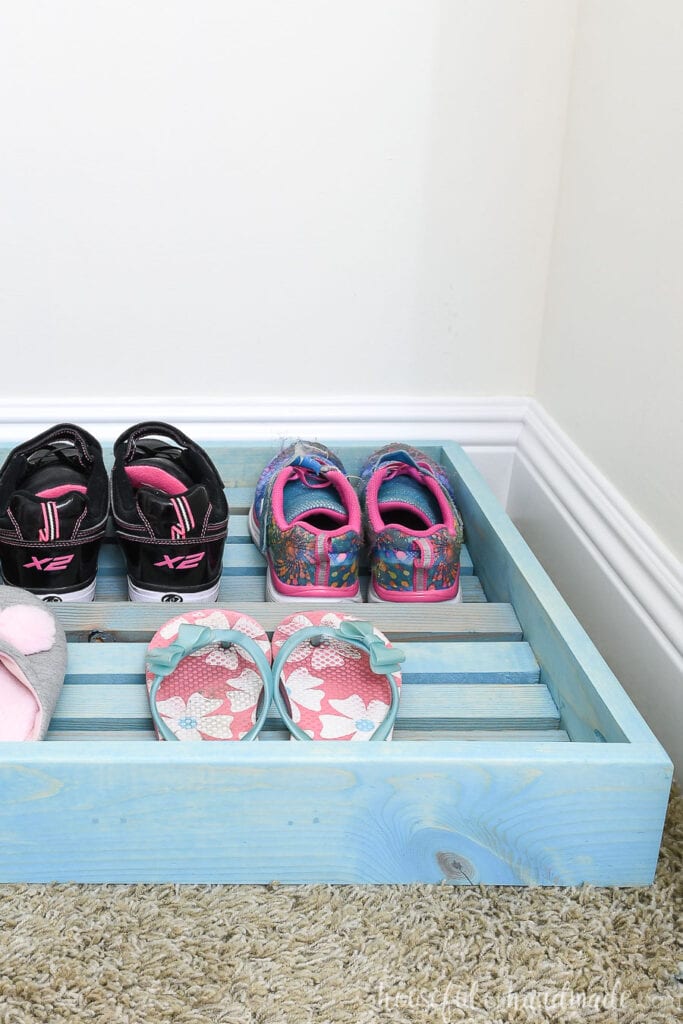
The beauty of this simple shoe storage tray is the angled boards. They are attached in sections creating 2 specific rows for shoes.
The back of the shoes rest up against the boards of the front row or the front of the tray. This should help keep them nice and organized.
And since my kids don’t usually have 6 pair of shoes, the back row is perfect for slippers and hand-me-down shoes we are waiting to grow into.
That leaves the front row with room for her most used shoes. The shoes are quick to find and even quicker to put away properly!!!
How to Build a Shoe Organizer Tray
Tools Needed:
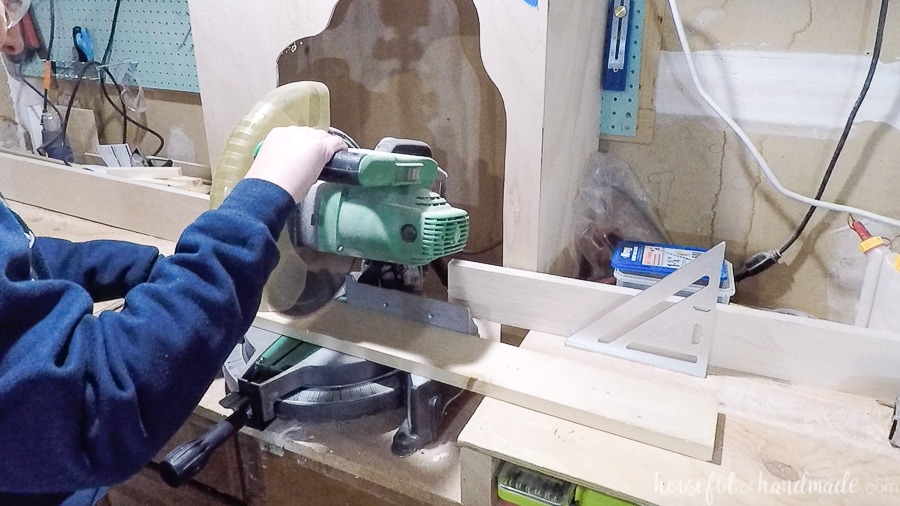
- Miter saw
- You could cut the boards with a handsaw or have your local hardware store cut them if you prefer.
- Kreg pocket hole jig
- The Kreg 320 jig (Amazon link) or 310 jig (Amazon link) are a wonderful beginner jigs at a great price.
- Finish nail gun
- Sander
Supplies:
- (1) 8′ long 1×4 board
- (3) 8′ long 1×2 boards
- (8) 1 1/4″ long pocket hole screws (Amazon link)
- 1 1/4″ long finish nails
- Wood glue
- Sandpaper
- Stain or paint
- I used Varathane Vintage Aqua wood stain (Amazon link) for our shoe organizer. It perfectly matches my daughter’s upholstered daybed.
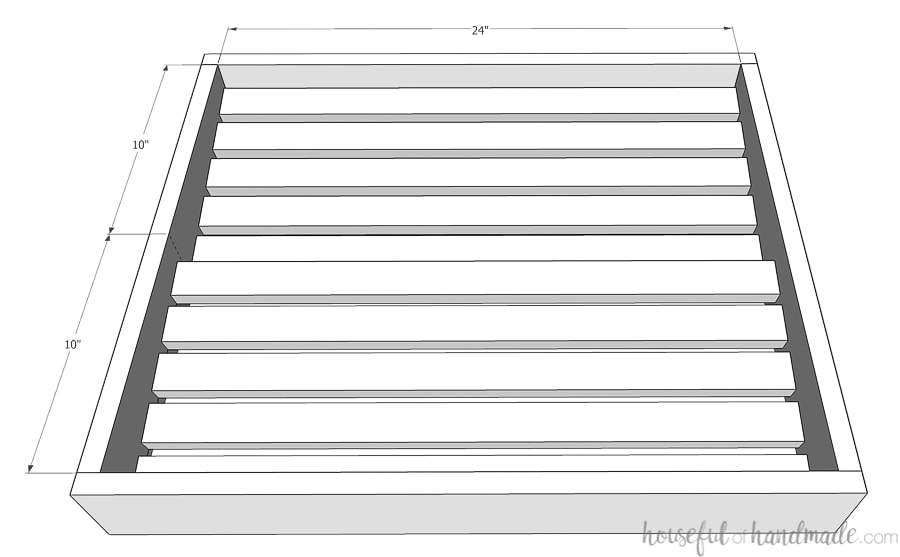
Shoe Organizer Tray Size
This shoe organizer is built for my 8 yr old daughter’s shoes. It would also work for my shoes (I wear a size 7 1/2 or 8 in women’s shoes).
The rows are 10″ deep so of you want to make one to work for larger shoes, you will want to adjust. But be aware of the depth of your closet so you don’t make it too big to close your doors.
Also, there are 24″ of width for each row, this leaves 8″ per pair of shoes. Adjust the width if you have wider shoes, or if you want to add more shoes to your organizer.
Cut List:
Cut the following pieces from the 1×4 board:
- (2) Front/back pieces @ 25 1/2″ long
- (2) Side pieces @ 20″ long
Cut the following pieces from the 1×2 boards:
- (10) Row slats @ 24″ long
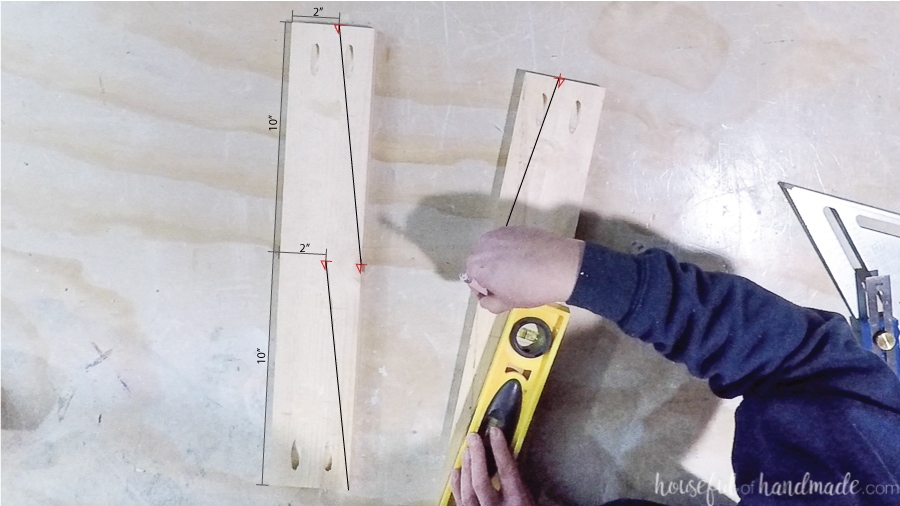
Mark the Angles on the Sides
On each of the side pieces, draw a line at the center (10″). Then measure down on that mark 2″ and make a mark.
Draw a line from the bottom point of the board to the mark. This will be the angle of the front row.
For the back row, measure down 2″ from the top on the back of the board and make a mark. Draw a line from the center mark to this mark.
Make sure your marks mirror each other on the two boards.
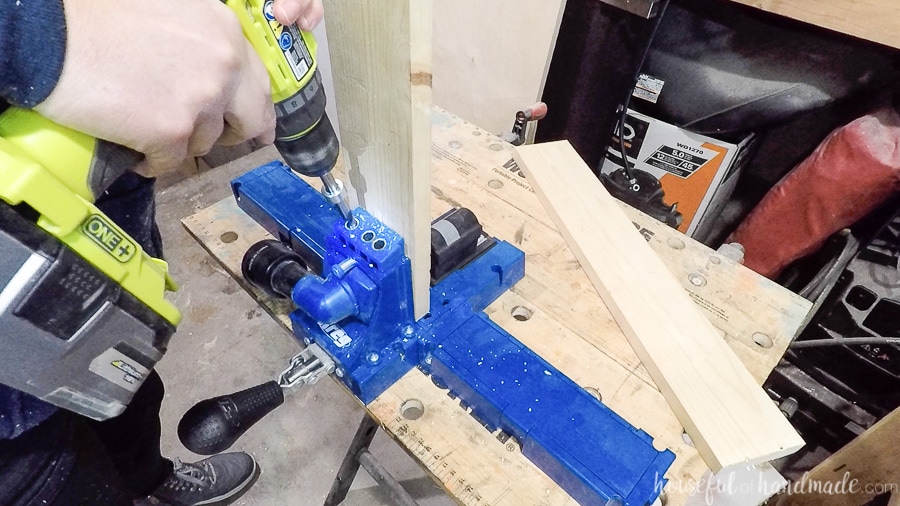
Build the Frame
Set your pocket hold jig for use with 3/4″ thick material. Drill 2 pocket holes in each end of the side pieces.
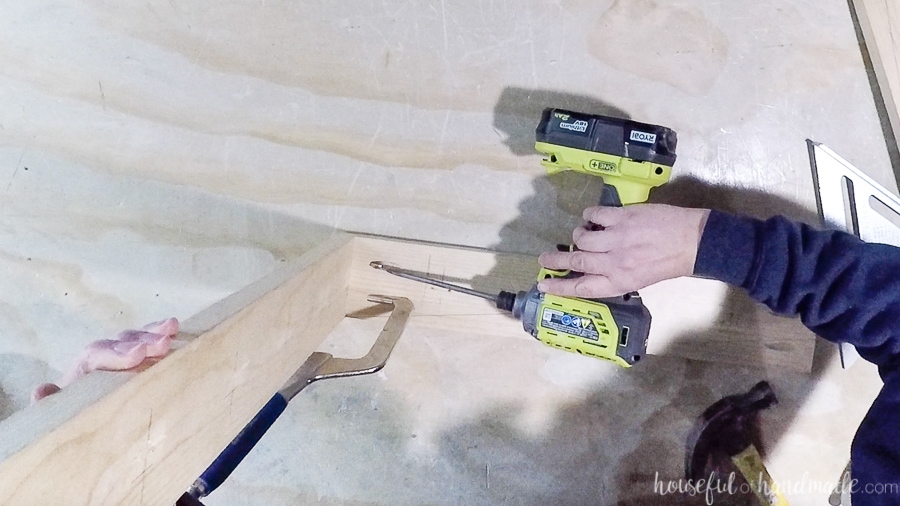
Add wood glue to one end of the a side piece and clamp it to the edge of the front piece at a 90 degree angle. Make sure the angles that were drawn on the board facing into the center and the front bottom is in the correct spot.
Make sure the boards are flush at the corner and on the top/bottom. Then secure the boards with the pocket hole screws.
Repeat by attaching the other side piece to the front piece. Again, be aware of the angles that were drawn on the board, they need to face inward and the front bottom needs to mirror the other side.
Add wood glue to the open ends of both side pieces and attach them to the back piece in the same way as the front.
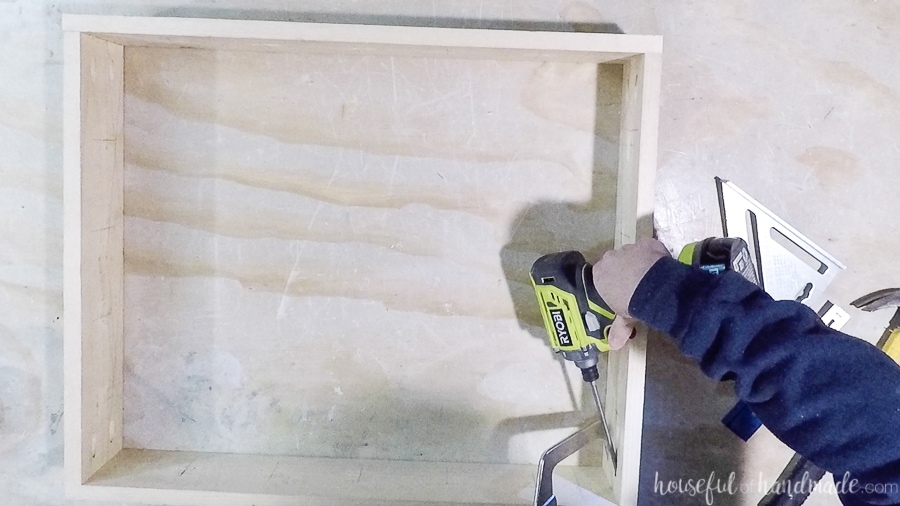
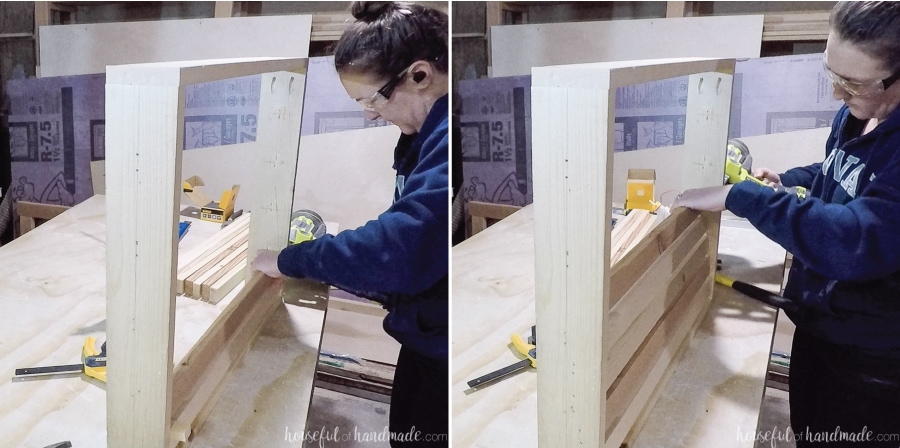
Add the Row Slats
Start with the front of the tray, and position the first row slat so the bottom is flush on the drawn line. Leave a 1/2″ gap from the front of the tray (I use a scrap of wood that is 1/2″ thick for easy spacing).
Secure the row slat with wood glue and 1 1/4″ finish nails. Use 2 nails per side to keep it from twisting. Make sure to secure both sides.

If you have a hard time seeing where to shoot the nails on the outside of the frame, you can draw the same lines as you did on the inside for you to follow. But make sure you shoot the nails 3/8″ above the line to get it in the center of the 1×2 board.
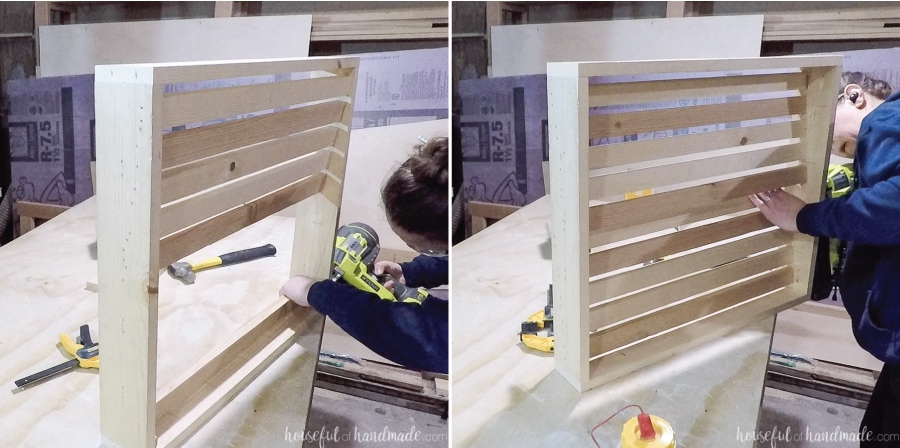
Repeat with 4 more row slats, leaving 1/2″ gap between them, and making sure the bottom is flush with the angled line.
Secure them all with wood glue and finish nails.
Once you have the first row complete, start the second row from the back of the shoe tray. This will mean you are starting with the highest part of the angled line.
Attach the first row slat so it is 1/2″ from the back frame and flush with the angled line. Secure with wood glue and finish nails.
Then add the remaining 4 row slats, going down the line. Leave 1/2″ gap between them and keep the bottoms flush with the drawn line. Secure with wood glue and finish nails.
Finish the Shoe Organizer
Now your shoe tray is built! It is ready for sanding and finishing.
I always like to start with a 100-120 grit sandpaper if I am using rougher wood (like inexpensive 1x2s and 1x4s). Then finish with a 220 grit sandpaper.
Then clean off any dust and stain or paint your shoe tray. Make sure to check out this post for tips and tricks to getting a smooth professional paint finish on your wood pieces.
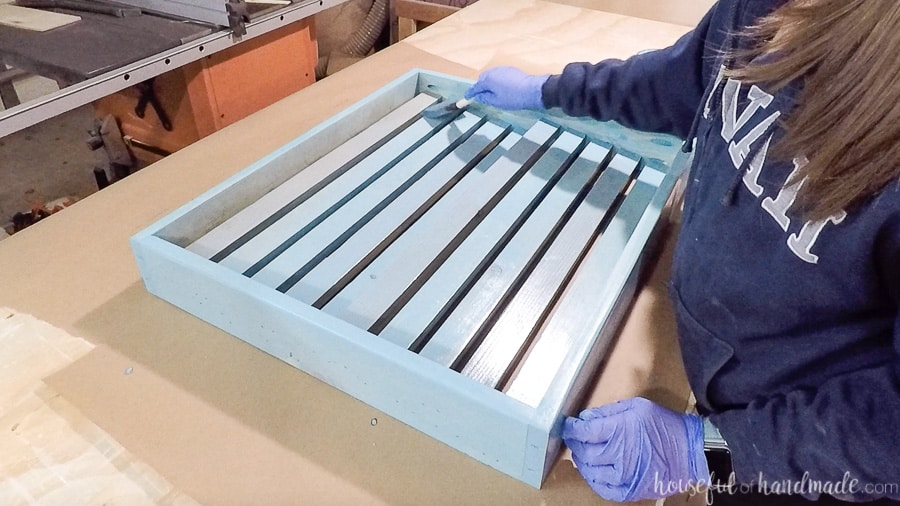
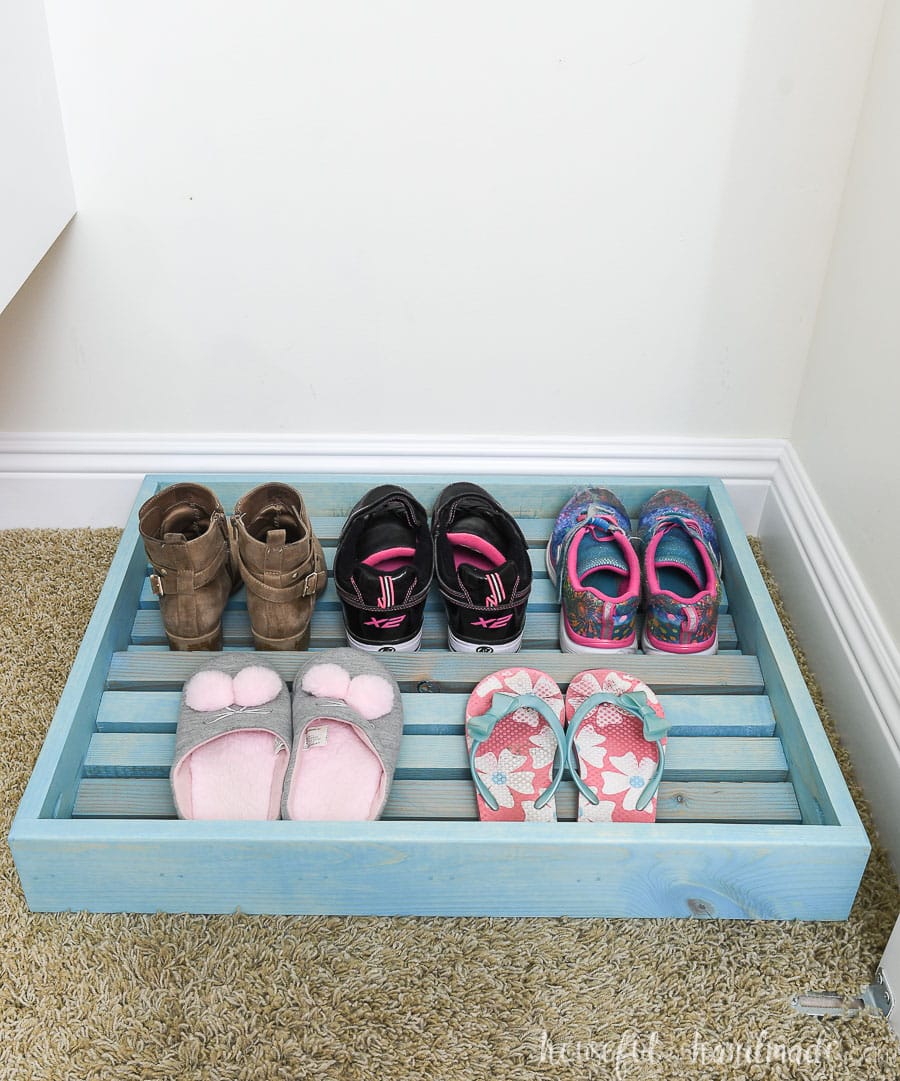
We are going to be using lots of turquoise in my daughter’s closet since it is her favorite color and matches her room perfectly. So we used this fun turquoise wood stain.
I love that the wood grain is still visible, but the color is so bold. Perfect for a kids room!
$100 Closet Makeover Budget
Since this post is part of our $100 Room Challenge makeover, we can’t forget to talk budget. So far I have spent $41 leaving us with only $59 left!
Well I am happy to report that I spend $0 on this shoe organizer tray! But how is that possible?
I reused wood from an old dog gate that we (sadly) no longer need. Which is why you might see extra nail holes and markings on the boards. But it was the perfect way to reuse something that was bound for the trash.
And the beautiful turquoise stain I used was left over from these amazing 3D pumpkins & gourds I made for fall.
So we are still left with $59 to spend going into next week. I know I will need it since I have to buy drawer slides and come up with a lot more closet organizing solutions!
Cost of Building a Shoe Tray
But if you do not have wood to use, what would it cost to build your own shoe organizer?
If you used inexpensive furring strips (like I did) you can expect to pay about $2 for a 1×4 and $1.20 for a 1×2.
You will have to pick through the bundles to find straight boards to use (check out my beginners guide to buying lumber to learn to right way to pick out your boards) but the cost benefit is worth it sometimes.
Then if you add a few screws, glue, and nails, you will be about $10 for the project. Then because it’s for shoes, why not use leftover paint or stain (that is what I did here too) to save you more money!
This project is definitely a great budget option when you look at it that way. I think I need to buy some boards and make one for my son’s closet too!
And for more budget friendly projects, why not check out the other bloggers participating in the $100 Room Challenge this month? Lots of great, and cheap, decorating and DIY ideas below!