See how to update a room on a budget. This laundry room remodel is being done for only $100.
Lots of creative ideas for inexpensive home improvements and budget decorating.
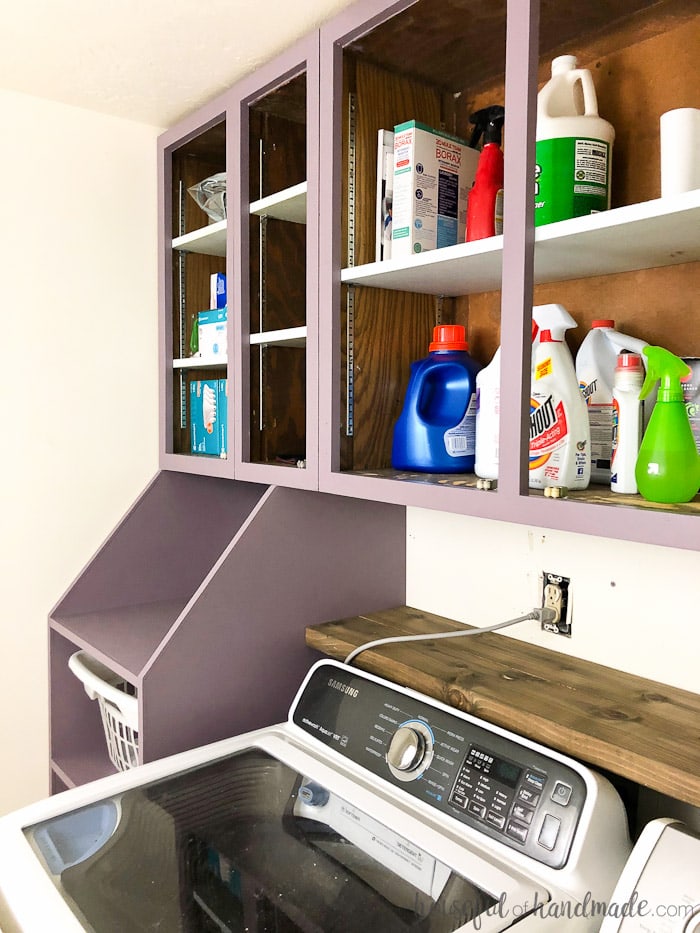
It’s week 4 of the $100 laundry room remodel and I am starting to see the light!
There were a lot of small projects accomplished this week which led up to a big impact in the space. I am finally seeing the vision come together and it’s making me so excited.
This post may contain affiliate links. As an Amazon Associate I earn from qualifying purchases. Click here to read my full disclosure policy.
Thankfully there are 5 weeks in this month’s challenge so I have an extra 7 days to finish things off. I’m crossing my fingers I can get it all done.
If you missed any of the other weeks, you can see them here:
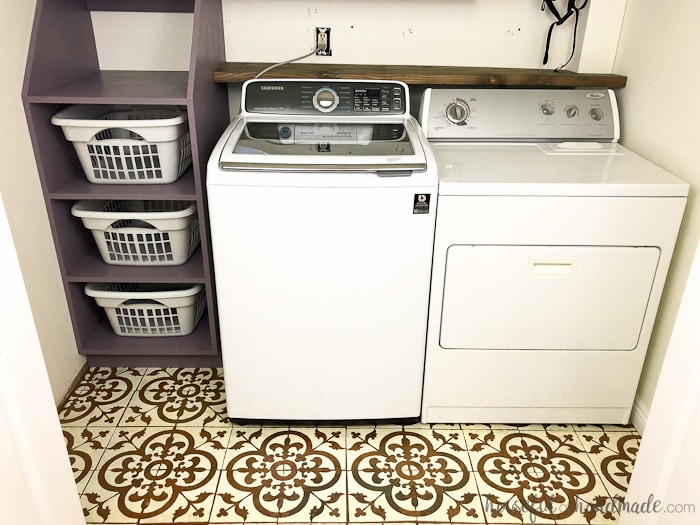
This week I knocked 4 things off the list (and that leaves me with 4 more for the last week). This week I:
- Painted the stackable laundry basket storage and old cabinets;
- Patched all those holes in the walls and touched up the paint;
- Covered up the dryer exhaust tube in the corner of the room;
- Built a shelf to go behind washer & dryer.
Now the laundry room is starting to look like a room I might enjoy spending some time.
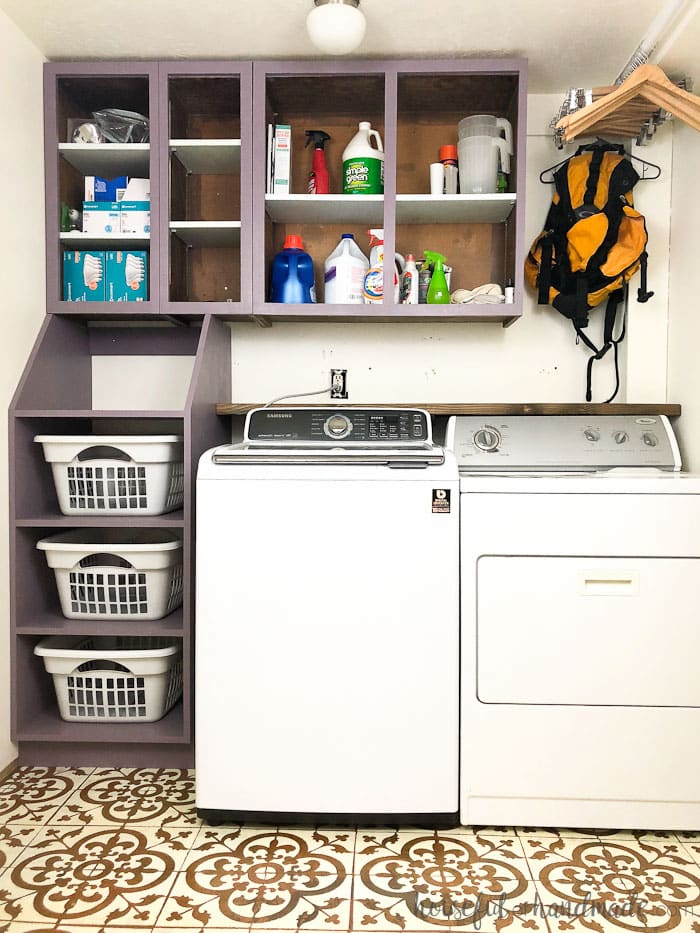
Painting the Cabinets
When I took those free cabinets from my parents old kitchen, I knew someday I would paint them. It’s embarrassing how long I lived with those old cabinets because painting them wasn’t that big of deal!
Actually painting the cabinets was down right fast and easy, it was painting the stackable laundry basket storage that was a pain (I really had to get inside those cubbies and it killed my back).
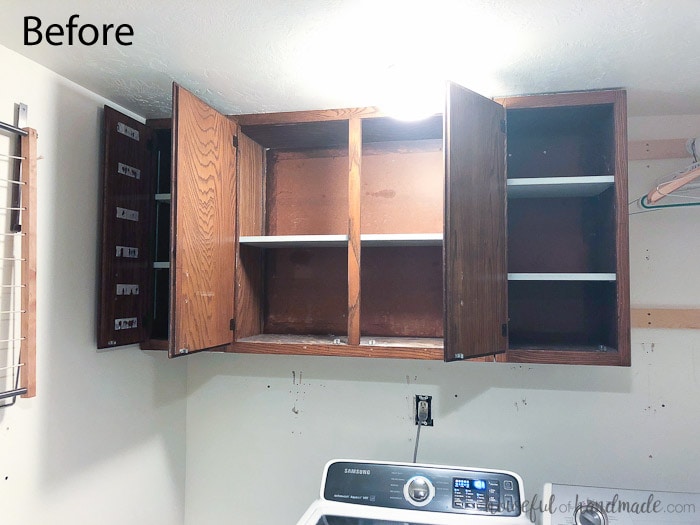
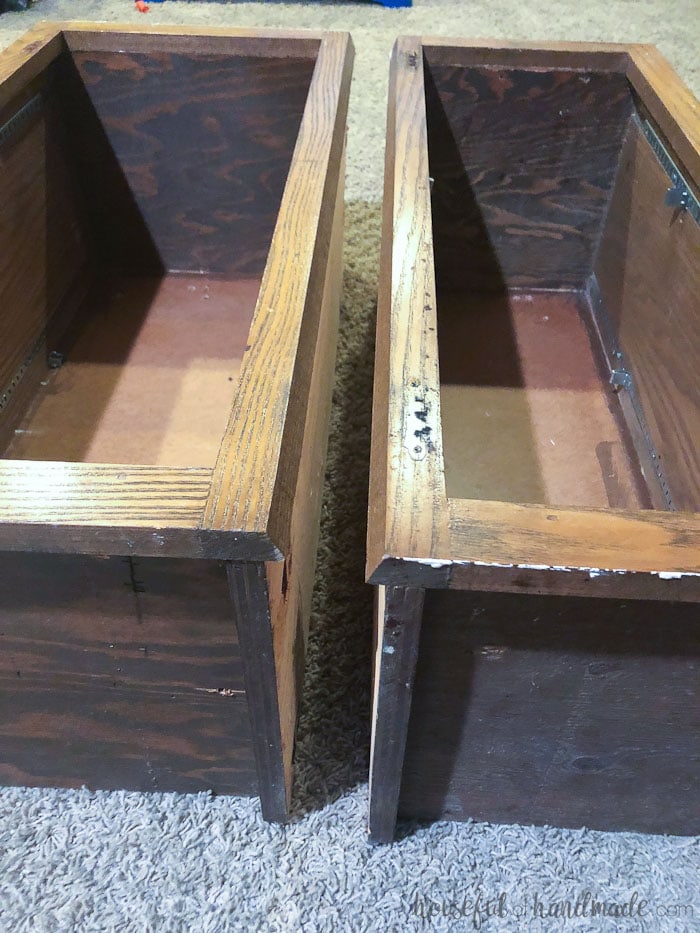
To prep the cabinets for paint, I first had to fix a couple of them. The cabinets were originally hung next to a corner cabinet in my parents kitchen so the edges were angled.
This caused them to not sit flush next to each other. And is why the cabinets were hung in this configuration. The angled sides were on the outside of the cabinets.
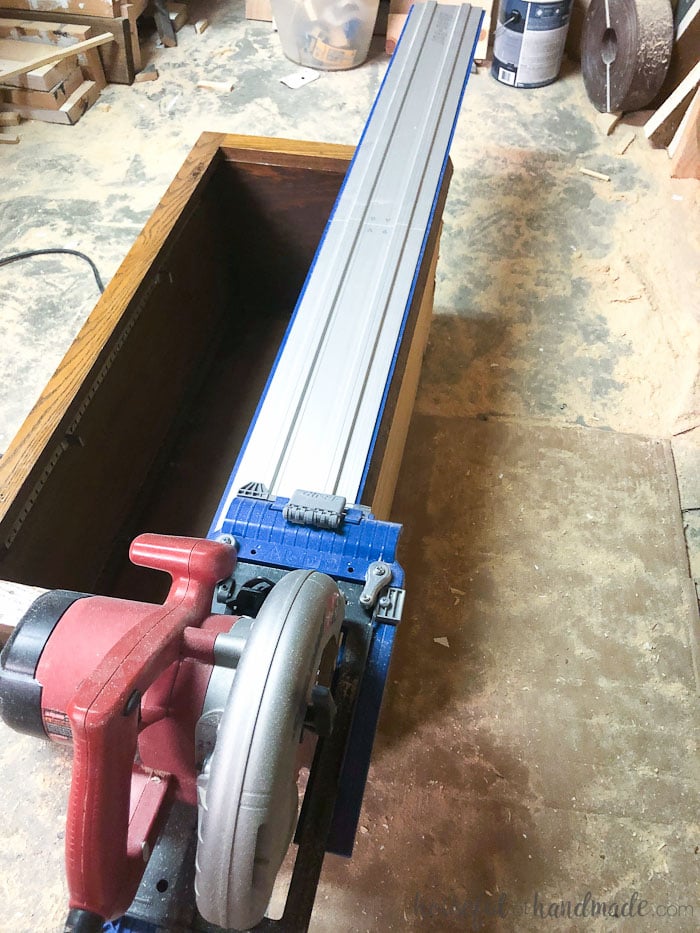
Making them flush was simple! I used my Kreg AccuCut and a circular saw. The AccuCut was super easy to set up. I placed the edge right along the edge of the cabinet facia that needed to be cut.
Then ran the circular saw down it. In about 3 minutes I had both cabinets squared up! Why did I wait so long?
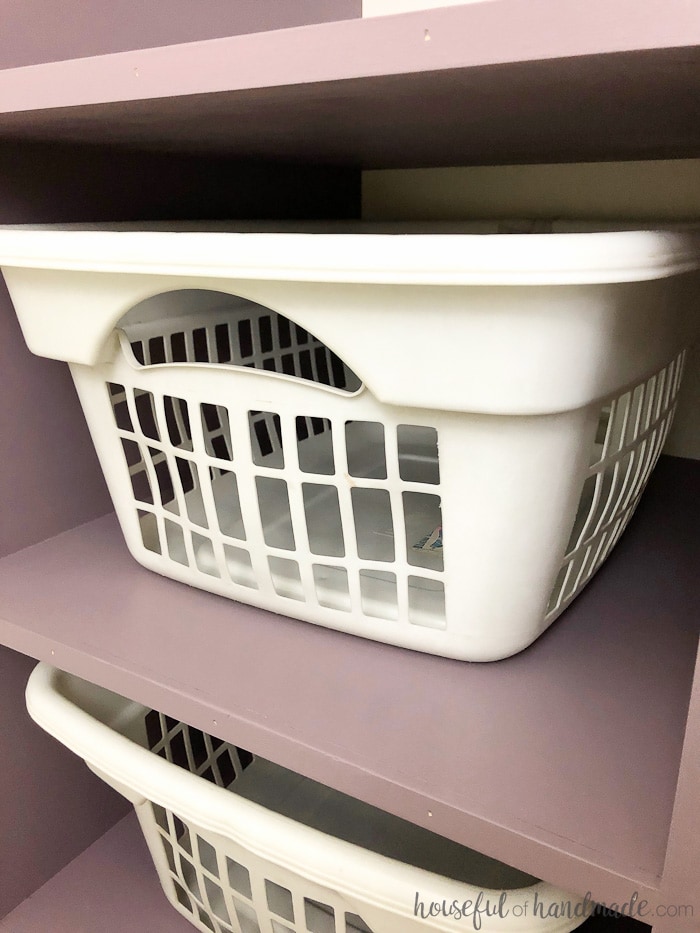
My sweet husband sanded down the facia of the three cabinets and the entire stackable laundry basket storage unit since he knew how much I hate sanding (and I was sick).
Then they were ready for paint. I knew I wanted to add purple to the space. It’s my favorite color. And a laundry room is definitely a place you can be a bit more adventurous. So why not purple cabinets?
I chose a warm, grayish purple from Behr called Classy Plum. And it is exactly that! A beautiful, classy purple for a modern farmhouse laundry room.
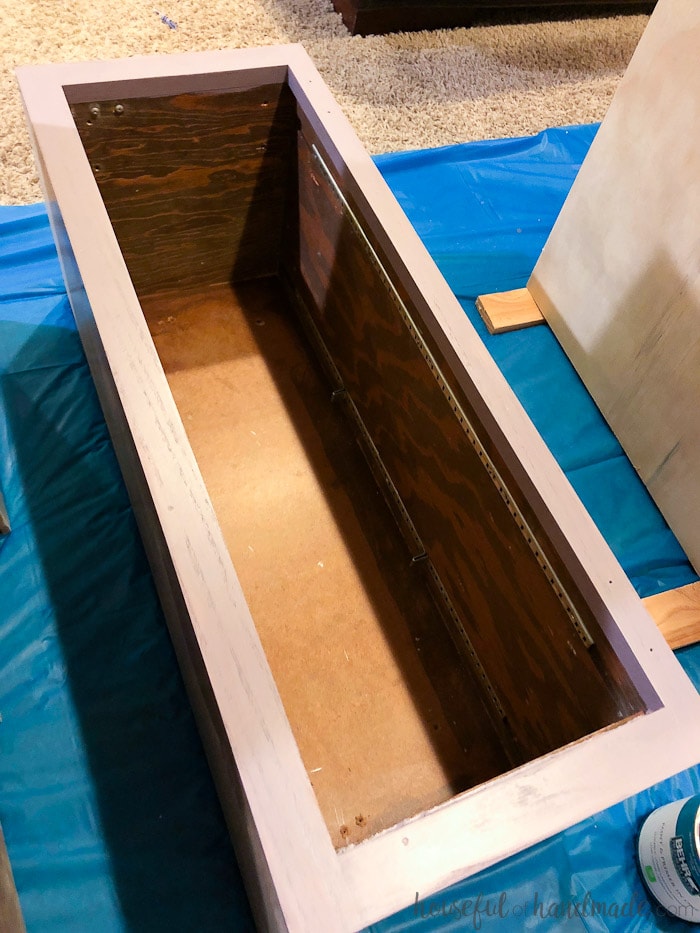
For the first coat, I used just a paint brush and carefully got into all the corners. I even painted around the inside of the cabinet facia. The latex paint went on super easily on the sanded cabinet surface.
It was a bit streaky after the first coat, but that is to be expected. I let it dry overnight before applying the second coat.
This time I used the paint brush to still get into all the corners, but used a small foam roller to paint all the flat surfaces.
The foam roller ensures I have no brush marks. It took 2/3rds of a quart of paint to give the cabinets 2 coats of paint. I am hopeful that the remaining 1/3 will be plenty for the cabinet doors.
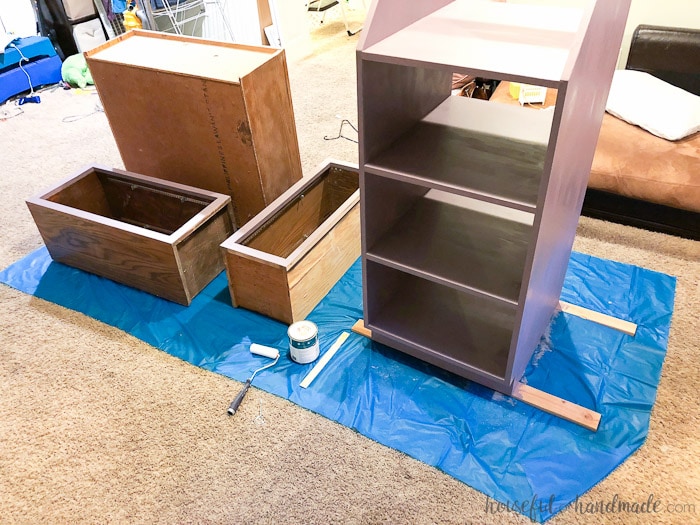
After letting it dry overnight again, I added a little protection layer to my paint with a coat of wax. I love using wax for a clear coat on paint because it is so fast and easy to apply, but really does protect the surface from normal use.
Both the painted pieces in my office & craft room were protected in wax and they still look like new after a year.
Then the cabinets were ready to reinstall!
My husband did the heavy lifting. I secured the basket shelf to the wall with a couple screws into studs and then lined the cabinets up on top of it.
To ensure all the cabinets had solid wood to attach them to, we added 2 1×3 boards to the wall secured into the studs and then it was easy to secure the cabinets to the 1×3 boards. Otherwise, the small cabinet wouldn’t have had a stud behind it and that would be bad!
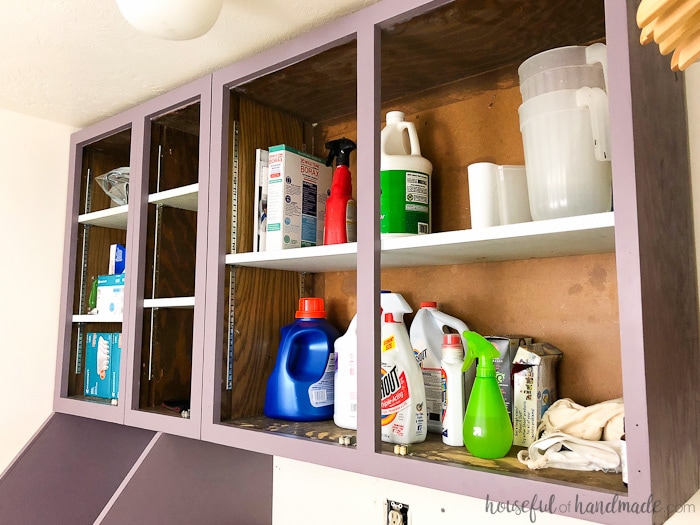
I was so excited to have my cabinets back. I quickly loaded them back up! All those light bulbs (we might be a bit obsessed with light bulbs) and cleaning supplies were really cluttering up the family room. But now I need to get the new cabinet doors built and painted. Then it will look amazing!
Easy Dryer Vent Cover
I knew I wanted to cover up the dryer vent in the corner of the laundry room. It just looked so unfinished with the metal tube running up to the ceiling.
I had some 1/4″ plywood left over from the shiplap we installed in our farmhouse entryway mudroom. It was the perfect solution to make an easy dryer vent cover.
I cut 2 strips of plywood 5 3/8″ wide with my Kreg AccuCut (seriously I love this thing). They were about 3′ long which was enough to cover the dryer vent to below the dryer and soon to be shelf.
But the bottom of the area was still open so we can easy access it if anything happens.
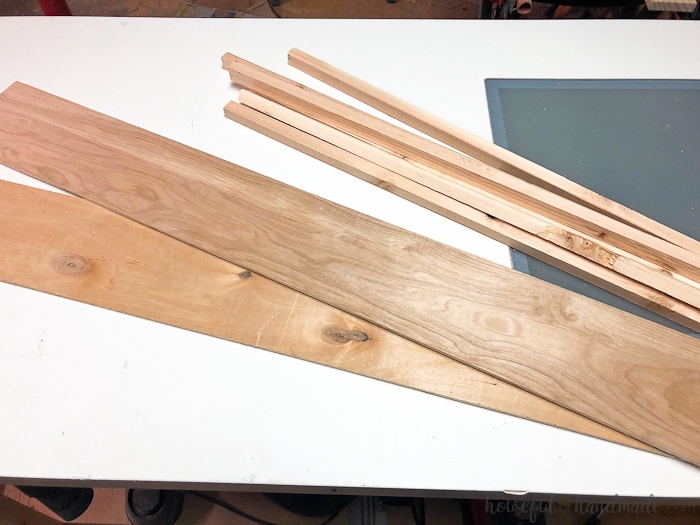
I also cut a couple scraps of approximately 1×1 wood to the same length of the plywood. One of the pieces was attached to the plywood with wood glue and finishing nails at the edge.
Then the second piece of plywood was attached to the corner of the scrap wood and plywood to create an L shape. It was secured with more wood glue and finishing nails.
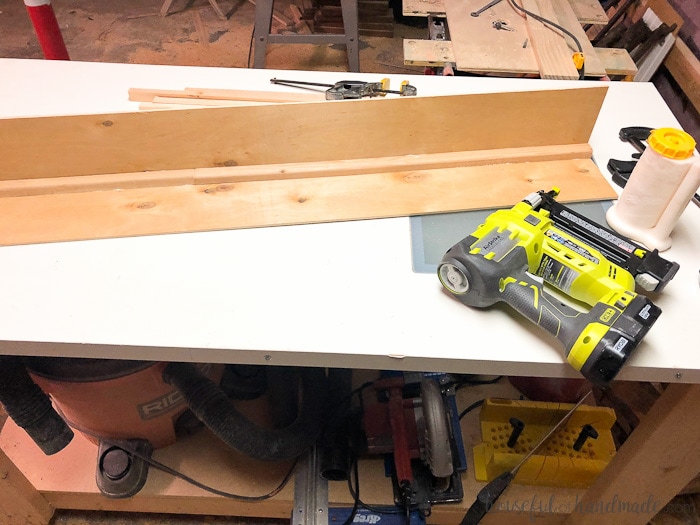
To attach it to the wall around the dryer vent, I used 2 more 1×1 scraps and attached them to the wall next to the dryer vent. I used construction adhesive and 2 1/2″ long finishing nails.
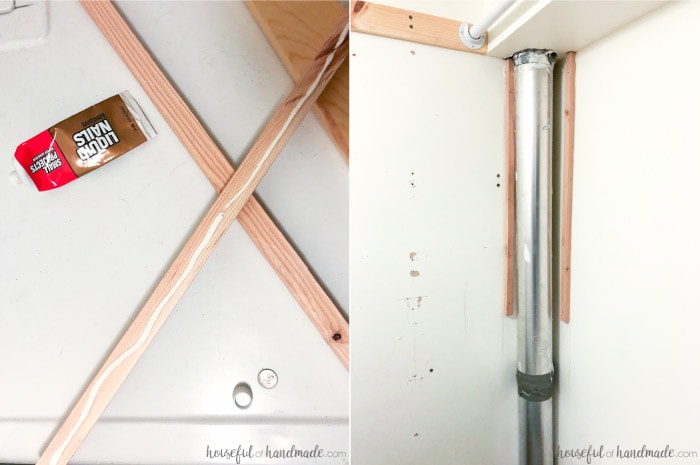
Then the plywood L was placed over these scraps of wood and secured with glue and more finishing nails. Easy as that!
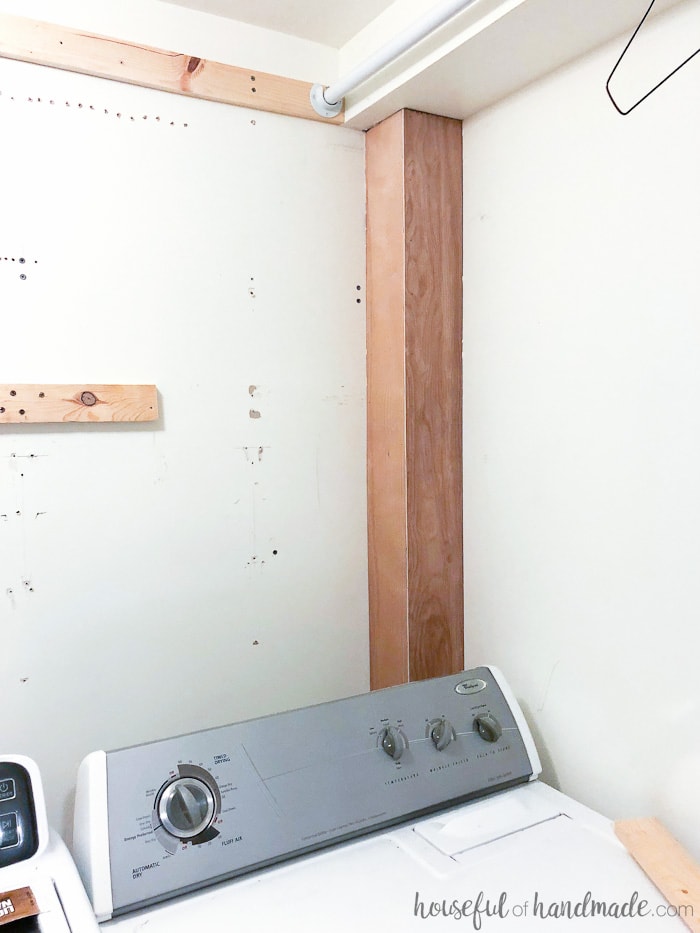
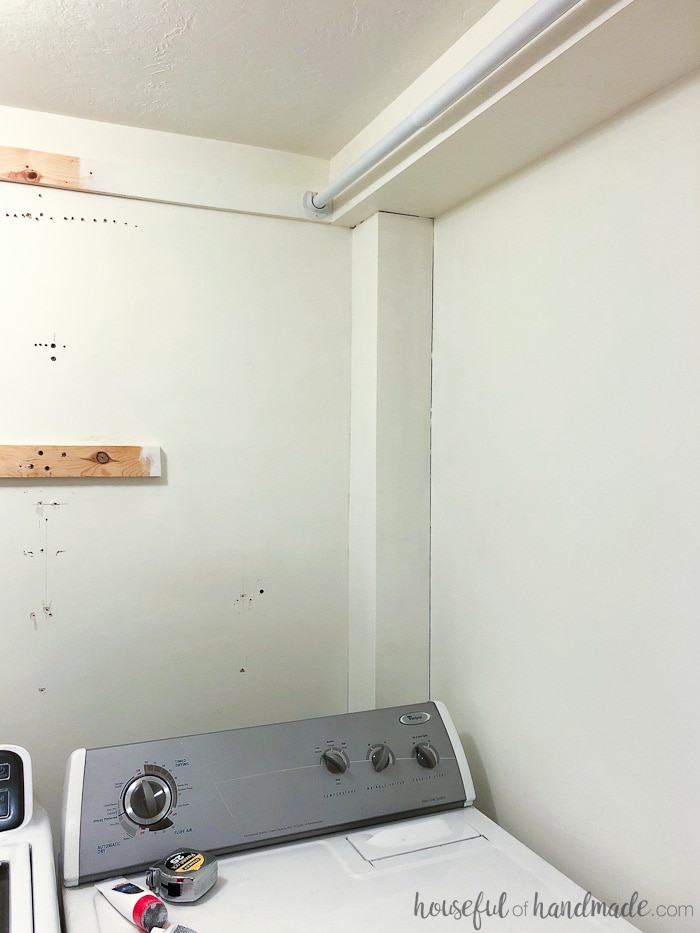
All the holes in the walls (that were not going to be covered up with cabinets or tile) were filled with putty. Then I used some left over wall paint and gave the walls a couple quick coats to cover the holes and make it look clean again.
I also painted the dryer vent cover with a couple coats of the wall paint and it just blends right in. No more eyesore in the corner of my laundry room.
Faux Barnwood Shelf
The final big piece of the laundry room remodel was adding a shelf behind the washer and dryer.
The lid to our washing machine cannot open all the way with the cabinets above it unless it is pulled out about 10″ from the wall. There is a whole lot that can fall behind a washing machine when you have a 10″ gap.
The shelf should help fix this problem and allow a place to store frequently used things like laundry detergent.
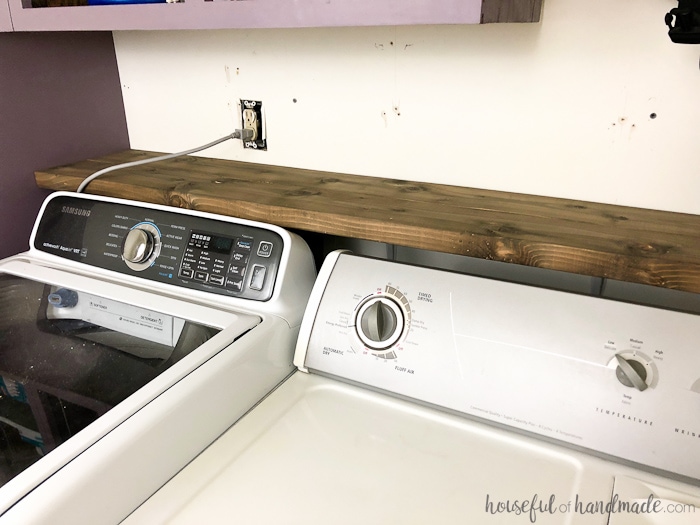
We had a couple 2x6x12 boards left over from our outdoor kitchen and dining room project last year that we never got around to returning. I was sure I could find a way to use them.
And it only took one 2x6x12 to make our laundry room shelf!
I secured the two pieces of 2×6 together with pockets holes from my Kreg Jig and 2 1/2″ pocket hole screws. Then gave it a good sanding and it was time to turn it into barnwood.
My favorite way to create a beautifully aged wood patina is with a homemade aged wood accelerator. I used this on my farmhouse coffee table and the farmhouse console table.
It does take a bit of preparation ahead of time but is so worth it. You have to soak a piece of steel wool in vinegar for at least 3 days. I let mine soak for a week, then removed the steel wool so that it wouldn’t continue to rust. Then I always have my favorite stain ready to go.
For this shelf, I used a homemade natural stain made from vinegar and coffee. The tannins in the coffee react with the vinegar to create a beautiful barnwood color.
I started by rubbing the surface with the vinegar mixture. I buy staining rags in bulk to have on hand for projects (they are great for staining, waxing, and clean up with all those DIYs).
Make sure to wear gloves with this DIY stain because it will stain your hands badly (and it doesn’t wash off)! Then immediately after the vinegar mixture, I rubbed the surface with strong brewed coffee.
I bought some inexpensive k-cups to try and they were awful. But I keep them around so I can quickly brew a cup of coffee for staining instead.
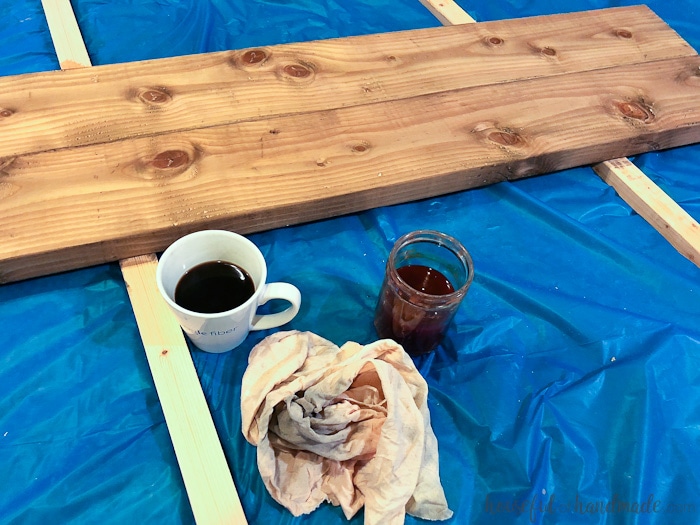
Let the wood react to the stain. It doesn’t appear immediately. But you will see it age and darken over time (about an hour or two).
Let it dry overnight before applying any sealer to it. I still have to seal our beautiful barnwood shelf, but already I love the way it looks in the laundry room.
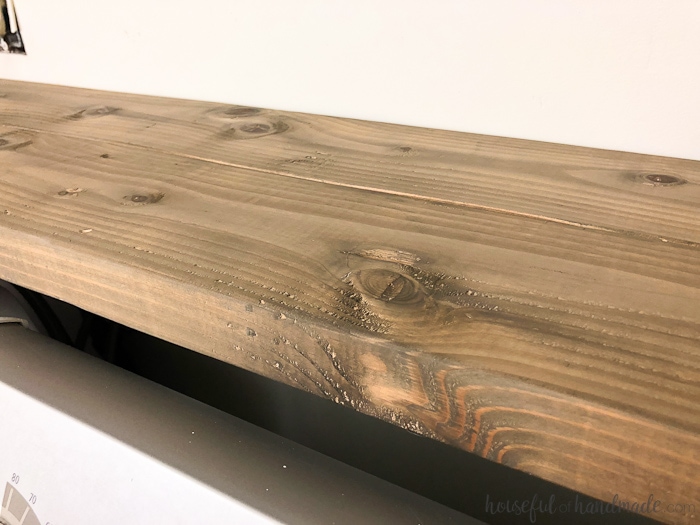
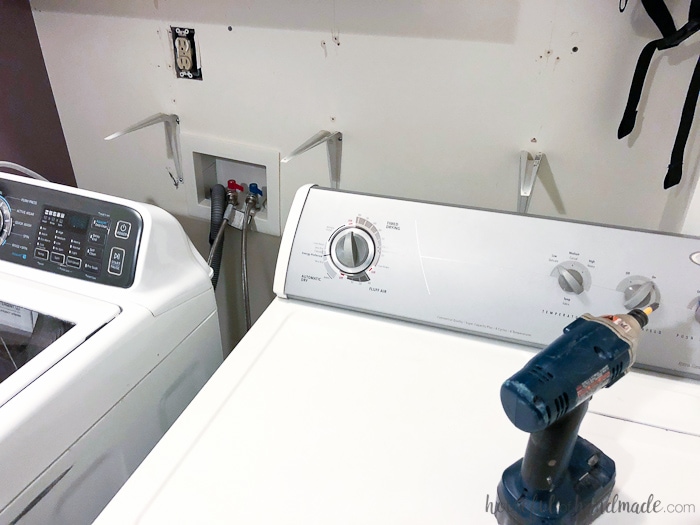
To hang the shelf behind the washer and dryer, I used some inexpensive shelf brackets. These were actually used in the laundry room to hold up a shelf before we inherited the cabinets from my parents.
Luckily I never through any DIY or crafting stuff away. I was able to reuse them to hang the new shelf. Make sure the shelf brackets are in studs though, because this 2×6 barnwood shelf is heavy!
That was a lot this week, but it was totally worth it! I just love how things are coming together.
SPENT THIS WEEK
- Paint for cabinets $14 (for paint, had painting supplies on hand)
- Patch holes and touch up walls $0 (had leftover of the wall paint on hand)
- Find creative way to cover the dryer exhaust tube $0 (used scrap wood and paint on hand)
- Build shelf behind washer & dryer $0 (used wood on hand and homemade stain)
GRAND TOTAL: $14
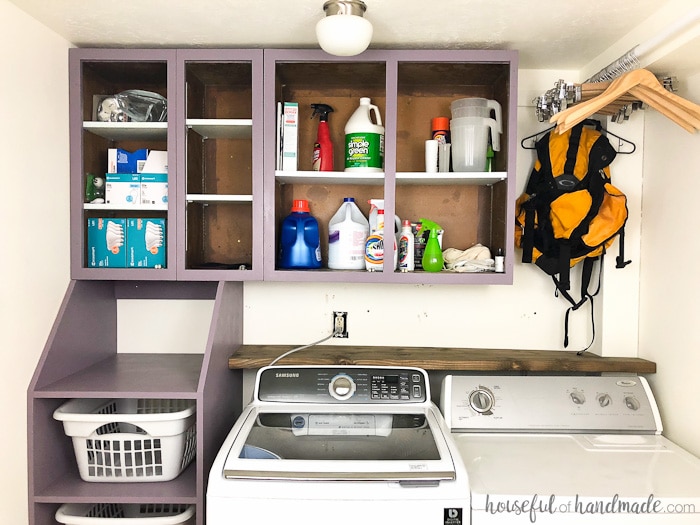
That leaves me with $32 left in the budget to finish the laundry room remodel! I know my new almost flush mount light fixture is $15 so I’m hoping to be able to finish the rest of the list with a measly $17. Do you think I can do it?
- Stencil laundry room floor $19
- Stackable laundry basket storage $35
- Find creative way to cover the dryer exhaust tube $0
- Patch holes and touch up wall paint $0
- Paint cabinets $14
- Build shelf behind washer & dryer $0
- Lower cabinets and install a new light so I can have all the doors working
- Build new doors for the cabinets
- Tile shelf backsplash
- Add lots of pretty stuff!
Now time to get back to work so I can get it all done! While I do that, check out the week 4 progress of all the other amazing $100 Room Challenge remodels.

