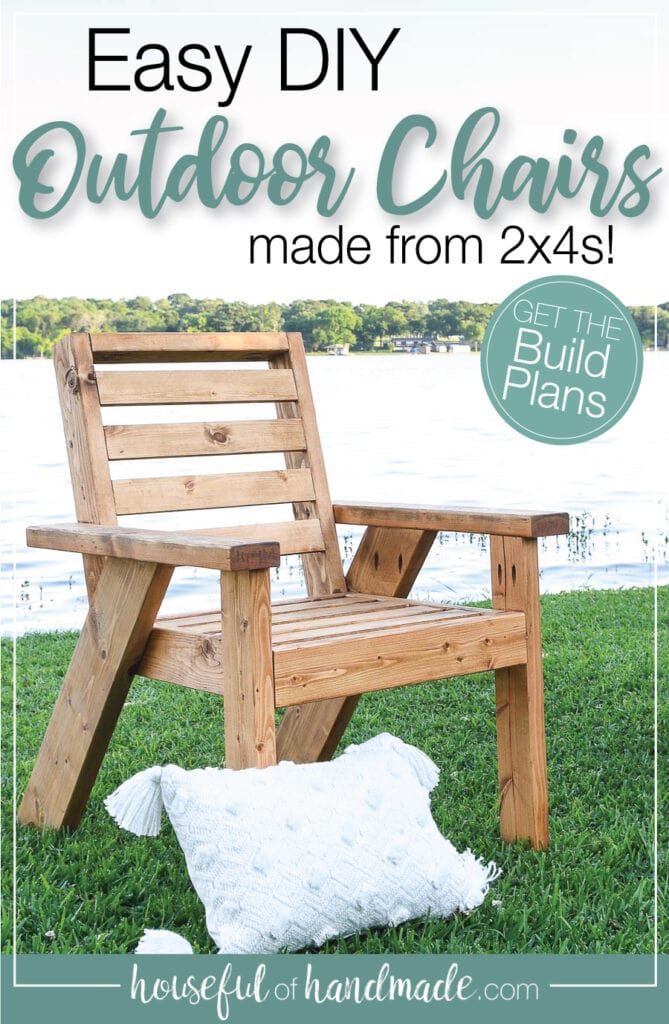
As the weather is warming up, it is the perfect time to add more seating to your outdoor spaces. And these fun outdoor lounge chairs are made mostly from 2x4s!
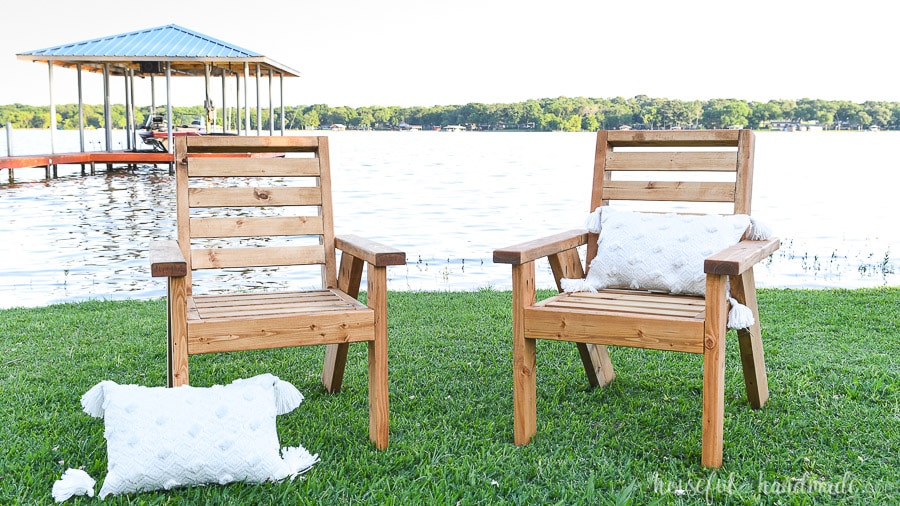
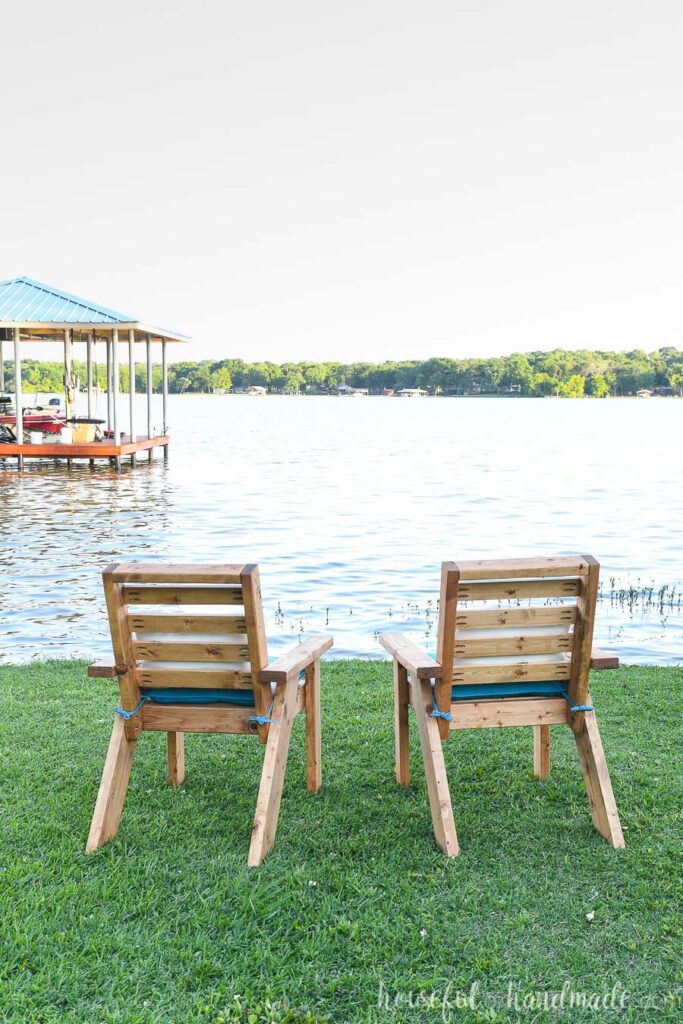
With our new home in Texas, we definitely needed some outdoor furniture. Especially somewhere to sit and enjoy the lake.
Lounge Chair Design
We wanted large comfy outdoor lounge chairs that you can spend hours sitting around a campfire, or chatting with friends, or watching the sunset.
This post may contain affiliate links. As an Amazon Associate I earn from qualifying purchases. Click here to read my full disclosure policy.
And something that could hold a large cushion for some extra comfy lounging.
But more importantly, I wanted it to match with the other outdoor chairs I already made, like these outdoor kids chairs.
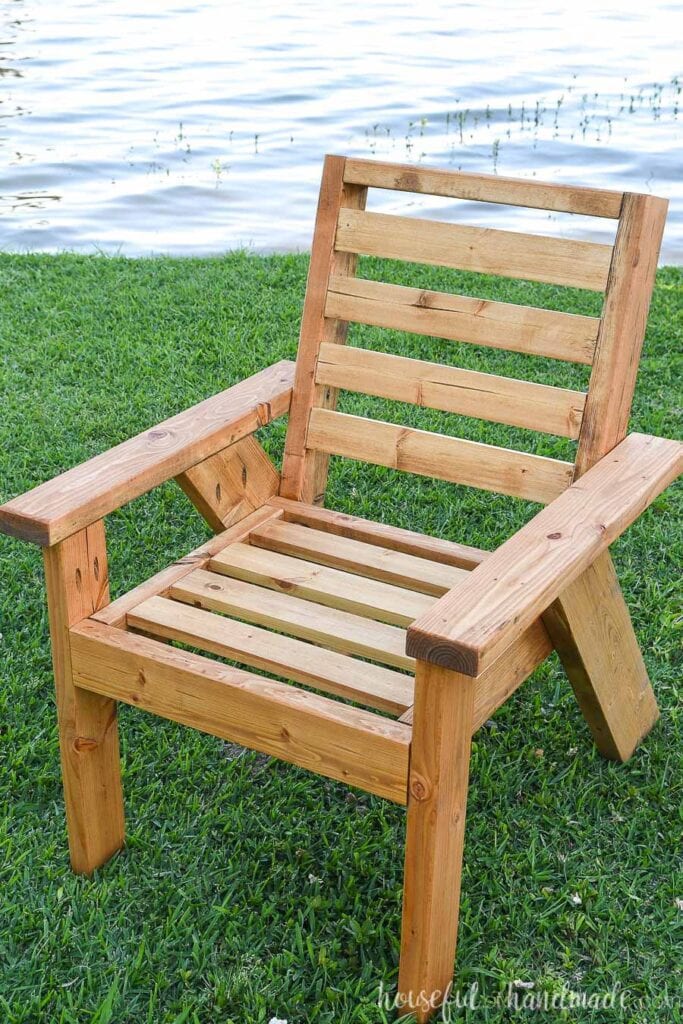
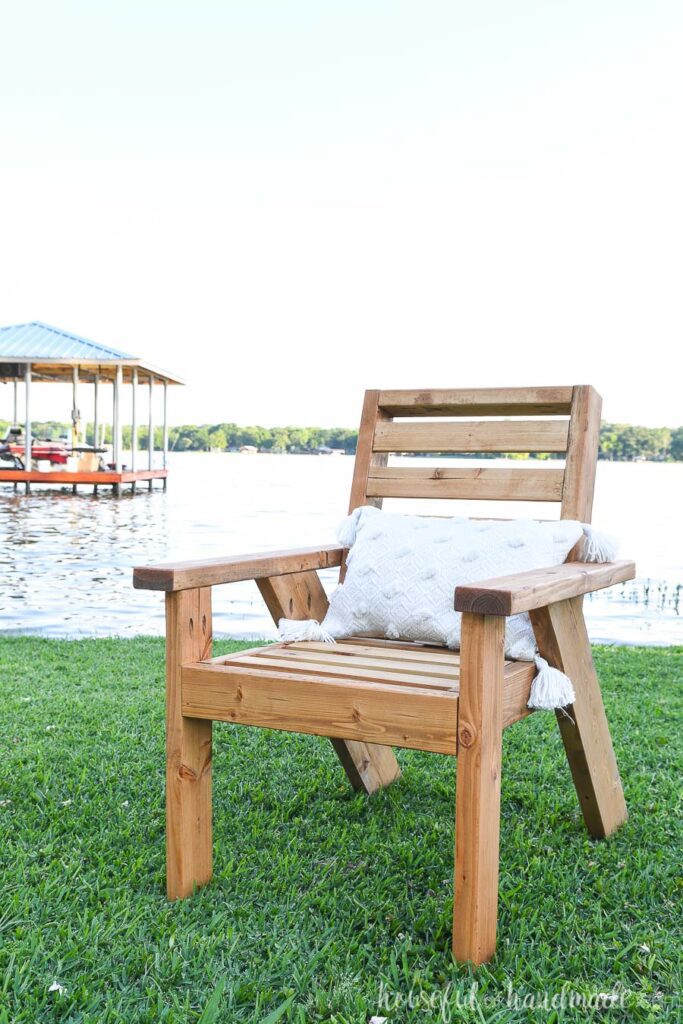
Using the same modern Adirondack-esque design, I made an adult sized outdoor chair big enough to lounge in. It is even big enough for me to pull my legs up and sit on them because that is my favorite way to sit!
Or if you want some laying flat lounging, check out these outdoor chaise lounge chairs that match these amazing chairs.
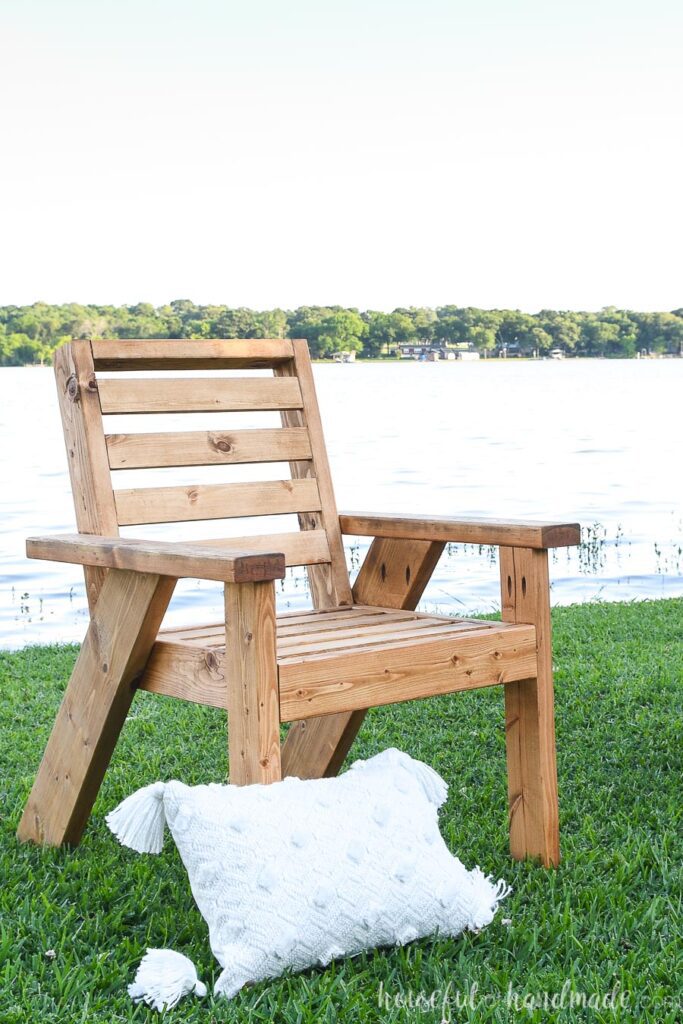
I love the 2×6 angled back leg on the chairs. It makes them super sturdy and impossible to tip over. Perfect if you have kids that are prone to pushing back on their chairs.
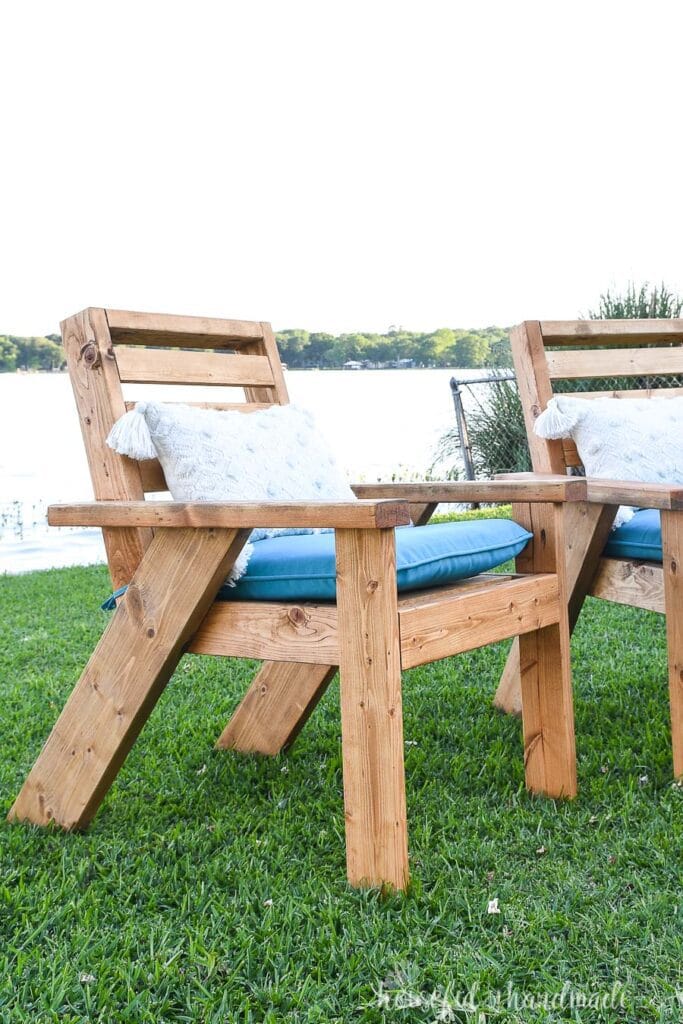
The seat has an angled back to make it easy to relax and lounge, but not too far back that you have to pull yourself out of it.
And the back of the chair is comfy with or without a cushion. Perfect for easy outdoor living!
Printable PDF Woodworking Plans
You can grab the PDF woodworking plans for these lounge chairs here.
Build matching outdoor furniture for your patio or yard with these other outdoor furniture plans.


Or Bundle and Save 30%!
Get the PDF plans for the complete matching outdoor furniture set in a bundle and save.
How to Build an Outdoor Lounge Chair
Tools & Materials
Recommended Tools:
- Miter saw
- I recently upgraded to this larger sliding miter saw (watch for it to go on sale), but these chairs were built with this inexpensive miter saw that I loved.
- Pocket hole jig
- I use the Kreg 720 since I do a lot of builds, but their less expensive 520 jig or 320 jig are great jigs for beginners or small spaces. Find the best Kreg pocket hole jig for you here.
- Drill
- Impact driver (optional, but I love not having to switch bits with the drill)
- Measuring tape
- Speed square
- Sander
Supplies:
- PDF Build Plans
- Lumber-
- (1) 2×6 board, 8’ long
- (3) 2×4 boards, 8’ long
- (2) 1×3 boards, 8’ long
- 2 1/2” pocket hole screws
- 1 1/4” pocket hole screws
- Wood glue
- Sandpaper
- Outdoor paint/stain/sealer
- 20″ x 20″ outdoor cushions or pillows (optional)
CUT LIST
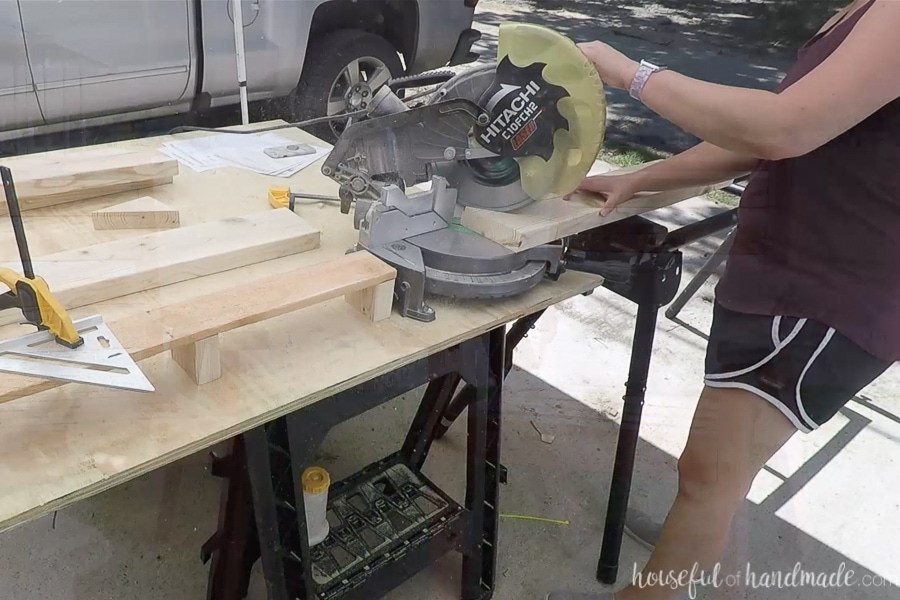
Cut out the pieces according to the detailed cut list in the build plans.

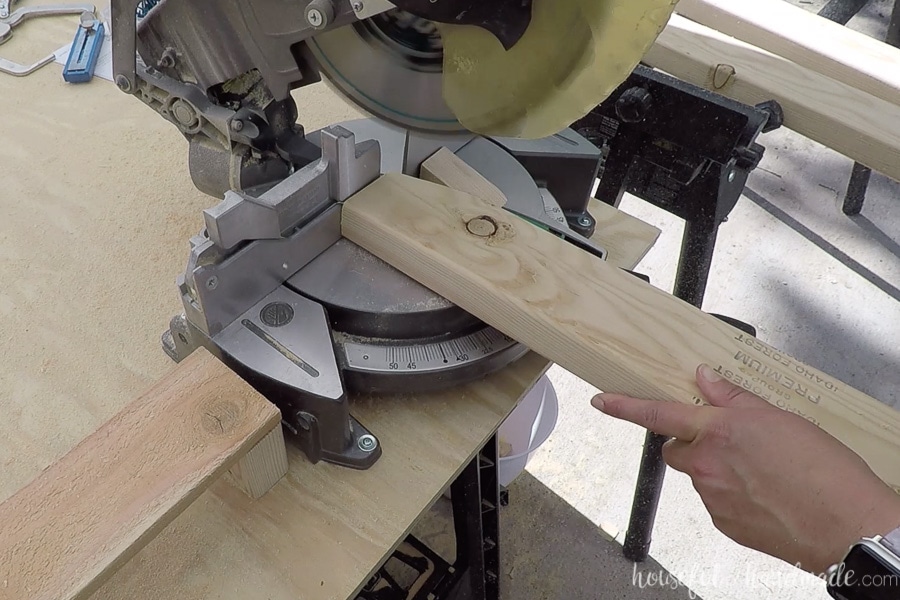
My miter saw was not big enough to cut the 2×6 boards at an angle so I had to do it in 2 cuts.
You can also cut them with a circular saw.
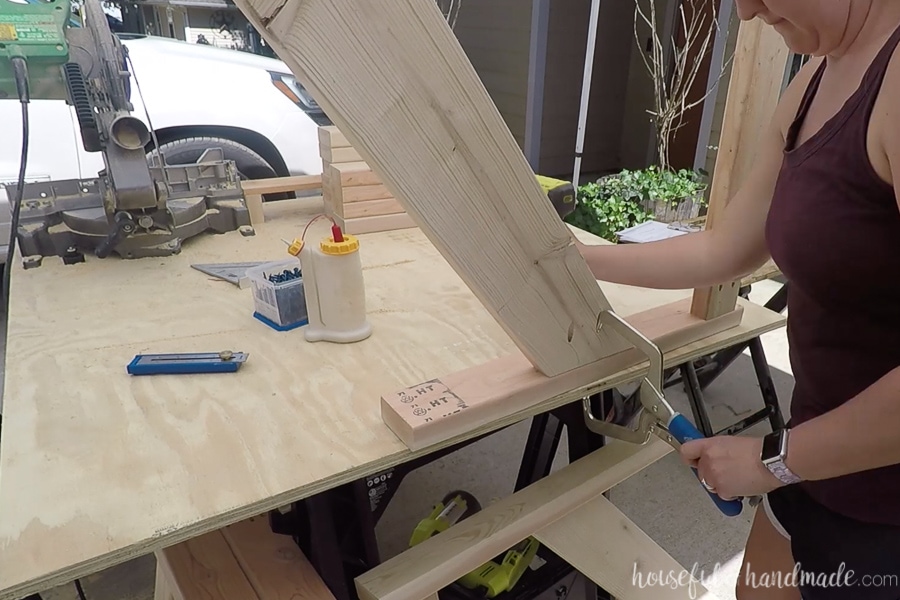
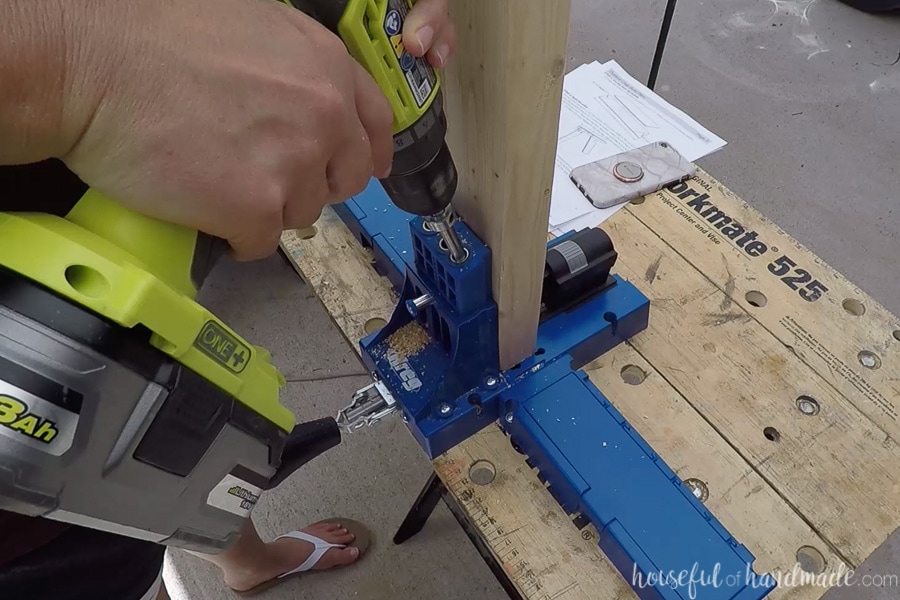
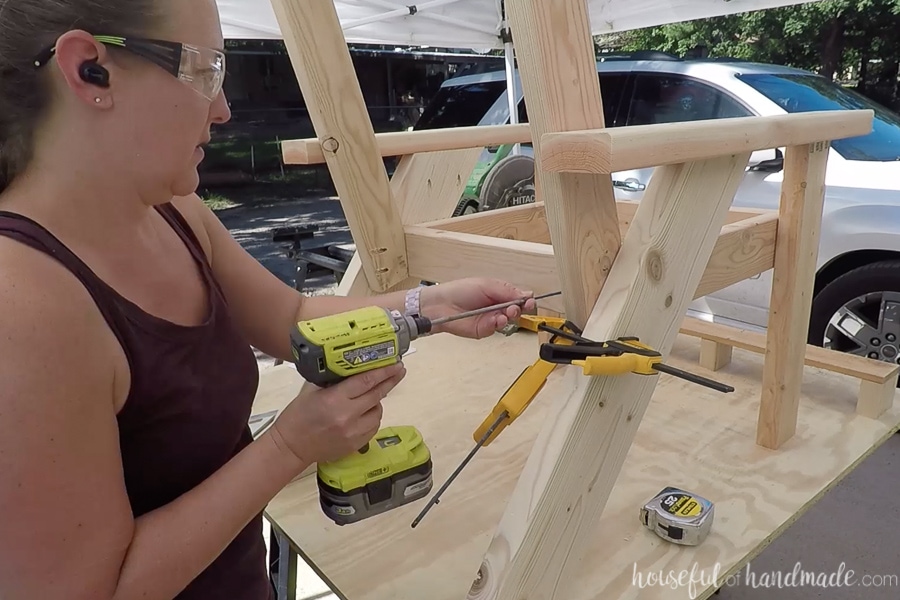
STEP 1- Build the sides
With the pocket hole jig set for 1 1/2″ thick lumber, drill pocket holes in the ends of the leg pieces.
Attach them to the bottom of the arm rest with wood glue and pocket hole screws.
STEP 2- Build the seat base
Drill pocket holes in all 4 of the seat frame pieces.
Make sure to offset them so that the ones on the side will not line up with the ones on the front/back.
The front/back pocket holes will be used to attach the seat frame between the legs later.
Build a box with the seat pieces so the sides are between the front/back.
Secure with wood glue and 2 1/2″ pocket hole screws.
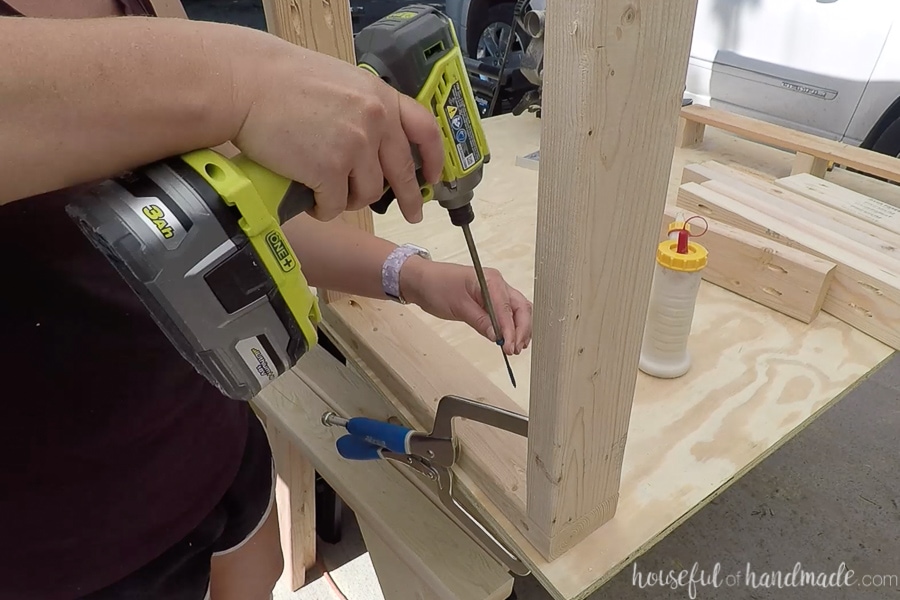
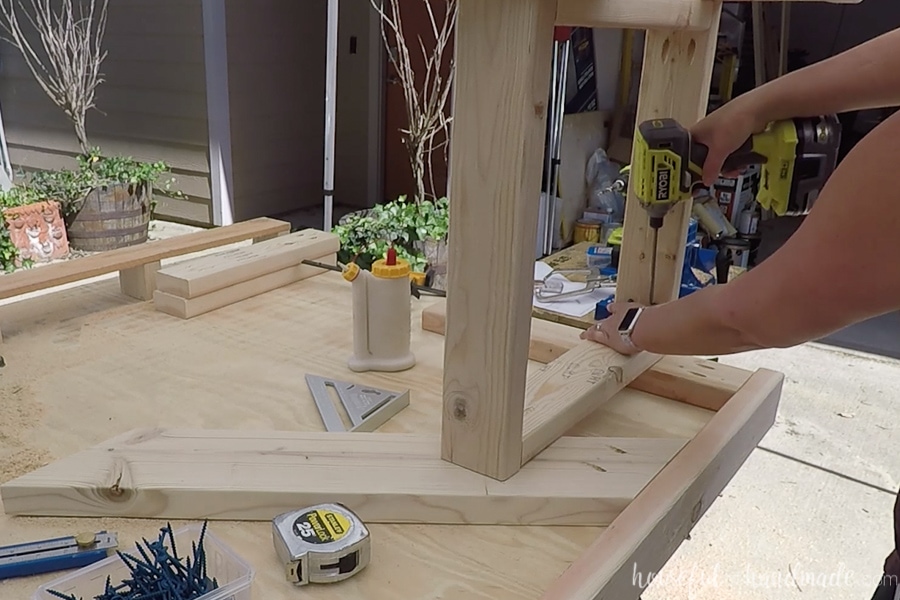
STEP 3- Attach the seat base
Attach the legs to each side of the seat frame according to the diagram the plans.
Secure it with wood glue and 2 1/2″ pocket hole screws into the leg pieces.
STEP 4- Build the back rest
Cut the 15 degree angle off the front of the seat back boards using the detailed measurements in the build plans.
I used my miter saw to cut the angle, but you could also do it with a circular saw.
Drill 2 pocket holes in this angled part and 2 pocket holes in each end of the seat back top piece. Attach the top piece between the side pieces.
Make sure the angled part is facing forward on both pieces with the pocket holes on the inside.
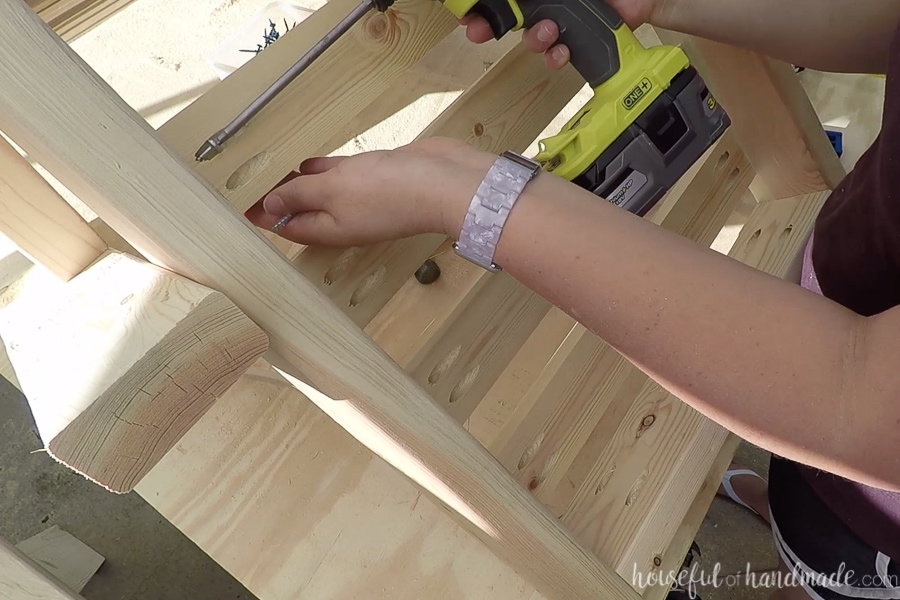
Clamp the seat back to the back legs so the angled part is flush with the 2×4 seat frame. Secure with wood glue and pocket hole screws into the seat frame.
Then secure the sides of the seat back to the arm rest with 1 screw on each side.
STEP 5- Add seat and back slats
Cut the seat and back slat boards from the 1x3s.
Drill 2 pocket holes set for 3/4″ thick material on each side of these boards.

Secure them between the seat frame and back, evenly spaced, with 1 1/4″ pocket hole screws and wood glue.
You may need to slightly tap the boards into place with a hammer or mallet if your boards fit too tight.
And you are done!
Premium plans include:
- Recommended Tools
- Shopping list
- Easy to read cut list table
- Cut diagrams
- Step-by-step instructions with 3D renderings
- Helpful resources
- BONUS: 3D SketchUp file
Sand and stain your new chairs.
I used a deck/outdoor furniture water sealer to protect my chairs.
They will need a new coat of sealer 1-2 times a year, but the color is amazing and looks like raw, unglossy wood, which is what I was going for.
Easy, breezy, outdoor lounge chairs!
Happy building!