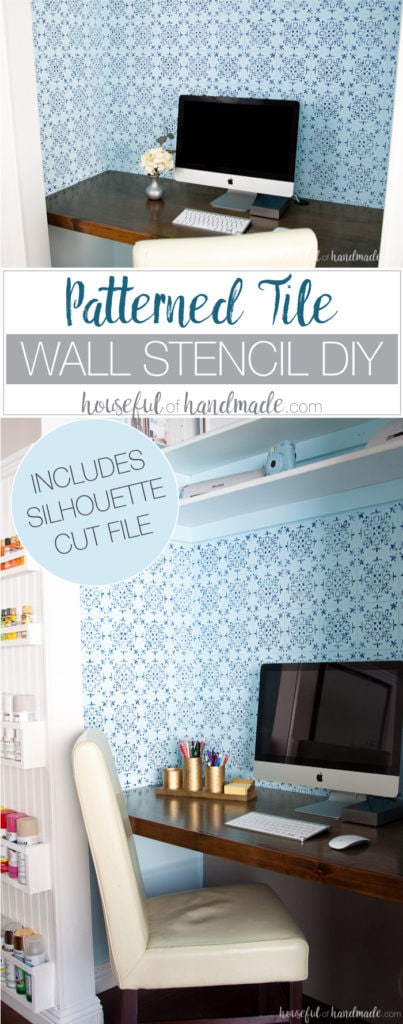
It’s another month of the Silhouette Creator’s Challenge. I was sad I missed last month, but I was so busy trying to get my office and craft room remodel done (with a trip to Hawaii snuck in there too), that I had to skip it.
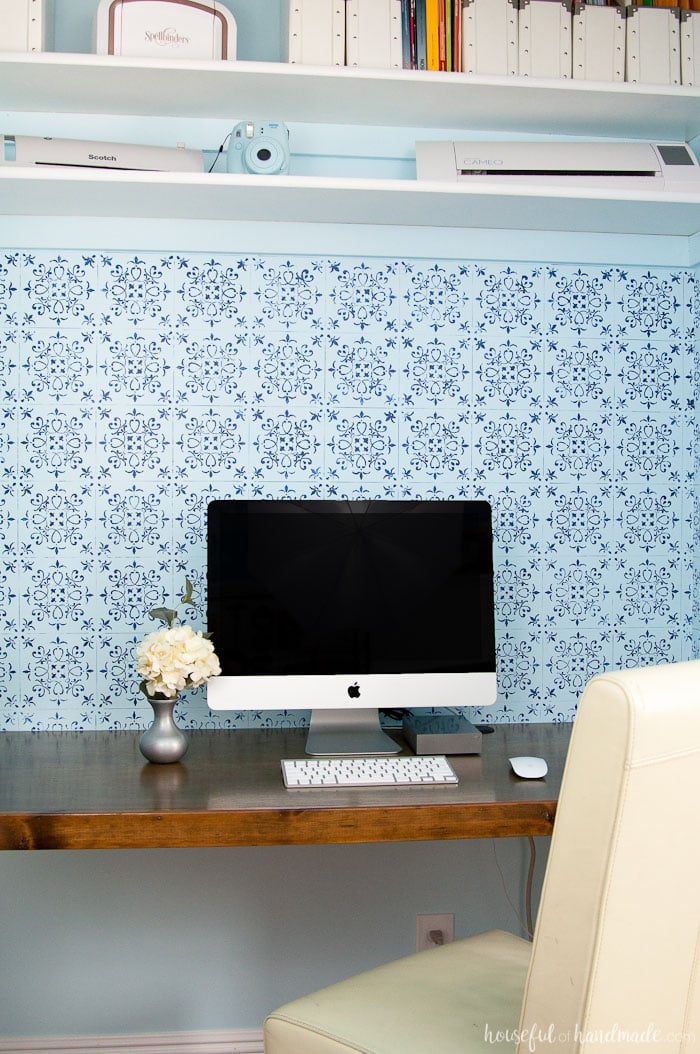
However, when Cat from Pocket of Posies told me that this month’s challenge was “Stencil It”, I knew it was the perfect opportunity to share the patterned tile wall stencil DIY I did in my new office space.
This post may contain affiliate links. As an Amazon Associate I earn from qualifying purchases. Click here to read my full disclosure policy.
In case you didn’t get a chance to see the office & craft room remodel, you can check out the reveal here (and Week 1, Week 2, Week 3, and Week 4 updates too).
The entire room was remodeled on a budget of only $100!
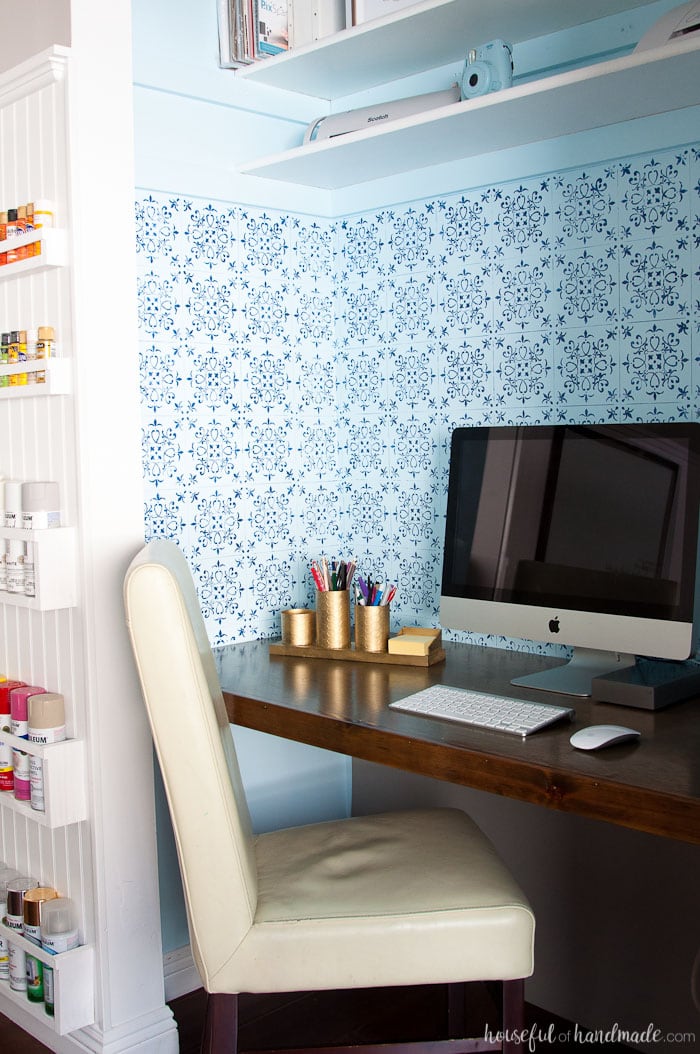
That’s insane I know, but it made me really think twice about where to spend my money and get creative with lots of DIYs. I built my desk in one of the closets, but it needed a little something more.
This is not my first homemade wall stencil. I made one at the end of last year for my son’s room. It turned out so amazing! You can see the first layer here, but sadly I haven’t shared the second layer that makes it look really awesome (I will put that on to-do list and promise to share soon).
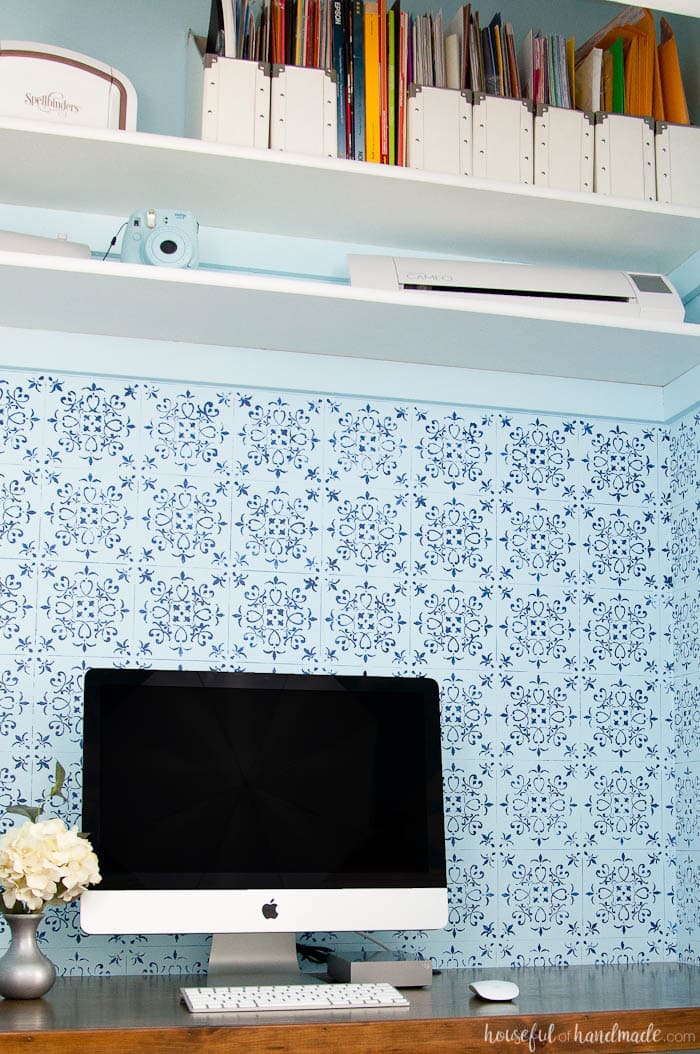
Since I already had a few extra thin plastic sheets lying around, I decided to use them to make a DIY wall stencil for my desk area too.

The hardest part was deciding what design I wanted for my new office space. Since I have been all heart eyes for the beautiful patterned tiles I’ve been seeing in lots of home remodels lately, I decided to make a faux patterned tile area with my wall stencil.
It also gives my desk area a little bit of girly sophistication. My office area is the perfect place to add a little bit of the girly decor I love.
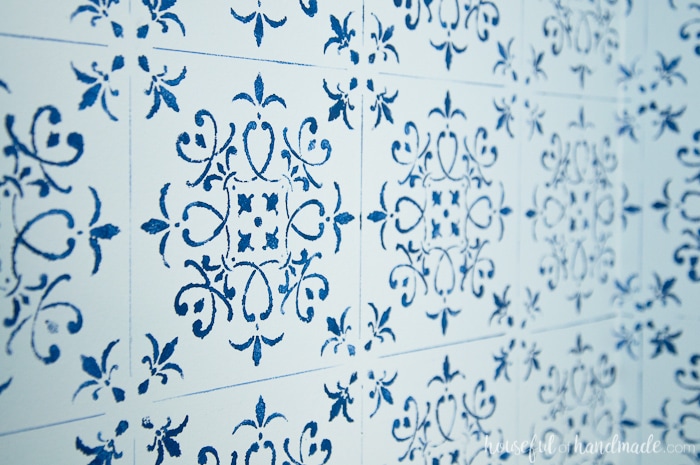
I designed the patterned tile wall stencil DIY with lots of flourishes and fleur-de-lis so it looks like a hand painted patterned tiles.
Then I painted the stencil with a loose hand so they weren’t perfect, it added even more to the hand painted look. This was the perfect way to get the high-end look I love within my budget.
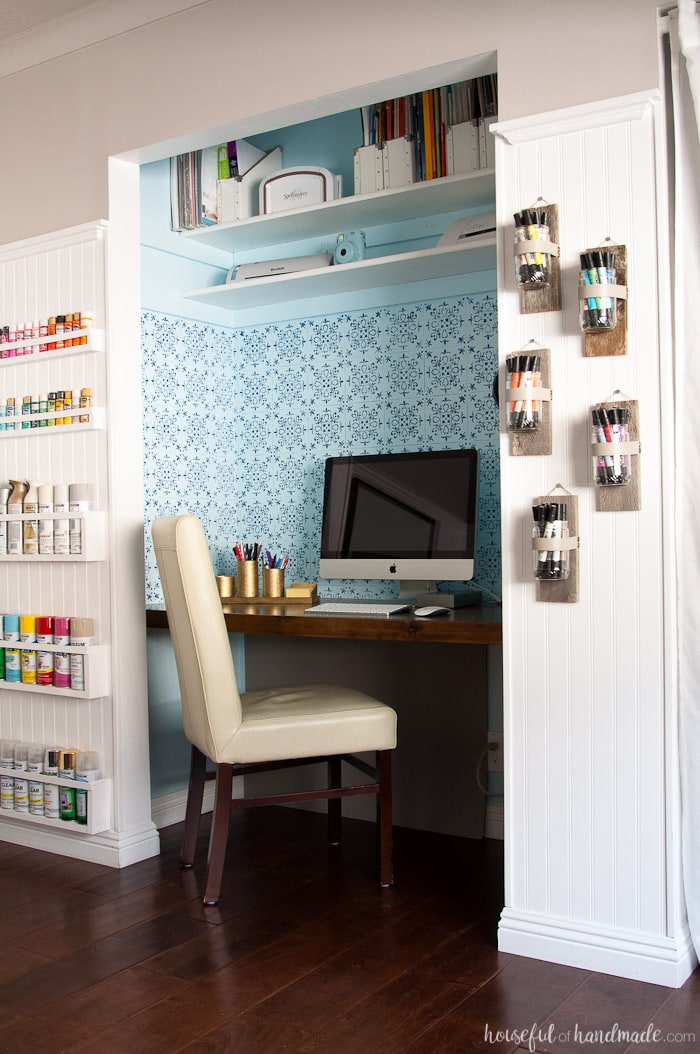
If you want to stencil your own room, I have all the details of how to stencil a wall, as well as the Silhouette cut file for the patterned tile wall stencil I used.
How to Make A Patterned Tile Wall Stencil DIY
Supplies:
- Patterned tile stencil cut file
- I am sharing the cut file for the patterned tile wall stencil in my subscriber library. Click here to subscribe to my weekly newsletter and gain access to all the freebies. If you already have your password, click here to download it.
- Clear craft plastic
- Silhouette Cameo
- X-acto knife
- Repositionable spray adhesive
- Wall paint
- Foam pouncers
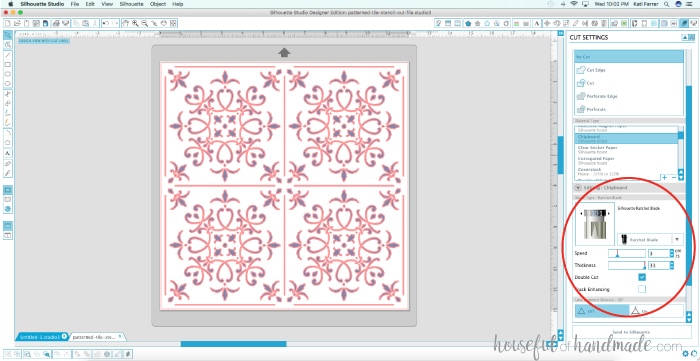
Start by cutting the patterned tile pattern out on the clear craft plastic with your Silhouette. Set the Blade Depth to 10, the Speed to 3 , the Depth to 33 and check the box for Double Cut. Also, I learned that the plastic needs a nice sharp blade to cut cleanly.
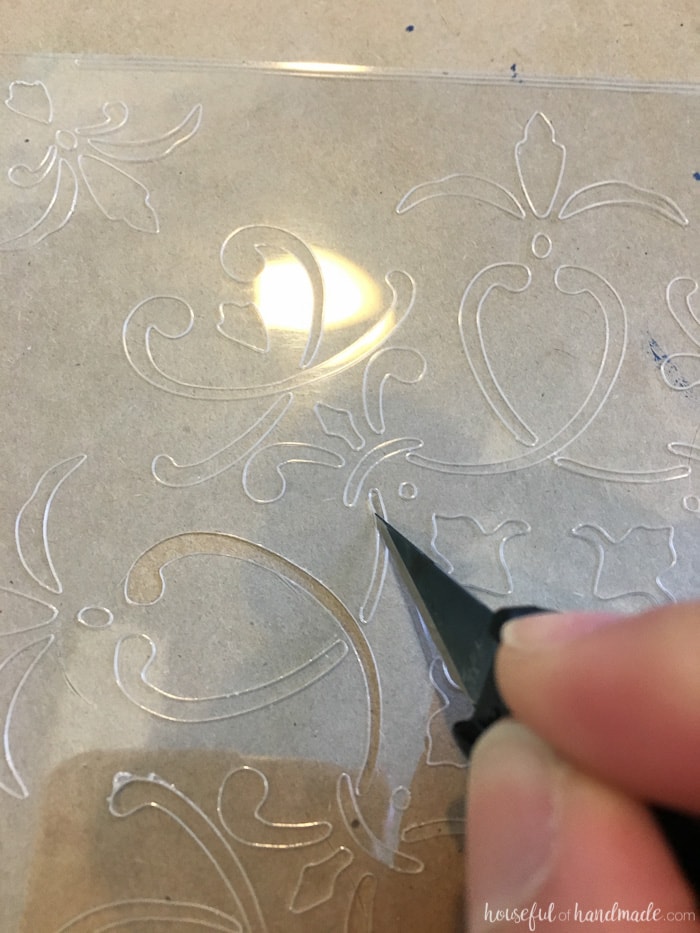
If you have any parts that do not cut clean through, you can use an X-acto knife to carefully release them from the wall stencil.
Spray the back of the wall stencil with the repositionable spray adhesive. This will help the stencil stick to the wall while you paint it so you have cleaner lines.
Place the stencil on the wall and start painting it with the paint. I used a navy blue Behr paint sample and it only took about 1/3 of the sample for the entire desk area. When painting you want to only dap at the wall with the pouncer, never rub back and forth because that will push paint under the stencil and you will have messier lines. I wanted a hand-painted look to the patterned tile look so I left the stenciling a little uneven and splotchy. It gives the entire look a lot of texture and depth.
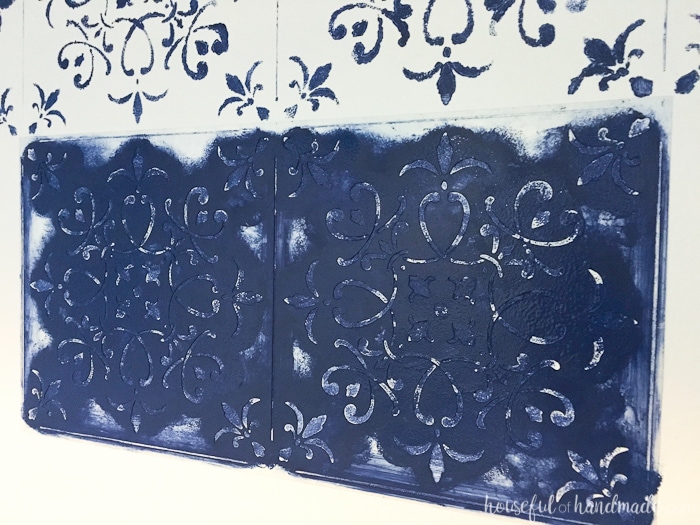
After you finish painting the first stencil, carefully remove the stencil and reposition by lining up the “grout lines” on the outer edge of the stencil. Then paint again and continue around the entire wall area.
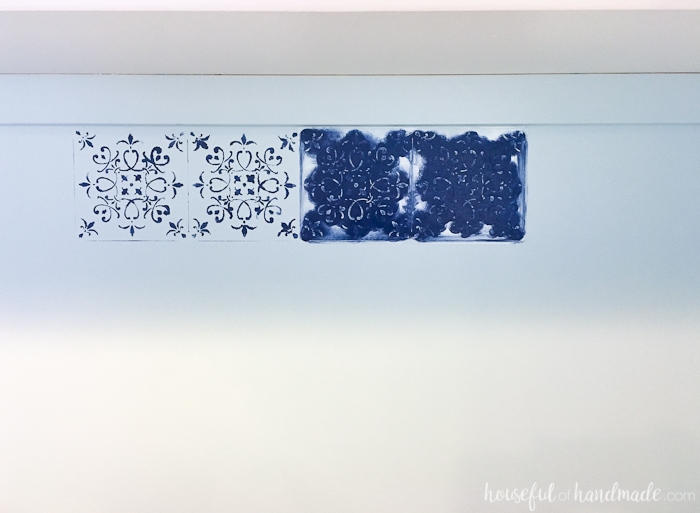
I discovered that the paint can start to gum up the stencil and it is helpful if you rinse the paint off every 4-5 times. I rinsed mine in the bathtub by gently rubbing the paint off the stencil. It will not come completely clean but will keep the edges of an intricate stencil cleaner. Reapply the spray adhesive as needed to keep the back of the stencil tacky.
I did the entire back wall of my desk area up until the areas the stencil would not be whole. Then I cut the first stencil I made. Since I centered the stencil on the wall, the amount of patterned needed on either side was even. Using the X-acto knife and a ruler I carefully scored the back of the stencil but made sure not to cut all the way through. Then I folded the stencil so the cut edge would fit in the corner.
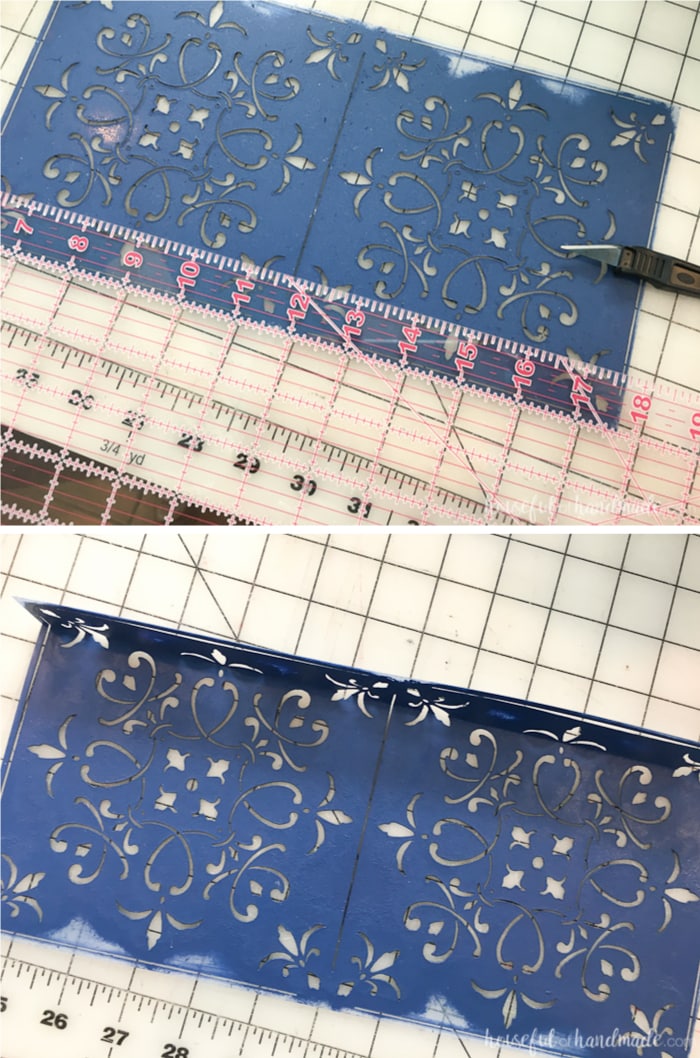
Put the altered stencil in the corner and carefully paint the area. Repeat for all corner areas.
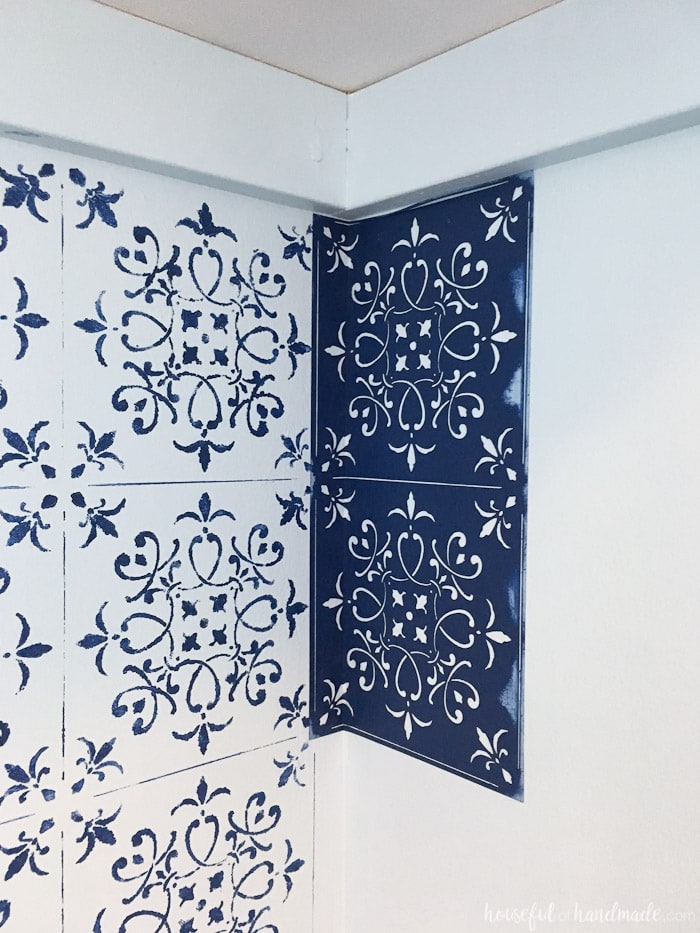
Cut another stencil to use for the rest of the area and continue until you have painted the entire wall. Then sit back and admire your work.
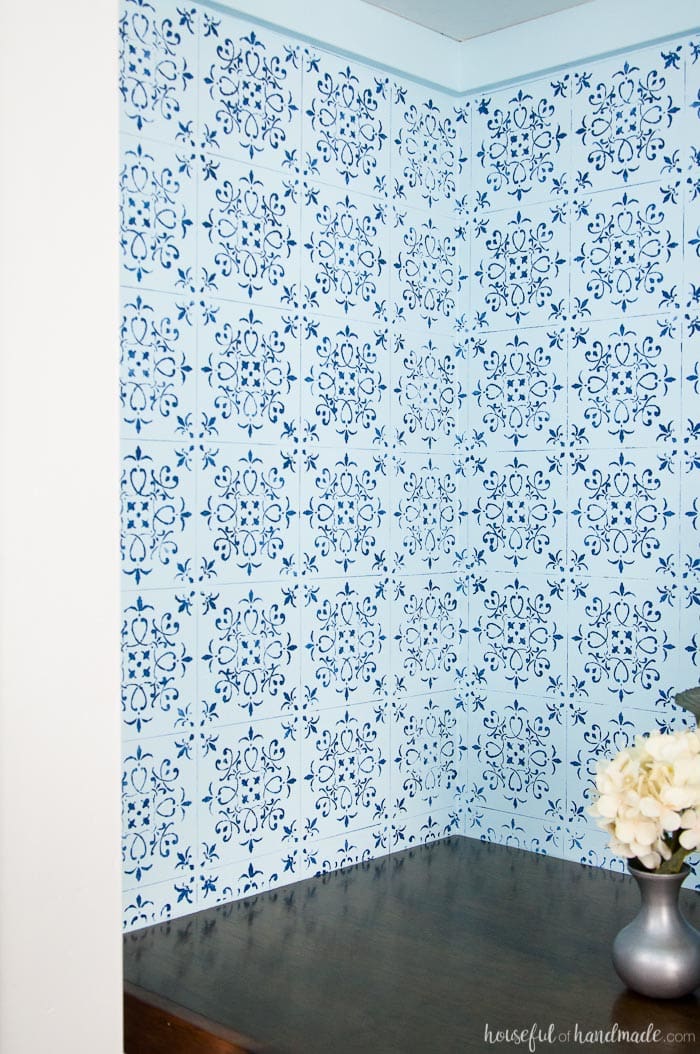
I couldn’t be happier with how it turned out, and for practically nothing! Now I have a beautiful place to get all my work done and hopefully be more productive because of it. And if I don’t want to be more productive, at least I have a very fun focal wall to look at 🙂
Don’t forget to check out these other stencil project for the Silhouette Creator’s Challenge.

Silhouette Kitchen Sign – C’mon Get Crafty
Stenciled Mr. & Mrs. Wood Slice – Dwell Beautiful
DIY Stenciled Door Mat – Two Purple Couches
“Every Child is an Artist” DIY Kids Art Display Sign – Pocketful of Posies
Patterned Tile Wall Stencil – Houseful of Handmade

