

You can never have too many picture frames, especially when you learn how fast and easy they are to make.
I needed some new picture frames for my fall mantel, instead of heading to the store, I headed to the garage. In less than an hour, I had 2 rustic picture frames and that included taking pictures to share.
You will love these easy DIY picture frames and find so many places to use them. They also make amazing gifts!
This post may contain affiliate links. As an Amazon Associate I earn from qualifying purchases. Click here to read my full disclosure policy.
Fast DIY Project
To keep my pictures frames extra quick to build, I didn’t sand them before painting. Instead, I used a dry brush technique to highlight the texture of the inexpensive wood I had laying around.
But you can build your picture frames with nicer wood to minimize sanding time, or they may take closer to 30 minutes to get the perfect finish!
Really the longest part of building these frames is waiting for the paint to dry, and you don’t have to wait around for that.
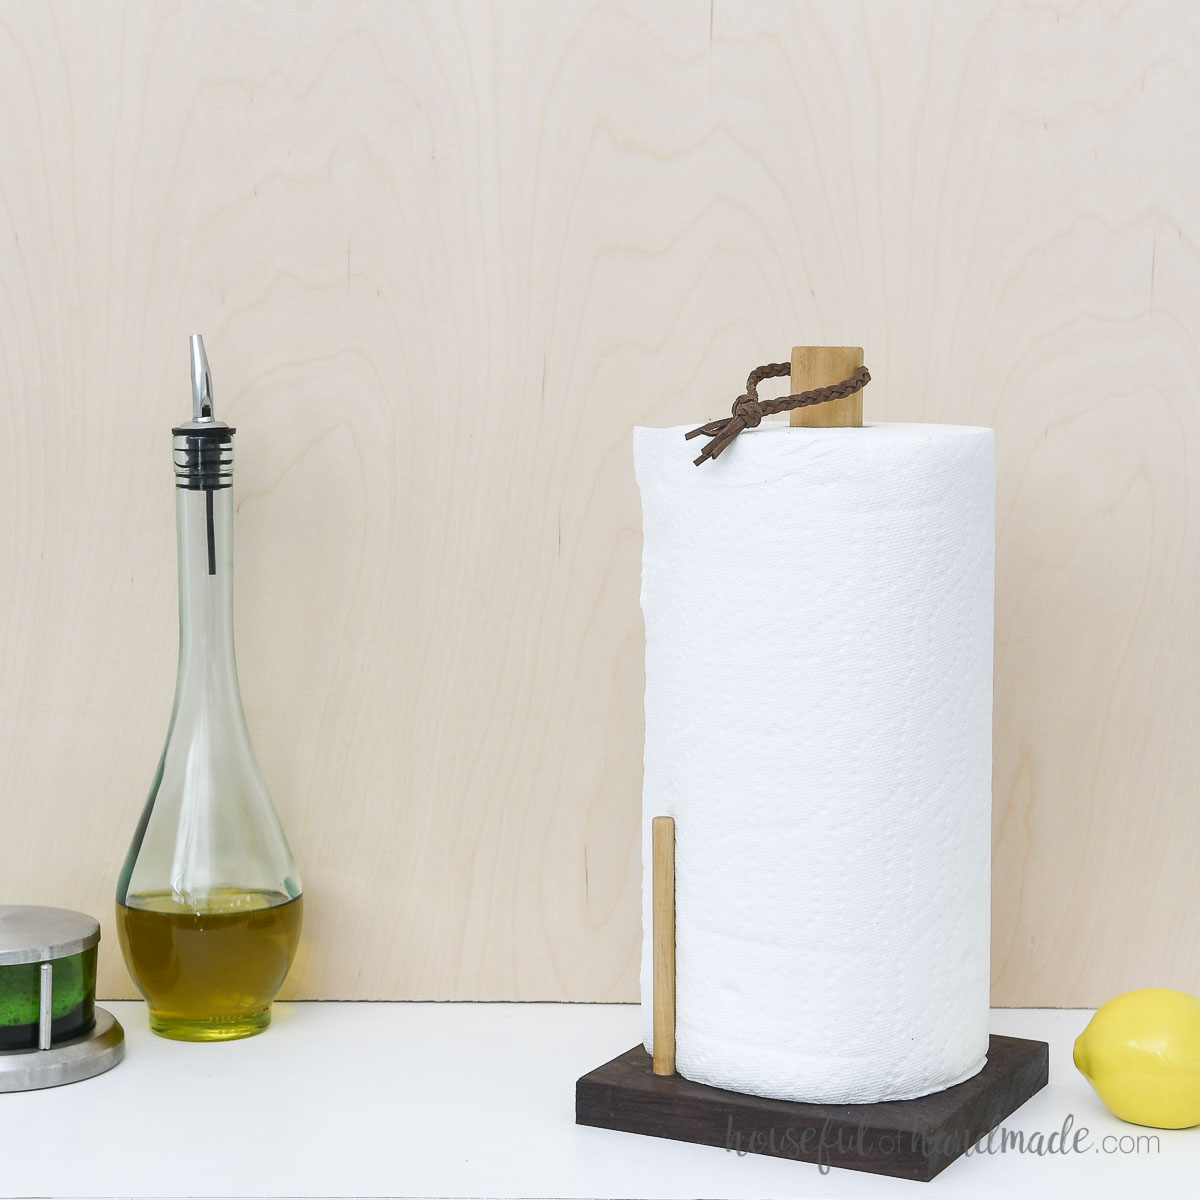
More Quick & Easy Builds
Love a fast project? Check out these other easy DIYs you can finish quick!

How to Make a Picture Frame
Tools & Materials
Recommended Tools:
- Miter saw
- I recently upgraded to this larger sliding miter saw (watch for it to go on sale), but this project was built with this inexpensive miter saw that I loved.
- Pocket hole jig or Brad nailer
- Drill
- Impact driver (optional, but I love not having to switch bits with the drill)
- Speed square
- Face clamps
- Optional: Router or Table saw
- See Step 1 for a trick to building frames without cutting in a groove.
- Optional: Sander
Supplies:
- 1x boards – width is up to you!
- 1 1/4″ pocket hole screws or brad nails
- Wood glue
- Chipboard, cardboard or foam board
- Tape, turn button fastener or glazing points
- Optional: 1/4″ – 1/2″ trim or moulding
- Optional: Keyhole hangers or D ring hangers
Overall Dimensions
You can build your picture frames any size you want!
These instructions include easy to follow steps and formulas for you to figure out how much wood you need and how to cut your pieces for any picture frame you can dream up.

Cut List
The size you cut your pieces will depend on the size of your picture and the board width. What size to cut your pieces is detailed in the printable PDF plans.
How Much Wood Do You Need to Buy?
How much wood you need depends on how big of a picture frame you want to build and what size boards you are using. Once you decide on that you can figure out your shopping list.
You will need to know two things to figure out how much wood to buy:
- The picture height (PH) and picture width (PW)
- The width of the 1x board (BW)
Then use the following formula to determine how long of board you need.
(PH + (2 x BW) + PW + (2 x BW)) x 2
So if you want to build an 8×10 picture frame using 1×3 boards* (actually width is 2 1/2”), you will need:
(10 + (2 x 2.5) + 8 + (2 x 2.5)) x 2 = 56”
I recommend getting a few extra inches, so I would buy 60”, or 5’, of 1×3 to build the picture frame in the example.
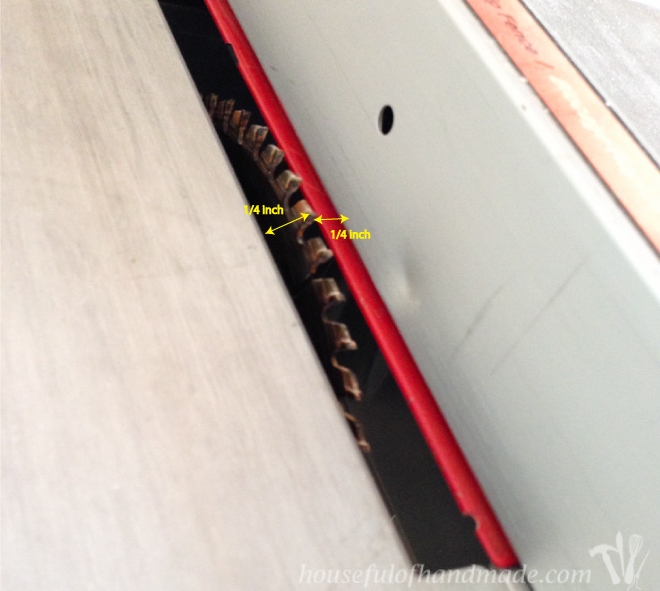
STEP 1- Cut a groove
Adding a groove on the back inside of the frame creates a spot for the picture to sit into the frame with glass and backing.
Cut a 1/4” deep by 1/4” groove in one side of your board on the back with a router or table saw.
If using a table saw, set the blade to 1/4” tall and 1/4” away from the fence. Run the board through twice, once with the back against the fence and once with the side against the fence.
If you do not have a way to cut a groove, you can glue 1/4” to 1/2” trim or square dowels to the edge of your board.
Set the trim in about 1/4” from the back to create a groove. Use blue painters tape to hold the trim in place until the glue fully dries.
You can create a lot of variety with trim on your picture frames.
STEP 2- Cut your pieces
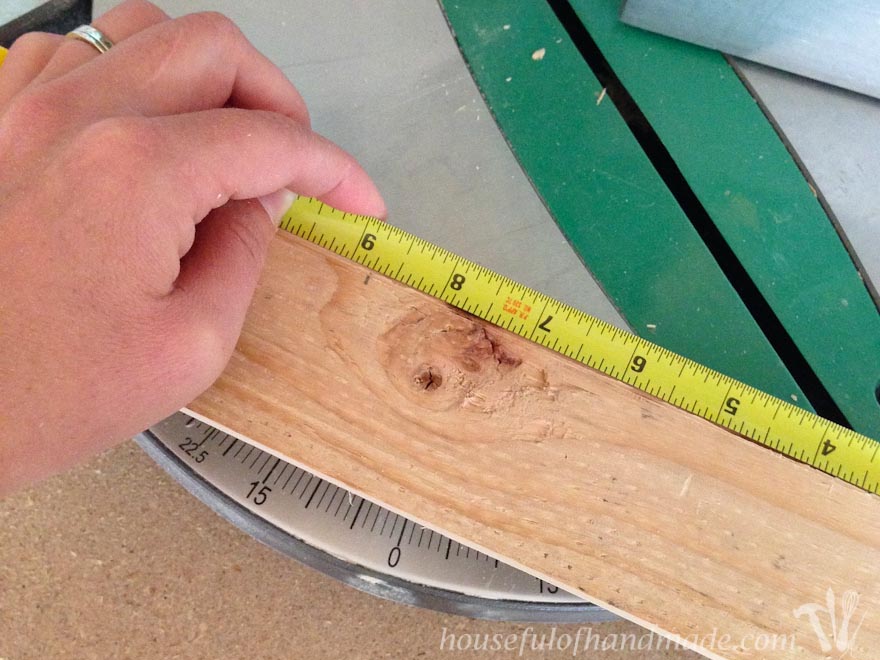
You want the window of the frame slightly smaller than the picture and the final groove slightly larger so you have some wiggle room. To do this, we will measure from the inside edge of the groove.
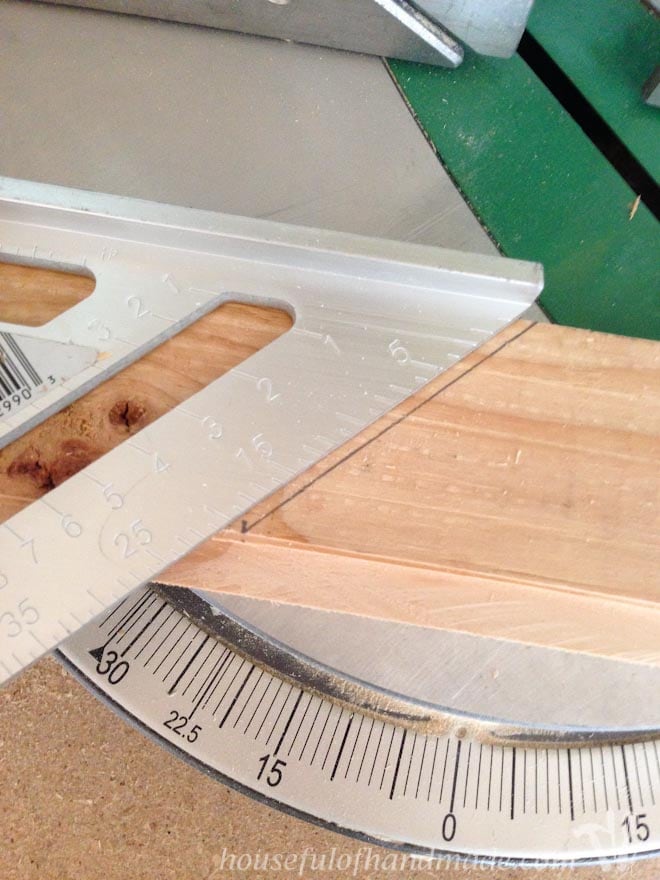
Draw a line on one end of your board so it is angled 45 degrees toward the groove side of the board.
Measure from that line, where it intersects the groove, the picture height + 1/4”. Make a mark.
I was using an 8 1/2 x 11 inch paper for my first frame so I measured 8 3/4 inch inside the notch so the opening would be about 8 1/4 inch.
Then draw a 45 degree angled line to intersect that mark. Make sure it is angled toward the groove side of the board. Cut along the angled lines for the frame side piece and repeat so you have 2 sides.
Repeat for the frame top/bottom pieces but this time use the picture width measurement.
As you can see in the picture I cut it wrong the first time and then forgot to take a picture of the correct angle, so pretend it’s right here and try not to cut it wrong like I did.
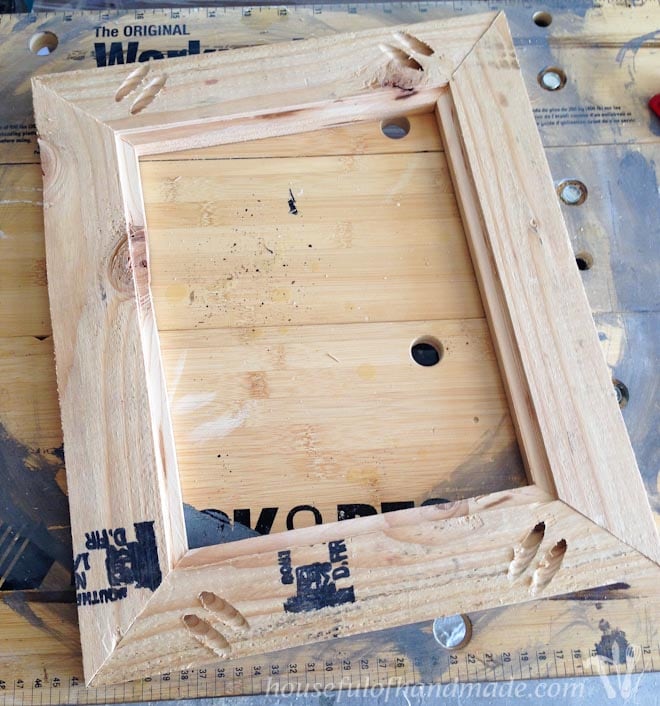
STEP 3- Assemble picture frame
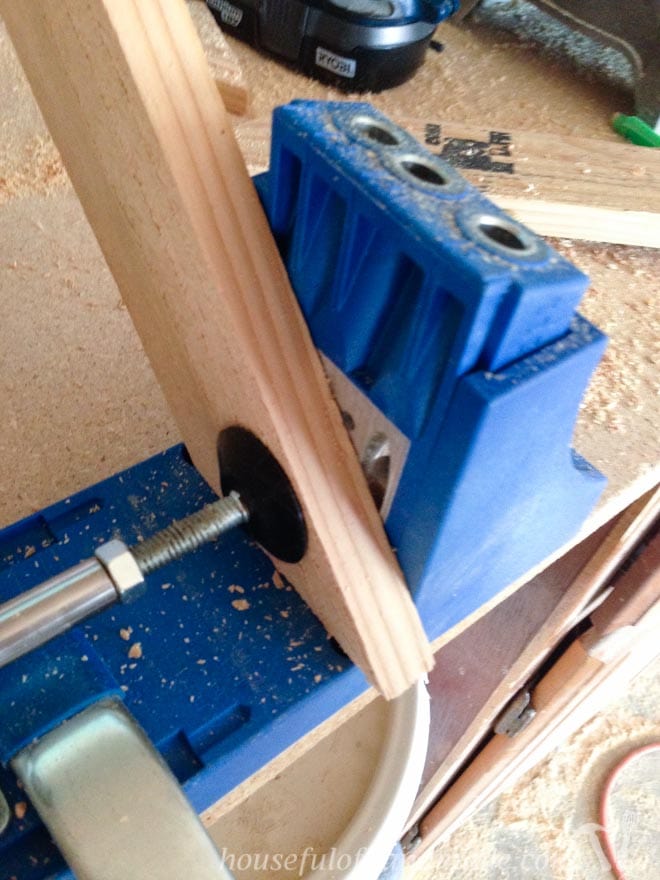
If you are building a frame with 1×3 boards or wider you can assemble them with pocket holes. Use a brad nailer to secure frames built from 1×2 or 1×1 boards.
Thinner boards will not work with pocket holes because there is not enough space for them on the back of the board without being able to see them on the sides.
Drill 1 or 2 pocket holes in the angled ends of the two top/bottom pieces. Make sure to line them up so the are completely inside the board and will not poke out the inside of the frame or groove.
Add wood glue to the angle edge of the frame top bottom piece and clamp it to the side piece. I prefer face clamps for this to help hold the pieces flush on the front and back.
Secure with 1 1/4” pocket hole screws or nails through the sides.
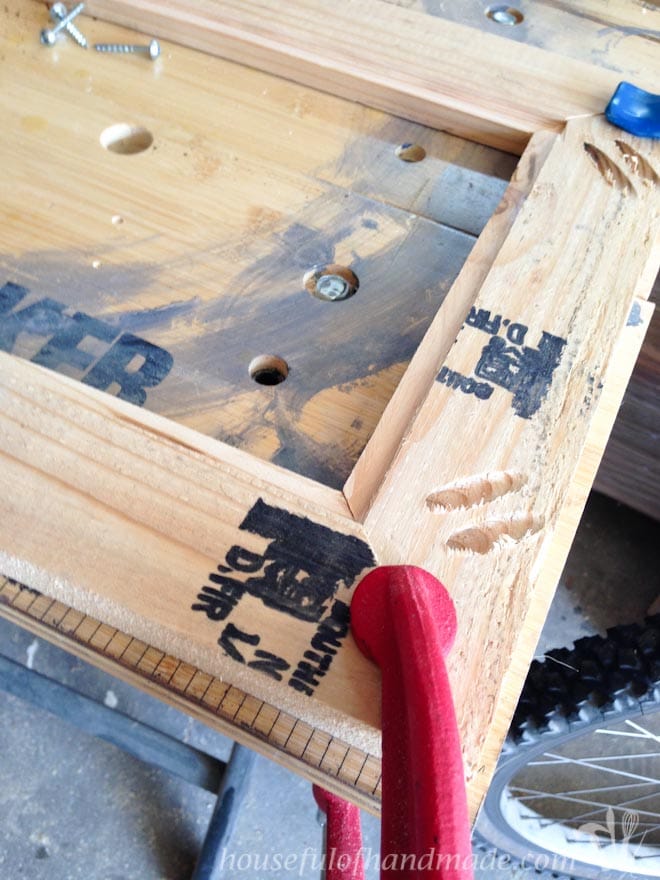
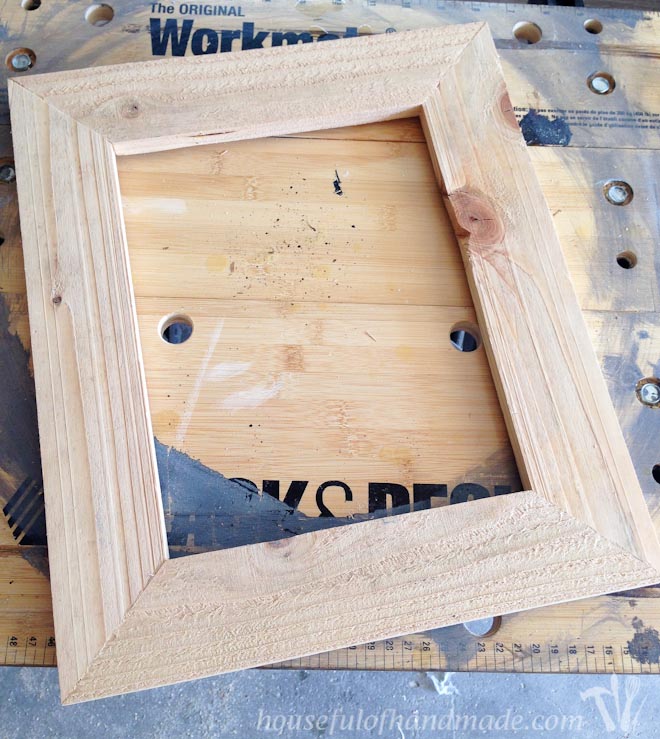
Repeat for all 4 corners until you have a finished frame.
If you only have 1 pocket hole in each seam, it is possible the joint can twist. To prevent this, keep the frame clamped flat while the glue dries fully.
And you’re all done building. Ready for paint.
STEP 4- Finishing
Sand and paint/seal/stain your picture frames however you want.
I wanted my frames to look rustic, so I skipped sanding and let the texture of the wood become part of the finish.
To dry brush the frames, I barely added any paint to the end of the paint brush.
Then quickly brushed this paint over the rough, unsanded wood. Use an old rag to rub off any heavy spots before it dries.
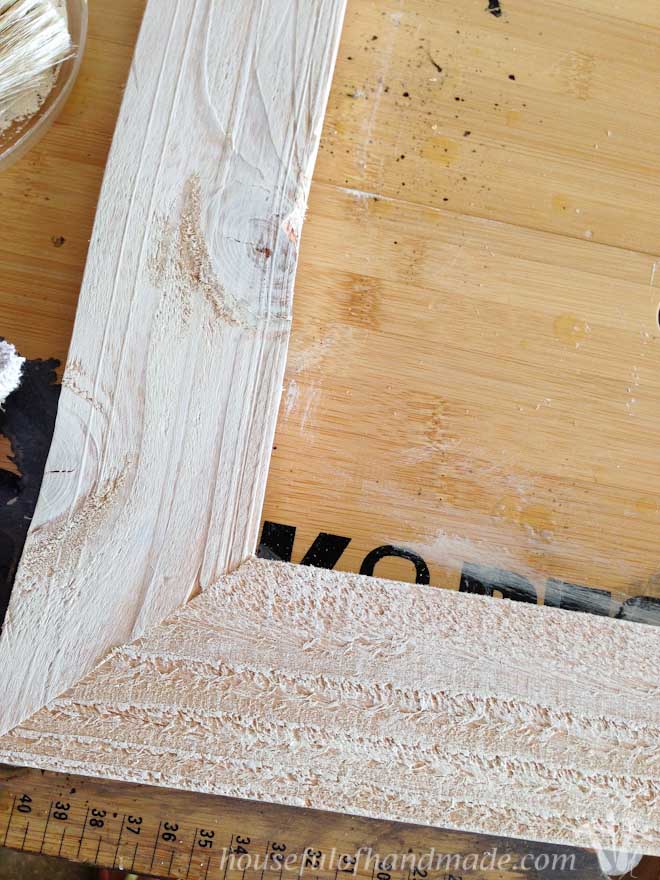
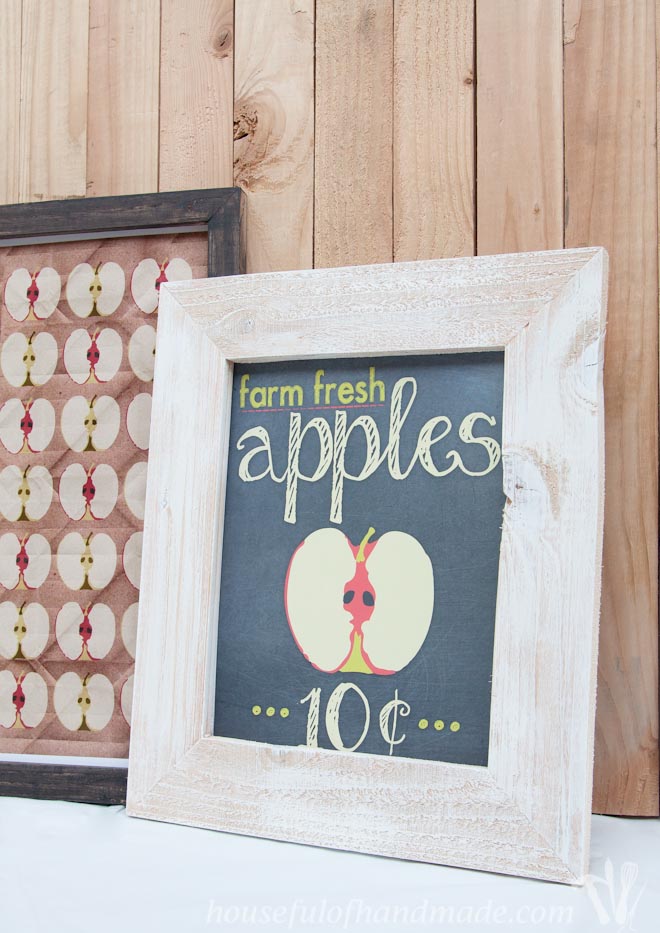
I just love how the texture shows through and it looks so rustic. The paint only took about an hour to dry because it’s such a thin layer.
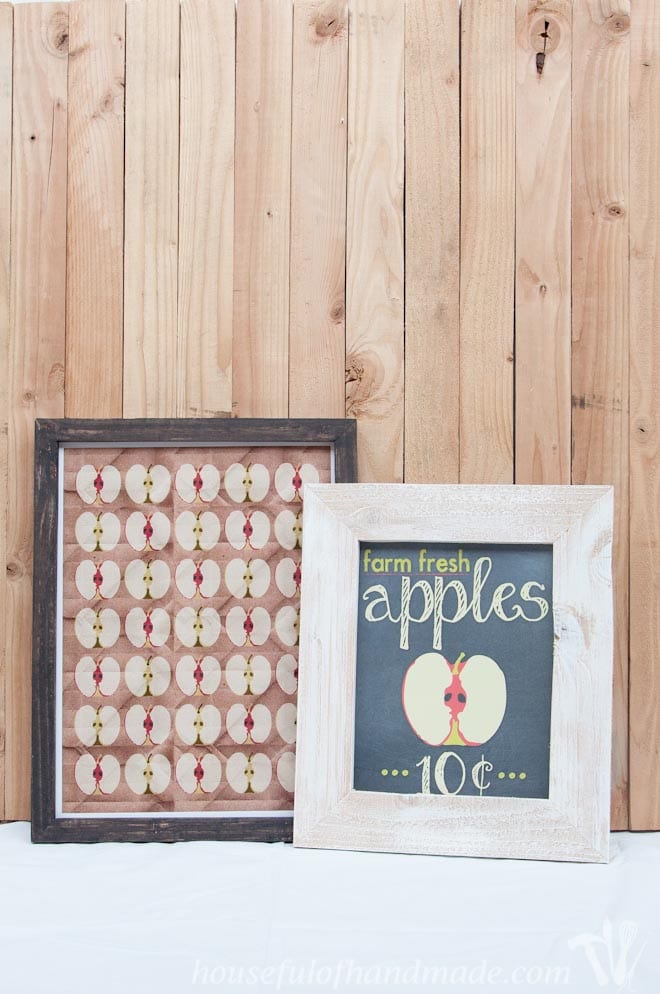
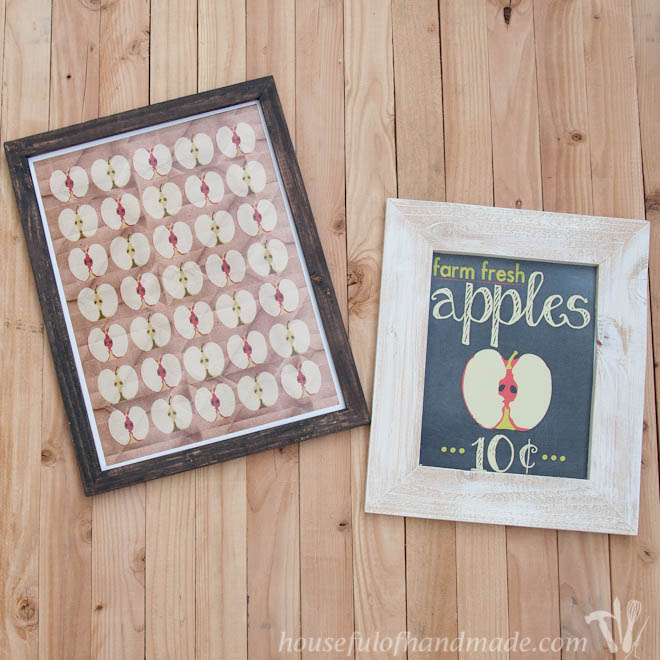
For my 12 x 16 inch frame, I used black paint and the same dry brush technique. It looks like a charcoal stain. I really love how it turned out.

STEP 5- Add photo
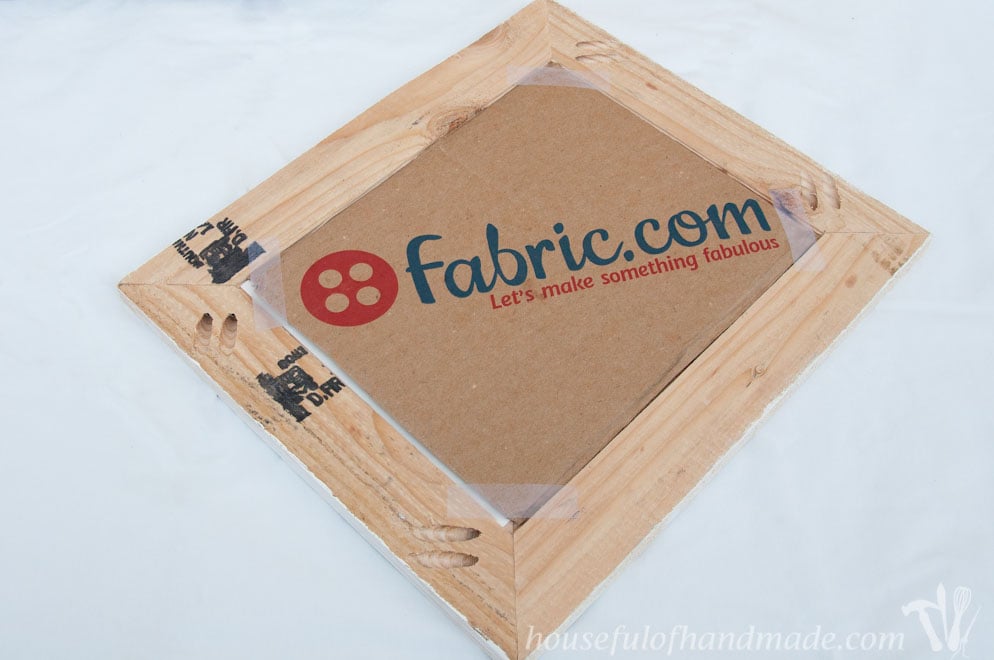
If using glass, add it to your groove. Then place your picture inside.
Place a piece of chipboard, cardboard or foam board behind the picture to support it. Secure the back with tape, turn button fasteners or glazing points.
For picture frames you want to hang on the wall, you will need to add a hanger to it.
If you have a router, a keyhole bit will give you an easy keyhole for hanging. Or you can purchase keyhole hangers that attach to the outside.
Another option, which is my preference for large picture frames, are D ring hangers.
For these, you will want to add one hangers on each side of the picture frame. You can add a wire between them to hang from. Or just place two picture hanging hooks in the walls and hang the D ring directly on them.
And now I have two DIY picture frames. Painted and ready for my mantel.
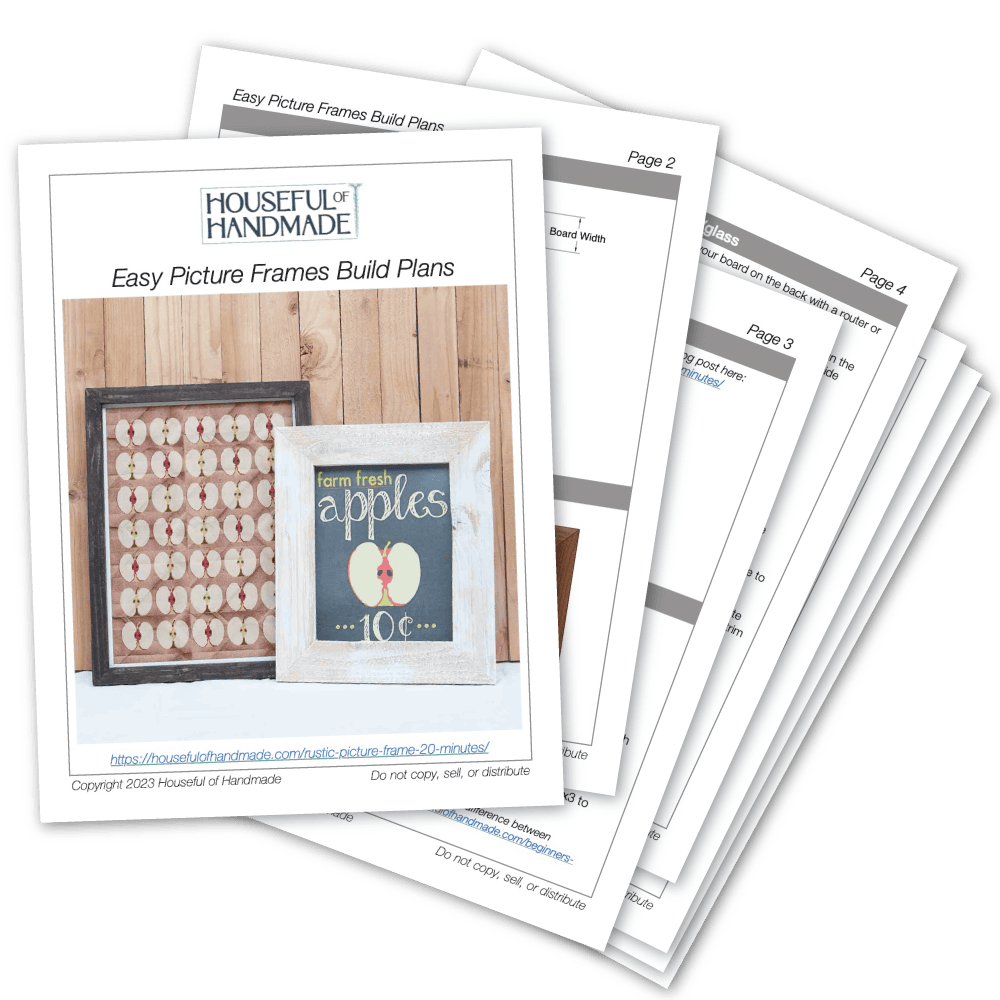
Premium plans include:
- Recommended Tools
- Shopping list
- Easy to read cut list table
- Cut diagrams
- Step-by-step instructions with 3D renderings
- Helpful resources
- BONUS: 3D SketchUp file
I think I may be getting addicted to making these rustic frames. Who else can I build one for?
Happy Building!
