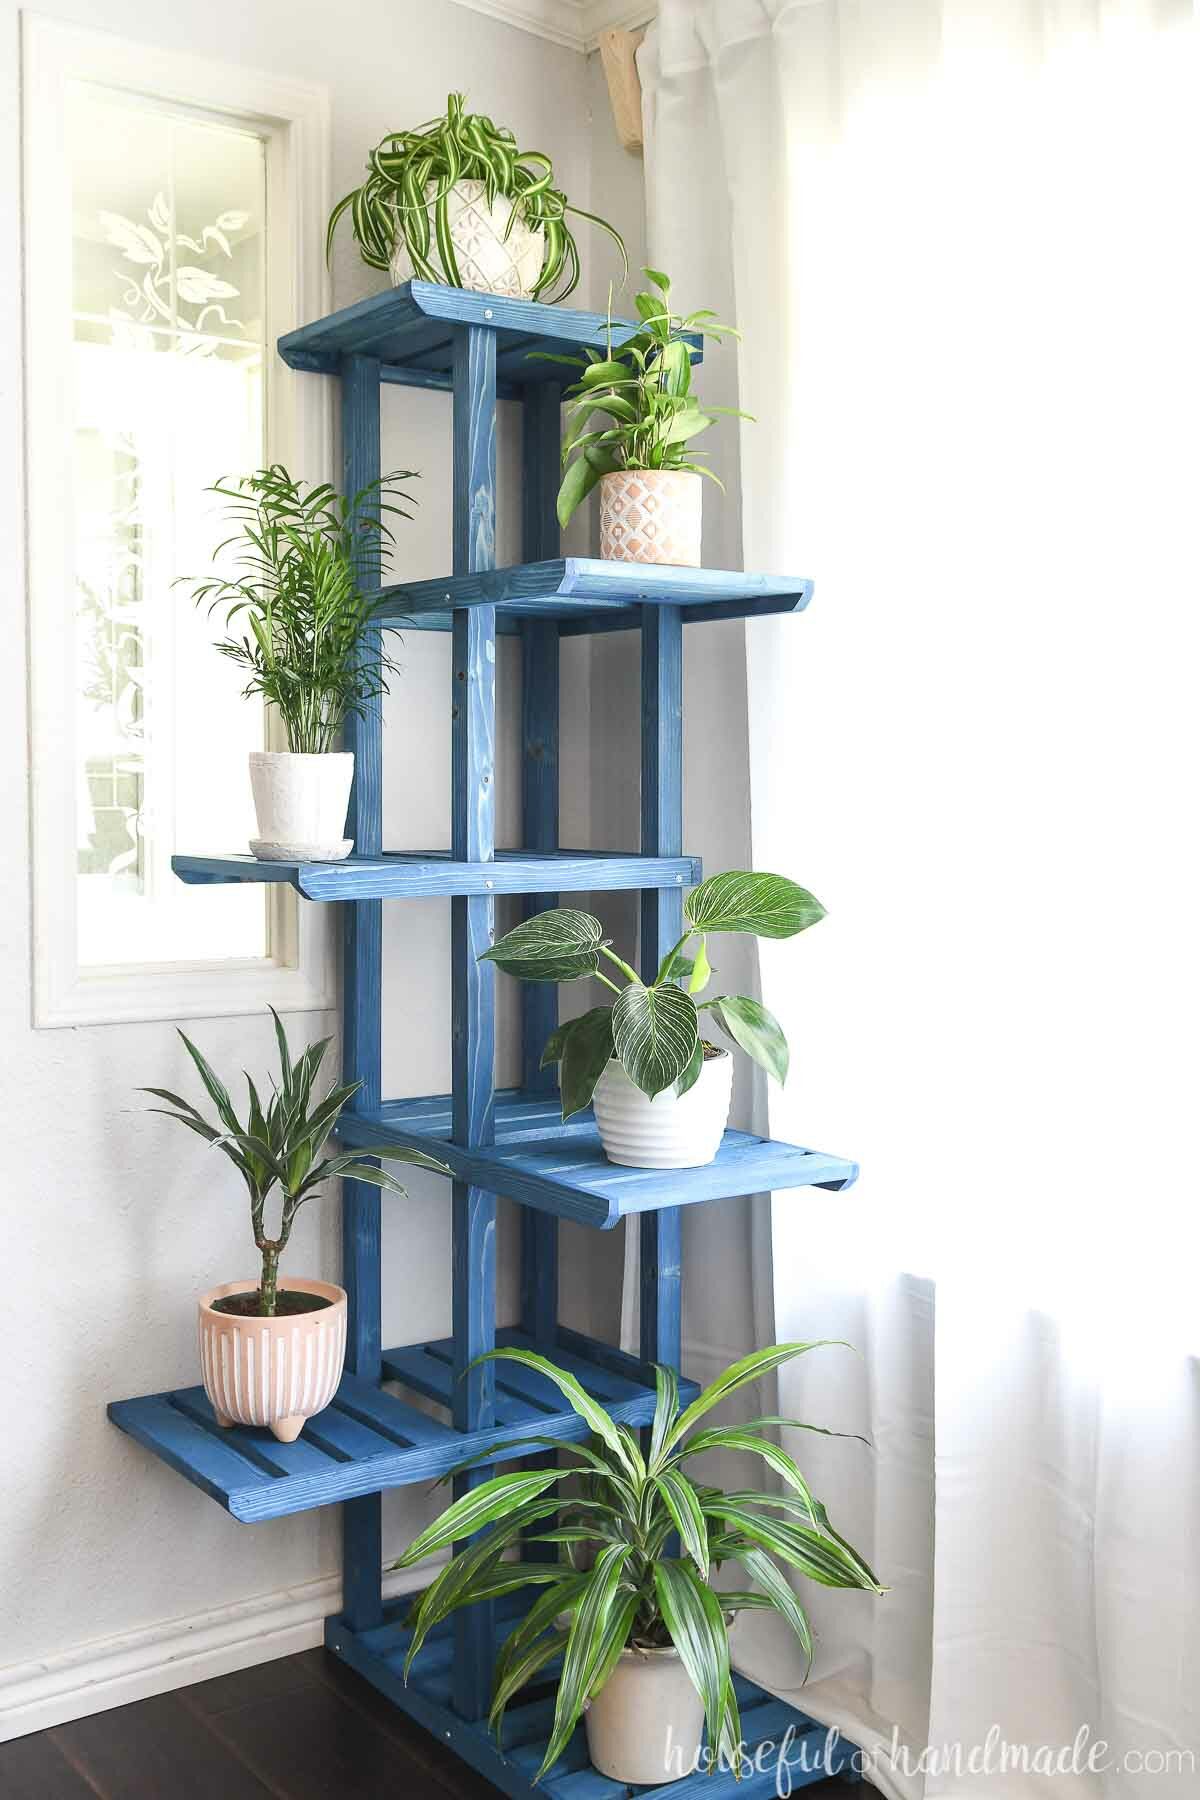
Build an amazing corner plant stand with multiple tiers that holds lots of plants on a budget. This tall plant stand has 6 shelves for holding potted plants.
And it was built using inexpensive 1×2, 1×3 and 2×2 lumber! You don’t have to spend a lot to have loads of storage for all your plants.
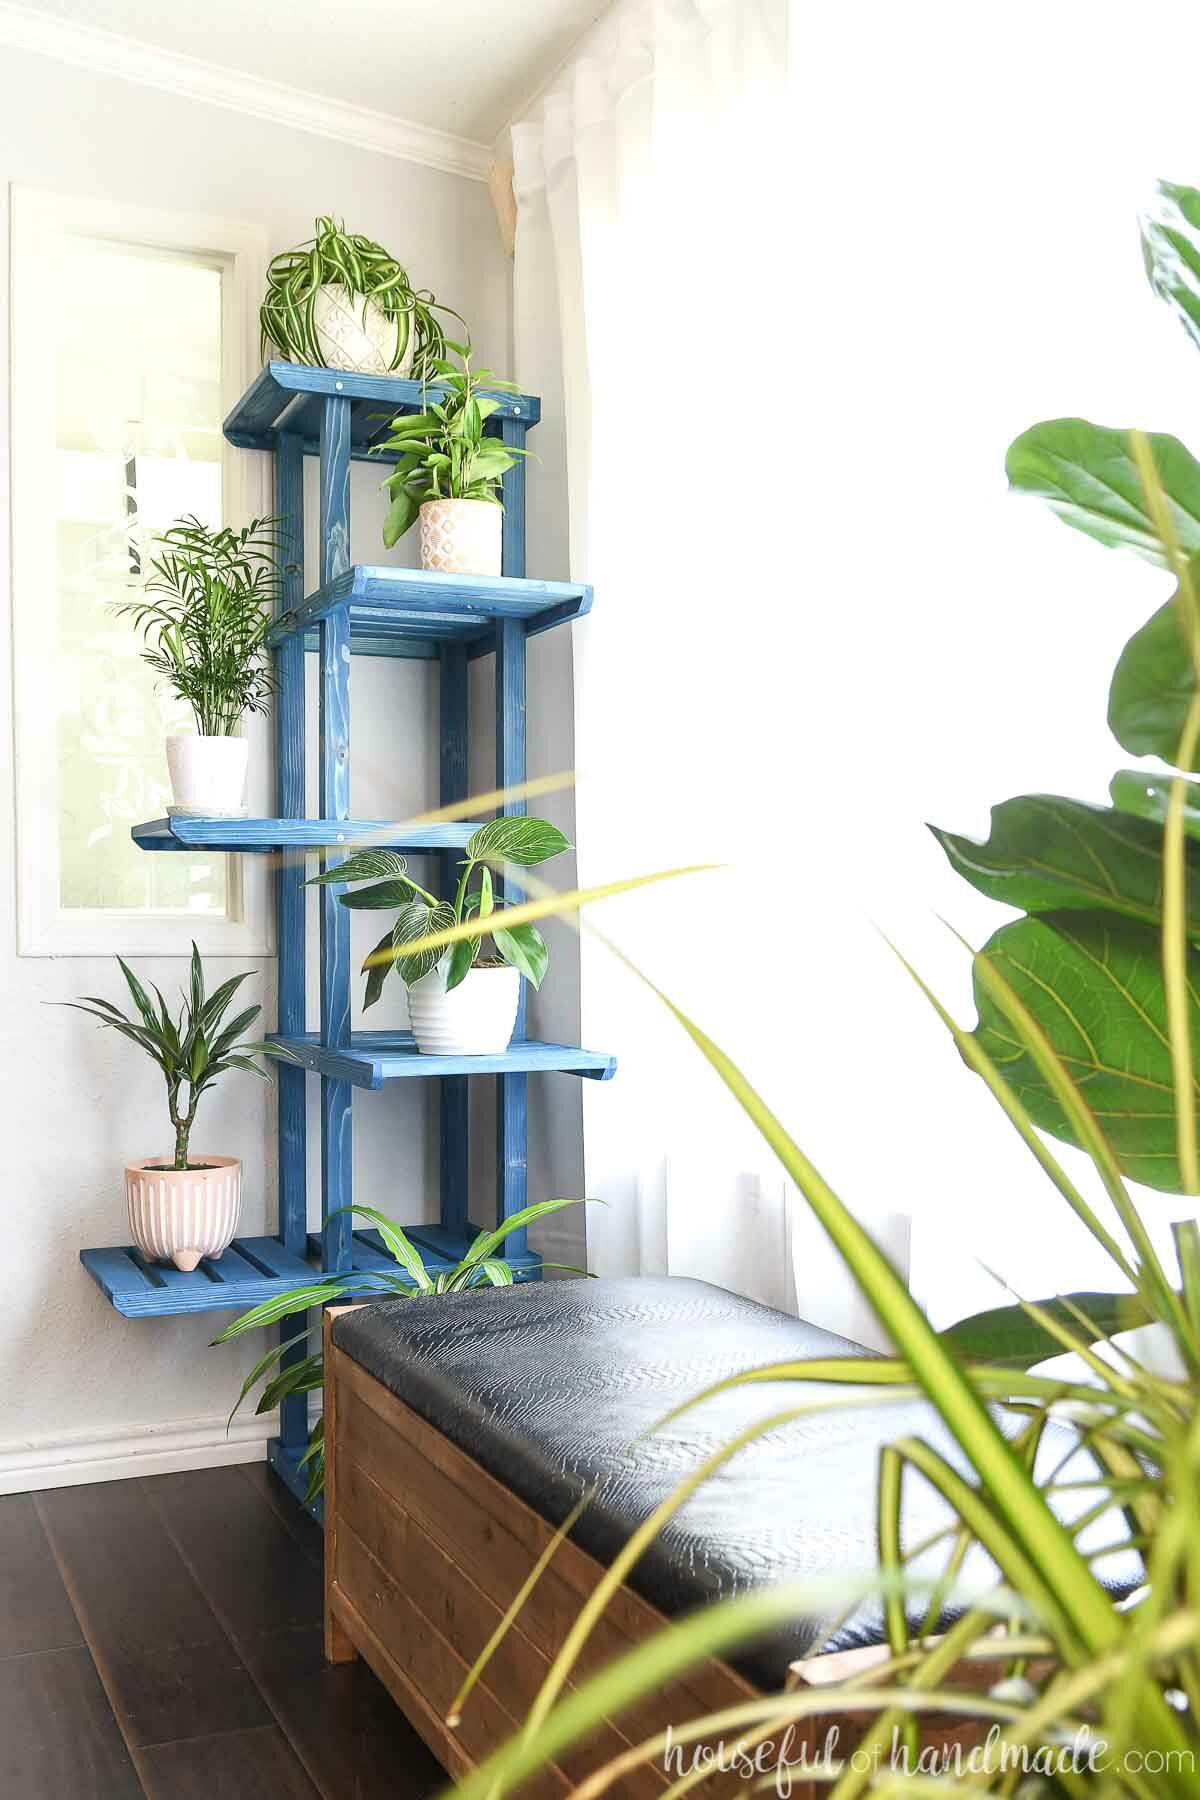
Multi-tiered Plant Stand
Whether you are moving all your plants from outside to inside to weather the upcoming winter, or just love all things plants, you are going to love this tiered plant stand.
This post may contain affiliate links. As an Amazon Associate I earn from qualifying purchases. Click here to read my full disclosure policy.
The tall corner shelf has 6 large tiers to hold lots of potted plants. Each shelf has a section sticking out to the side and a section in the center.
The outer sections sit up against the wall in a corner to create lots of plant storage without taking up space in your home. Set it close to a window for lots of amazing light.
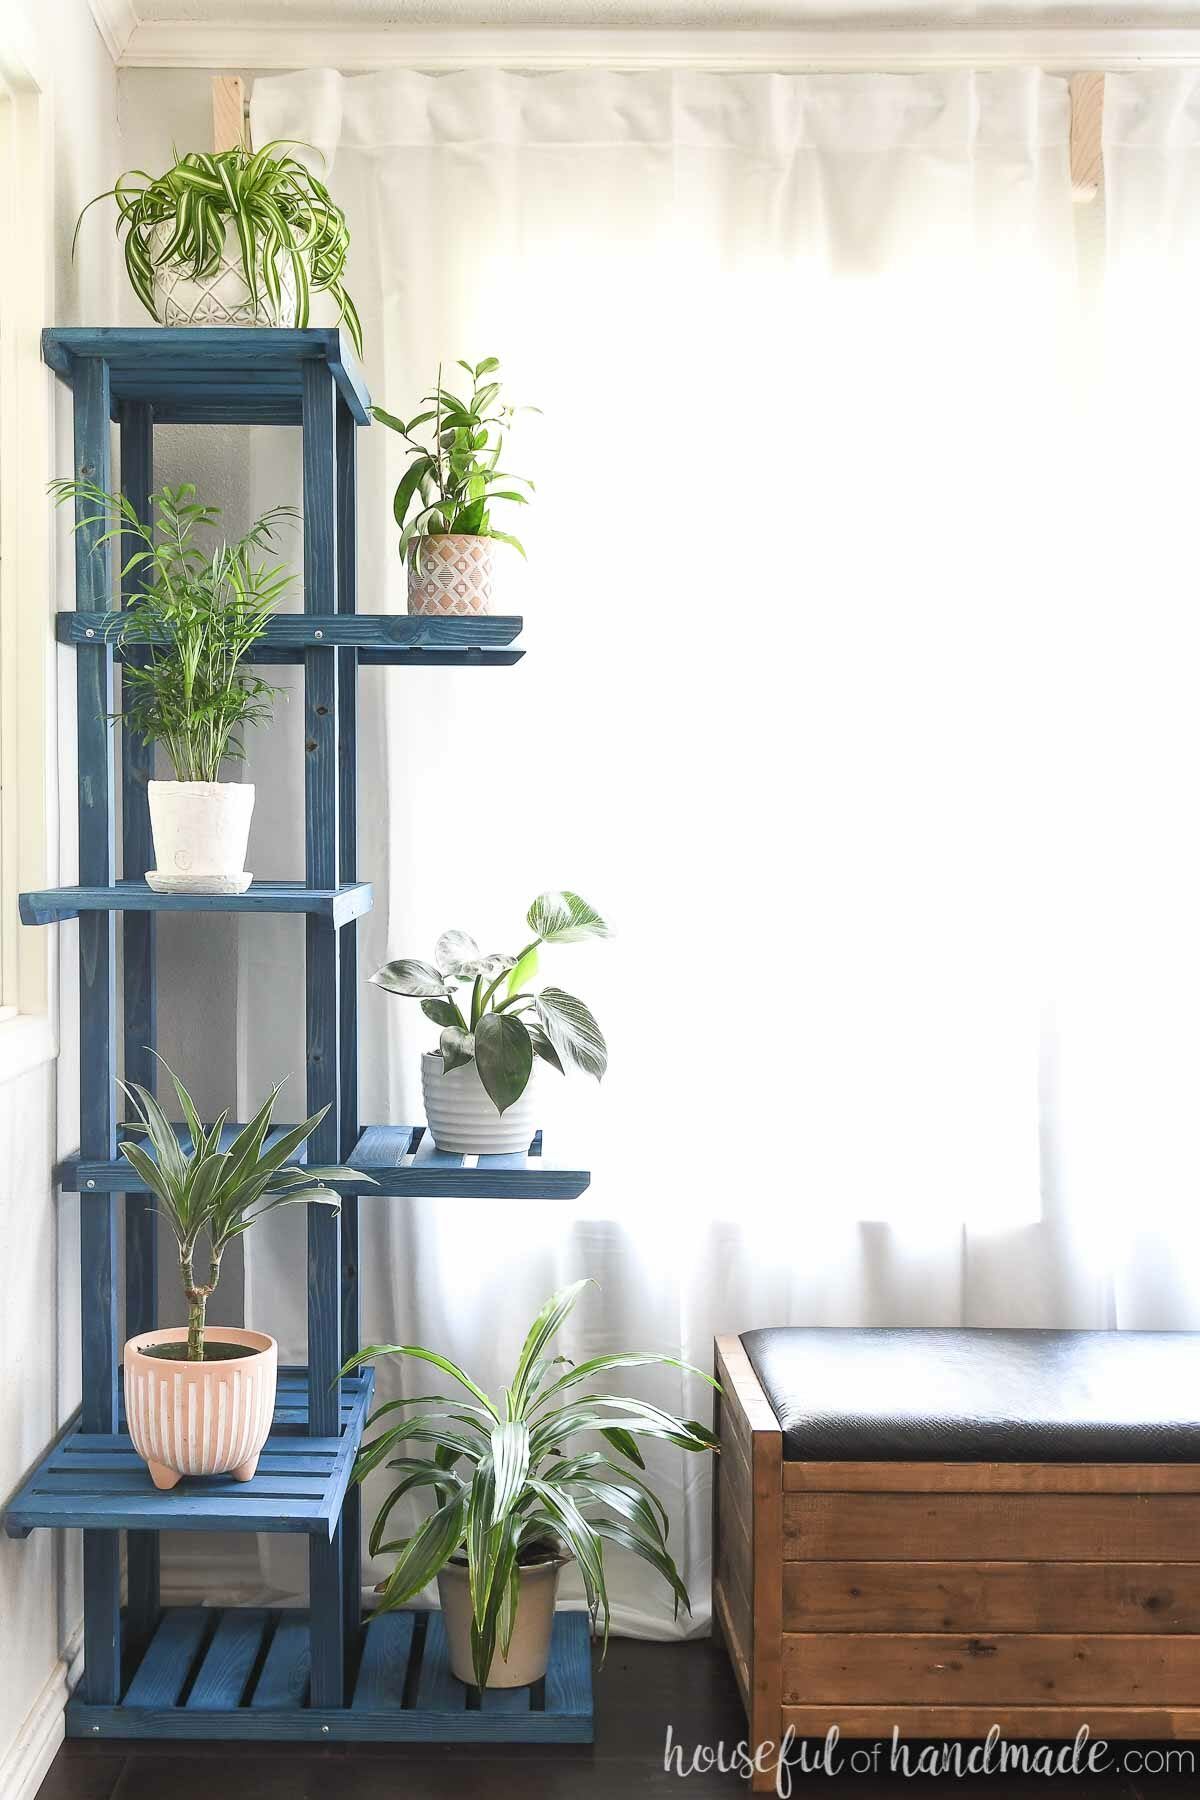
Use the center sections of each shelf for smaller plants. Or for plants that require less light.
I love that each shelf is large enough for a full sized potted plant or two smaller plants. It’s perfect for growing new plants from propagation (which I am currently obsessed with).
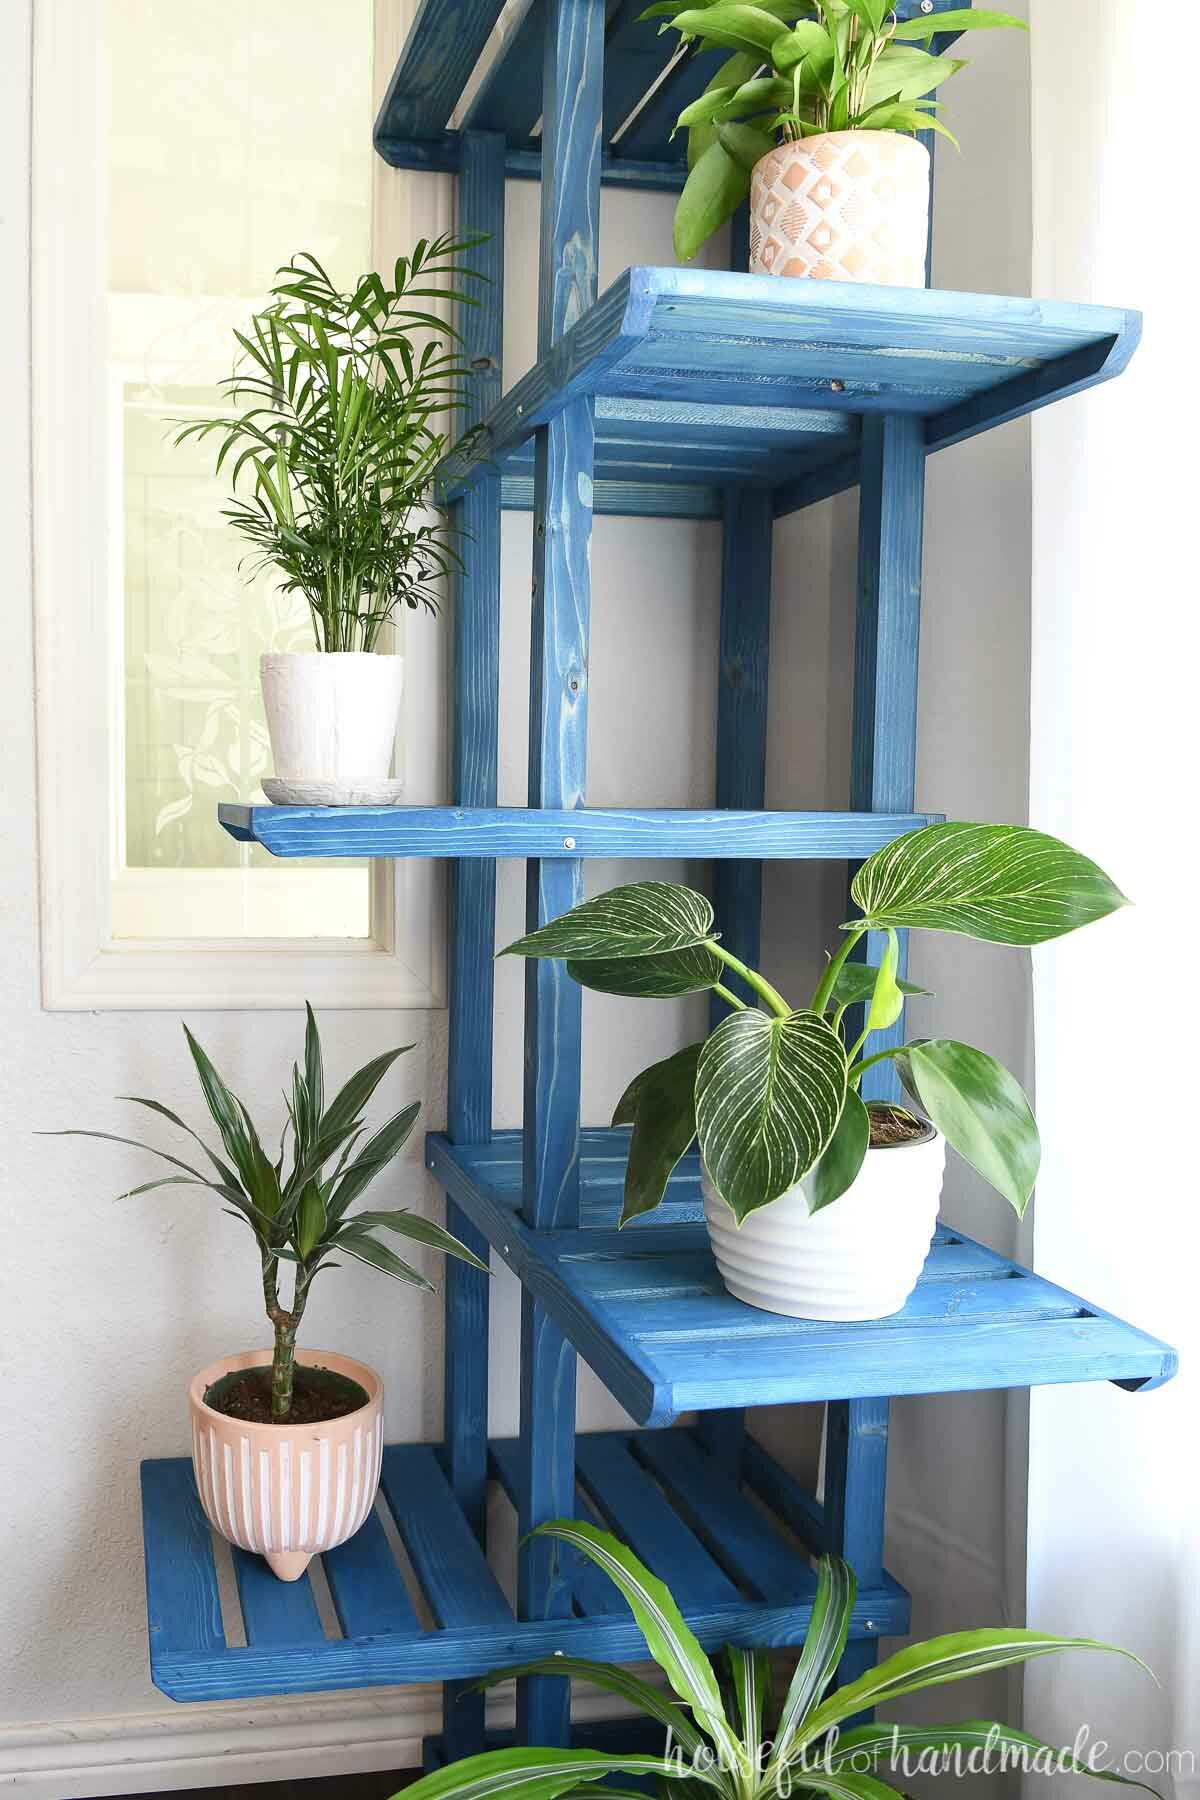
Indoor or Outdoor Plant Stand
This large corner plant stand can be used indoor for all your favorite house plants. Stain or paint it to match your home decor and enjoy the greenery your plants will add to your home.
Tuck it in a corner by a window or where it will get lots of indirect sunlight and watch your plants thrive.
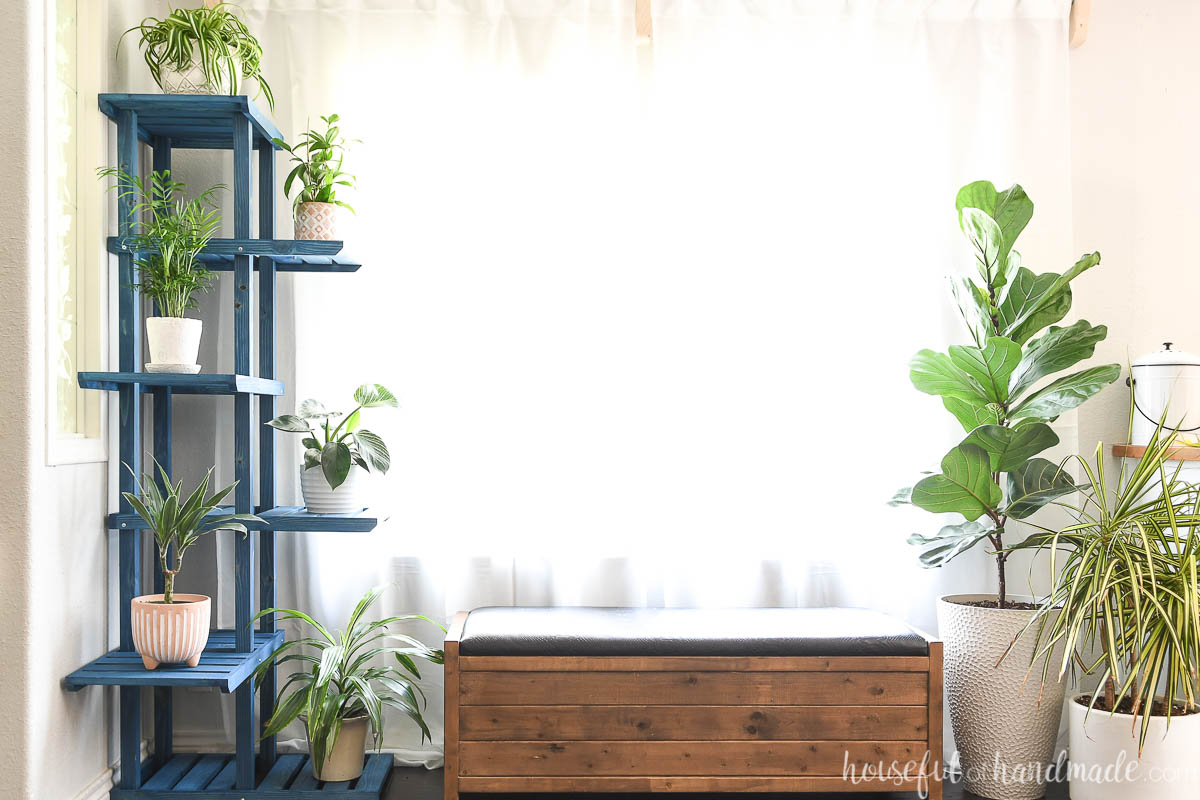
But this tiered plant shelf can also be used outside to grow potted herbs and flowers.
Or when you want to give your indoor plants some extra sunlight and fresh air in warm weather.
Outdoors this corner plant stand can add plant storage to your porch, patio or walkway. Again, use the center column for plants that need less light and the outer shelves for lots of direct light for your plants.
More Plant Friendly DIYs
If you cannot get enough plants, check out these amazing builds to keep your plants happy!
How to Build a Tiered Plant Stand
Tools & Materials
Recommended Tools:
- Miter saw
- I recently upgraded to this larger sliding miter saw (watch for it to go on sale), but all my projects before were built with this inexpensive miter saw that I loved.
- Optional: Table saw or router
- I used a table saw to cut a groove in some of the shelf boards, it makes the shelves look nice but is not necessary.
- Finishing nail gun
- Drill
- Impact driver (optional, but I love not having to switch bits with the drill)
- Measuring tape
- Clamps
- Sander
Supplies:
- PDF woodworking plans
- Wood
- (4) 2×2 boards, 6’ long
- (6) 1×3 boards, 8’ long
- (5) 1×2 boards, 8’ long
- 1 1/4″ finishing nails
- 1 1/4″ pan head self-tapping wood screws
- Wood stain or paint
Overall Dimensions
The finished plant shelf is 69″ tall and 26 1/8″ deep along each wall of the corner.
Cut List
Cut out the pieces according to the PDF build plans.
EXPERT TIP:
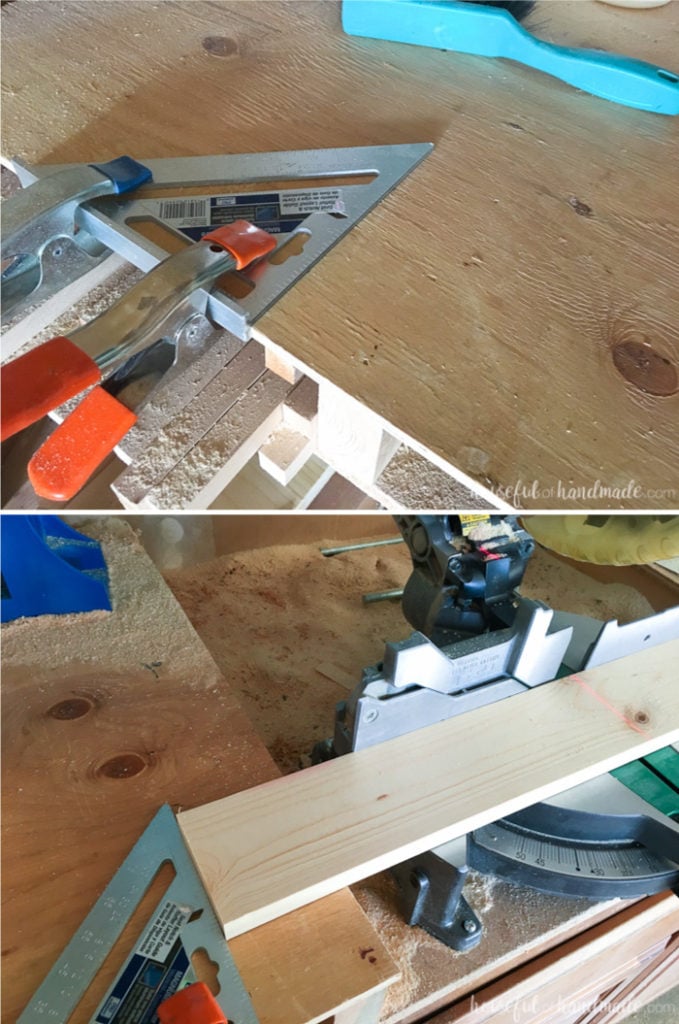
When cutting a lot of pieces that are the same size, use a stop (which can be as easy as clamping a square or scrap of wood next to your miter saw) to make quick work of cutting all the pieces.
STEP 1- Add groove to shelf side pieces
This next step is optional and can be skipped if you do not have a table saw or router to easily cut a groove in your boards.
In the build plans I include measurements for the pieces with or without the groove.
I used my table saw to add a 3/4″ deep by 1/4″ wide groove in the inside top corner of all the shelf side boards. To do this start by setting your table saw blade to 3/4″ tall and the fence 1/4″ away from the side of the blade.
Run all the shelf side pieces through the table saw.
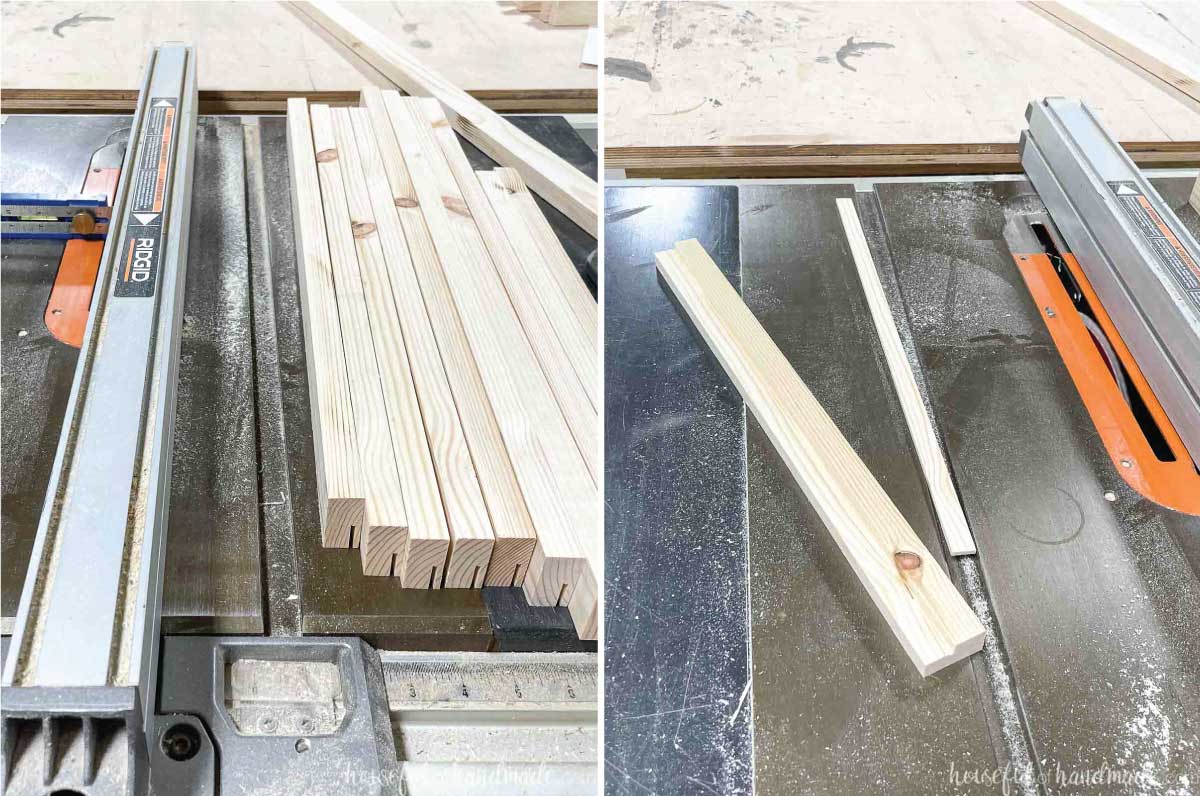
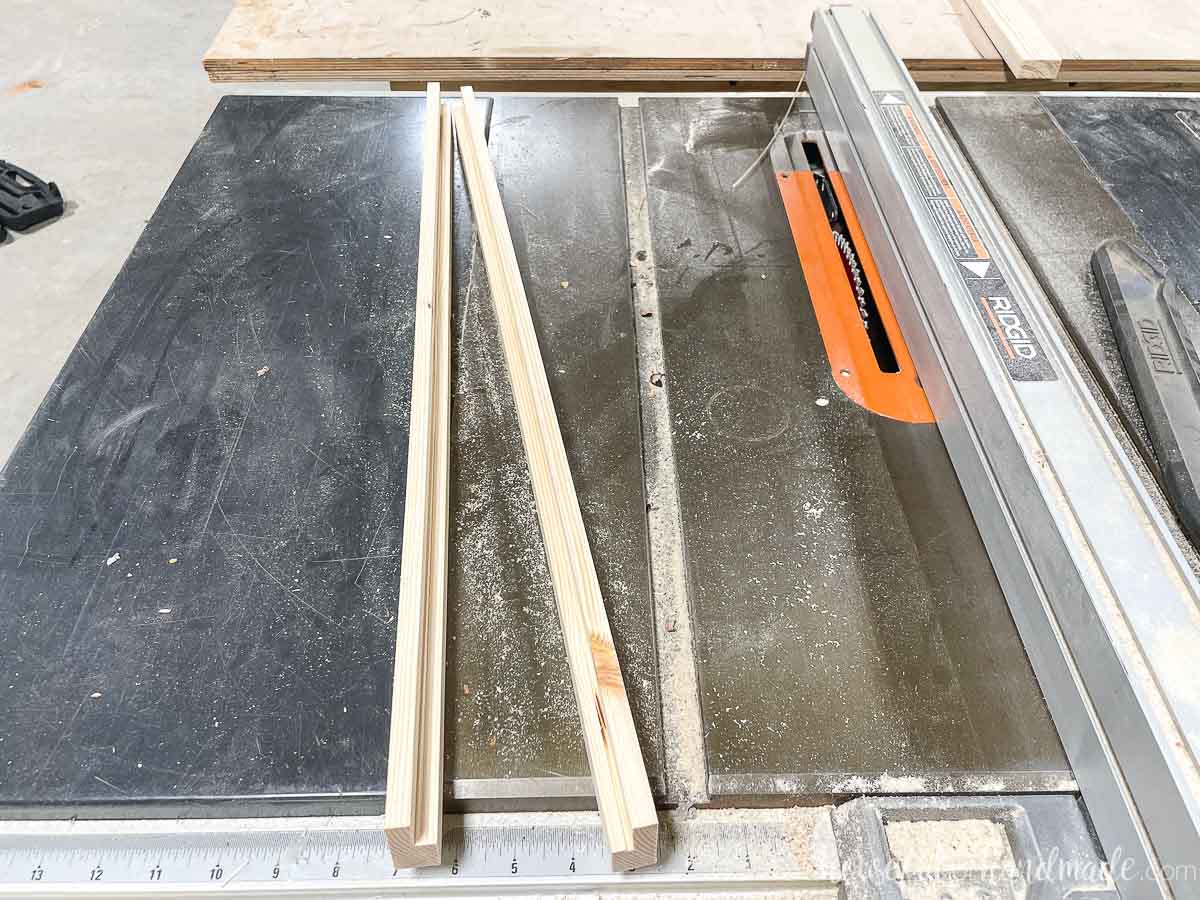
Then set the blade to 1/4″ tall and the fence 3/4″ away from the blade. Run the pieces through again and the center will fall out creating a nice groove.
Pair up all the pieces so the grooves are mirrored and mark them.
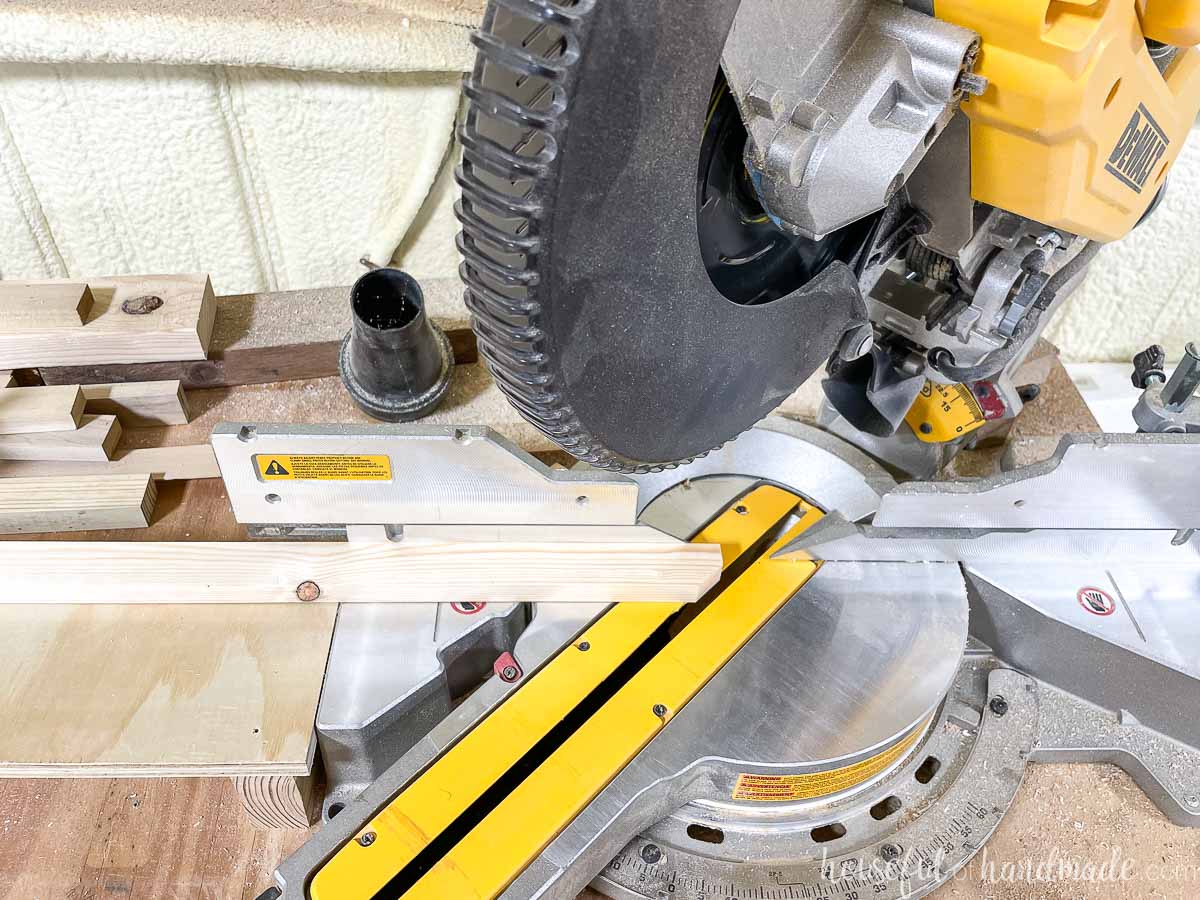
For all the shelves except the bottom shelf, take the grooved out boards to the miter saw. Set the saw to a 45 degree angle.
Cut the bottom 1/2″ tip off the front of each side board. Make sure you pay attention to where the groove is so that the boards are mirrored when you make the cut.
STEP 2- Build the plant shelves
Add glue to the sides and a little bit to the bottom edge of the shelf boards.
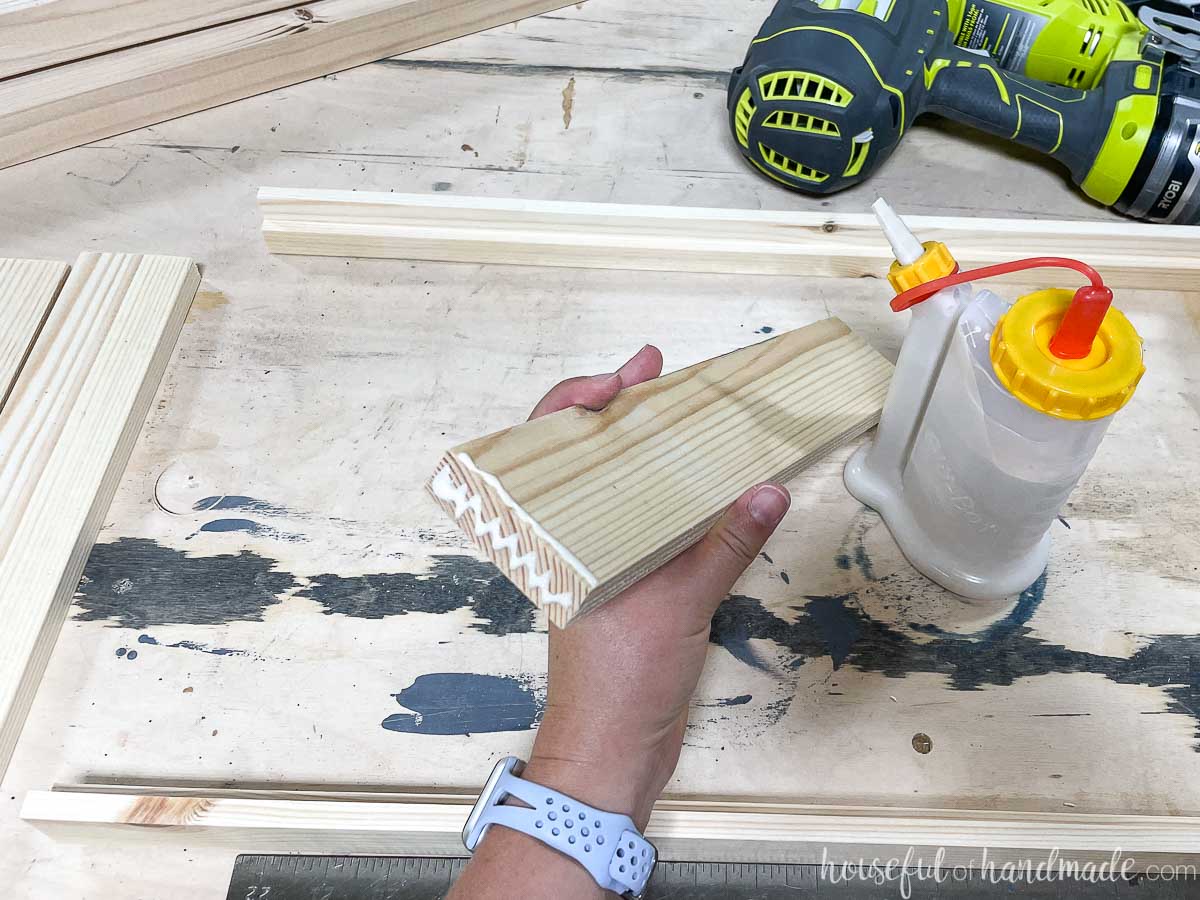
Attach them between the shelf sides and secure them with finishing nails. The boards should fit nicely into groove.
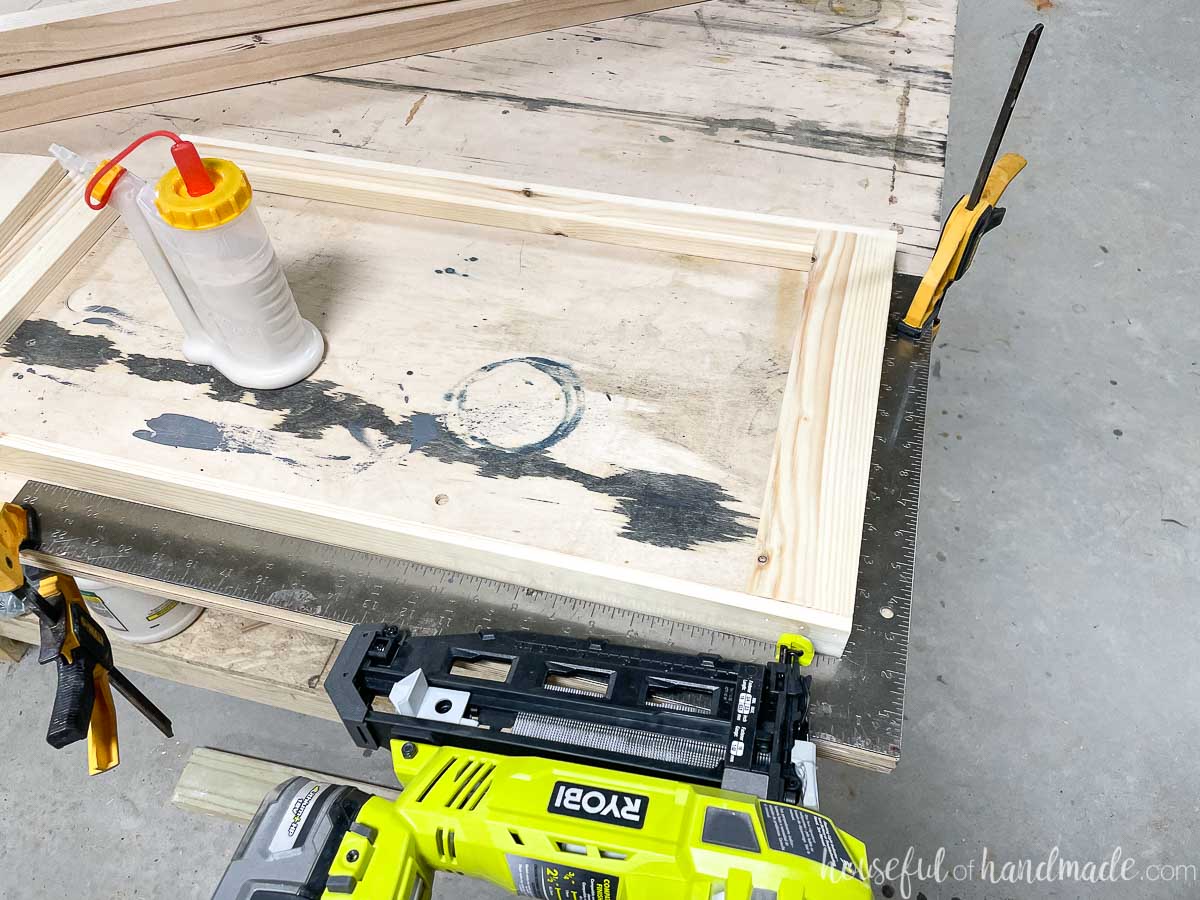
Start at the front and then leave 3/4” between slats.
Attach the side back piece to the back of the shelf so it is flush with the sides and top/bottom of the shelf side boards.
Secure with wood glue and 1 1/4” finishing nails.
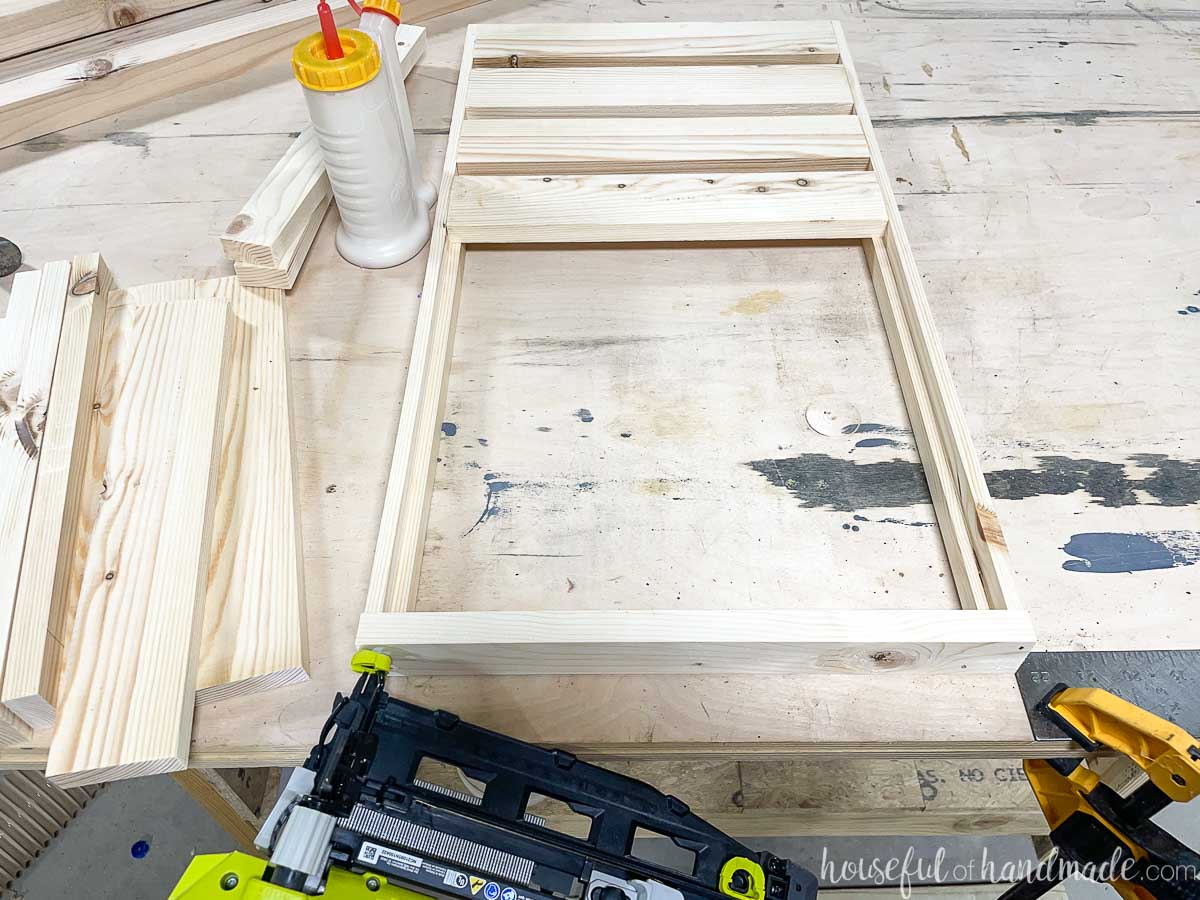
Leave a 1 7/8” gap between the last slat and the back and you should also have a 2 1/4” gap in the center.
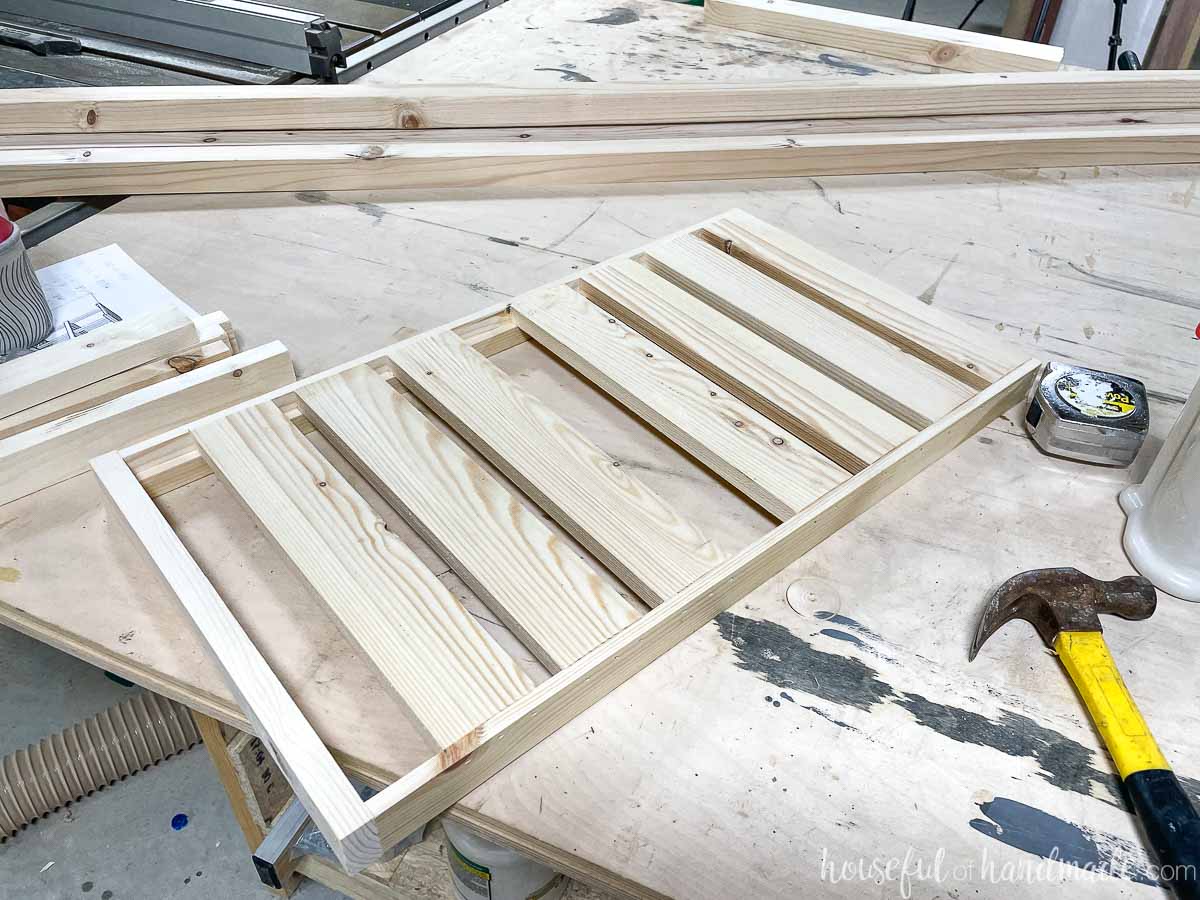
Complete all the rest of the shelf builds.
You should have at total of:
- 3 lower shelves (one without the sides notched)
- 2 middle shelves
- 1 top shelf
For the lower shelves you will have 4 slats after the center gap. For the middle shelves you will have 3.
For the top shelf shelf you will only have 3/4” gaps between the slats.
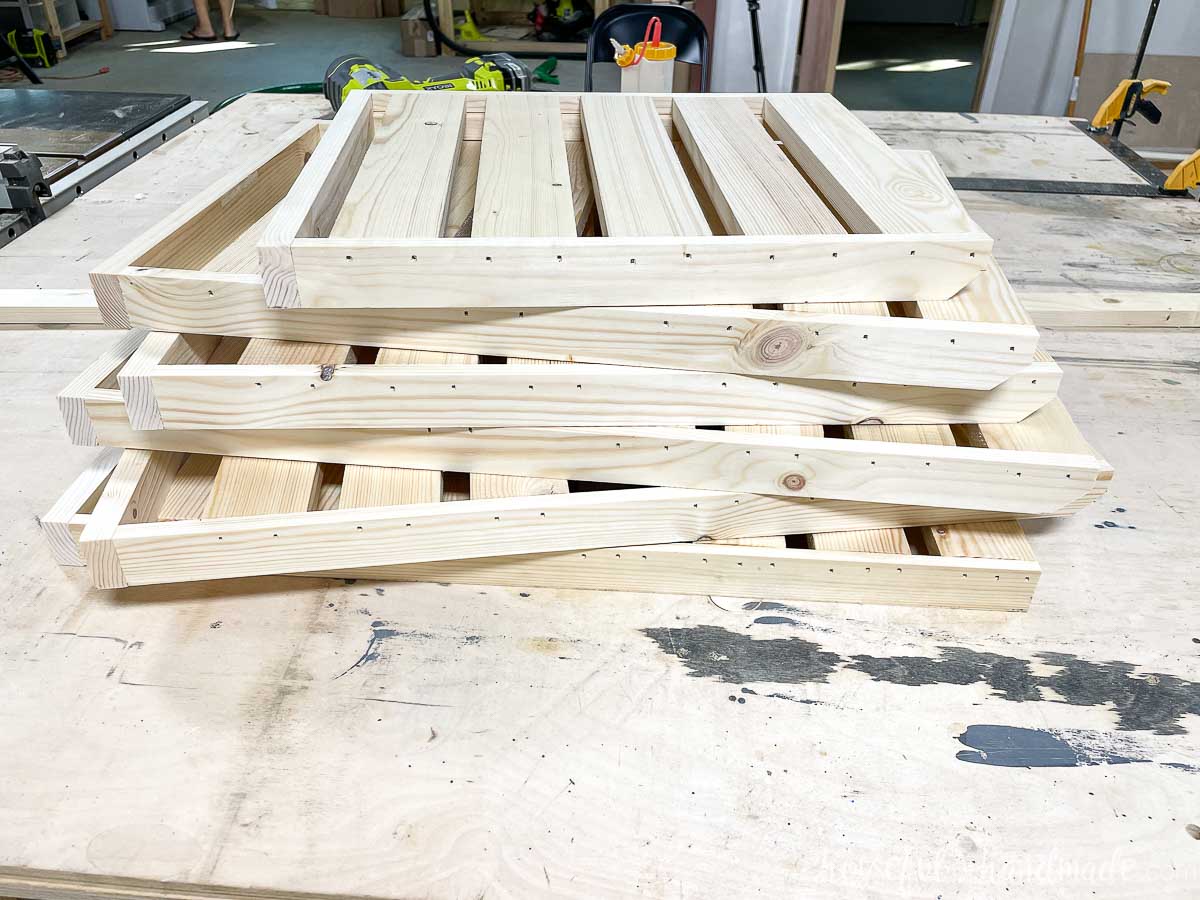
Fill the nail holes in all your shelves.
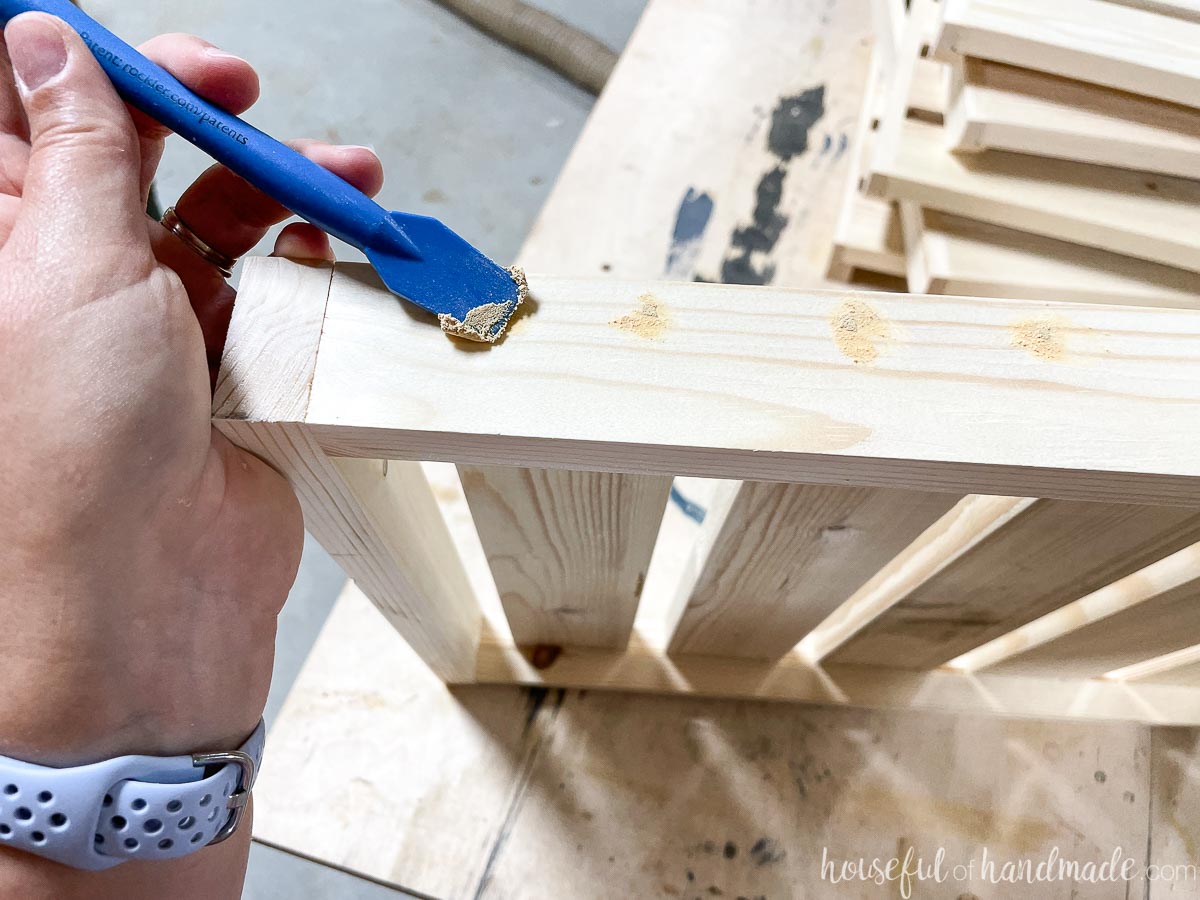
STEP 3- Finish all the pieces
Sand and finish all the shelves. It will be easier now than after it is all assembled.
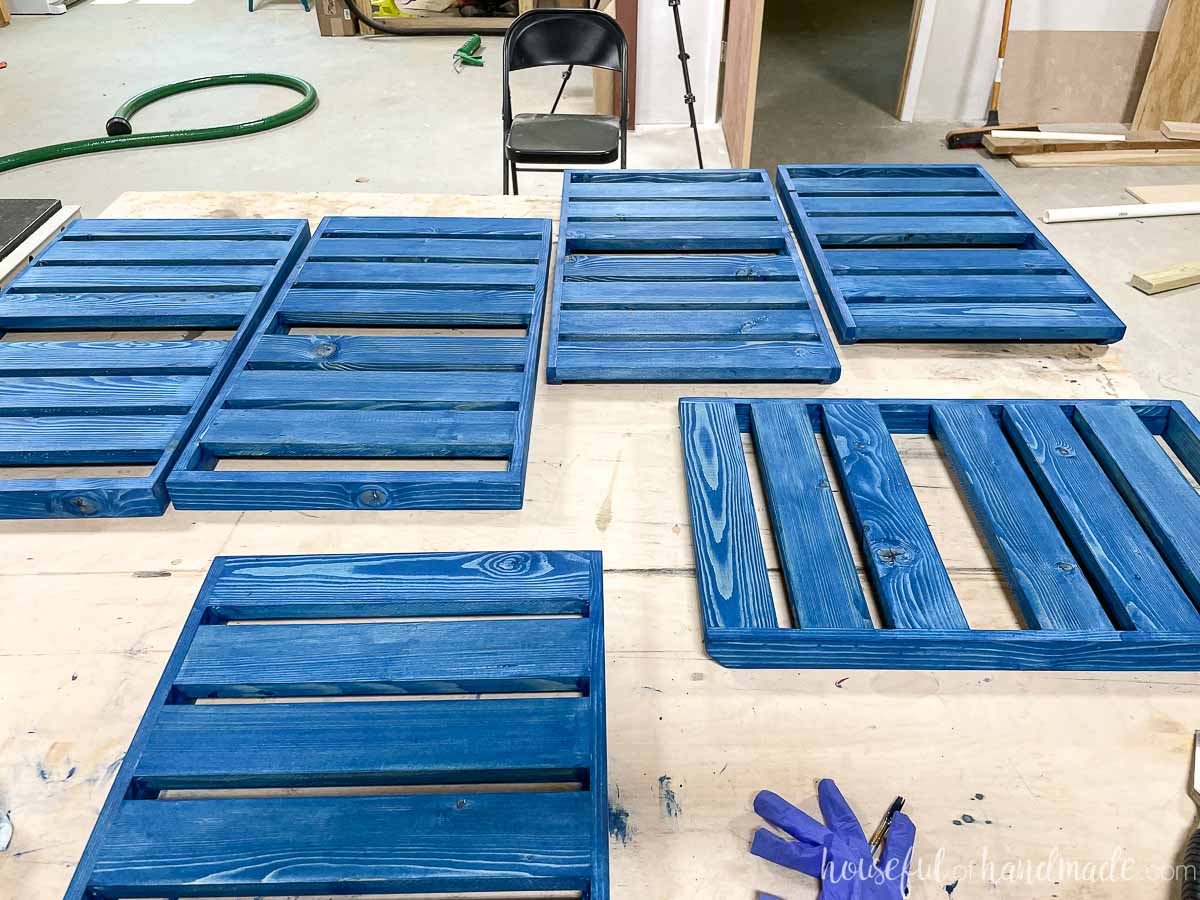
Also, cut the leg boards and sand & finish them.
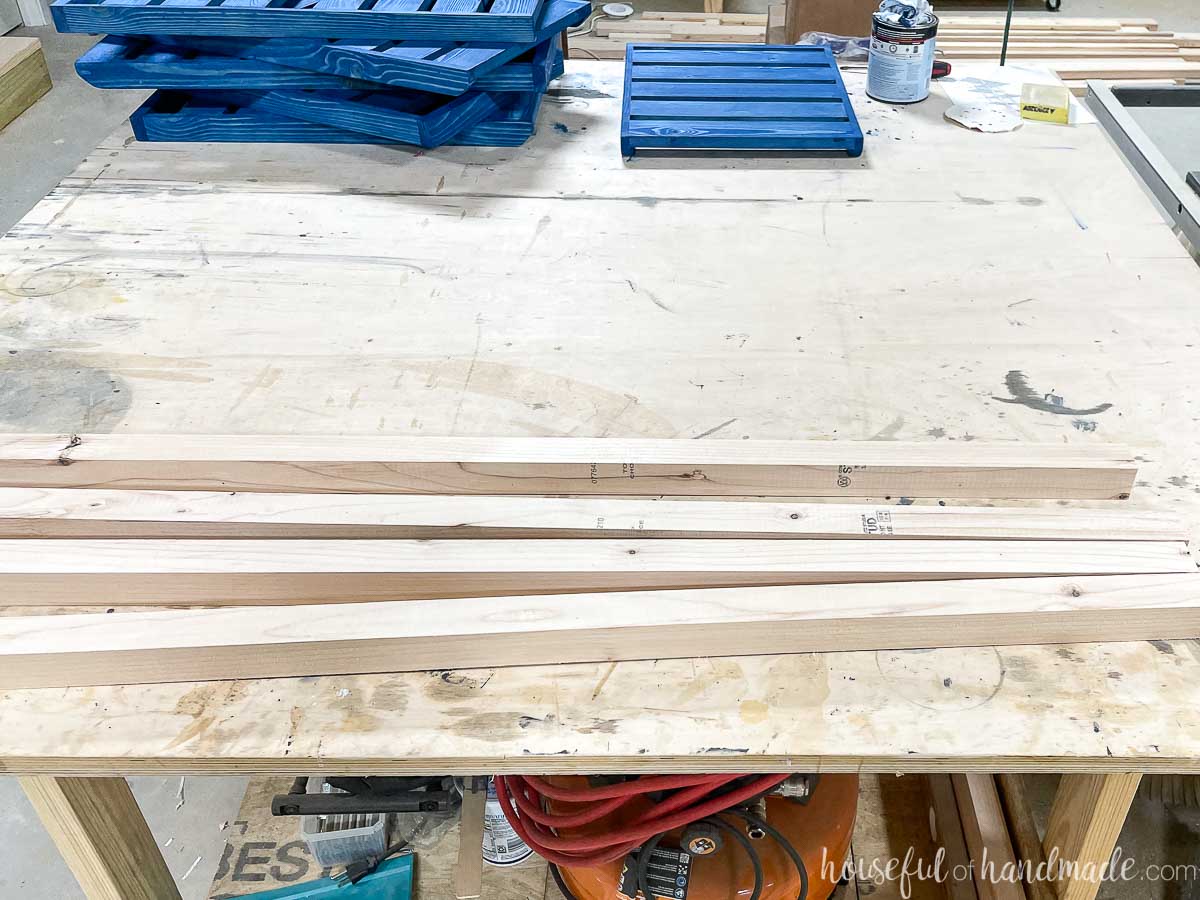
STEP 4- Assemble the stand
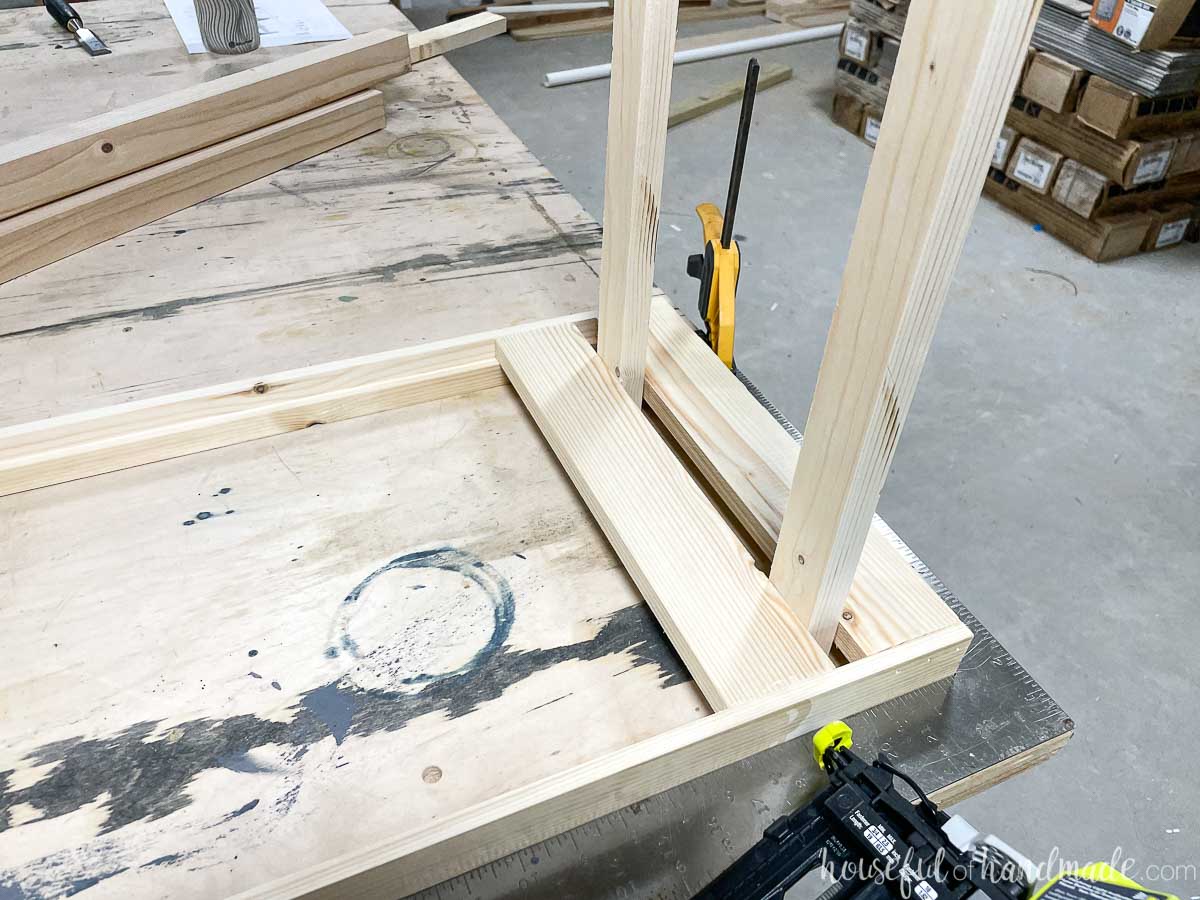
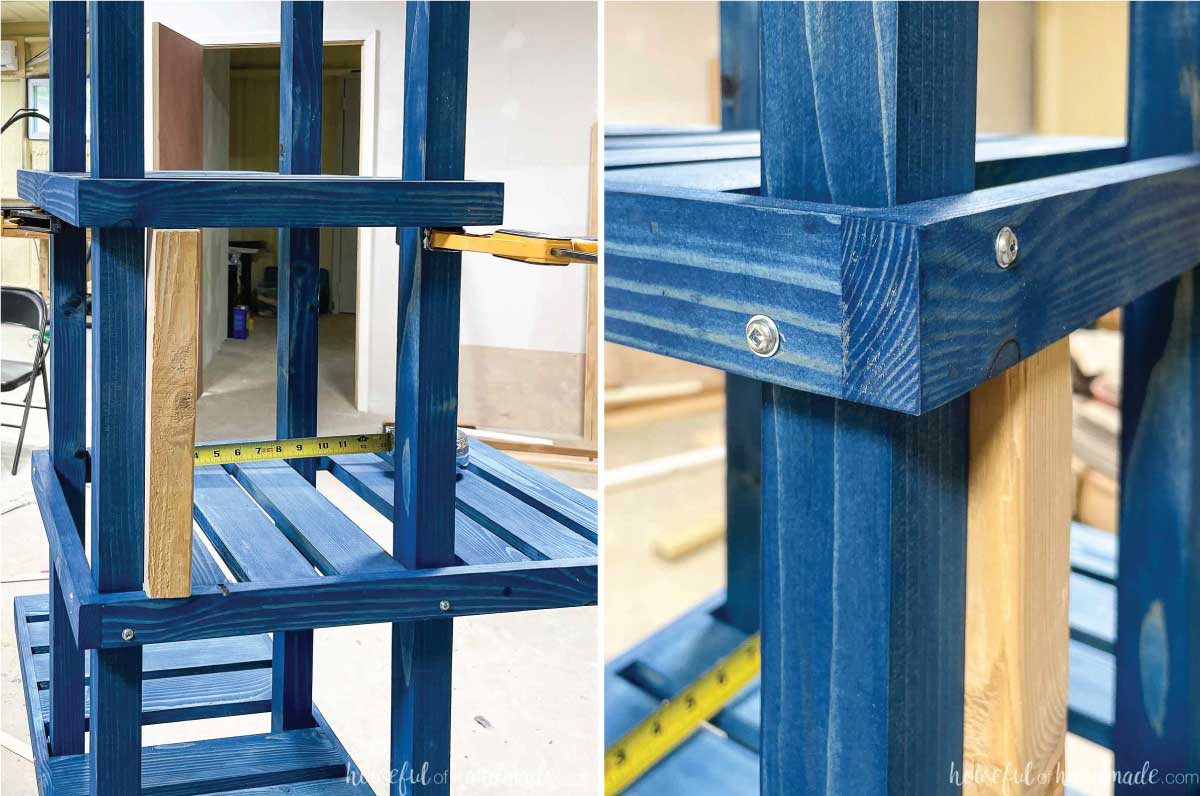
Line the leg boards up inside the bottom shelf.
Attach two legs into the back corners of the shelf using the self-tapping pan head screws. One screw will go in from the shelf side board and the other in through the back board.
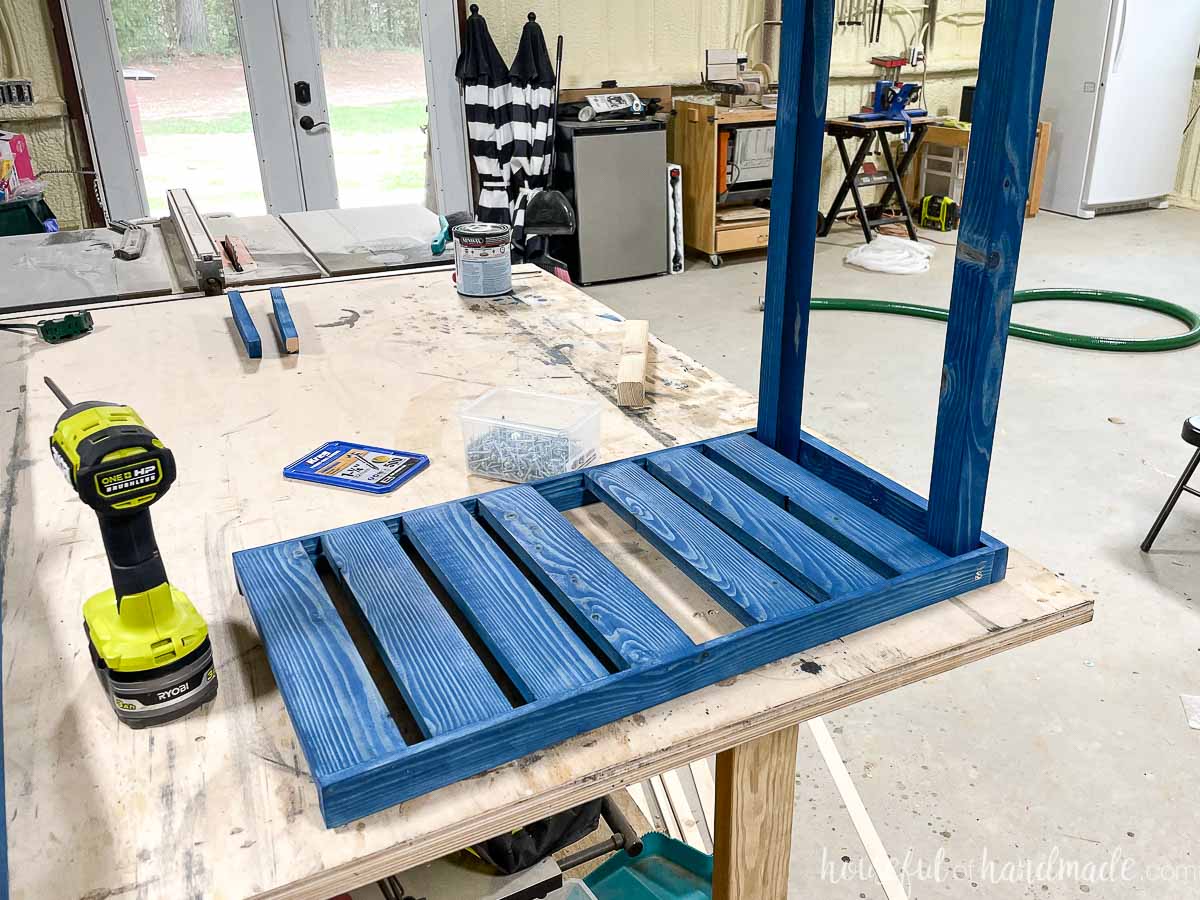
For the center legs attach them in the center gap so there is a 3/8” space on each side of the leg. Secure to the shelf side boards with one screw.
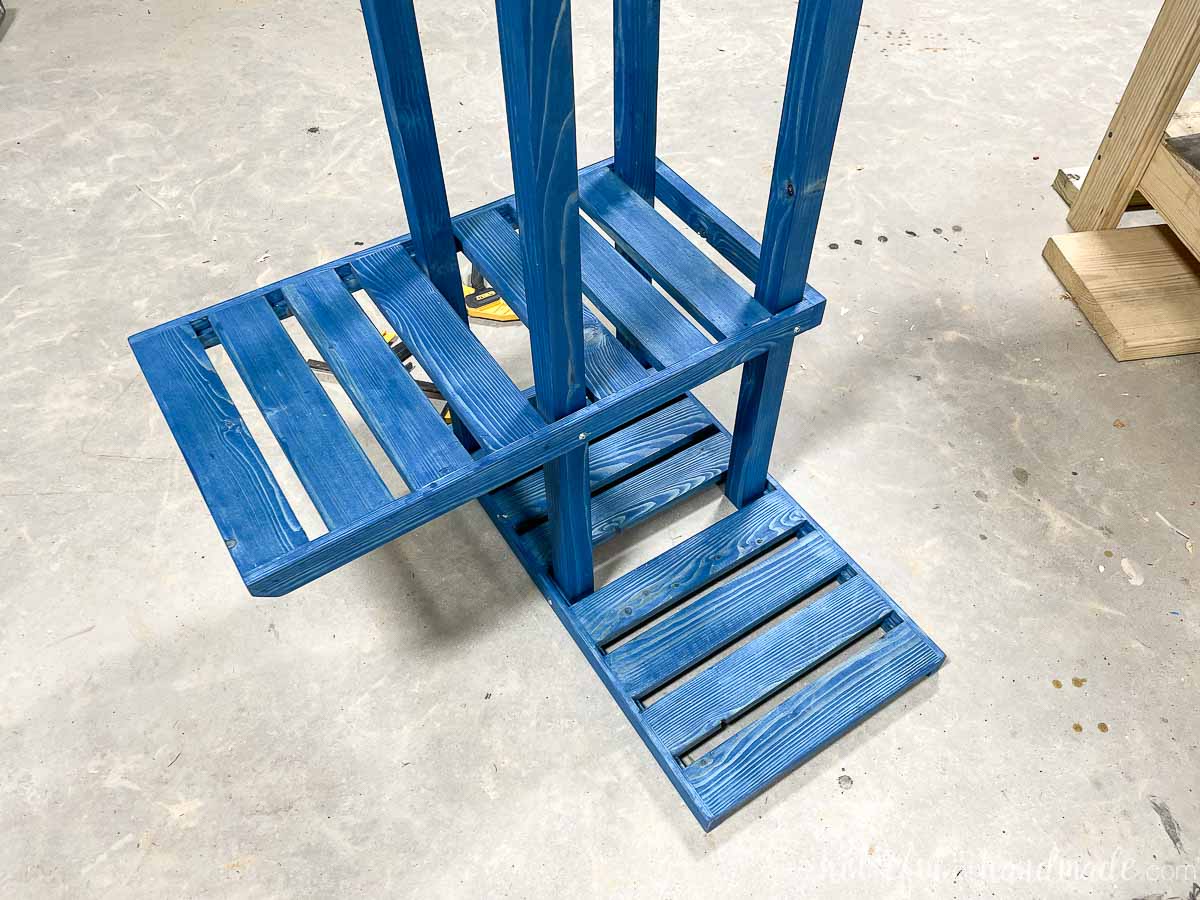
Attach the rest of the shelves to the legs, alternating the direction of them.
Start on the bottom with 2 more lower shelves. Then add the 2 middle shelves.
EXPERT TIP:
Use a scrap of wood cut to the spacer distance to easily space the shelves.
Secure with the 1 1/4” screws so you have 2 screws in each corner and one in the center the same as the bottom shelf.
Make sure to offset the screws so they do not hit each other inside the leg board.
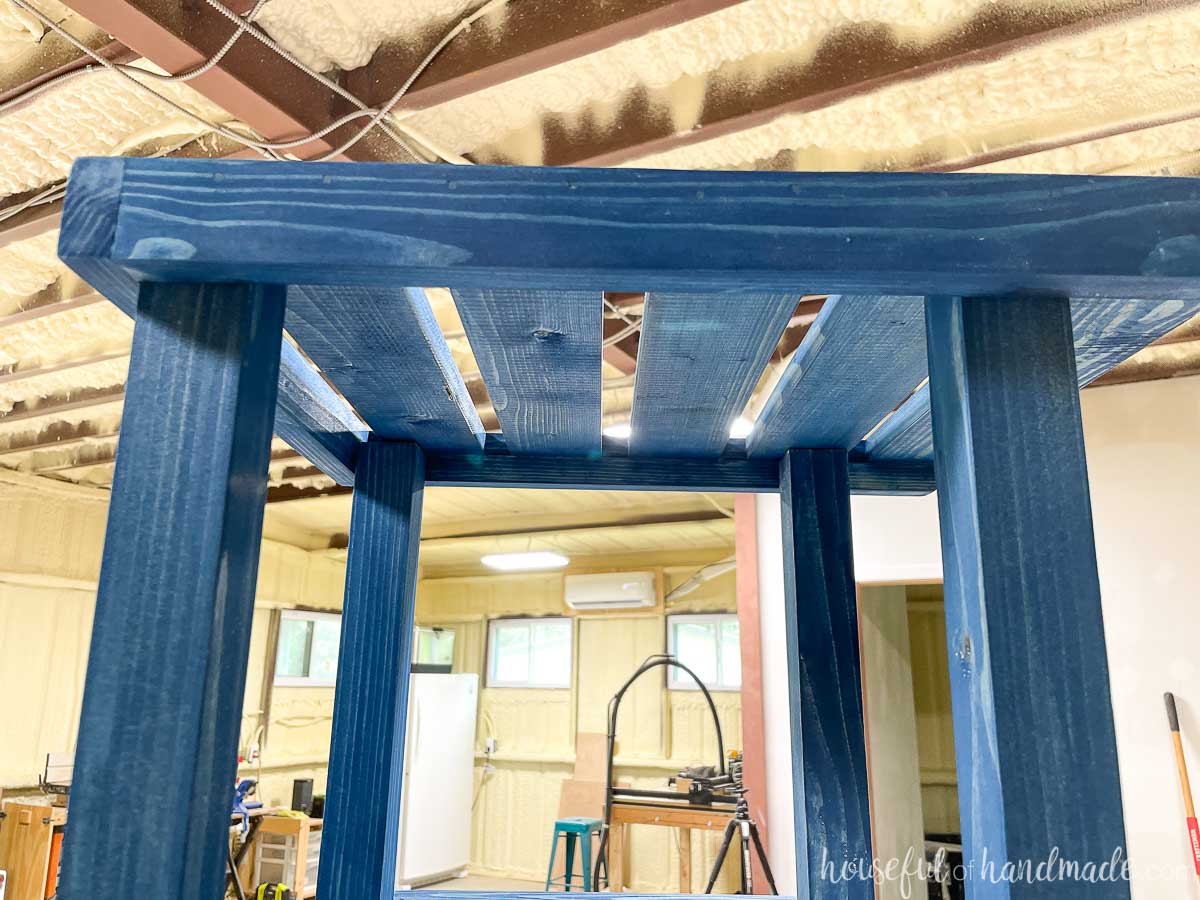
Set the top shelf on the top of the 2×2 legs.
The shelf should be alternated just like the rest of the shelves) the top shelf will be on the opposite side as the bottom shelf).
Secure to the legs through the sides with screws.
You did it!
Premium plans include:
- Recommended Tools
- Shopping list
- Easy to read cut list table
- Cut diagrams
- Step-by-step instructions with 3D renderings
- Helpful resources
- BONUS: 3D SketchUp file
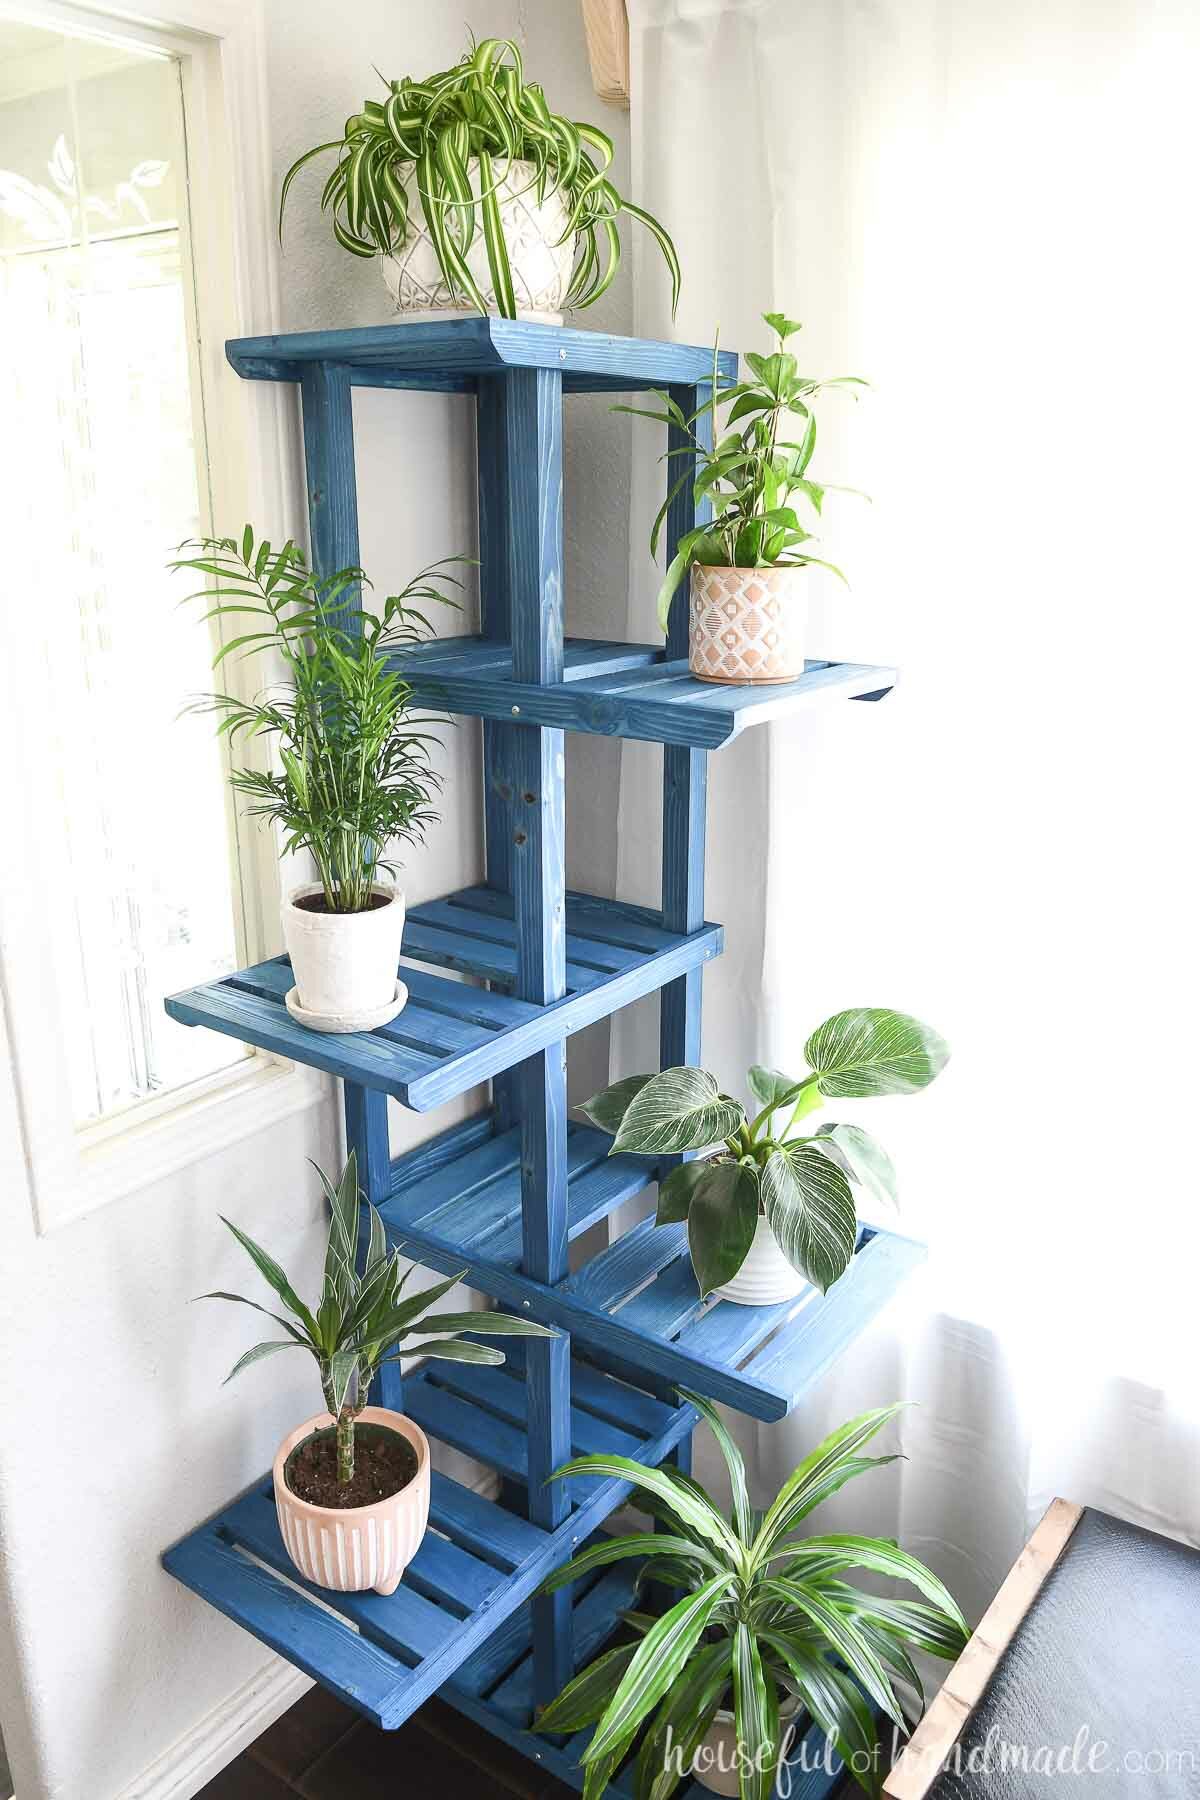
Now place your shelf into the corner and load it up with plants!
If you are worried about kids or animals climbing the shelves, secure it to the wall (make sure you secure it into the studs).
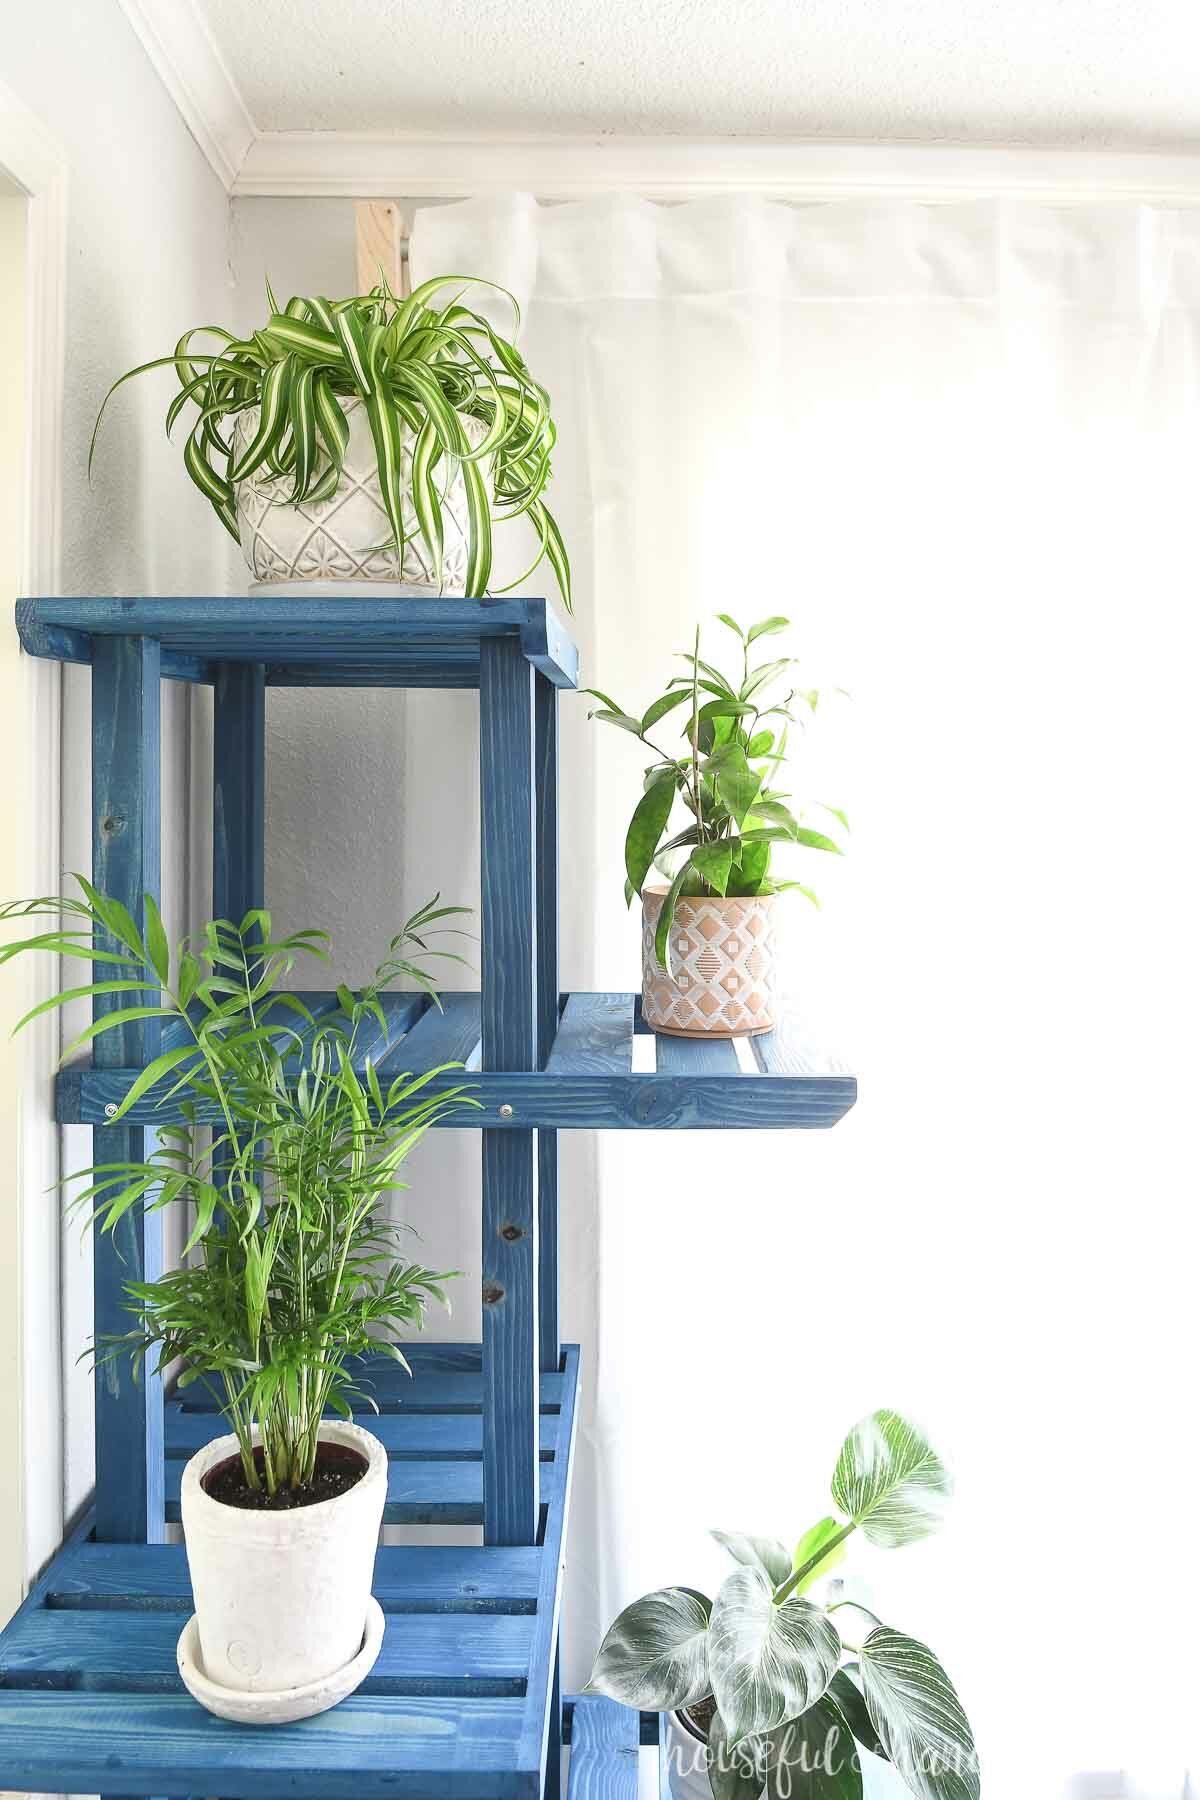
Make sure to place your multi-tiered plant stand in a corner with lots of light. That will give your plants the best chance of thriving!
I have sheer curtains on my window by the plant stand to block direct sun light from my house plants. They are all loving their new home on their corner plant shelf.
Happy Building!


