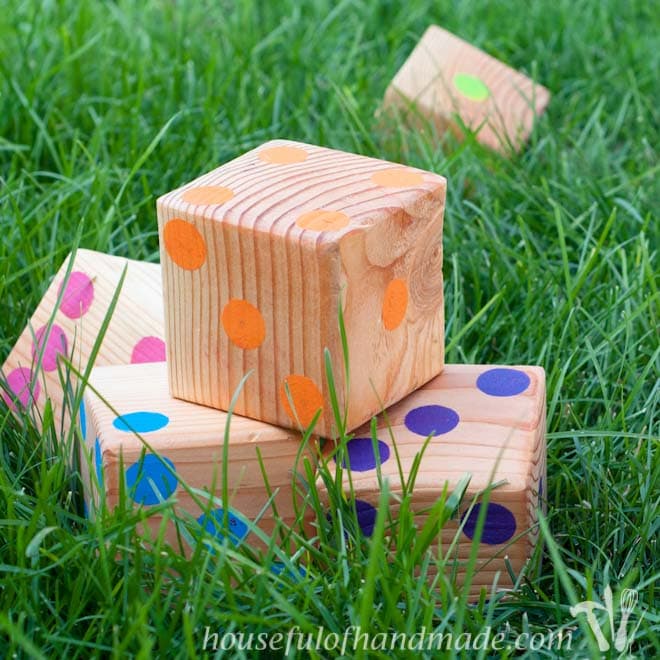
Whenever we are at a get together, the cornhole boards come out. They are the perfect outdoor game for everyone.
So it was past time for us to have a set of our own boards.
Building corn hole boards is super easy and really fun. These boards are high-end wood construction that will last.
This post may contain affiliate links. As an Amazon Associate I earn from qualifying purchases. Click here to read my full disclosure policy.

Custom Cornhole Boards
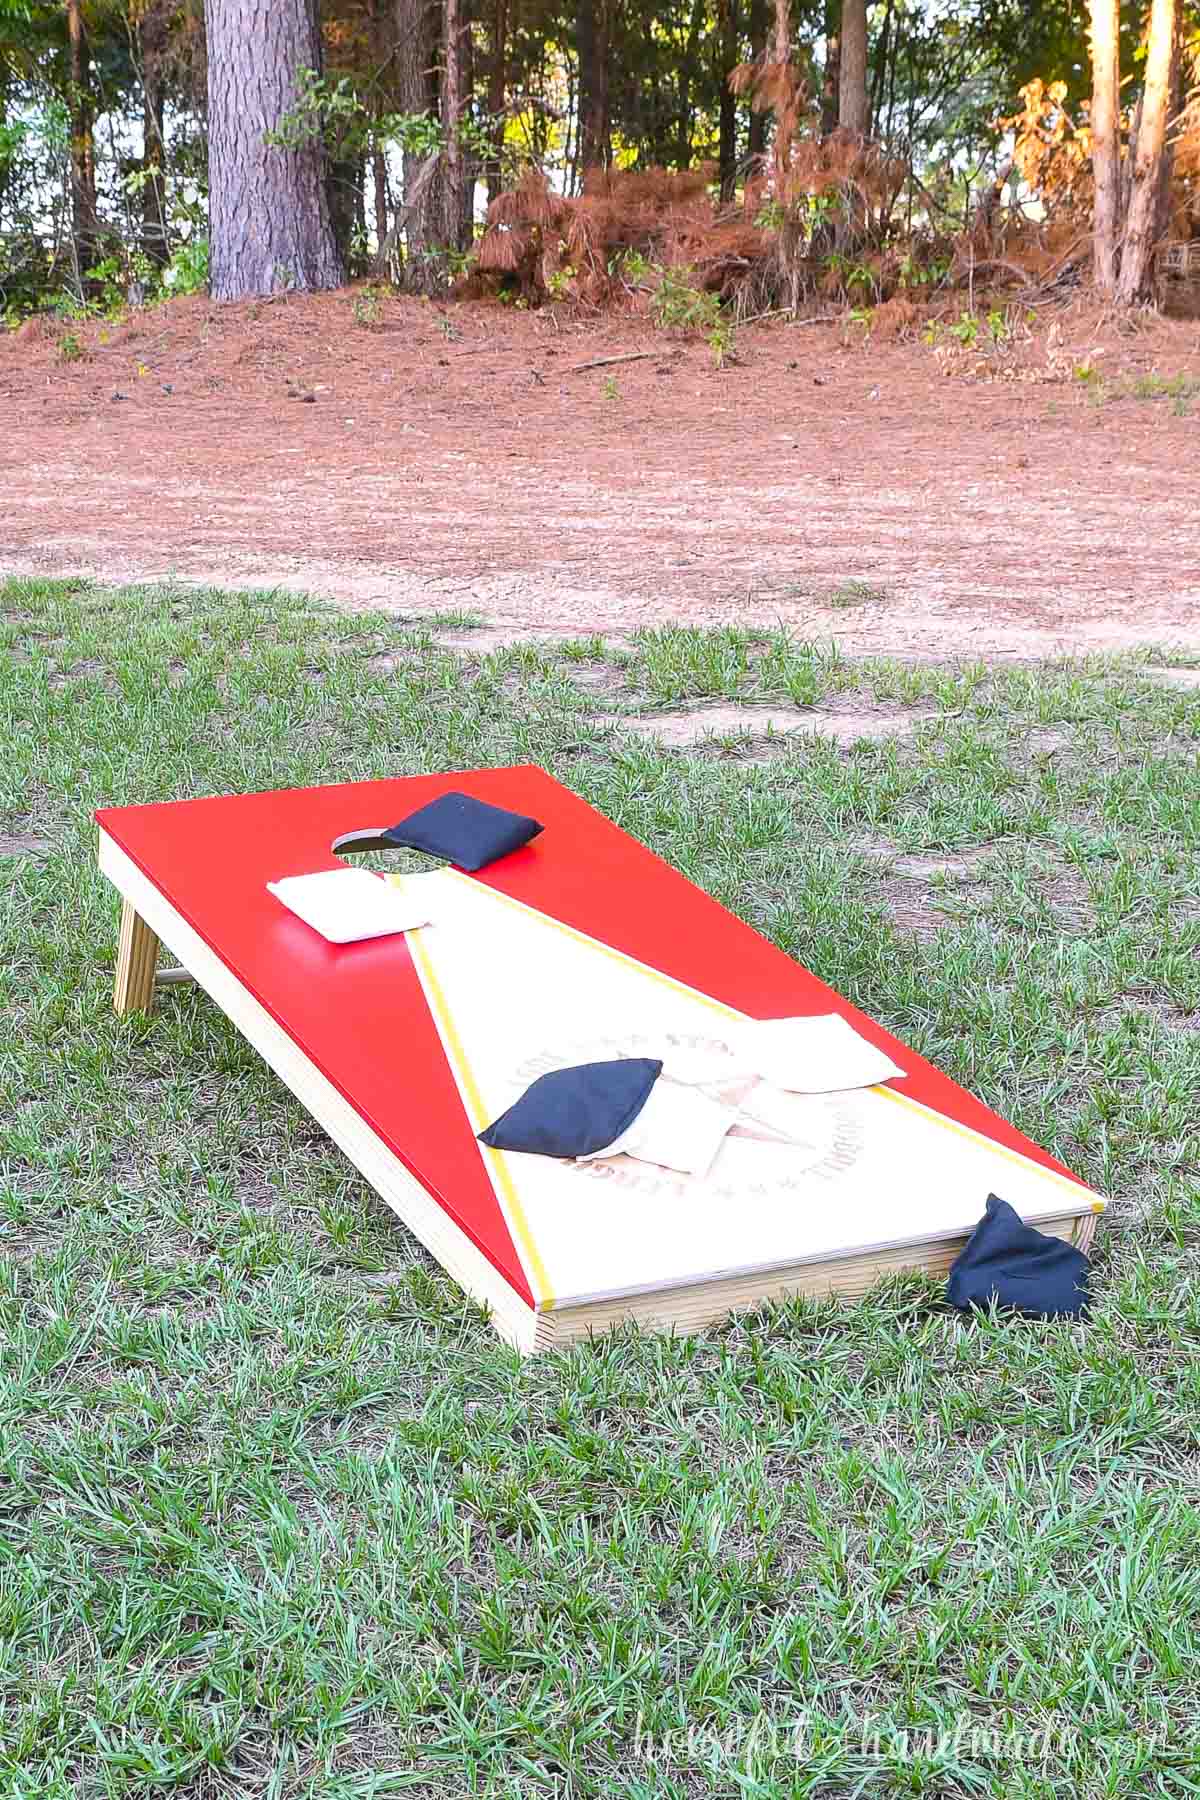
When you make your own DIY boards, you can paint them any way you want for the perfect custom cornhole set.
I love to use basic painters tape in various widths to make a design and then paint it with different colors.
You can also handpaint or laser burn a logo onto the boards for a truly custom look. I bought an inexpensive laser that attaches to my CNC machine so it’s been fun to find a reason to use it.
Decorating your boards is the really fun part so get creative with it!

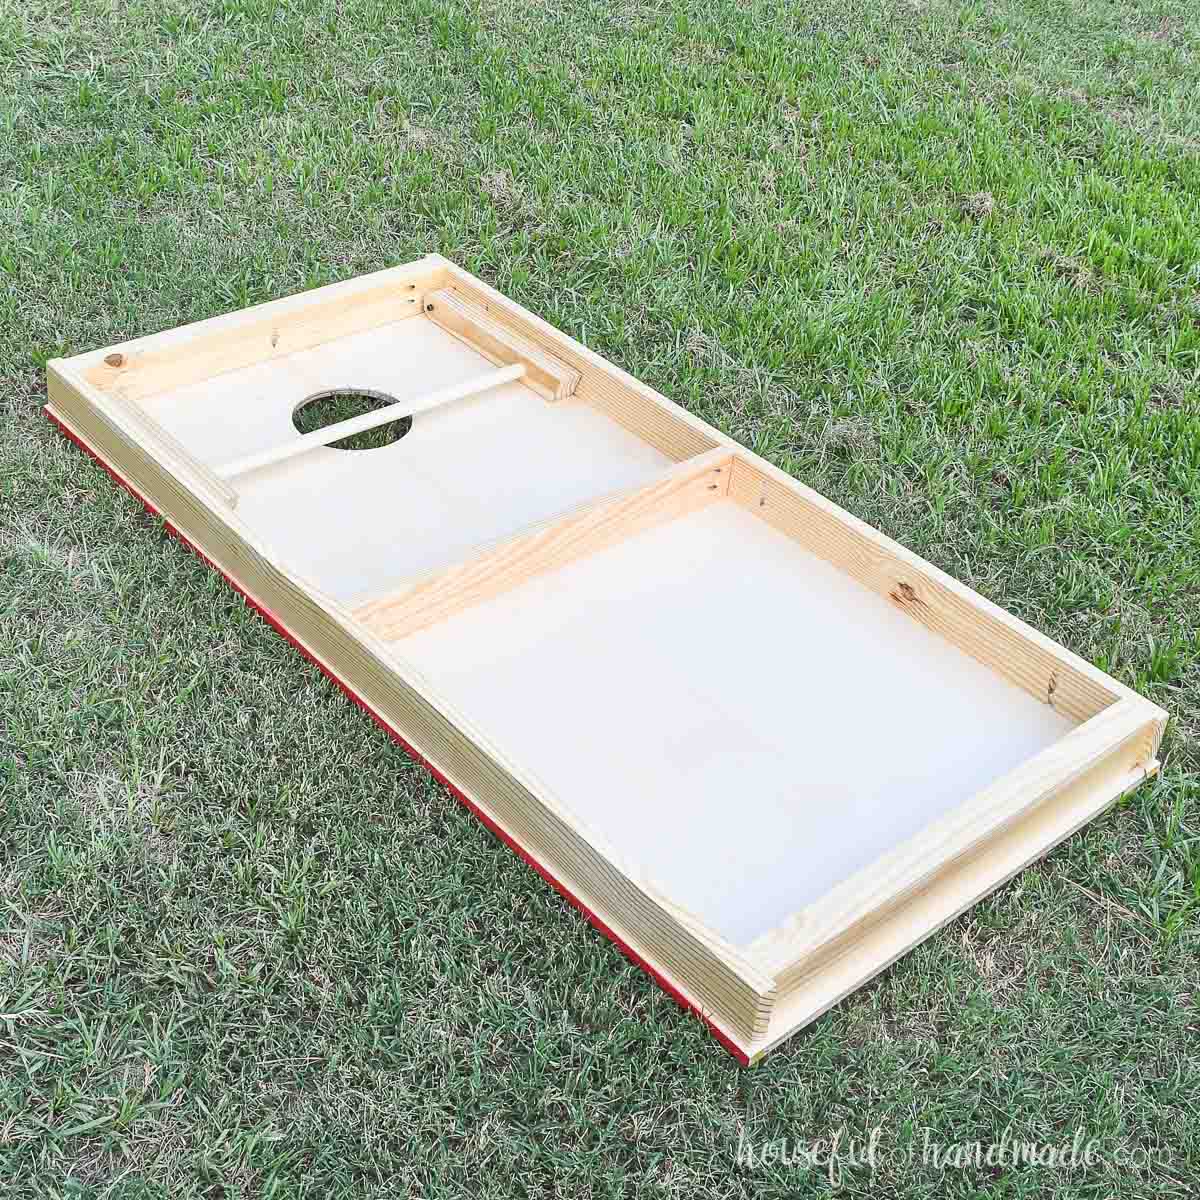
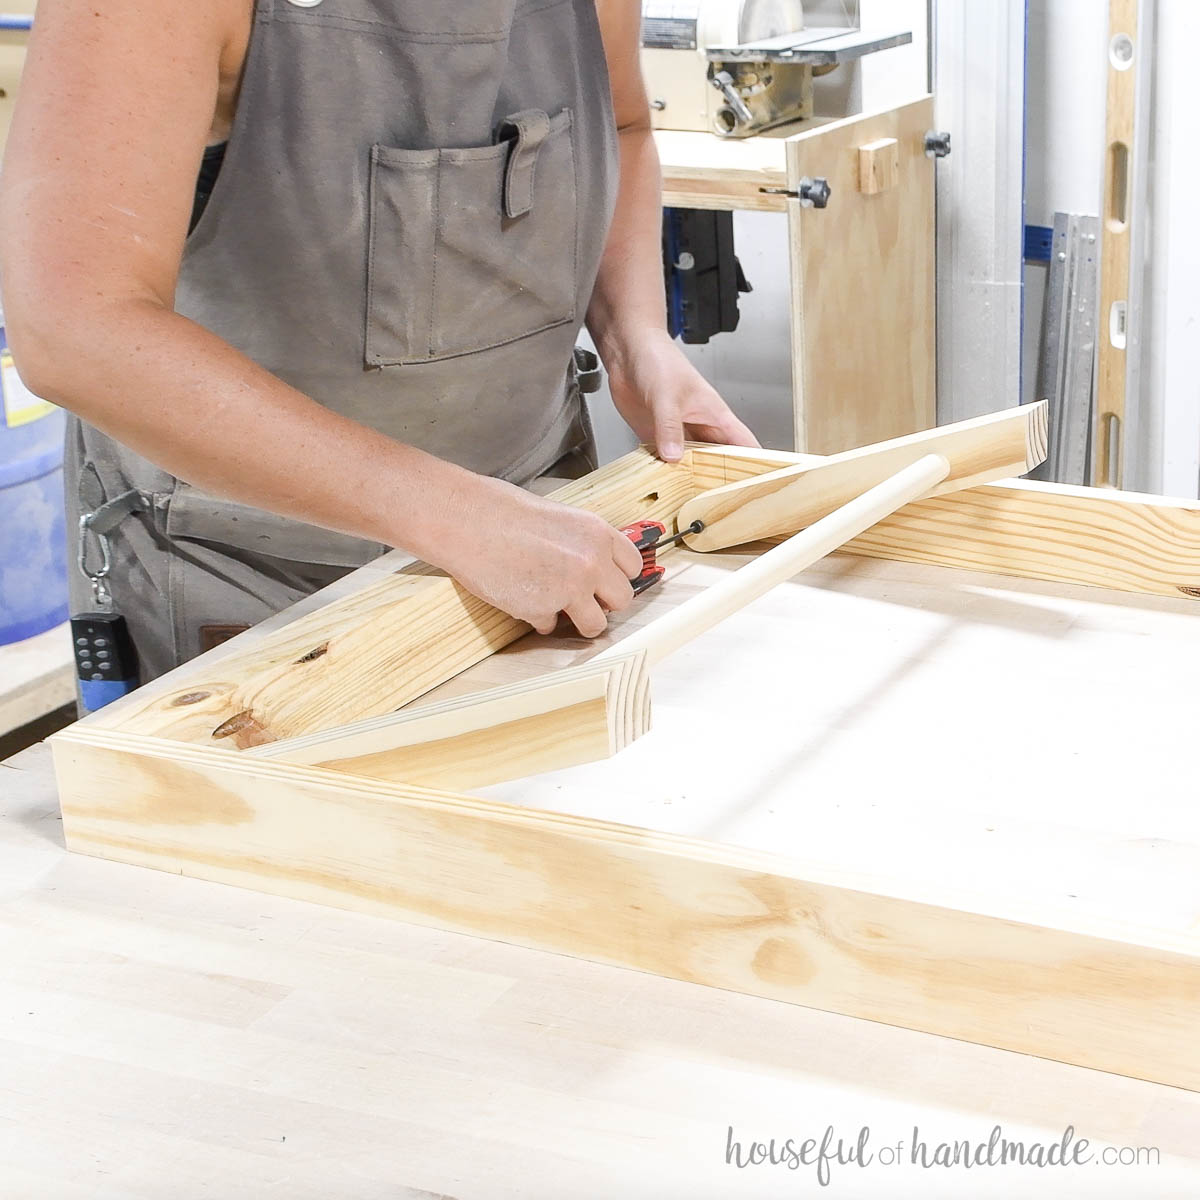
But my favorite part of these cornhole boards is the way the legs are attached.
They are secured to the sides with screws that allow them to pivot and it’s all done on the inside of the frame so there are no visible holes or screws when they are set up.
And the legs are held together with a dowel for easy one-handed set up. Then you can fold them away for storage when you are done playing.
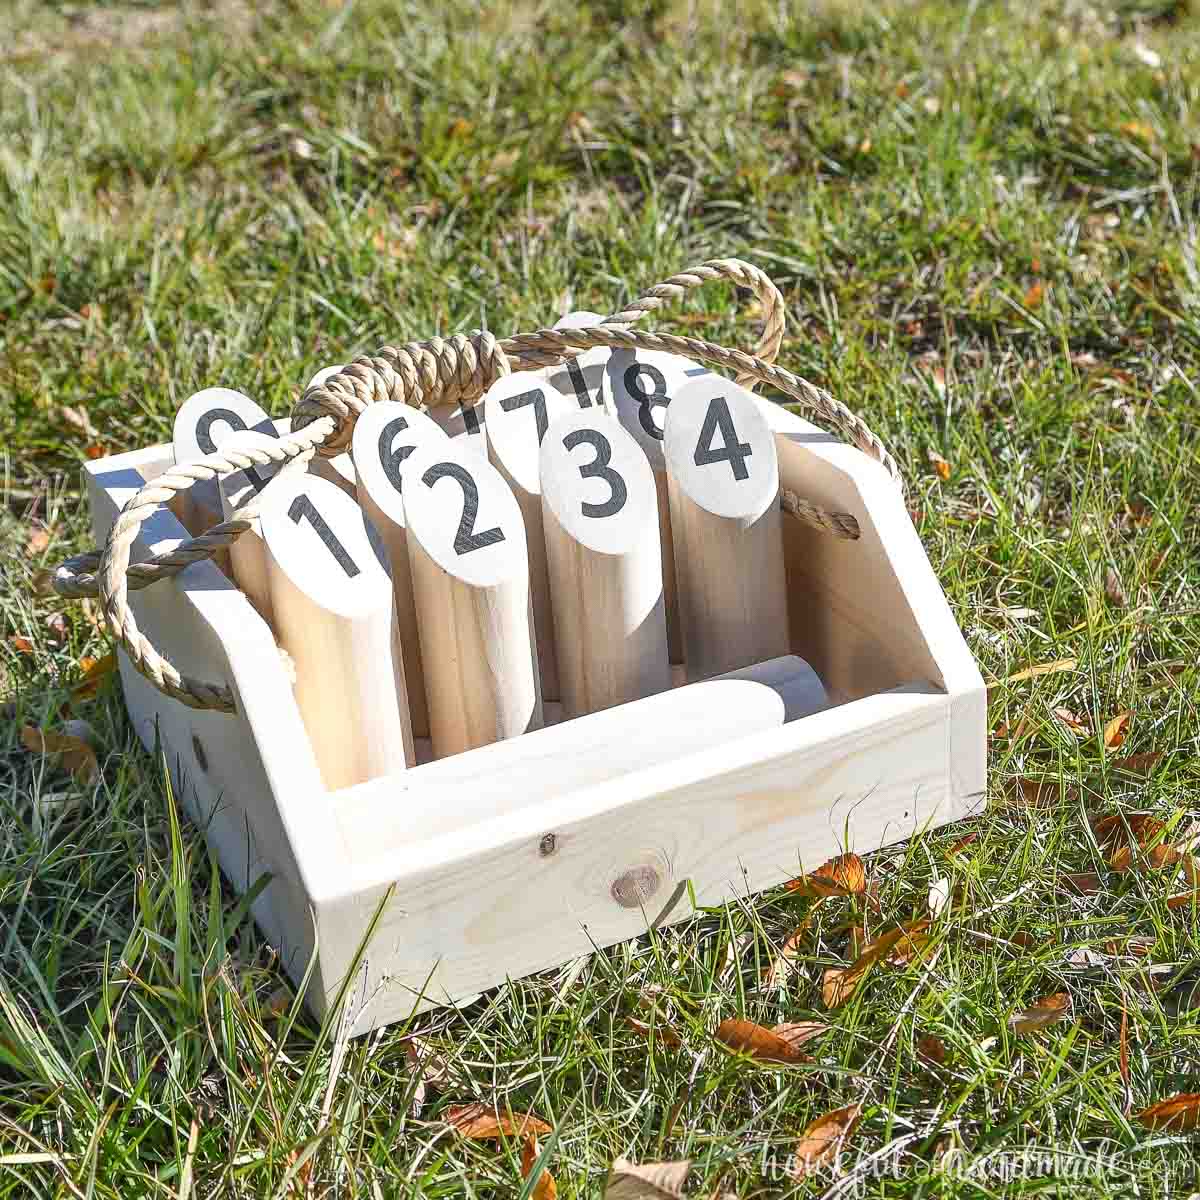
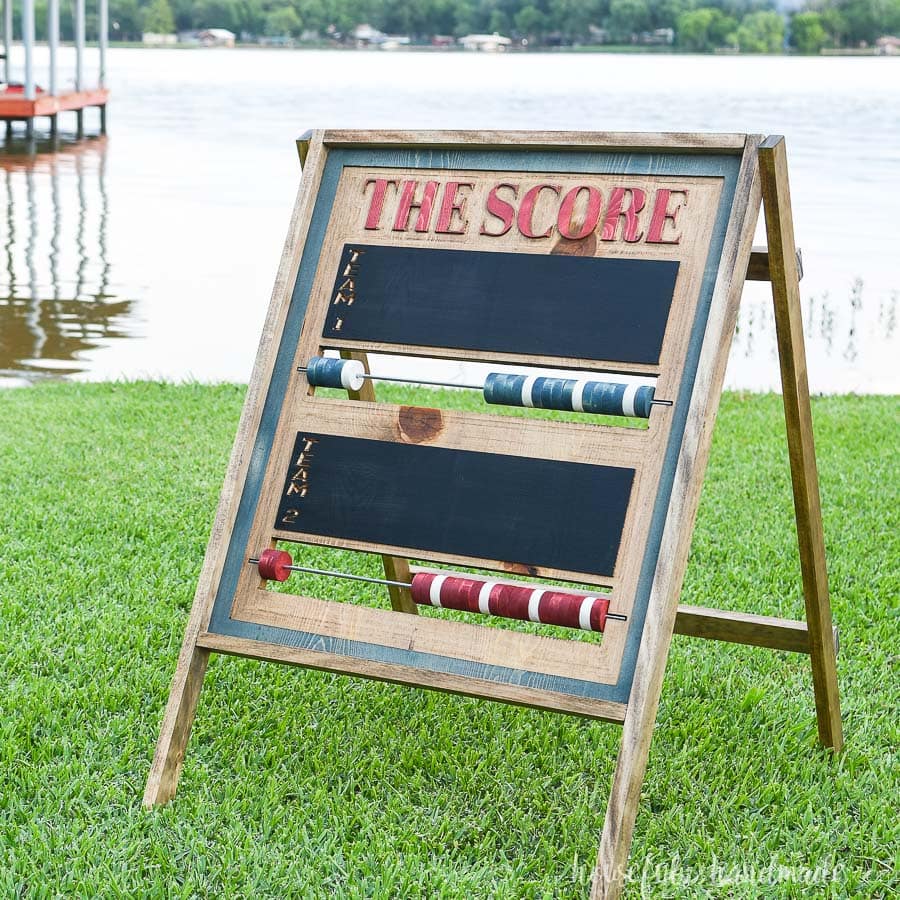
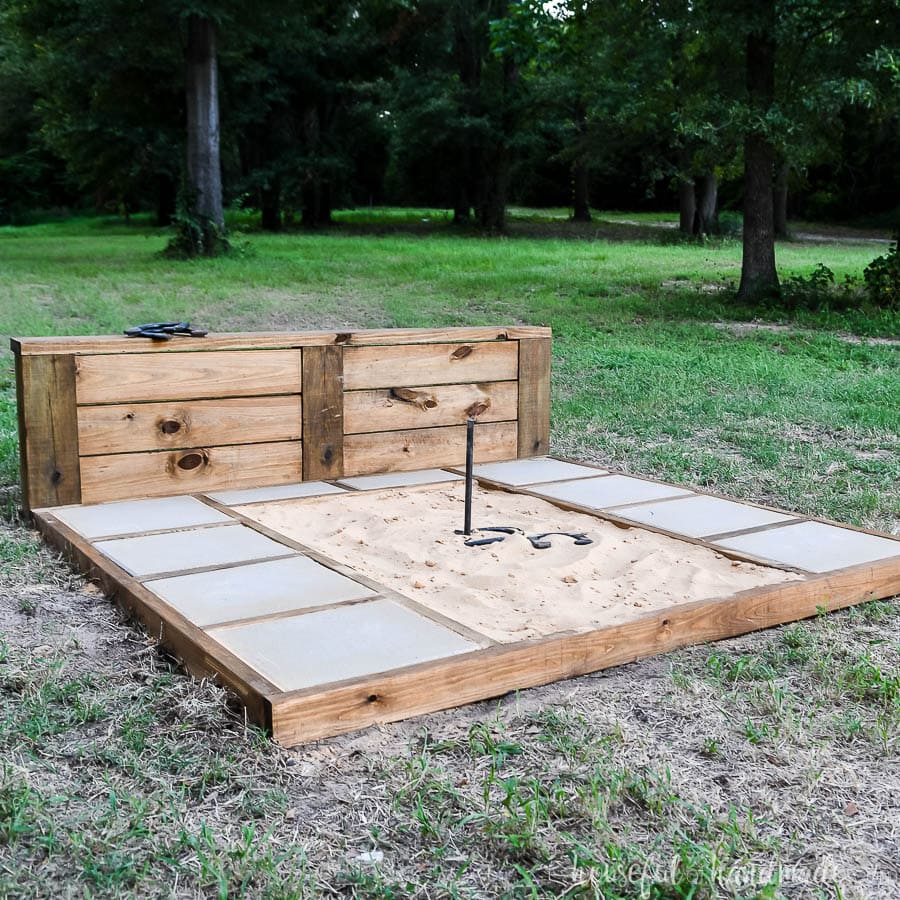
More Yard Game Ideas
Turn your backyard into a resort with even more fun outdoor games.
How to Build Cornhole Boards
Tools & Materials
Recommended Tools:
- Miter saw
- I recently upgraded to this larger sliding miter saw (watch for it to go on sale), but all my projects before were built with this inexpensive miter saw that I loved.
- Circular saw with guide track
- Jig saw, Trim router or CNC machine
- Pocket hole jig
- Drill
- Impact driver (optional, but I love not having to switch bits with the drill)
- Speed square
- Multi-mark measuring tool
- Sander
Supplies:
- Wood products
- (2 1/2) 1×3 boards, 8′ long
- (1) 2×3 board, 8′ long
- (1) 2×2 board, 4′ long
- (1) 1/2″ plywood, 4×4 sheet
- (1) 3/4″ dowel, 4′ long
- 1 1/4″ pocket hole screws
- 1″ pocket hole screws
- (4) 1 1/2″ shoulder screws
- (4) threaded inserts
- Set of 8 cornhole bags
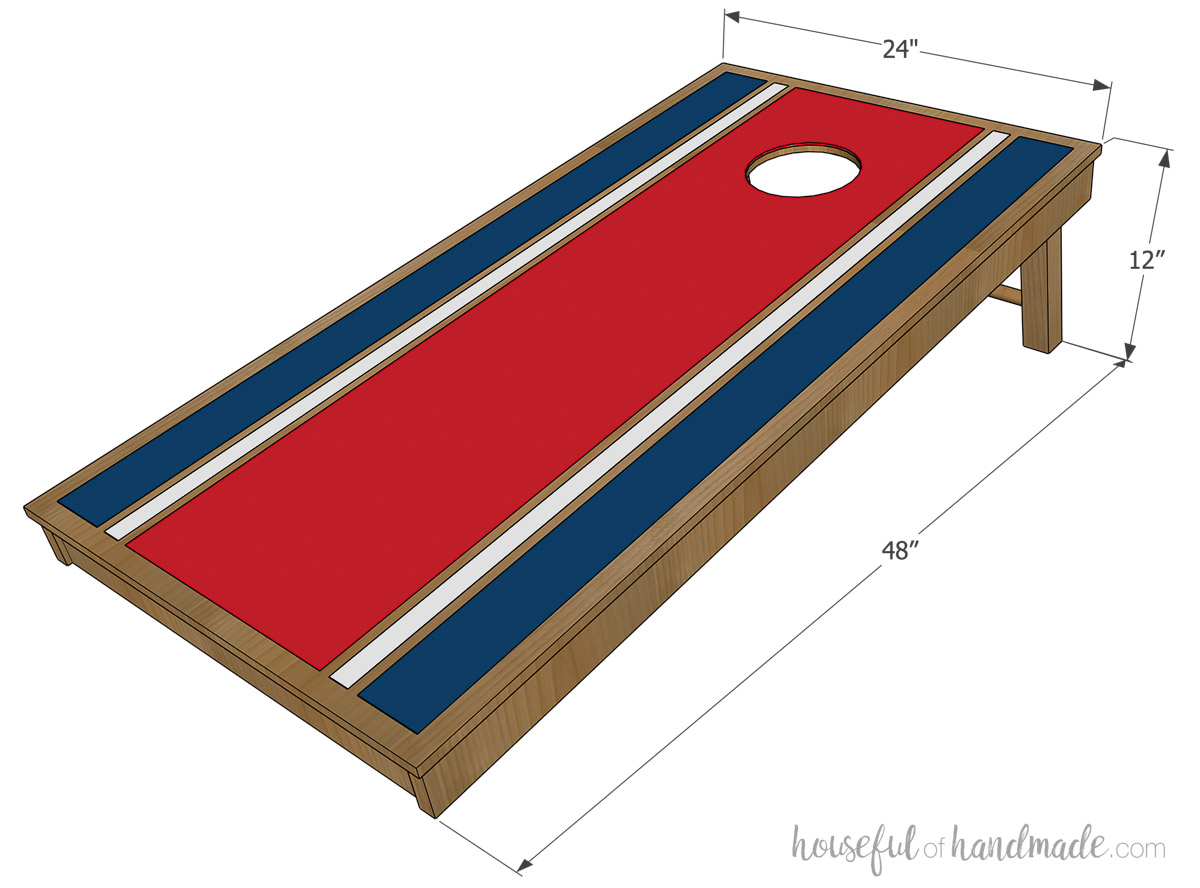
Overall Dimensions
The final cornhole board is 48″ deep and 24″ wide. The front of the boards is 3″ off the ground and the back is 12″ off the ground.
Cut List
Cut out the pieces according to the easy-to-read table in the PDF plans.
I am sharing the premium PDF plans for free when you sign up for my newsletter. Just sign up below, then check your email for a link to download your plans.
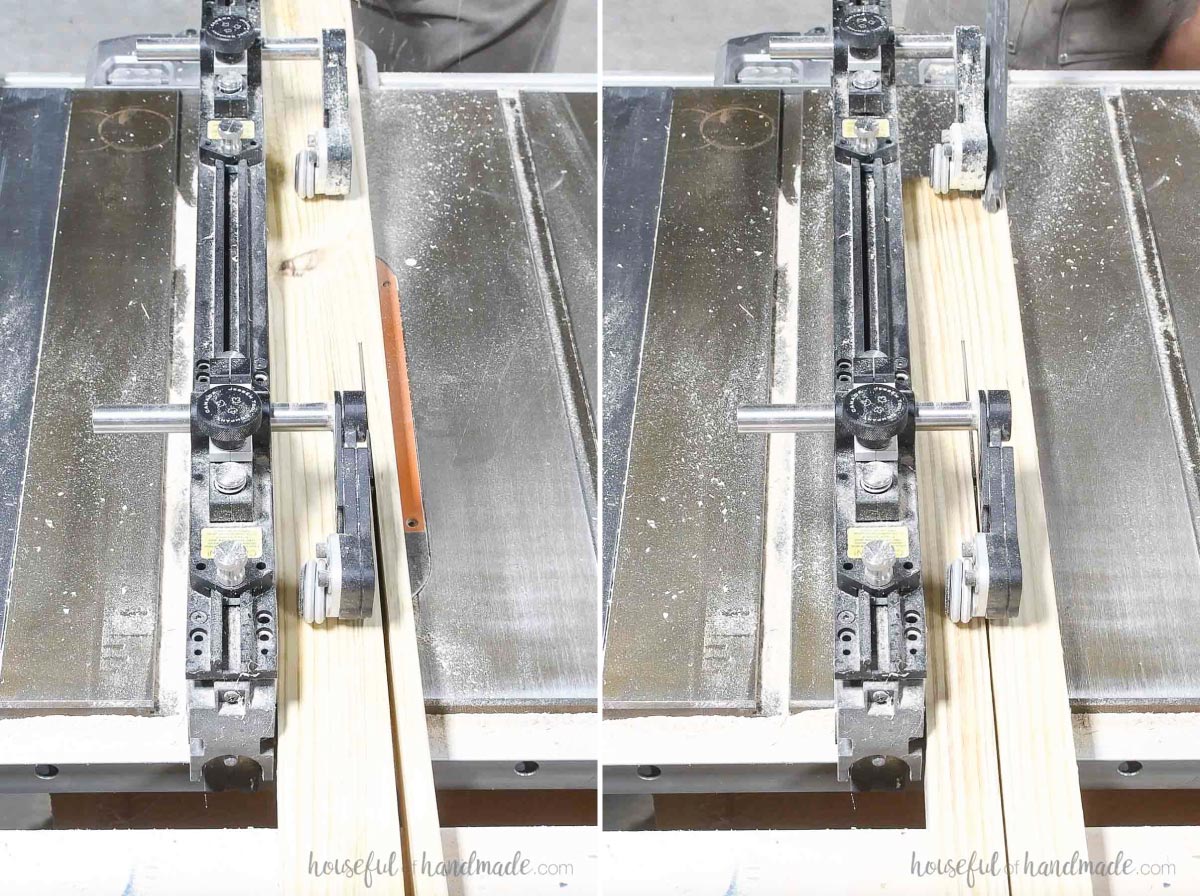
To get square edges on my 2×3 and 2×2 boards, I cut them from 2×4 boards using my table saw.
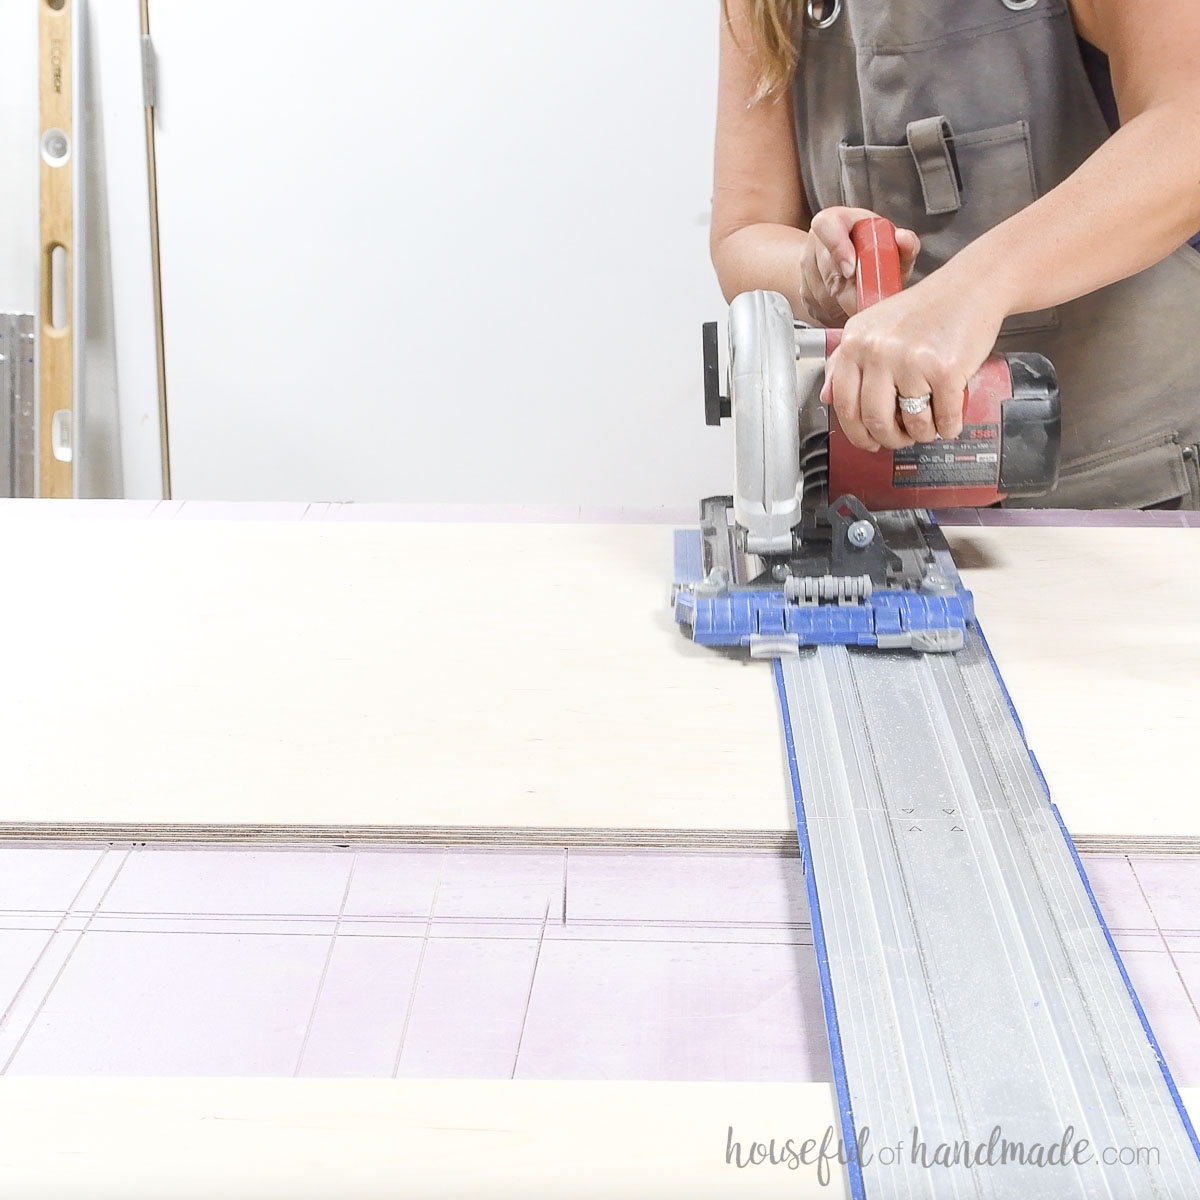
When cutting the plywood, if your sheet is exactly 48″ x 48″ cut it in half to make 2 equally sized pieces.
This will make your top ~ 1/8″ shy of the final measurement. But that is okay, unless you are worried about perfectly sized regulation boards.
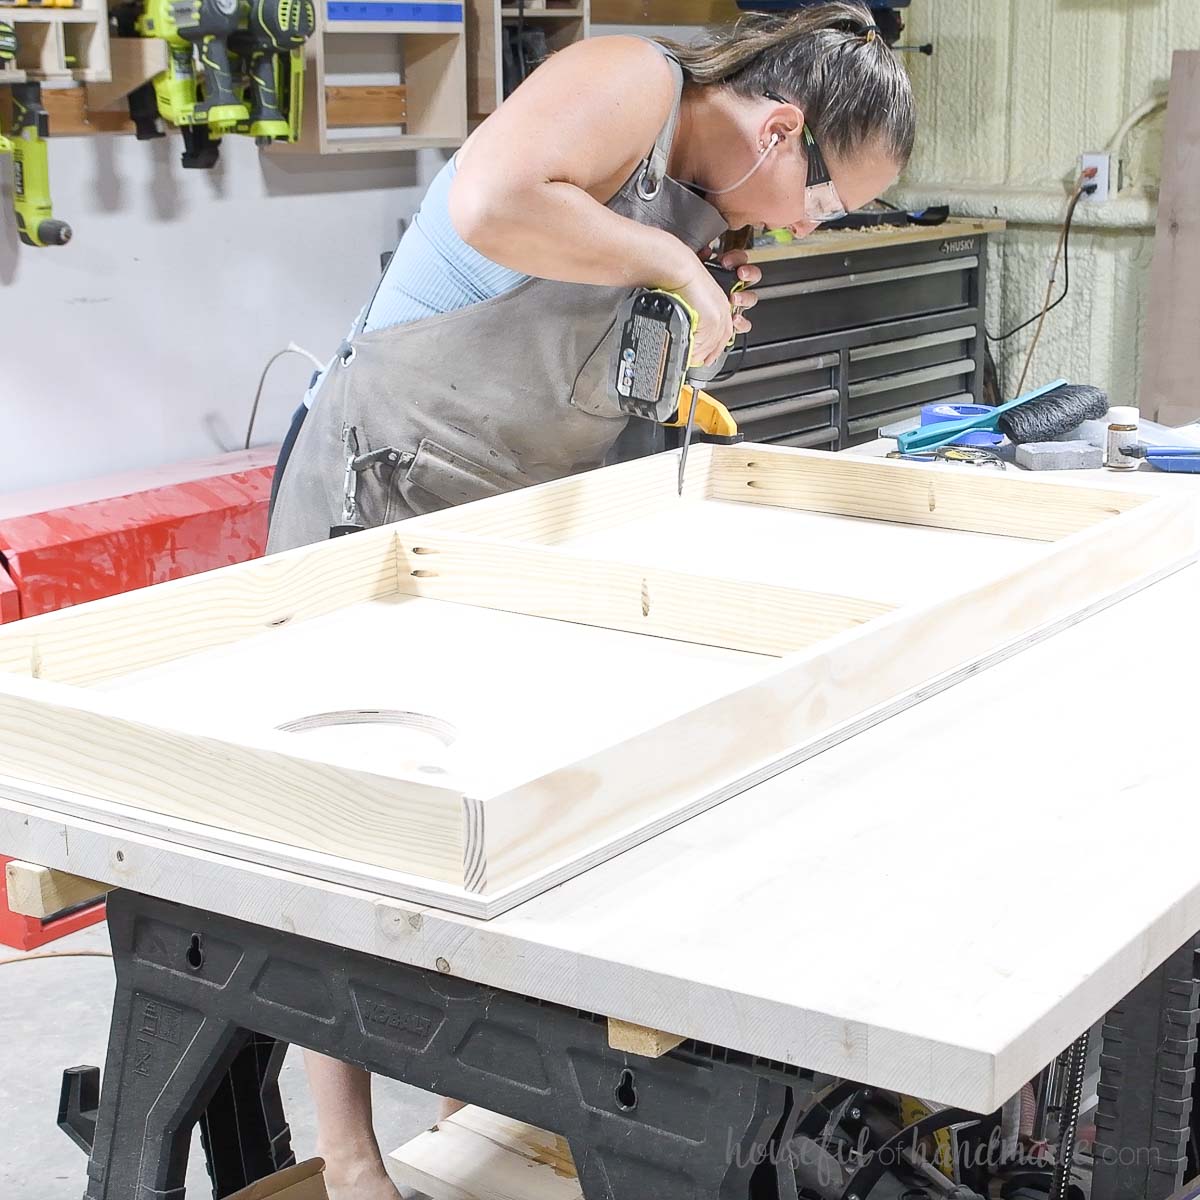
STEP 1- Build the frame
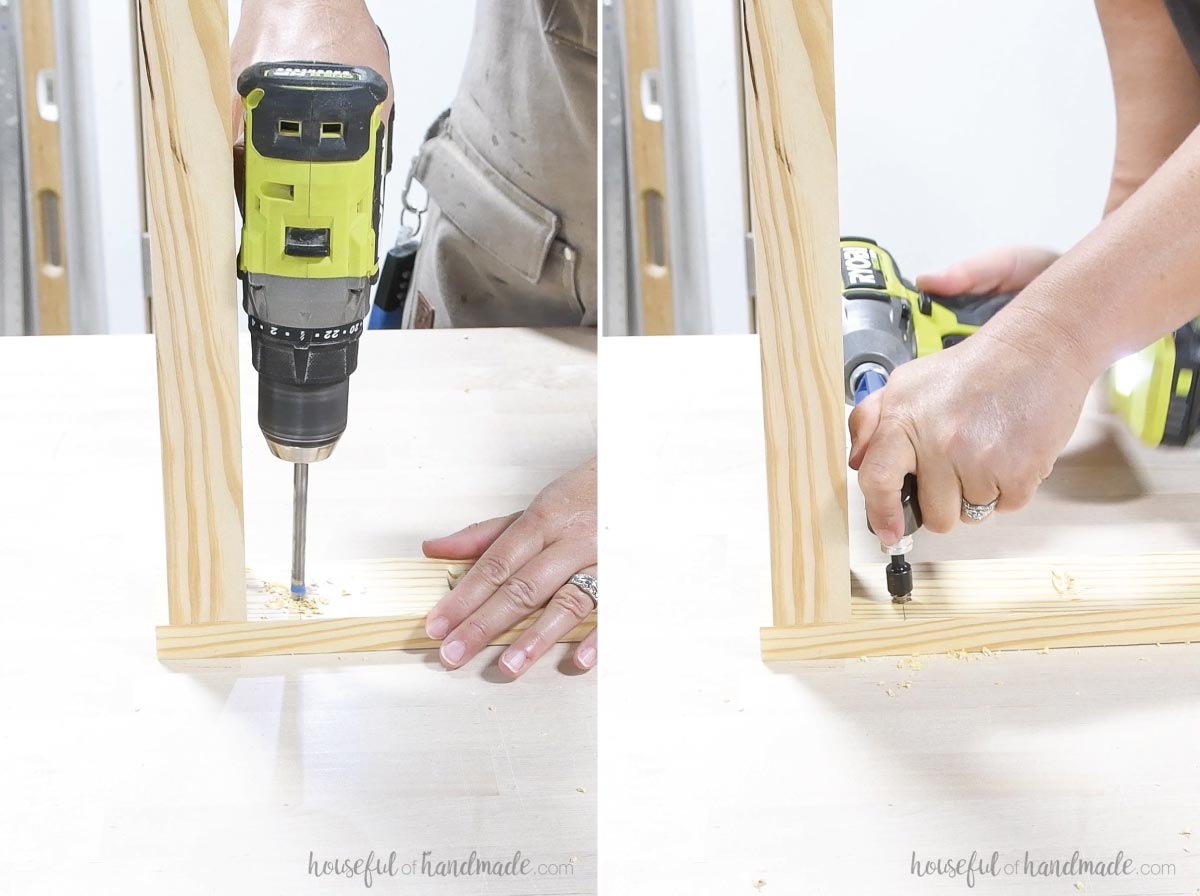
On the 1×3 side pieces, drill a hole 2 3/4” down from the top and 7/8” from the edge. Refer to the instructions for your threaded inserts for the specific drill bit to use.
Then twist the threaded insert into the hole until it is flush with the face of the board.
As you can see in the photo, I forgot to do this before assembly and it was really tight to get the threaded insert in. So make sure to do this first.
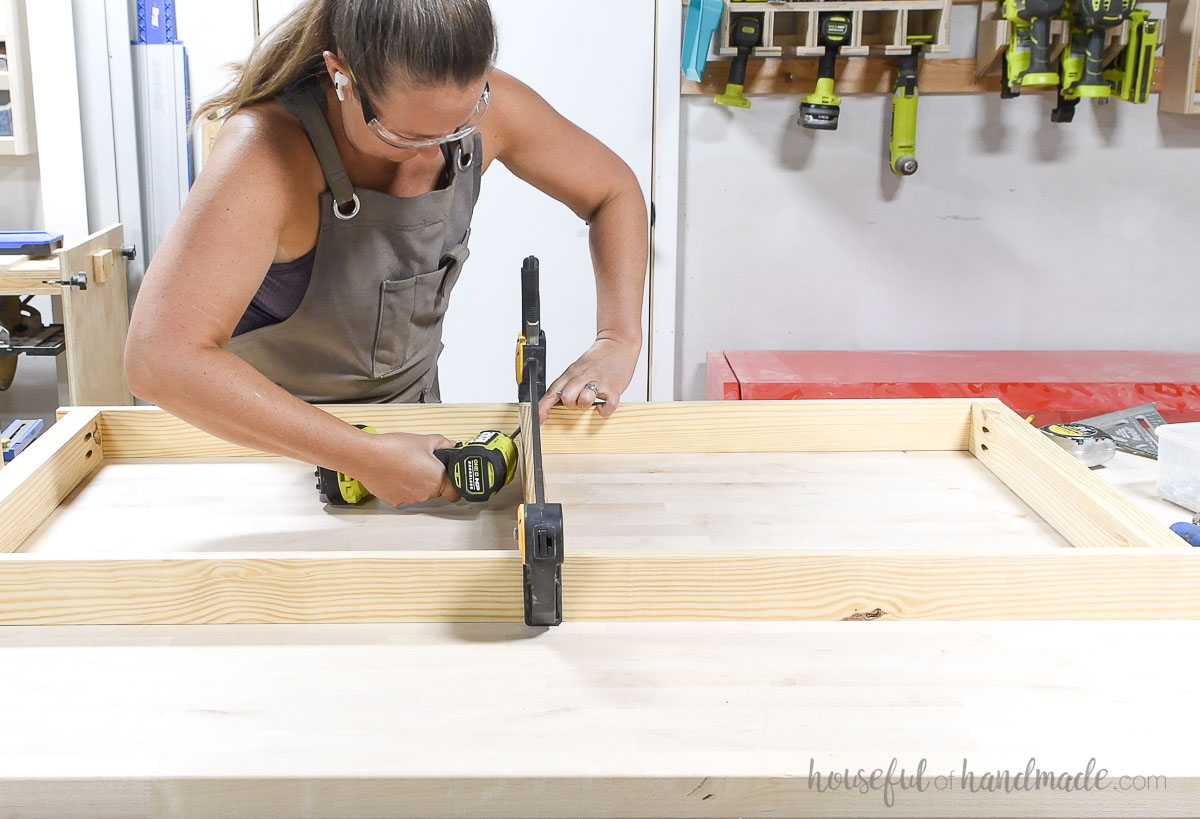
Add pocket holes set for 1 1/2” thick material in both ends of the frame front/back pieces. Then change the pocket hole jig to 3/4” thick material and drill holes in both ends of the frame center board.
Attach the frame ends to between the sides so they are set back 1/4” from the front/back and flush to the top/bottom.
Attach the center board so it is centered on the side pieces. Secure with wood glue and 1 1/4” pocket hole screws.
Repeat for the second frame.
STEP 2- Attach the top
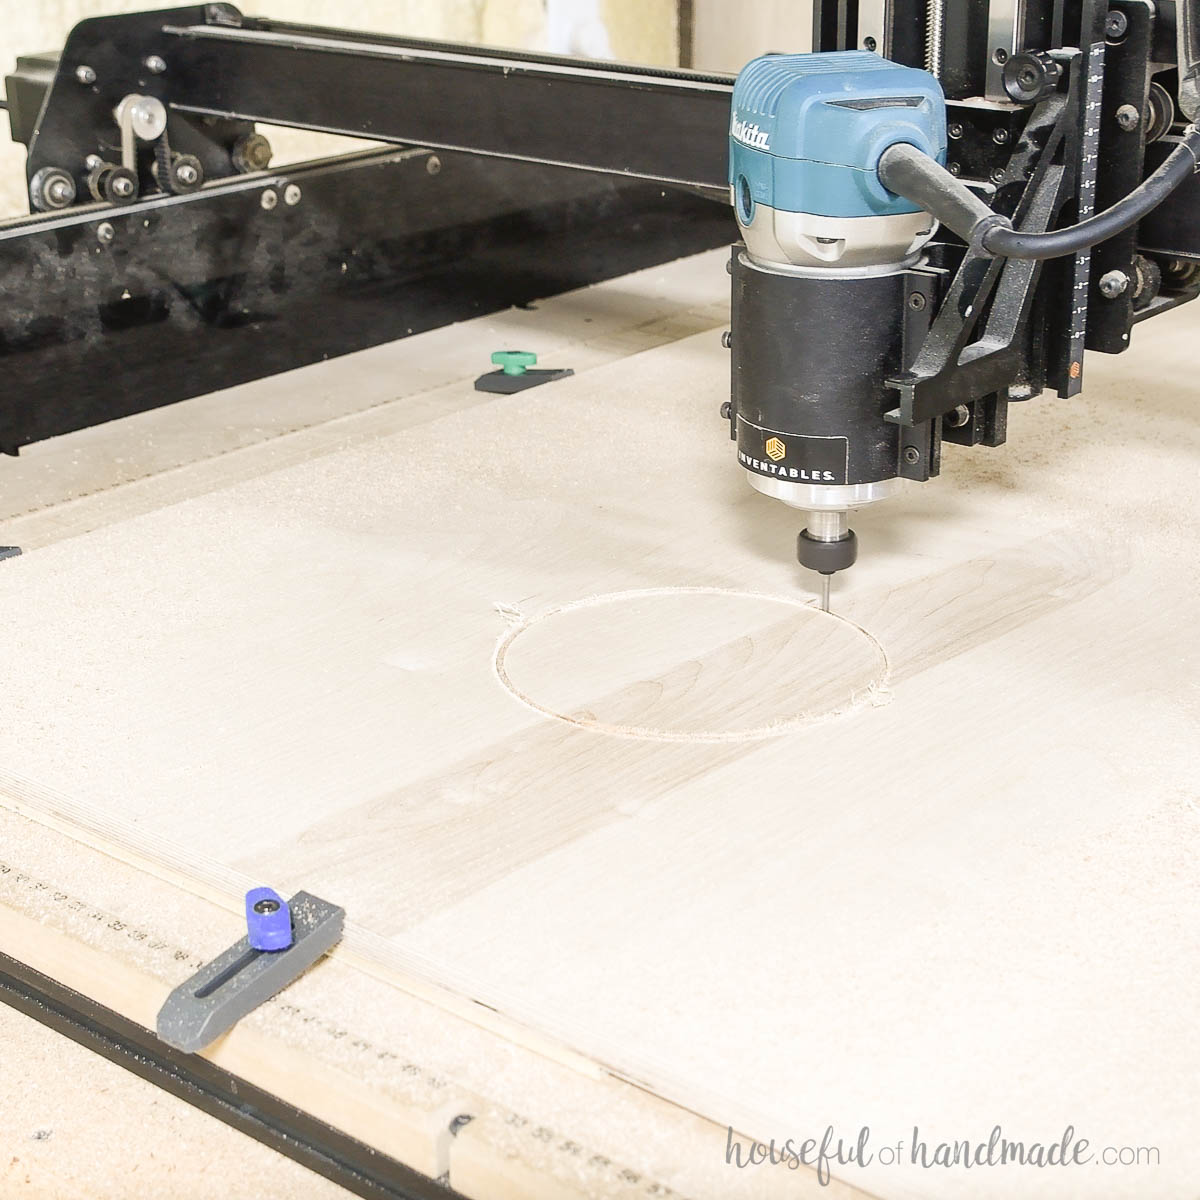
Cut a 6” diameter circle in the top with either a jigsaw or CNC machine or circle router jig.
The center of the circle should be 9” down from the top edge and centered on the board. The edge of the circle should be 6” down from the top edge 9” in from each side.
Drill pocket holes set for 3/4” thick material in the sides and center piece of the frame.
Make sure the pocket holes are facing the top of the frame which is the side with the threaded inserts closest to it.
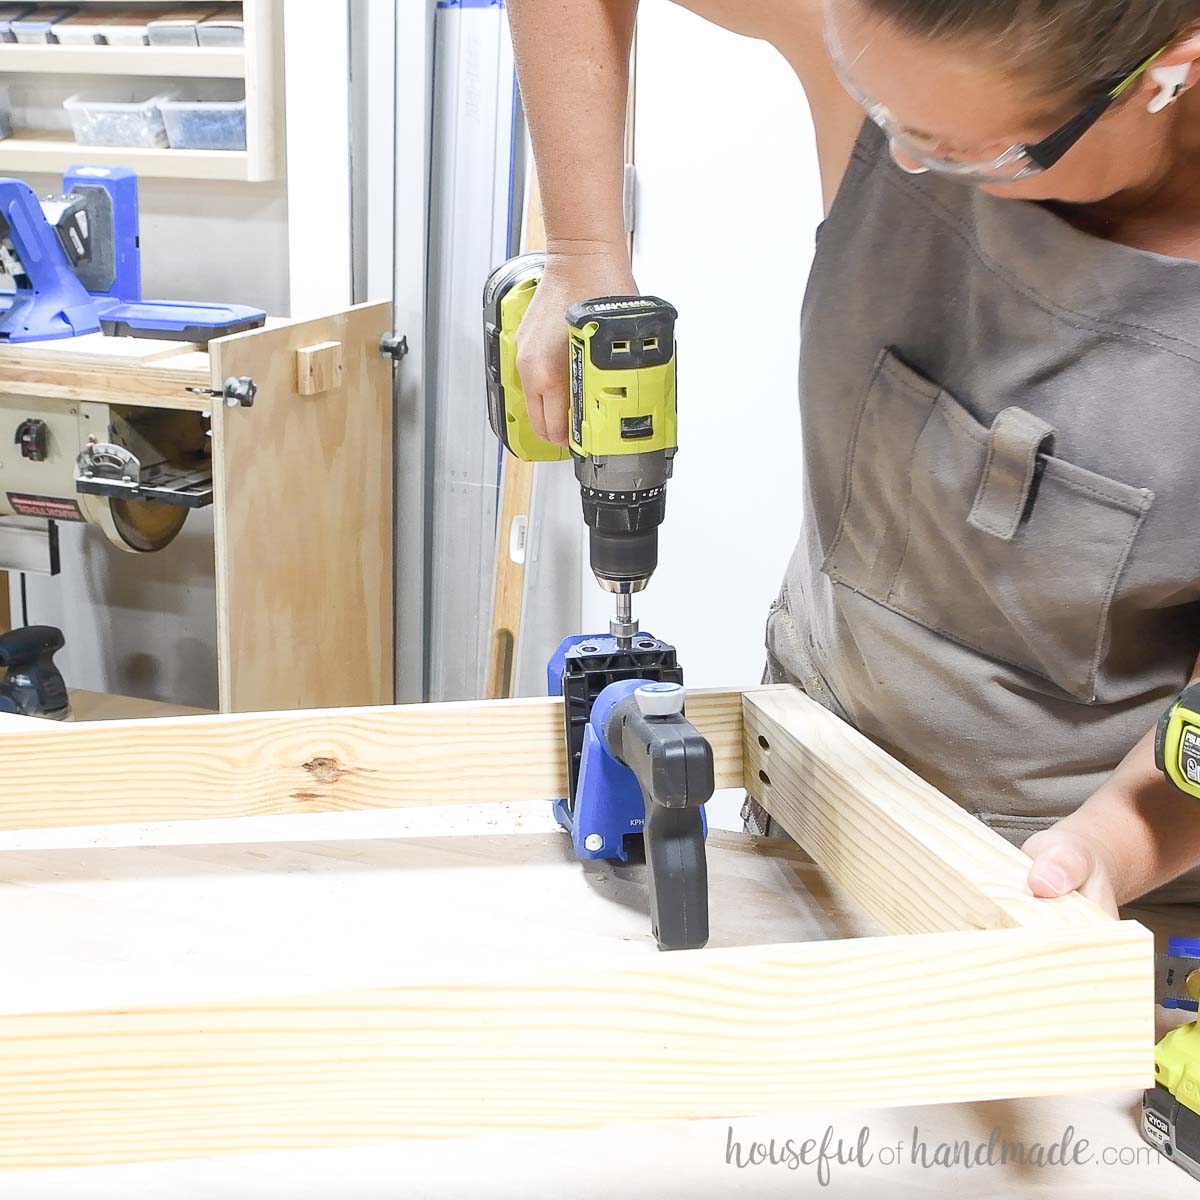
Center the frame over the top and secure it with 1” pocket hole screws.
Be careful not to over-drive your screws or they might poke through the top.
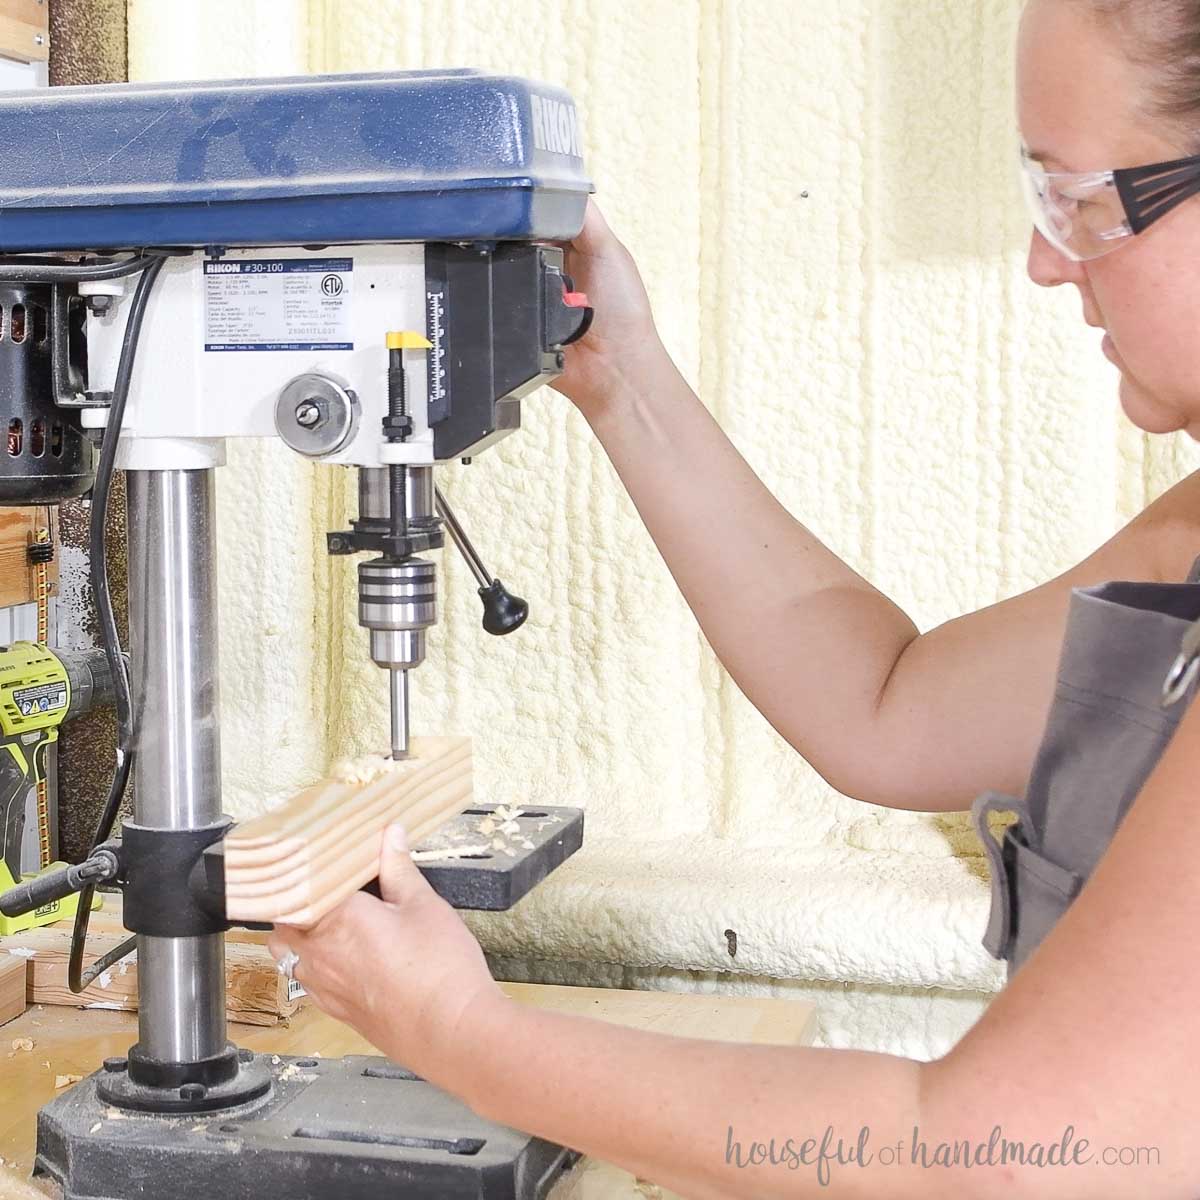
STEP 3- Build the legs
Cut one end of the leg pieces at a 15 degree angle.
Drill a 3/4” wide by 1/2” deep hole centered 3” up from the bottom of the leg pieces. Then drill a 1/4” hole all the way through the board 3/4” centered 3/4” down from the top.
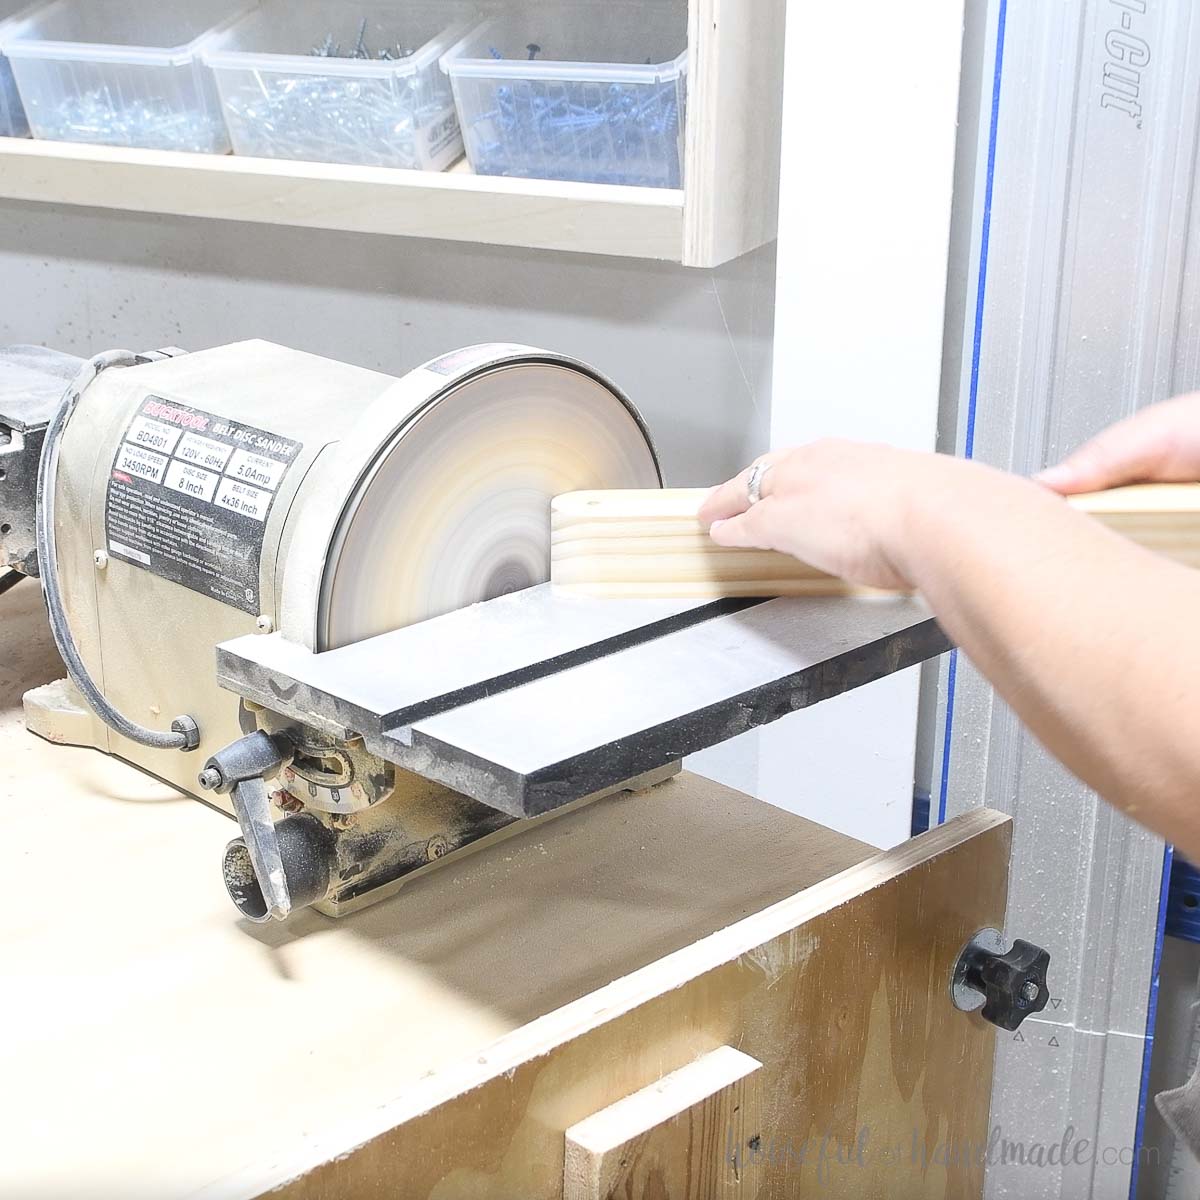
Round the top corners of the legs with a sander or jig saw. This is necessary or the legs will not be able to pivot.
Repeat for all 4 legs, but make sure to mirror 2 of them.
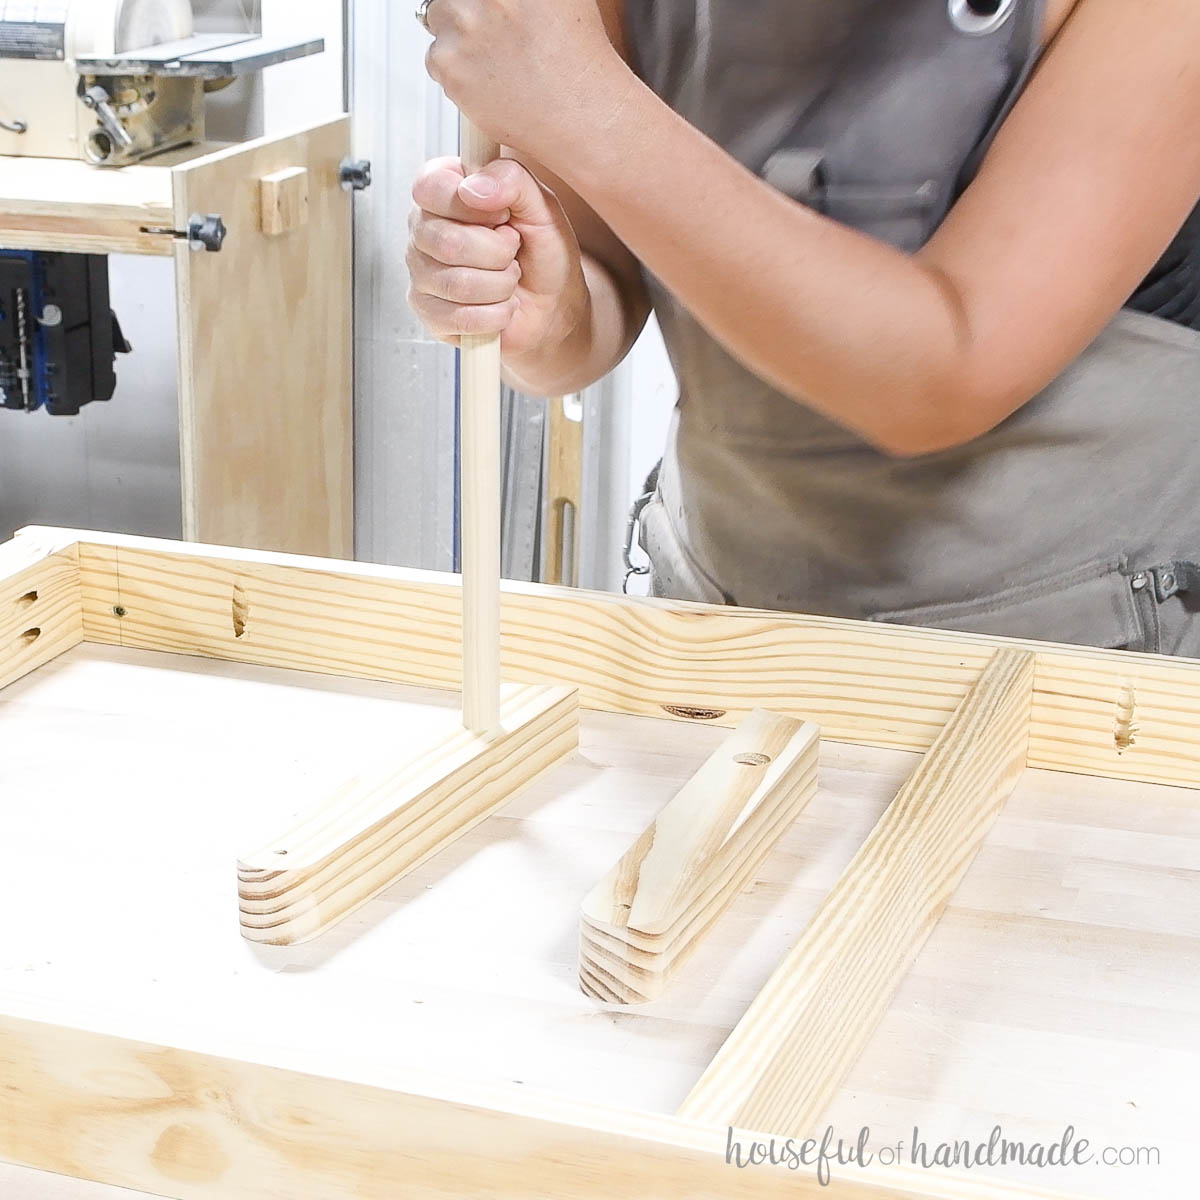
Place the dowel in the holes on the legs.
Make sure the dowel is seated enough to allow the legs to move freely in the frame. Secure with glue.
Push the threaded screw through the holes in the legs and into the threaded inserts.
Screw them in to secure, but not too tight that they squeeze the legs.
STEP 4- Finish
Sand then paint the top of your cornhole board however you want. I used painters tape to make a design.
Then seal the entire board and legs to protect it. If using water based paint, make sure to use a water based sealer like polycrylic.

And you did it! Grab some bags and play cornhole. It won’t take long before you start getting really good.
Then fold up the legs for storage when you are done.
Happy building!
