Board games are so fun to play! And you can usually find used games or basic versions for cheap.
But instead of playing on the flimsy cardboard game board, I created a beautiful wooden game board to use with the pieces instead.
It instantly makes the game more fun and fancy!
This post may contain affiliate links. As an Amazon Associate I earn from qualifying purchases. Click here to read my full disclosure policy.
It’s a great way to turn a cheap game into a fun gift for the game lover in your life.
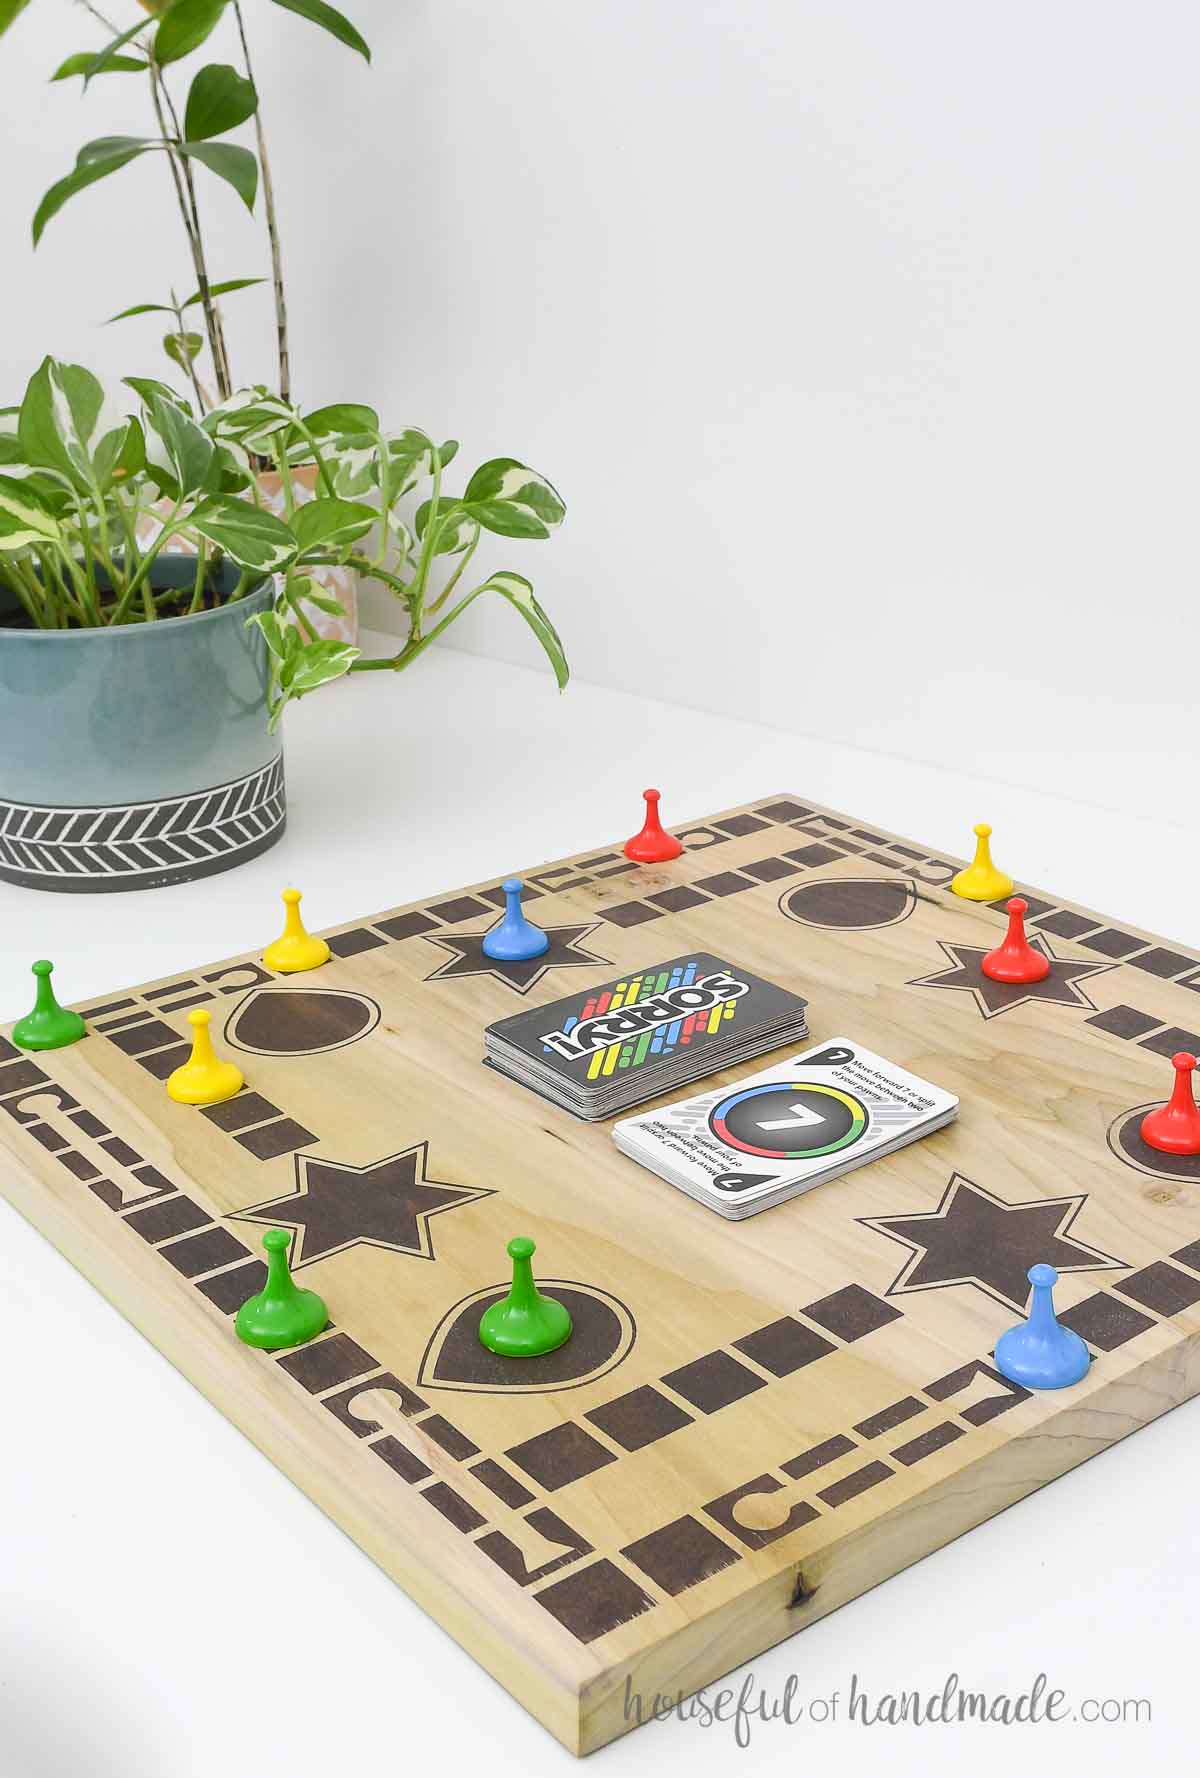
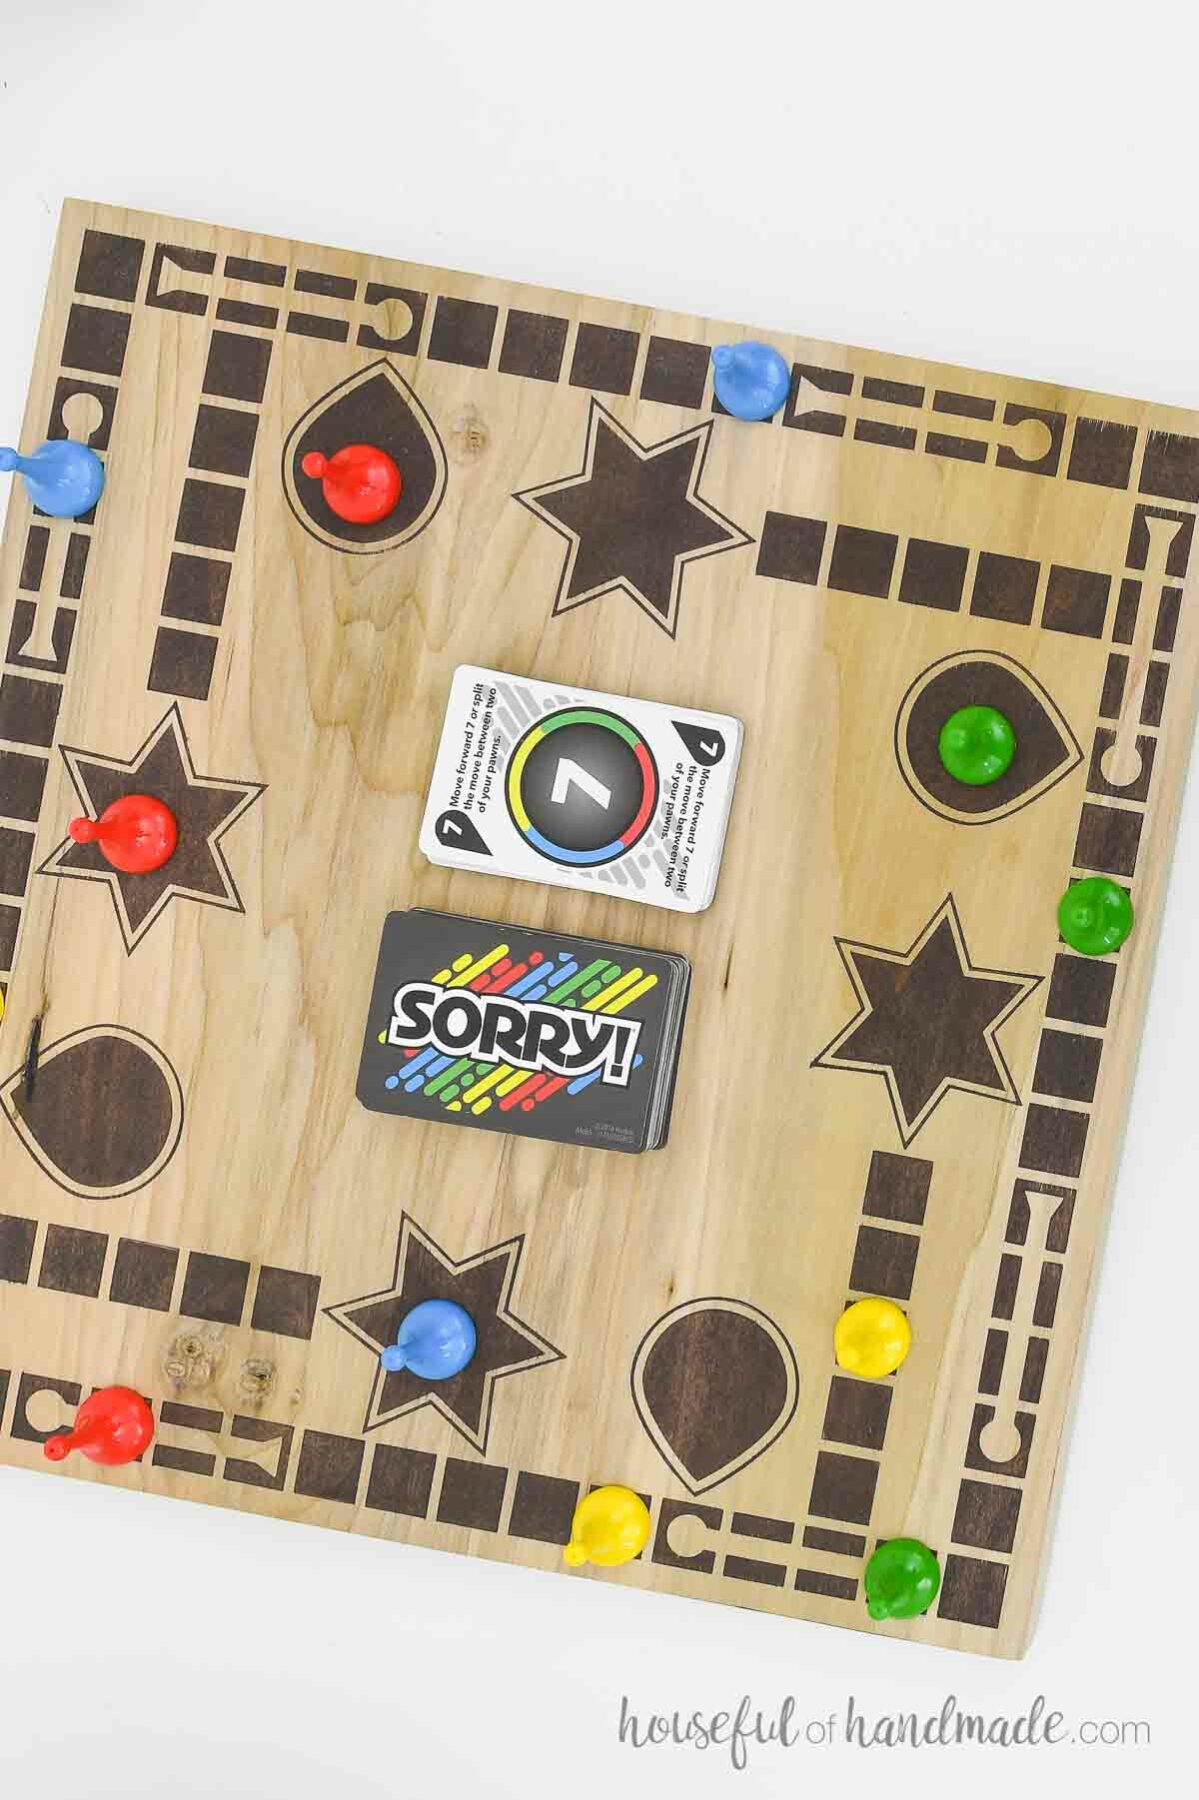
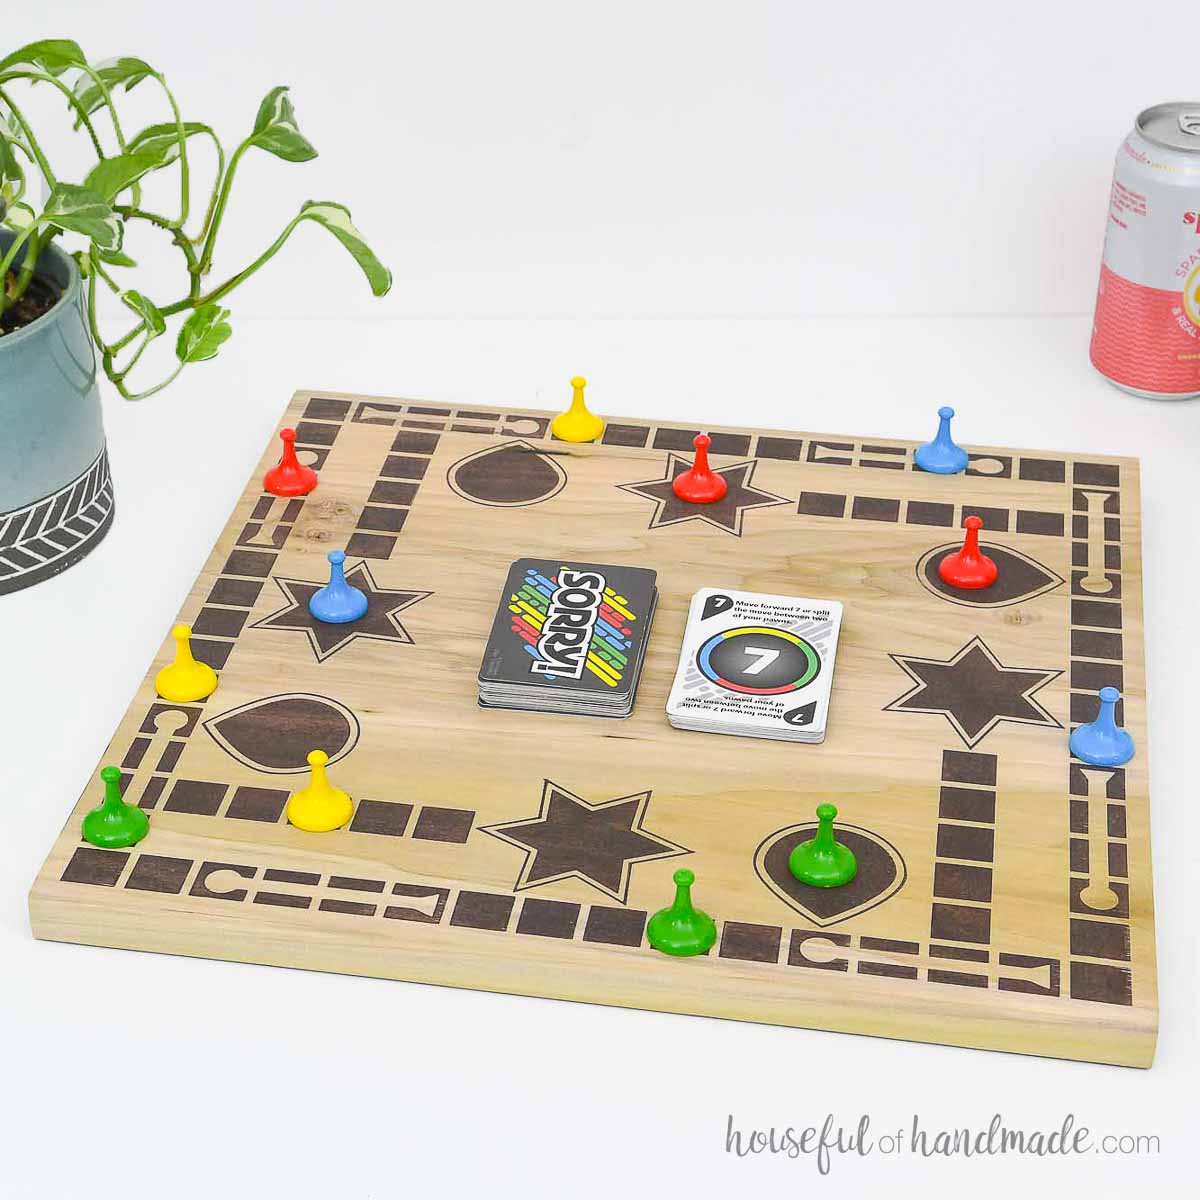
A wood game board can be made for just about any of your favorite games. I simplified a Sorry game board and gave it a vintage look.
Game boards without text on the board are easiest to turn into DIY game boards.
Plus the game board is easy and inexpensive to make too! All you need is about 3′ of a 1×8 board.
I used a scrap of poplar left over from building DIY cabinet doors for my new built in desk. But you can use any wood you have.
Double Sided Game Board
This easy game board is built so that you can use both sides. One board for 2 games is great for saving space in the game cabinet.
Plus this board is so pretty. You will feel fancy when playing on it.
Then you can leave it out on the coffee table as art. It makes it easy to grab and play a game or two whenever you want.
Maybe it’ll help you cut down on excess screen time 😉
How to Make a Wooden Game Board
Tools & Materials
Recommended Tools:
- Miter saw
- I recently upgraded to this larger sliding miter saw (watch for it to go on sale), but all my projects before were built with this inexpensive miter saw that I loved.
- Circular saw or table saw
- Clamps
- Chisel
- Sander
- Optional: Vinyl cutting machine like a Silhouette Cameo or Cricut Maker
Supplies:
- Wood products
- (1) 1×8 board, 3′ long
- Wood glue
- Water based wood stain or paint
- Optional: Stencil vinyl
STEP 1- Build the board
Cut two pieces of 1×8 board 15-16″ long. Exact measurements are not necessary because you will be cutting it to size after glue up.
Add glue to the center of the boards. Then clamp them together to create one large board.
EXPERT TIP:
Smear the glue so it covers the entire edge of both boards. You want to have extra glue squeeze out of the boards when you clamp. That lets you know you have enough glue for a strong joint.
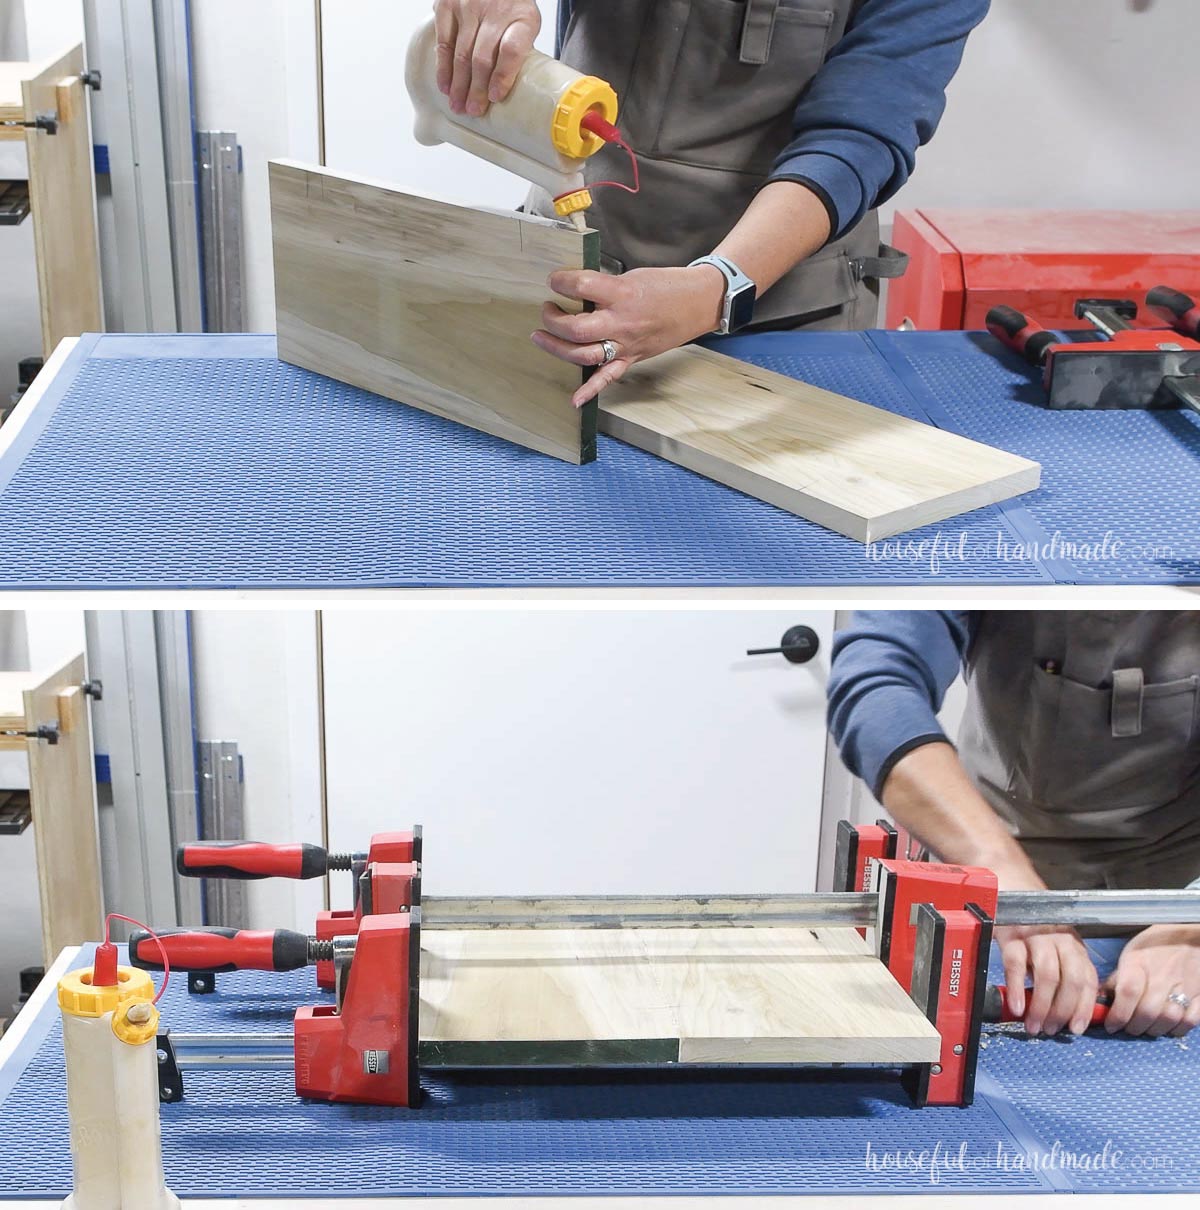
After the glue has dried for about 30-60 minutes. Scrape off the squeezed out glue with a chisel or other sharp surface.
If you wait until the glue fully hardens, it is harder to remove the excess glue.
Once the glue is fully dry, remove from the clamps. Then sand the board smooth.
Make sure to sand both sides.

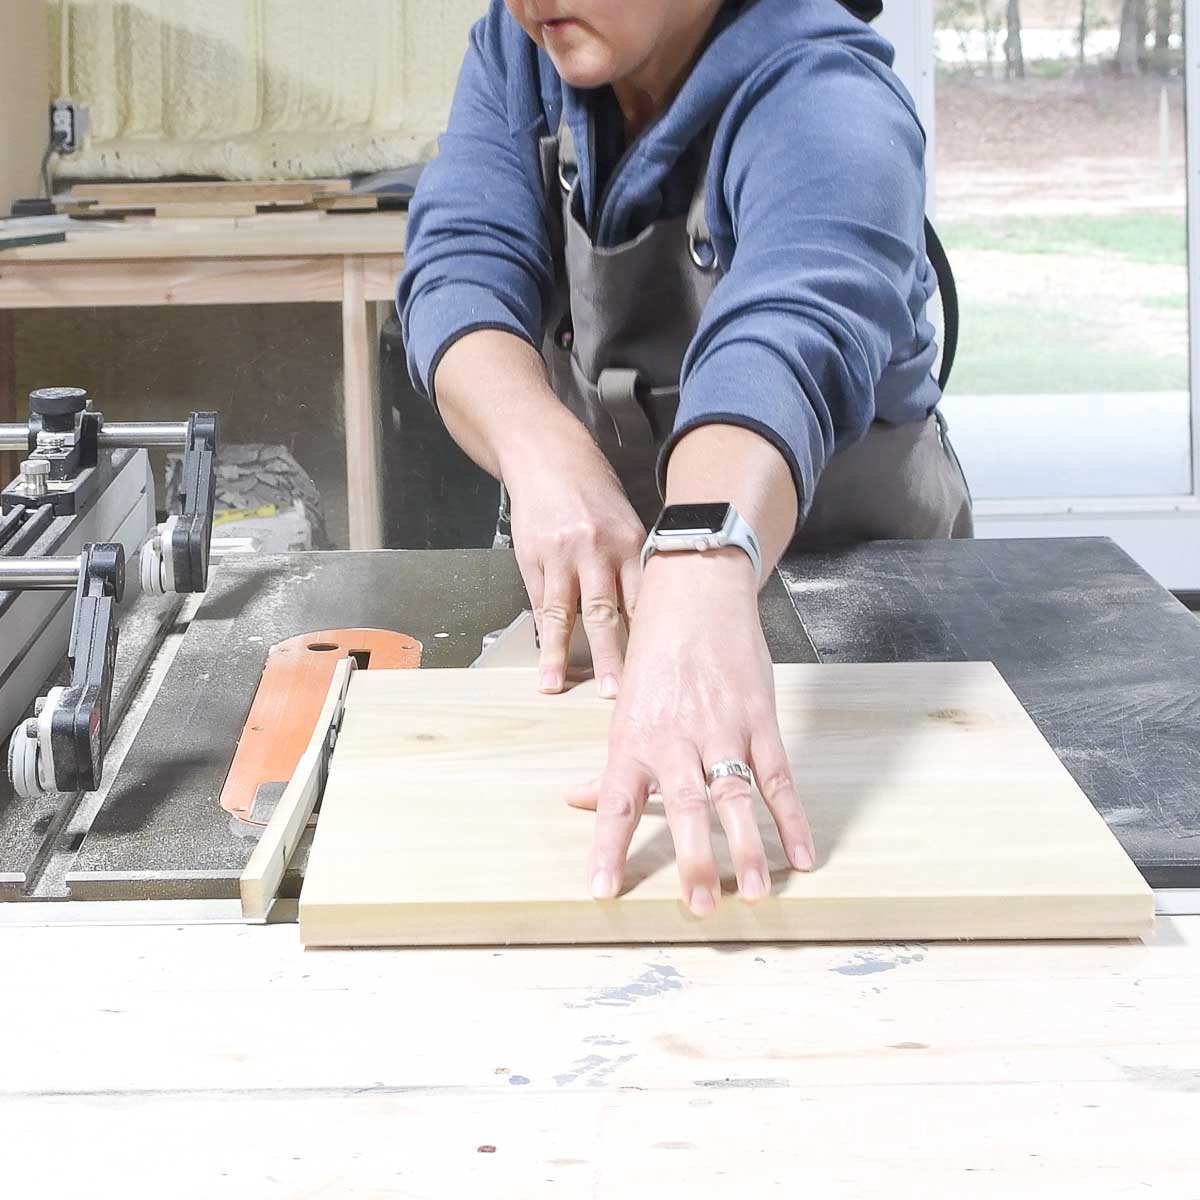
STEP 2- Trim to size
Measure the final width of the two boards glued together. They should be about 14 1/2″ total since a 1×8 board is typically 7 1/4″ wide.
Then cut the length of the board so that it is the same as the width to create a square.
I cross cut mine on my table saw, but you can easily trim both ends with a circular saw too.
STEP 3- Cut out a stencil (optional)
Design your game board. Simplify any game board from your favorite games or thrifted games.
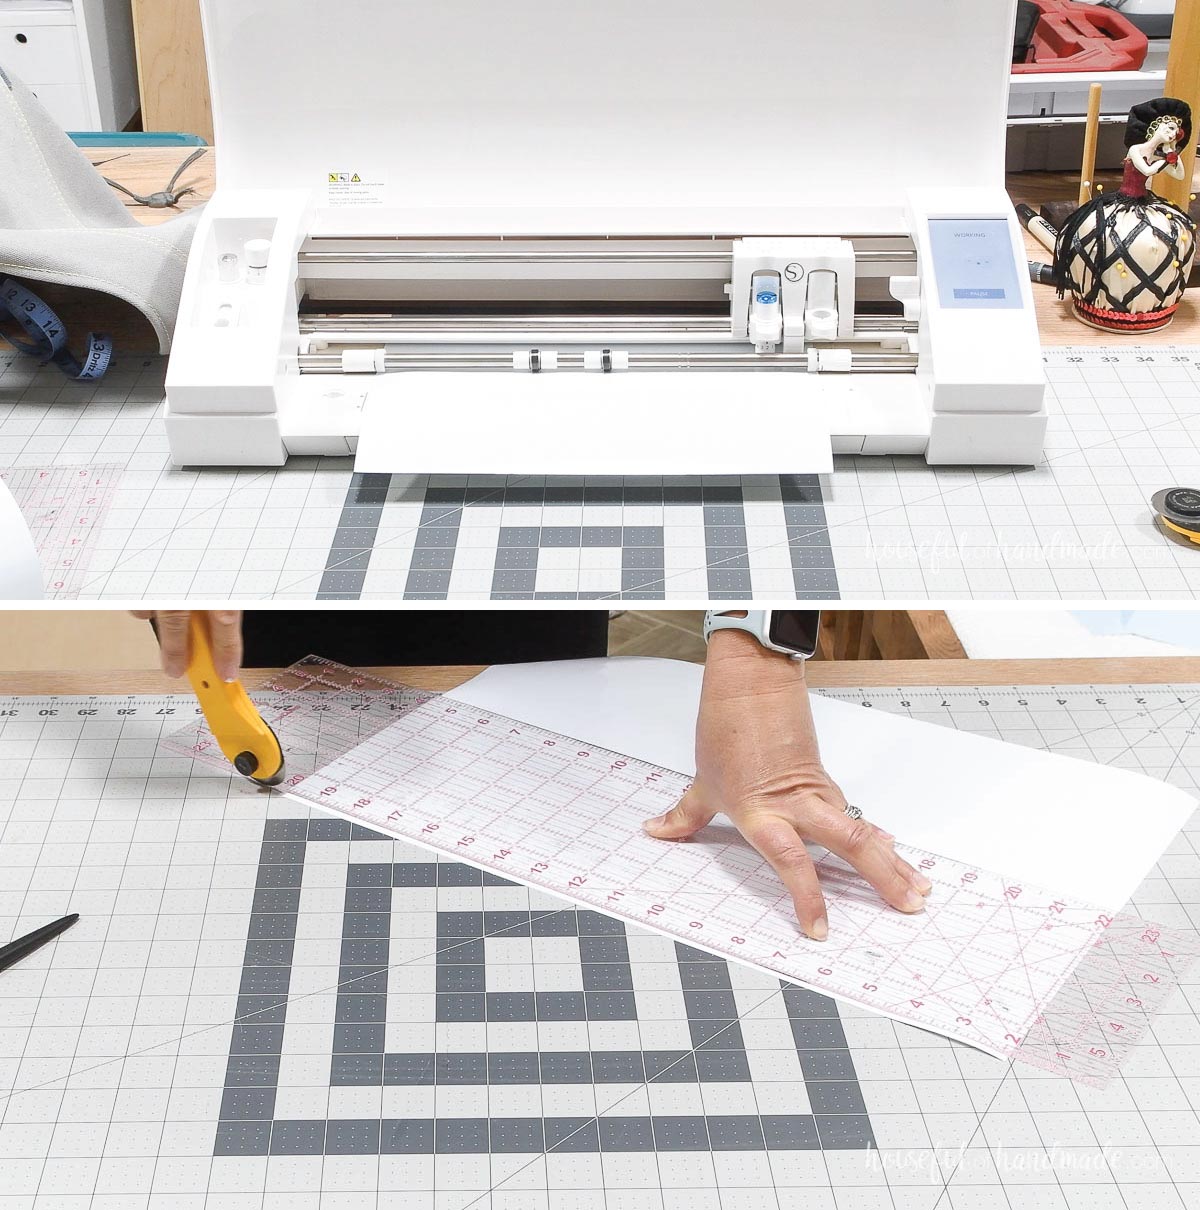
If you have a vinyl cutter, you can design your game board in its software. Then cut it out of vinyl.
Since my vinyl cutter only cuts up to 12″ wide, I had to cut it out in two pieces. Cut the edge off where the cutter stops cutting.
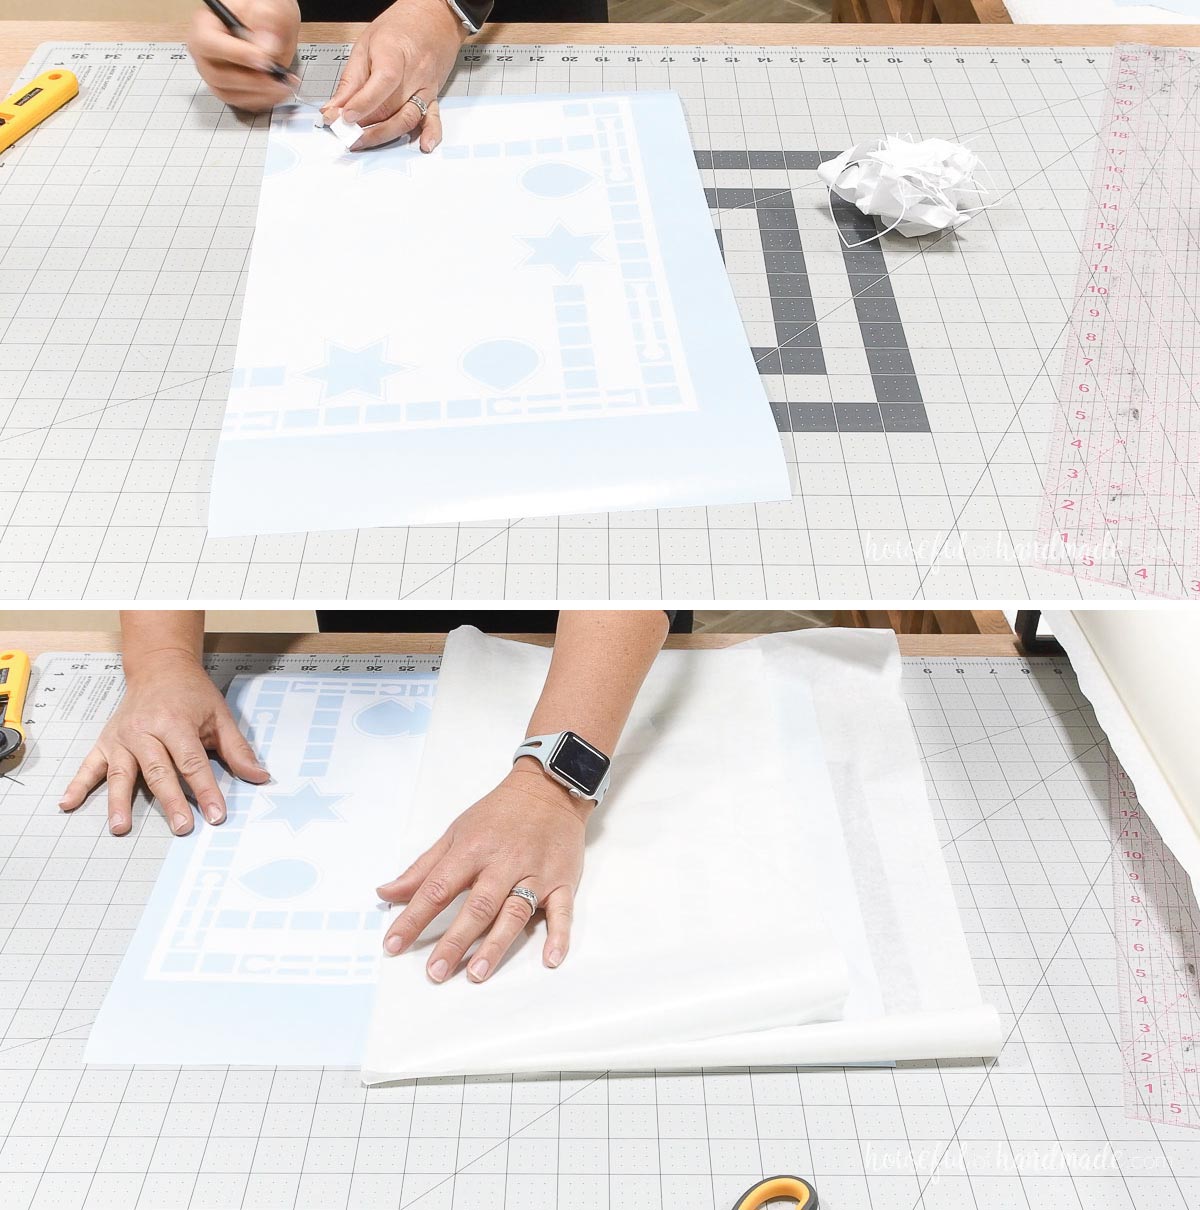
Weed the parts out of the design where you want the stain/paint.
Add transfer paper to one of the weeded vinyl pieces. Then line the second piece up on the edge.
Press the transfer paper over the second piece.
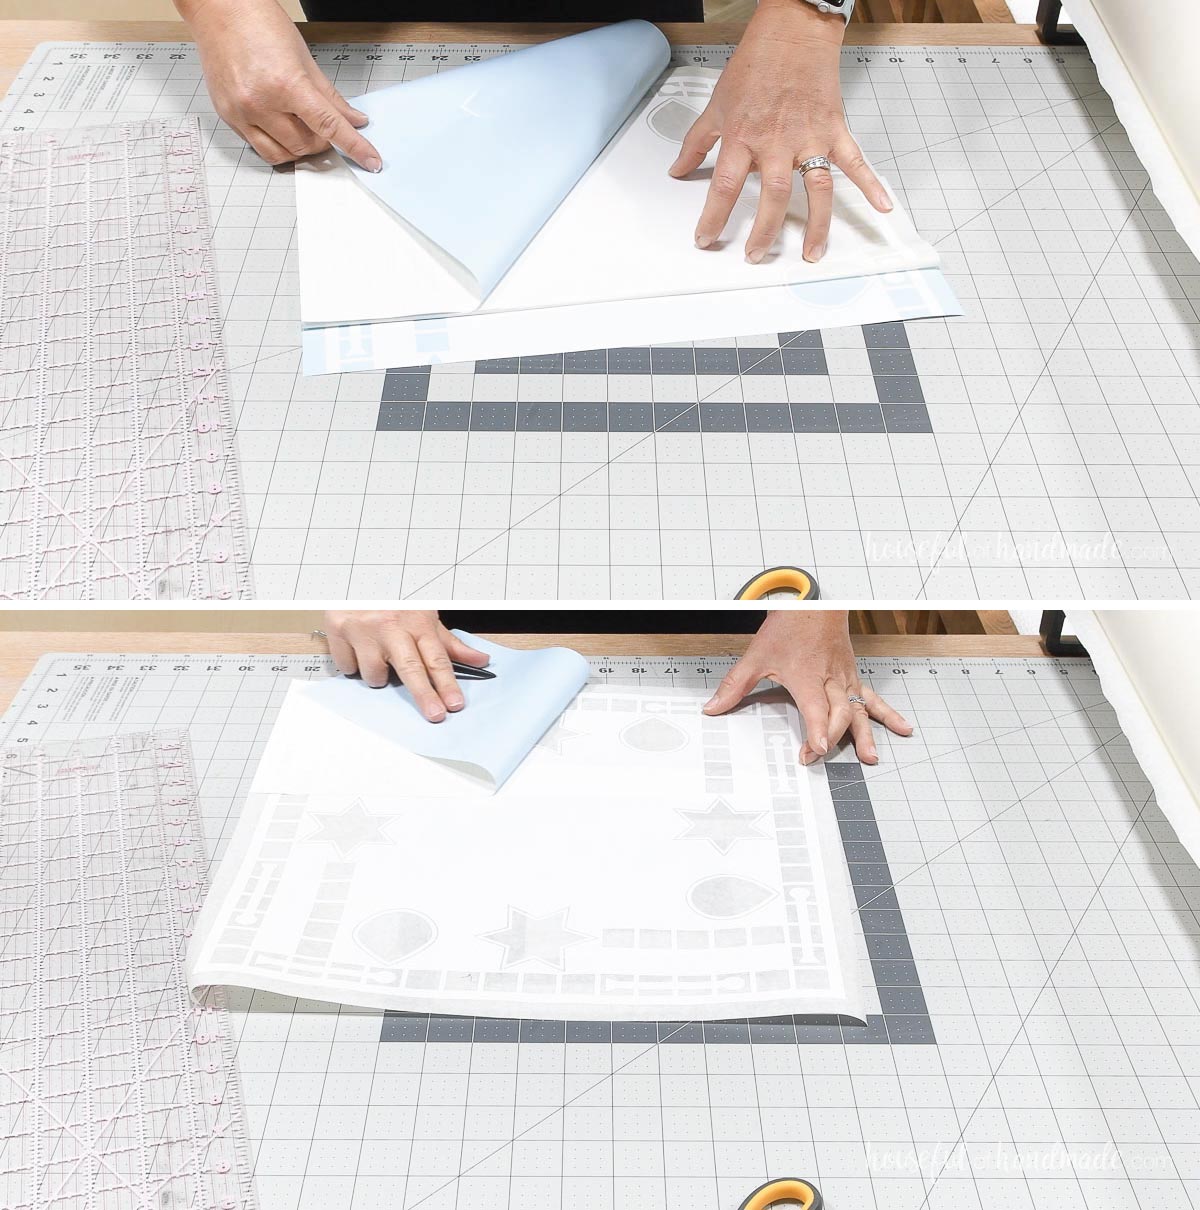
Remove the backing from the vinyl from one of the piece.
Be careful as you remove it to make sure no pieces stay stuck to the backing. I like to pull it off at an angle to help prevent this.
Then press the second piece up against the first without the backing to stick it together. But be careful that the part without a back doesn’t stick to anything else.
Once stuck well, remove the remaining backing.
STEP 4- Add design to the board
If you do not have a vinyl cutter, design your game board on paper. Then sketch it on your board and hand paint the design.
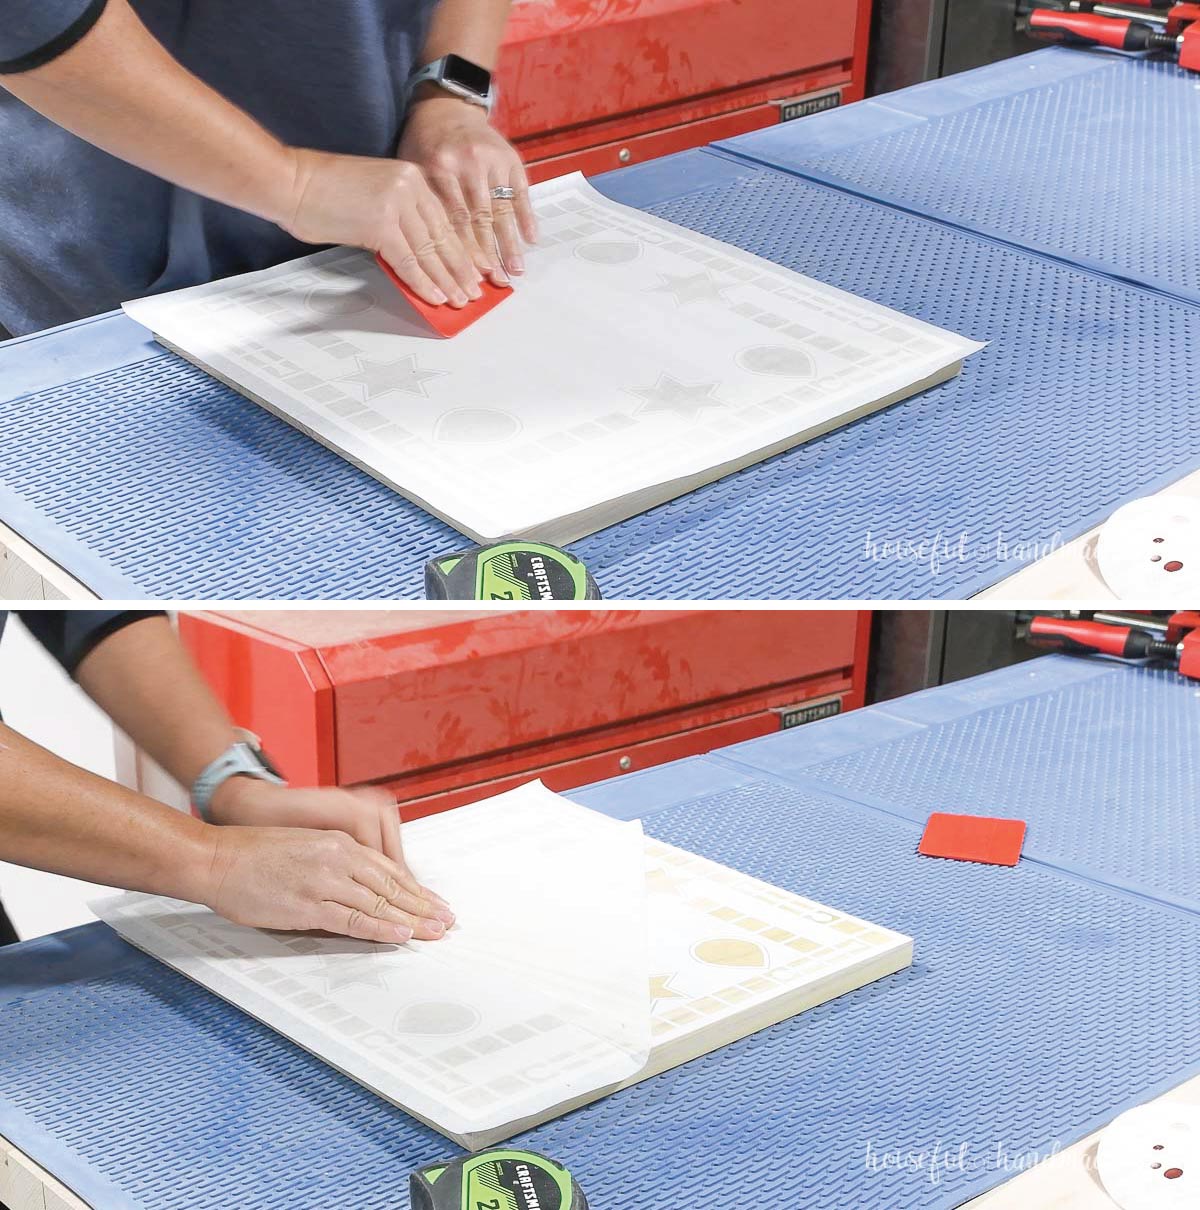
If using a vinyl stencil, center the stencil without the backing on your board. Then press it down to secure.
Remove the transfer paper from the top leaving the stencil firmly attached.
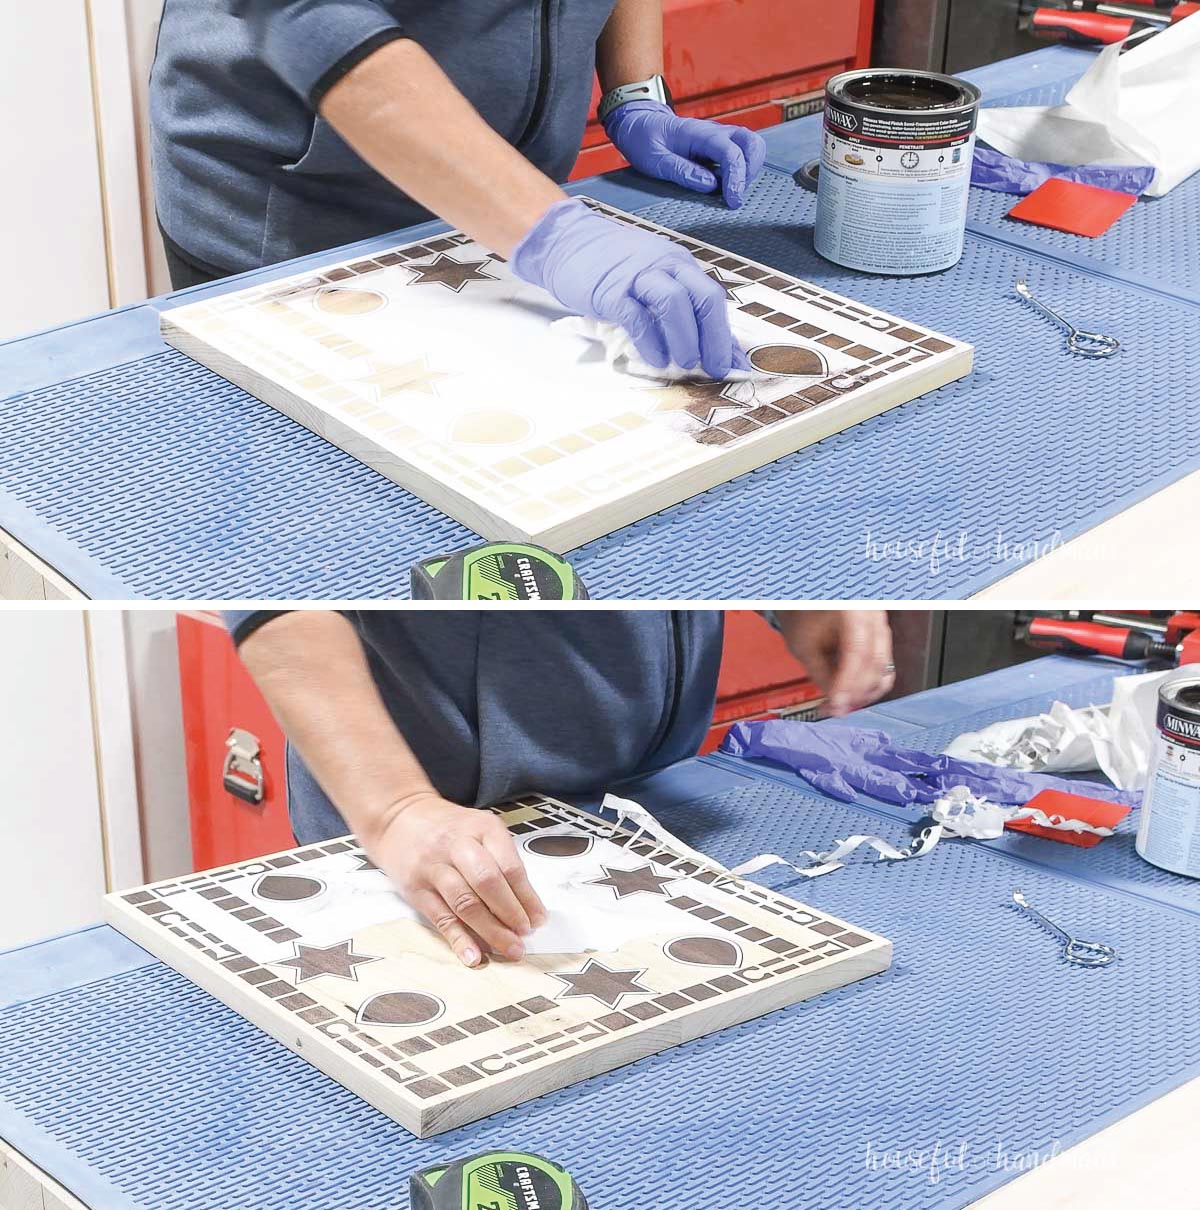
Paint or stain your design onto the board.
I learned from Woodshop Diaries that a water based stain does not bleed through the stencil when she made her game table and it worked beautifully.
Just make sure to barely dampen the rag and buff it into the wood. Don’t let it get too wet.
The remove the stencil from the board.
EXPERT TIP:
I do not like to wait for the stain or paint to fully dry. If you remove the stencil when barely not tacky, it removes easily and cleanly without accidentally pulling up paint.
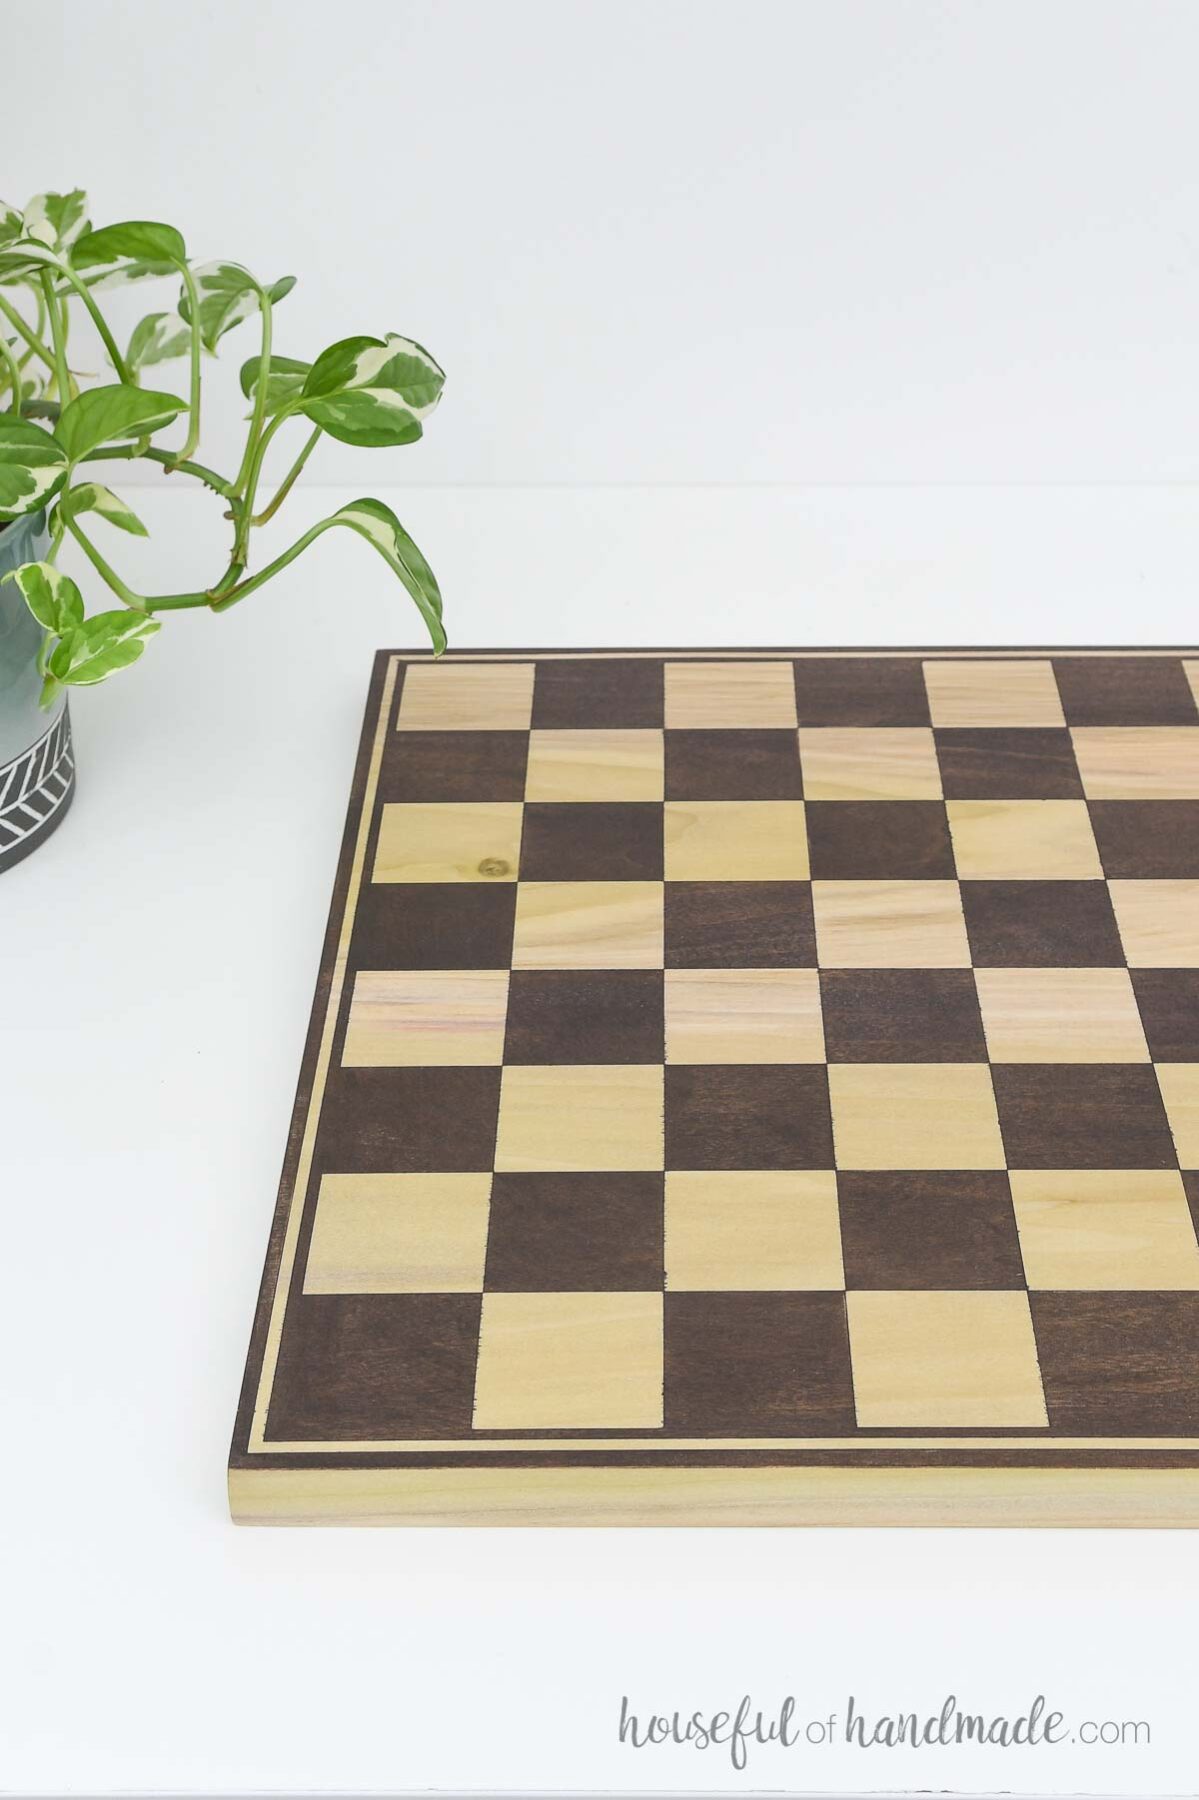
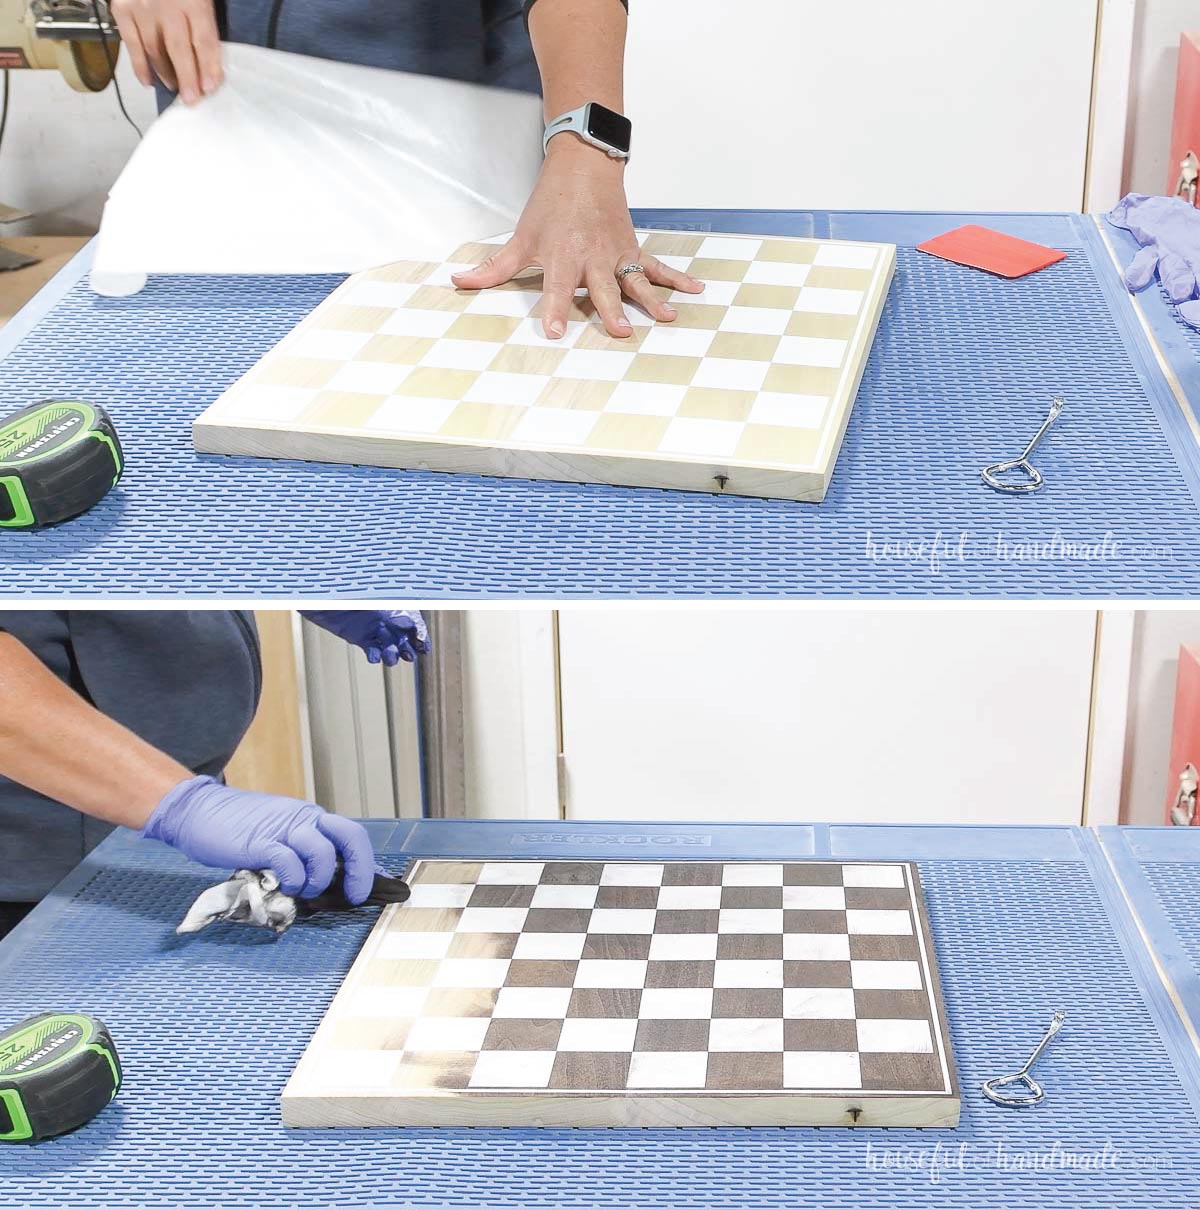
STEP 5- Repeat for the second side
Now repeat the process for the second side of the wood game board.
For my second side, I created a simple checkerboard since my kids are big fans of both checkers and chess.
You did it!
Now you can package up the pieces from the cheap or thrifted game with your new fancy wood game board.
And you will feel extra special playing games on a beautiful board. Plus you can leave it out on the coffee table when not in use cause it’s so prety.
DIY Gift Ideas
This easy wood game board makes an amazing DIY gift!
And with the holidays fast approaching, I teamed up with my friend Shara from Woodshop Diaries to share 5 easy DIY gift for everyone on your list.
Today is the last day of sharing, so make sure to check out all the other easy gift ideas below.


Happy building!
