I love my miter saw and use it on almost every build. But it has a small flaw…
It can only cut angles up to 50° (most top out at 45°). However, I find myself wanting to make sharper angled cuts often.
So I decided it was time to make a simple miter saw jig to help me cut those acute angles. With this jig, you can safely cut angles between 45° and 90°.
This post may contain affiliate links. As an Amazon Associate I earn from qualifying purchases. Click here to read my full disclosure policy.
Reusable Angle Jig
The thing I love the most about my new jig is that I only have to build it once, but I can continue to use it over and over for any acute angle I need!
The easy jig creates a new fence for your boards that is at a 45° angle when the saw is set to 0°.
So to cut a sharp angle, all you need to do it change the angle of your saw to the desired degree minus 45. For example, I was cutting a 60° angle for these tabletop Christmas trees, so I set the saw to 15°.
Place the board up against the new fence created by the jig and cut. Now you have a perfect 60° cut!
More Woodworking Jigs & Tutorials
Make your next build faster and easier with these DIY jigs and tutorials.
How to Build a Sharp Angle Jig
Tools & Materials
Recommended Tools:
- Miter saw
- I recently upgraded to this sliding miter saw (watch for it to go on sale), but previously used this inexpensive miter saw that I love.
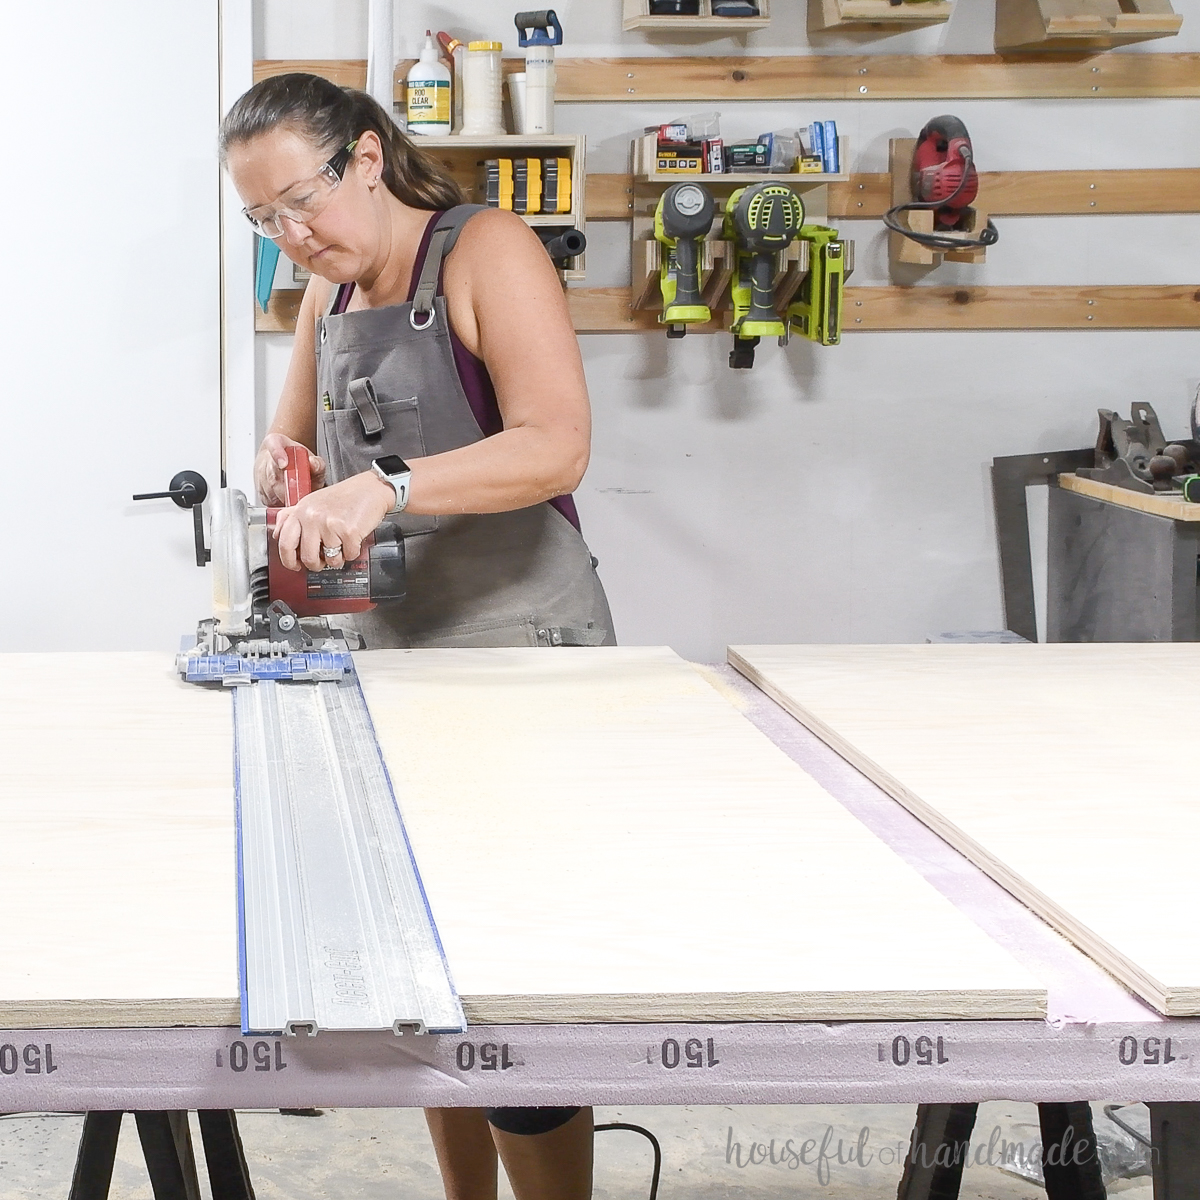
- Circular saw with guide track
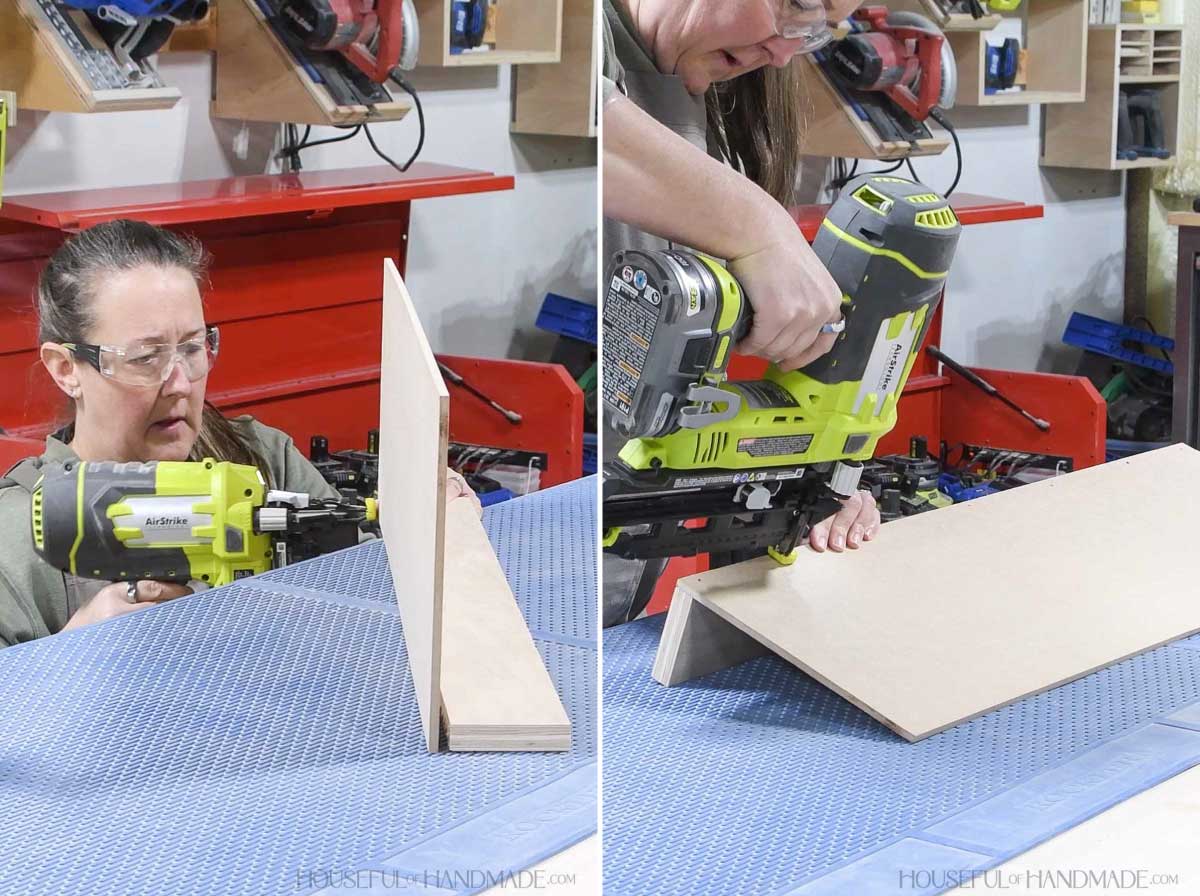
- Brad nailer
- Flush cut saw
Supplies:
- Wood products
- (1) 1/4″ or 1/2″ plywood or MDF, 8″ x 30″
- (1) 3/4″ plywood, 18″ x 30″
- (1) 1×2 board, 4″ long
- Brad nails
- Wood glue
STEP 1- Build the jig base
Cut a piece of 1/4″ board for the jig base. My board was 8″ x 30″.
I used a 1/4″ piece of MDF because that is what I had in my scrap pile. But if I had a 1/2″ piece of plywood or MDF I would have used that.
Then cut a strip of plywood about 3-4″ x 30″ for the back.
Attach the back to the top of the base with glue and nails. Make sure the nails are flush or slightly countersunk so the bottom of the base is totally flat.
Do not put any nails in the center area of the jig (you will be cutting it out).
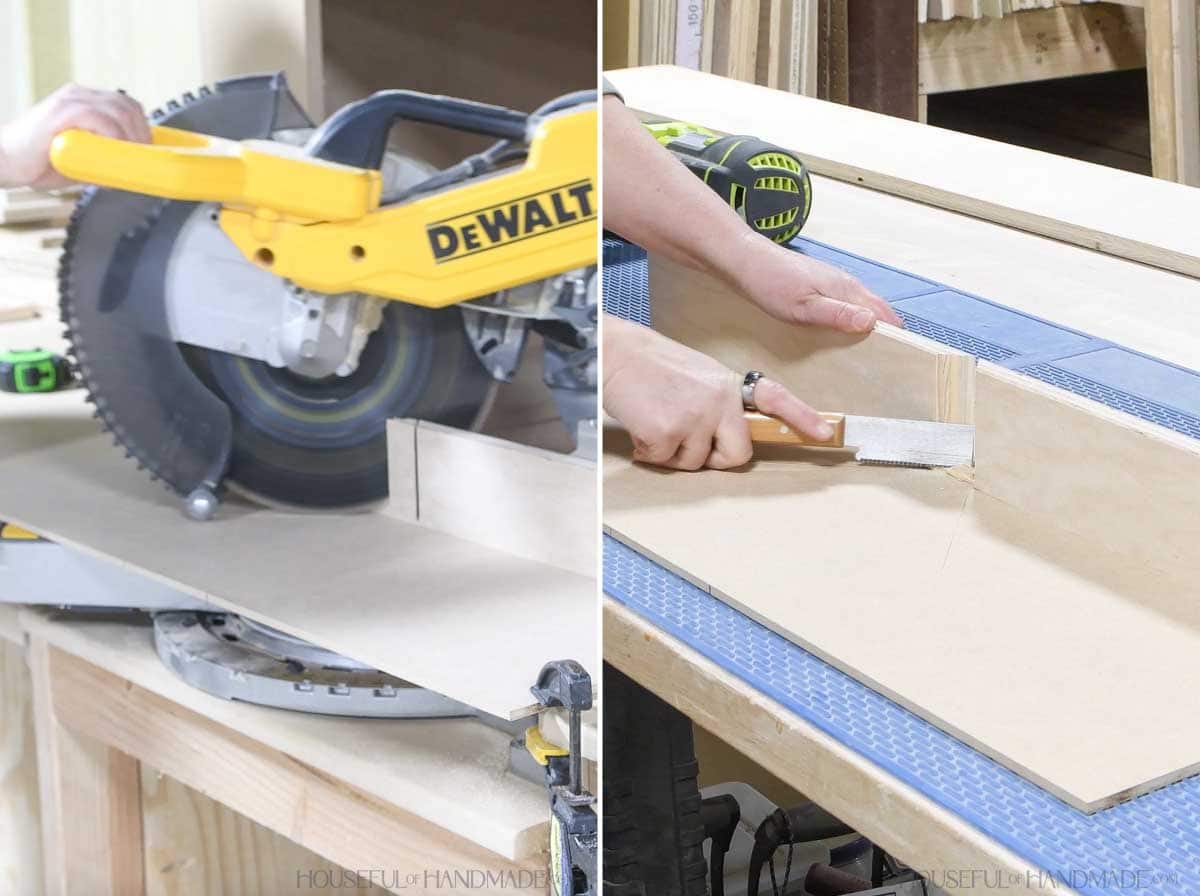
STEP 2- Cut the back
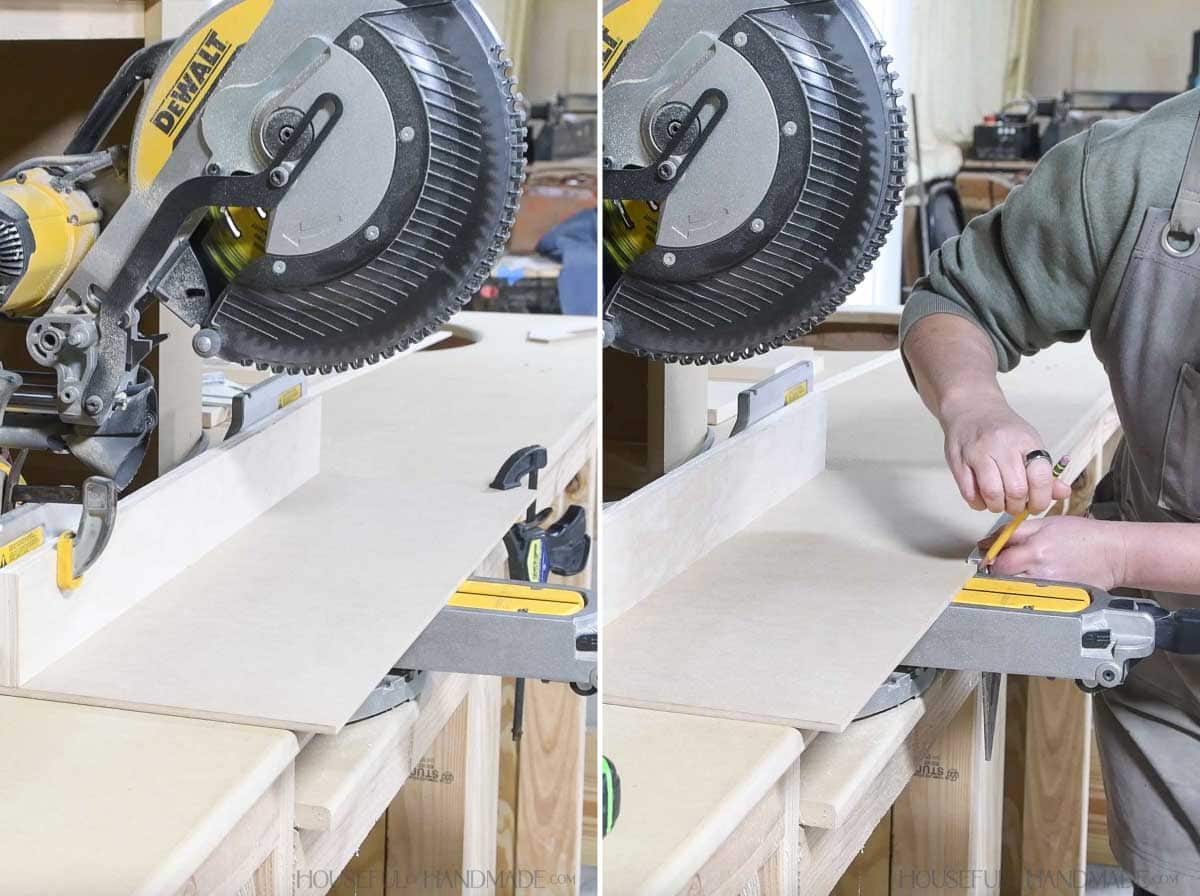
Set the base on your miter saw. With the saw at 0° mark both sides of the miter handle on the front of the jig base.
This gives you a way to line the jig up each time you place it on your saw. Clamp it in place.
Set the depth stop on your saw blade to stop just below the top of the base.
You want it deep enough to cut through a board on it, but not to cut through the base (it will cut into the base).

Turn the miter handle to 45° one way and make a cut through the back. Then turn the miter handle to 45° the other way and cut again.
If the blade does not cut fully through the front of your back piece, it will not cut through a board. It does not have to cut through the back though.
Adjust the blade depth as needed and cut again. Use the flush cut saw to fully cut the back piece and remove it.
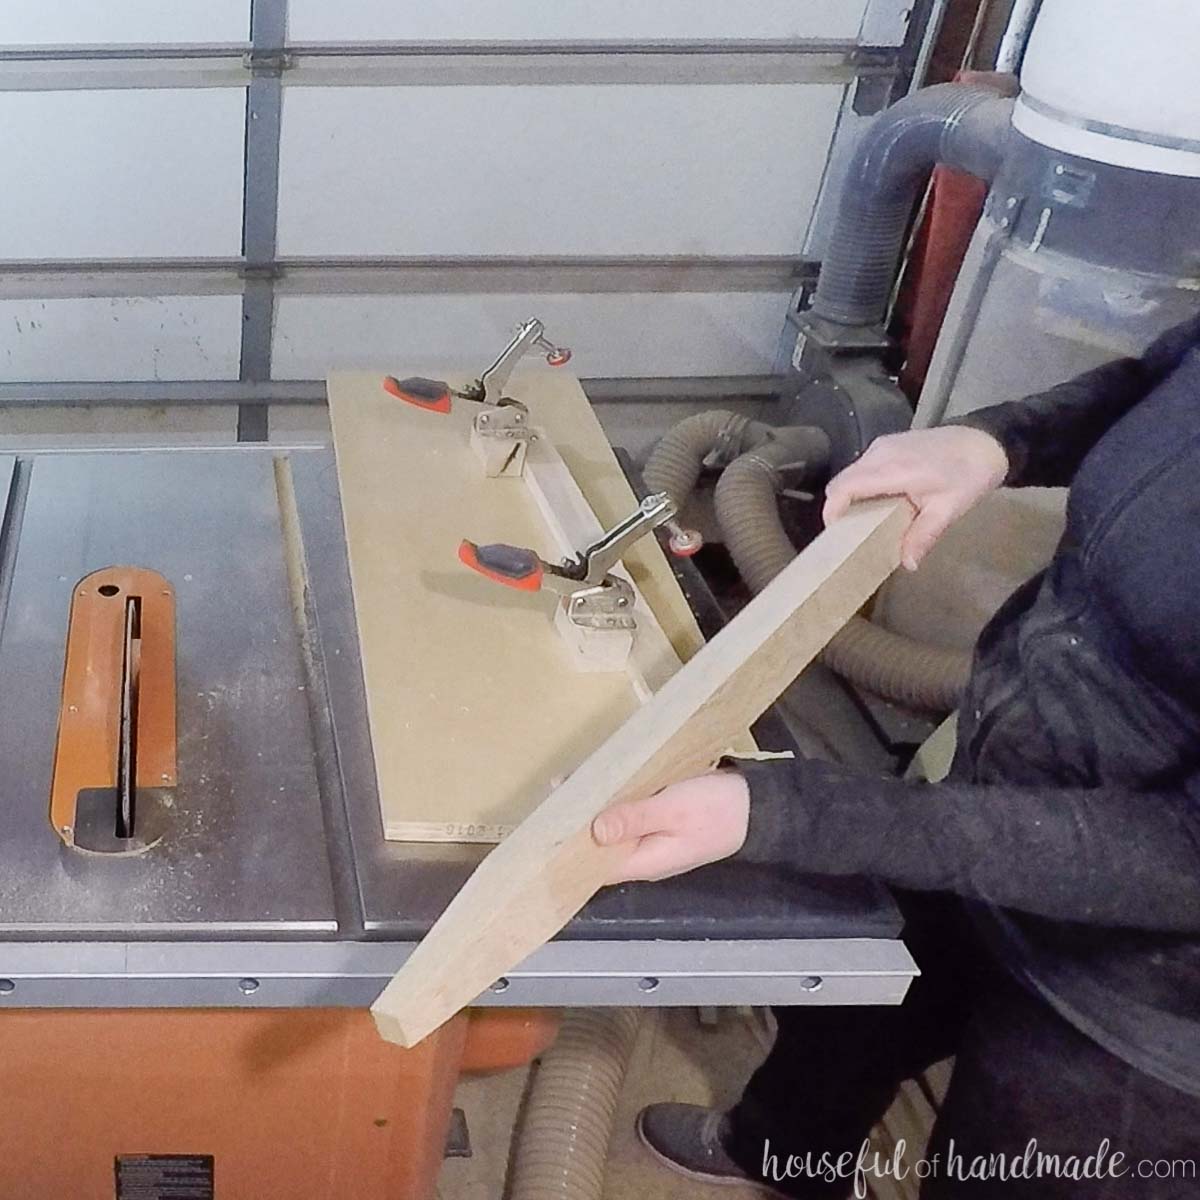
STEP 3- Add the new fence
Cut (2) 7″ x 30″ pieces from the 3/4″ plywood.
I had a scrap that was 7″ wide but not long enough for both 30″ pieces, so I decided to cut the board at a 45° angle in the middle for less waste.

There should be grooves in the top of the base from cutting the back at an angle. Use these as a guide and add glue all over the top to the outside of these,
Place one board on top so it is flush on the ends.
If you cut the board at an angle like I did, make sure the angle hangs over the cut lines in the center a little bit (you’ll trim these later for a perfect edge).
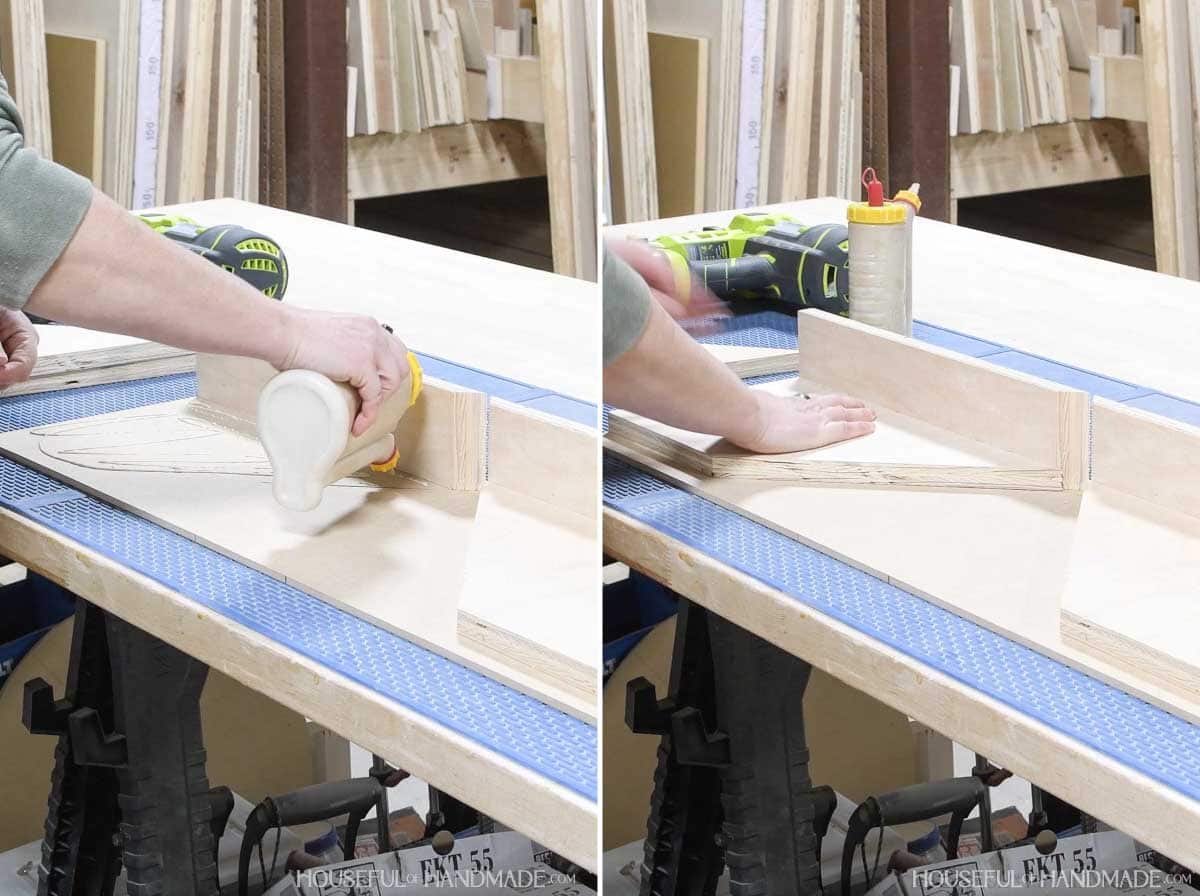
Then repeat by adding glue to the outside of the angled cut lines and placing the second board on top.
If your boards are cut, repeat for the other side.
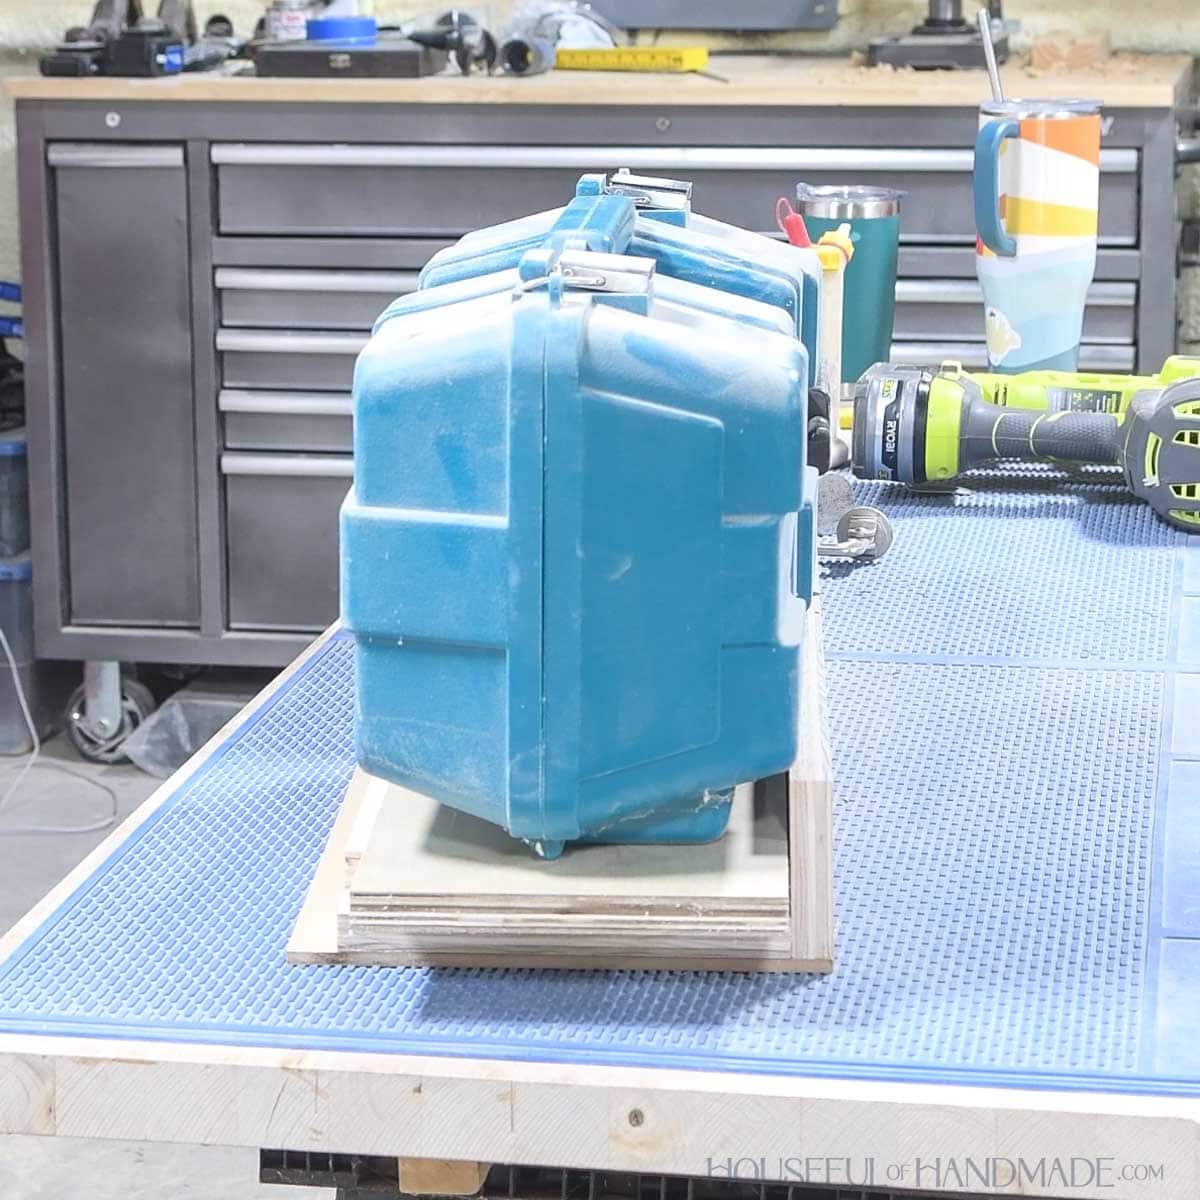
One of my boards was slightly short, so I made sure it was lined up properly in the center and let it fall short on the edge.

I wasn’t able to clamp the center of the boards well, so I placed a scrap of plywood on top then loaded it up with some heavy tools.
Then let the glue dry.
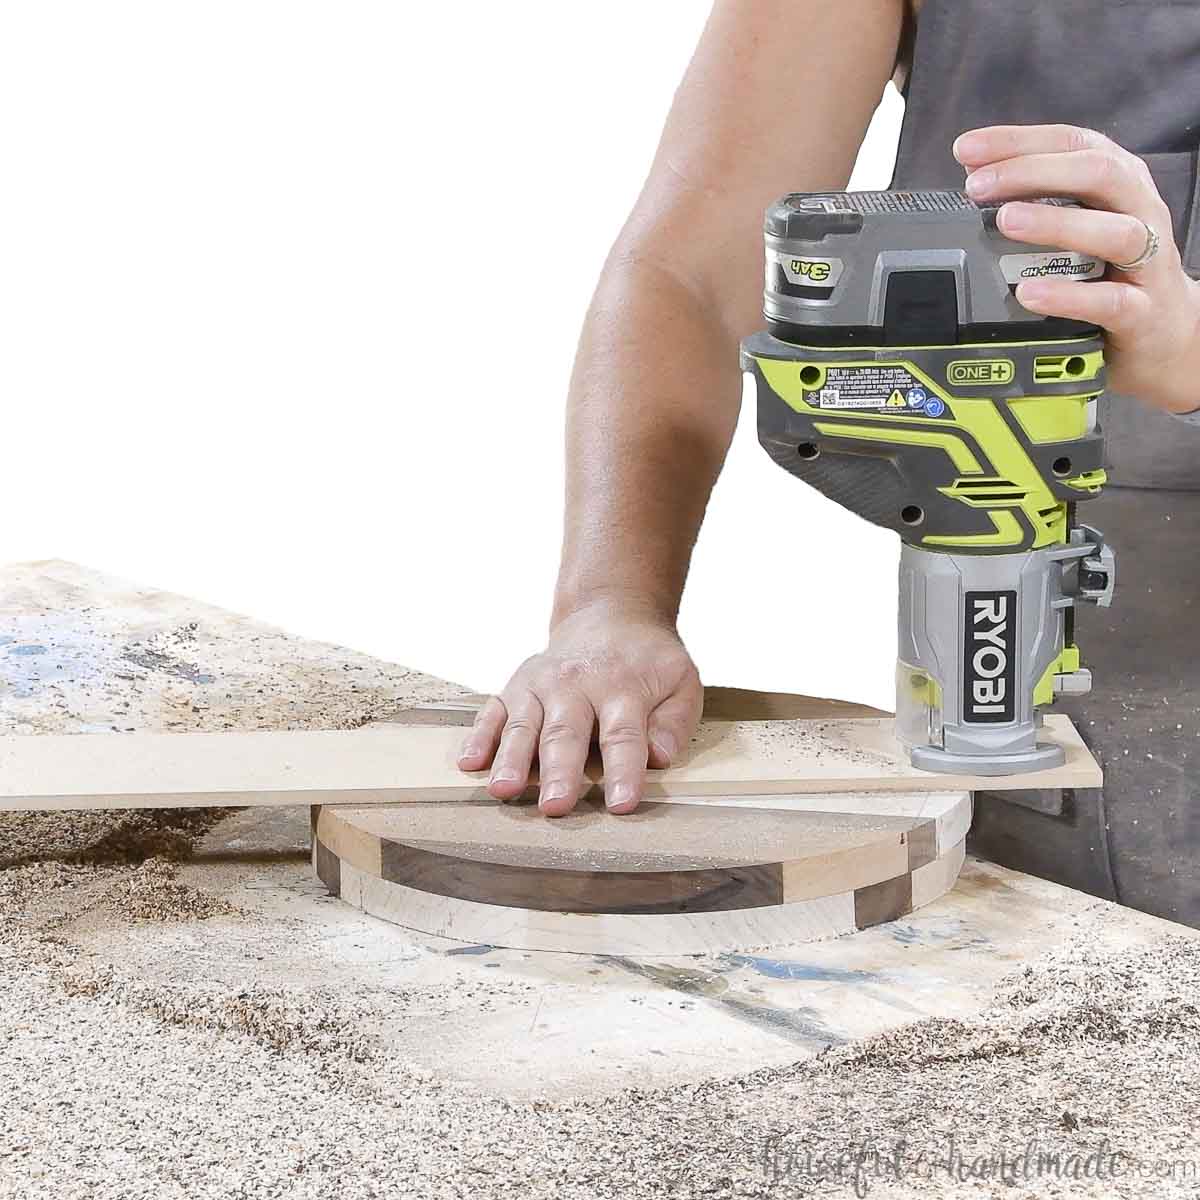
STEP 4- Trim the new fence
Take the jig back to the saw and line up the center marks on the miter handle. Clamp it in place.
Set the blade depth stop so the blade only cuts barely into the top of the base, but fully through a board that would be on it.
Turn the handle to 45° one direction and cut through the top boards. Turn the blade to 45° the other direction and cut again.
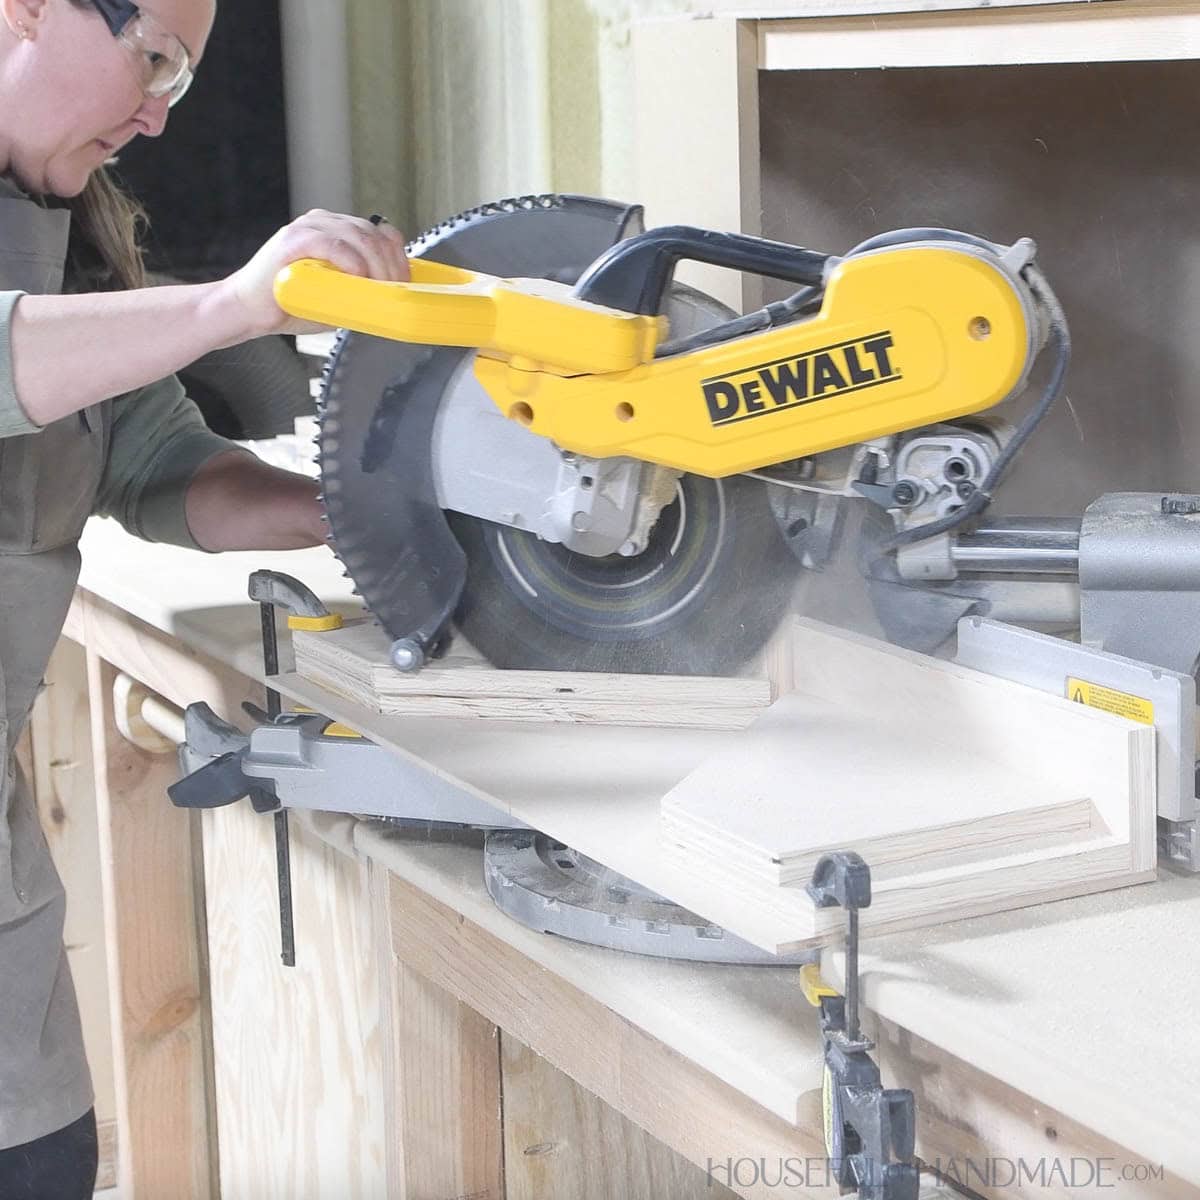
If the blade did not cut fully through at the front edge of the boards, use a flush cut saw to cut it.
Remove the material in the center of the jig. Now the jig is ready to use.

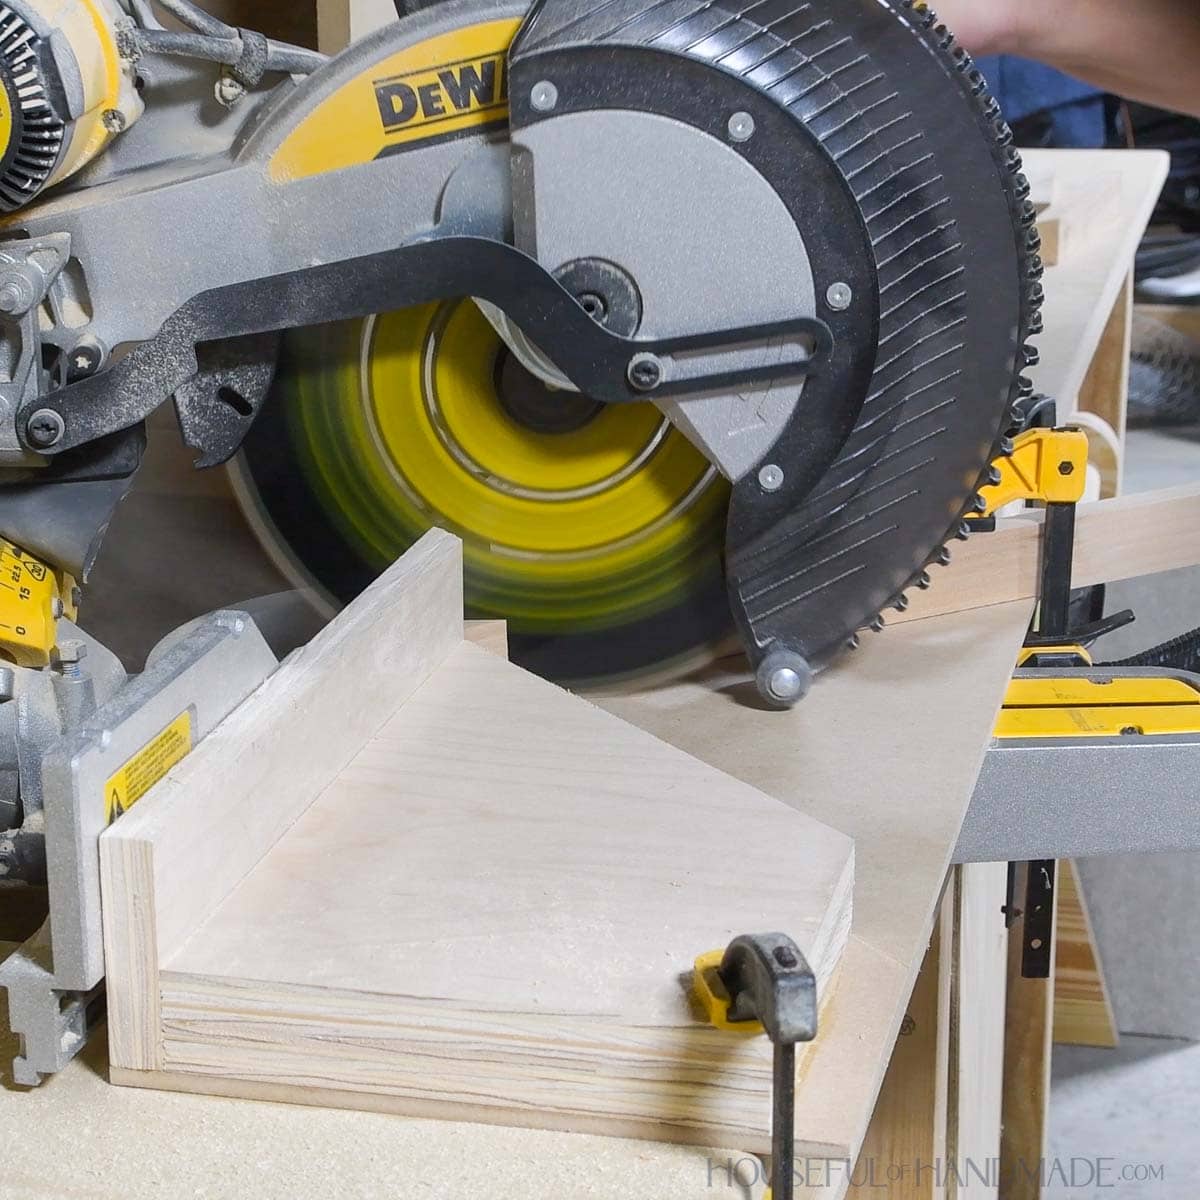
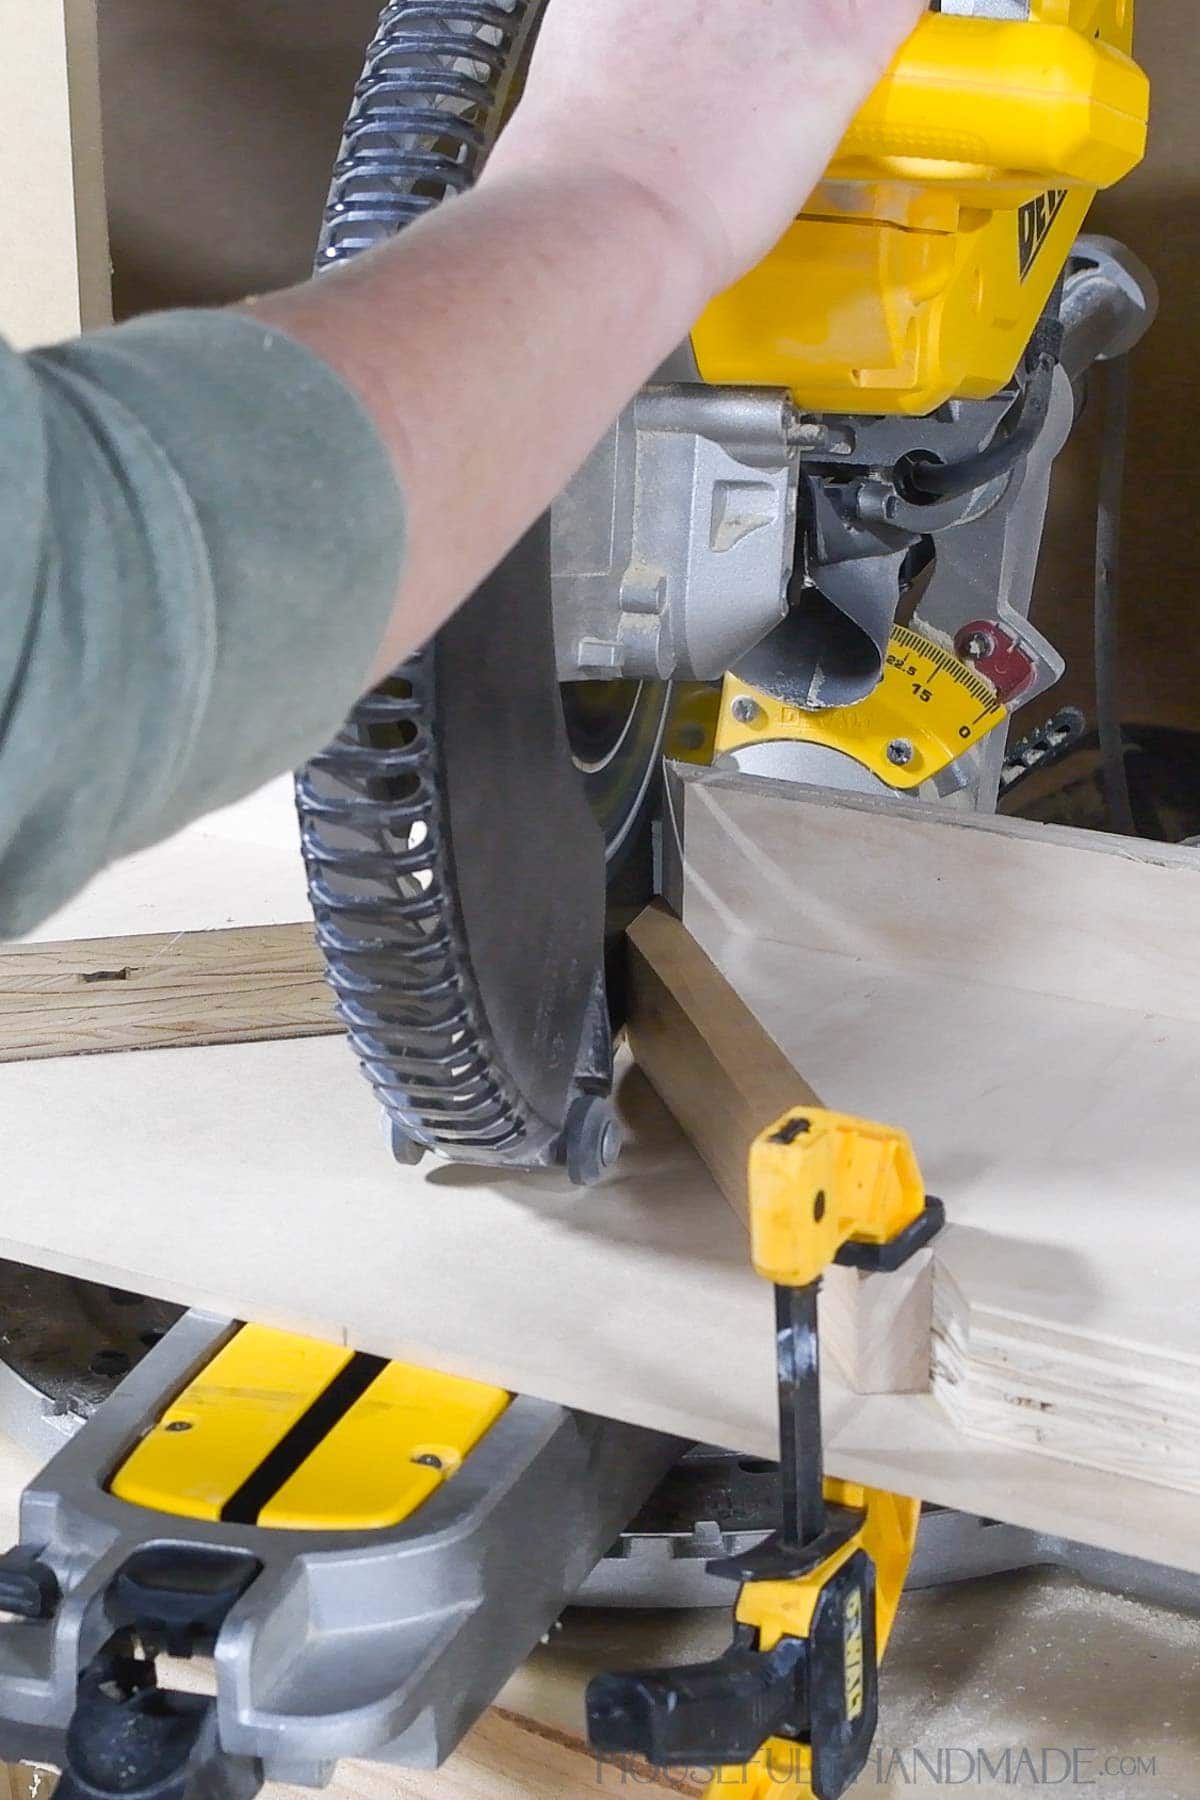
STEP 5- Use the acute angle jig
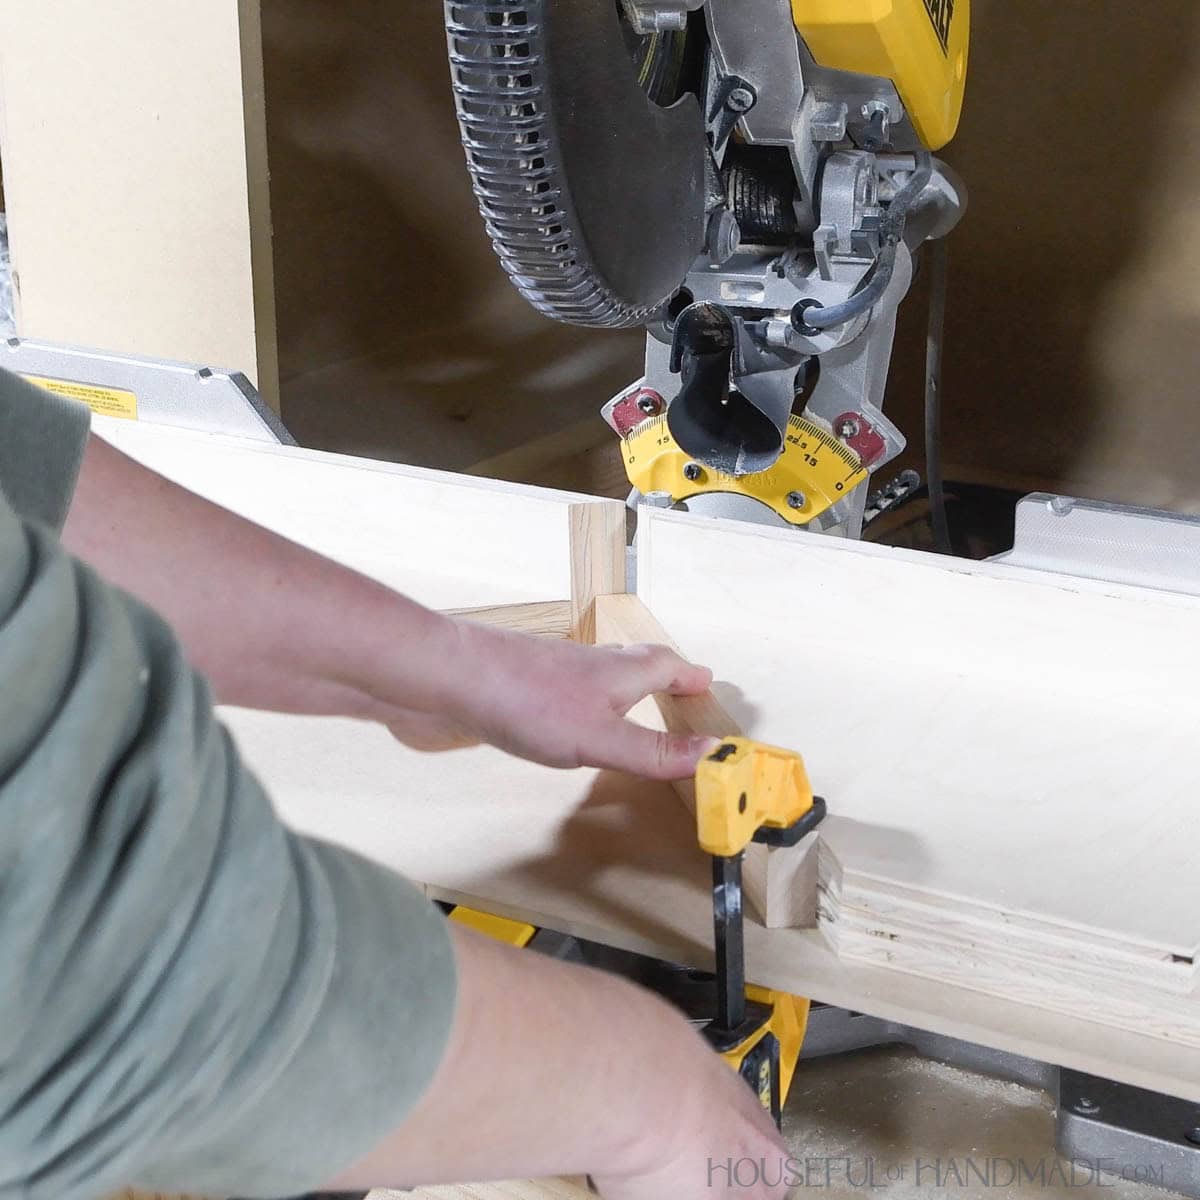
Before using the jig, clamp it in place and set the depth stop on the blade so it will fully cut through the board on top, but not the base of the jig.
Then place your board up against the fence on the jig and clamp in place.
It is important that you clamp the board cause the 45° fence puts the board really close to the blade so it is not safe to hold it.
To determine what angle to set the saw, use the following formula:
Acute Angle Needed – 45
So for a 60° angle, set the saw to 15°. For a 75° angle, set the saw to 30°.
You can place the board on either side of the jig, up against the new fence. Just make sure to pivot the saw toward that side to get the acute angle.

And now I am ready to build lots more projects with sharp angles so I can put my new acute angle jig to work.
Happy building!
