This fun DIY tray is not only made from leftover scraps of wood, but leftover tiles too! Plus it’s so quick and easy to make.
You will want to turn every leftover tile into an organizing tray. They are super useful for organizing things everywhere in your home.
They are pretty enough to sit on every countertop, vanity, nightstand and dresser. Perfect for collecting and holding things you don’t want to loose.
This post may contain affiliate links. As an Amazon Associate I earn from qualifying purchases. Click here to read my full disclosure policy.
And once you start making them, you won’t want to stop!
5 Ways to Organize with a Small Tray
1- Makeup or Perfume Tray
No need to hide away makeup in a drawer. Display it nicely on your vanity with a DIY tray instead.
You can also use your new tray to display your favorite perfume bottles on your dresser.
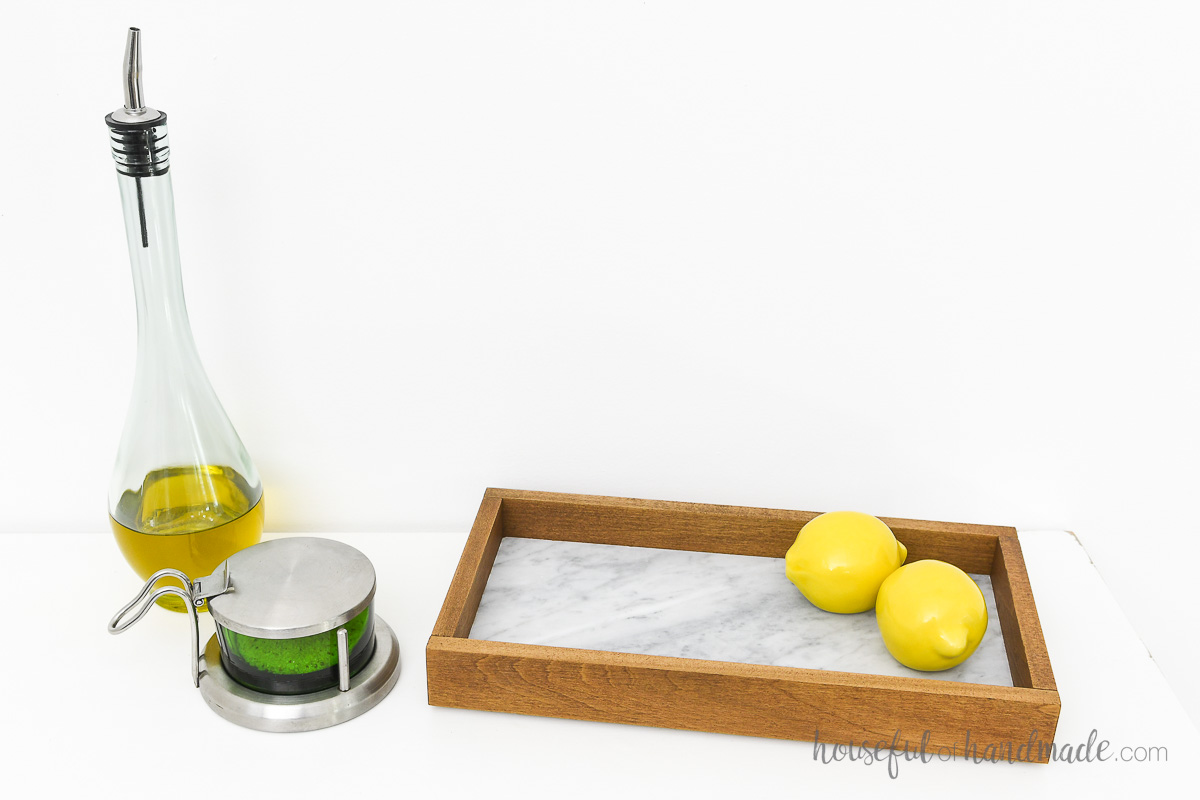
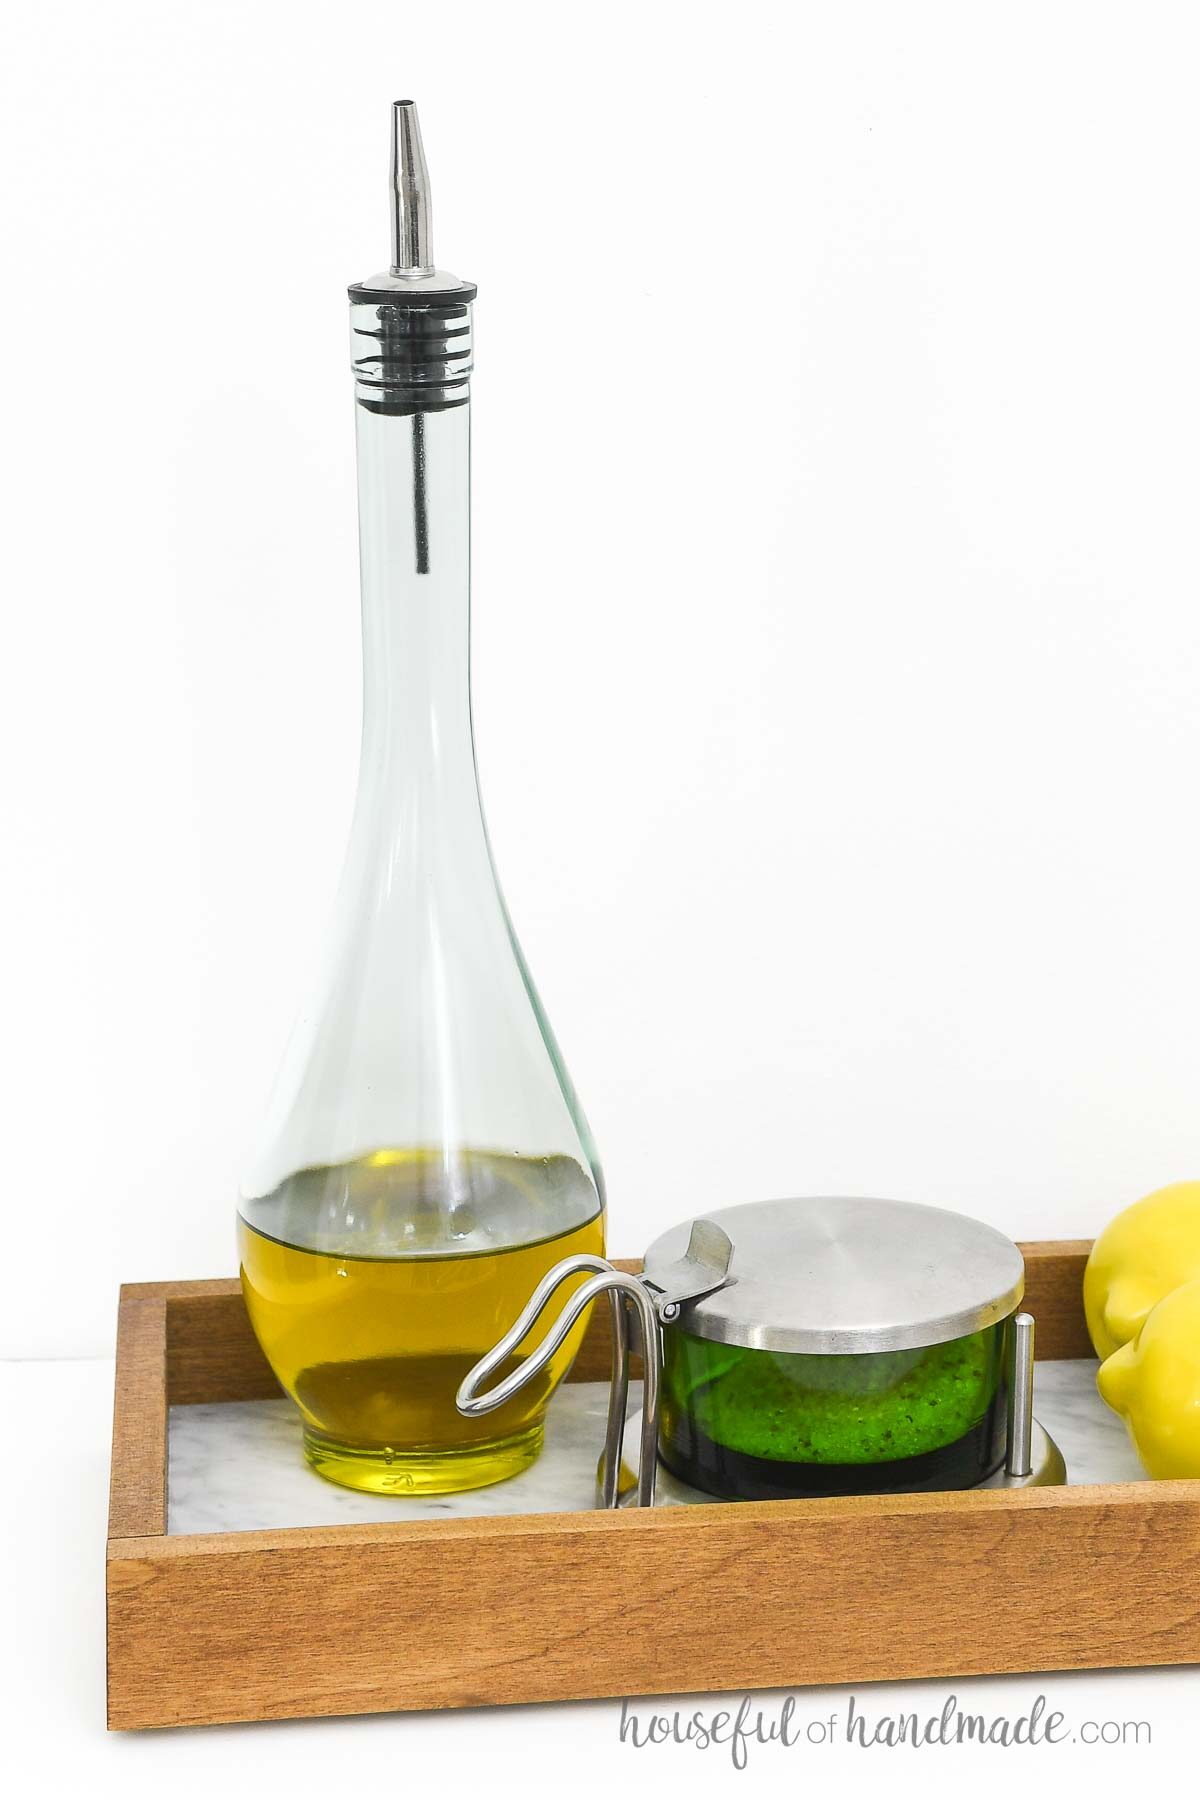
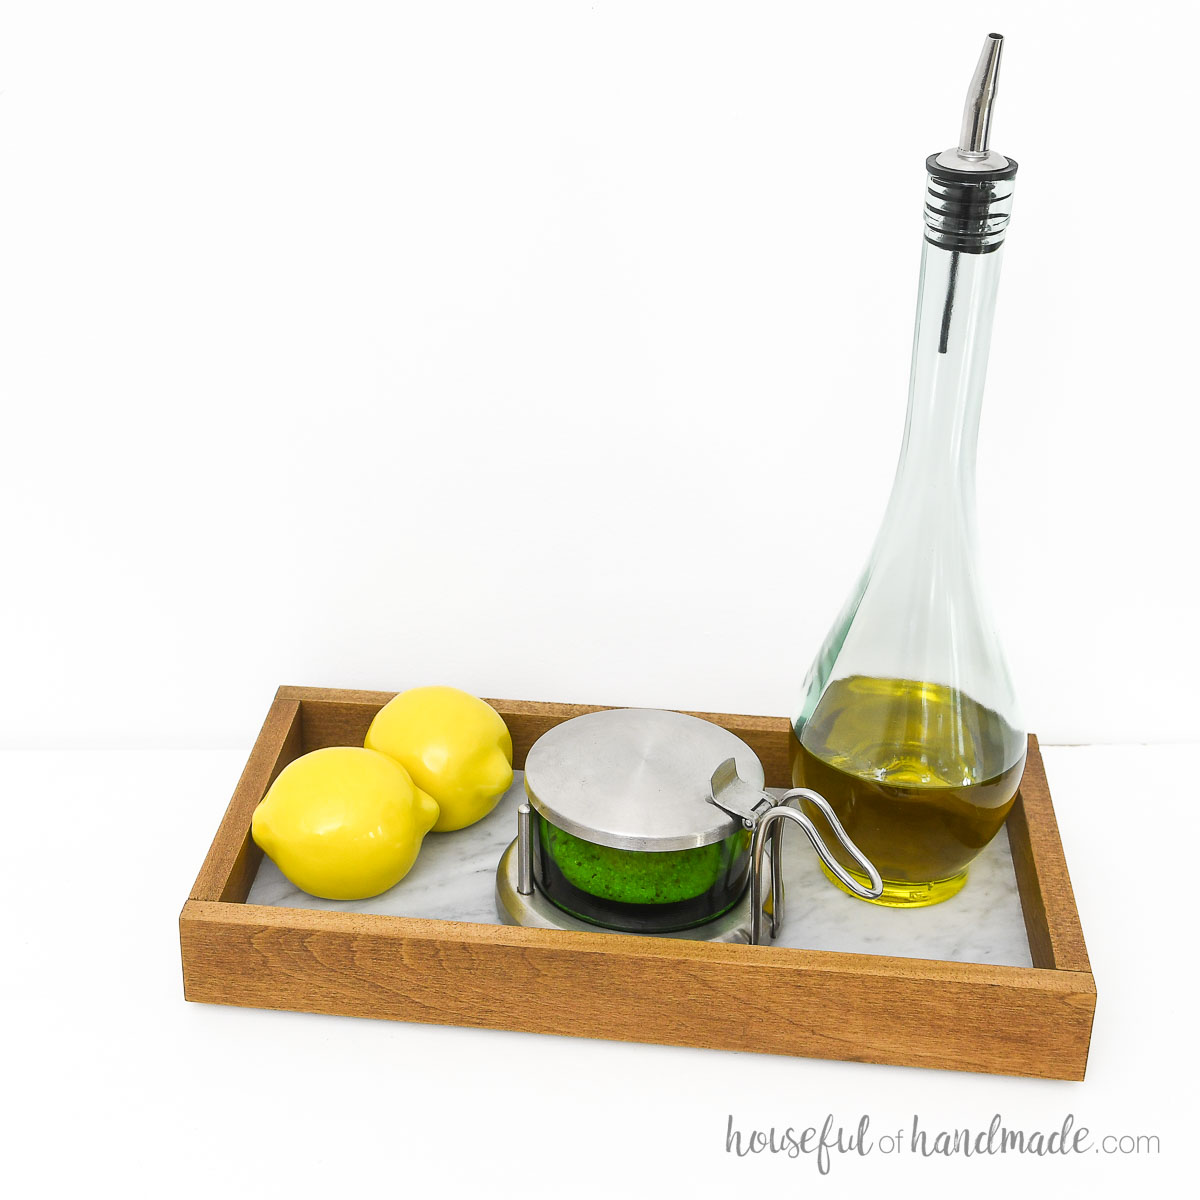
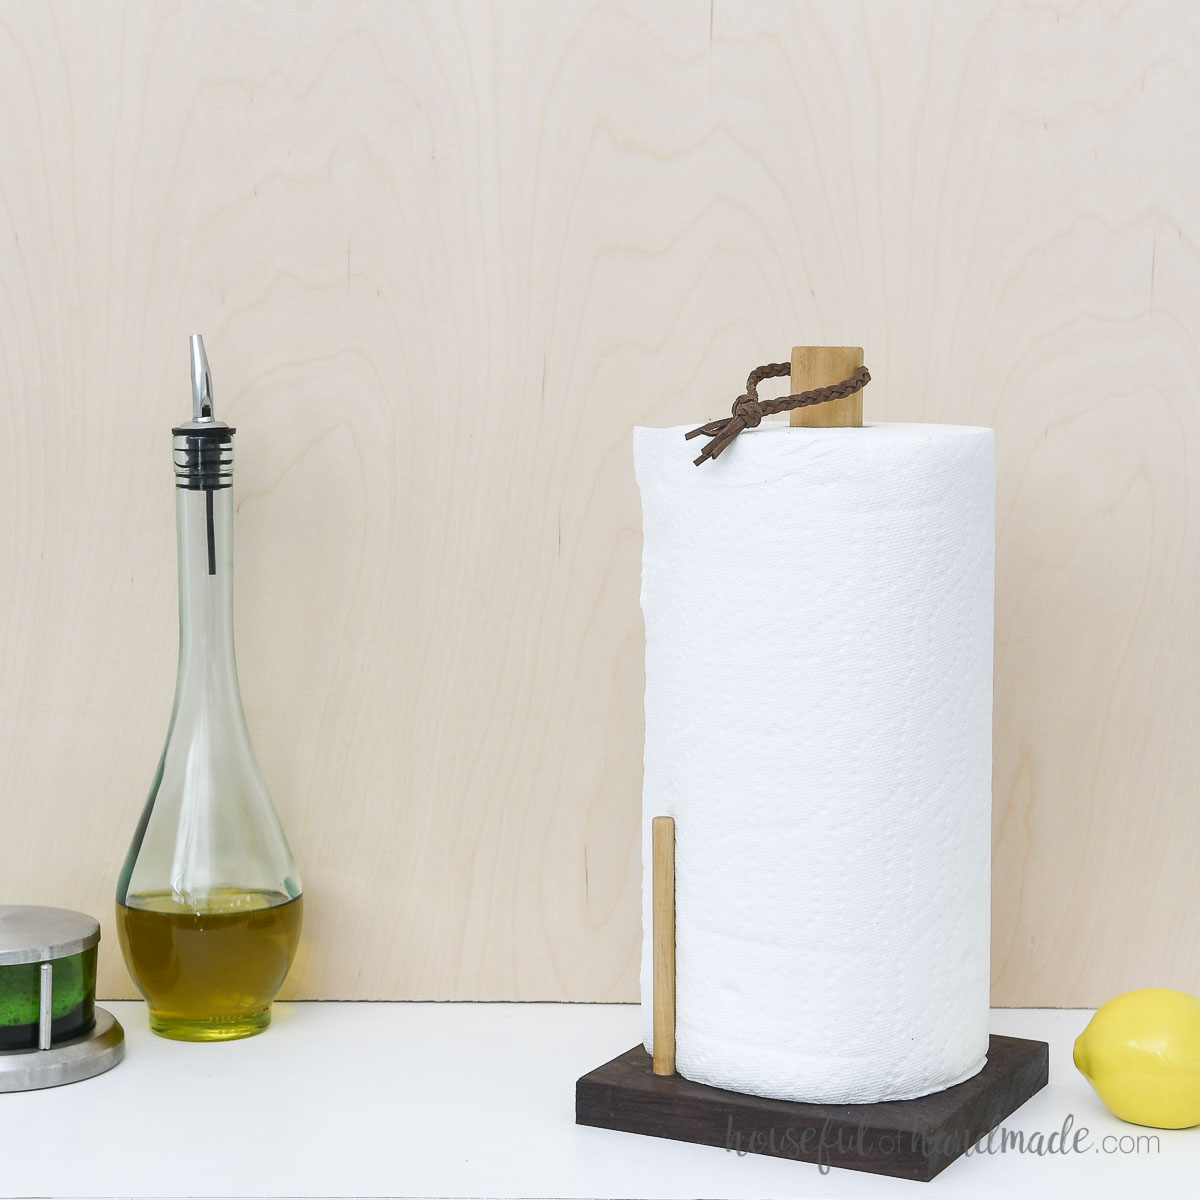
2- Kitchen Tray
A larger tile makes the perfect base for a tray to use on your kitchen countertop.
Corral your oils and spices next to your stove. Create a home for the hand soap, dish soap, and scrubber. Or make a display of grab-and-go snacks.
3- Nightstand Tray
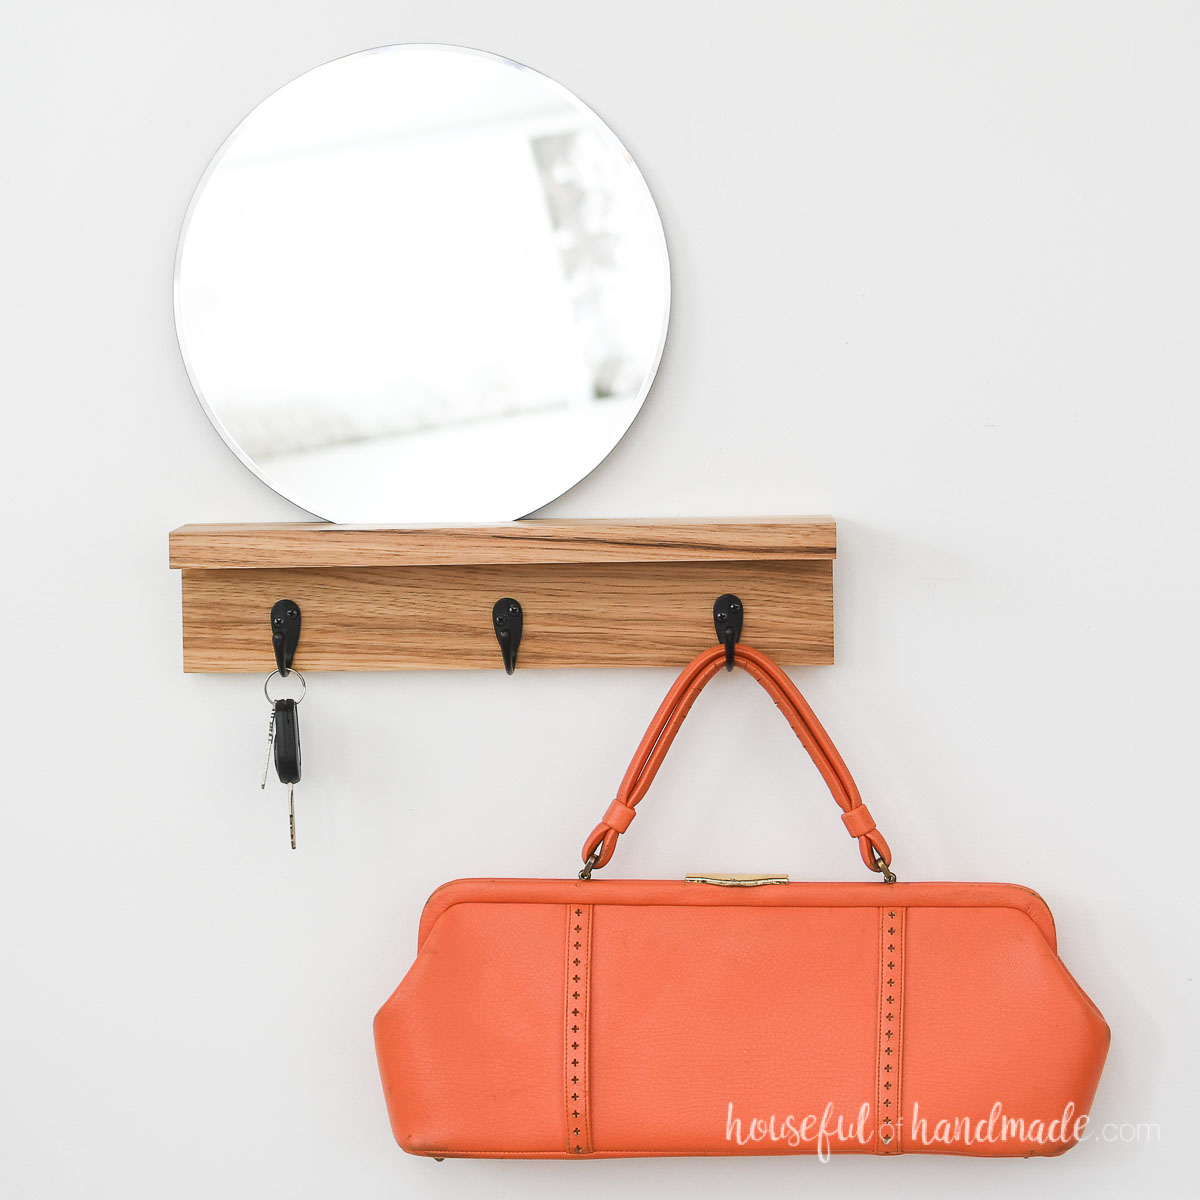
Create a pretty spot to dump your pockets at the end of the day.
A smaller tray will work great for loose change and keys. Or make a larger tray to hold your phone, earbuds, and more.
4- Jewelry Tray
Make your tray with a small decorative tile to use as a jewelry tray. Perfect for placing your rings, a necklace, and bracelets so they don’t get lost.
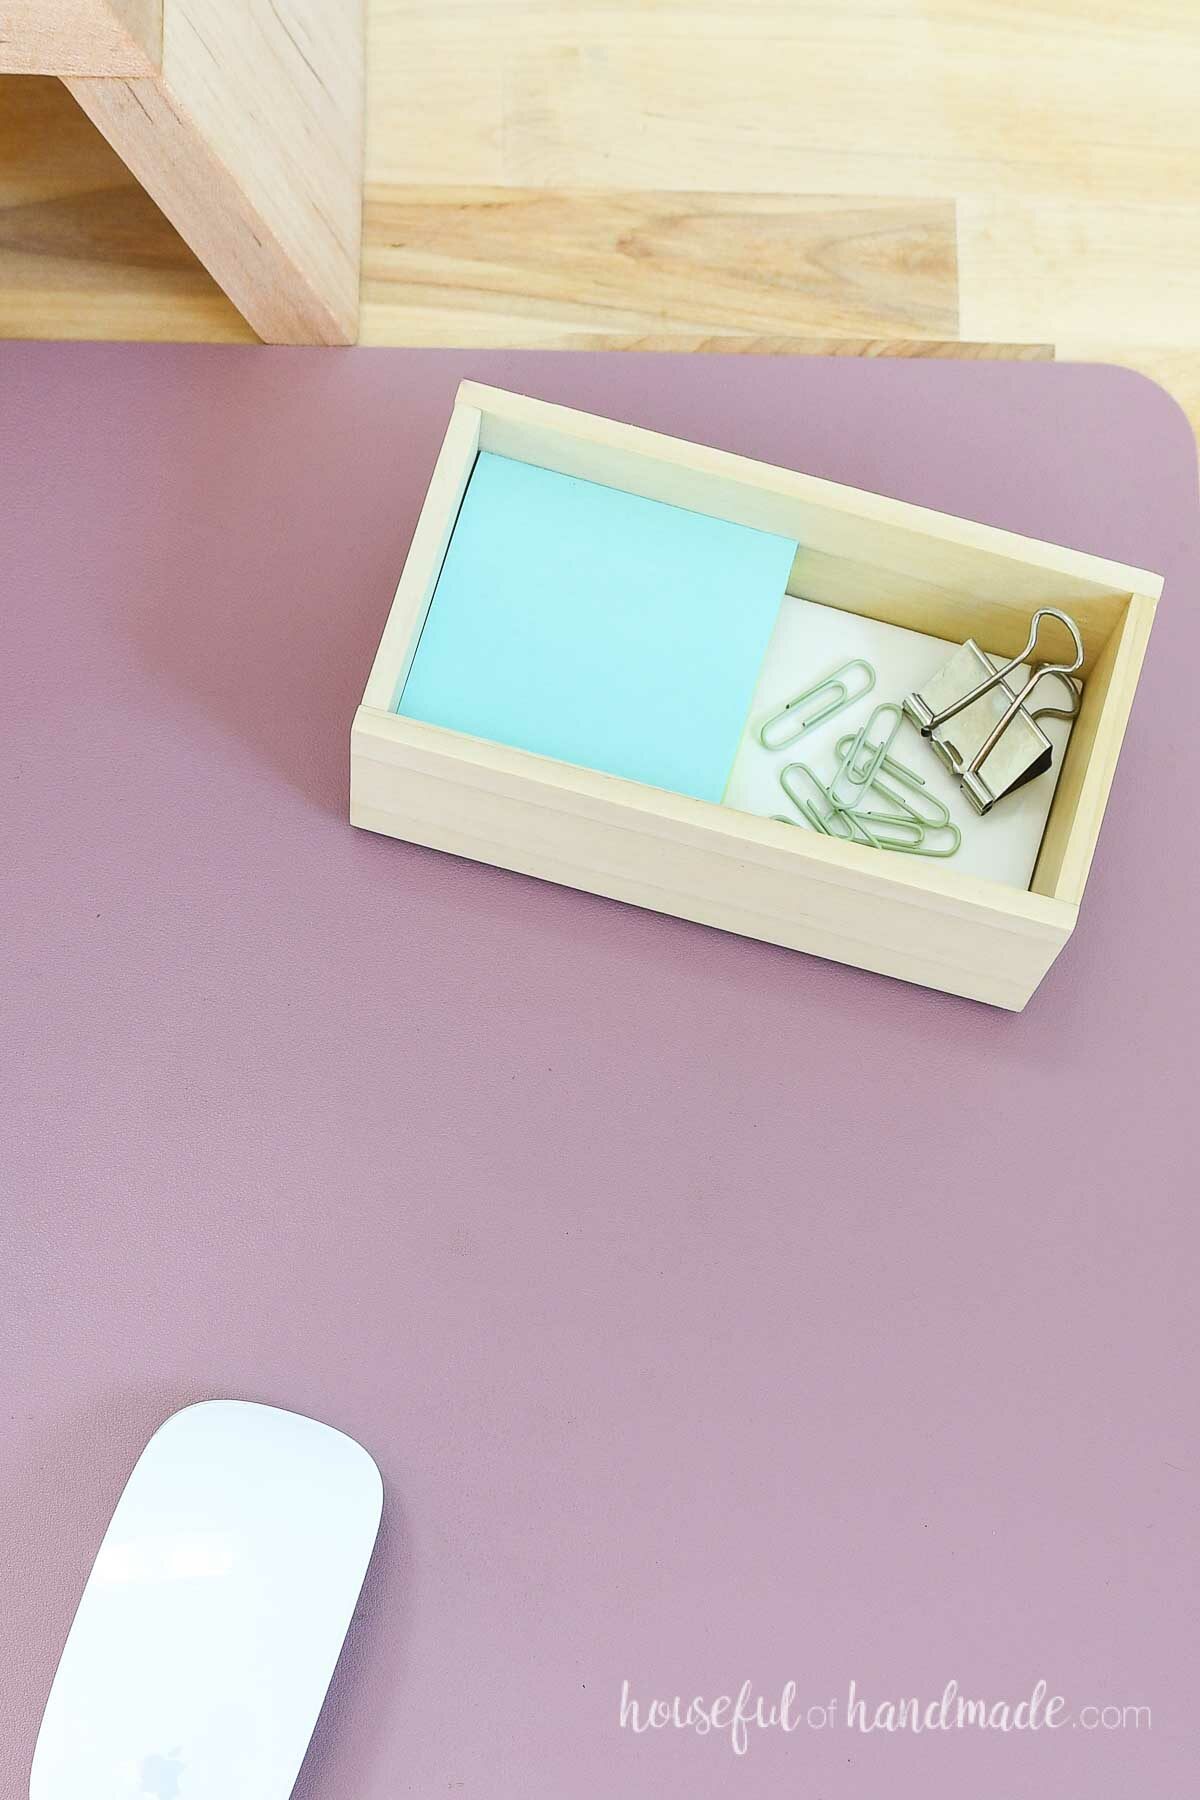
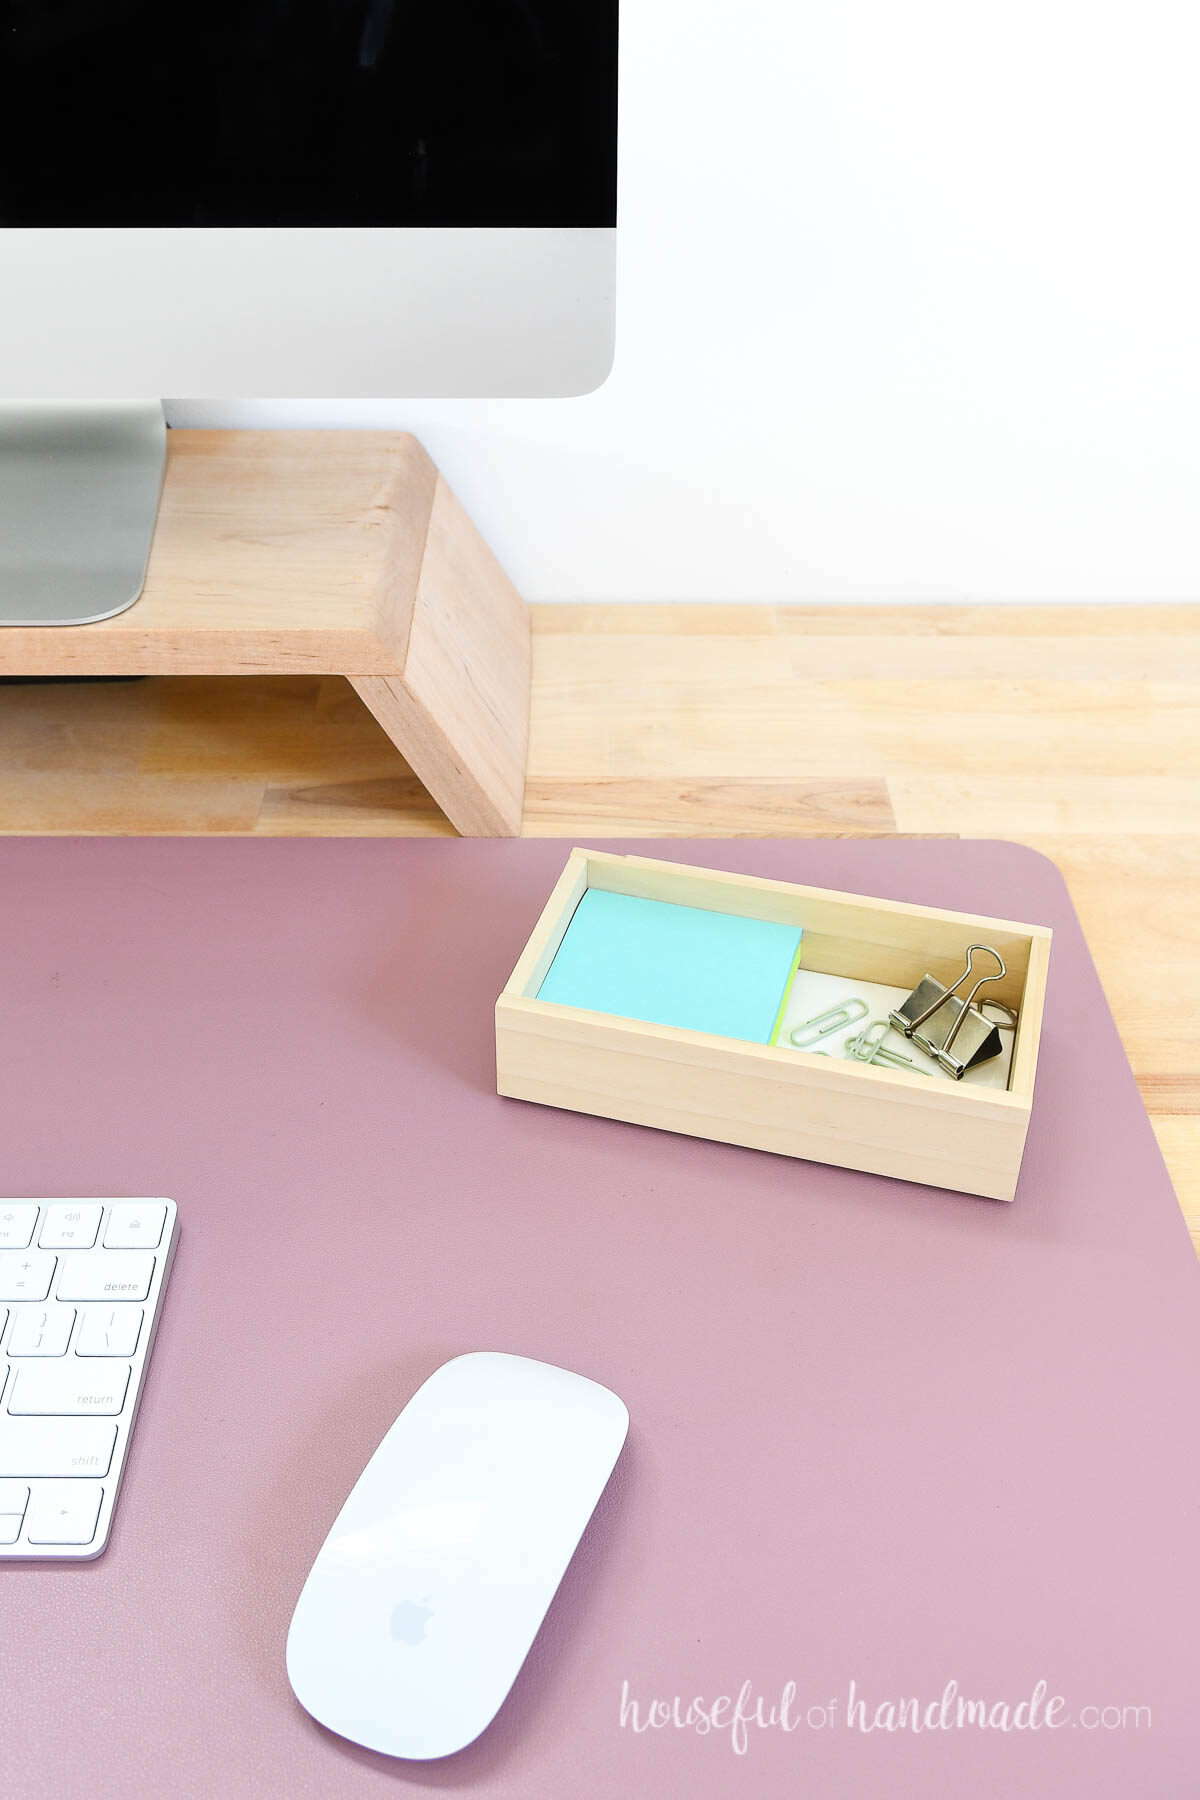
5- Desk Tray
Use a pretty tray to hold paperclips, sticky notes, and more within reach, but nicely organized!
The smaller 3×6 subway tile is the perfect size for a standard sticky-note and a few office supplies on your desk so you can get work done faster.
How to Build a DIY Tray
Tools & Materials
Recommended Tools:
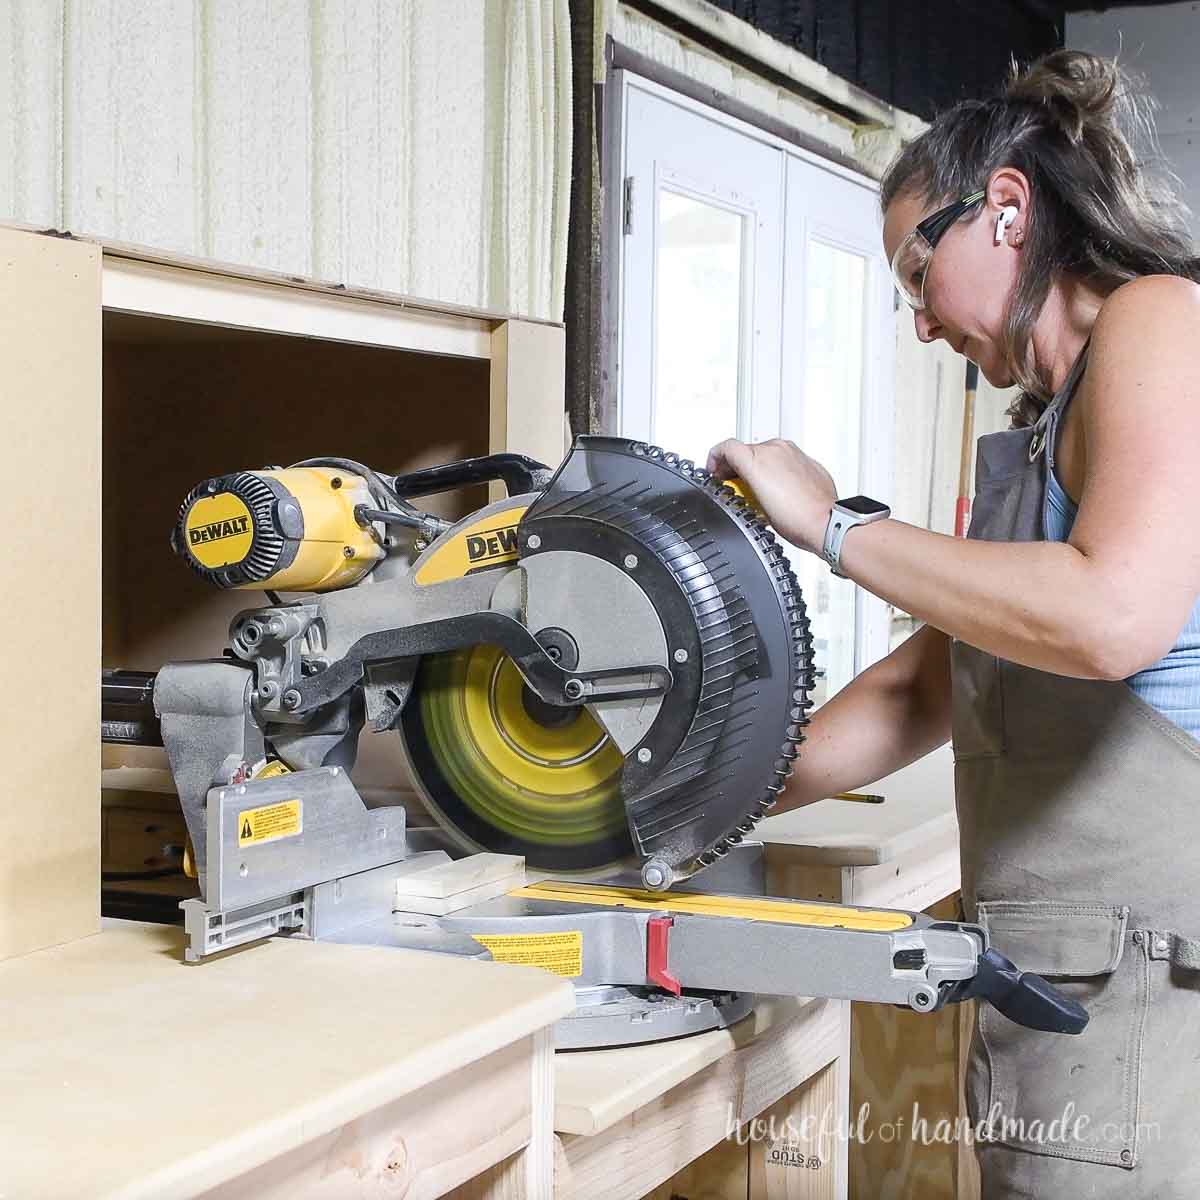
- Miter saw
- I recently upgraded to this larger sliding miter saw (watch for it to go on sale), but all my projects before were built with this inexpensive miter saw that I loved.
- Sander
- Measuring tape
Supplies:
- Wood products
- 1 1/2″ wide project boards (1/4 or 1/2″ thick)
- Stain/sealer/paint
- Super glue gel
- Felt furniture pads or cabinet door bumpers
Overall Dimensions
You can build your tray any size you want! The larger the tile, the heavier the tray will be.
I built 2 trays. One was built with a leftover 6×12 marble tile and 1/2″ thick boards. The other was built with a 3×6 porcelain subway tile and 1/4″ thick wood.
STEP 1- Cut the pieces
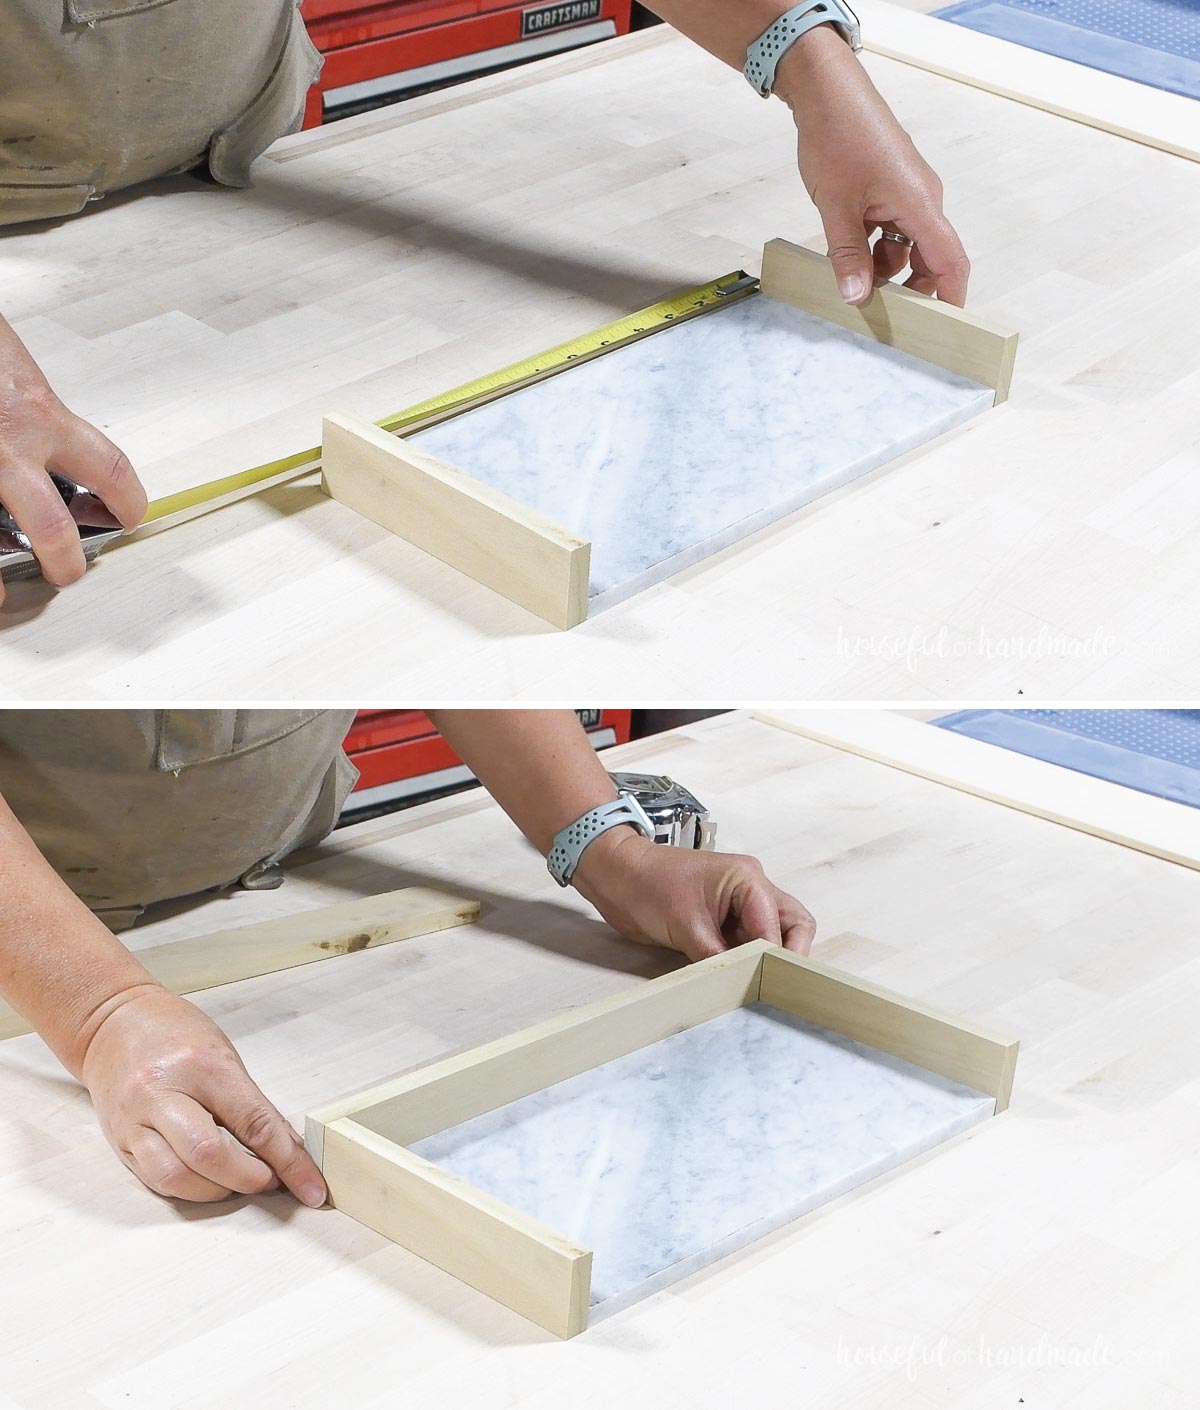
Measure the short side of your tile. Cut two pieces from the 1 1/2″ boards to that length.
To make sure both pieces are the exact same length once cut, I like to cut them at the same time.
Place the cut pieces on either side of your tile. Then measure for the front/back pieces.
Cut and test the pieces to make sure they fit properly. Adjust as needed.
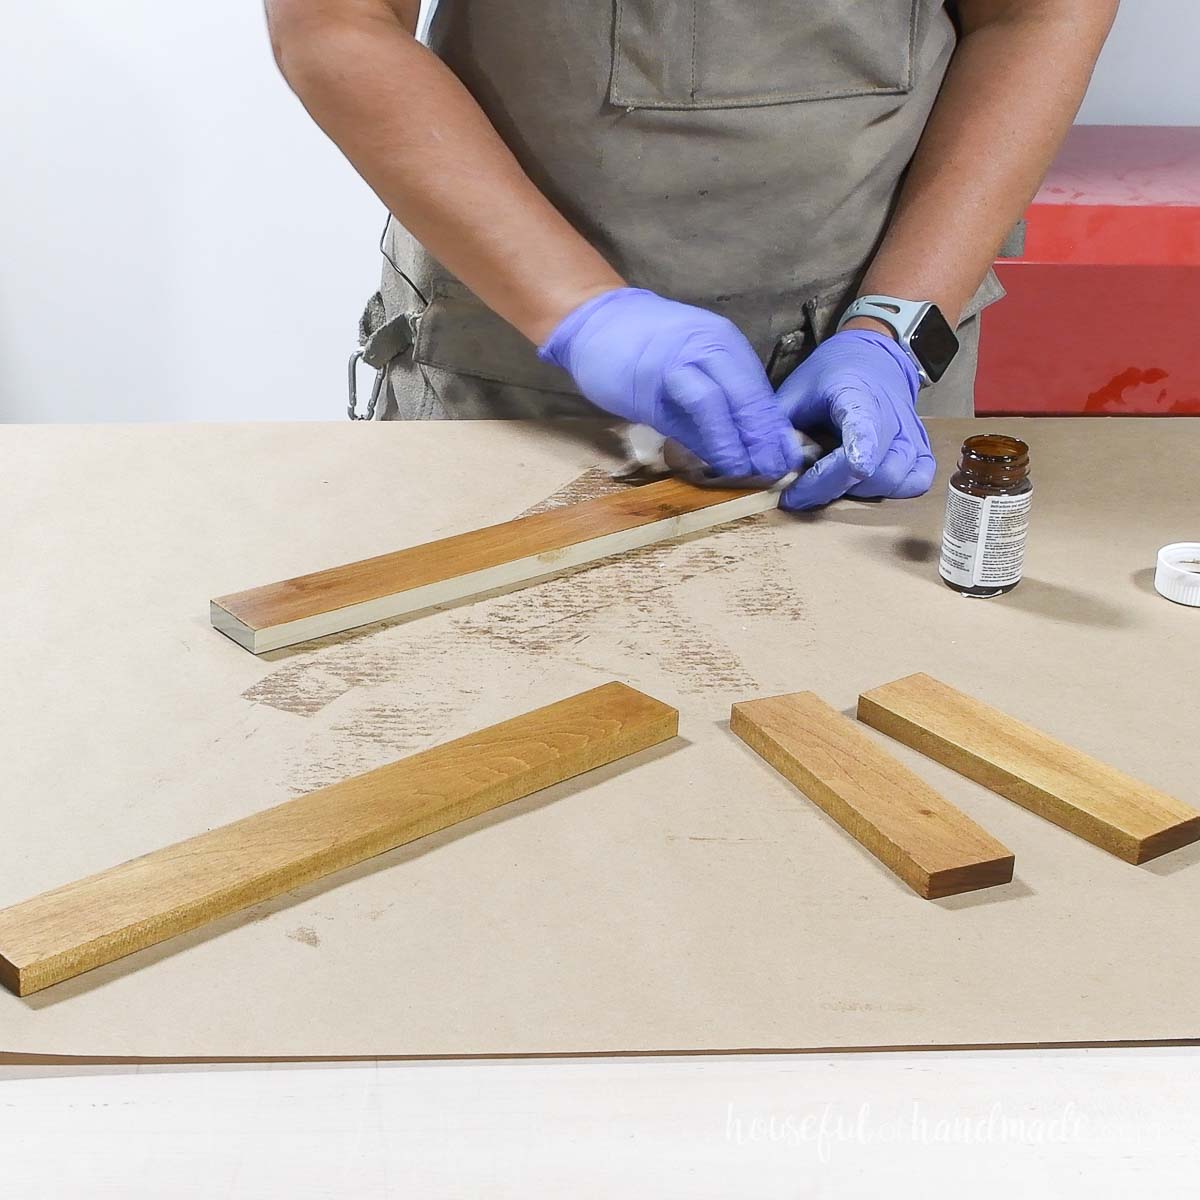
STEP 2- Finish the pieces
Sand and finish all the pieces separately. This will prevent the tiles from getting stained/sealed/painted when you finish the boards.
If you plan to use your tray in the kitchen or bathroom, make sure to use a waterproof sealer.
I sealed the boards with leftover TrueTone Chestnut colored sealer. I love the waterproofing and flat finish of this sealer.
Let the seal completely dry before proceeding or your glue may not hold.
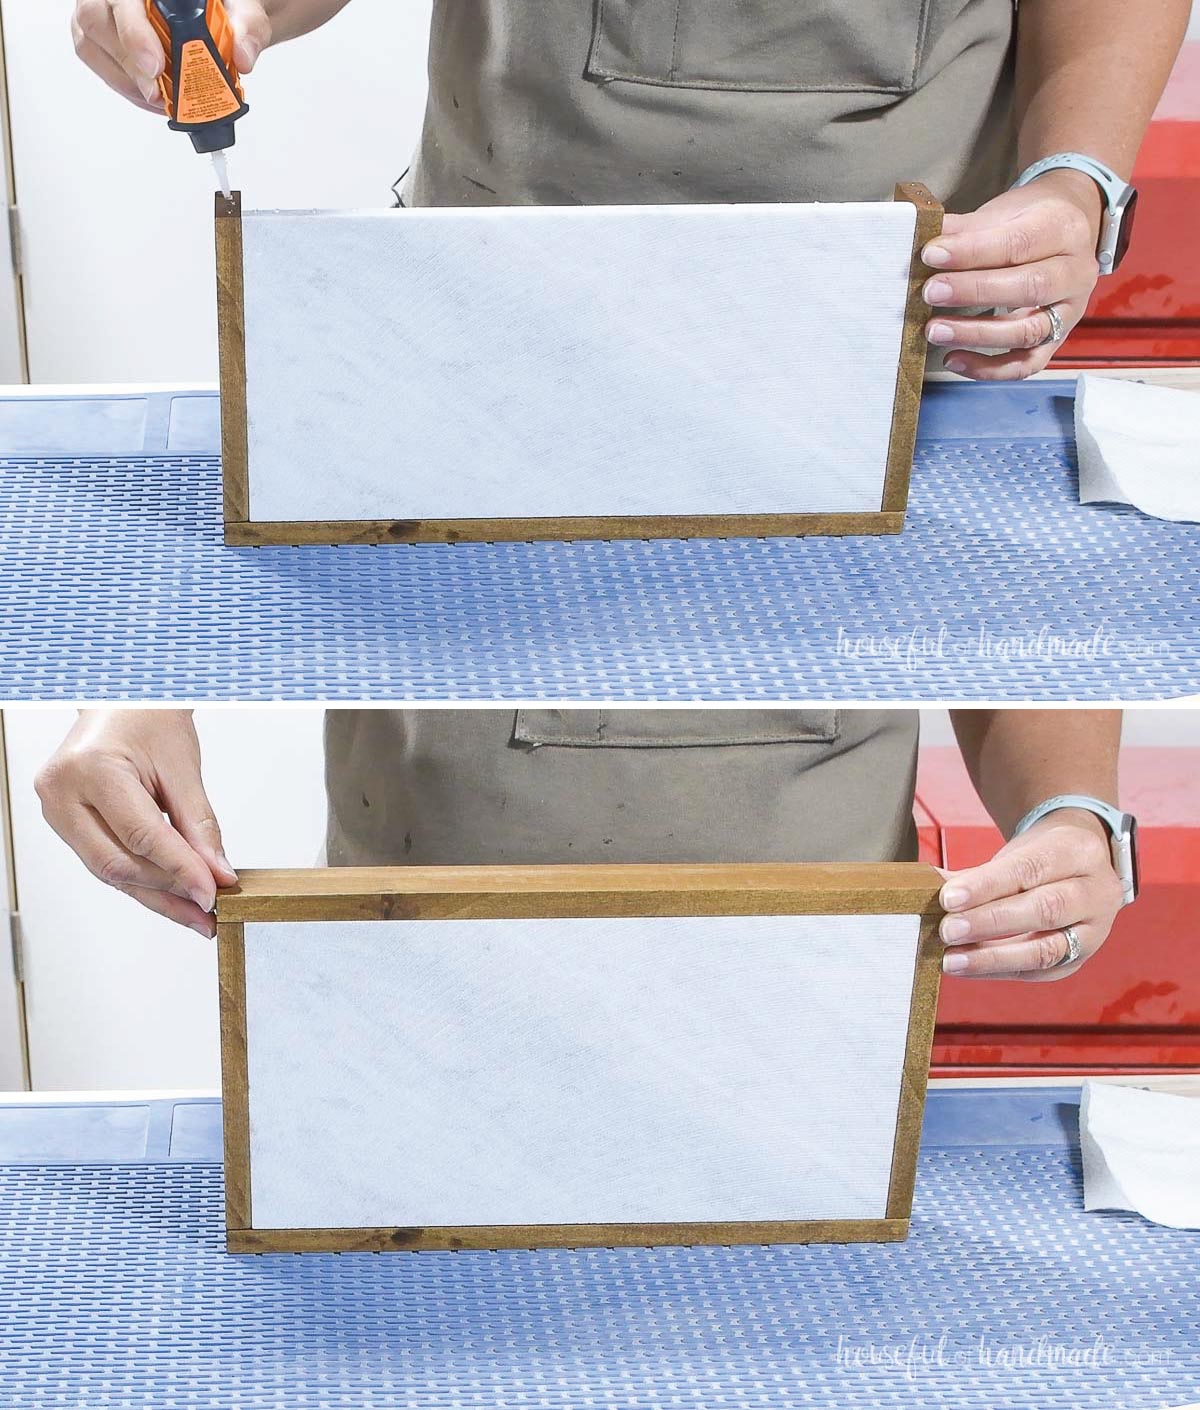
STEP 3- Glue together the tray
Using a gel super glue, add a few drops to the lower side pieces.
Carefully place them on the tile so they are flush with the bottom and front/back.
Press and hold for a minute for the glue to take hold.
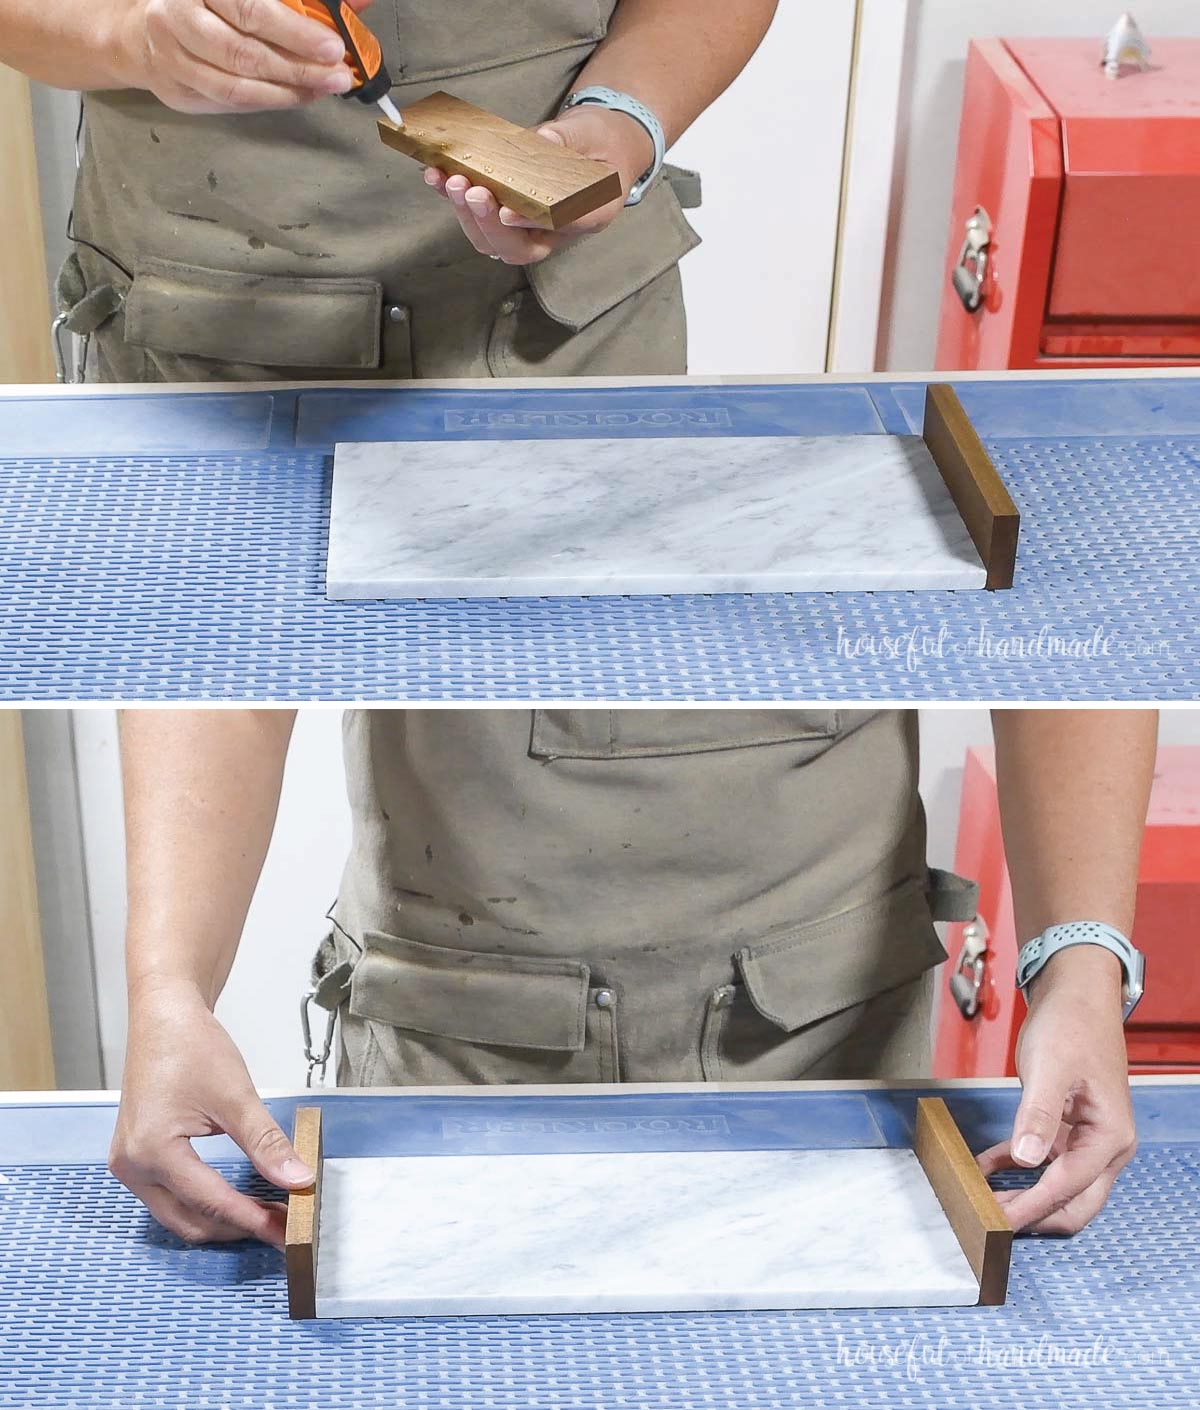
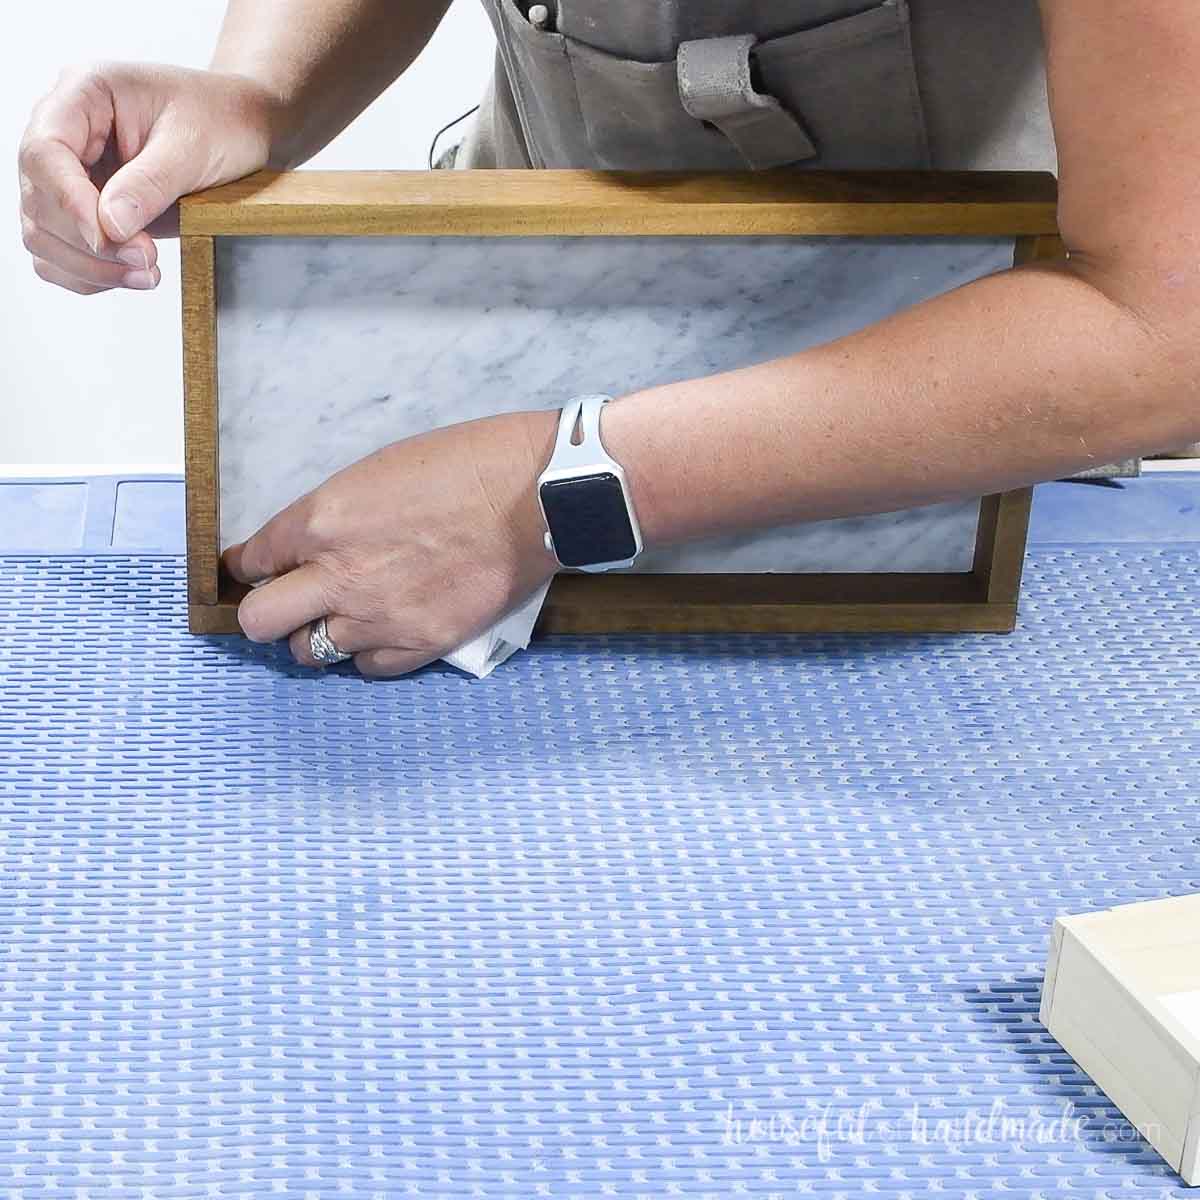
To attach the front and back, add glue to the bottom where it will touch the tile and on the ends of the side pieces.
Line the piece up, making sure it is flush on all sides. Then press firmly until the glue holds.
Wipe out any squeeze out with a paper towel before the glue fully dries.
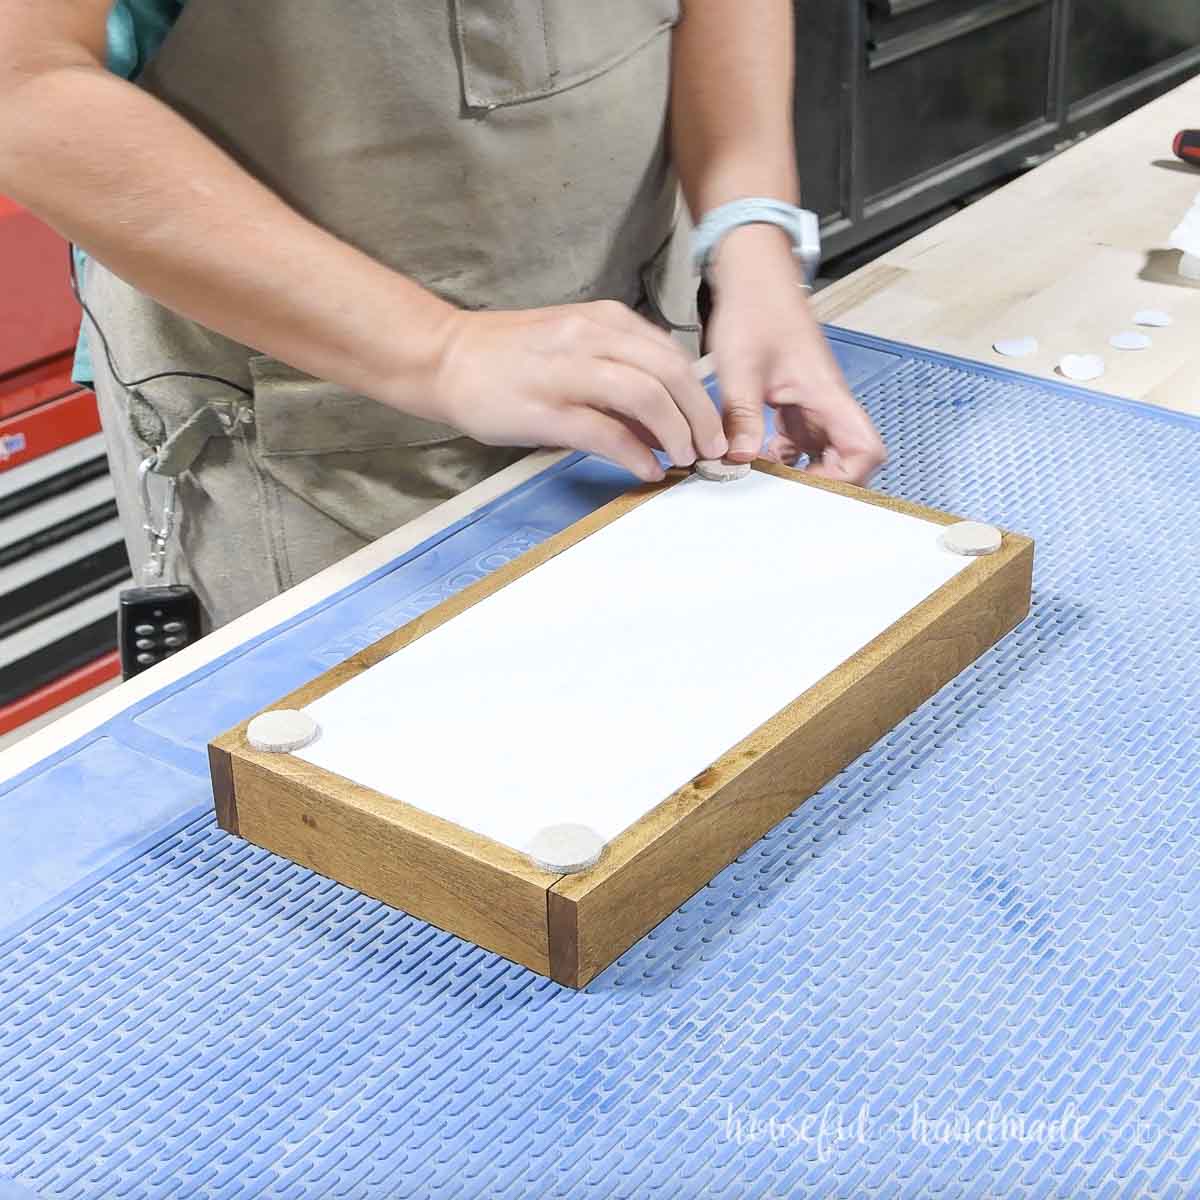
STEP 4- Attach feet
Flip your tray over and add either felt furniture pads or cabinet door bumpers to the four corners for feet.
I used the felt bumpers for the larger organizing tray and the bumpers for the small tray.
The feet will help protect any surface you place your tray on from getting scratched.
You did it!
Your new trays are all done and ready for organizing. I can’t decide where to keep mine, I guess that means I need to go buy more tiles 😉
More Scrap Wood Projects
I love that these simple DIY trays can be built from wood scraps as part of the Scrap Wood Summer series!
Each week during August, Woodshop Diaries and I are sharing easy scrap wood project to build.
Check out any projects you may have missed below and come back next Tuesday for new builds.


Happy building!
