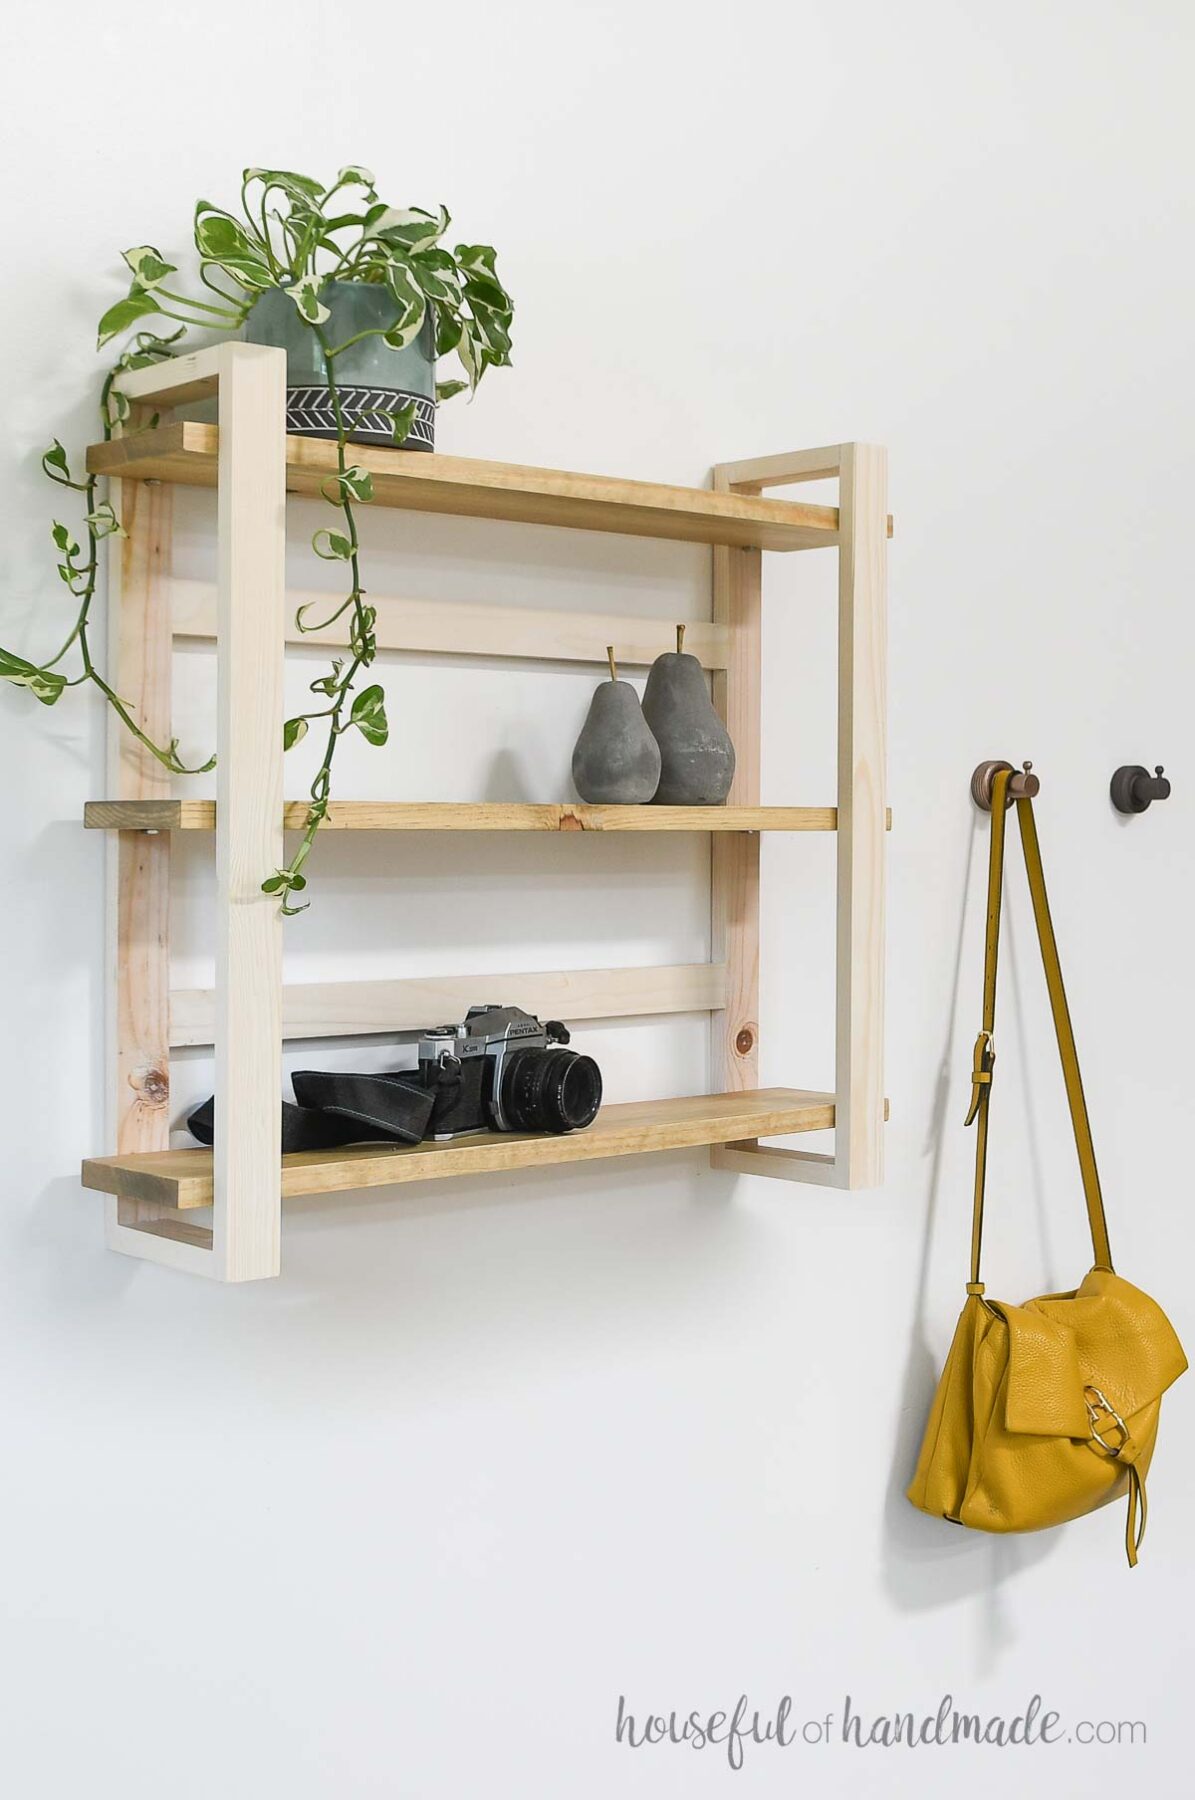
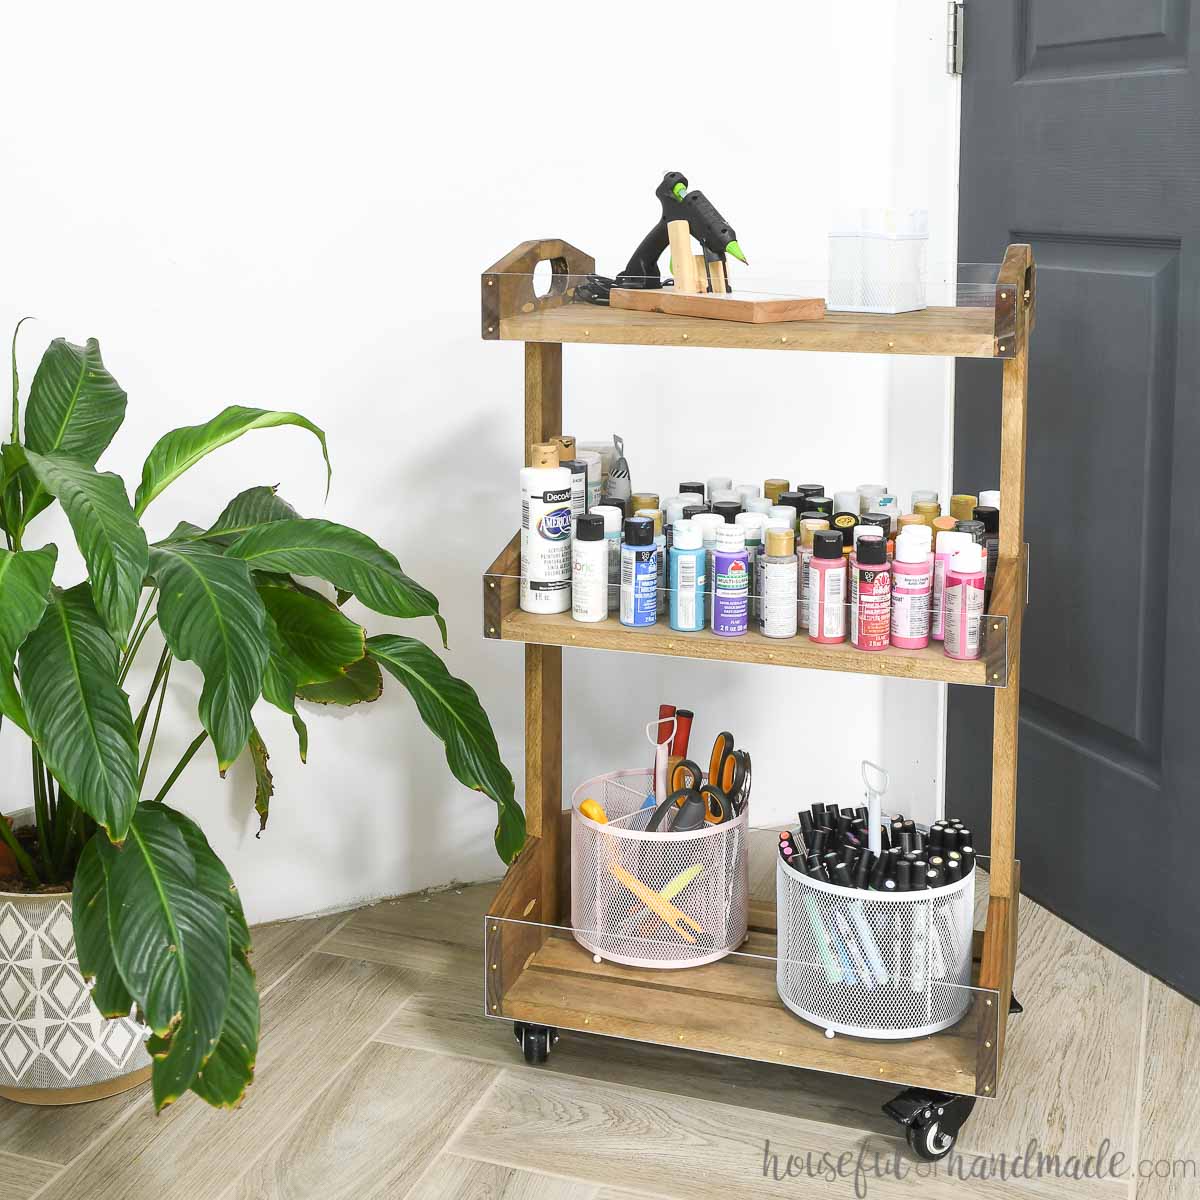
Wall shelves are super useful! They can add places to both store and display in any room in your home.
You can use these simple wall shelves anywhere you need to hold things. The shallow shelves are perfect for an entryway, bathroom, bedroom, hallway and more!
Plus, the shelves can be made so they are adjustable. No more worrying about whether a specific item will fit, just adjust the shelves to work for you.
This post may contain affiliate links. As an Amazon Associate I earn from qualifying purchases. Click here to read my full disclosure policy.
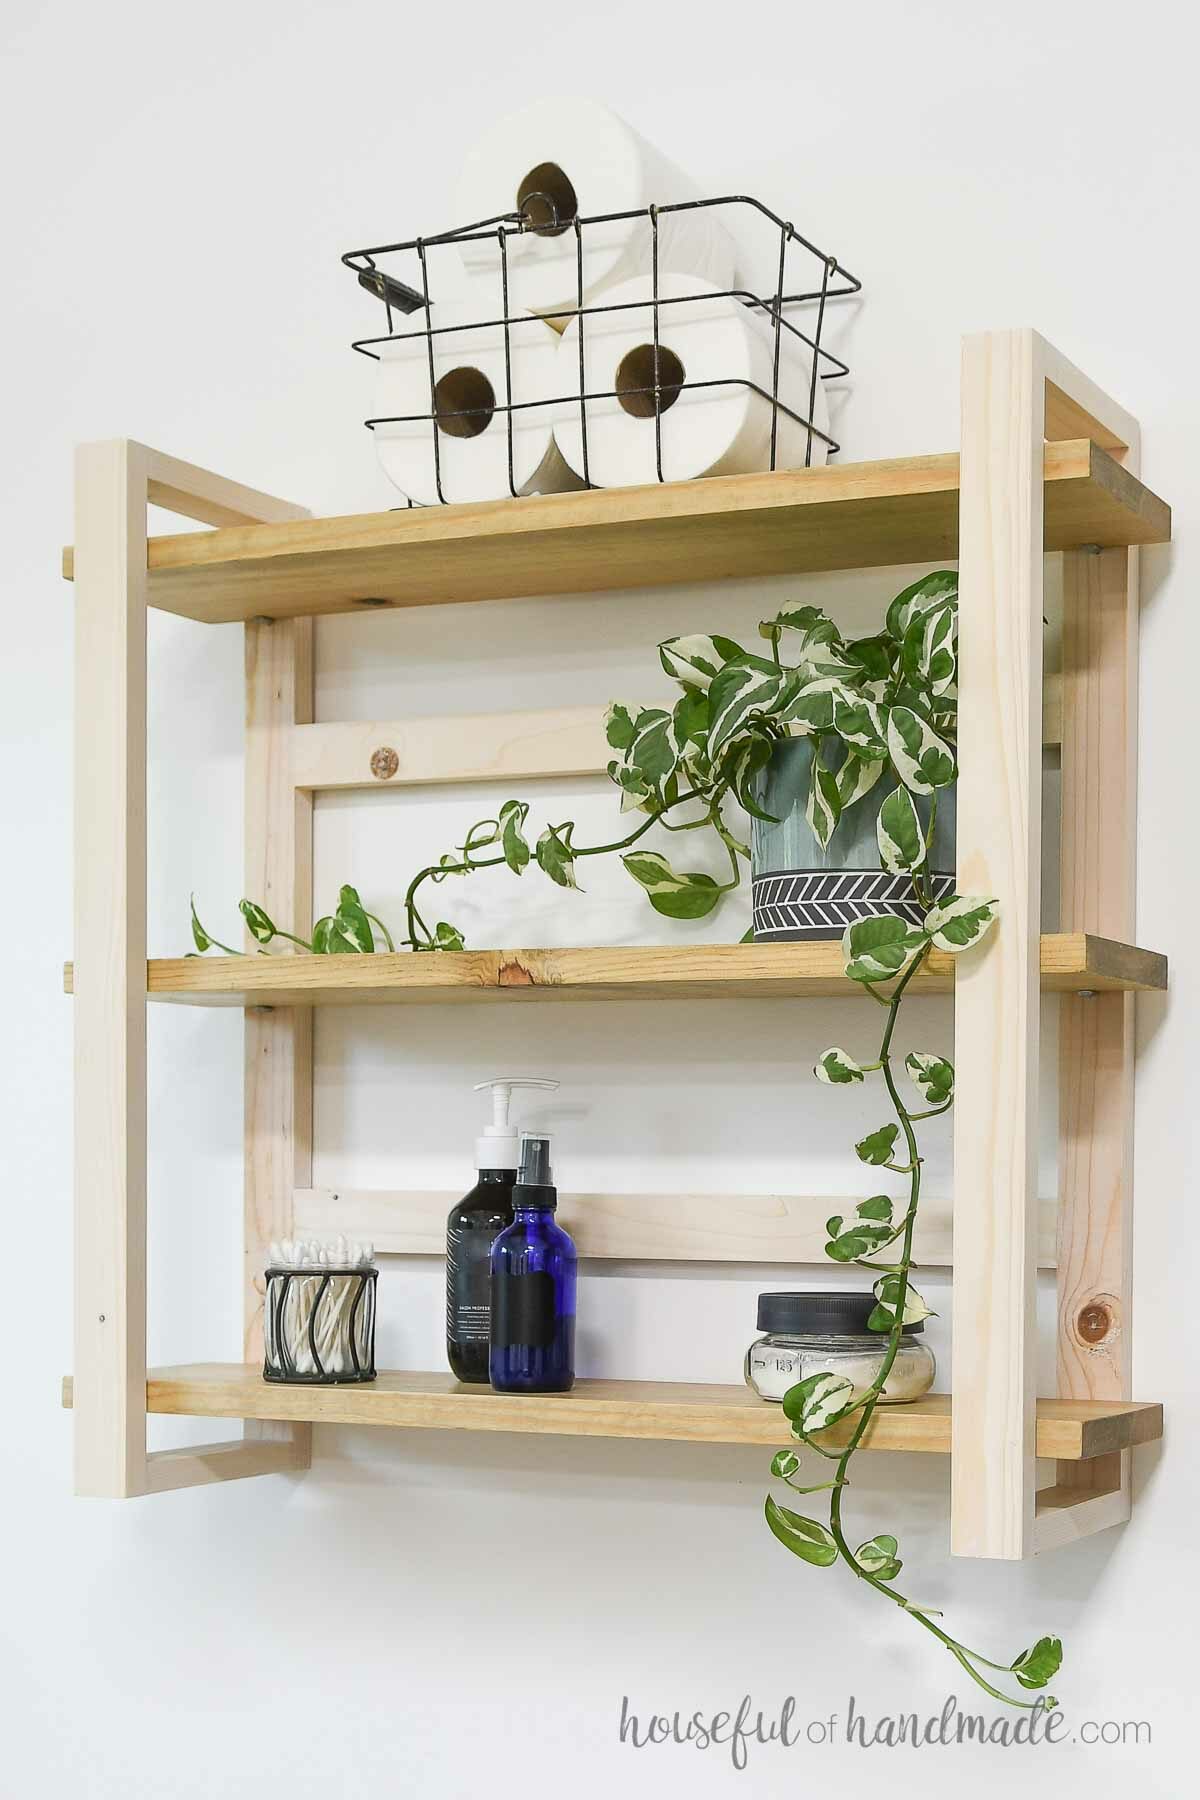
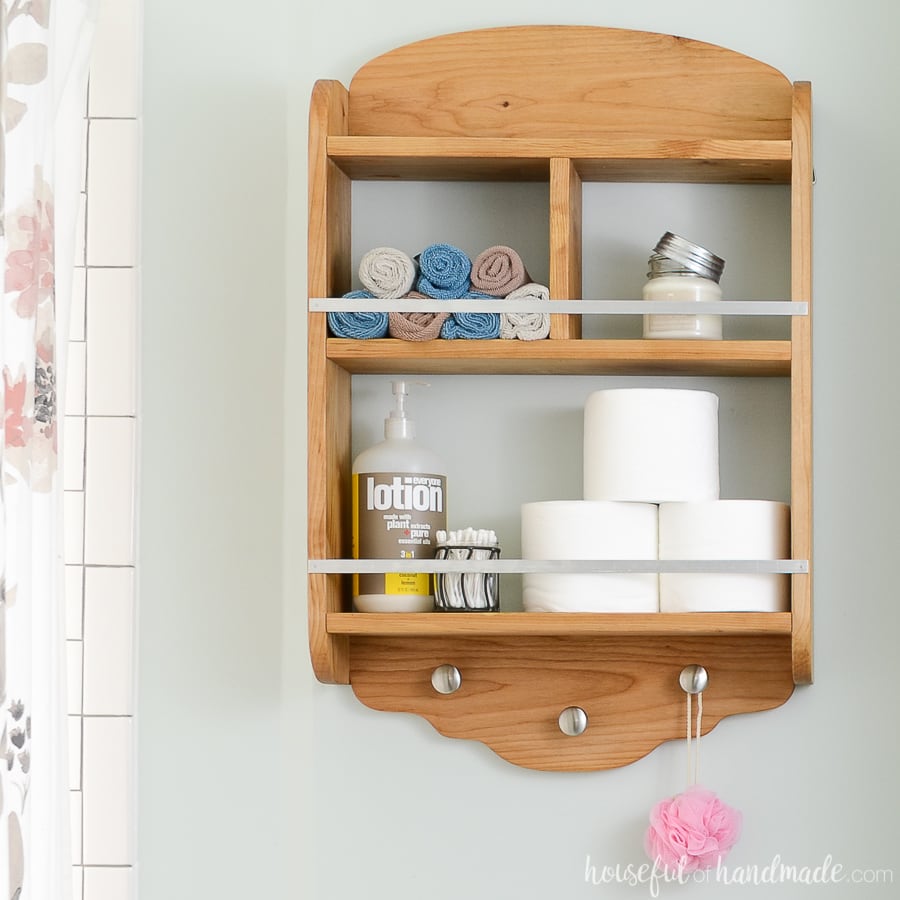
Bathroom Wall Shelf
This shelf unit is perfectly sized to use as bathroom shelves. It is the right size to center above a toilet, or small enough to add to any wall.
The wall shelves are perfect for storing all those bottles of creams, lotions, pastes and more!
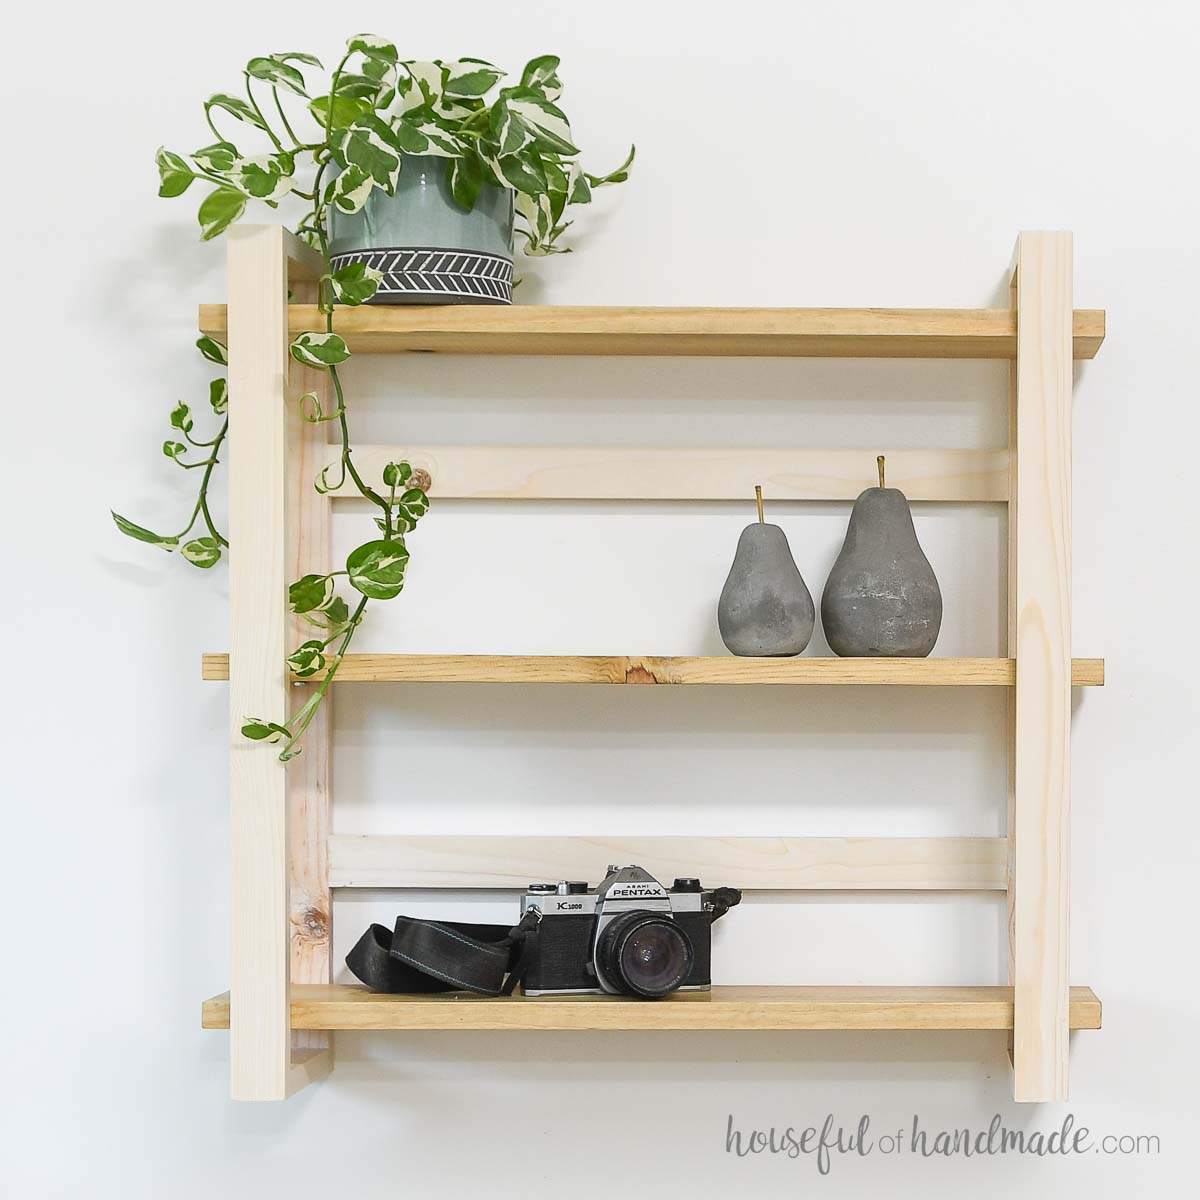
Plus you can add a plant to make your bathroom feel a little fancy. Just make sure to use a low-light plant like a pothos if your bathroom doesn’t have a large window.
Two-Tone Shelves
The frame and the shelf boards are not attached permanently. Instead, the shelves are attached using shelf pins.
This makes it easy to stain or paint them different colors for a two-toned look. It also allows you to have adjustable shelves!
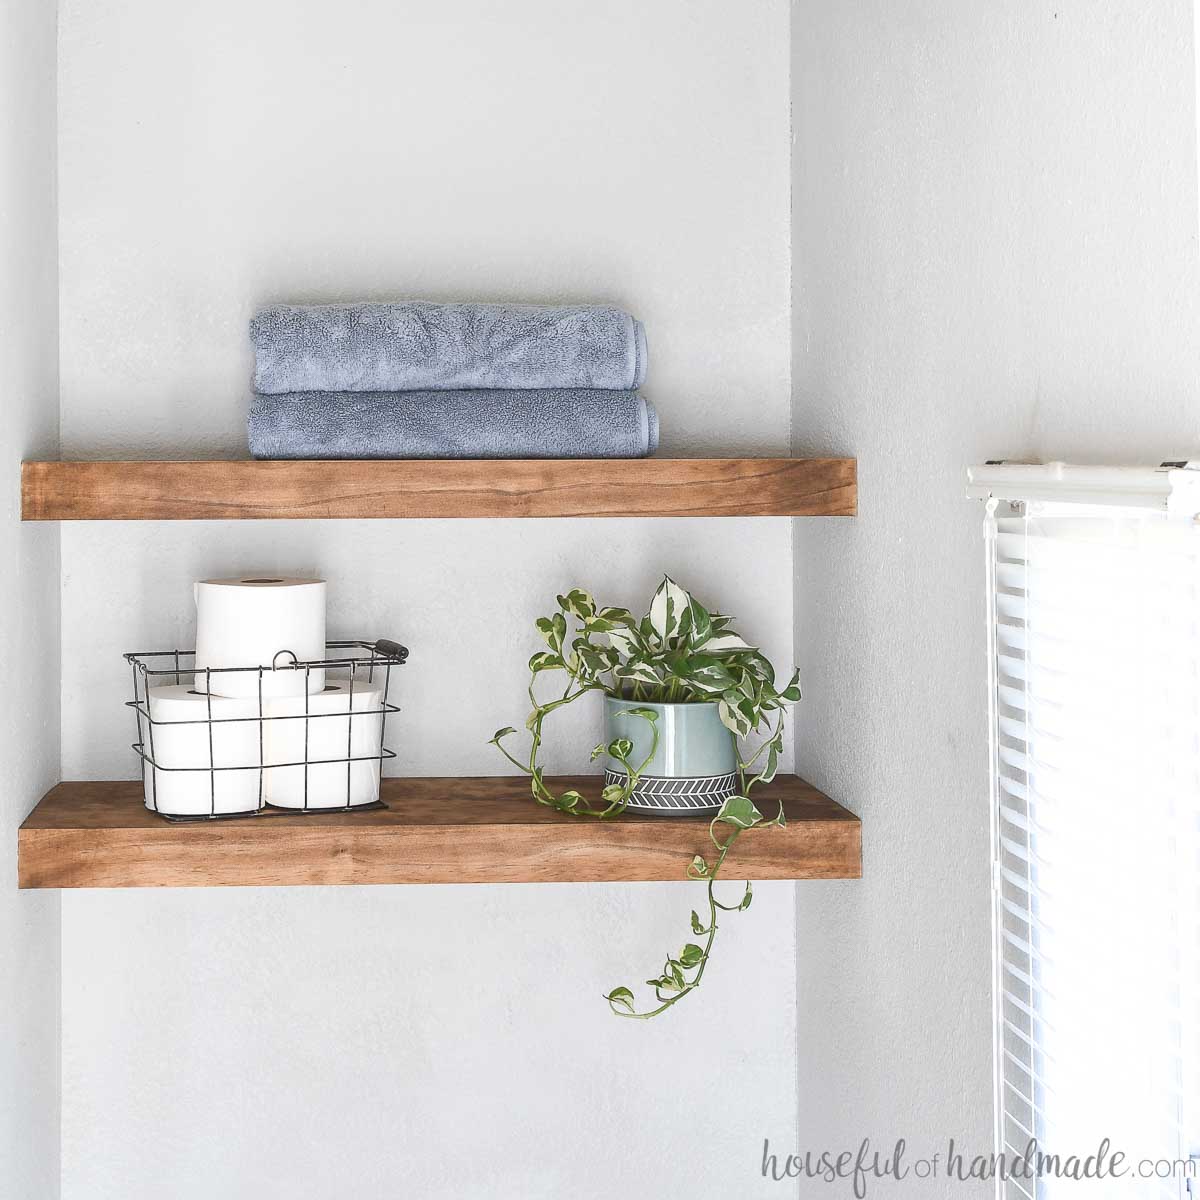
For my shelves, the frame is stained with a white stain by Varathane. This gives it a white wash look.
The shelf boards are stained with Minwax’s Weathered Oak. It is the same stain I used on the DIY bathroom vanity in the bathroom where the shelves will live.
All pieces were then sealed with Minwax furniture paste.

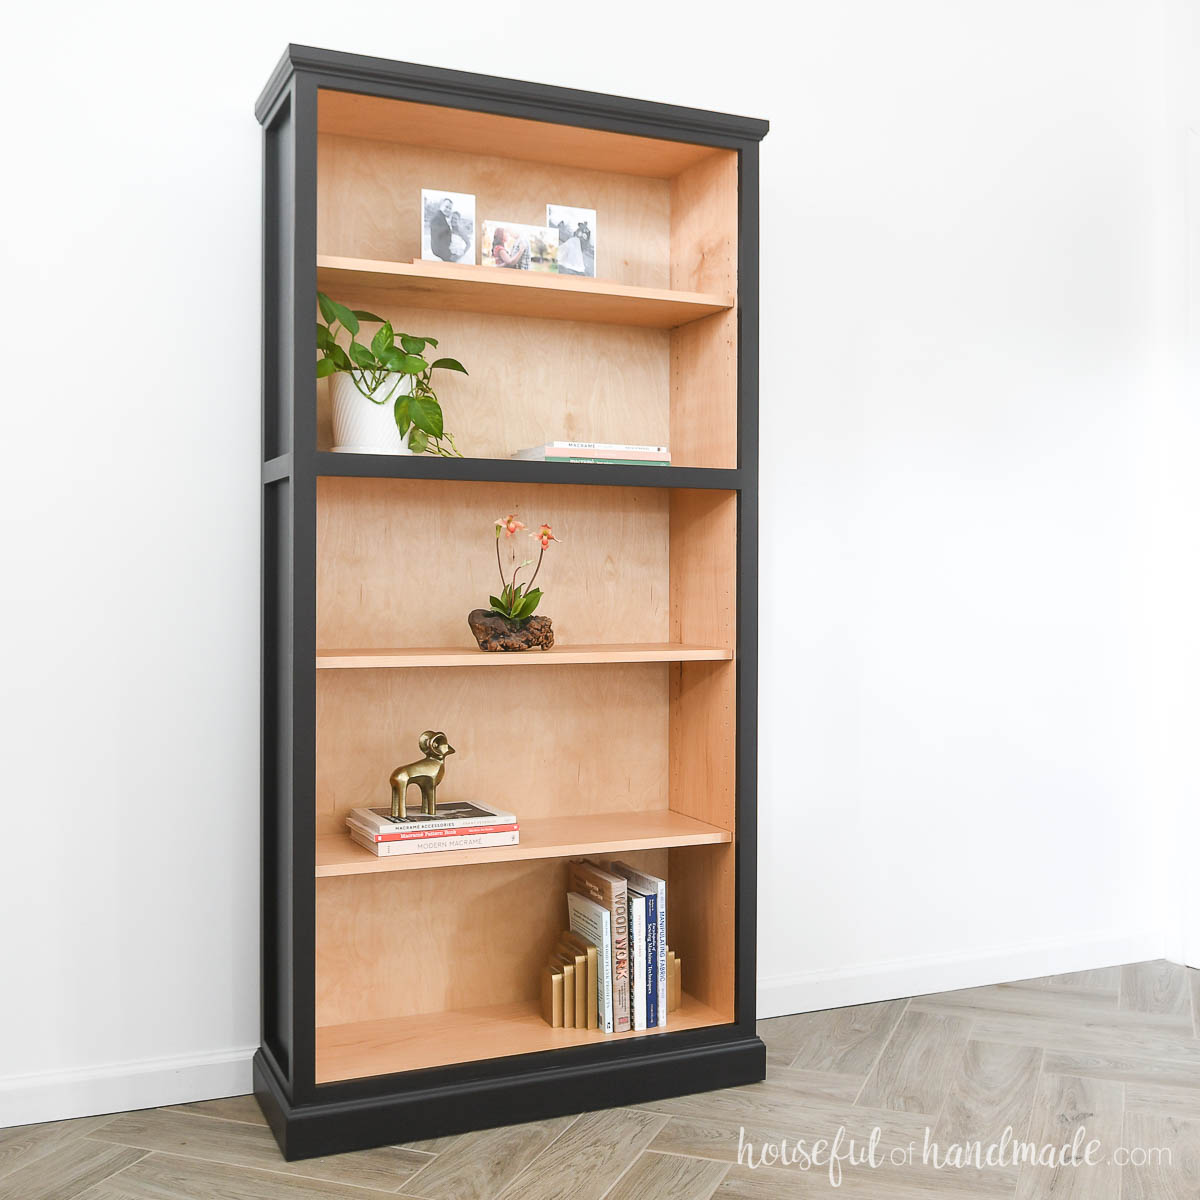
More shelves and storage DIYs
Organize your entire home with these fun and easy builds.
How to Build a Simple Wall Shelf
Tools & Materials
Recommended Tools:
- Miter saw
- I recently upgraded to this larger sliding miter saw (watch for it to go on sale), but all my projects before were built with this inexpensive miter saw that I loved.
- Pocket hole jig
- Drill
- Impact driver (optional, but I love not having to switch bits with the drill)
- Right angle clamp
- Face clamps
- Shelf pin jig
- Sander
Supplies:
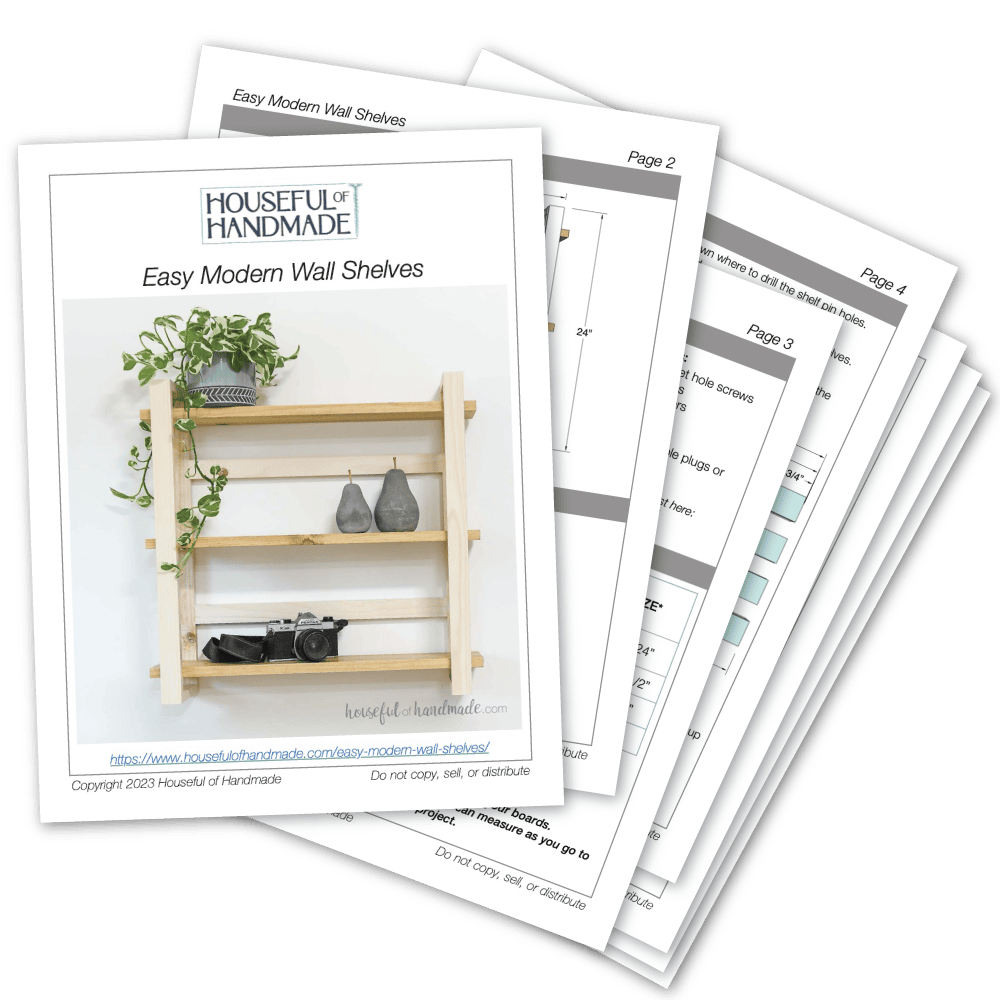
- Printable PDF build plans
- Wood products
- (2) 1×2 boards, 8′ long
- (1) 1×6 board, 8′ long
- 1 1/4″ pocket hole screws
- 5mm shelf pins
- Keyhole hangers
- Wood glue
- Sandpaper
- Optional: Pocket hole plugs or stainable wood filler
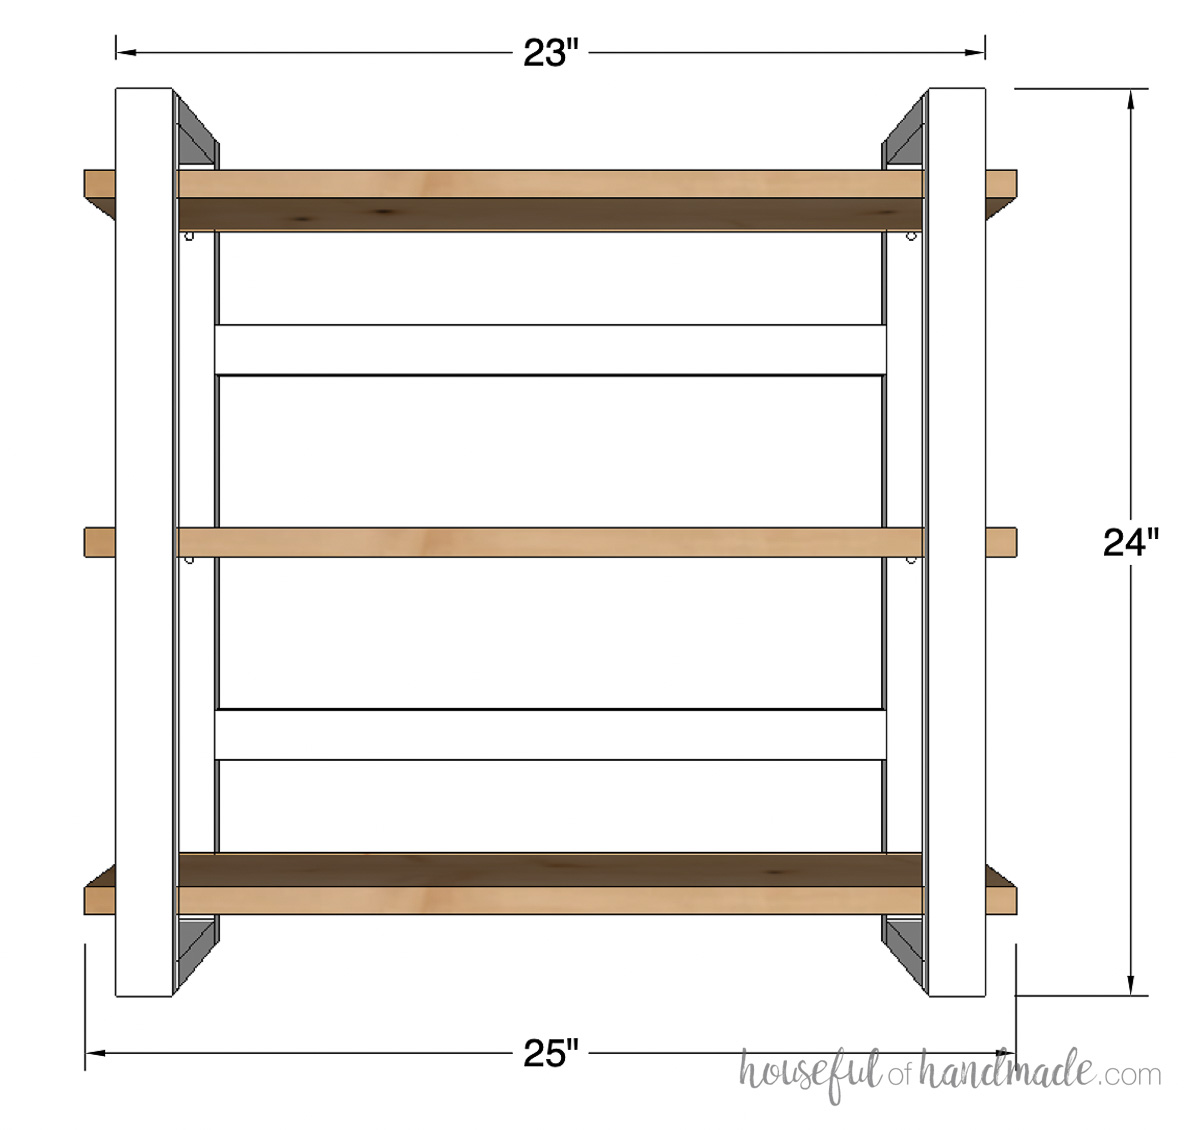
Overall Dimensions
The frame of these wall shelves is 23″ wide by 24″ tall and 7″ deep. The shelf boards are 25″ long and 5 1/2″ deep.
Cut List
Cut out the pieces according to the cut list table in the PDF plans.
STEP 1- Drill shelf pin holes
On the four side pieces, measure from the top down where to drill the shelf pin holes. Make sure to also mark the center of your board.
I added 3 shelf pin holes to give my wall shelves evenly-spaced, non-adjustable shelves. See the diagram in the printable plans for exact measurements.
You can adjust the shelf pin hole as you want or add multiple holes for adjustable shelves.
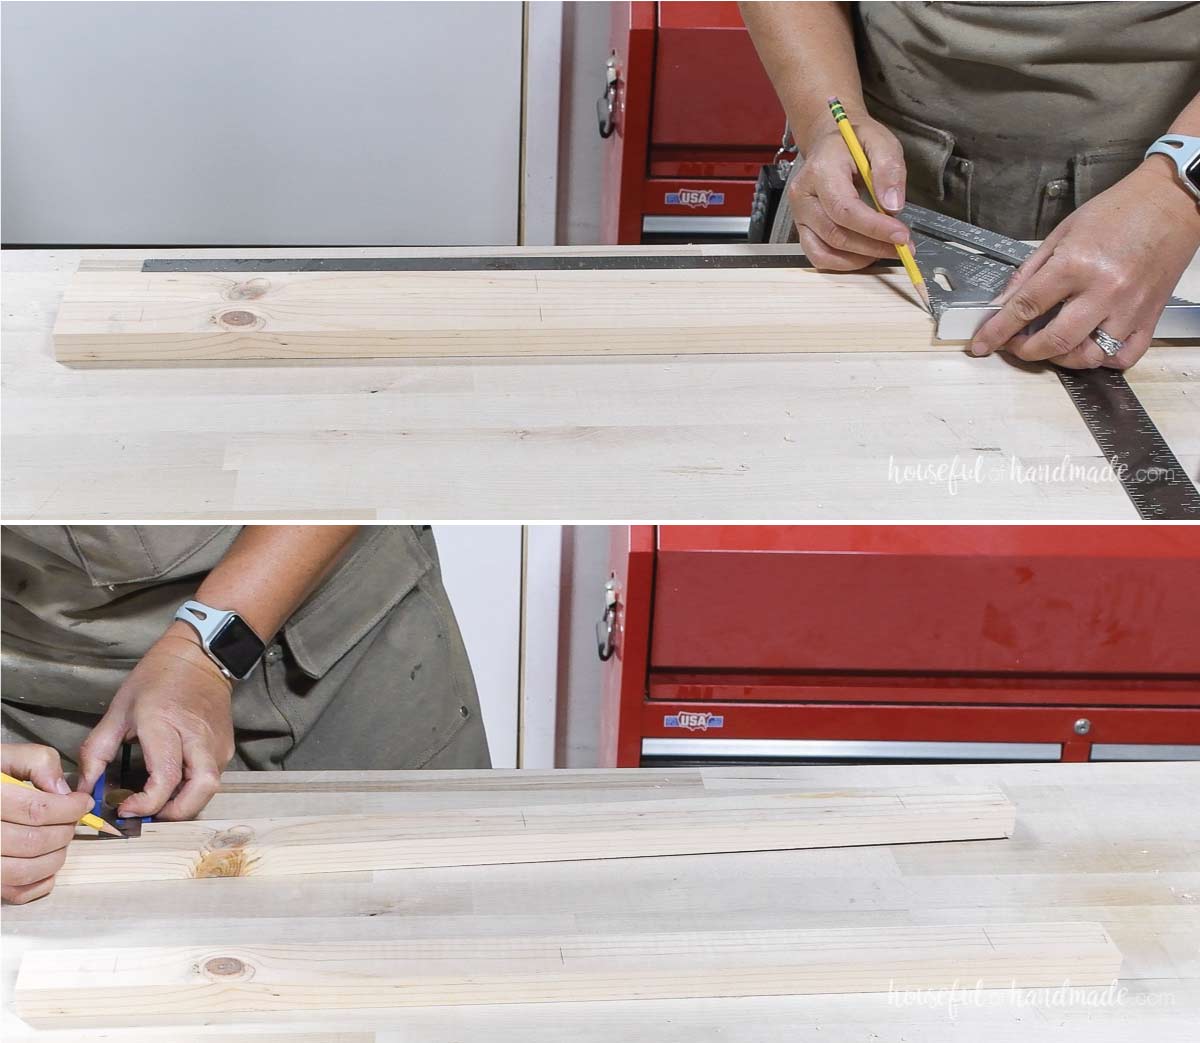
Use a shelf pin jig or drill guide to keep your shelf pin holes straight. The top of the hole should be flush with the line.
Make sure to mark which end of the board is the top so the shelf pin holes line up properly once assembled.
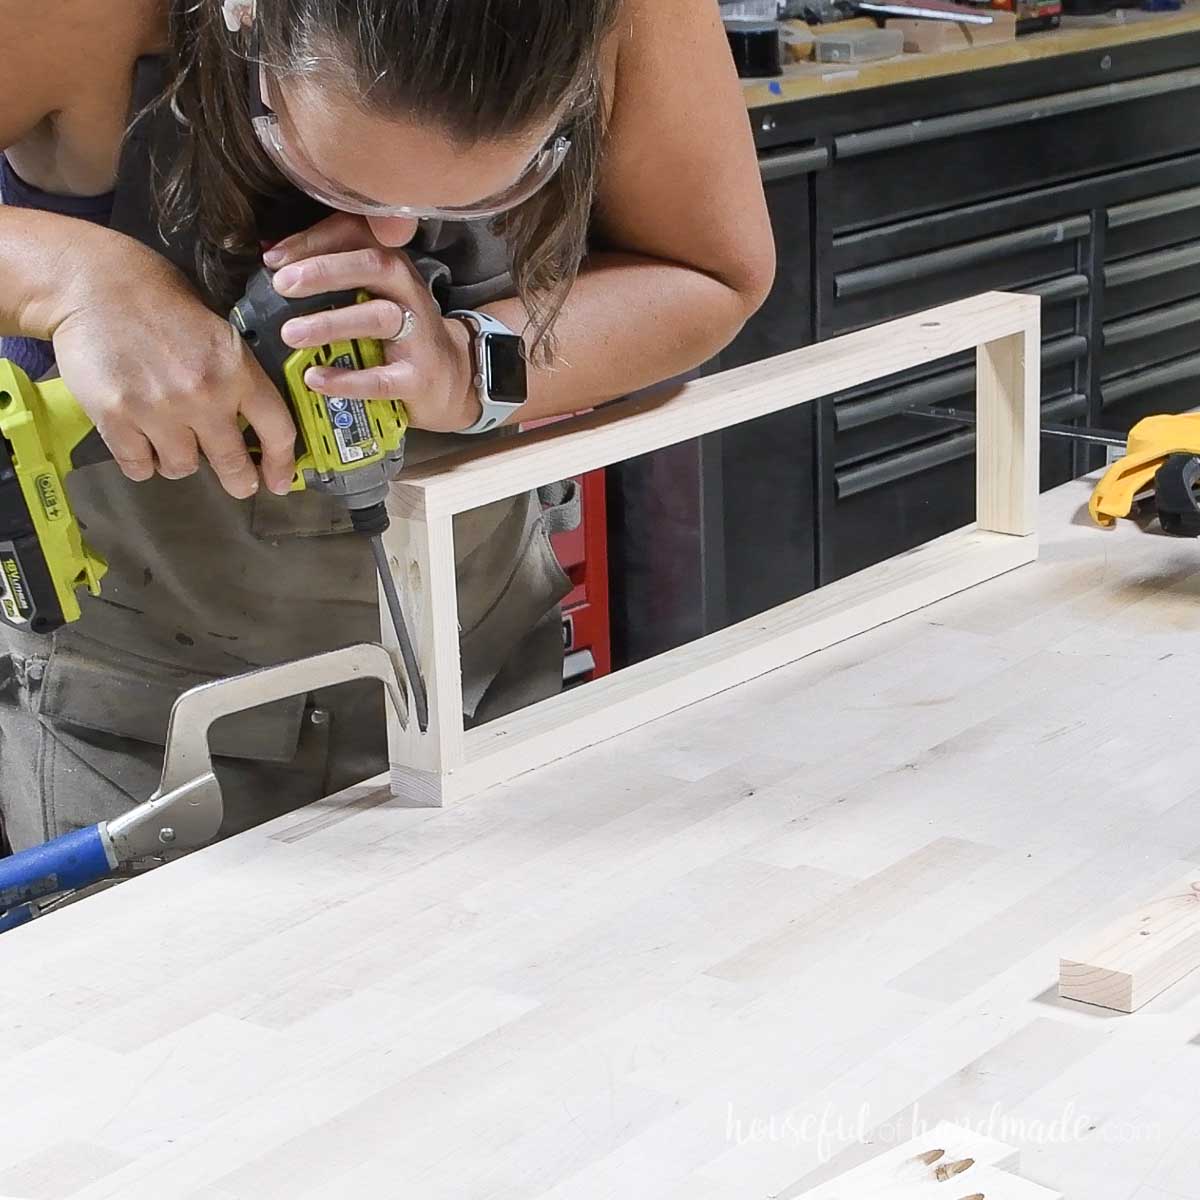
STEP 2- Assemble the sides
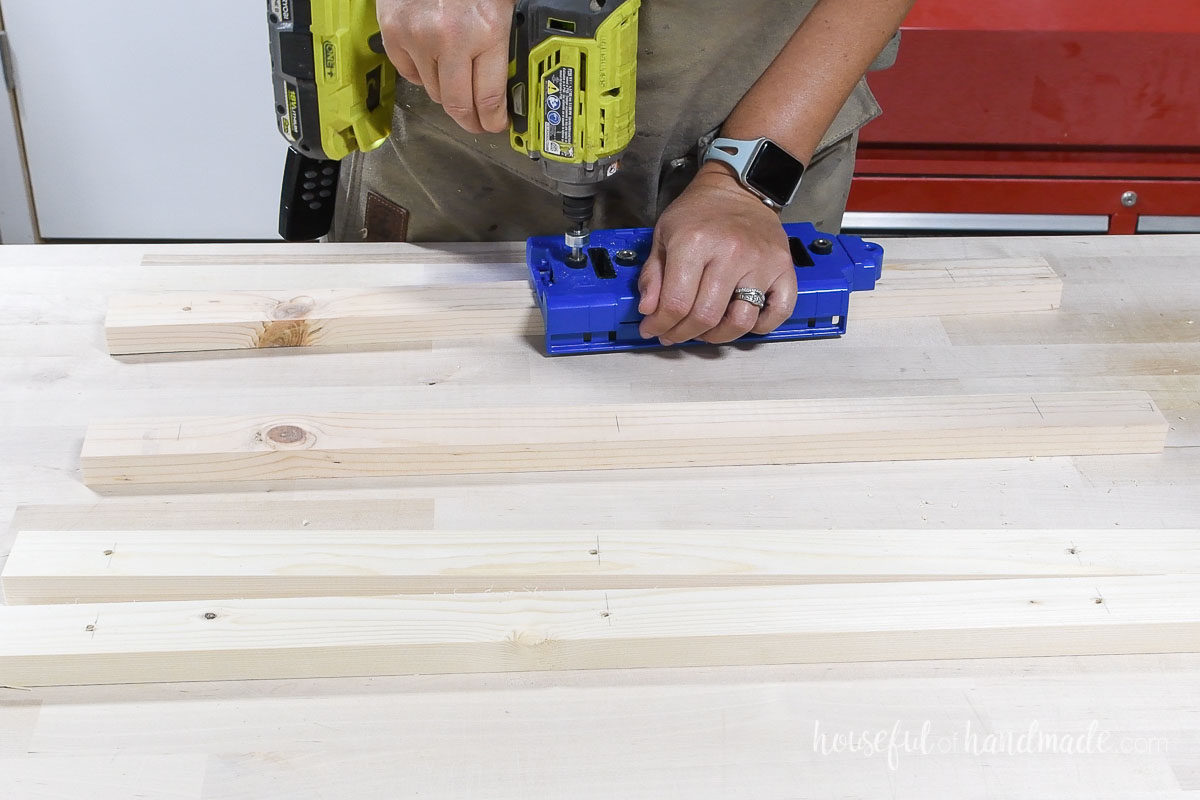
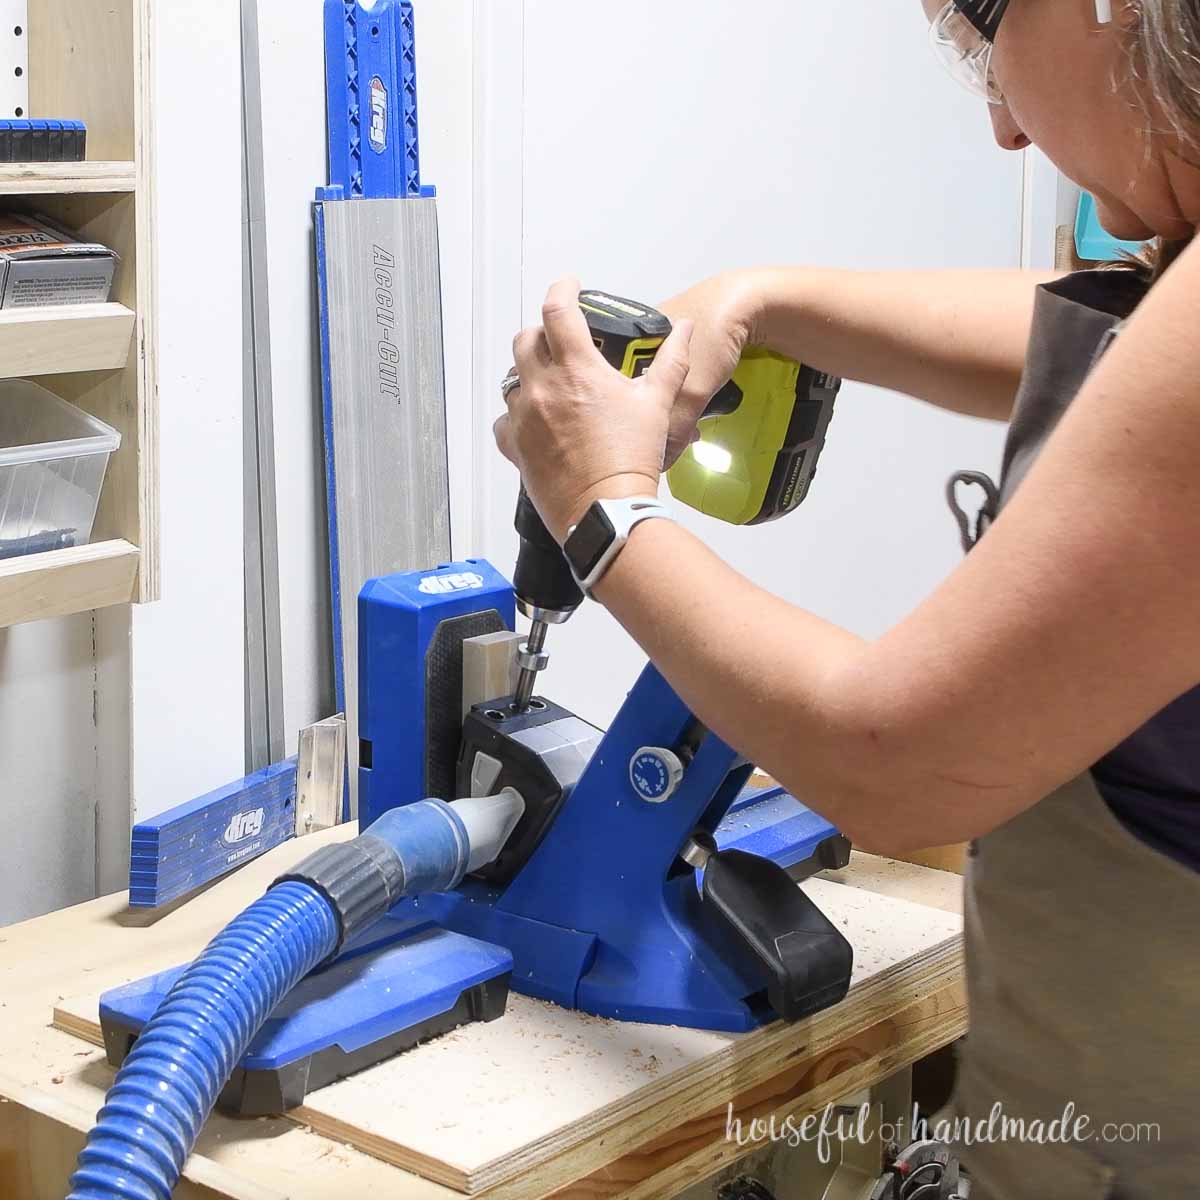
Set your pocket hole jig for 3/4” thick material and drill 2 pocket holes in both ends of the 4 top/bottom pieces.
Not sure what pocket hole jig to buy? See my Kreg pocket hole jig comparison here.
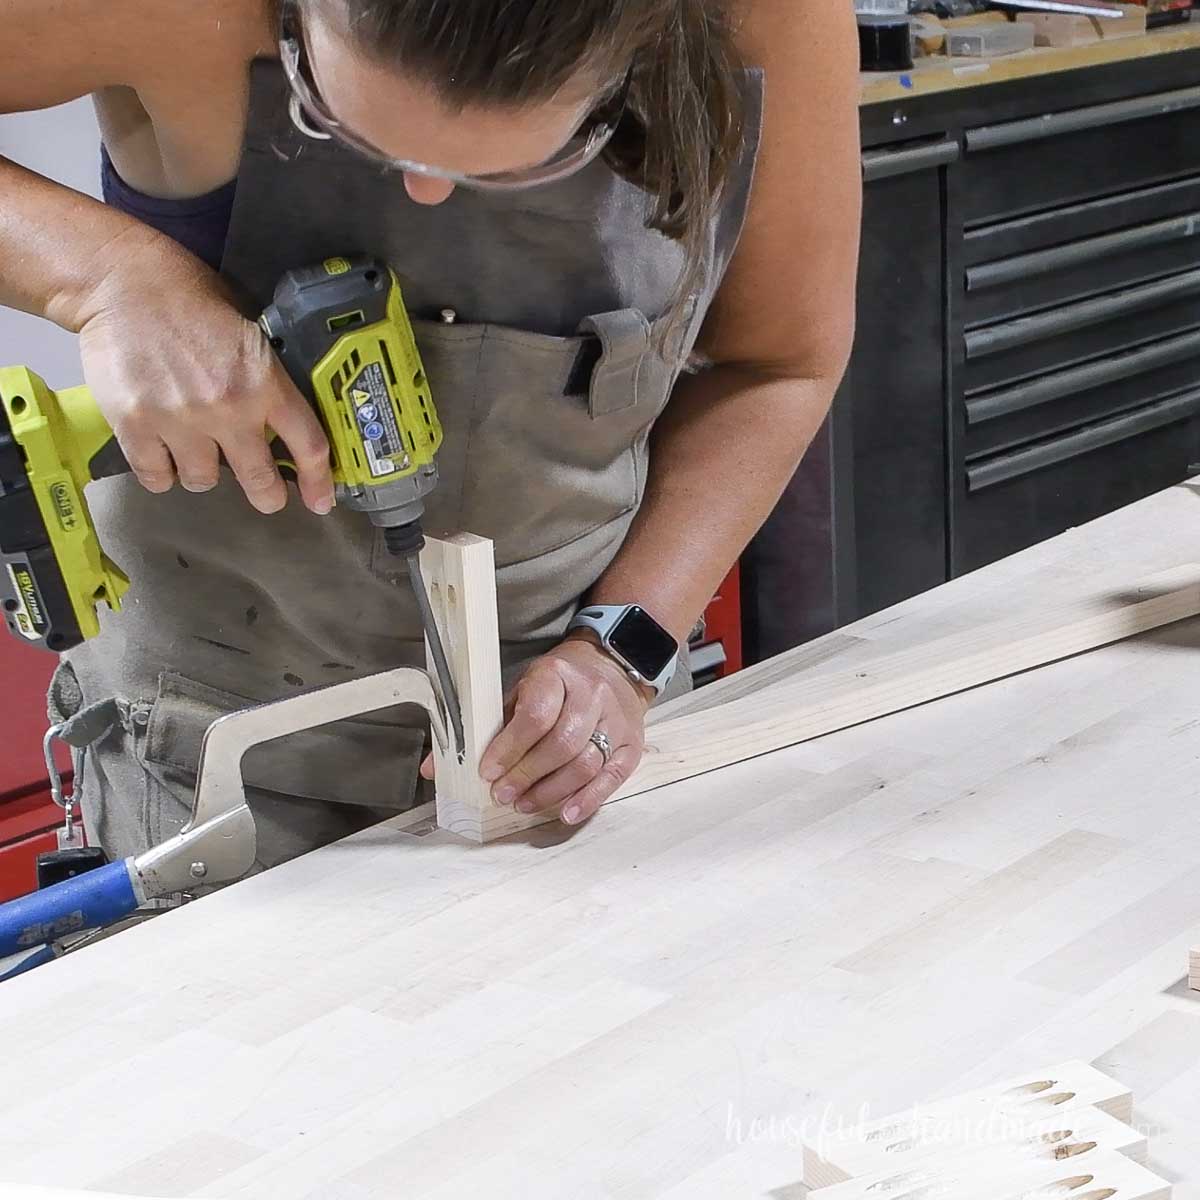
Attach 2 top/bottom pieces to one of the side pieces. Make sure to face the shelf pin holes toward the center of the assembled pieces.
Also, keep the pocket holes on the top and bottom of the piece. They will be less visible on the completed shelves.
Secure with 1 1/4” pocket hole screws and wood glue. Ensure the top and bottom pieces are flush with the ends of the side pieces.
Then attach the second side piece.
Again, ensure the tops of the side pieces are the same so the shelf pin holes will line up.
EXPERT TIP:
Add glue to the open ends of both top/bottom pieces. Then flip it over on top of the second side piece. It is easier to add the pocket holes pressing against your work surface.
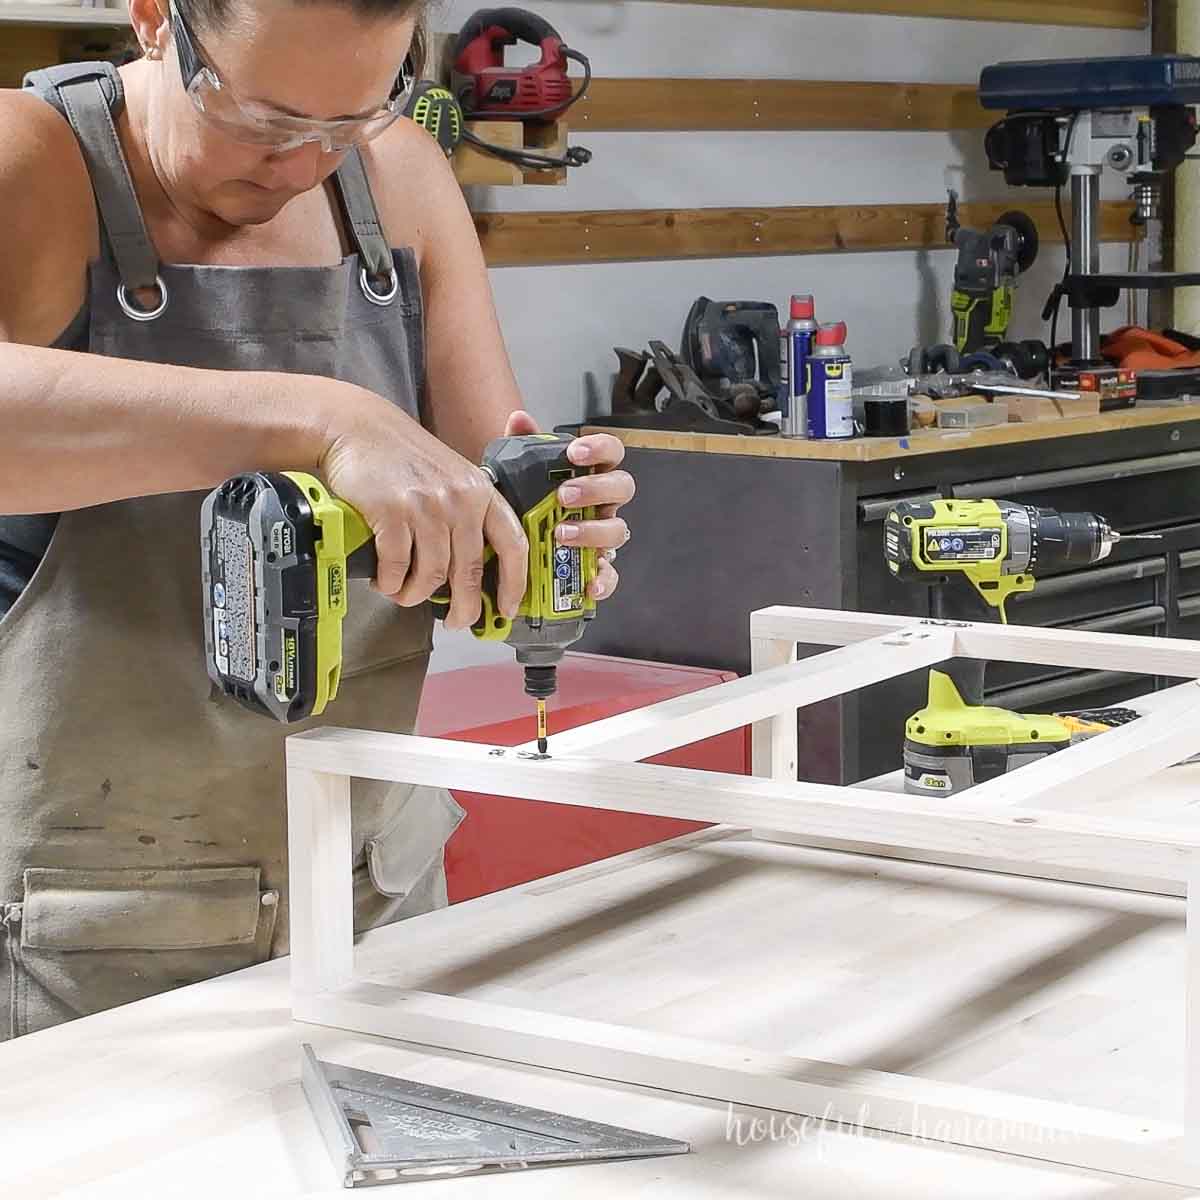
STEP 3- Attach back pieces
With the pocket hole jig still set for 3/4” thick material, drill 2 pocket holes in each end of the 2 back pieces.
Measure and mark 5 1/2″ down from the top on the assembled sides. Also, mark 5 1/2″ up from the bottom.
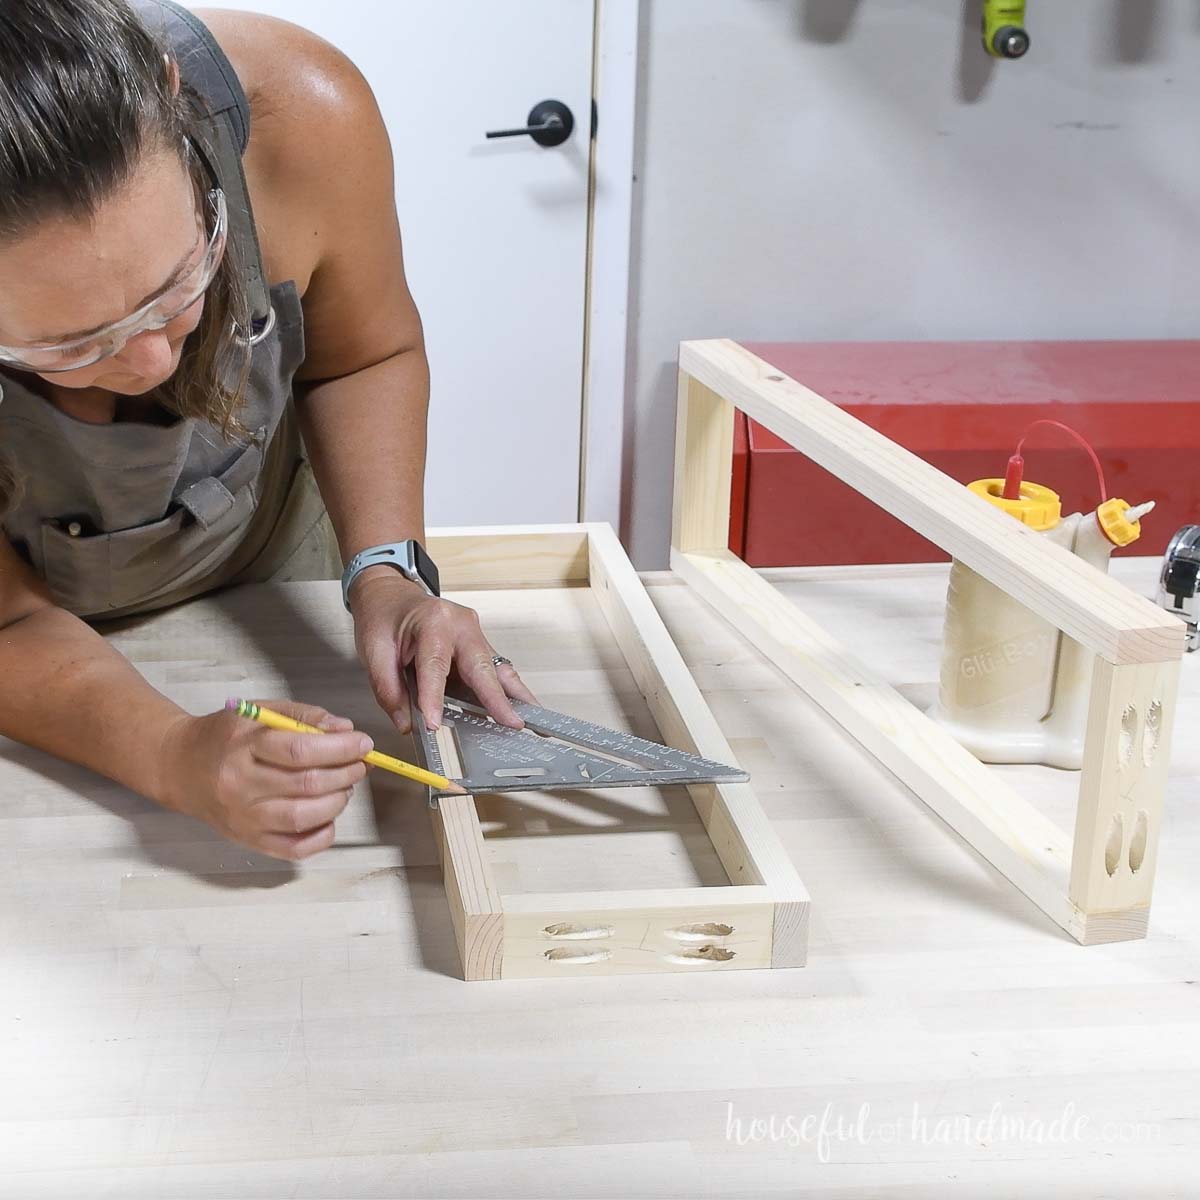
Attach the back pieces to one of the sides so they are 5 1/2″ in from the edges of the assembled frame.
Secure with 1 1/4” pocket hole screws and wood glue.
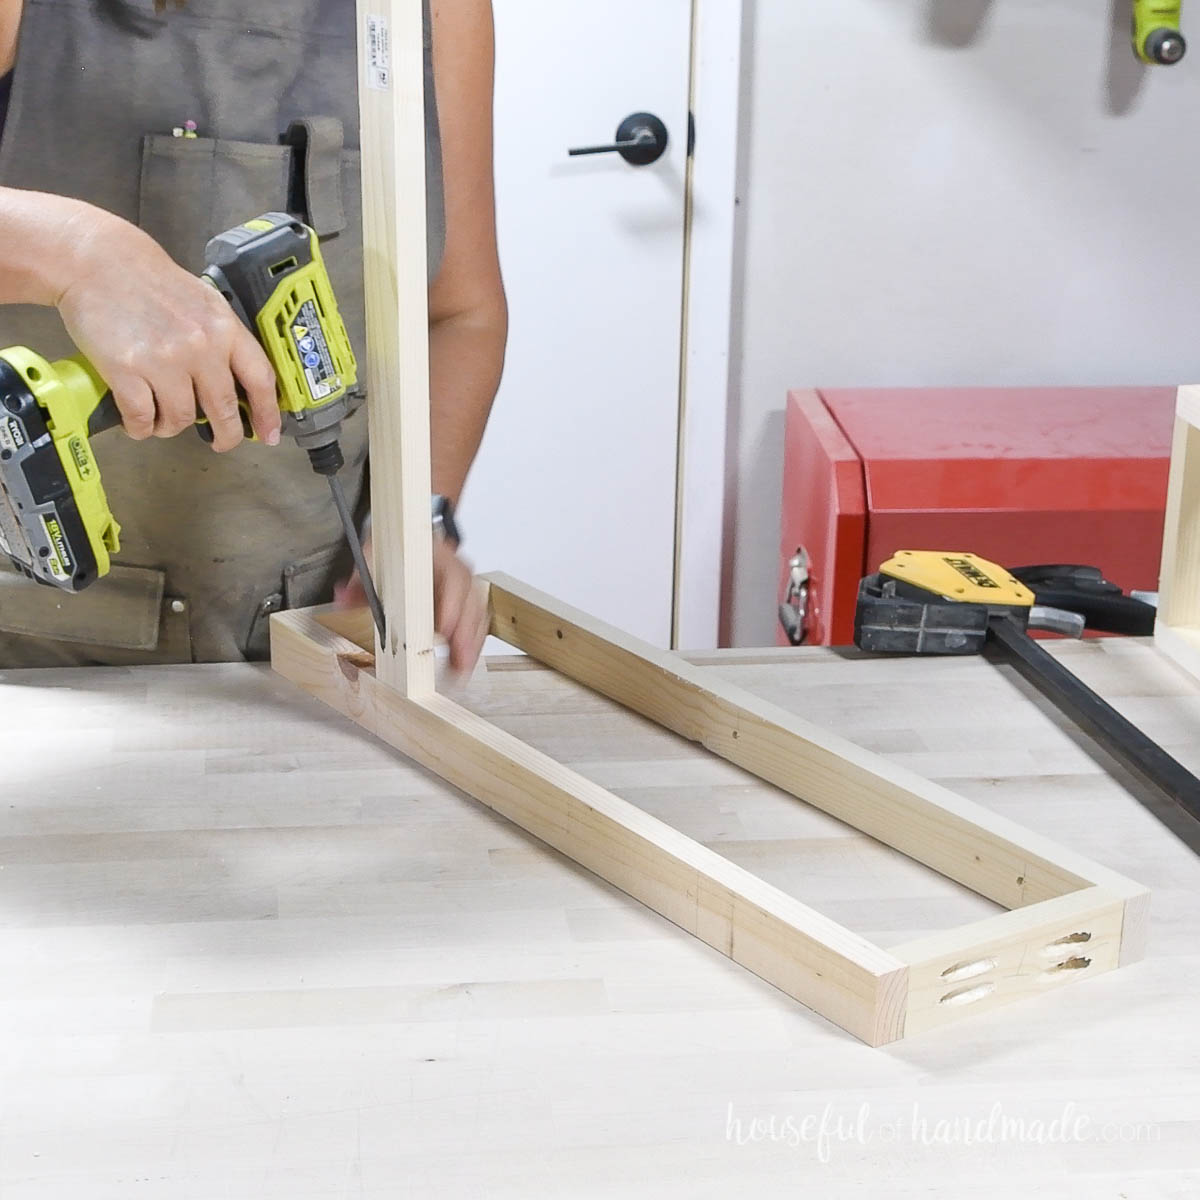
Then clamp the other side to it and secure it.
Ensure the back pieces line up to your marks on the second side.
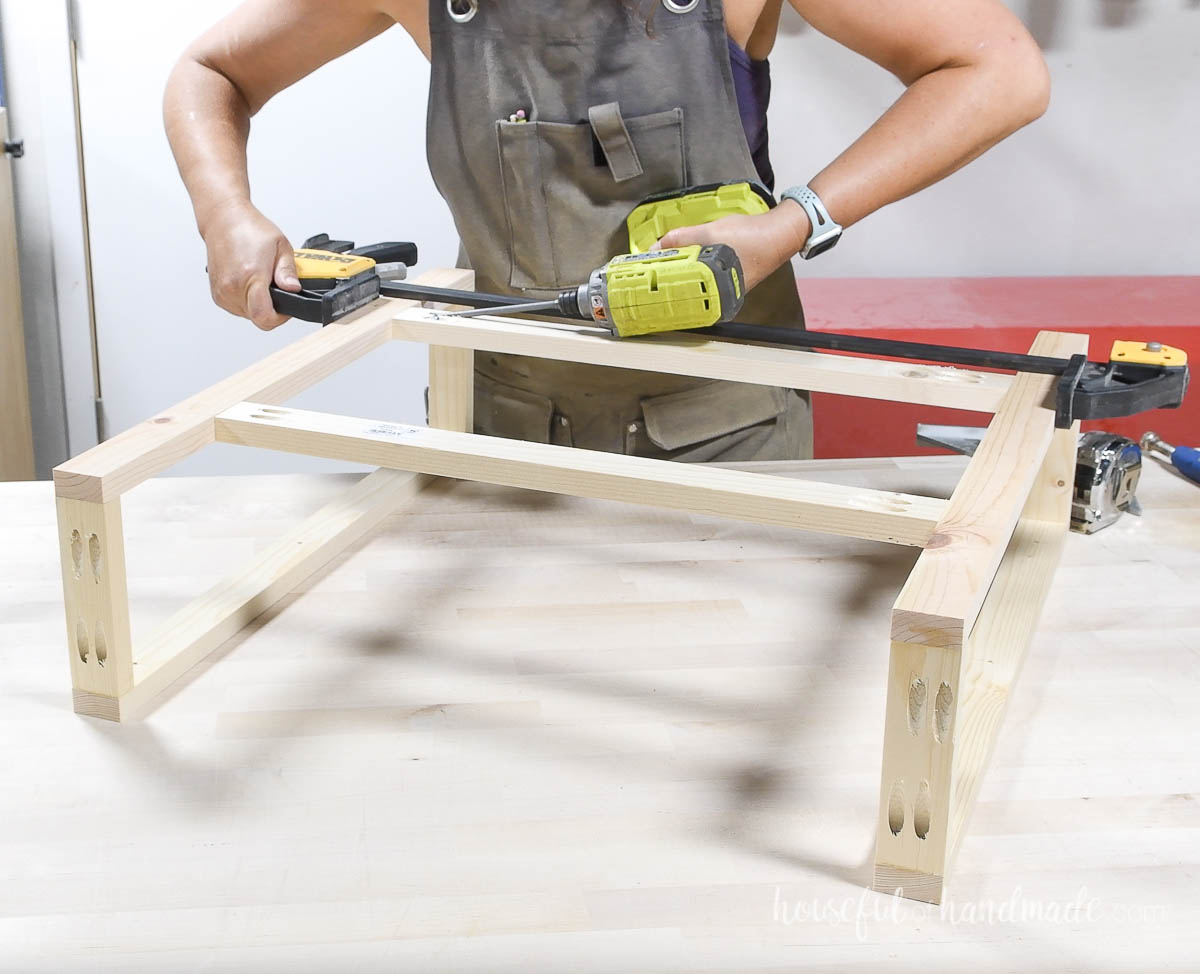
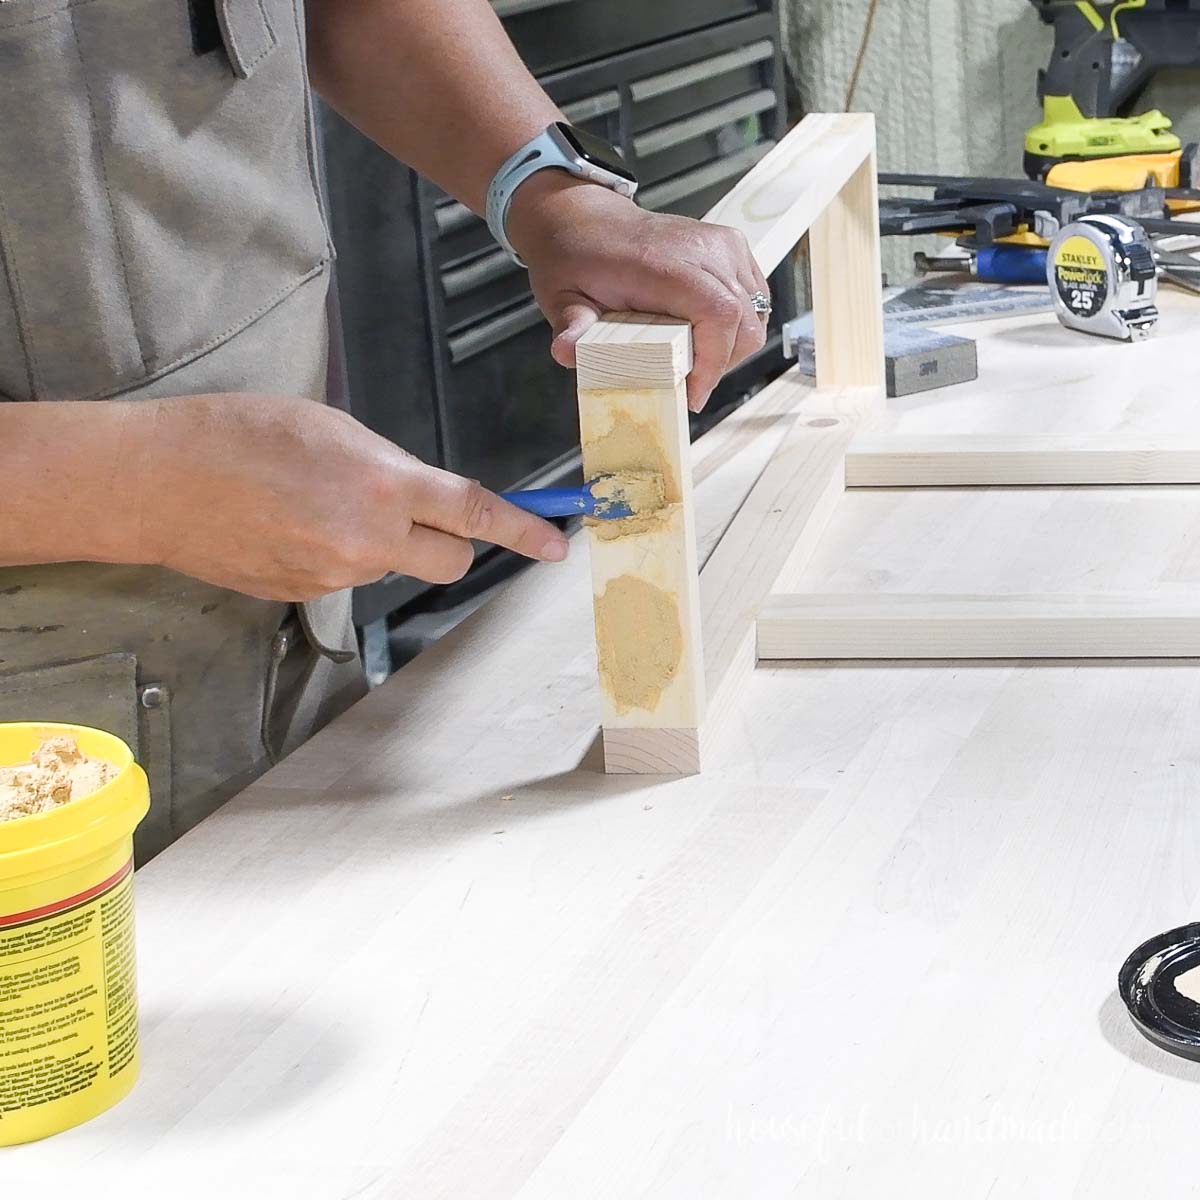
If desired, fill the pocket holes with plugs or wood filler.
Sand and paint/stain/seal the assembled frame and shelf boards. Learn how to get a smooth professional paint finish on your shelves here.
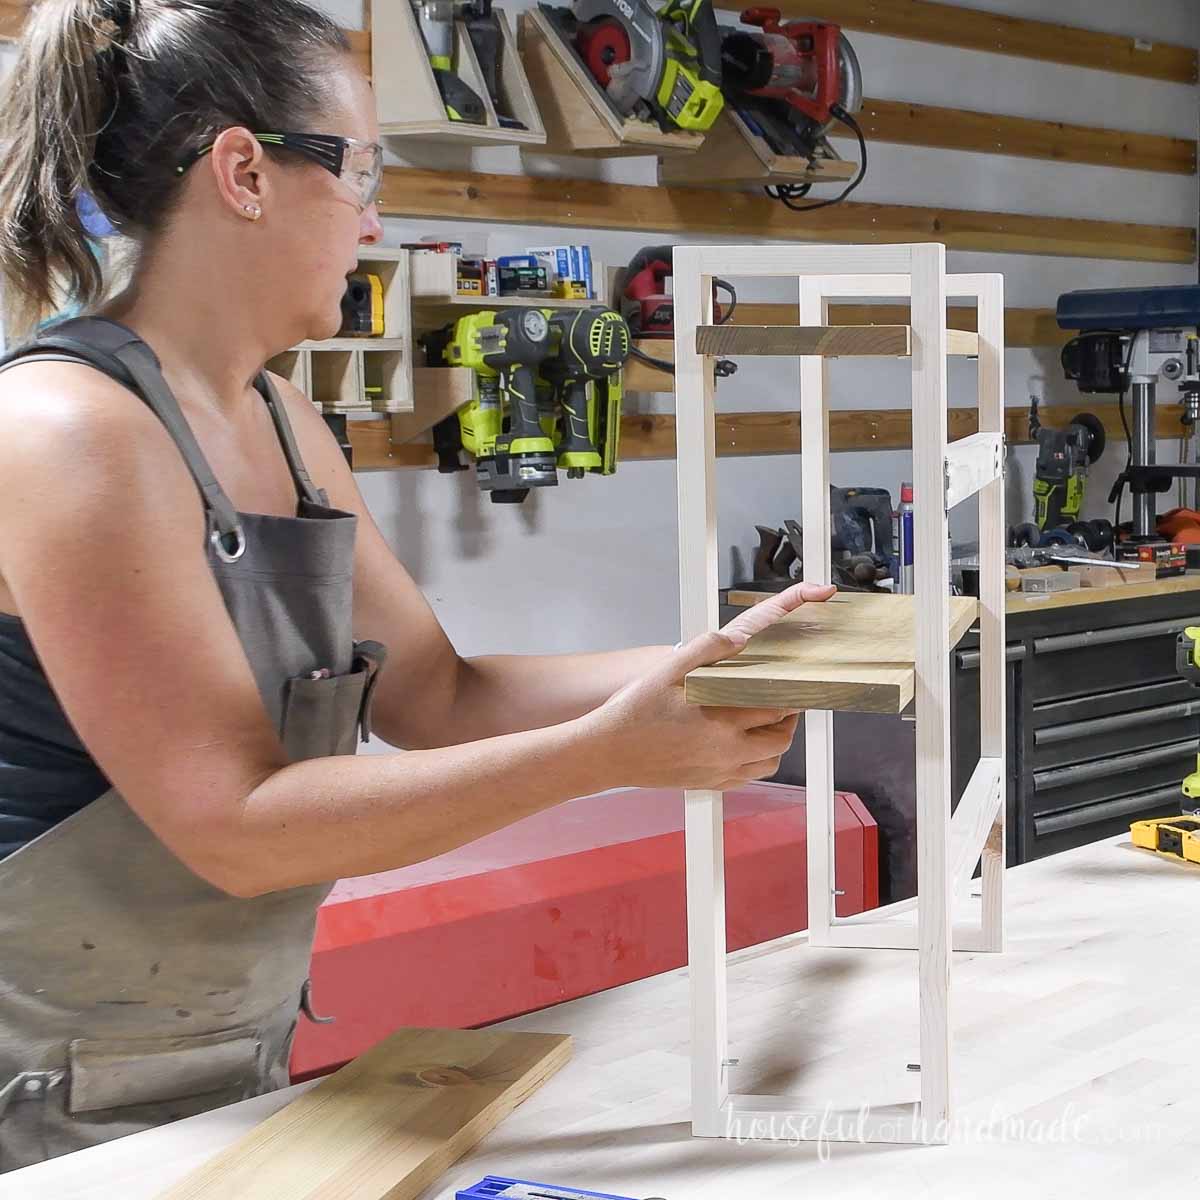
STEP 4- Install the shelves
Cut the shelf pieces. Sand and finish the shelf pieces now.
Place shelf pins in the holes and then slide the shelf boards in place. They should extend out from each side 1”.
STEP 5- Hang on the wall
To hang your new wall shelves, attach keyhole hangers to the back of the frame. Attach them in line with the top back piece.
Or you can skip the hangers and attach the frame directly to the wall with 2 1/2″ wood screws through the back pieces into wall studs.
Make sure your shelf unit is level when attaching it to the wall.
And you are done!
Premium plans include:
- Recommended Tools
- Shopping list
- Easy to read cut list table
- Cut diagrams
- Step-by-step instructions with 3D renderings
- Helpful resources
- BONUS: 3D SketchUp file
Load up your new wall shelves with anything you want and enjoy.
Happy building!
