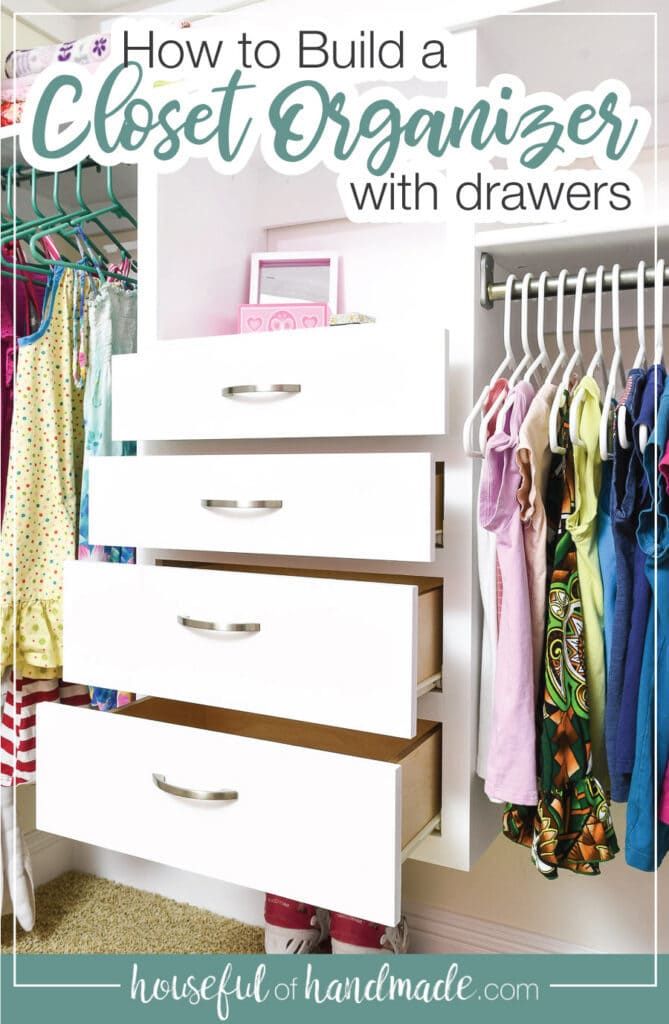
Get your closets organized this year by building this simple DIY closet organizer with drawers.
This month we are tackling the big job of organizing my daughter’s disaster of a closet. If you want to see how bad it started, you can see the kids closet makeover plan here.
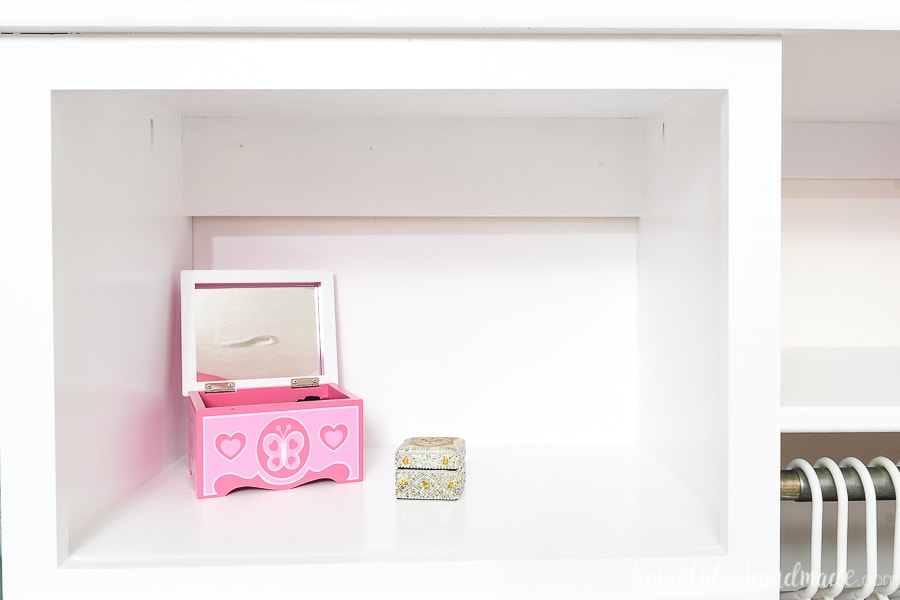
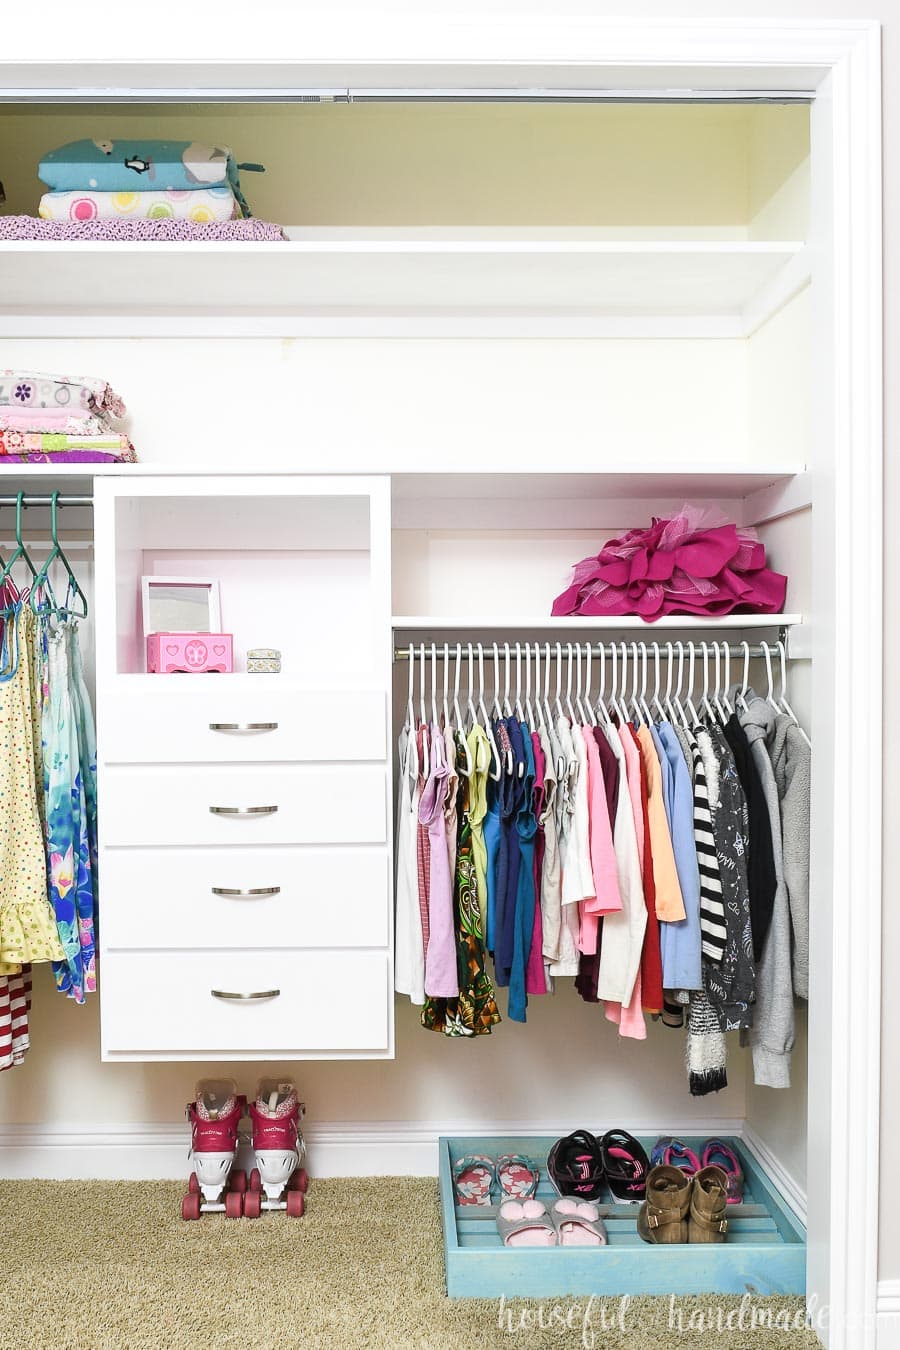
I knew we needed a way to add lots of organization and storage to the closet, so I partnered with Kreg Tools and their new project plan site, BuildSomething.com, to build it! Now the center of the new closet is this simple closet organizer, complete with 4 drawers and an open storage space.
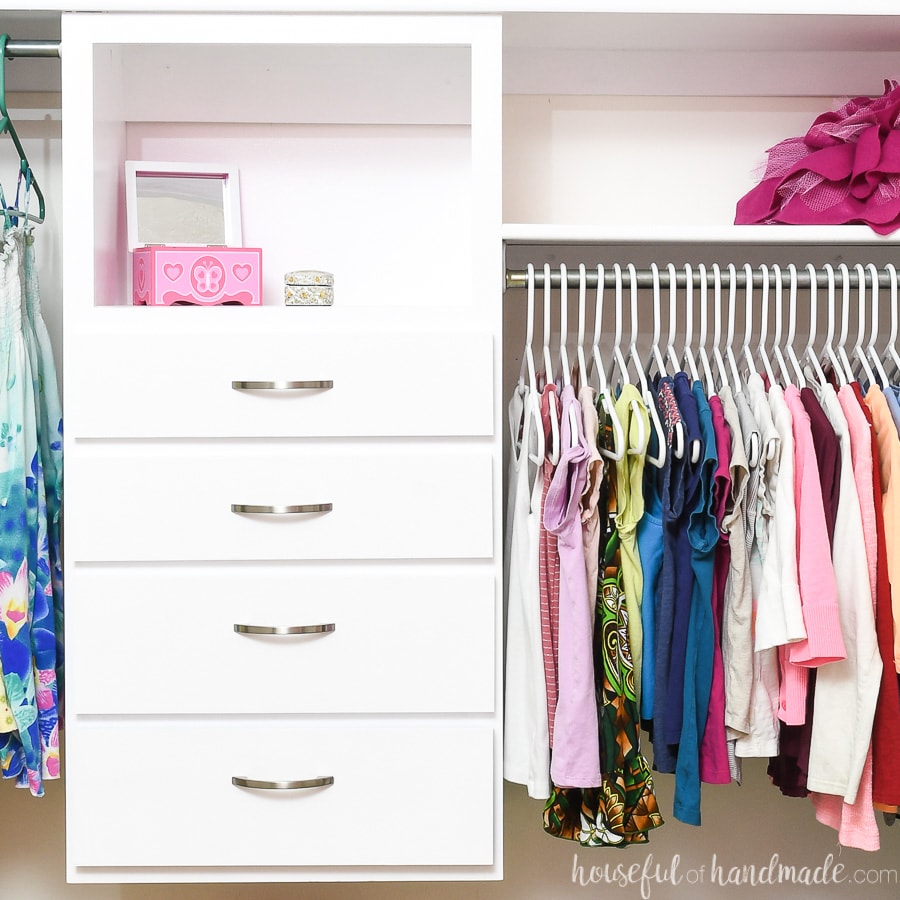
The closet system is a basic cabinet frame. With a classic face frame design, it gives the closet organizer a nicely finished look, but is still a great budget option for organizing your closets!
This post may contain affiliate links. As an Amazon Associate I earn from qualifying purchases. Click here to read my full disclosure policy.
What kind of Closet can I use this DIY closet system in?
This closet organizer was designed to be easily added to most closets. You can use it in bedroom closets, linen closets, entry closets, and more!
In order to attach the DIY closet system, your closet needs to have a shelf that is at least 15″ deep. The design of the simple closet organizer is that it attaches under the shelf (but also to the wall for a support). The shelf becomes the top of the cabinet.
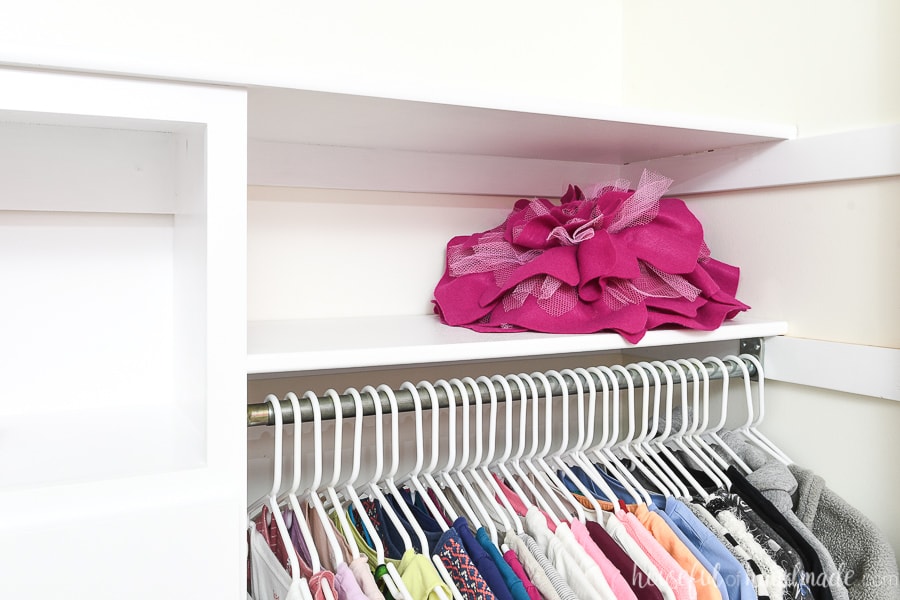
If your closet does not have a shelf, don’t worry! A shelf is easy to install with these simple steps:
- Attach 1×3 boards around the perimeter of your closet at the height you want your shelf. Make sure to attach these boards into your wall studs with 2 1/2″ long screws.
- Use a level to ensure the boards are level. Never rely on the walls for level.
- Cut your 3/4″ thick shelf material (plywood or particle board) to fit the width of your closet. Most clothing closet shelves are about 15 1/4″ deep allowing plenty of room for hangers.
- Place your shelf on top of the 1×3 boards, press it all the way to the back wall. Secure the shelf with construction adhesive on top of the 1x3s or by screwing wood screws through the top of the shelf into the 1x3s.
- Paint your shelf and boards.
Building an Easy Cabinet Frame
You might already know I am a sucker for building cabinets. You can search cabinets on this website for lots of information.
I love building cabinets because they are so useful. From kitchens, to baths, to closets, to custom bookcases and so much more!
But they are also easy to build. Cabinets are a bunch of 90 degree corners. When you join those corners with Kreg pocket holes, they are quick to assemble and you have a super strong cabinet.
If you are scarred about diving into cabinet making, use these quick tips to help you have success on your first cabinet build: this DIY Closet Organizer system!
Tips for Building Cabinets
- Make sure your saw blades are cutting 90 degrees to the wood. If you have a straight cut, your angles will be a perfect 90.
- Use the Kreg pocket hole jig to add pocket holes every 4-5 inches for strong cabinets.
- Always use wood glue on your seams.
- Use clamps to hold your cabinet pieces together at right angles when securing them with pocket hole screws.
- To easily check for square, measure across the cabinet, from opposite corners. Measure both sides and if the measurements are the same, you box is square!
How Much Does the Closet Organizer Cost to Build?
The closet organization system is built out of plywood and 1×2 boards. You can choose many different types of each of these boards with a large range in price.
You can typically buy a sheet of 3/4″ plywood for $45-$60 dollars. The cheaper plywood would be great for a painted closet system and the more expensive birch plywood would work if you want to stain the wood.
For the 1×2 boards, you can easily make this with inexpensive lumber. I have done projects like this with 1×2 furring strips that cost less than $2 a piece. But you need to spend some time picking through to find straight boards (like I talk about in the beginners guide to buying lumber).

For our DIY closet organizer, I used 1×2 select pine boards that run about $6 each 8′ board. But I also love using poplar for face frames (like I did in our budget kitchen remodel) that would cost about $1 a linear foot, so about $8 for an 8′ board.
You will also need a half sheet of both the 1/2″ plywood and 1/4″ plywood for the drawers. And the drawers are easy to build with this DIY drawer tutorial.
Plus don’t forget about the drawer slides. Depending on what you choose, they can cost anywhere from $5.50-$20 a set.
So with all that in mind, you could build your own DIY Closet system for under $150 if you have to purchase all the pieces.
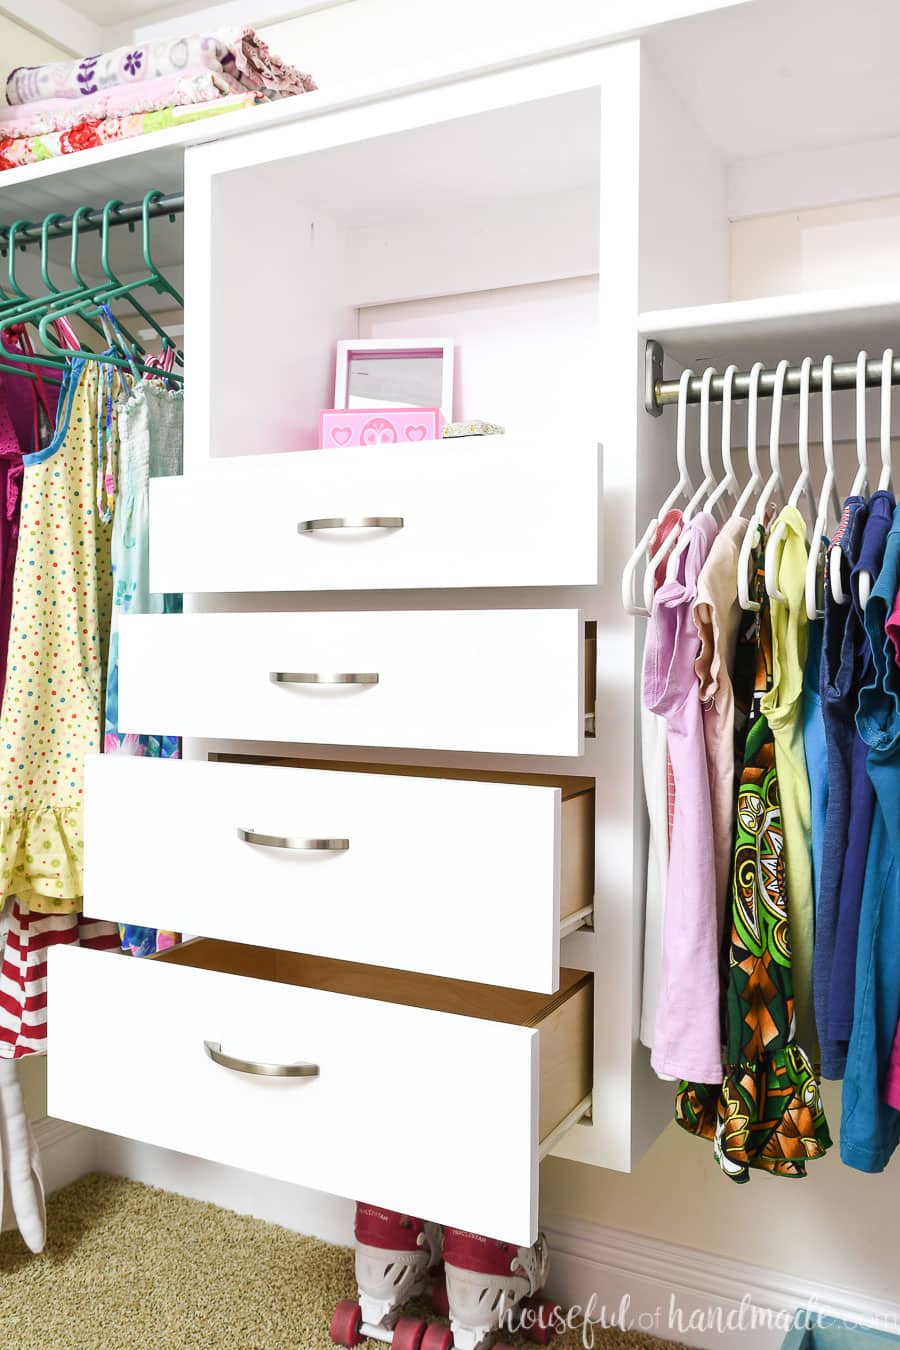
I was able to use scraps of plywood for the entire build and only needed to buy one 1×2 board. We used the inexpensive drawer slides and drawer pulls we removed from our kitchen island makeover. Leaving our grand total under $30 and my scrap wood pile a bit lighter.
DIY Closet Organizer Plans
If you are ready to tackle your closets this year too, I am sharing the DIY closet organizer plans for free on BuildSomething.com.
Click here for the complete build plans!
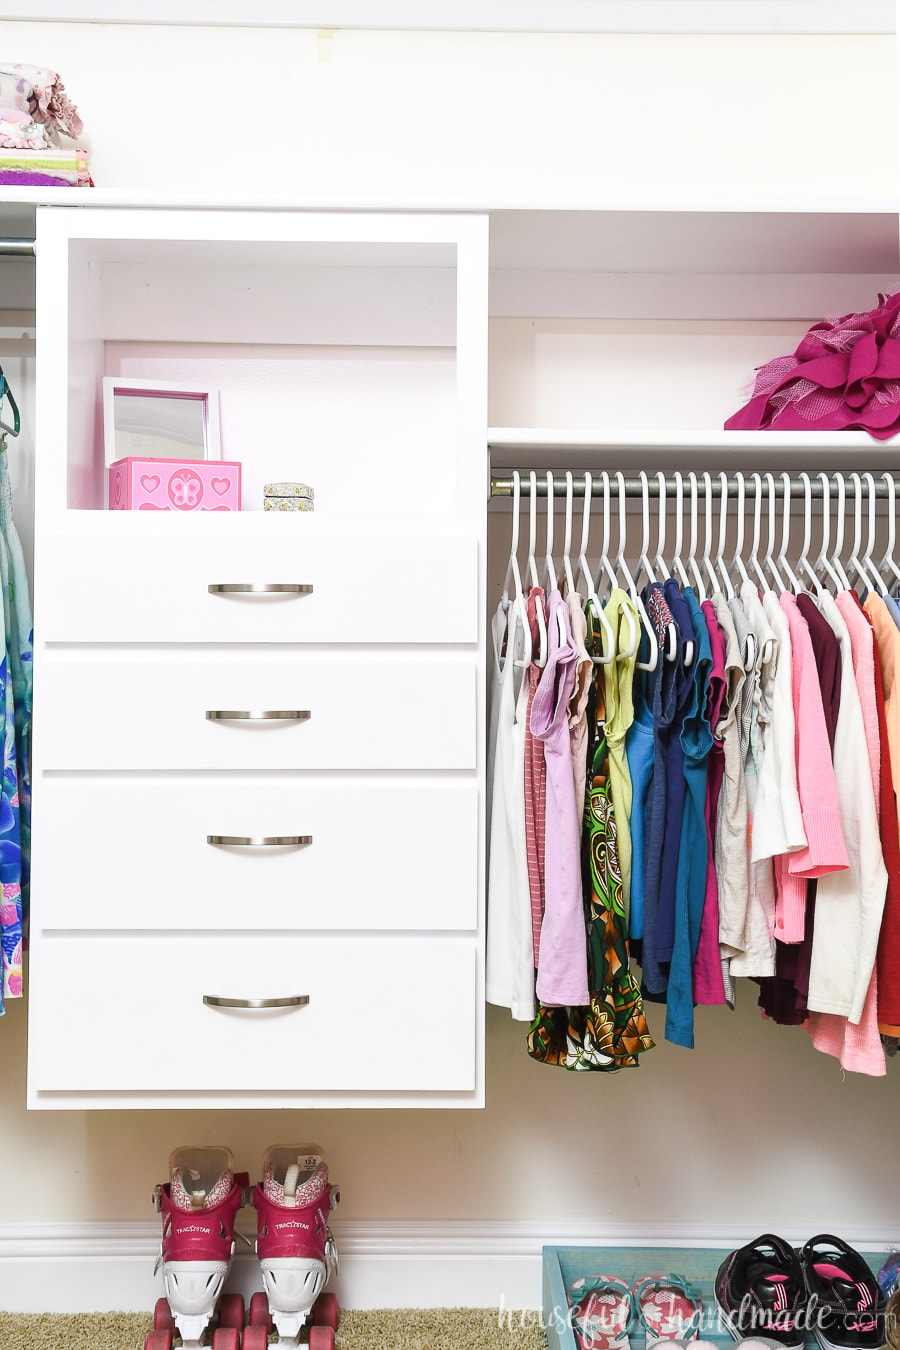
And my daughter’s closet makeover is really starting to come together. We have made so much progress, including building a shoe storage tray (as you can see in the picture below).

Thank you to Kreg Tools for sponsoring this post. I only recommend products that I use and love and all opinions are 100% my own. Click here to read my full disclosure policy.
