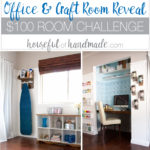
Well, it’s finally done! I’m a little exhausted from trying to finish up all the last minute projects, but I’m so happy it’s all done. The leg cramps and backache are totally worth it because I have the perfect office & craft room.
Now I am hoping all my projects will be a little more productive since I have everything together in one beautiful space. So come on in and take a look at my $100 Room Challenge Office & Craft Room Reveal!
Office & Craft Room Before
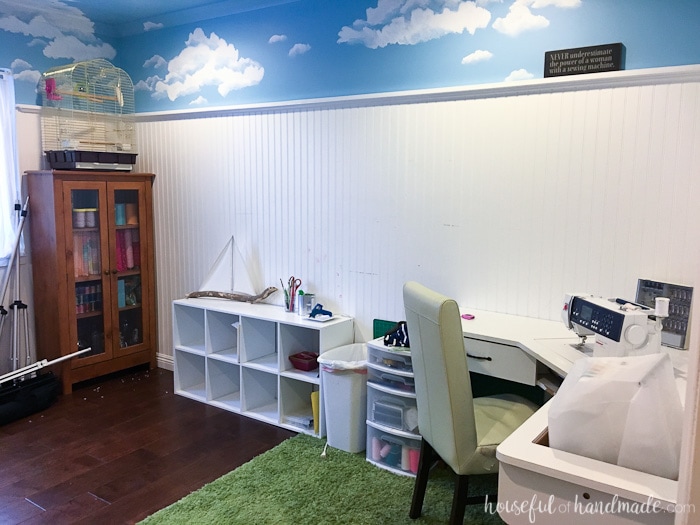
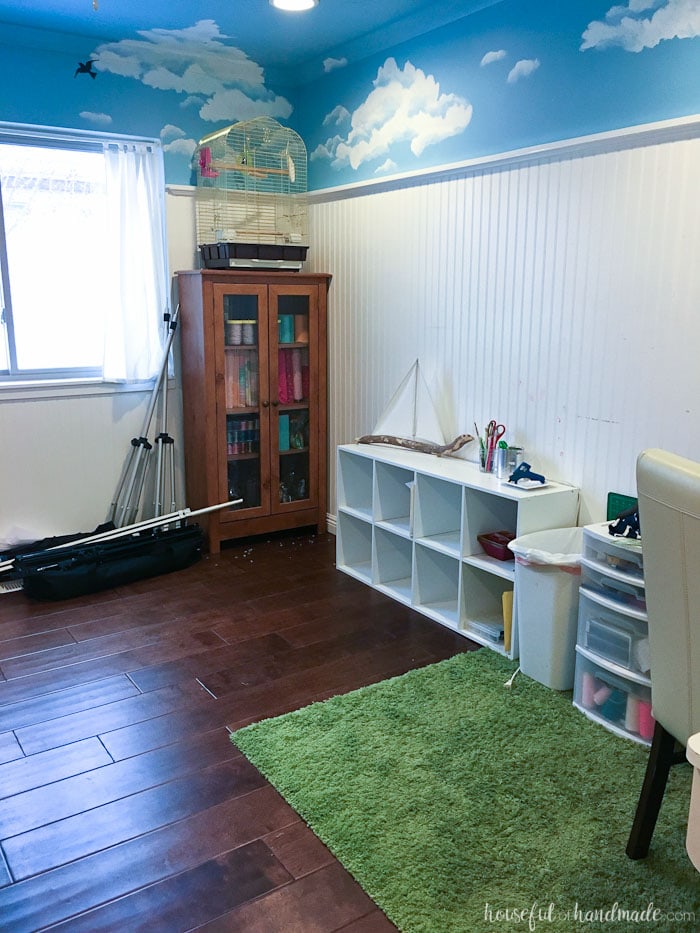
We have to start out and remind you how awful the space looked before. I honestly cannot believe that it was this space! Before it was the shell of my kids nursery full of left-over, college-days, cheap or hand-me-down furniture.
This post may contain affiliate links. As an Amazon Associate I earn from qualifying purchases. Click here to read my full disclosure policy.
A brown cabinet I bought at a discount store about 15 years ago, a standard cube bookshelf, and plastic bins were the best this room had to offer.
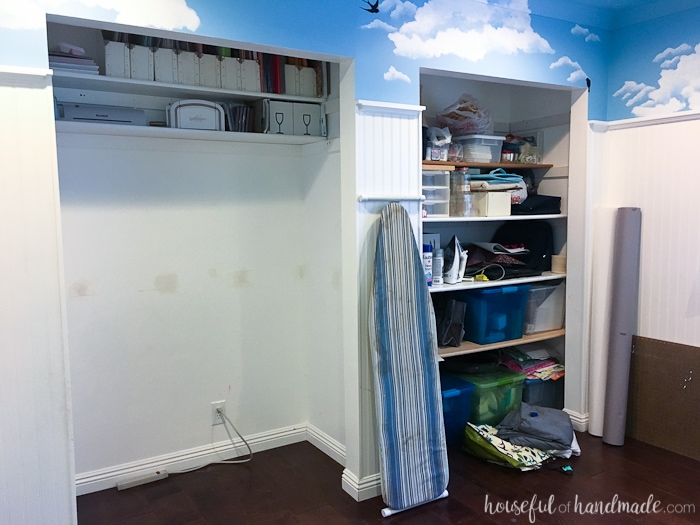
There were two closets that we built from 1 giant one before having our kids. Great for storage… but not so pretty.
One closet already had shelves because we used it for the kids toys and the other had a hang bar for clothes (which I had already removed here).
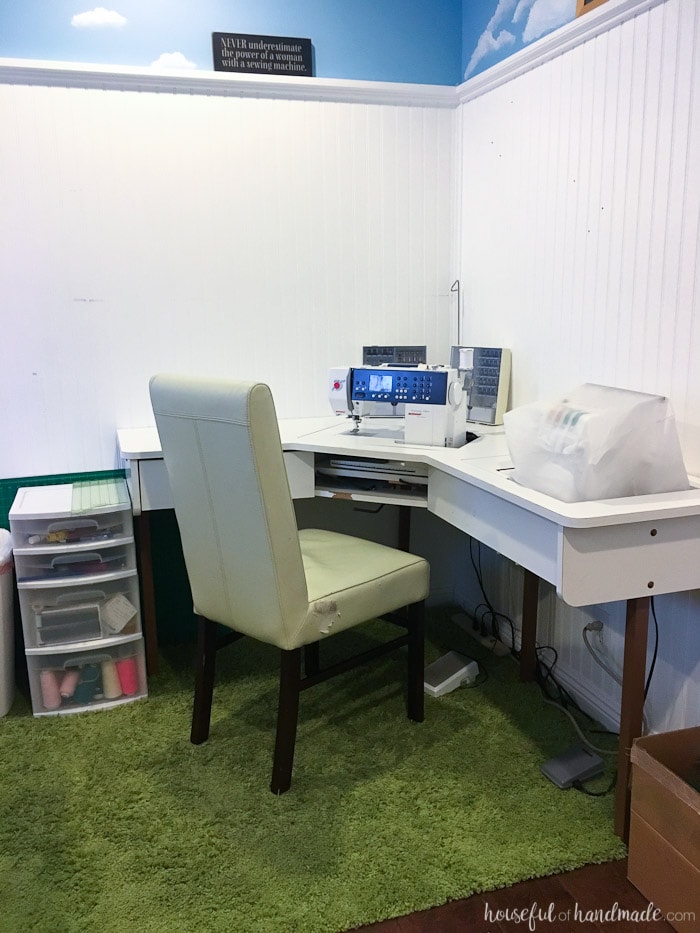
I had a hand-me-down sewing table for my sewing machine. It was super functional, but no style. The brown metal posts for legs seemed were such an eyesore.
I only kept the sewing table because of its function and cost (which was $0 since it was a hand-me-down from my mom).
Who would have thought I could transform all these cheap, hand-me-downs into an amazing room full of style. It has a chic farmhouse look now. Somewhere I love to spend time!
$100 Office & Craft Room Remodel Reveal
Now it’s the perfect place for me to be creative! This chic farmhouse office & craft room is the perfect place to work.
Making Use of the Closets
One of the closets was transformed into a super chic desk area.
I started by building a desk in the closet with some 2x2s and part of a sheet of 3/4″ plywood. The rest of the plywood came in handy on a couple other projects in the room. That one $30 sheet of plywood made a huge impact in the space.
To make the desk the focal point of the room, I painted a feature wall stenciled to look like hand painted, patterned tiles. This little bit of soft blue makes the desk area really pop in the room.
It’s also decorated with a couple dollar store mirrors transformed with paper frames like this one and a painted brass DIY desk organizer.
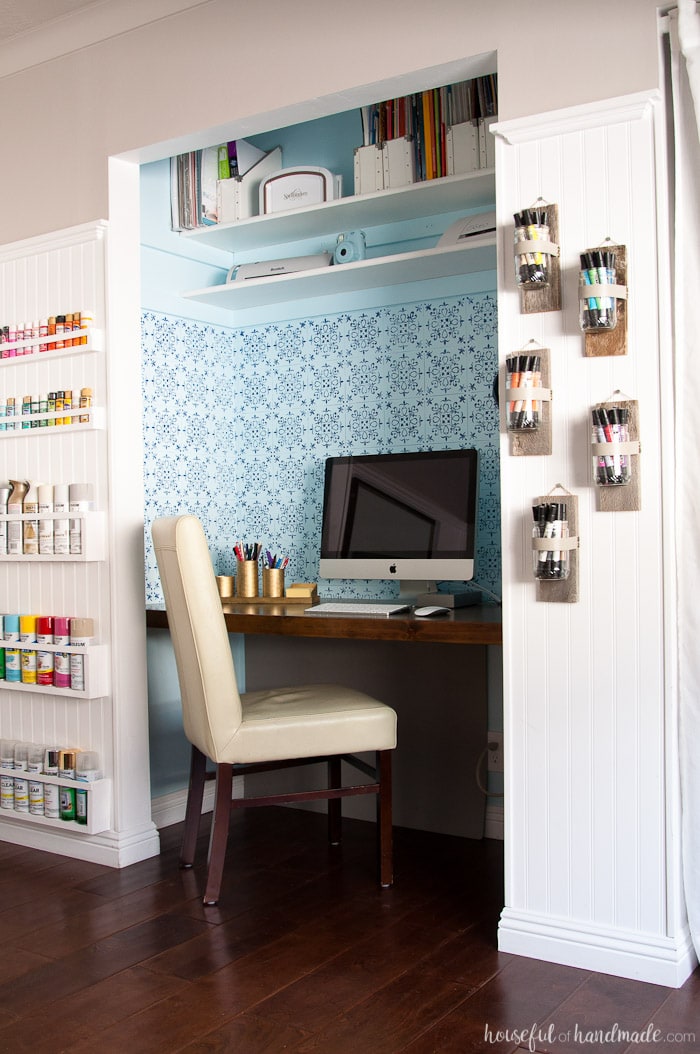
There is still plenty of storage in the space because we have a 2nd closet. If you have one large closet (with deep sides that seem to hide things), I would highly recommend turning it into 2 smaller closets for way more functional storage.
The other closet is still full of all the hoards of crafting stuff that I cannot seem to let go of (and will probably never be organized or pretty). However, now it is hidden behind a white curtain that was bound for the trash after I finally replaced the curtains in my master bedroom with taller ones.
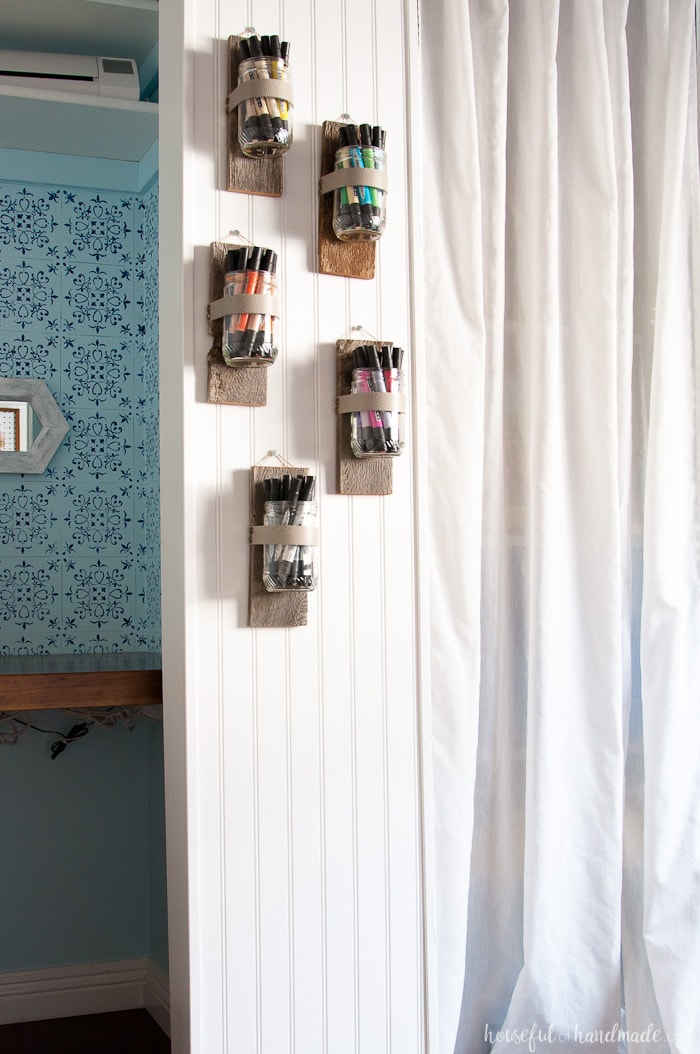
You can easily use inexpensive curtains in place of pricer closet doors by securing a curtain rod in the top of the closet and then hanging curtains on it. It’s a super easy and inexpensive fix when you cannot afford to add or replace doors.
Upcycled Sewing Desk
The original desk was purchased by my mom at least 25 years ago. I remember sewing on this table as a child.
It was super functional but I have always hated the brown metal, post legs. They seemed like an after thought. Like no one realized the table needed legs when they designed it so they quickly stuck something on the bottom to hold it off the ground.
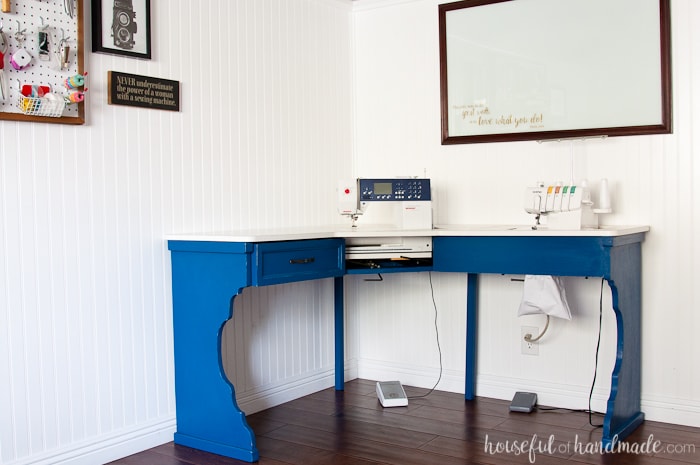
Using plywood left over from the desk build and 1 $2 2×2 board, I was able to build these new legs that give the piece character and a real presence.
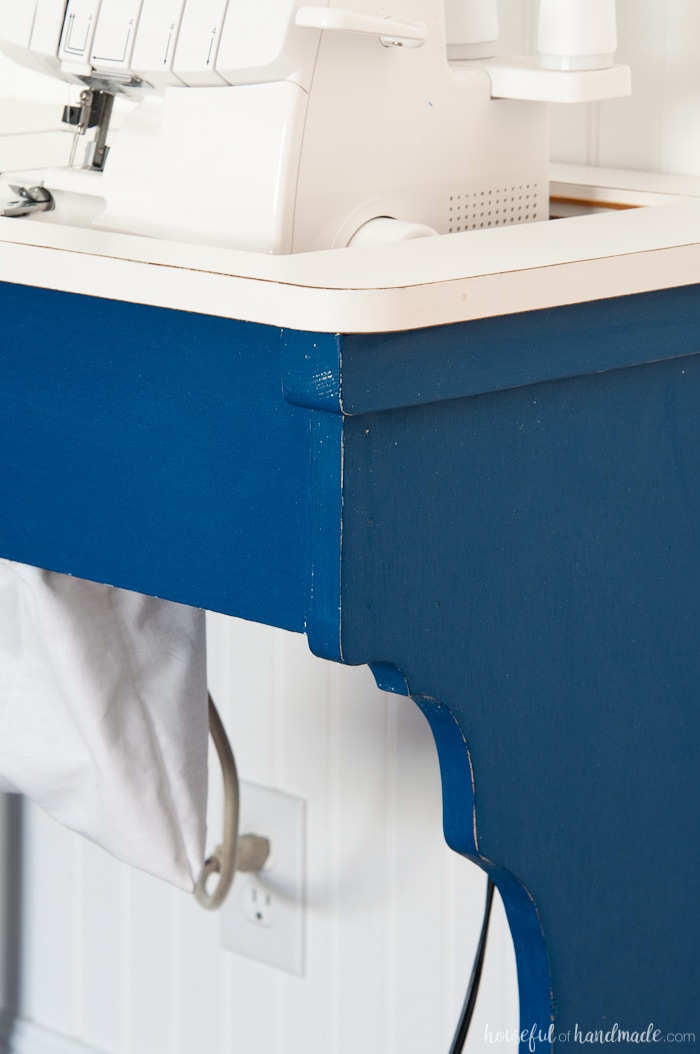
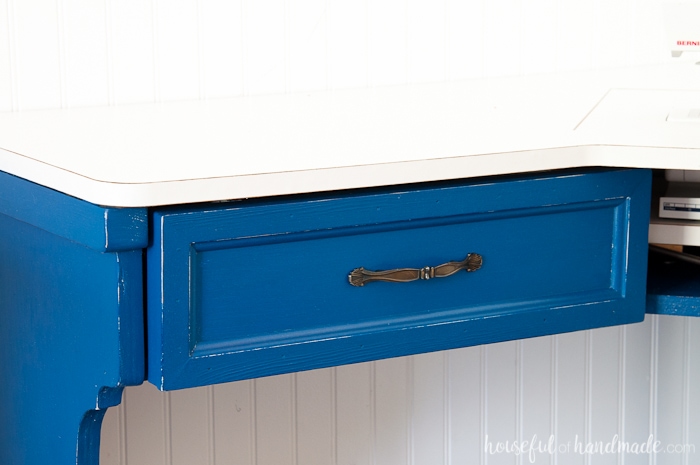
With another $4.50, I purchased some trim and framed out the drawer. This also gave the piece a little bit of character and made the drawer fit in with the new legs.
Then the whole base (including the two brown post legs that were left in the back of the desk) was given two coats of homemade chalk paint. Thankfully my sister left some plaster of paris at my house, when she moved to Arizona so I guess that means it’s now mine!
New Paint on a Budget
I originally was not planning on painting the upper walls and ceiling. I truly loved the clouds that my mom and I painted when I was pregnant with my son. But they just seemed to compete with the rest of the ideas I had for the space (specifically the faux tiled wall in the desk area).
After wrestling with the nostalgia of finally loosing my nursery, I decided to paint the walls/ceiling a warm gray.
Unfortunately I did not have a warm gray paint, or any budget left to buy one. Instead I custom mixed a cool gray left over from our living room with a smidge of brown from our basement (a 12:1 ration to be exact).
After crossing my fingers and living with a swatch of my newly mixed paint for a couple days, I took the leap and painted over the clouds.
I didn’t even cry once and I love the new soft color. It’s perfect for a grown-up room that is for me and no longer for my kids.
Upcycled Storage Cabinet
On the back wall, I had a cabinet that I had purchased in my early 20s. It is pressed board covered in wood look paper. Surprisingly it has held up over many, many moves.
After a couple coats of the same homemade navy chalk paint as the sewing desk, this inexpensive cabinet became the piece I am happy to have in my new room.
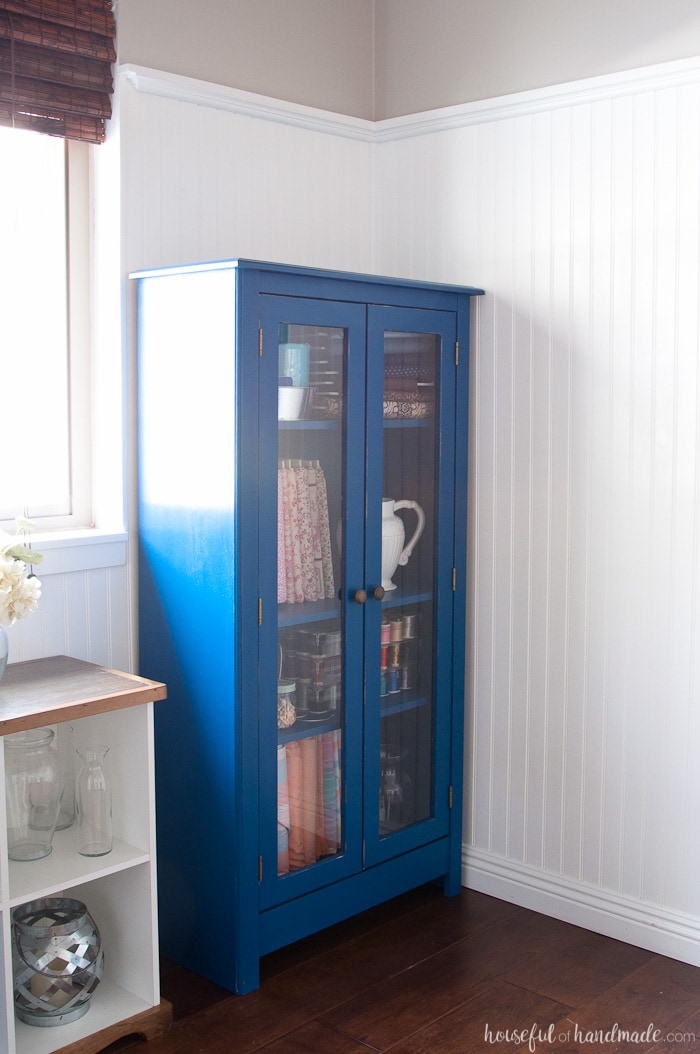
I love the glass doors. Now I can show off some of my fabric collection and other sewing supplies.
To organize the fabric, I wrapped it around pieces of foam board cut to size, then secured it with a pin. You can buy foam board at the dollar store and cut it cleanly with an x-acto knife and ruler.
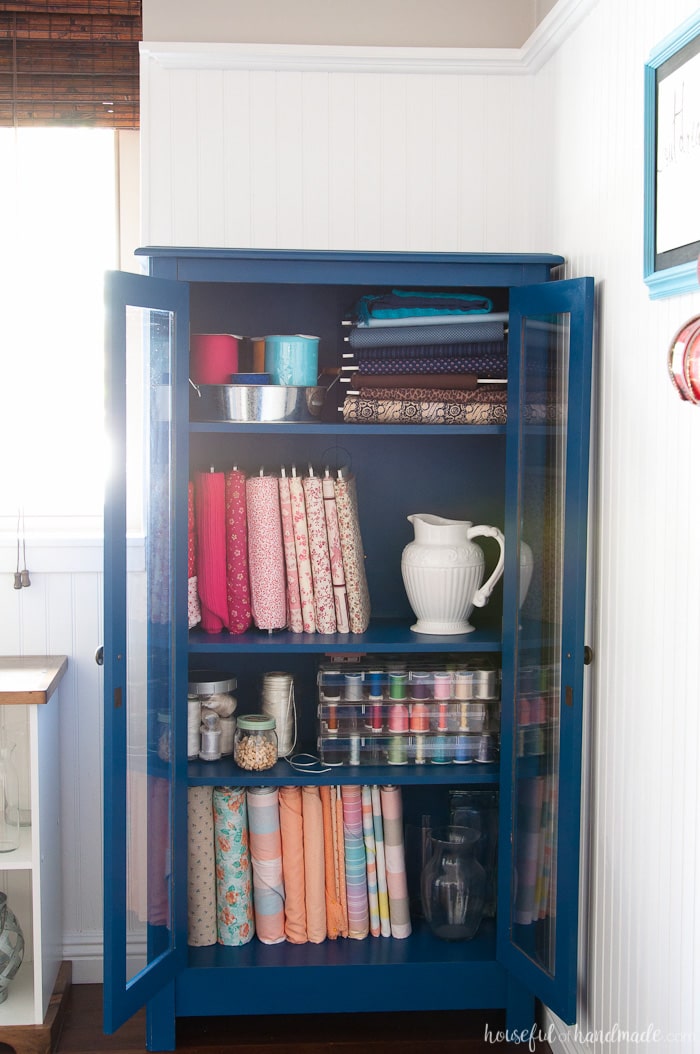
I also have a few of my extra vases here until they are needed (maybe the hubby will see this and buy me some fresh flowers!). And a metal tray on the top shelf help corral spools of rick-rack and tulle.
The thread organizers I have had for some time fit perfectly into the cabinet. Then, I used an empty coconut oil jar to hold larger spools. A coat of spray paint on the kelly green lid makes it fit in with the cabinet instead of standing out!
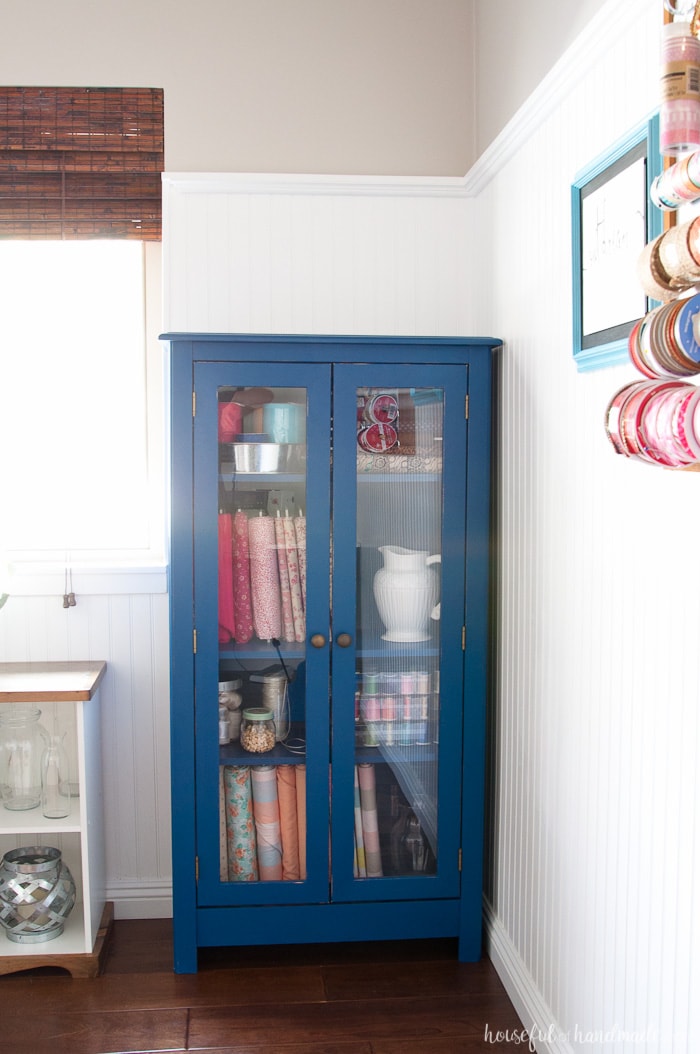
You may have noticed my birdy is no longer on the cabinet. She will be back in my room soon, I just need to give the finish enough time to cure so her cage and daily baths do not ruin it.
I made sure to finish off the top of this piece with a few coats of polyurethane to withstand the extra abuse she will give it.
Upcycled Cube Bookcase
Under the window is my new farmhouse console table. It started out as a lowly melamine cube bookcase.
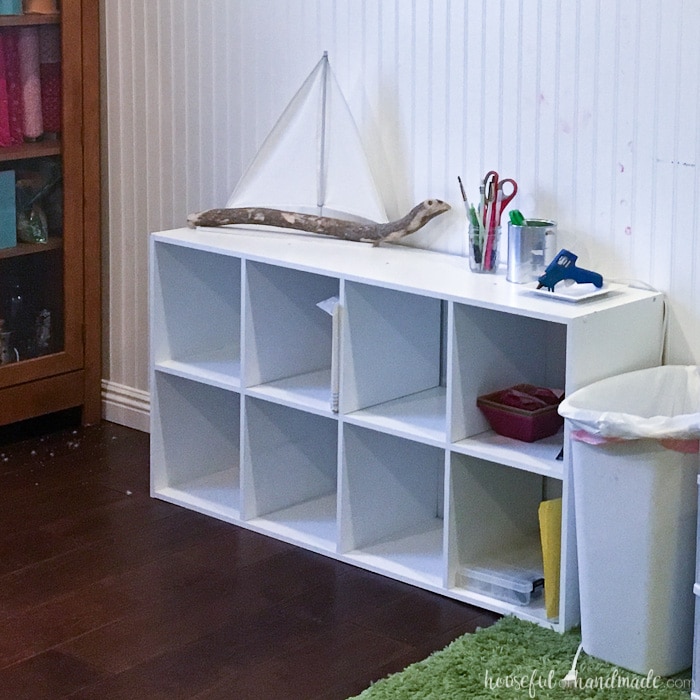
I needed to lift it off the ground to put it under the window (since there is a heat register there). I figured if I was going to add a base, why not make it beautiful? And oh man did it turn out beautiful!
This piece was also created with left over plywood from the desk build and only $5.50 more in lumber to frame out the top and create a decorative base with loads of character. As well as beadboard scraps that were saved when we installed the walls in this room many years ago.
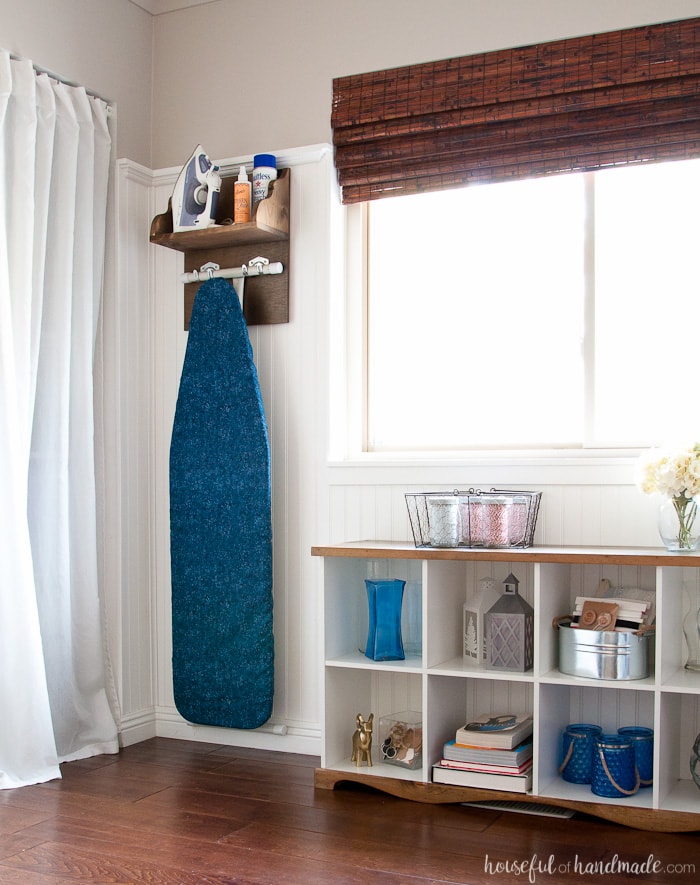
I am using the new farmhouse console to hold decor pieces that are currently not being used in the rest of the house.
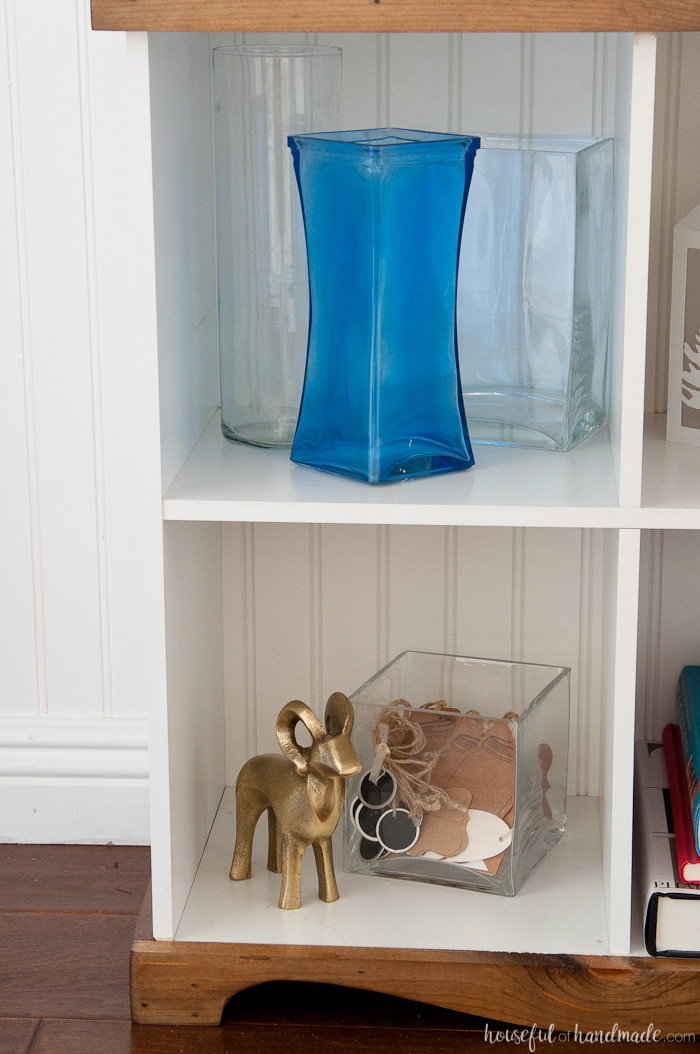
I also decided to use this as a space to show off pretty crafting supplies. Using craft supplies as art really helped me save a lot of money. In one of the many vases that I have, I added a bunch of cute tags.
Now they are on display and in arms reach, maybe I should go label something…
Upcycled Food Jar Ideas
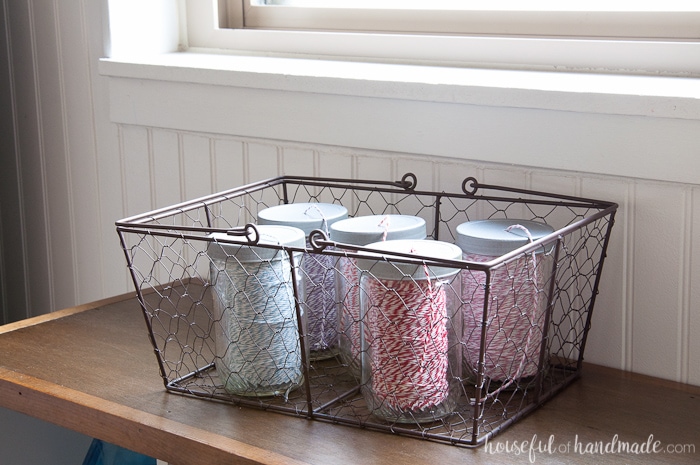
To organize my craft supplies, I love upcycling food jars to make them pretty.
Like these old peanut butter jars that are filled with colorful bakers twine in a farmhouse basket. The lids were spray painted to get rid of the bright yellow, and a small hole was drilled in the centers so the lids don’t even have to be removed to start creating.
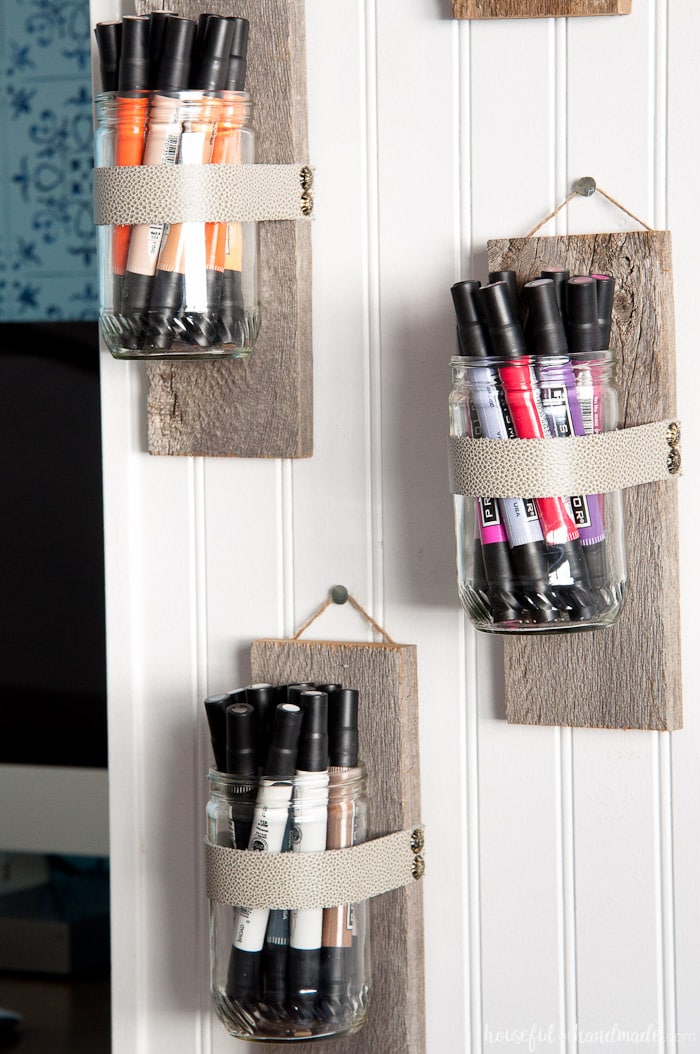
I even made some simple farmhouse style wall vases with more old peanut butter jars (our family is addicted to peanut butter) to display all my PrismaColor art markers.
Now there are no more excuses for not using them more! You can find a tutorial for these beauties here. And make sure you are getting my free weekly newsletter so you don’t miss out on all the budget upcycling ideas to come.
Budget Rolling Work Table
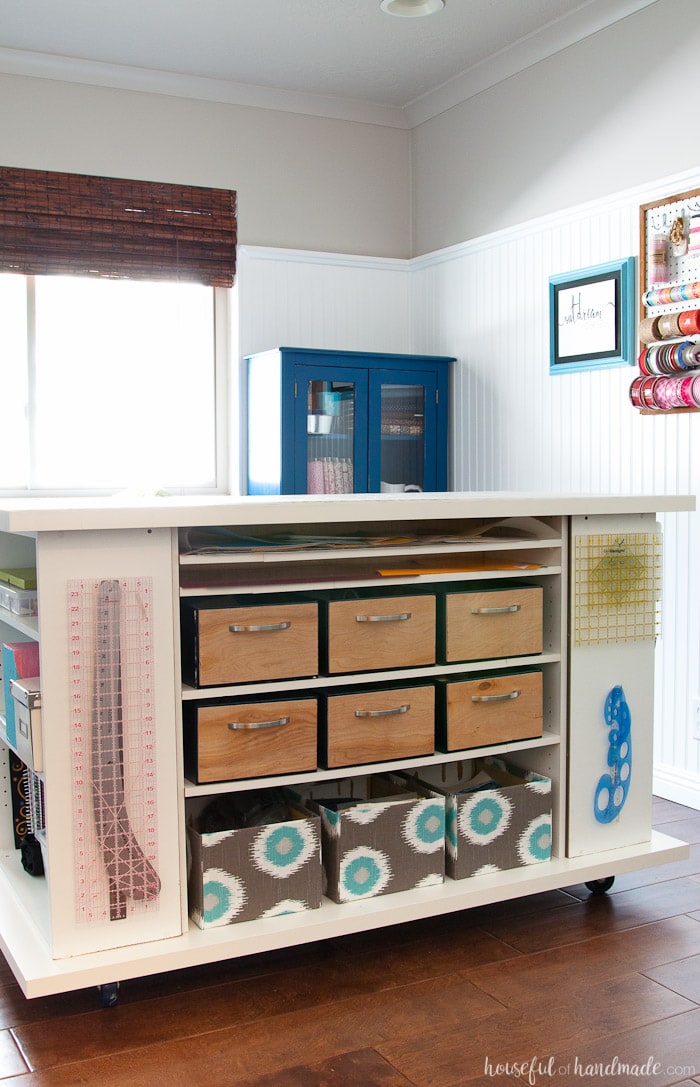
And we cannot forget to talk about the elephant in the room. Okay, it’s not really an elephant, but a large rolling worktable!
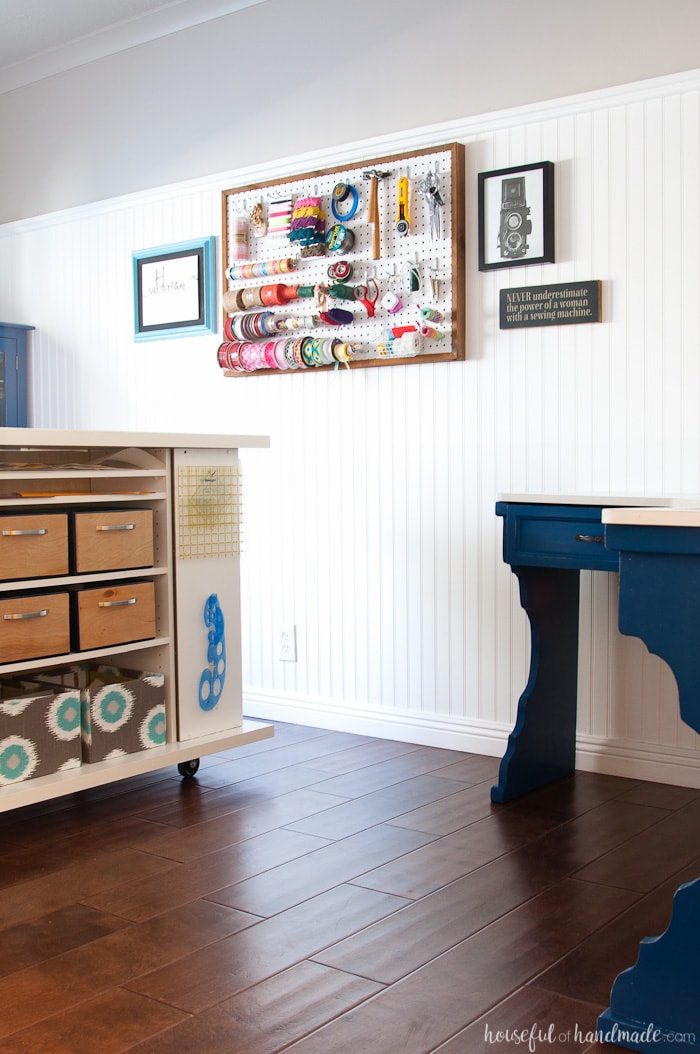
I love this piece because it offers me a huge workspace and loads of storage. It is not the prettiest piece in the room, but definitely the most used.
This piece is on wheels so it can be pushed against the wall if I need more room, or in the middle of the floor so I can easily access all sides of the work area.
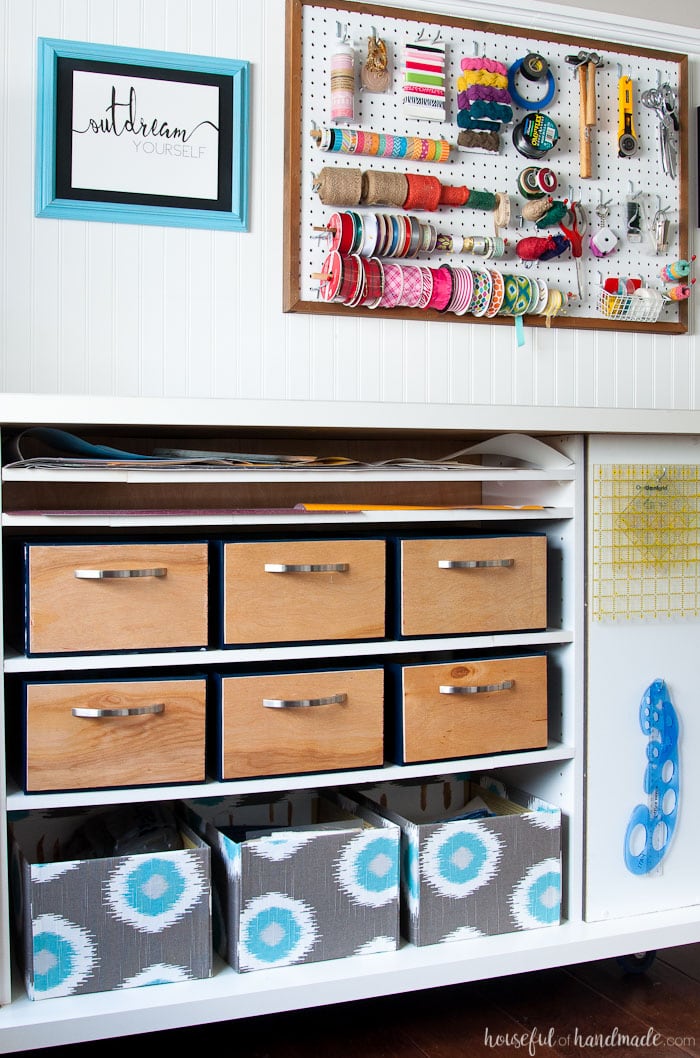
Thanks to our coffee addiction, we have loads of nice storage boxes at our house. I filled my rolling workstation with them and even took a few minutes to make them pretty.
The top boxes were spray painted and then covered in a scrap piece of 1/4″ underlayment board. When we got our new kitchen island installed, the installers left us with a whole box of handles and I decided they would be perfect on my new “drawers”.
The bottom boxes were covered in fabric like these easy fabric storage boxes I made for our coffee station.
Craft Room Pegboard Organization
On one wall, I created a removable pegboard storage system for all my crafting tools. Pegboard is not just for garages anymore! I love that it holds up pretty notions and more frequently used craft tools like scissors and rotary cutters.
Things that you can easily organize on a craft room pegboard:
- Ribbon
- Washi tape
- Twine
- Rickrack
- Scissors
- Rotary cutters
- Fabric weights
- Craft and floral wire
- Tape
- Crafting tools
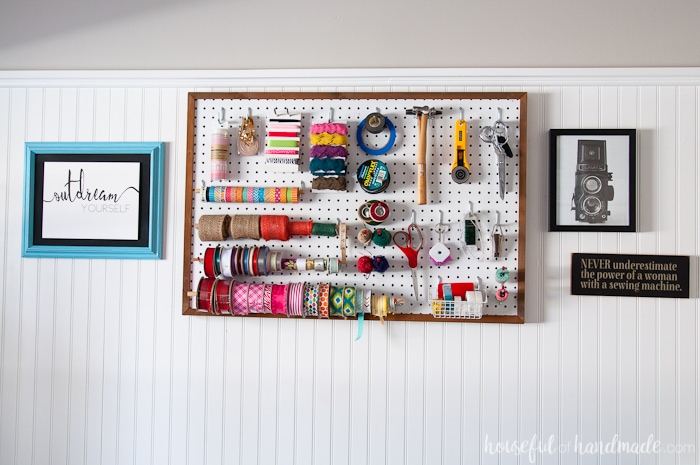
Then I created a gallery wall of sorts around it. The sewing machine plaque was gift from a wonderful friend, and so true. The antique camera print is a free printable I found here.
The last picture is one I found on Etsy by InspiredPrintsStudio and immediately fell in love with. I actually cut something else out of the room so I would have $5 left in my budget for it.
The saying really speaks to me, and is perfect for an office & craft room that I am hoping will help all my creative dreams come true. I mounted it in a thrift store frame that I spray painted. I also made it float mounted the easy way with this tutorial.

So what do you think of my office & craft room reveal? Did I completely transform the space with only $100?
There were a few projects that I wasn’t able to complete because of both time and money. Maybe I will add them later, but for now I am just going to enjoy the space and take a week long nap!
Budget Breakdown for the Office & Craft Room Remodel
Here is the final breakdown of how I spent my $100. Click on any of the items below for the complete tutorial of how I made them.
- DIY Idea Board – $17
- Pegboard Storage – $0
- Upcycled Bookcase Rolling Work Table – $0
- Desk – $40
- Patterned Tile Wall Stencil – $0
- Curtains for closet – $0
- Bamboo Blinds – $0
- Paint Storage Shelves – $7.50
- Cube Bookcase Makeover – $5.50
- Sewing Machine Table Makeover – $6.50
- Navy Paint – $8.50
- Storage Boxes – $6.50
- Iron holder with ironing board storage – $0
- Paint walls/ceiling – $0
- Decor
- Art – $6.50
- Mirrors in desk area – $2
- DIY Brass Desk Organizer – $0
TOTAL: Exactly $100!
Okay, it was actually probably a couple dollars below, but I rounded all the little bits up to the nearest half-dollar so that it would be easier for me to add. I apparently cannot operate a calculator without messing up all the numbers at least twice.
So for only $100 and a month of no sleep, I now have the room I’ve always wanted. It was totally worth it!


