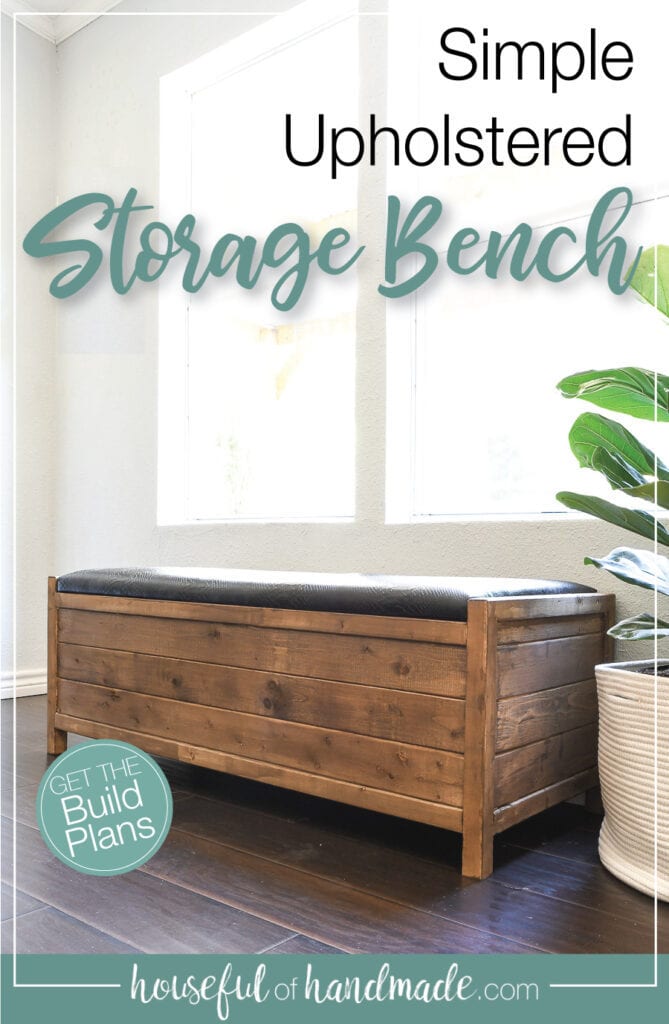
You’ll love the extra storage this DIY storage bench give any room in your home!
One of the biggest challenges we have in our new home is lack of storage. There is no closet by the front door to help corral shoes and more. So we are working on creating lots of storage solutions!
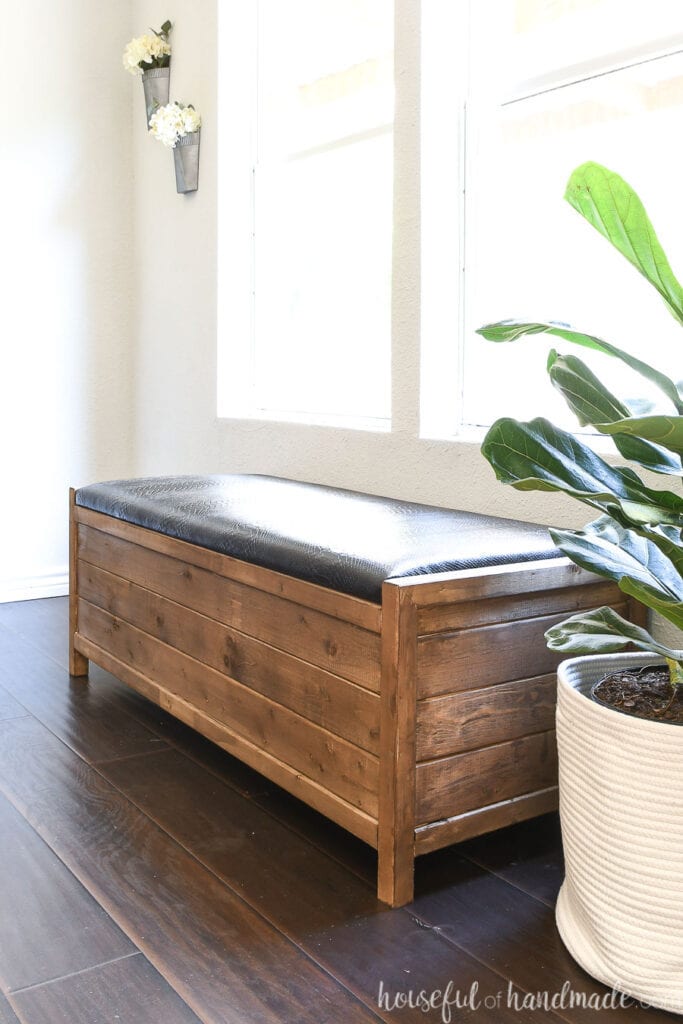
I partnered with Kreg Tools and their project plan site, BuildSomething.com, to make a simple upholstered storage bench that works perfectly in our entryway.
And now with our storage bench and our amazing mudroom storage lockers, we have solved a huge storage problem in our home. Isn’t being organized heavenly?
This post may contain affiliate links. As an Amazon Associate I earn from qualifying purchases. Click here to read my full disclosure policy.
Uses for the Upholstered Bench
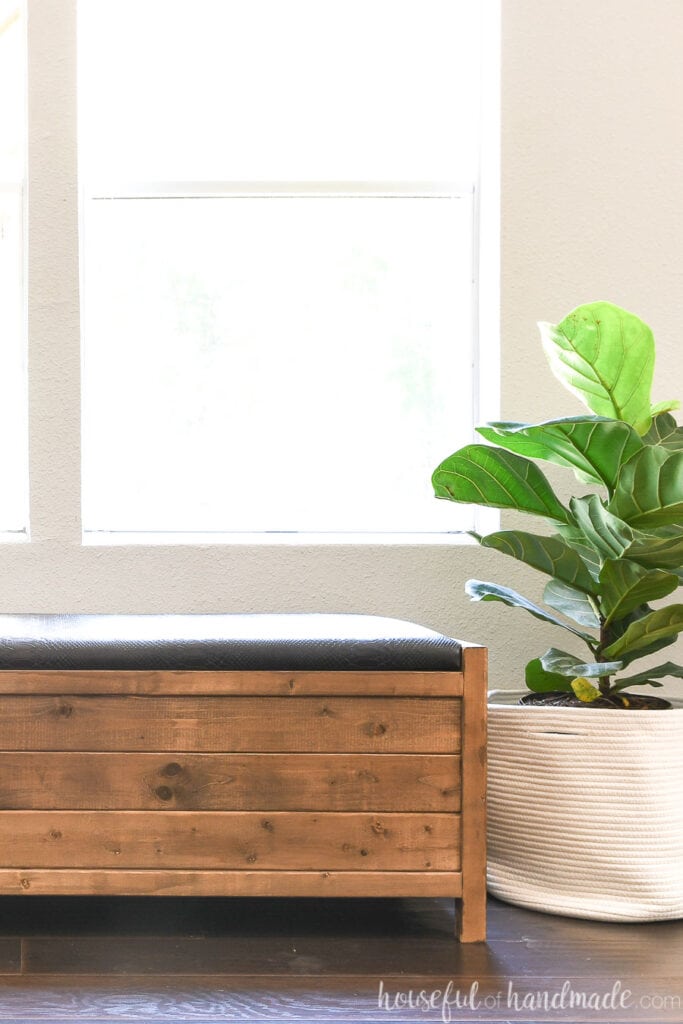
We are using our storage bench in the entryway. It will hopefully be able to store all the shoes that keep cluttering the entryway, plus things like umbrellas, work gloves and more!
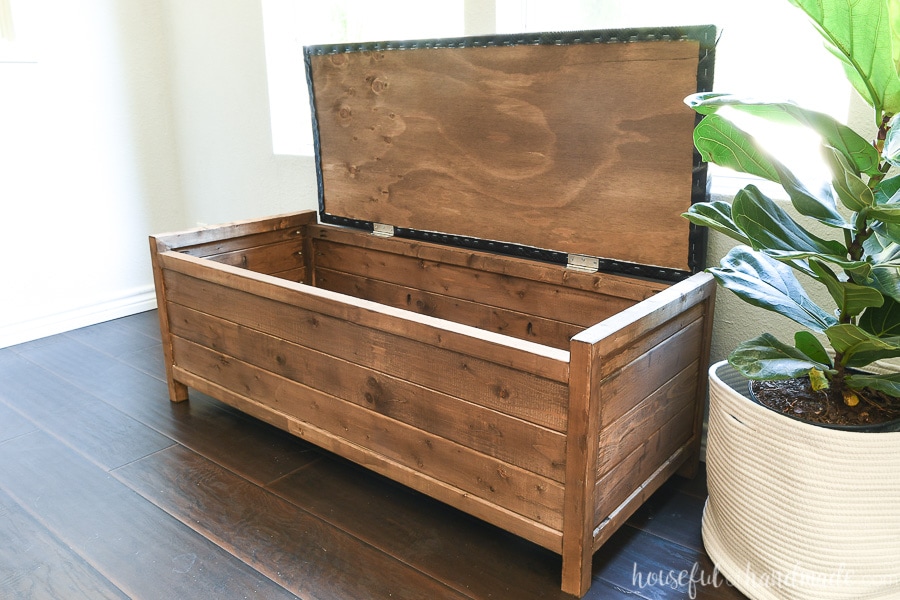
But the simple design of this bench makes it perfect for many different uses! And anyway you use it, you will love the large storage compartment.
So I decided to list some of the different places you could use this storage bench in your home:
- Coffee table: the storage inside would be perfect for extra throw pillows, blankets and more.
- Window seat: place in front of a window in your kids room for a comfy seat to read, with storage for toys inside.
- Game bench: use in a playroom to hold your favorite board games, and you can use the bench for seating around a game table or even use it as a table to play.
- Bedroom bench: place at the foot of your bed for a place to sit and it can hold linens and blankets, or a place to store your decorative pillows while you sleep.
- Storage chest: add to any corner of any room where you need extra storage or seating.
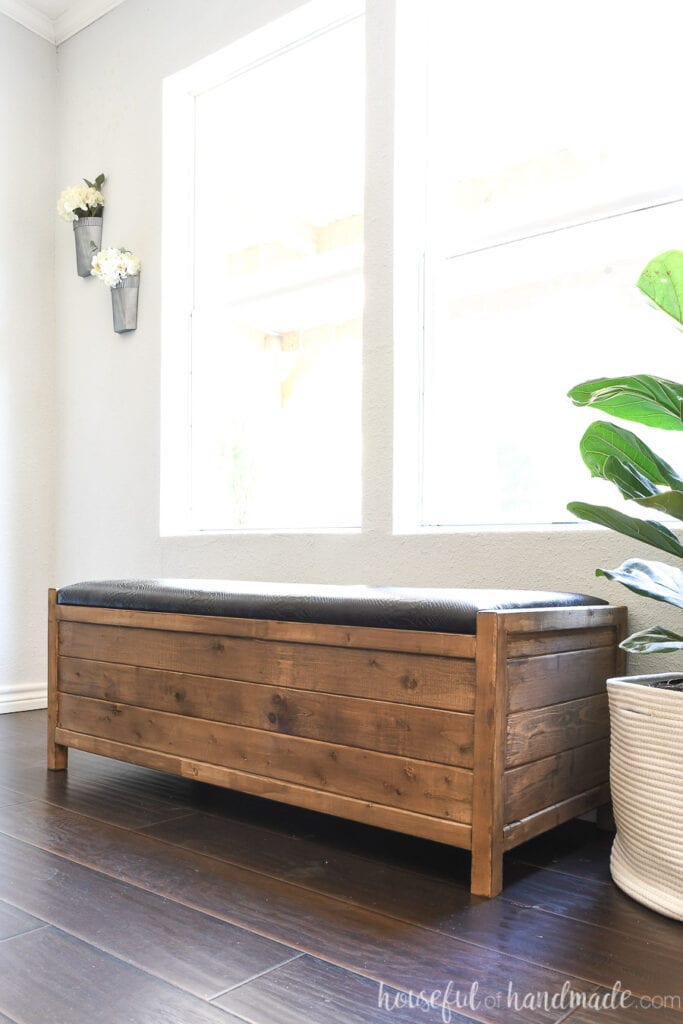
Easy to Build Bench
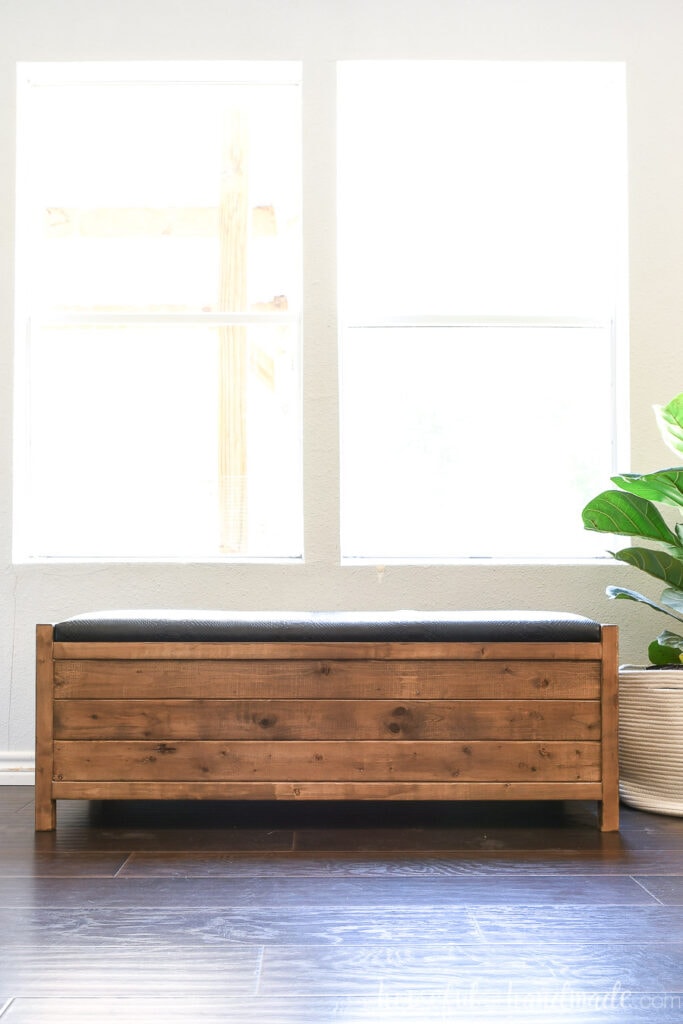
The design of the bench is simple, but I love the little detail of the sides sitting higher. With the upholstered top, it creates such a beautiful silhouette.
You could build this bench out of any wood you like. Reclaimed wood would be beautiful with the simple design.
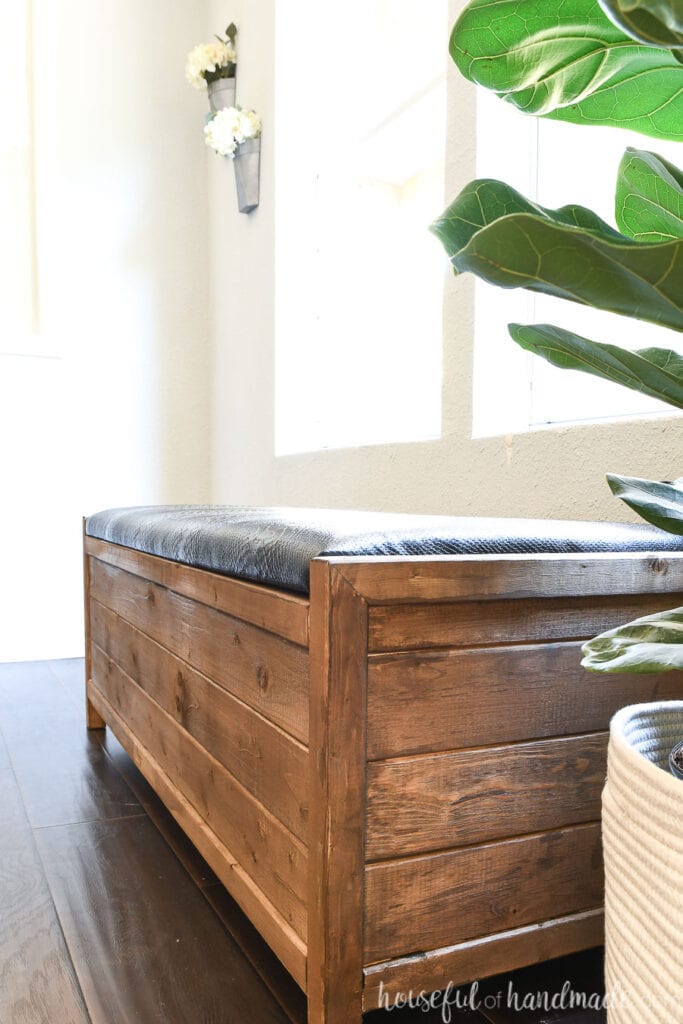
Since I did not have any reclaimed wood, I decided to build my bench out of inexpensive (and therefore not perfect) 2×2 and 1×4 furring strips. Then I finished it with an aged wood accelerator to give the bench the feel of reclaimed wood.
And the best part, the wood for the bench (minus the plywood since I used a scrap piece) cost less than $30.
Simple Upholstery
If you have never upholstered any furniture before, don’t worry, the upholstery on this bench is super simple!
The keys to any upholstery project is to start with a high density foam (this is the foam I used for this bench). That way it will hold up to use. Then top if off with quilt batting. This will soften the corners of the foam and wood.
For our bench top, I used faux leather that was left over from last years Halloween costumes. The faux leather gives the bench a high end look and is easy to clean off, which is perfect if you have kids around!
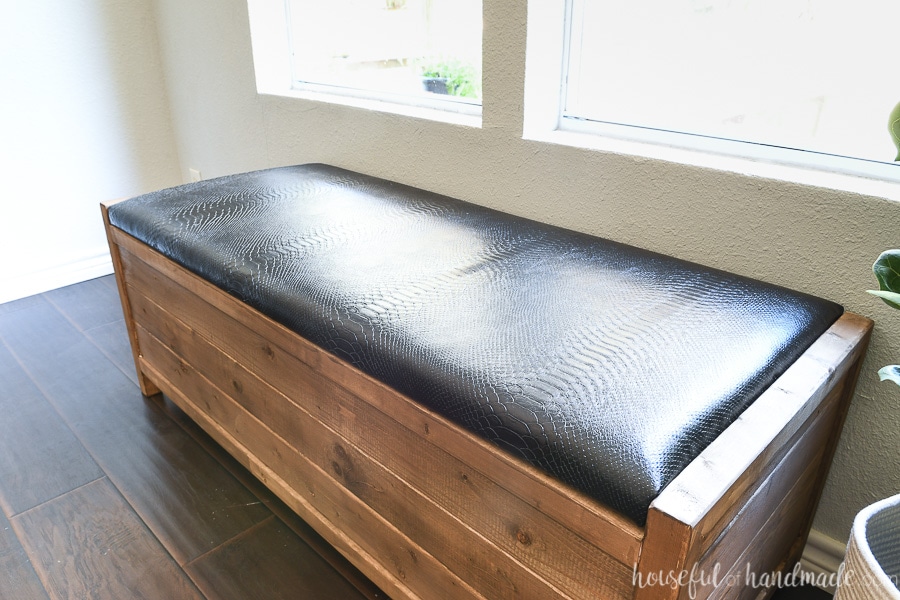
I use a light duty stapler to secure the fabric and batting around the plywood top. No fancy upholstery tools needed!
And since the top is just a rectangle, it is as easy as wrapping a present. It’s the perfect upholstery project for a beginner.
More Storage Ideas
I love making beautiful storage solutions for our home. Functional pieces make me so happy.
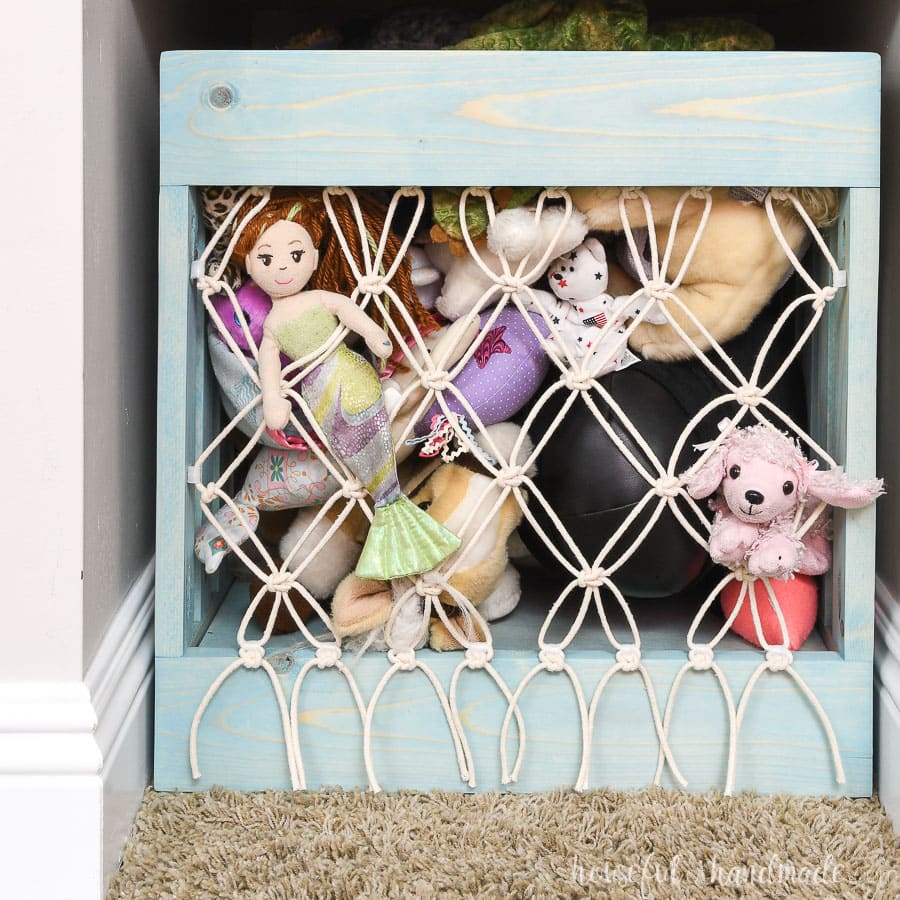
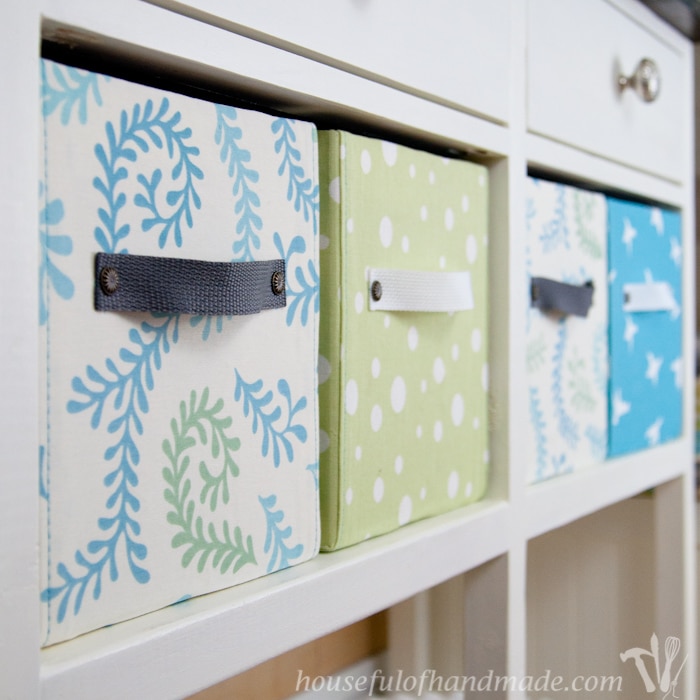
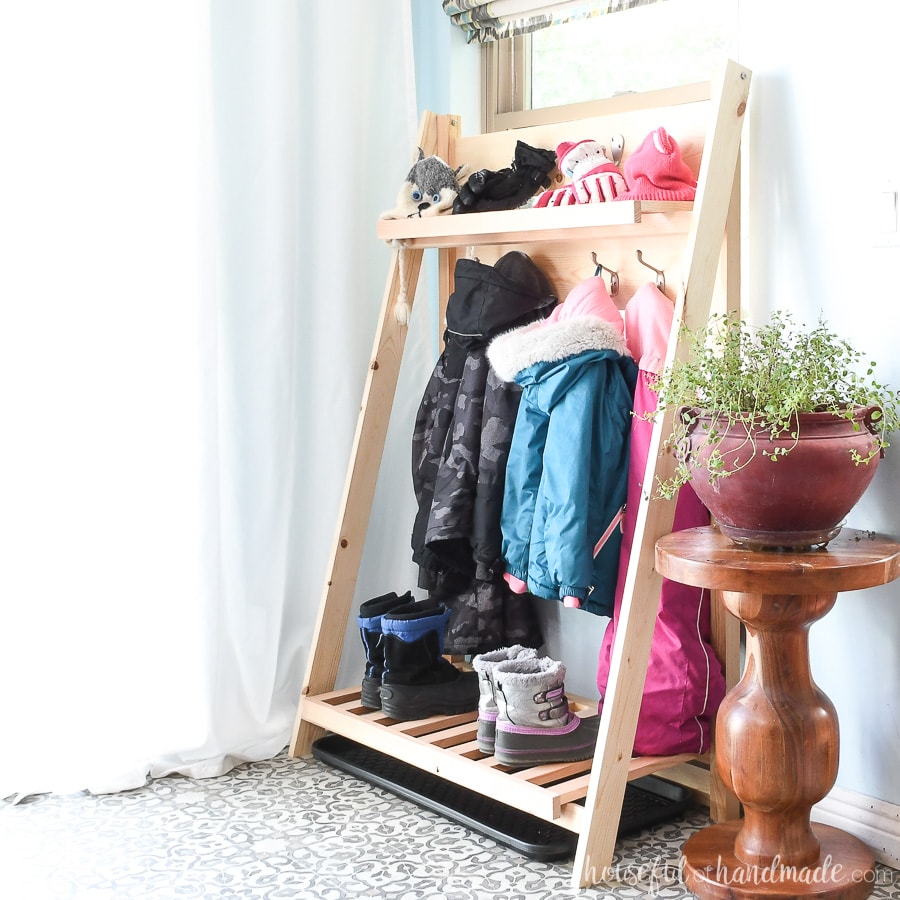
Check out these other great storage projects:
Storage Bench Woodworking Plans
If you are ready to add more storage to your home, I am sharing the plans with you for free over on BuildSomething.com.
Click here for the complete build plans.
Need a bench without storage? I love this simple DIY X-leg bench.
Happy Building!

