Beds can be expensive. From a few hundred dollars to a few thousand. But you can save a lot by building your own bed.
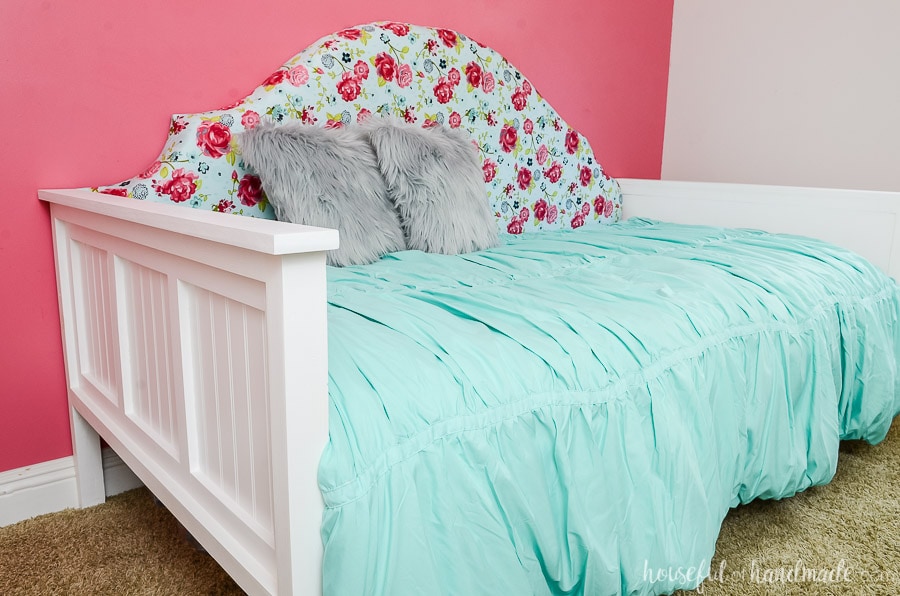
But my favorite part of building a bed, you can make it exactly what you want!
This post is a general guide to help you answer all the questions you need to build a DIY bed. With all the information inside, you will be ready to design your own custom bed or know how to tweak plans you already found to make them exactly what you need.
This post may contain affiliate links. As an Amazon Associate I earn from qualifying purchases. Click here to read my full disclosure policy.
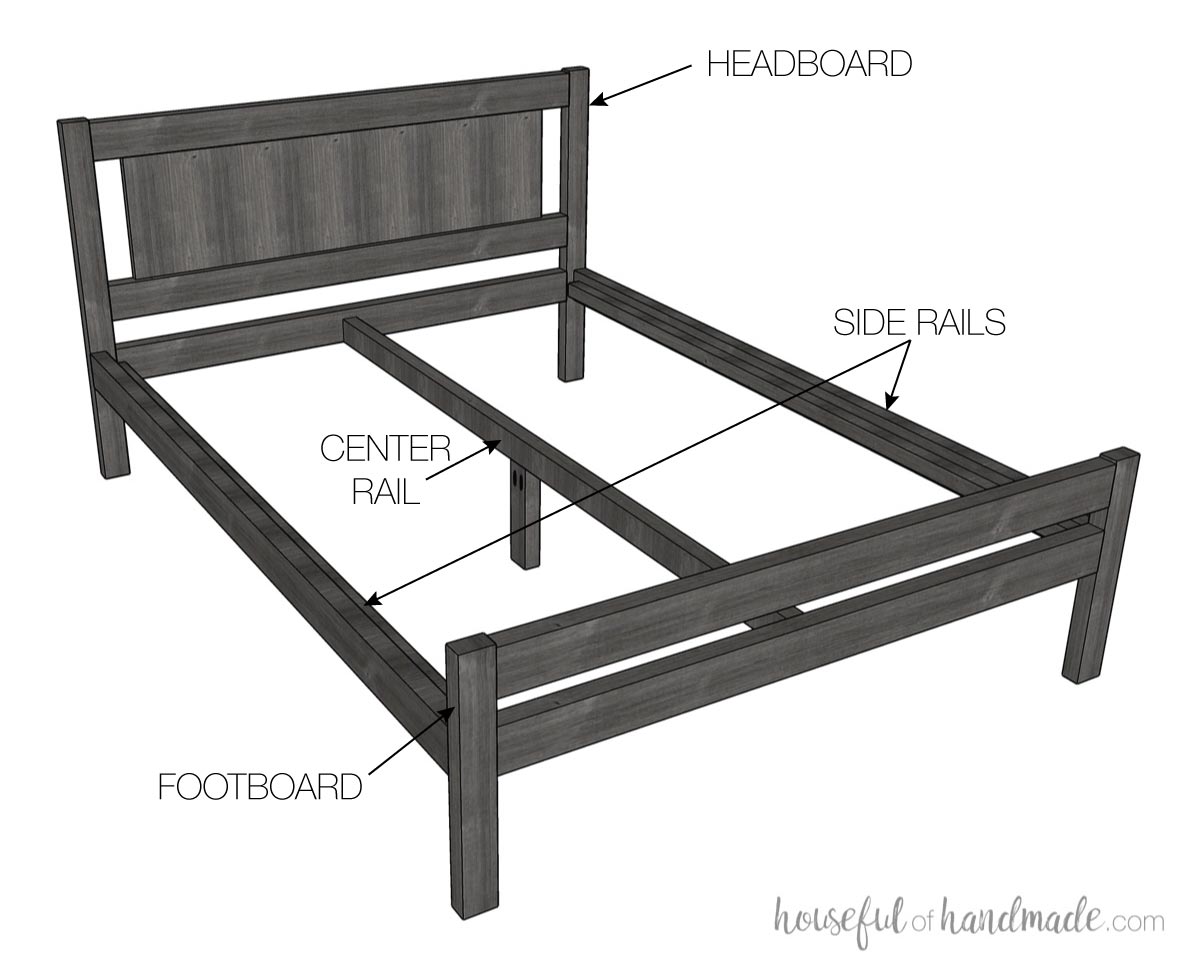
Parts of a Bed
Every bed is made up of 4 pieces:
- Headboard
- Footboard
- 2 Side Rails
Larger beds (recommended for all except a twin) will also need a center rail with a foot to support the weight in the middle.
If you want to build a bed frame without a headboard and/or footboard. You will still need these pieces, they will just be the same height as your rails.
Typically each piece is built separate and then they are put together in the room using brackets (see below).
Twin size beds can be built completely instead of in pieces because they can still fit through a door relatively easy. But if you want your bed to be able to store flat, plan to build the 4 pieces and use bed rail hardware.
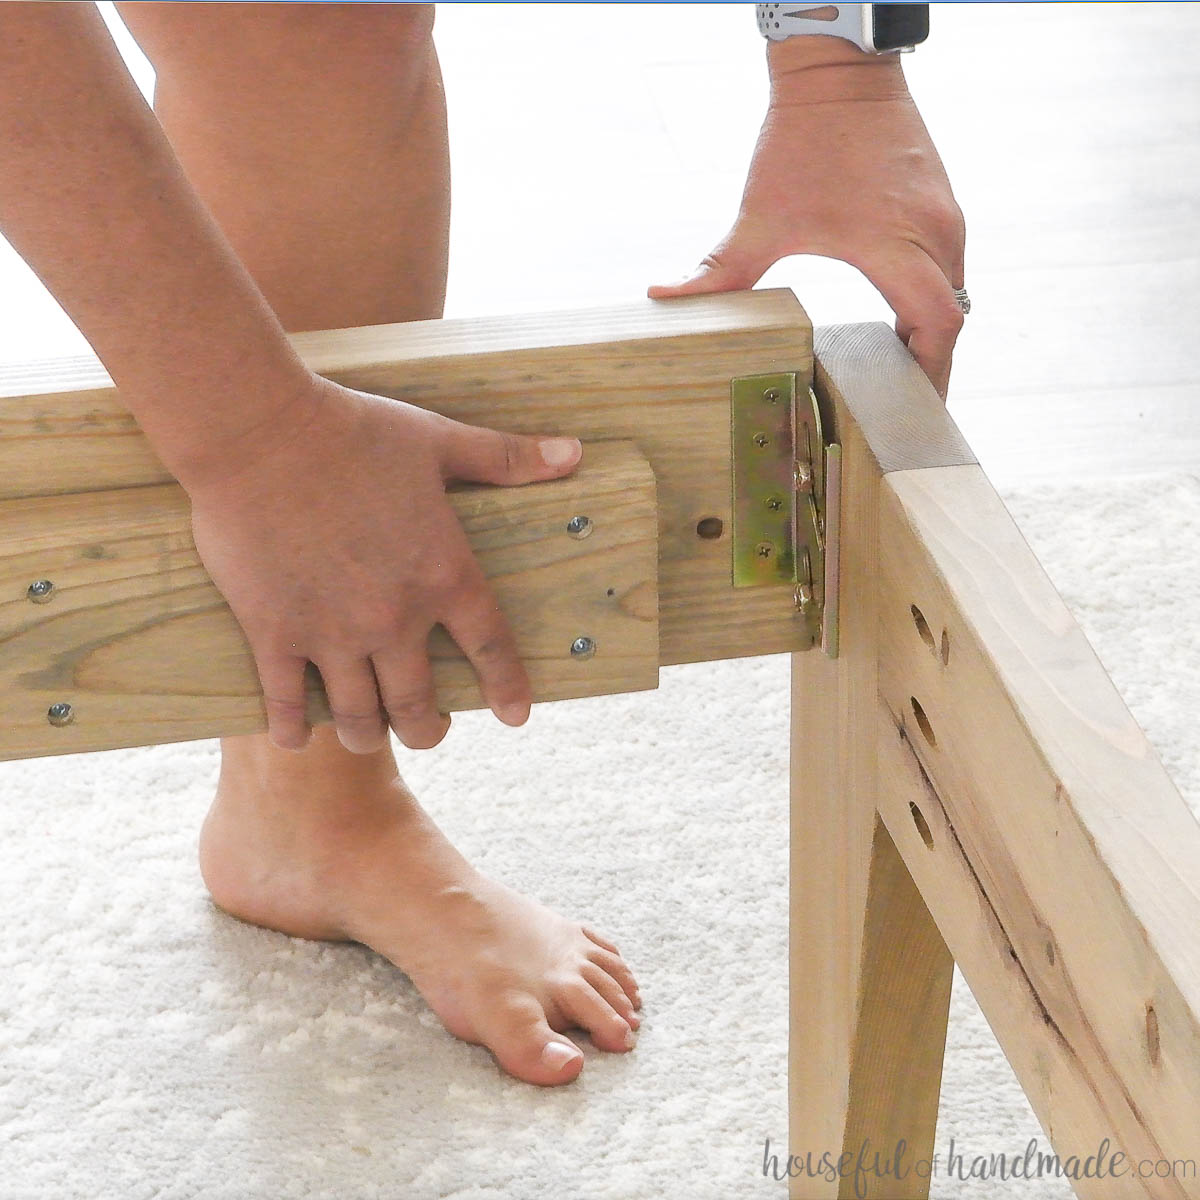
Bed Rail Brackets
The bed rails are attached to the headboard and footboard with some kind of bracket. You can save a little bit of money by attaching the rails with screws, but your bed will not be as sturdy.
The brackets allow the bed pieces to be quickly assembled in the room. A good set of brackets will mean a sturdy bed that doesn’t shift.
There are different types of bed rail brackets that range in difficulty and price.
Some require you to router and/or chisel out a mortise to attach them. Others are surface mounted.

I have only used surface mounted brackets and have been very pleased with them. They are easy to attach with a drill and driver. Perfect for beginners!
On my last bed build I used these bed rail brackets and they are easy and our bed does not move or squeak. However, the screws that can with it are not the best so I used my own.
Also, I did have to drill a slight hole behind where the bolts tighten to hold the brackets firmly because the bolt was slightly too long and hit the wood of the bed before tightening fully.
Both were easy fixes and I have already bought more brackets for another bed project coming soon.
A quick search for bed rail brackets will show you all your options. So you can find the best brackets in your price and skill level.
Standard Bed Sizes
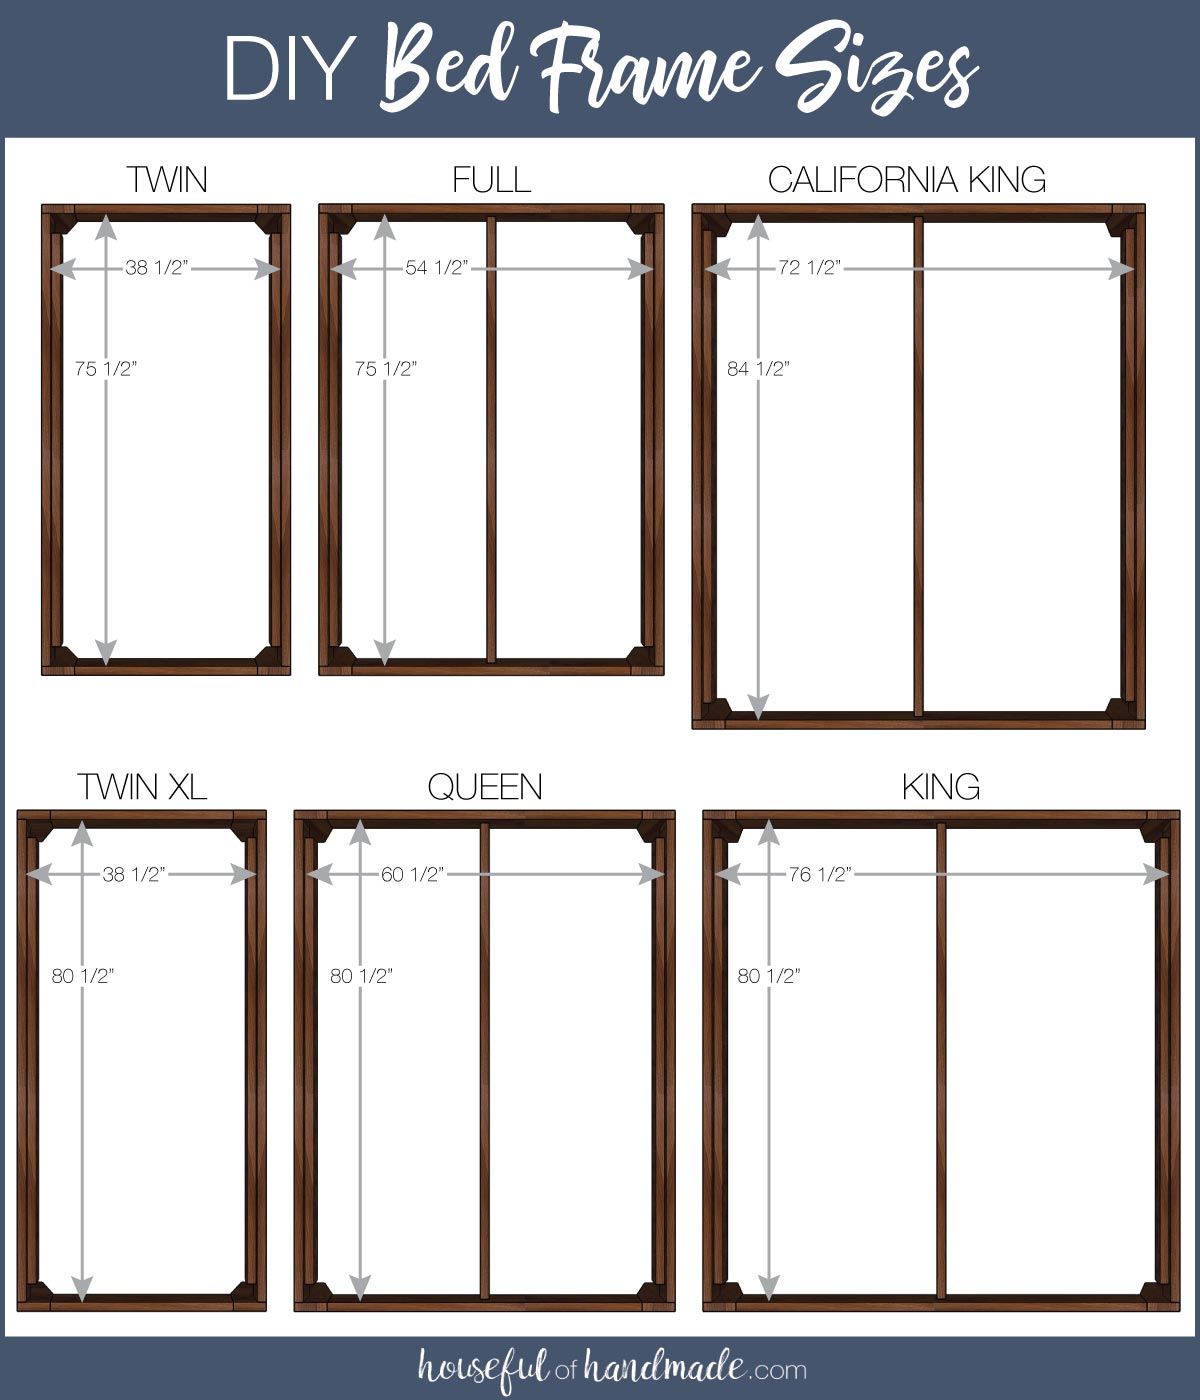
I like to build my beds so the area for the mattress is 1/2″ larger than the mattress.
Here are the standard platform sizes (area for the mattress) for each standard bed size.
- Twin- 38 1/2″ x 75 1/2″ platform for a 38″ x 75″ mattress
- Twin XL – 38 1/2″ x 80 1/2″ platform for a 38″ x 80″ mattress
- Full- 54 1/2″ x 75 1/2″ platform for a 54″ x 75″ mattress
- Queen- 60 1/2″ x 80 1/2″ platform for a 60″ x 80″ mattress
- King- 76 1/2″ x 80 1/2″ platform for a 76″ x 80″ mattress or two 38″ x 80″ (twin XL) mattresses
- California King – 72 1/2″ x 84 1/2″ platform for a 72″ x 84″ mattress
If you have a unique mattress size, you can always build your own bed to fit it. Just add 1/2″ to the width and length of the mattress to determine your platform size.
Bed Height
Standard bed height is 16″-24″. But, how tall your bed is is something you can customize based off a few factors:
- Are you using a box spring?
- How tall is your mattress?
- How much space do you want under your bed?
If you have a box spring under your mattress the rails of your bed will have to be lower (less space under the bed) to prevent your final bed height from being too tall.
Also, with a box spring, your rails will have to be large enough to hide it or you will need to cover your box spring.
Platform style beds with no box springs can be lower to the ground if you want, or lifted higher up with more space underneath (perfect for storage).
Typically you want your knees to be close to a 90 degree angle when you sit on the side of your bed. But since you are DIYing your own bed, you can easily make it exactly what you want, even if it is not typical!
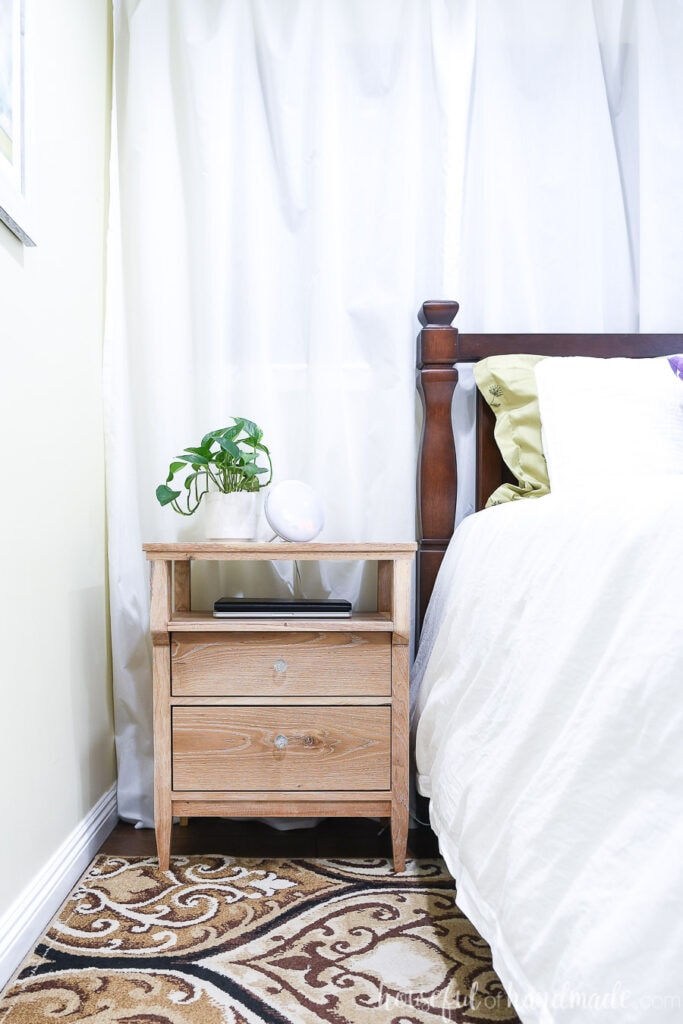
Also, take into account the height of your nightstands. You want your nightstand to be no more than a couple inches lower than the the top of your mattress.
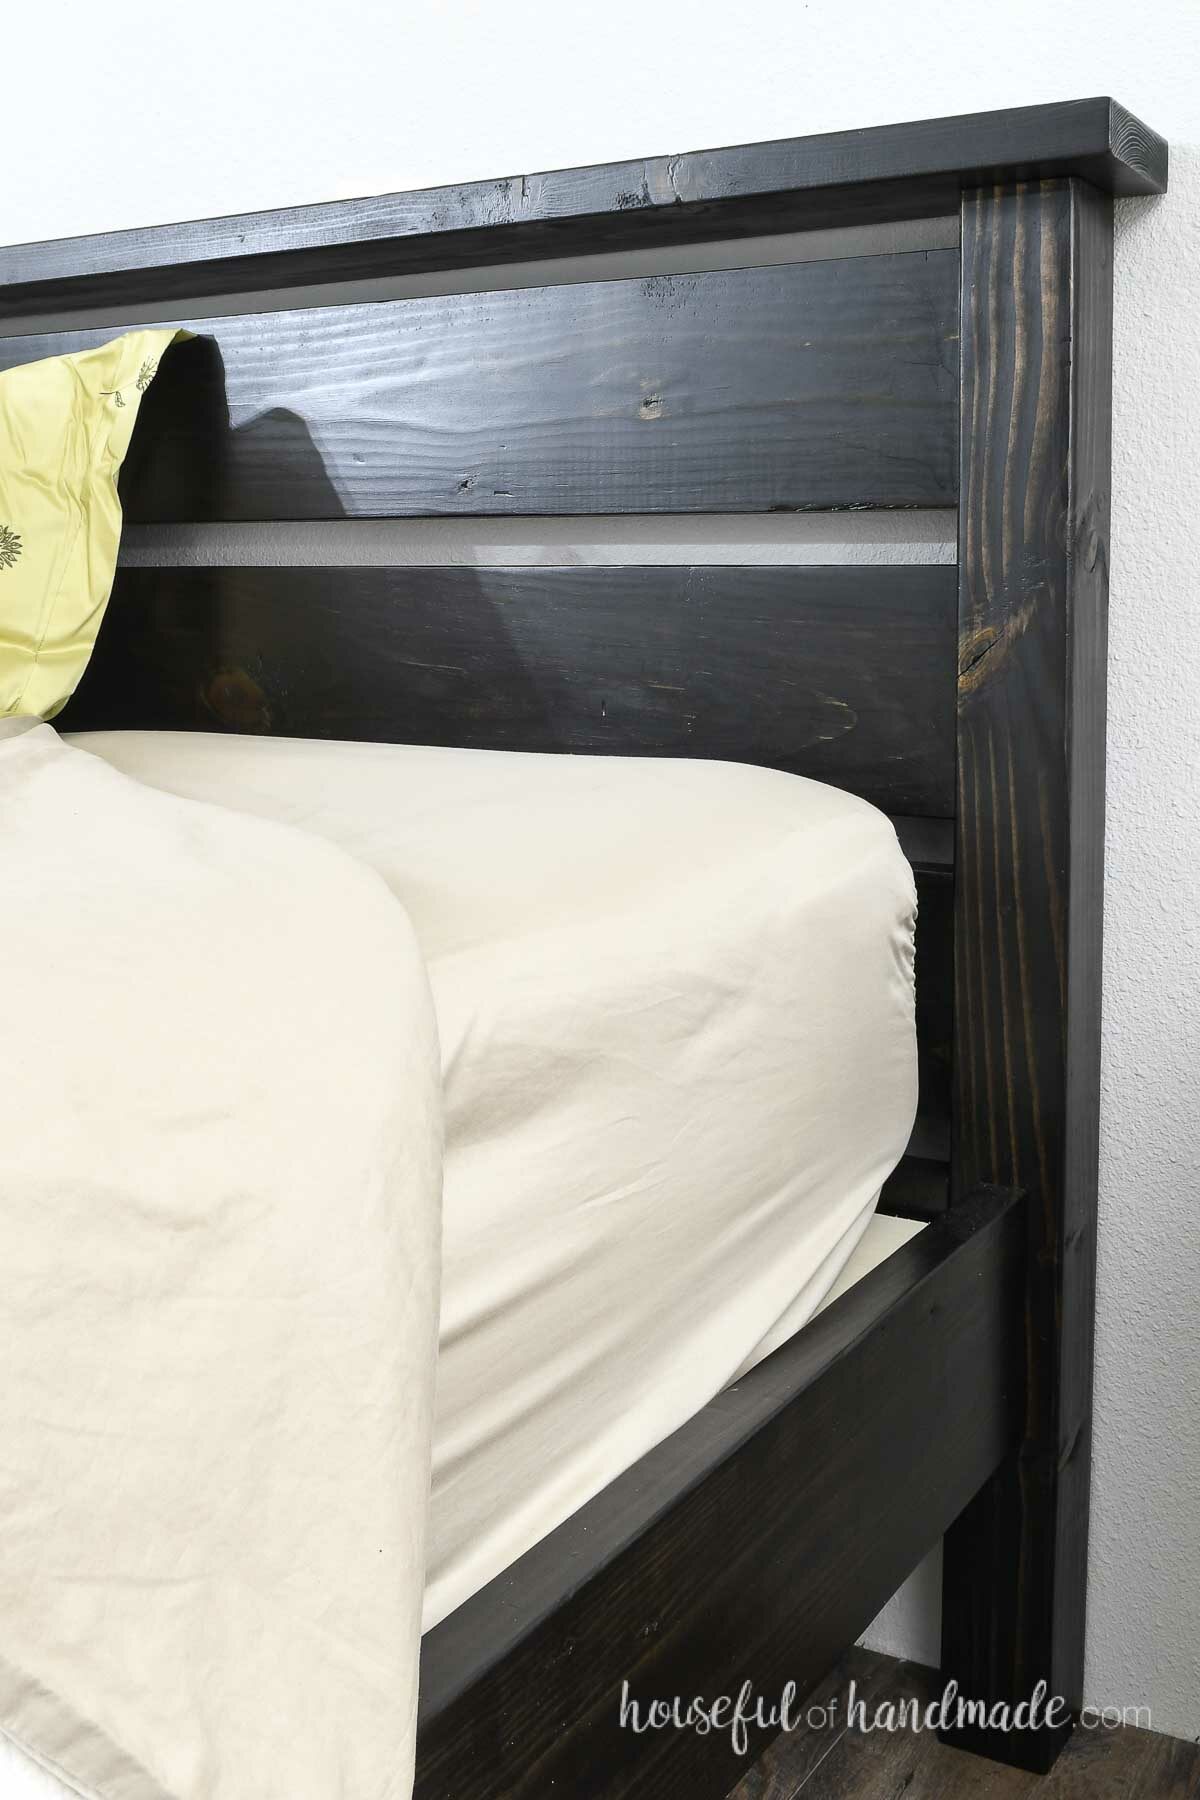
Headboard Height
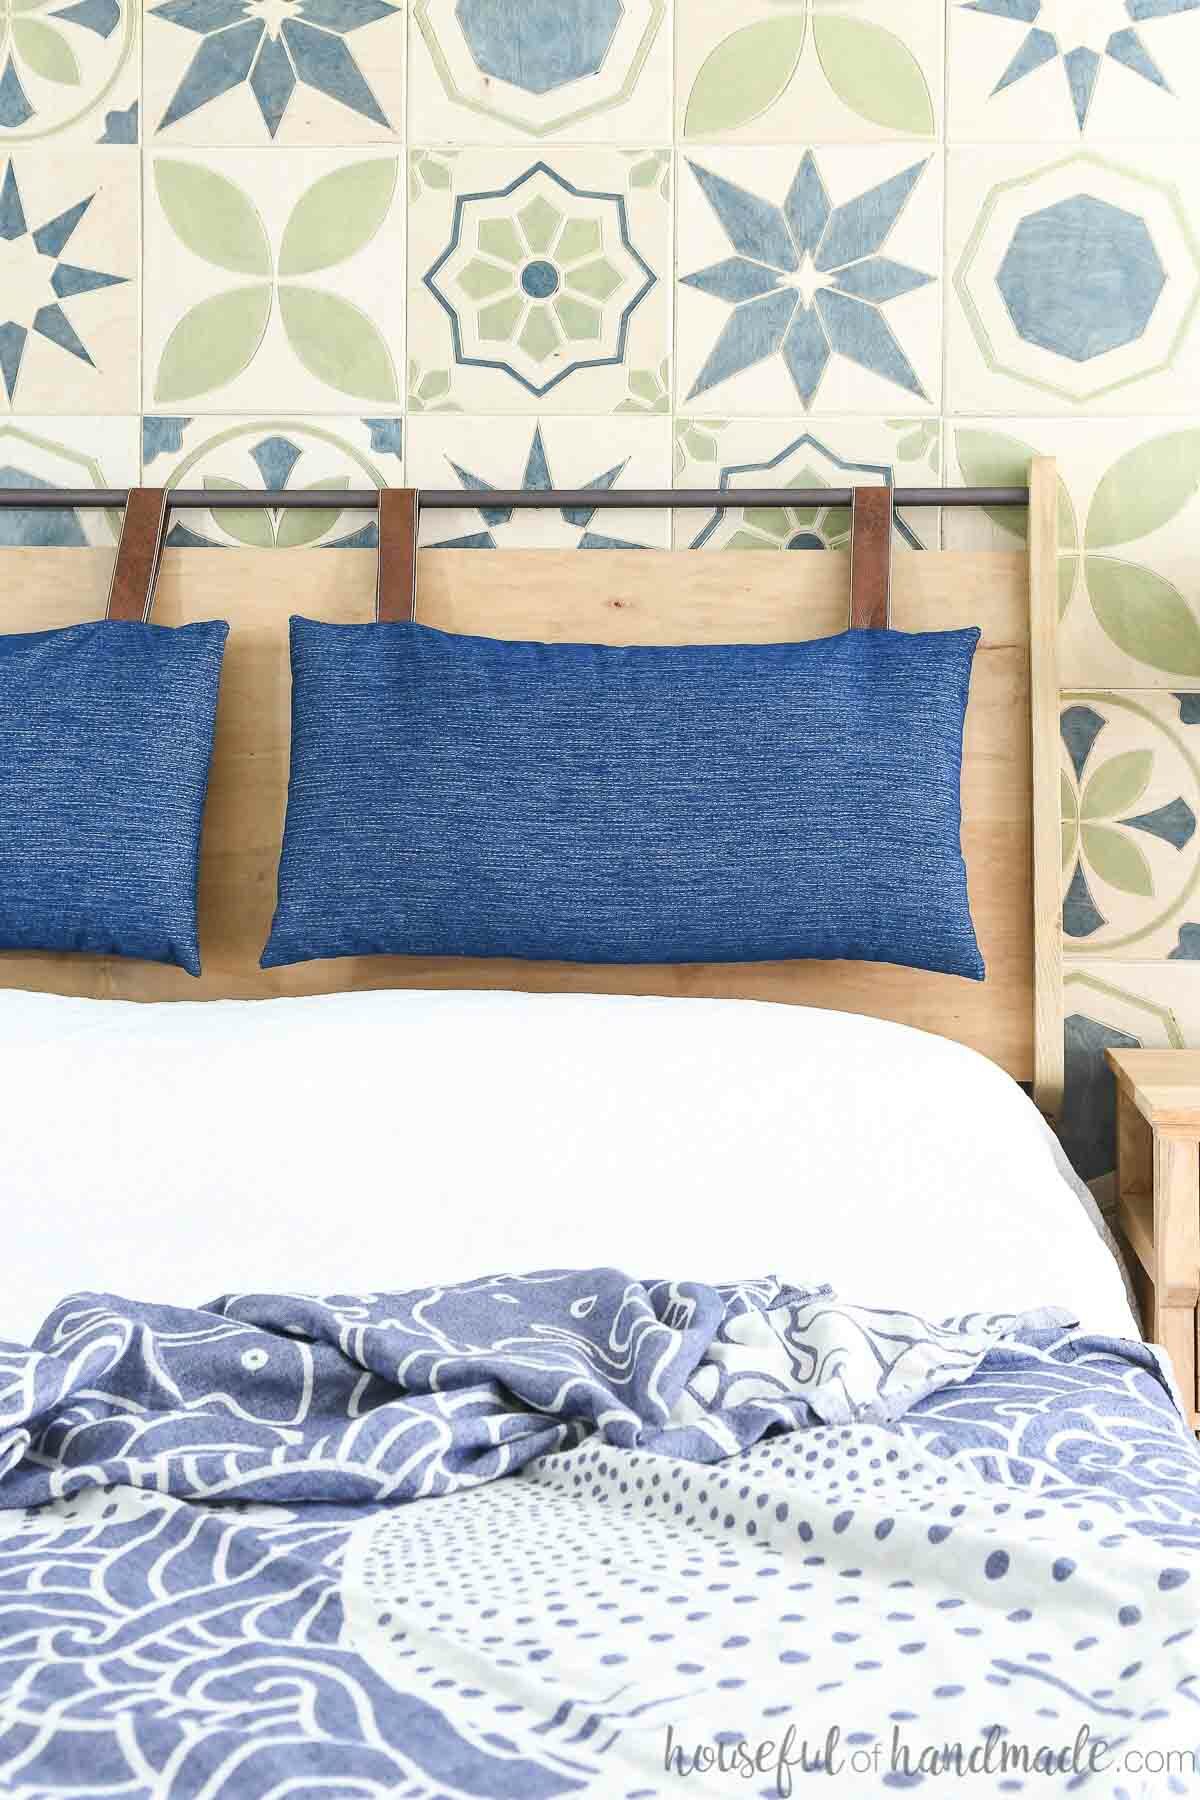
There are no real standards for headboard height. You can have them as short or as tall as you want.
You may want to consider the style of bedding and pillows you are using. If you want a lot of pillows, a taller headboard may be necessary to be seen.
Also, if you like to lean up against the headboard in bed, I would measure the distance from your head to the bottom when sitting to ensure your headboard is all enough.
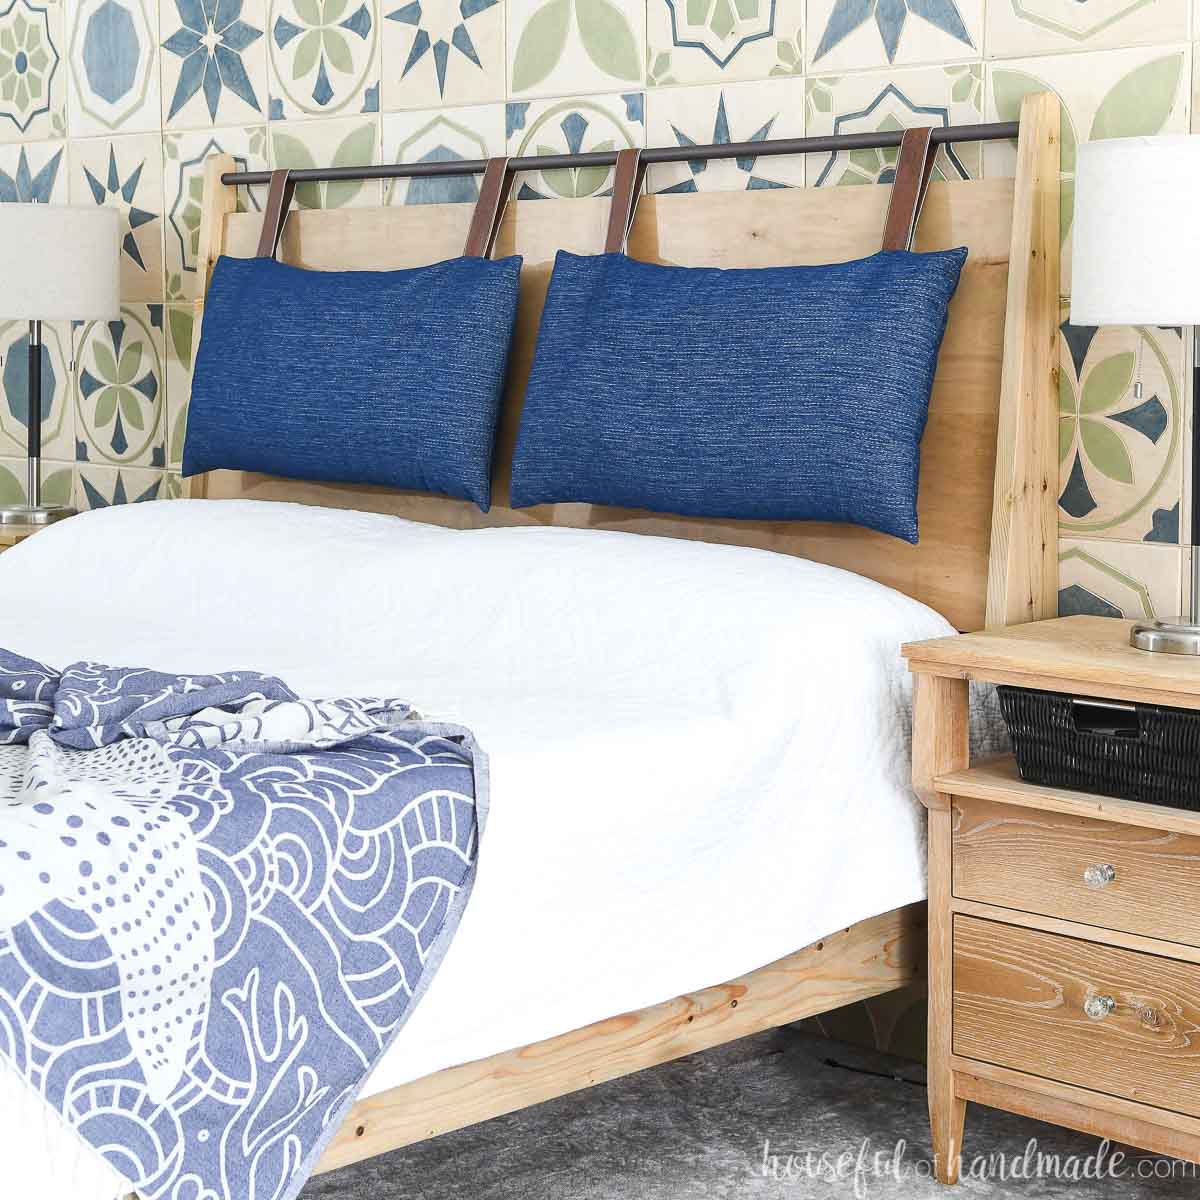
Another headboard option is to build a bed frame with no headboard. Then built a separate wall-mounted headboard.
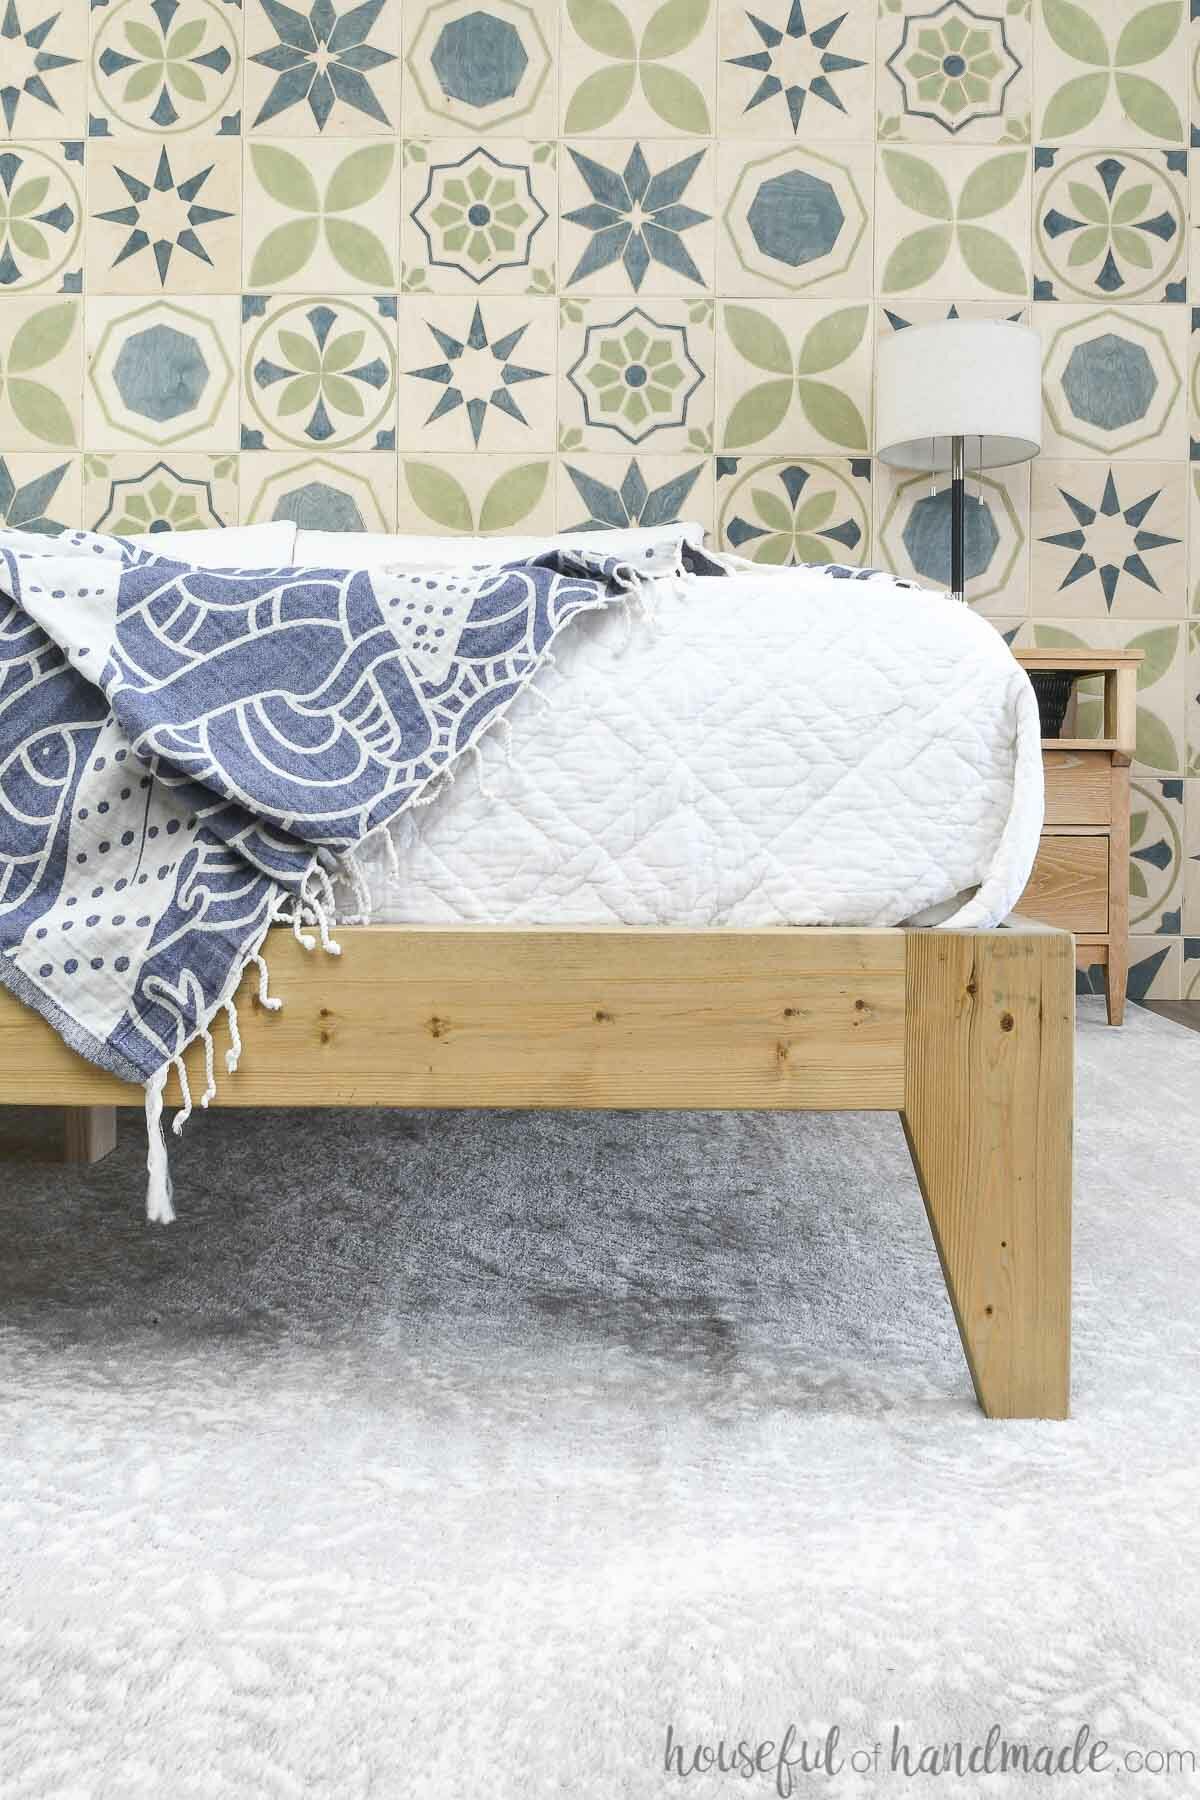
Footboard Height
Just like a headboard, there is no standard footboard height. You get to decide exactly what you want for your footboard.
Do you want a statement bed with a grand footboard? Or a small footboard that barely covers your mattress?
If you do not want a footboard on your bed, build your footboard so it is just a rail board between the legs. This keeps the height the same as the rails so there is no footboard.
Mattress Support
There are 3 different ways you can support your mattress on a DIY bed:
- Box Springs
- Bed Slats
- Plywood
Your exact mattress will have specific requirements for the support. Make sure to check what they are so you do not void warranties or end up with a saggy mattress.
When using bed slats or plywood, do not try to save money by using thin boards. They need to be 3/4″ thick to prevent sagging.

I have a latex mattress that requires bed slats closer than 3″ apart or a plywood base. A box springs is not recommended.
Knowing that helped me to determine what type of mattress support my new bed needed.
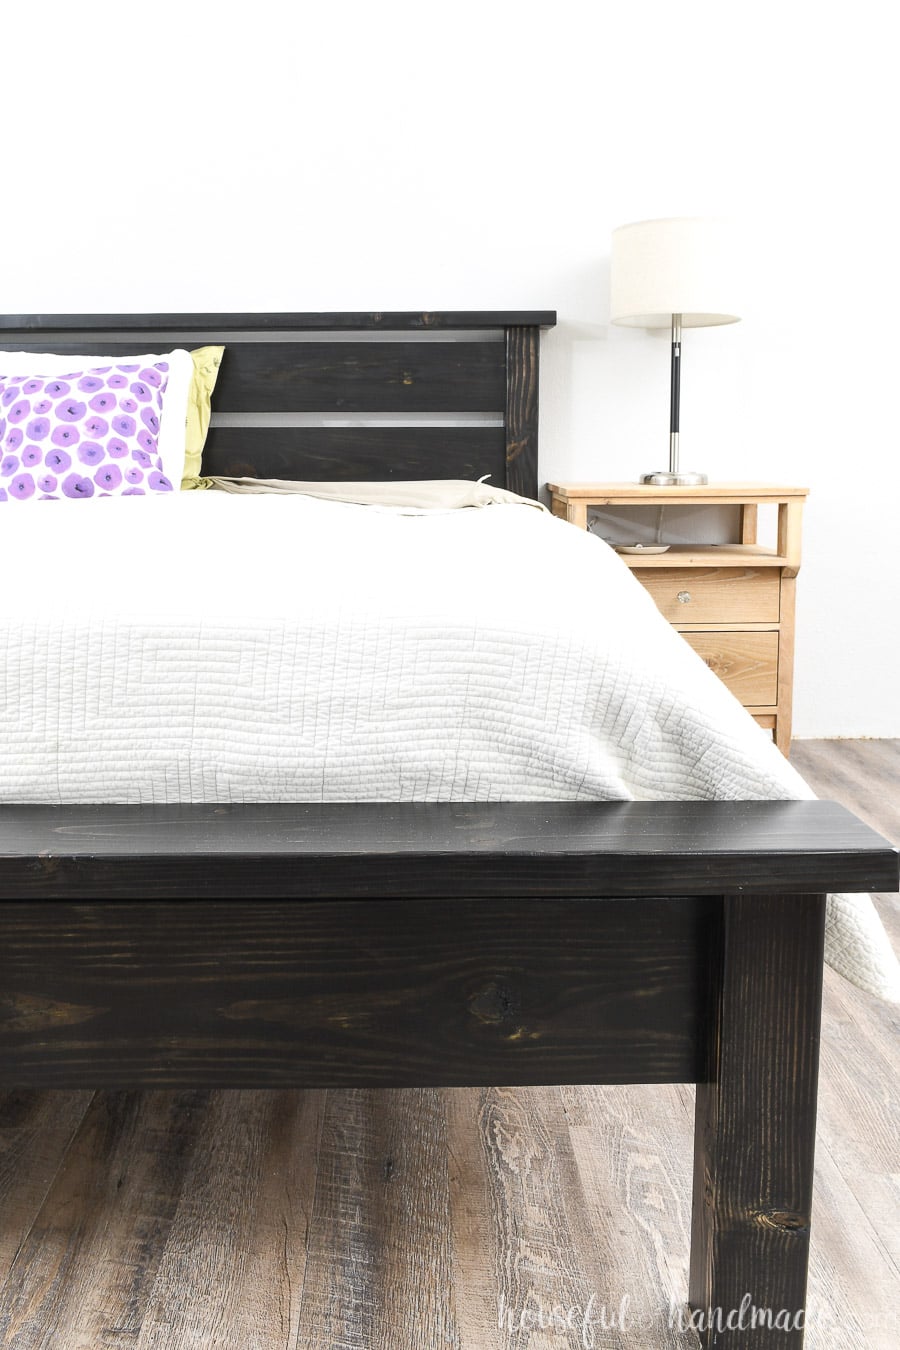
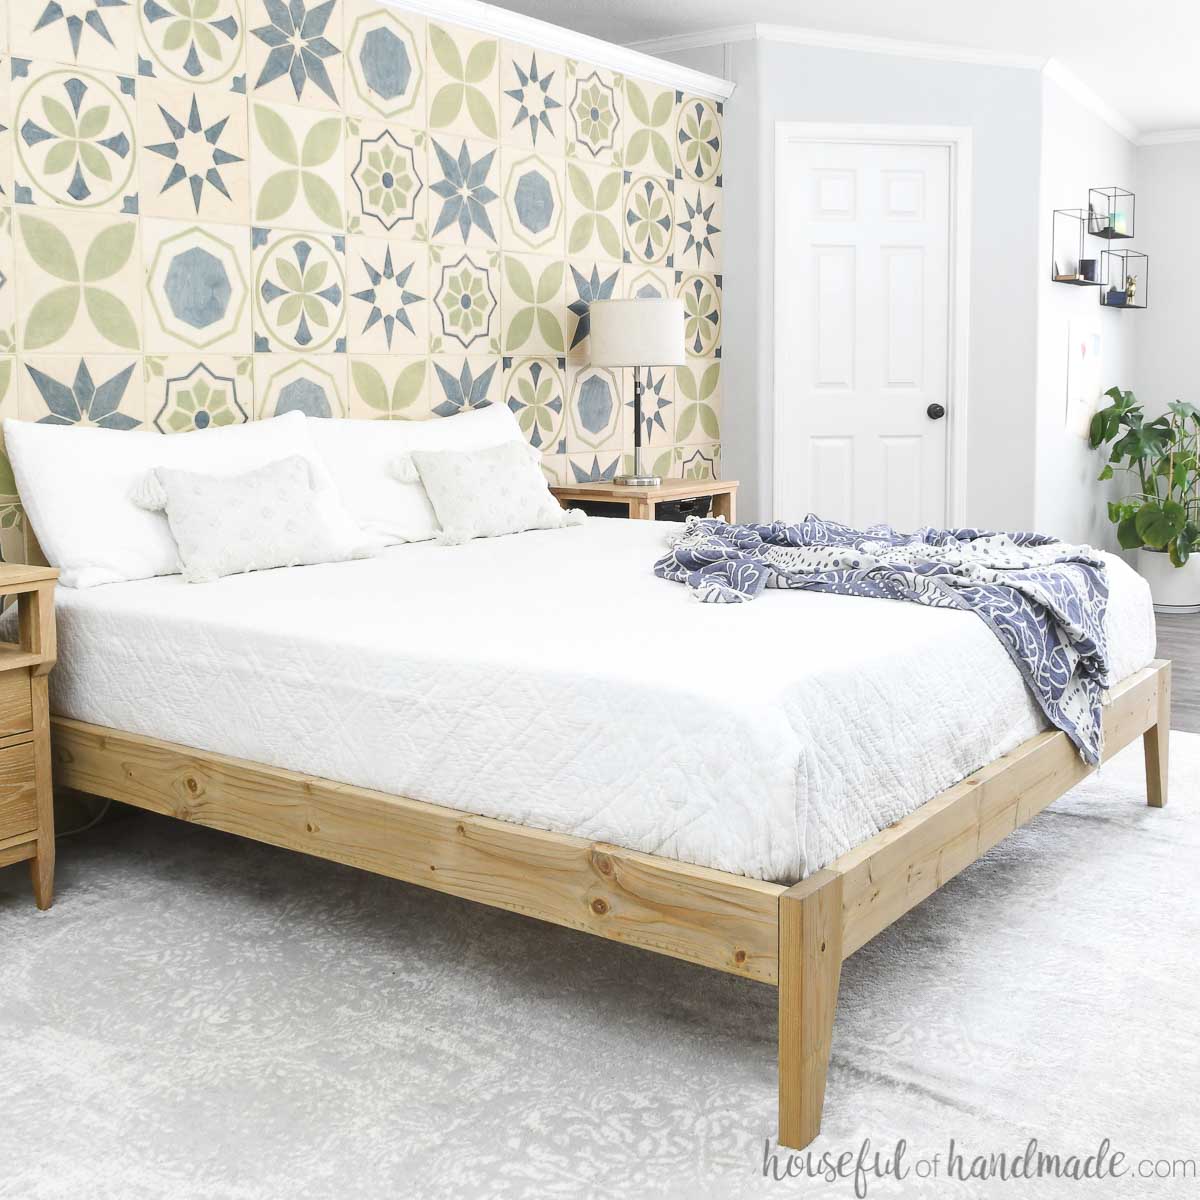
For this easy DIY queen bed I used a plywood base. It is easy to cut 2 pieces of 3/4″ plywood that fit into the mattress platform area. The plywood is not secured at all, it just sits on the rails.
To build your own slats, cut 1×4 boards (actual size is 3/4″ x 3 1/2″) so they are the length of your platform area width. Secure them along the rails at the spacing needed for your mattress.
Or you can create notches in the rail supports to slip them into, but that is a little more advanced.
How to Build a Bed
Tools & Materials
Recommended Tools:
- Miter saw
- I recently upgraded to this larger sliding miter saw (watch for it to go on sale), but all my projects before were built with this inexpensive miter saw that I loved.
- Circular saw with guide track
- Only needed if you have plywood in your design or for a plywood base.
- Pocket hole jig
- Drill
- Impact driver (optional, but I love not having to switch bits with the drill)
- Speed square
- Clamps
- Flush cut saw
- Sander
Supplies:
- Lumber
- 4×4, 2×2, 2×4 or 2×6 boards for the legs
- 1x or 2x boards for the rails
- 2x boards for the rail supports
- 1x, 2x boards or plywood for the headboard design
- 3/4″ plywood or 1×4 boards for the mattress support
- 1 1/4″ and/or 2 1/2″ pocket hole screws
- Wood screws
- Bed rail brackets
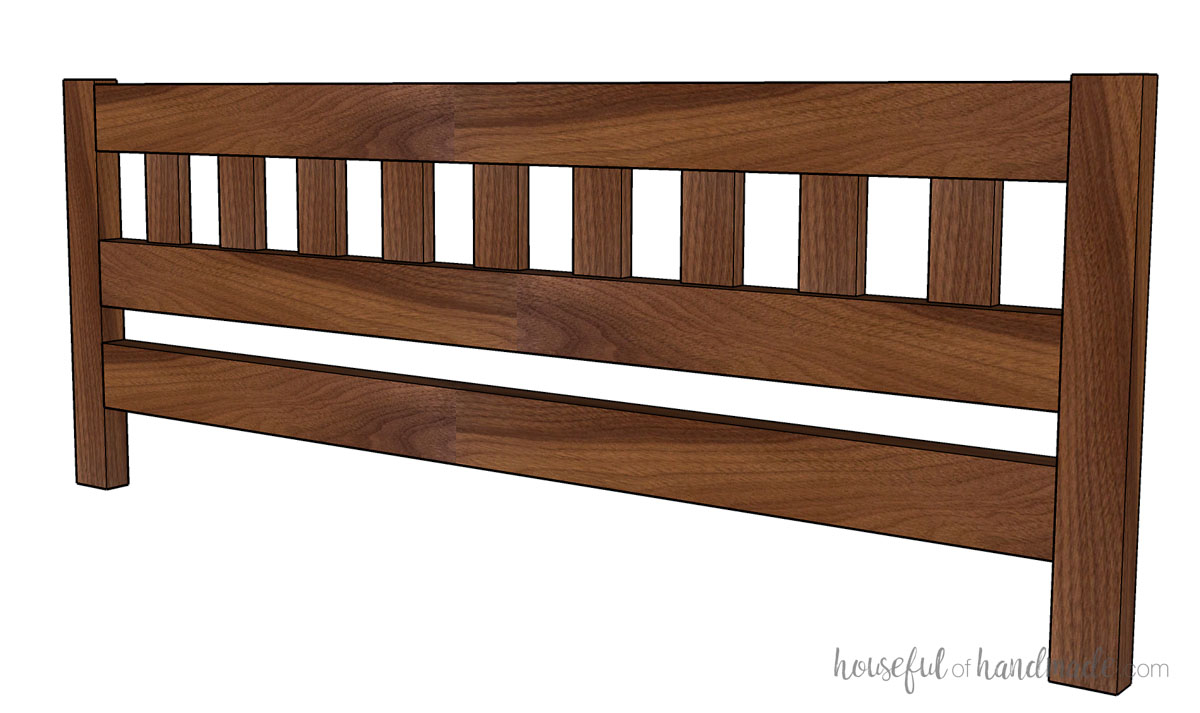
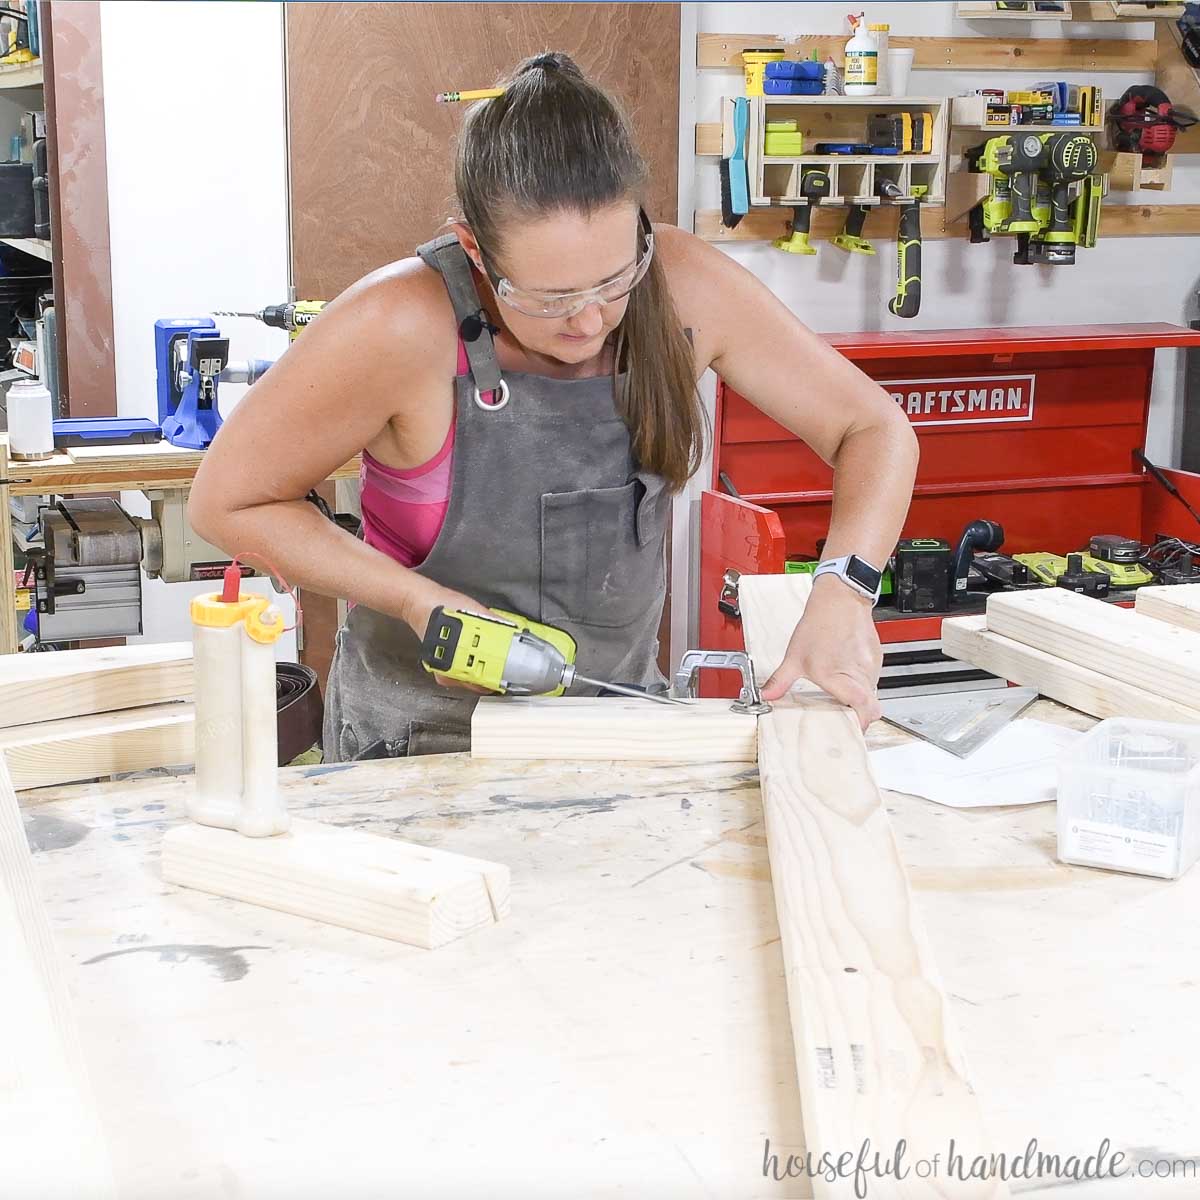
STEP 1- Build the Headboard
Your headboard will be boards attached between two legs. The legs can be chunkier 4×4 boards, flat 2×4 or 2×6 boards, or minimal 2×2 boards.
Consider the size of your bed and the weight it will hold when determining the size of boards for the legs. Bigger legs will create a sturdier bed.
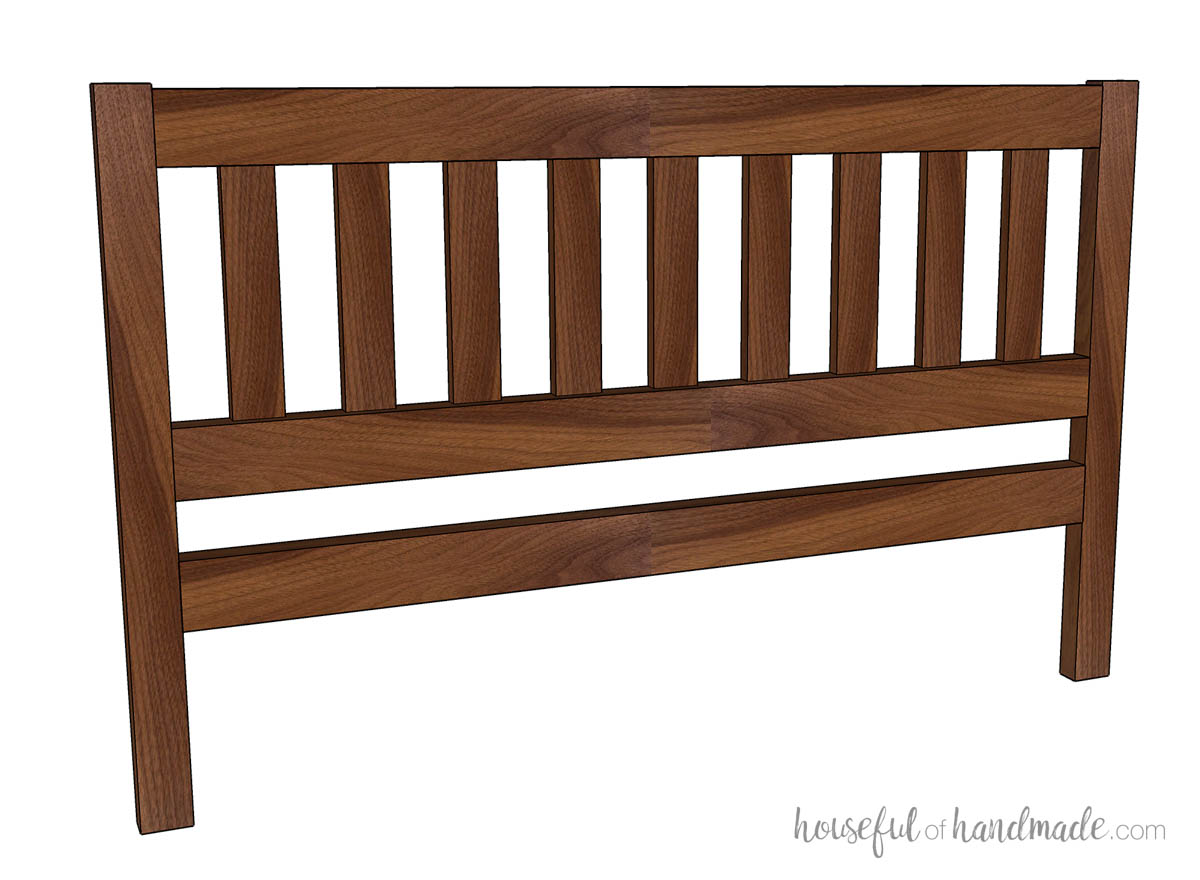
Pocket holes are a great way to attach the boards between the legs.
The pocket holes will be hidden on the back of the headboard which is up against the wall. And pocket holes are easy, but very strong.
EXPERT TIP:
Use 1 1/4″ pocket hole screws for pocket holes in 3/4″ thick lumber and use 2 1/2″ pocket hole screws in 1 1/2″ thick lumber.
When deciding how wide your headboard will be, you need to look at where the rails will attach to the legs.
You need to have the space for the platform area (as noted above) between the two rails.
If your rails will be set in from the edge of the headboard or footboard, your headboard will need to be wider to ensure you have enough space for your mattress.
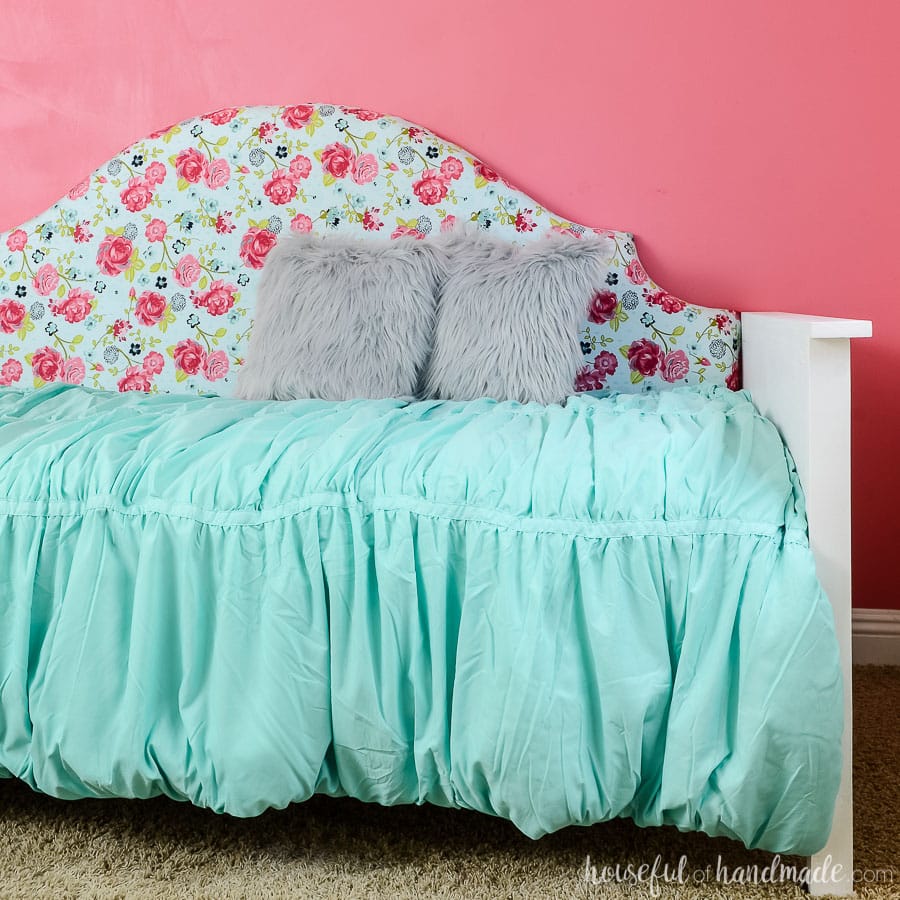
If building a day bed, the pieces might be a little confusing.
The side pieces are the headboard and footboard (built mirrored). And the back of the bed that sits against the wall is actually one of the side rails.
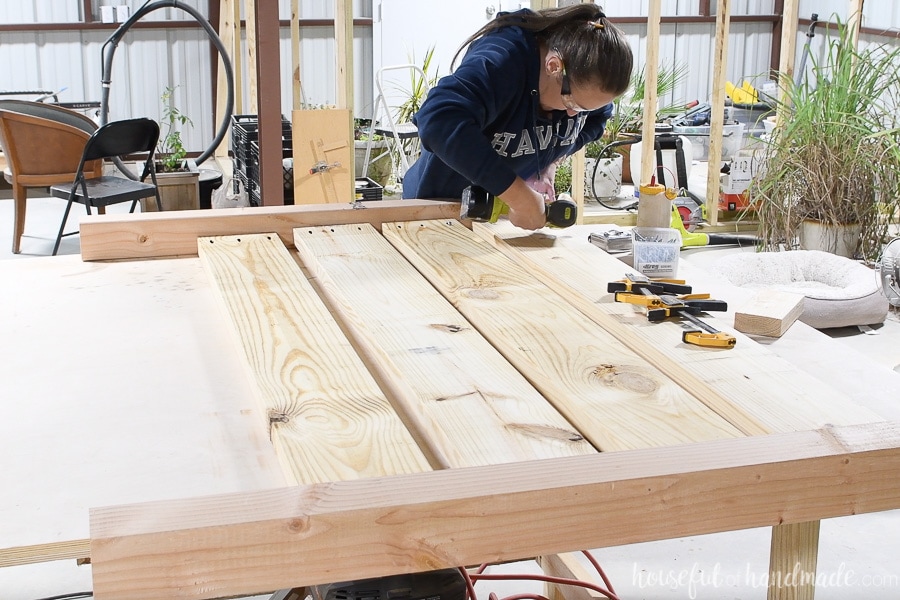
STEP 2- Build the Footboard
The footboard is built the same as the headboard. Usually the footboard is a shorter version of the headboard.
If you want to have your footboard flush with the top of the mattress, make sure to determine the rail depth (below) and mattress support before designing it.
If using pocket holes to assemble the footboard, make sure to fill your pocket holes with plugs or wood filler so you do not have holes up against the bedding.
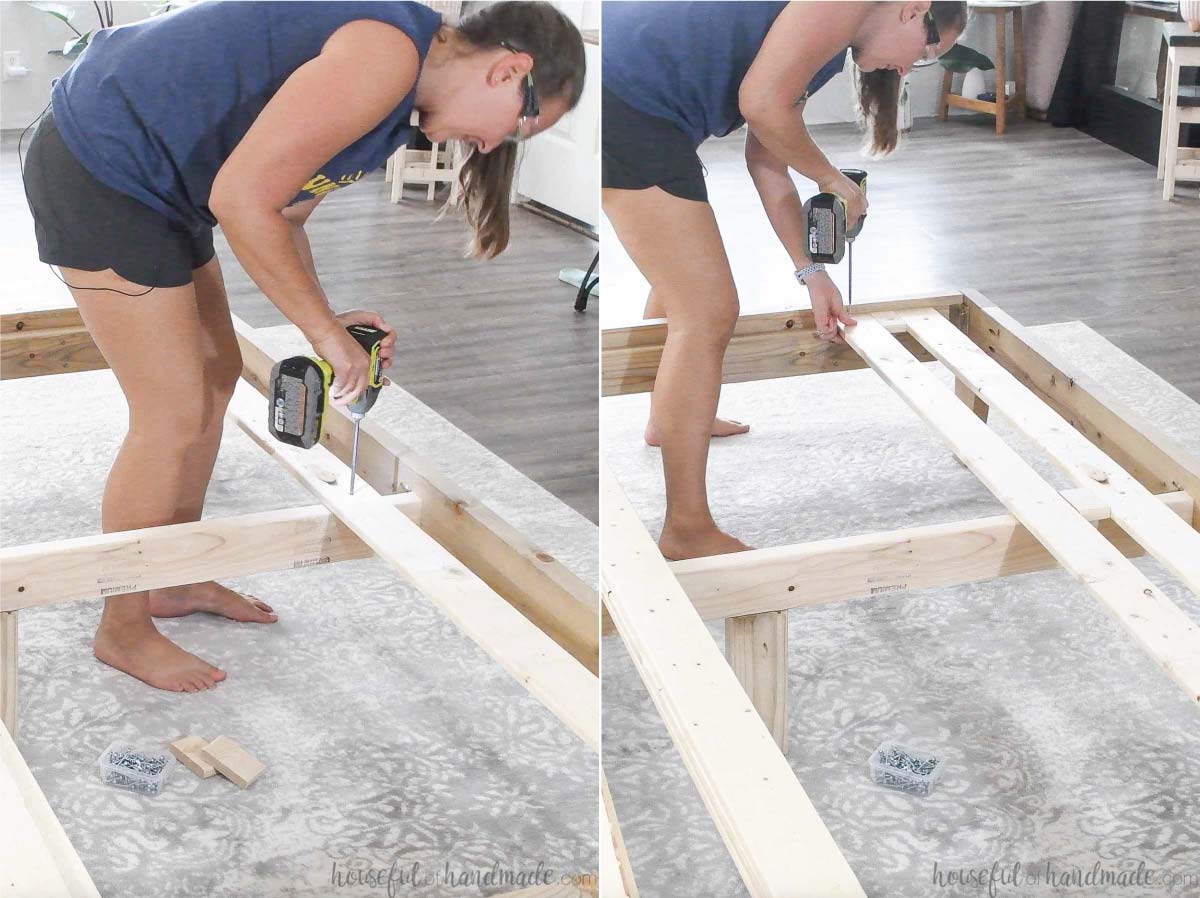
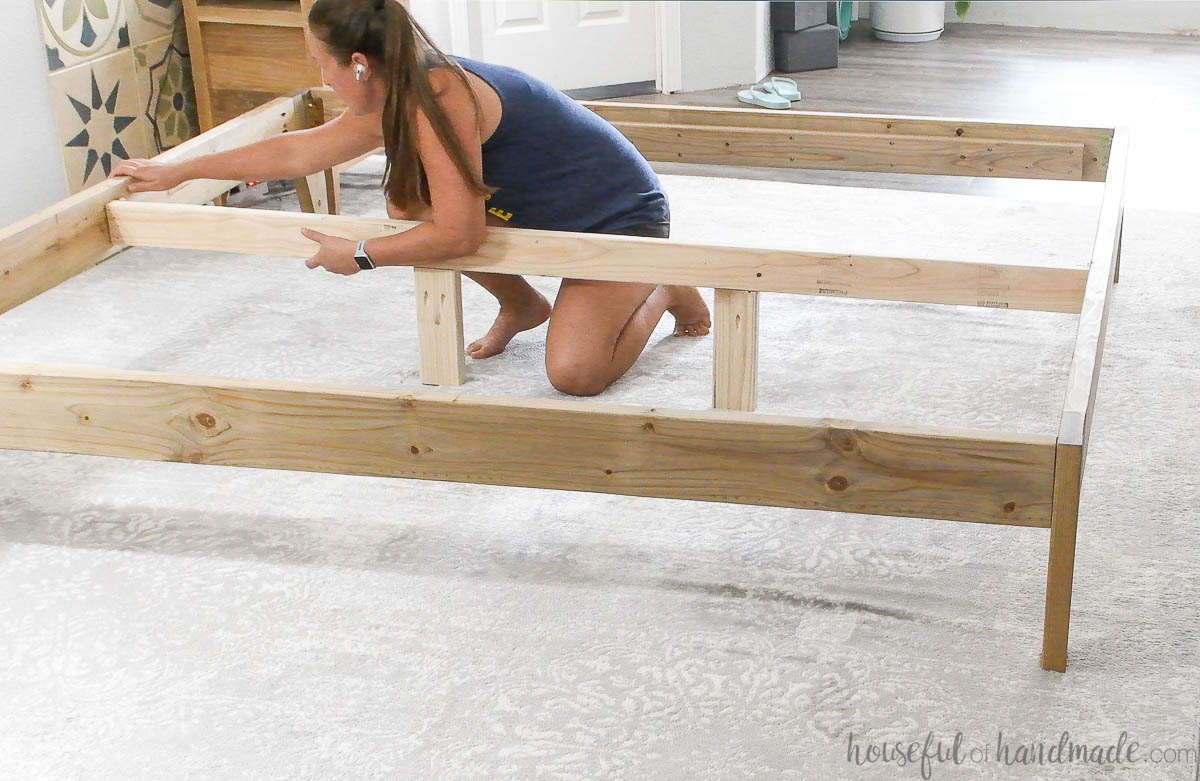
STEP 3- Build the Side Rails
Cut your side rail boards the same length as the mattress length area.
If using 1x boards (3/4″ thick), I recommend 1×6 or wider boards for a sturdy bed. For 2x boards (1 1/2″ thick), you can go as narrow as a 2×4.
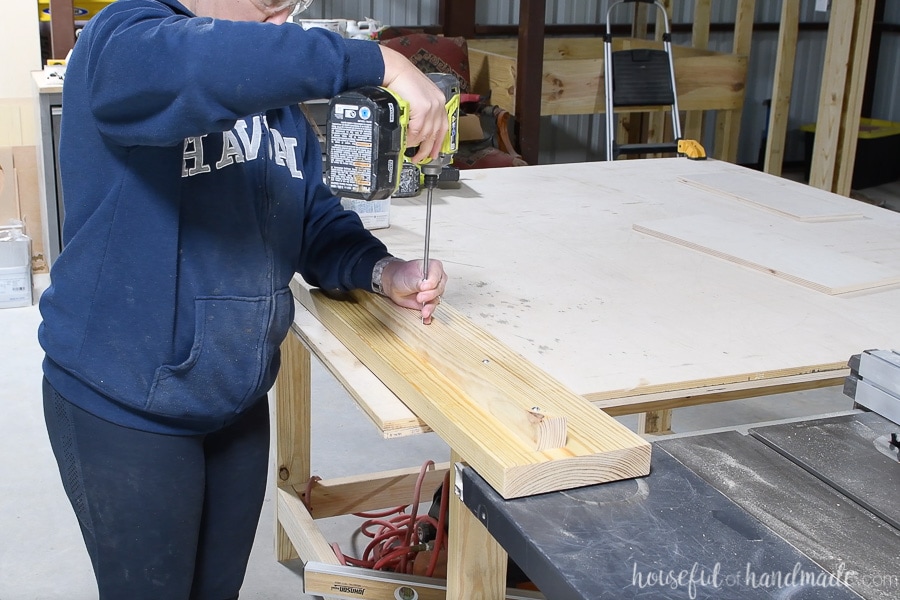
Cut 2x boards for the inside of the side rails to create a ledge for the mattress support to rest on. I prefer a 2x board over a 1x board so you can attach the mattress support without splitting the wood.
These will need to be cut shorter than the rails so they are not in the way of the bed rail brackets. Usually a couple inches on each end will be enough.
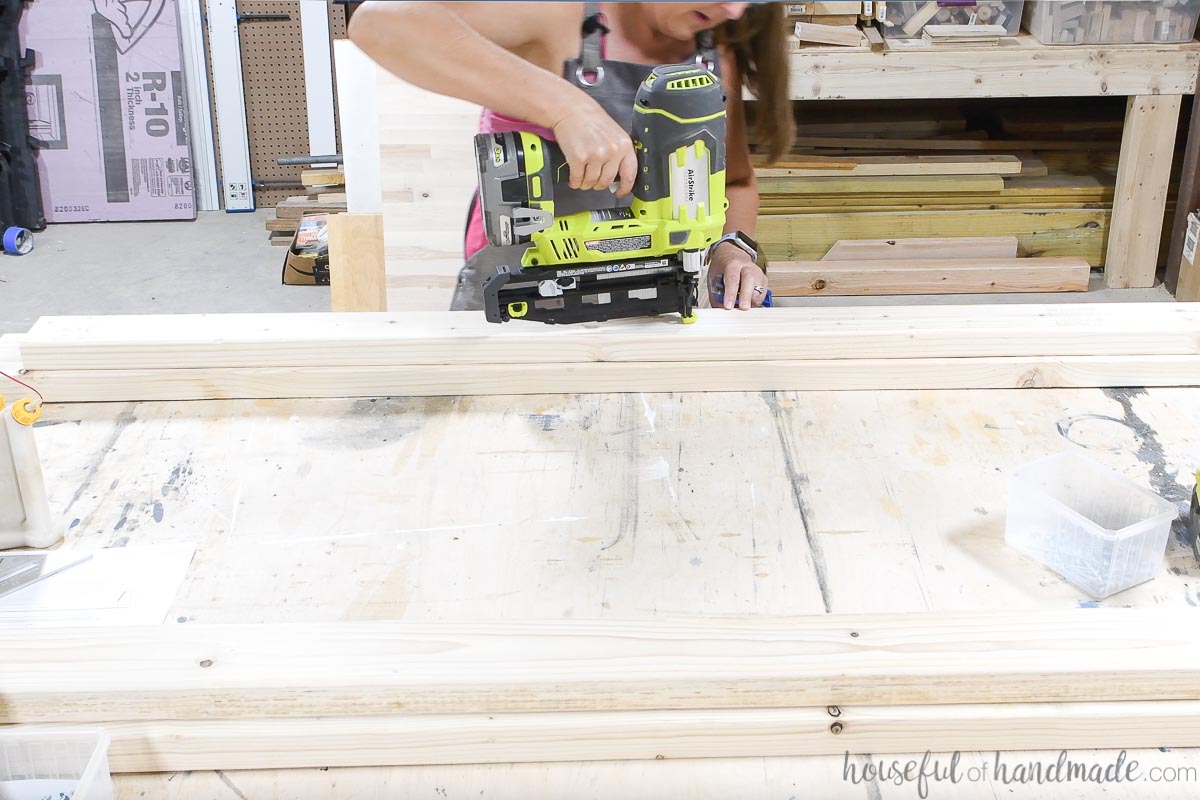
Attach the 2x boards with wood glue and screws directing into the side rails.
EXPERT TIP:
Use a brad or finish nailer to temporarily hold the 2×2 board in place while you secure with screws.
Where on the side rails you attach these supports will determine how deep your mattress sits in the bed frame.
If you want the mattress flush with the top of the rails, and are using 3/4″ plywood or slats as the support, attach them 3/4″ below the top edge.
If you are using a box springs and want it mostly hidden by the side rails, attach it toward the bottom edge.
STEP 4- Build the Center Rail
For all beds, except a twin, you will want a center rail to prevent sagging.
I usually use a simple 2×4 for the center rail. It is completely hidden from view and does not need to match the side rails.
You will want to put 1 or 2 feet on the center rail in to support the middle of your bed.
The center rail will need to be at the same height as the rail support 2x boards. Determine that height and then subtract the width of your center rail (3 1/2″ for a 2×4) from it to determine the leg measurement.
Attach the leg to the center rail with wood glue and pocket holes.
If your rail support 2x2s are at the bottom of your rails, you may need to use a 2×2 instead because the 2×4 will be visible under the rails or where it connects to the headboard and footboard.
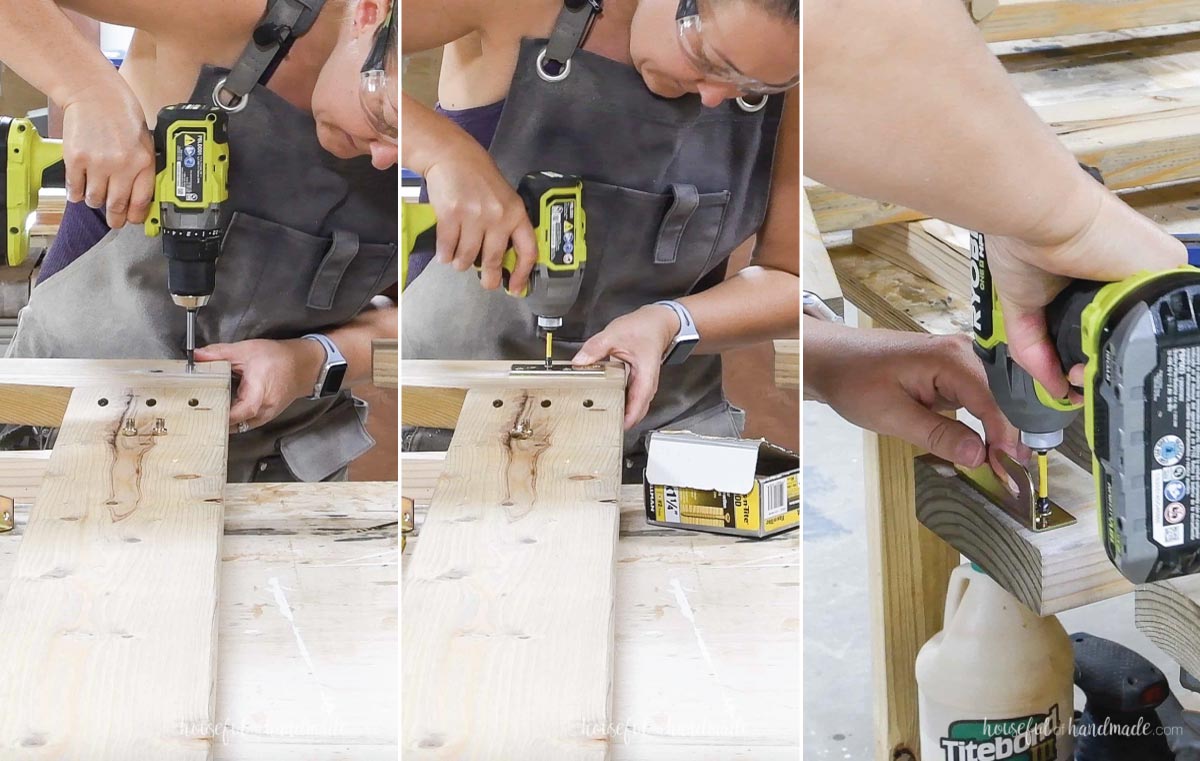
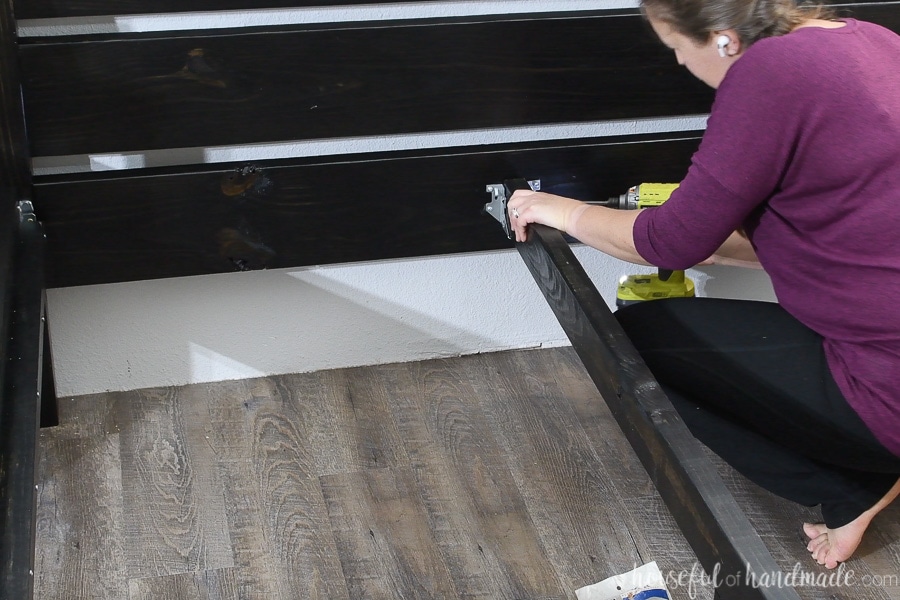
STEP 5- Finish and Assemble your Bed
Sand and finish all the pieces: headboard, footboard, 2 side rails and center rail.
Attach your bed rail brackets to the legs and side rails according to their specific instructions. If you have a wide side rail boards you may want to add 2 sets per rail.
Attach the center rail to the headboard and footboard either with a 3rd set of the bed rail brackets or inexpensive 2×4 joist hangers.
With the bed completely assembled, you can add your mattress support and secure it if needed.
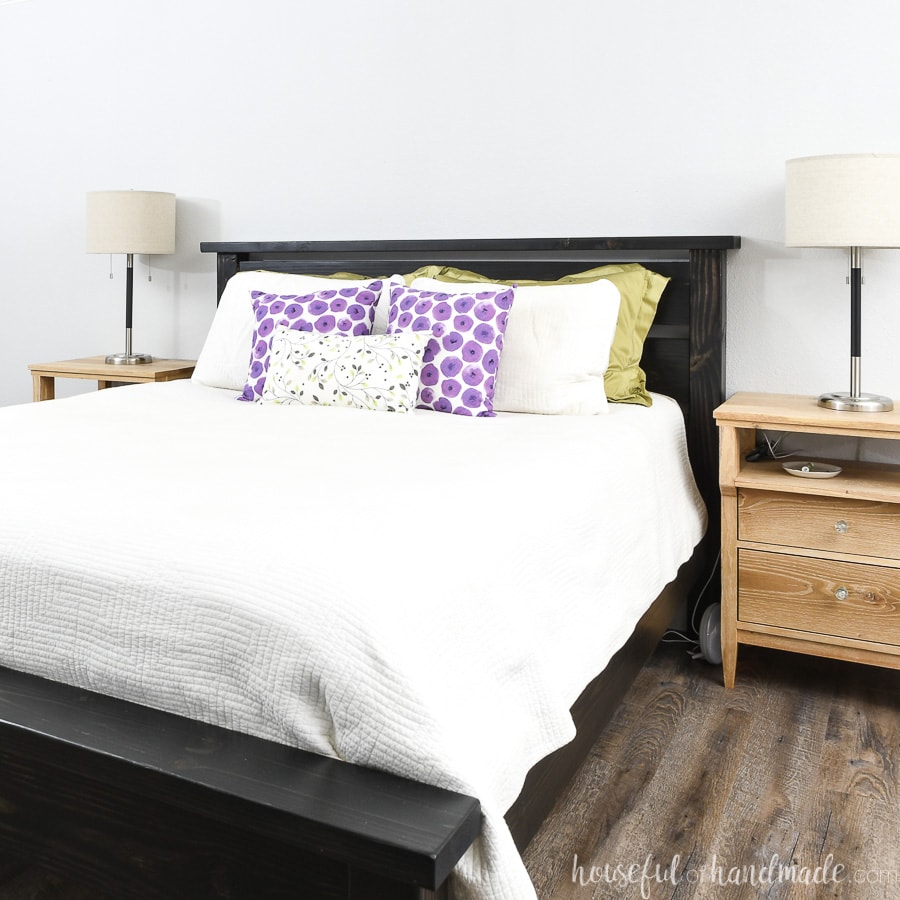
And you did it!
Your new DIY bed is ready for a mattress and you are ready a good nights sleep.
DIY Bed Ideas
Don’t want to design your own, or just need a place to get you started? Check out these detailed bed tutorials:
Happy building!
