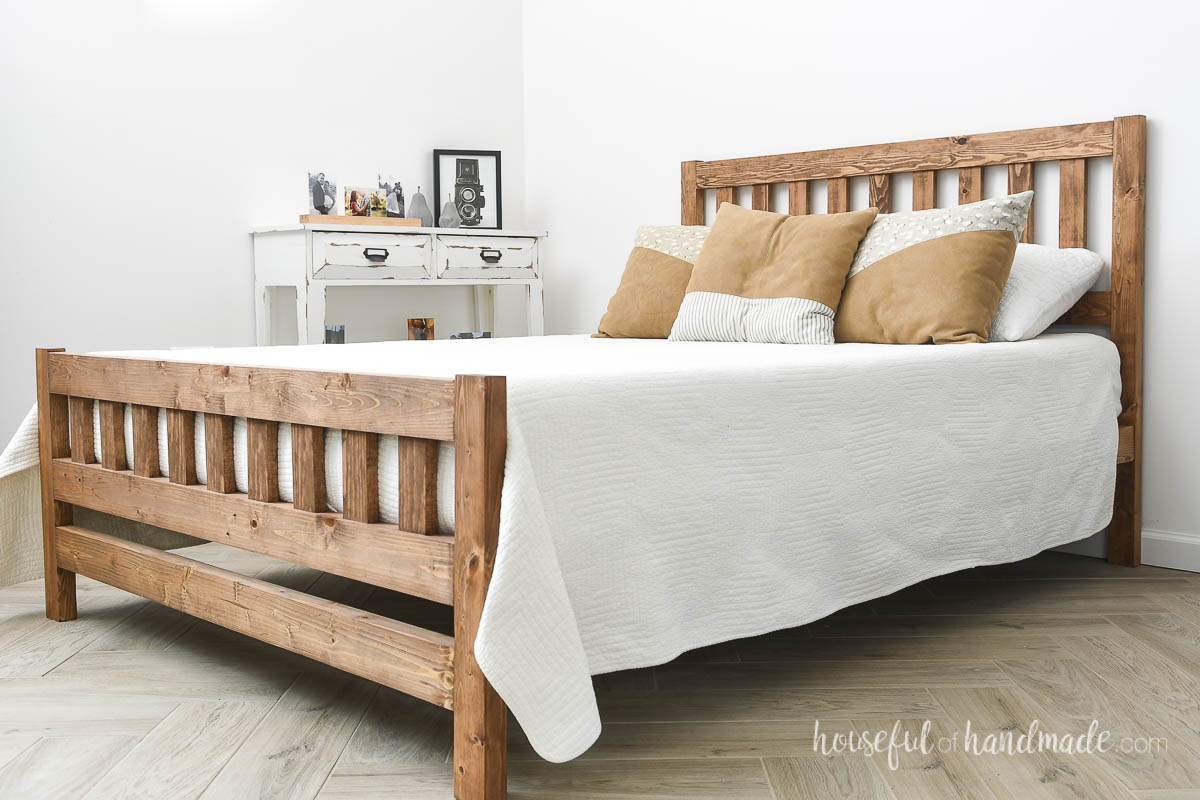
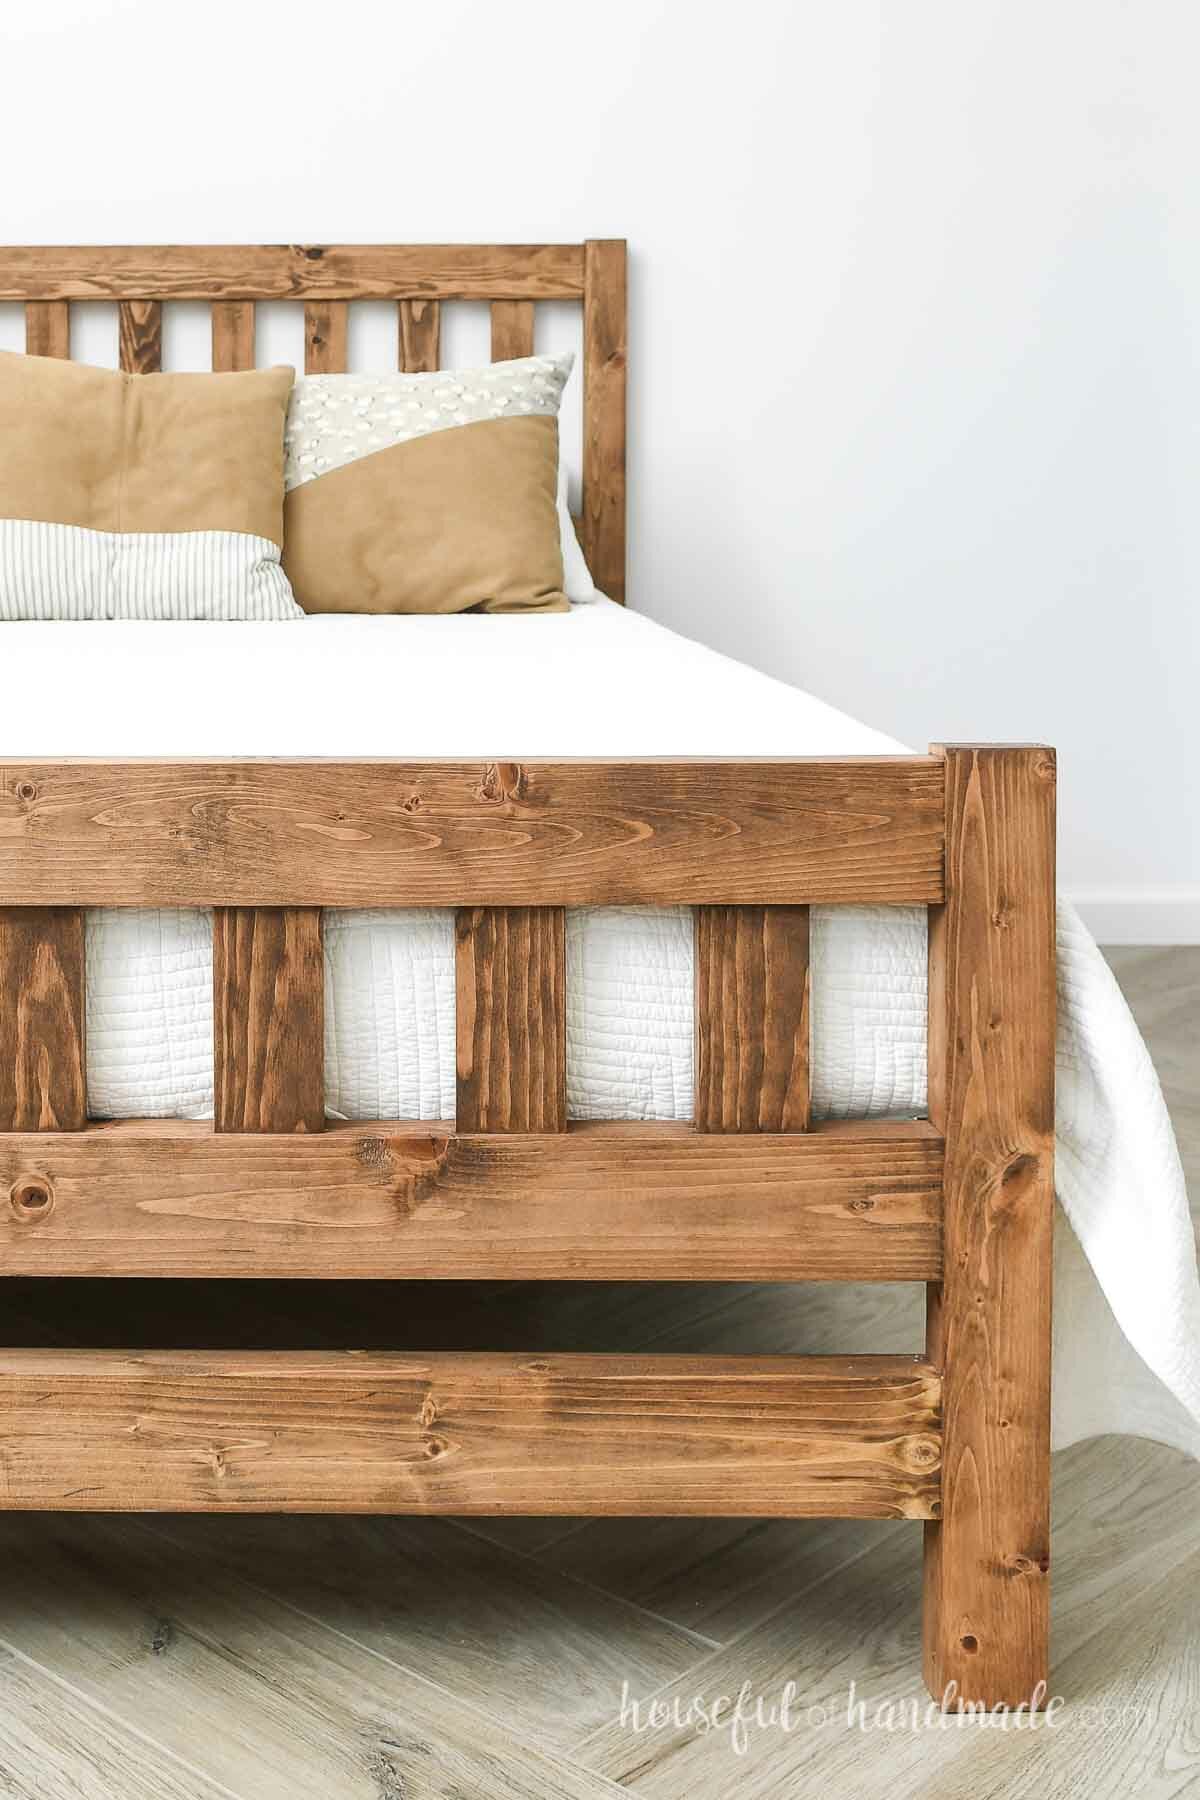
Who would have thought a few 2x4s and 2x3s could look so good? This simple DIY bed makes boring lumber look high end!
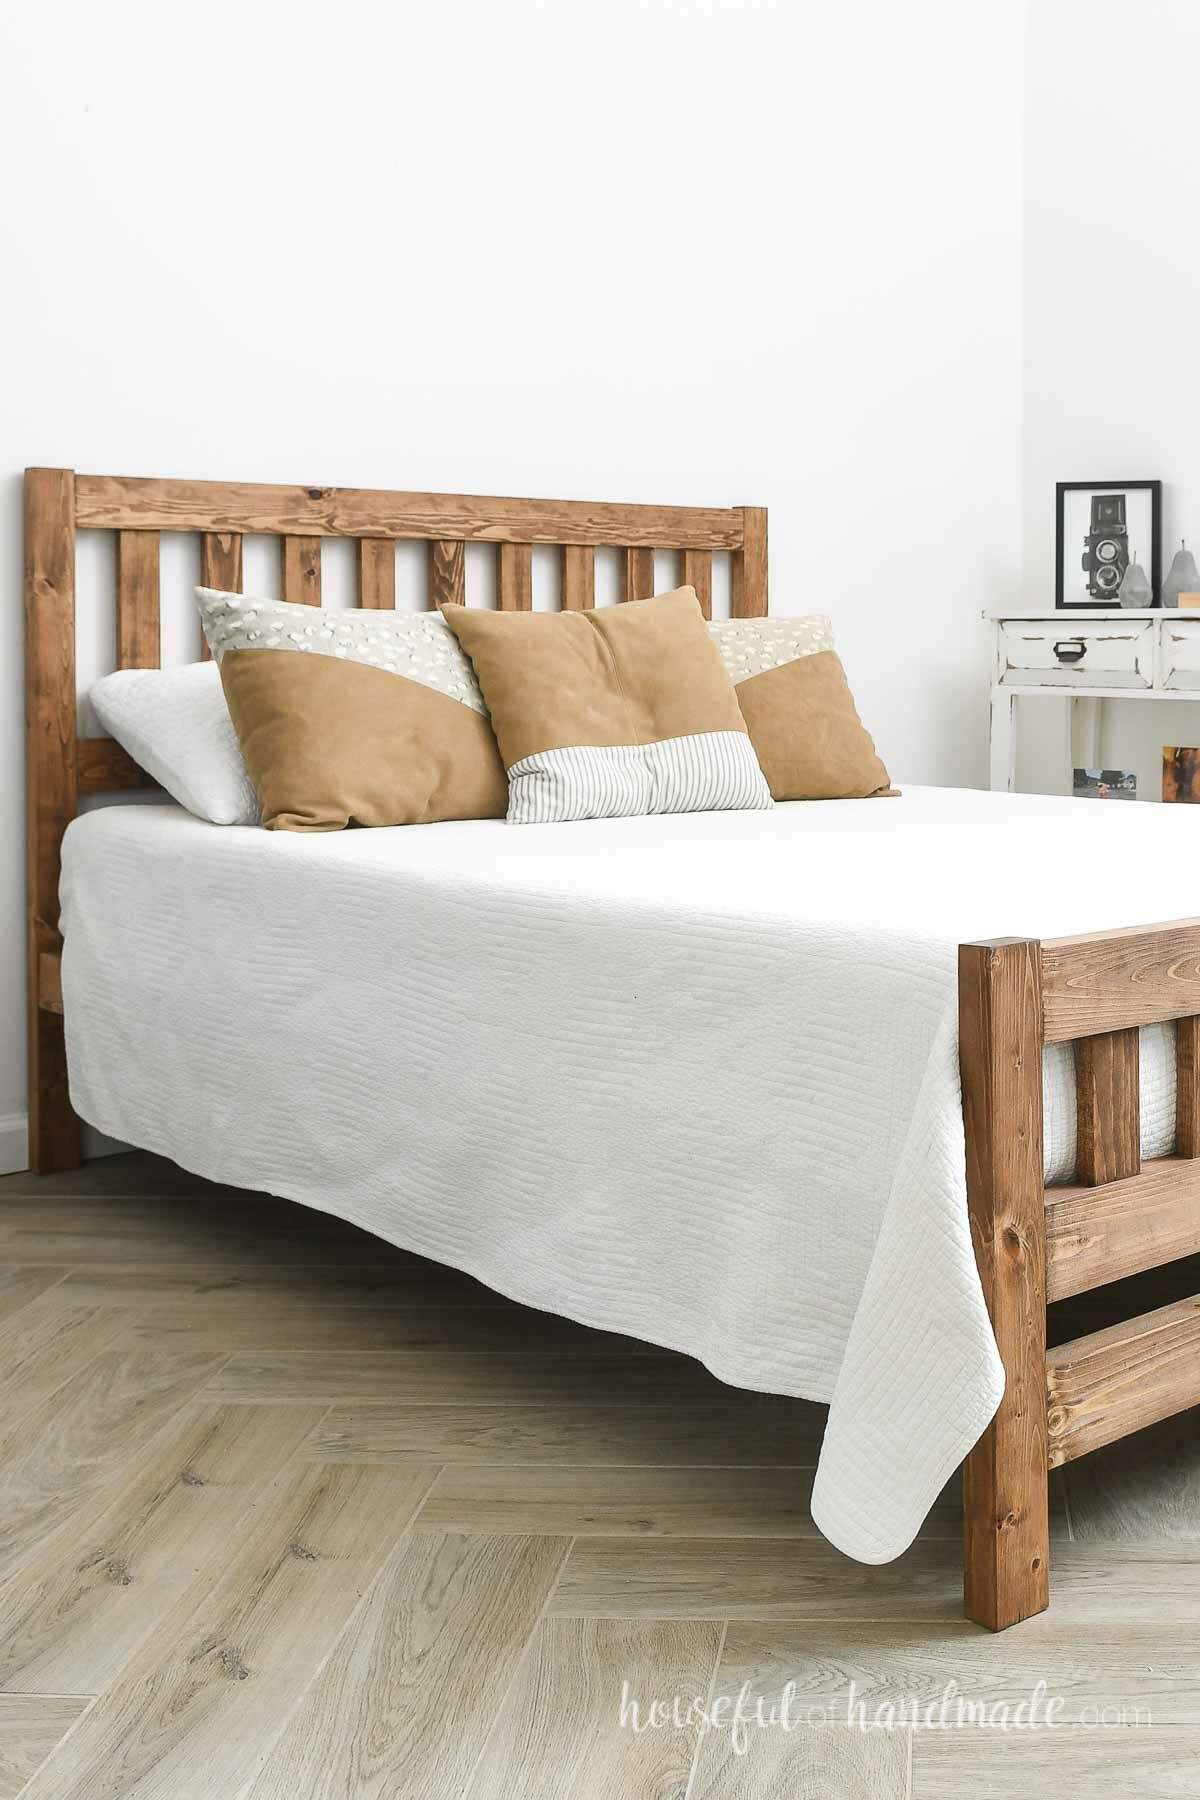
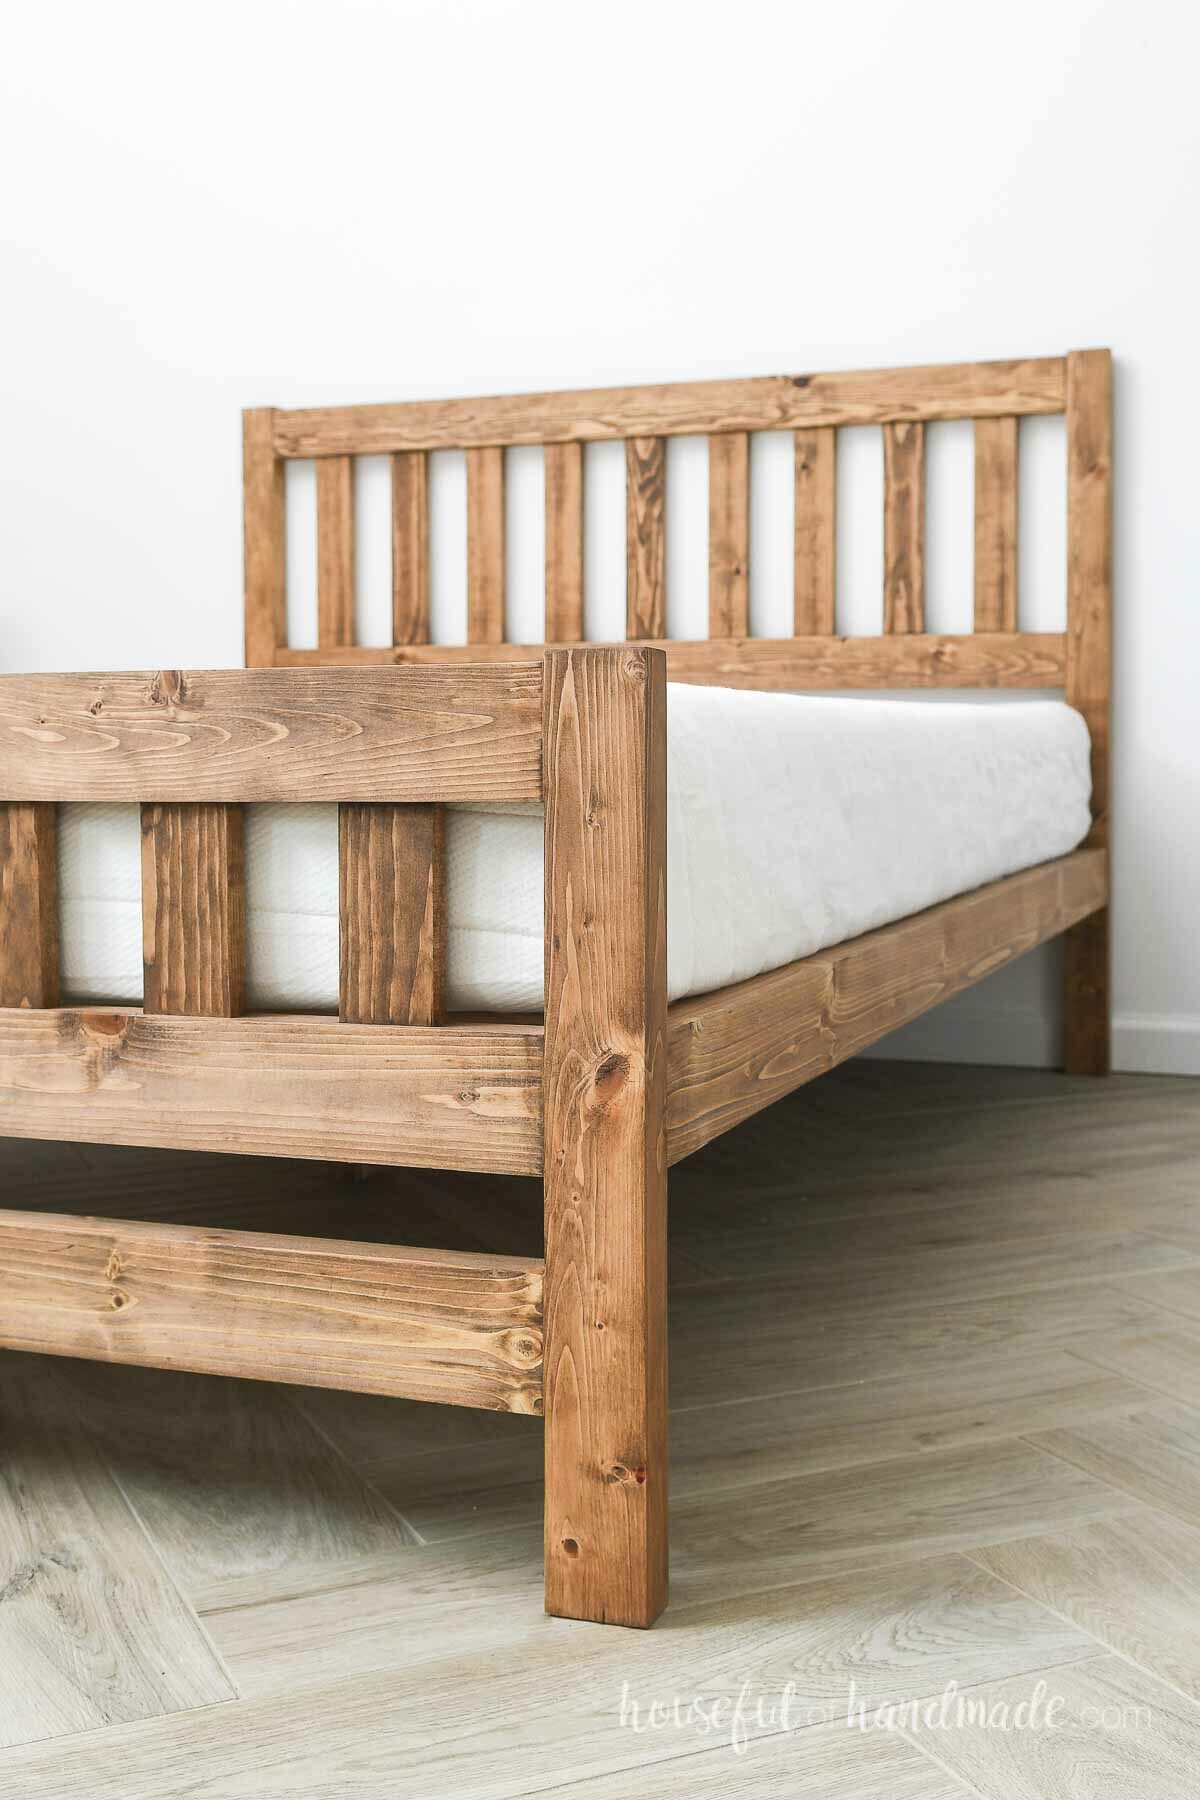
The platform bed holds a modern mattress that does not require a box spring. This gives your bed a low profile look. Plus you end up with lots of room underneath for storage.
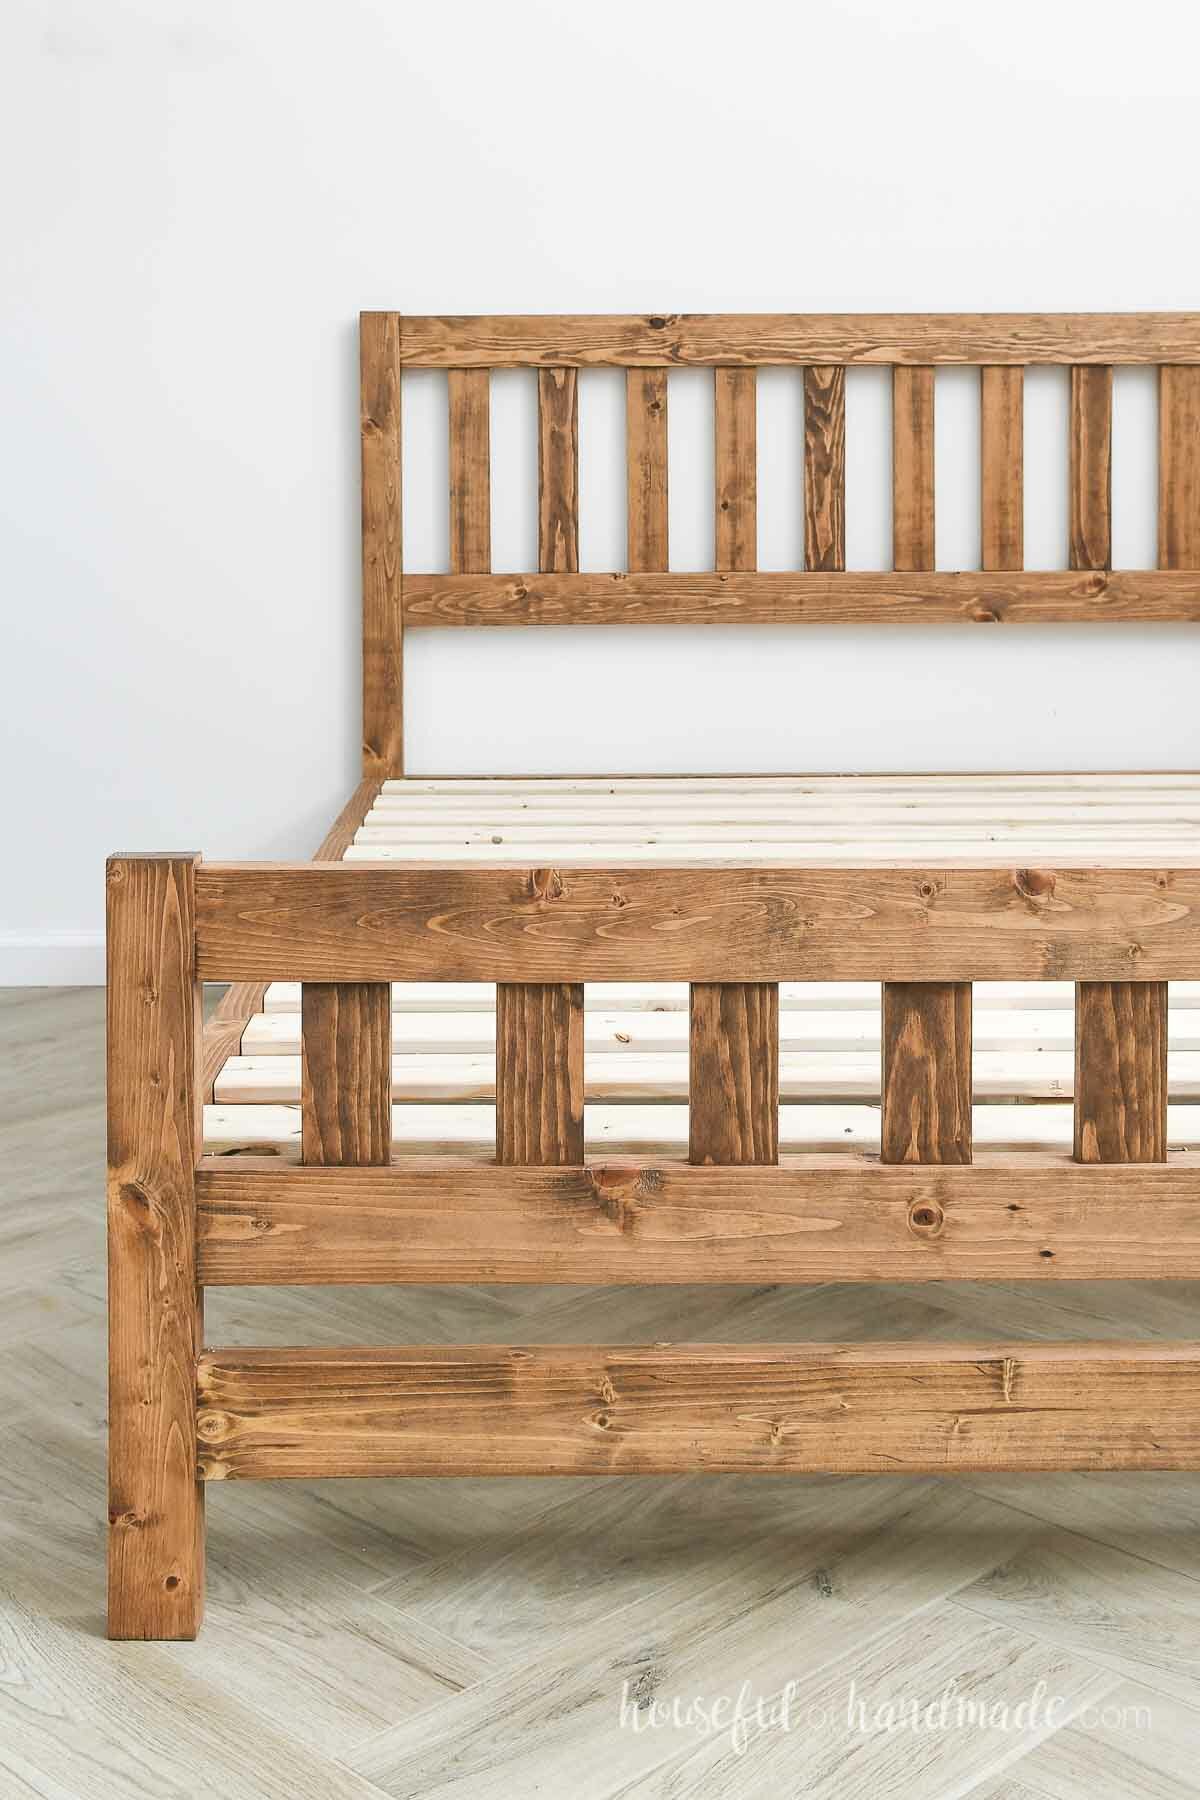
The beautiful bed has a simple headboard and footboard made from vertical slats between horizontal rails. It adds a touch of classic style to a very simple design.
This post may contain affiliate links. As an Amazon Associate I earn from qualifying purchases. Click here to read my full disclosure policy.
I partnered with Kreg Tools to share this DIY bed build. This bed is fast & easy to build thanks to the Kreg Pocket Hole Jig!
You will love how you can build your own bed in the same time then it takes to drive and go pick one out in the store. And I am sharing the plans for the full sized bed for free.
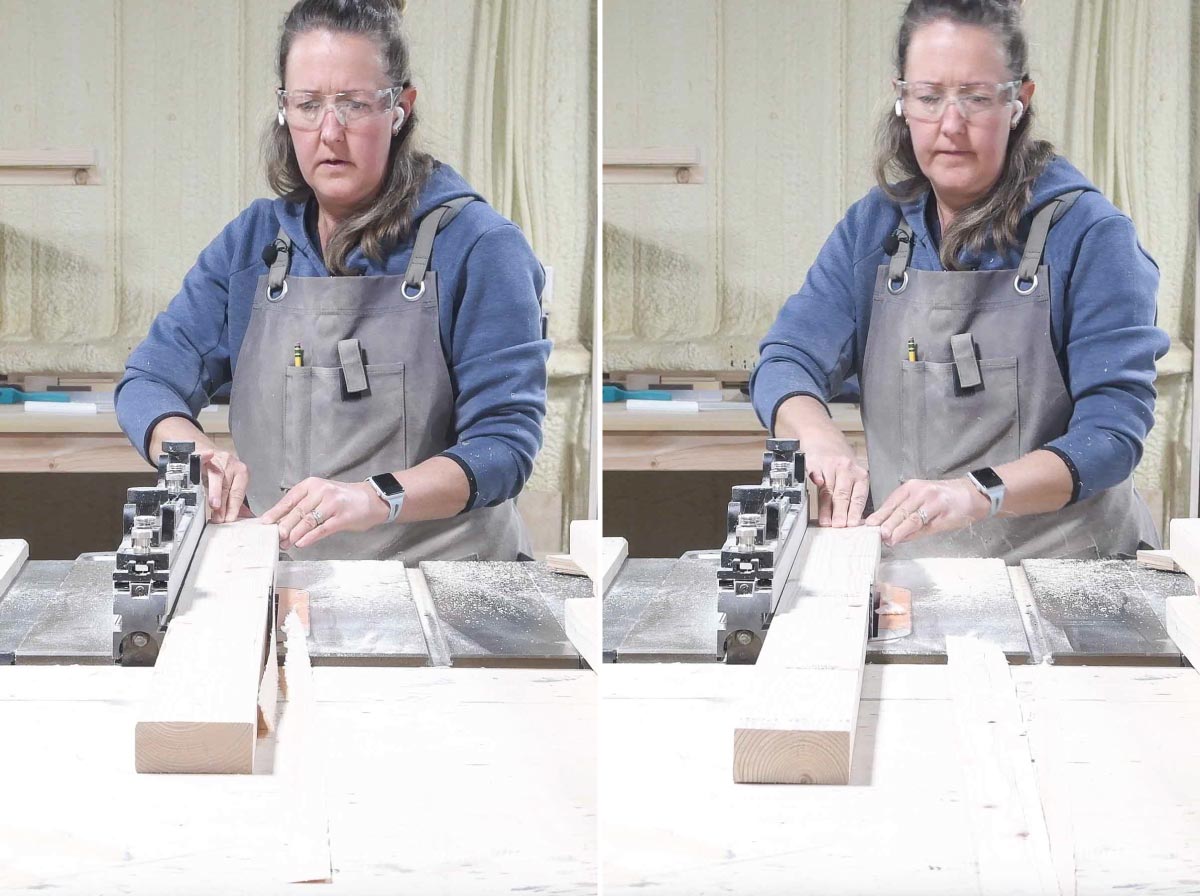
Squaring off 2×4 Boards
To make inexpensive lumber look high end, it started with squaring off the edges of the 2×4 boards.
Using my table saw, I cut 1/8″ off each side of the 2×4. This left me with a 3 1/4″ wide board instead of the standard 3 1/2″ wide 2×4.
Because I cut down these boards, I had to adjust the length of the headboard and footboard slat boards. Each board was cut 1/2″ longer (since each board was 1/4″ narrower).
The measurements for the full bed shared on KregTool.com are for 3 1/2″ wide boards. So make sure to add 1/2″ to the headboard and footboard slats measurement when cutting if you choose to square off your 2x4s too.
Also, instead of buying 2×3 boards, I just ripped down 2 1/2″ wide boards from 2x4s as well. This made sure I had the proper leg size without curved edges.
This is not a necessary step and you can have professional looking projects without this extra step. I did not do this for the beautiful platform bed frame in my bedroom. And it’s still one of my favorite easy builds!
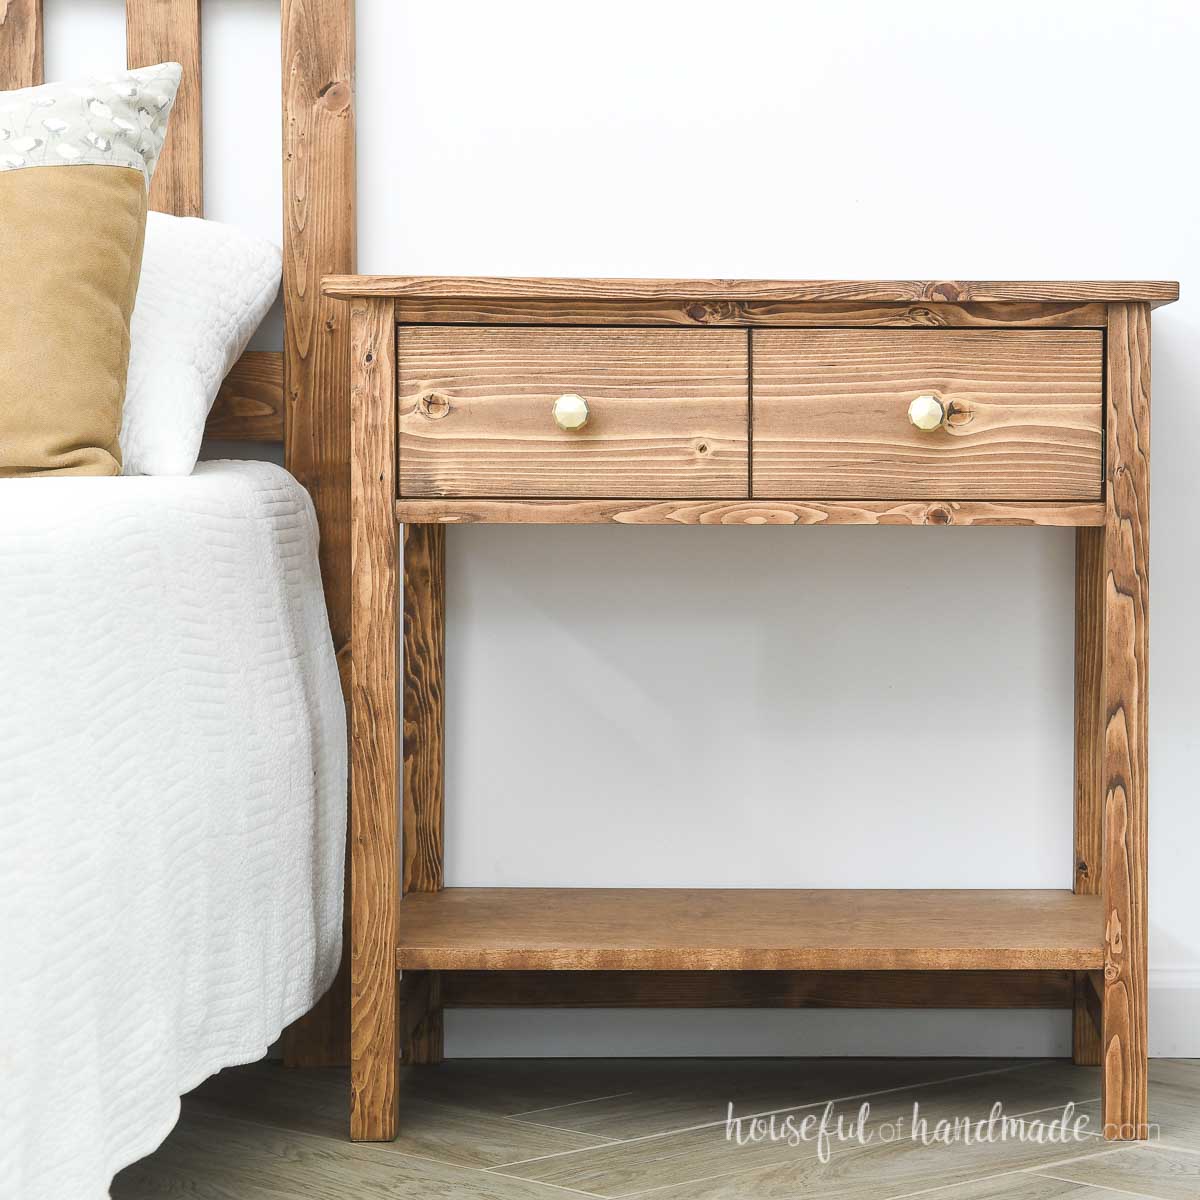
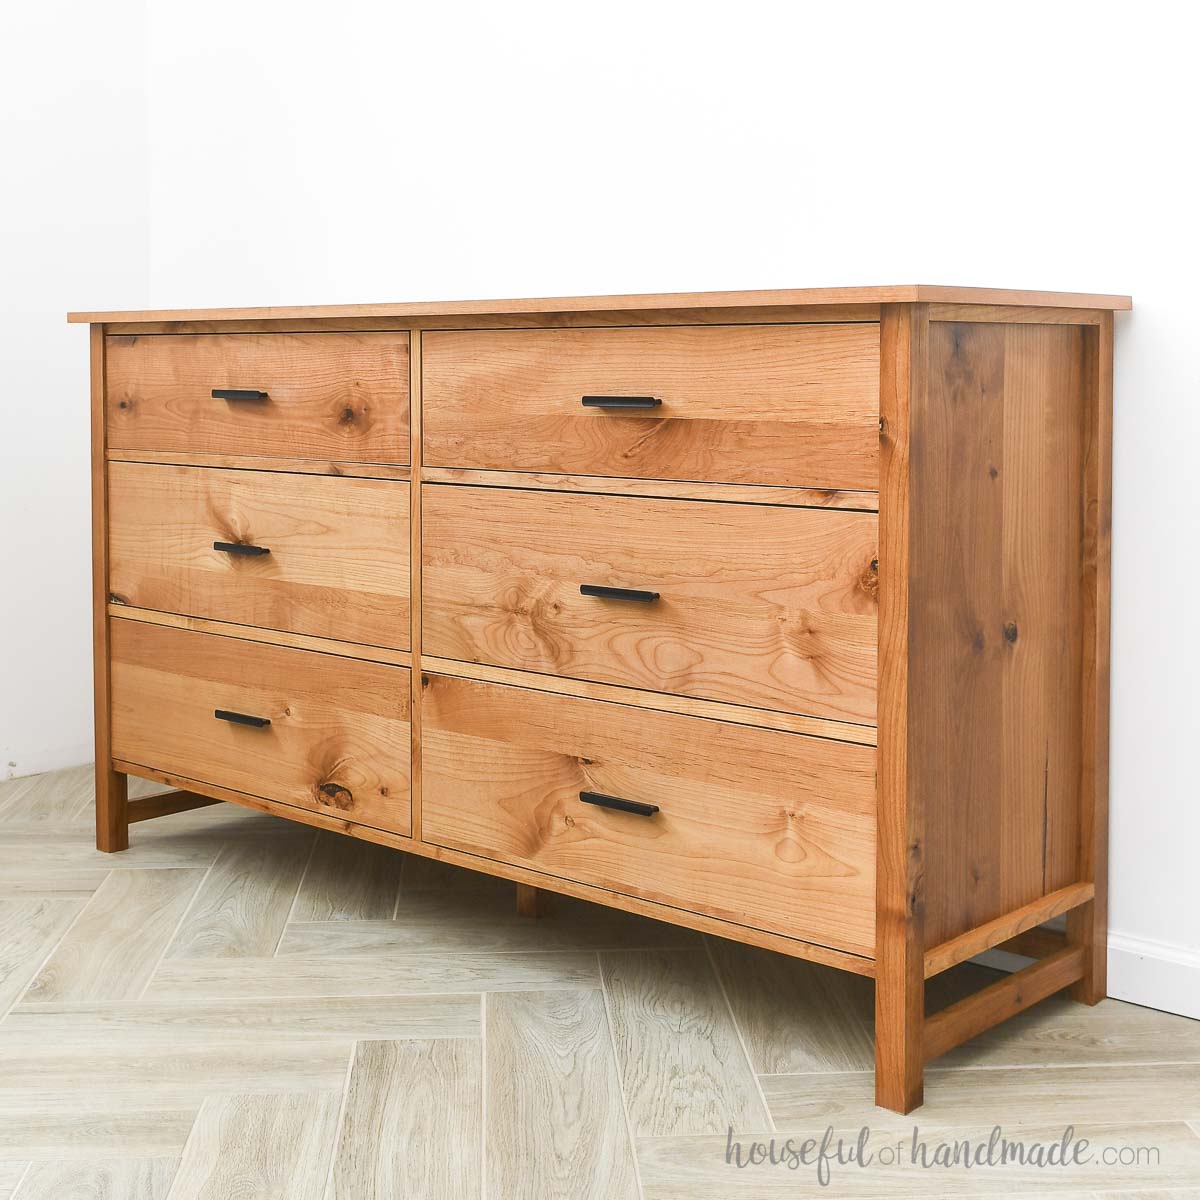
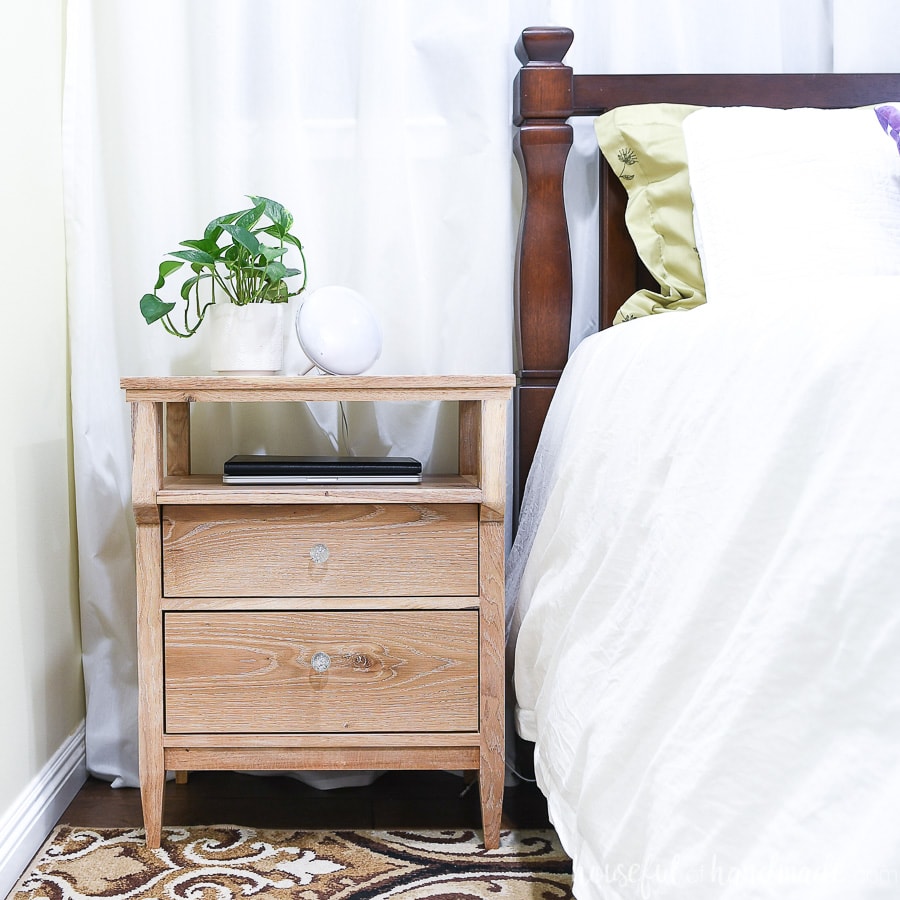
More DIY Bedroom Furniture
Decorate your whole bedroom with furniture you made yourself.

How to Build a Simple Platform Bed
Tools & Materials
Recommended Tools:
- Miter saw
- I recently upgraded to this larger sliding miter saw (watch for it to go on sale), but all my projects before were built with this inexpensive miter saw that I loved.
- Pocket hole jig
- Drill
- Impact driver (optional, but I love not having to switch bits with the drill)
- Face clamps
- Kreg Quick flip
- Sander
Supplies:
- Wood products
- (2-8) 2×4 boards, 8′ long
- (0-3) 2×4 boards, 10′ long
- (2-3) 2×3 boards, 8′ long
- (2-3) 1×3 boards, 8′ long
- (2) 2×2 boards, 8′ long
- 1 1/4″ pocket hole screws
- 2 1/2″ pocket hole screws
- 2-3 pair bed rail brackets
- Wood glue
- Sandpaper
- Paint, stain and/or sealer
Overall Dimensions
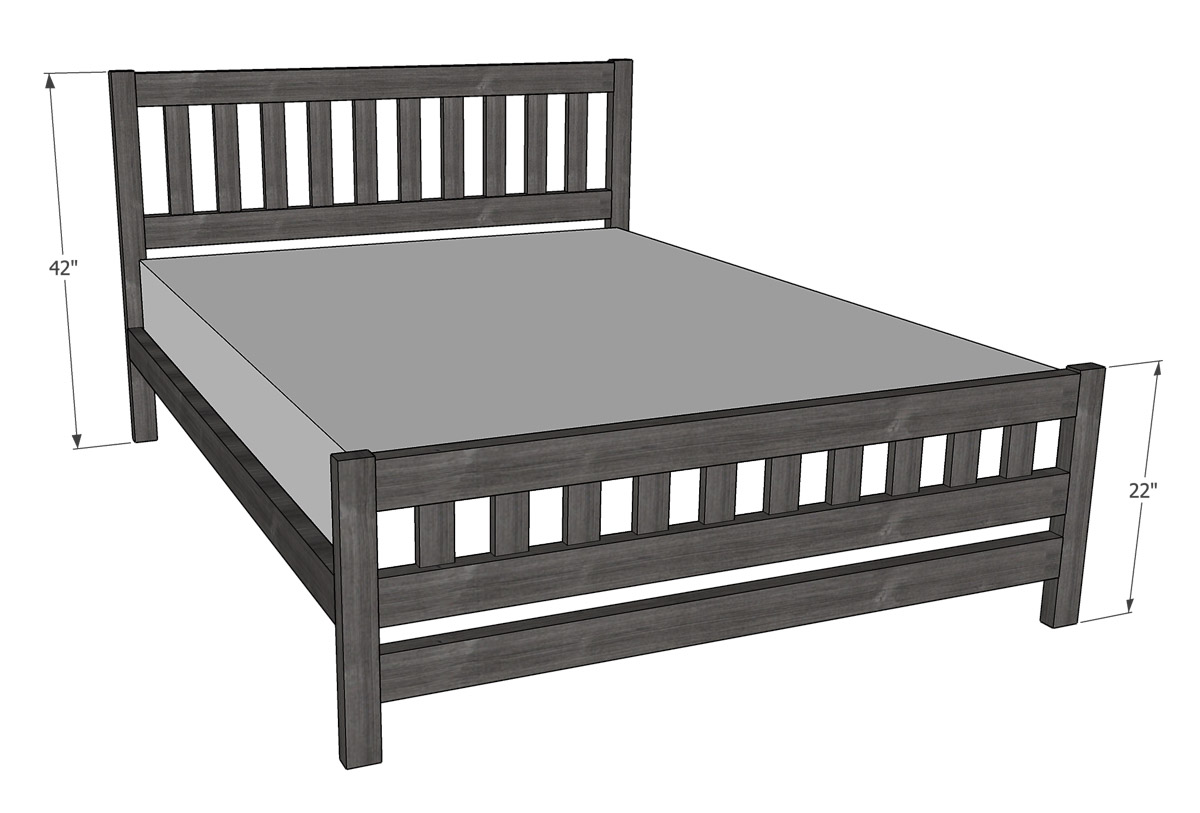
The headboard is 42″ tall and the footboard is 22″ tall. There is 10″ of space under the bed (perfect for storage). The picture below shows the bed with a 8″ thick mattress on it.
The mattress platform for each bed is:
- Twin- 38 1/2″ x 75 1/2″ platform for a 38″ x 75″ mattress
- Full- 54 1/2″ x 75 1/2″ platform for a 54″ x 75″ mattress
- Queen- 60 1/2″ x 80 1/2″ platform for a 60″ x 80″ mattress
- King- 76 1/2″ x 80 1/2″ platform for a 76″ x 80″ mattress or two 38″ x 80″ mattresses (twin XL)
- California King- 72 1/2″ x 84 1/2″ platform for a 72″ x 84″ mattress
Cut List
The build plans for the full size bed is shared for free on KregTool.com. Click here for the cut list and plans.

For all other sizes, specific measurements for each size (including number of boards needed) can be found in the detailed PDF build plans here.

STEP 1- Assemble the Footboard
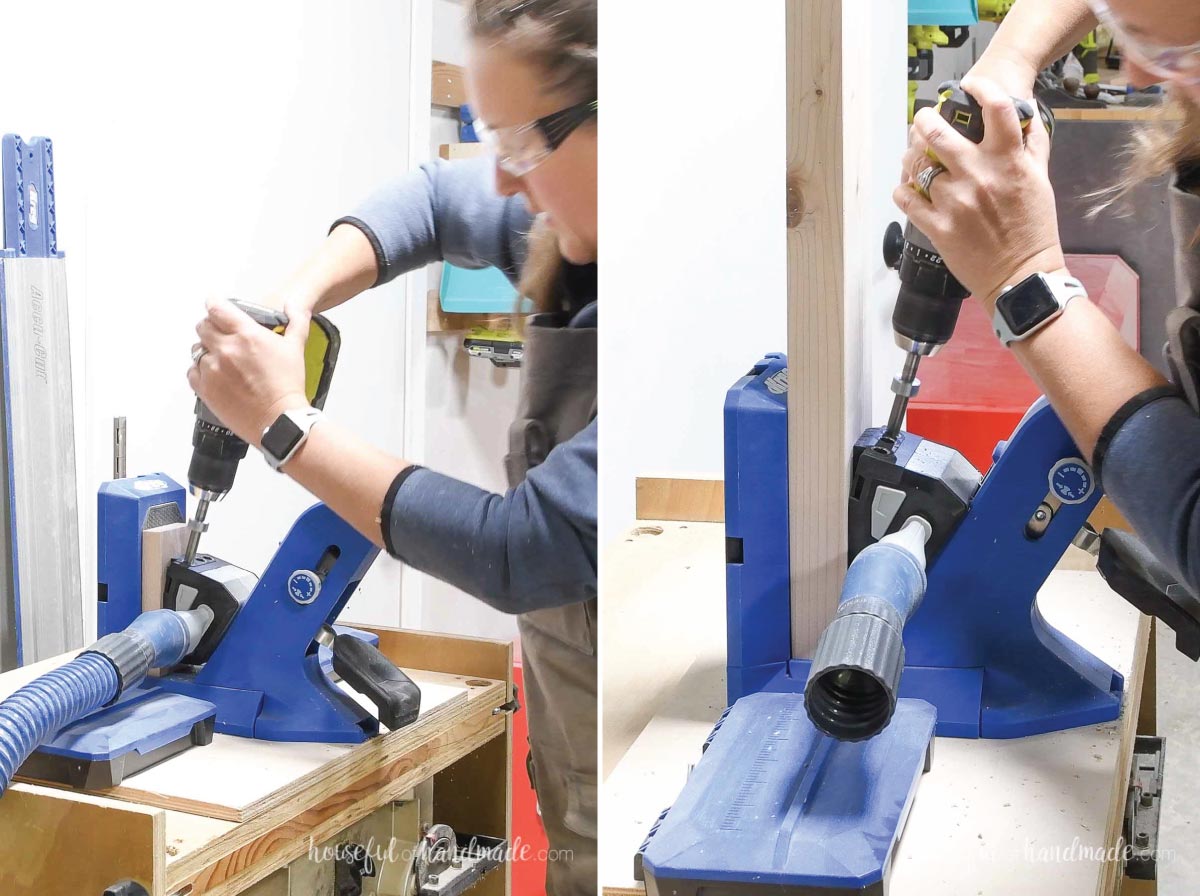
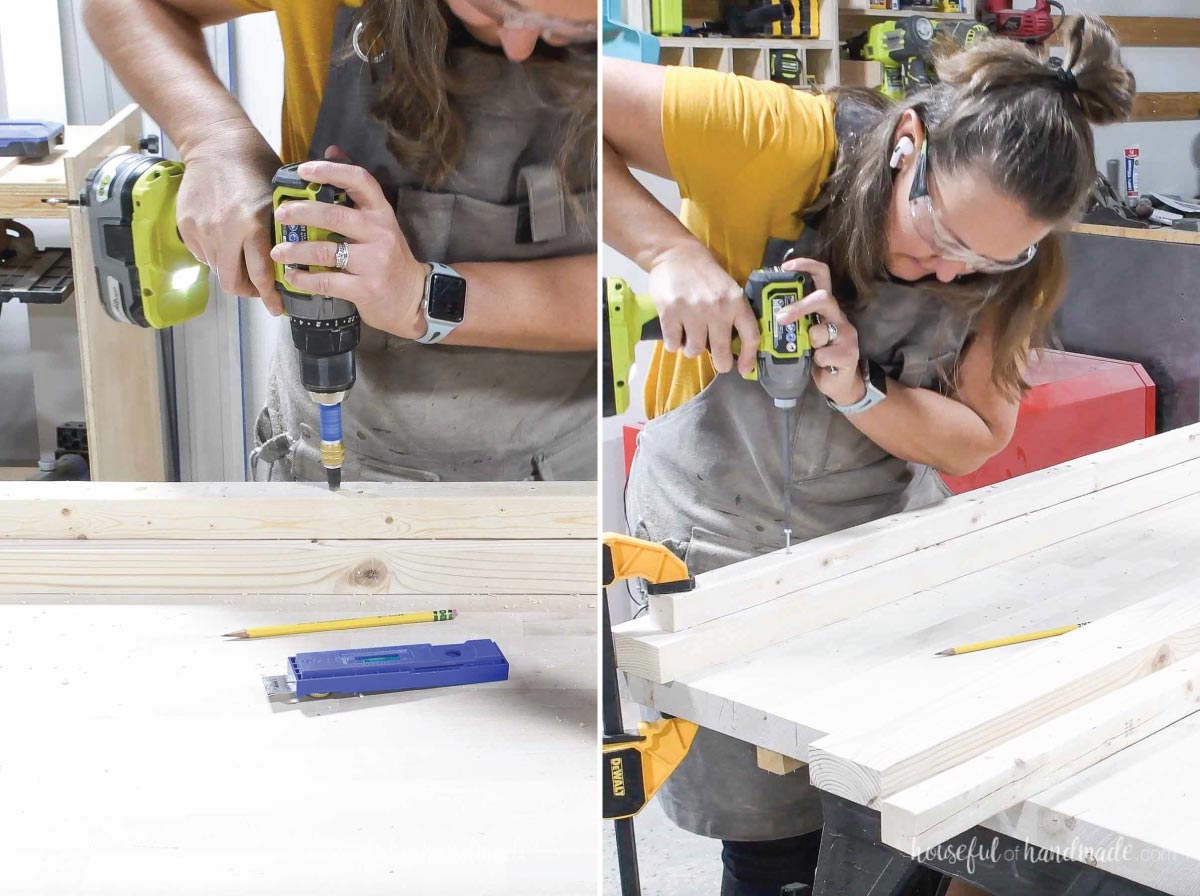
Set your Kreg pocket hole jig to drill holes in 3/4″ thick material. Drill (2) pockets holes in each end of the footboard slat boards.
Then set your jig for 1 1/2″ thick material and drill 2 pocket holes in each end of (3) footboard rail boards.
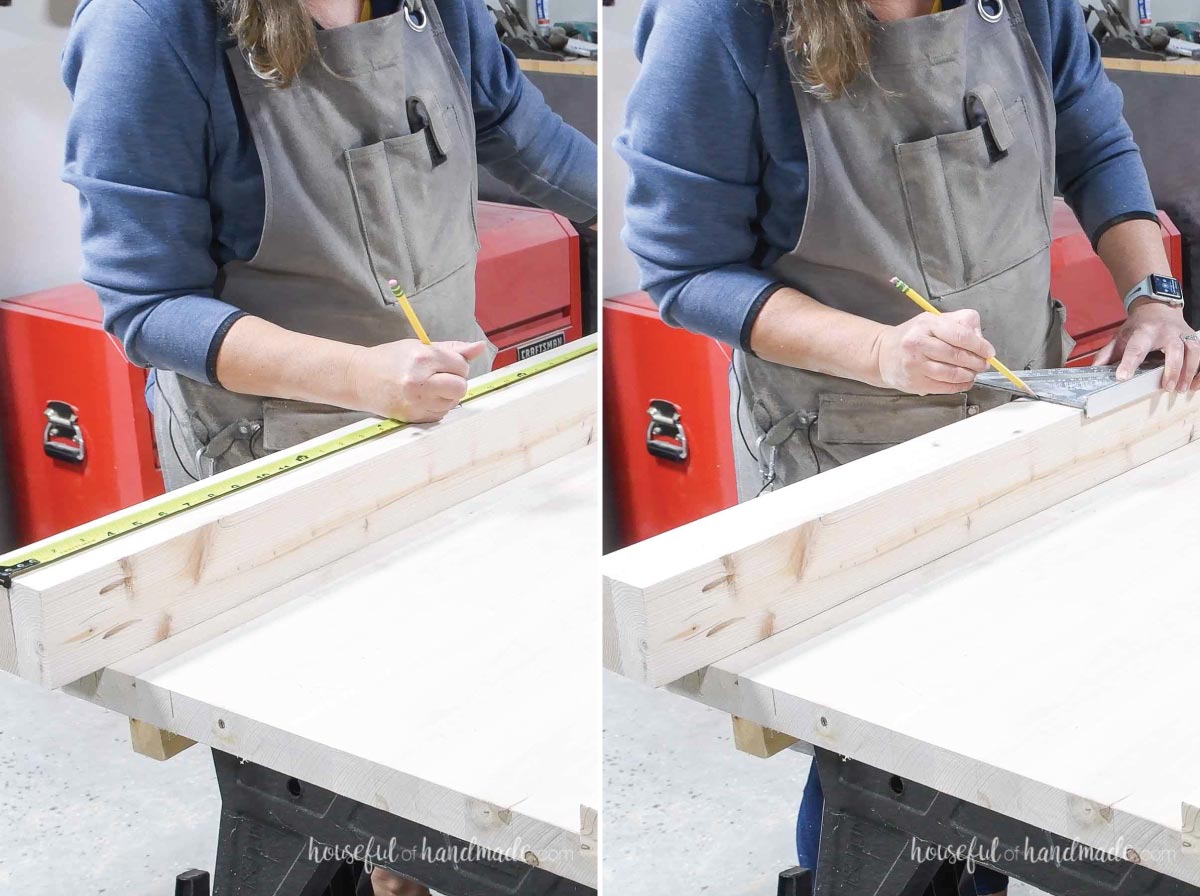
On the rail boards, measure and mark out the rail placement. The specific placement is noted in the plans for each different bed size. For the full bed plans shared on Kreg’s website, they are 3″ apart and 3″ in from the sides.
Remember the 1×3 boards are actually 2 1/2″ thick. Learn about board sizes and in this guide to buying lumber.
EXPERT TIP:
Mark all the lines on one board. Then with both boards lined up, use a square to draw a line across both rails instead of having to measure everything out again.
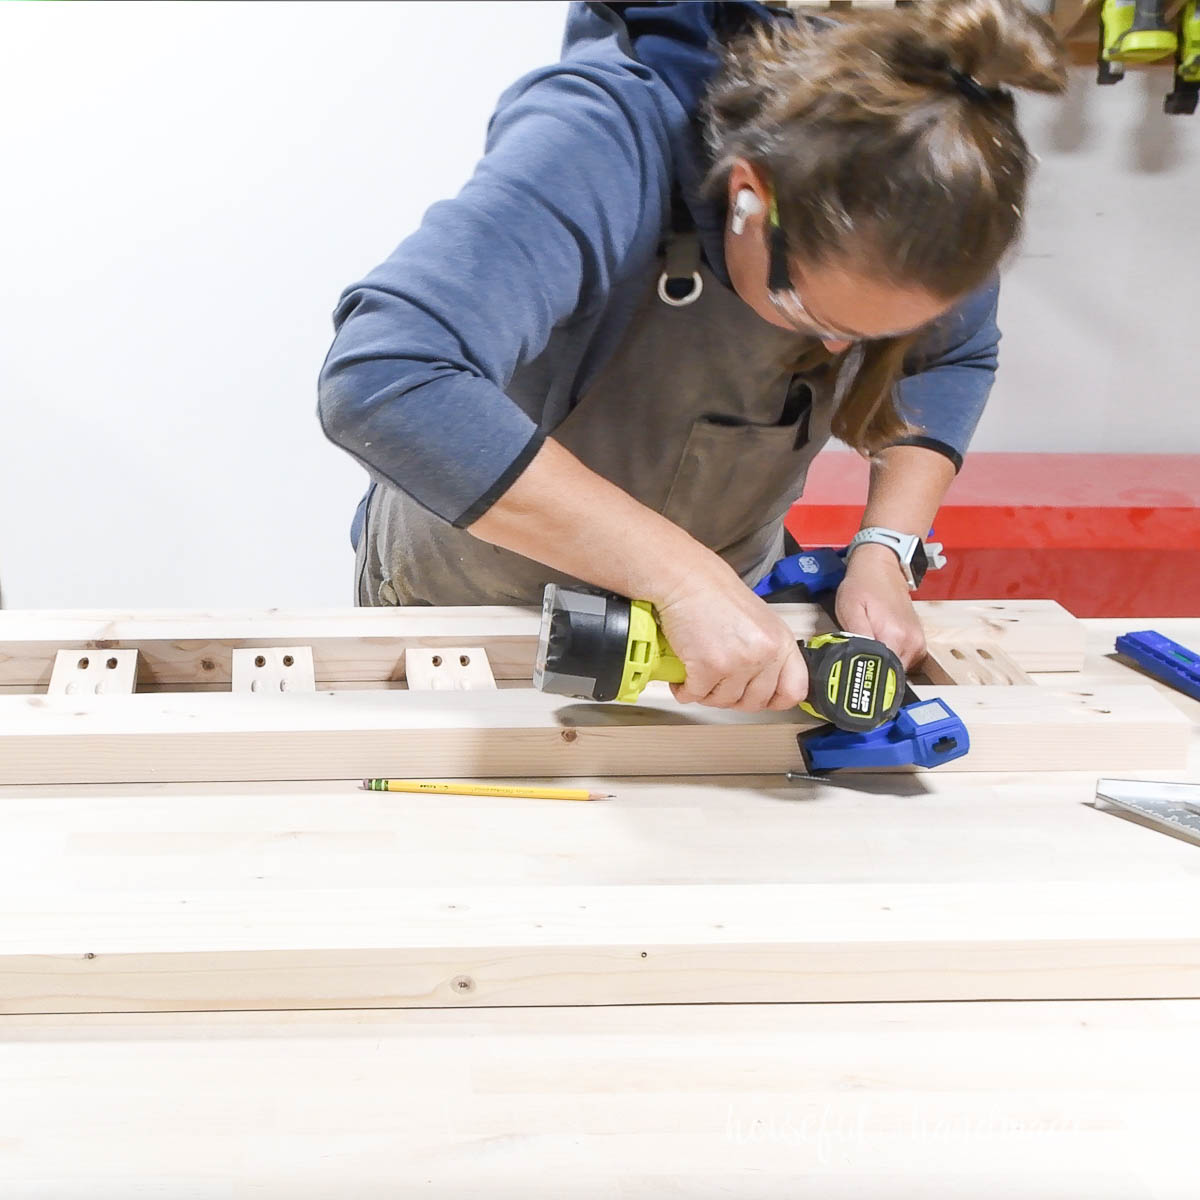
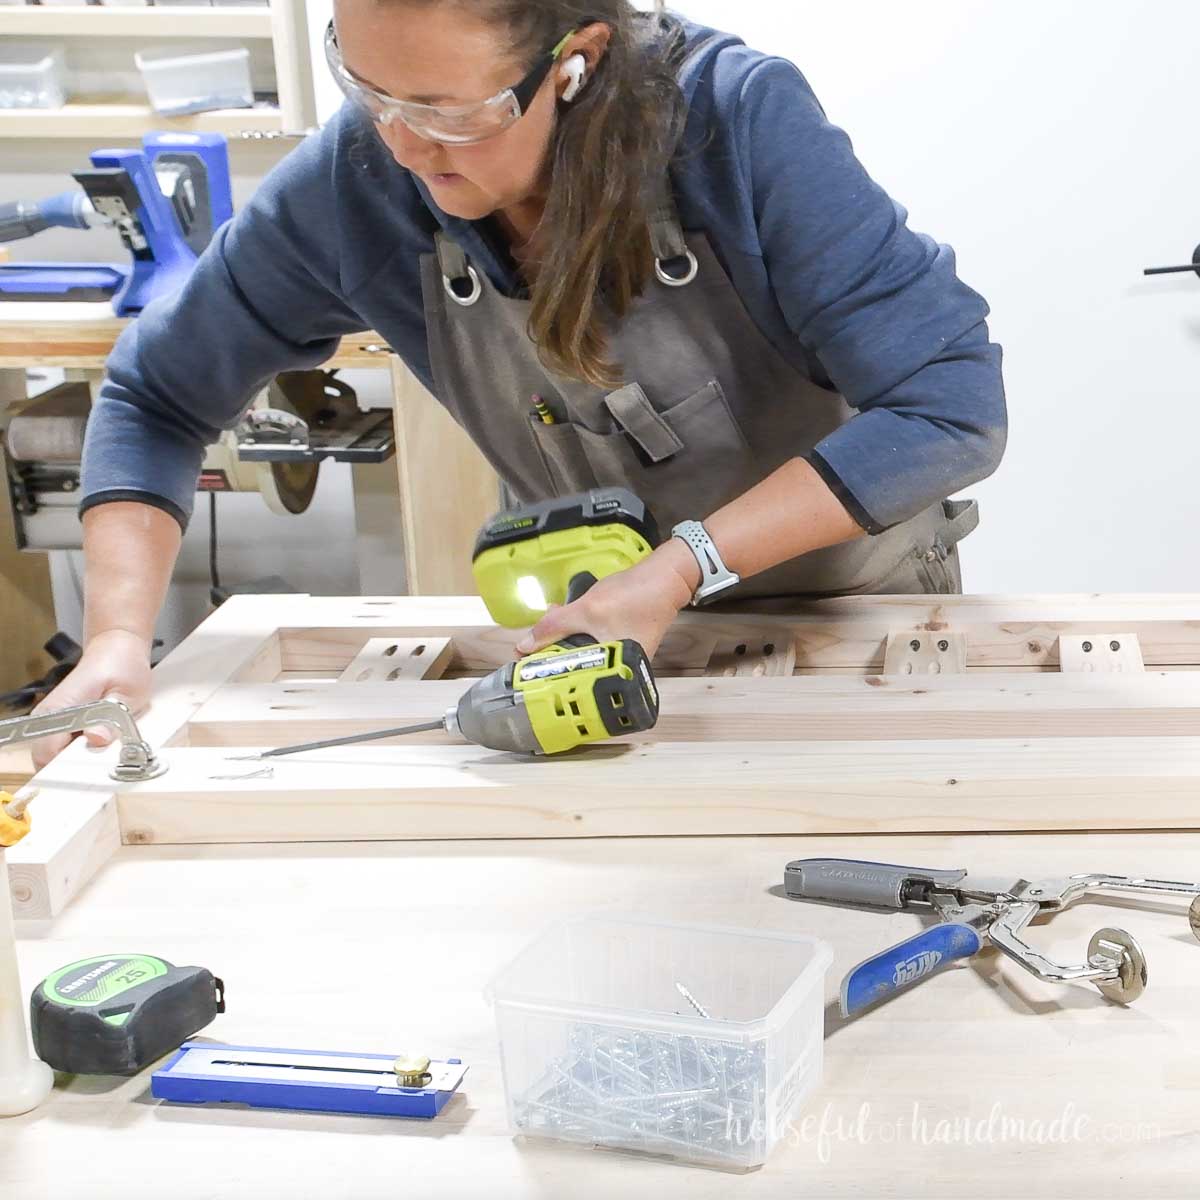
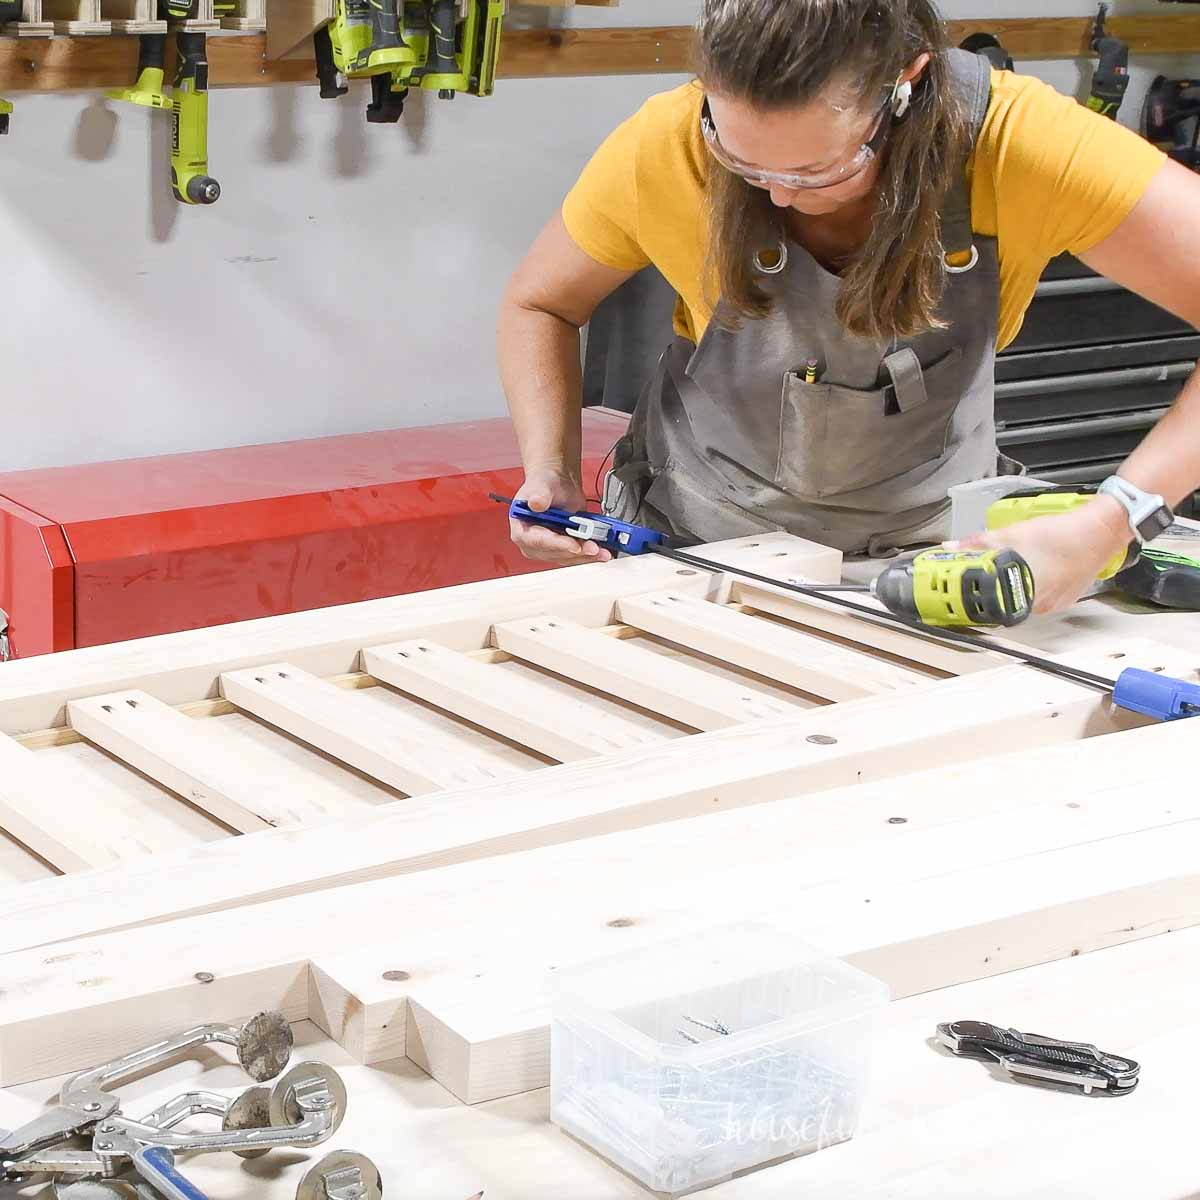
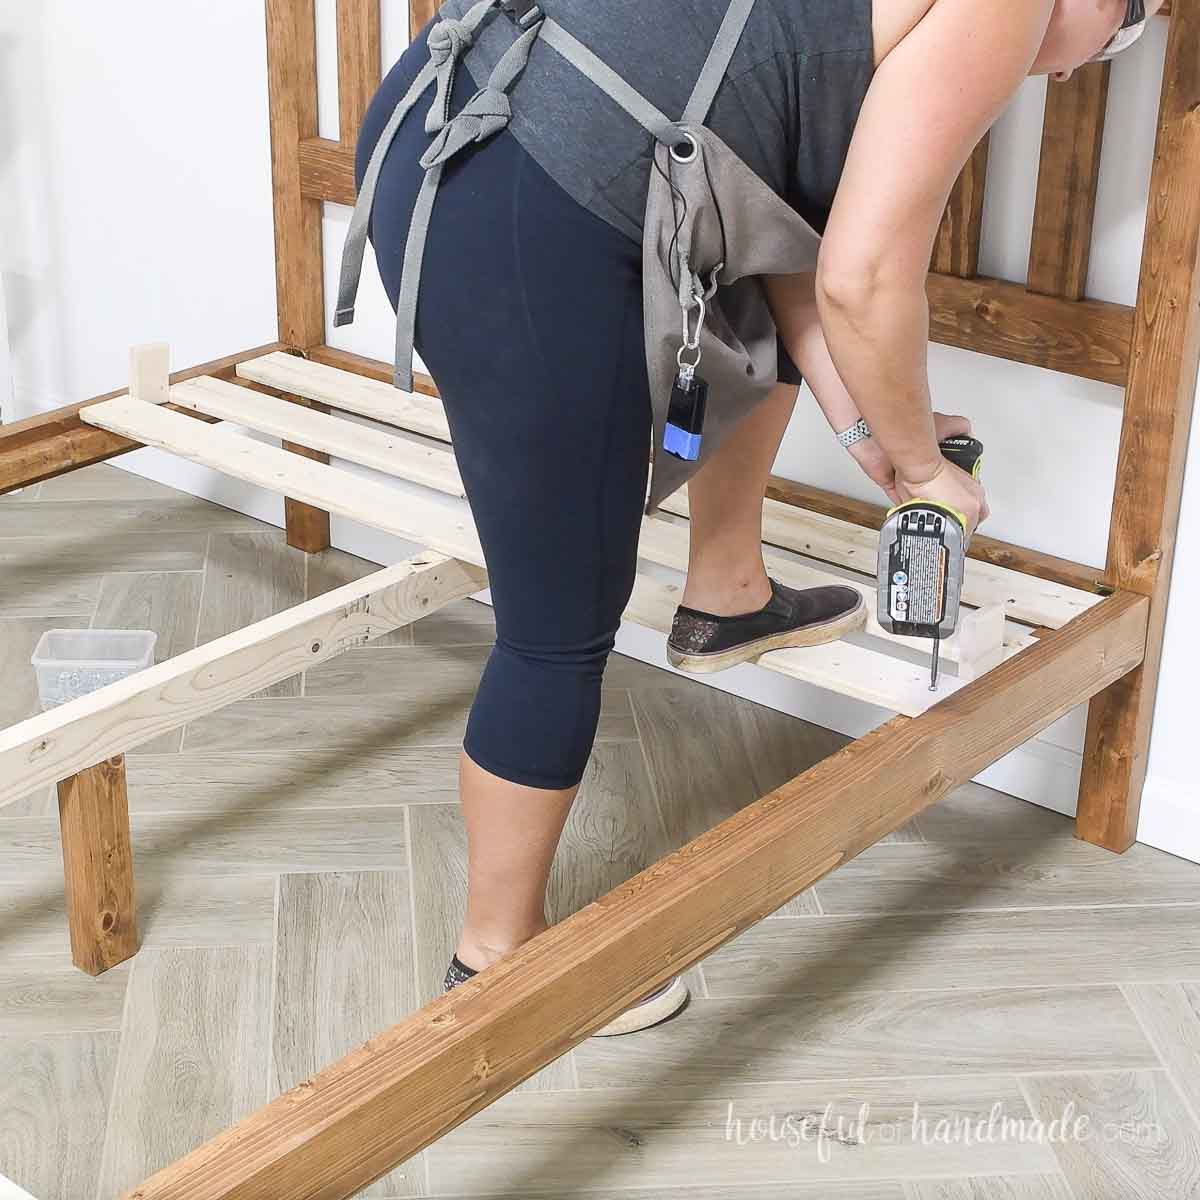
Attach the slats between two rail boards. Set the slats back 3/8″ from the front and back of the rails (so they are centered). Secure with wood glue and 1 1/4″ pocket hole screws.
To make it easier to attach the slats, start by attaching all of them to one rail board.

Then attach all the slats to the second rail board.
Make sure the pocket holes drilled in the rails are on the back of the boards.
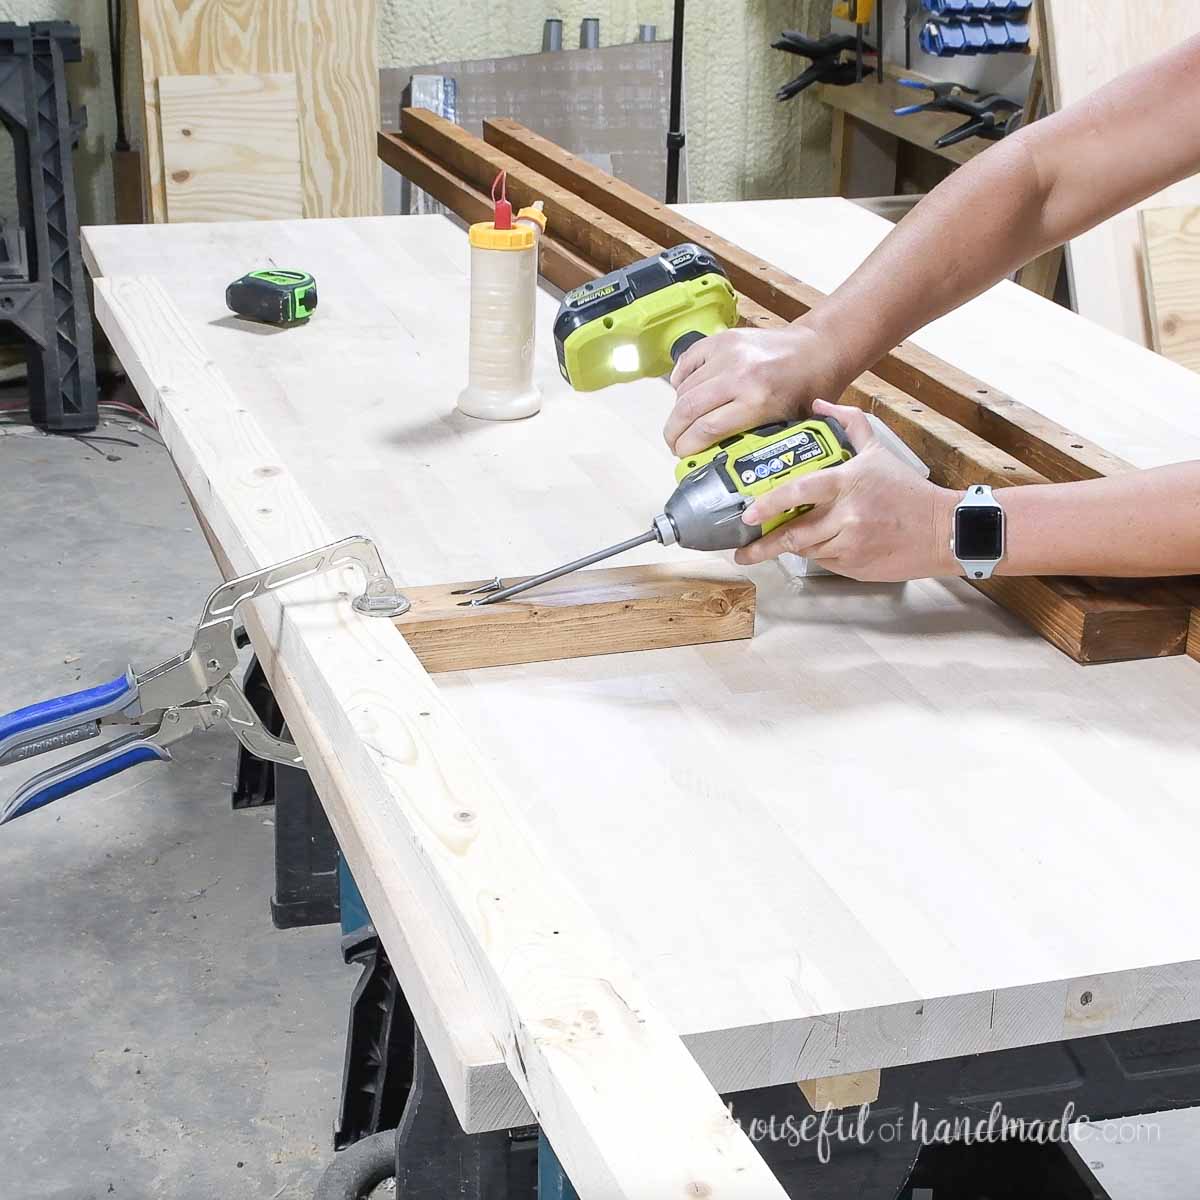
Now attach the three rails to the footboard legs.
The top of the assembled rail/slats should be set down 1/4″ from the top of the legs and the bottom of it should be 10″ up from the bottom. The bottom rail should be 4 1/2″ up from the bottom of the legs.
Attach all three pieces to one leg first, then the other. Secure with 2 1/2″ pocket hole screws and wood glue. Use face clamps to keep the boards flush as your secure them.
STEP 2- Build the Headboard
The headboard is assembled the same way as the footboard.
Start by drilling (2) pockets holes in each end of the headboard slat boards and the (3) headboard rail boards. Make sure your jig is set for the correct wood thicknesses.
Attach the slats between two rail boards so they are spaced according to the specific plans and centered on the rails. Secure with wood glue and 1 1/4″ pocket hole screws.
Then attach the three rails between the two headboard leg boards.
The top of the assembled rail/slats should be 1/4″ down from the top of the legs. The bottom rail (not attached rail to the slats) should be attached so it is 10″ up from the bottom of the legs.
Secure with wood glue and 2 1/2″ pocket hole screws.
EXPERT TIP:
The bottom rail on the headboard and the middle rail on the footboard are where the rails will attach to hold the two pieces together and support your mattress. If you want to raise or lower the height of your bed or headboard/footboard, make sure these two boards are always at the same height.
STEP 3- Build the Side Rails
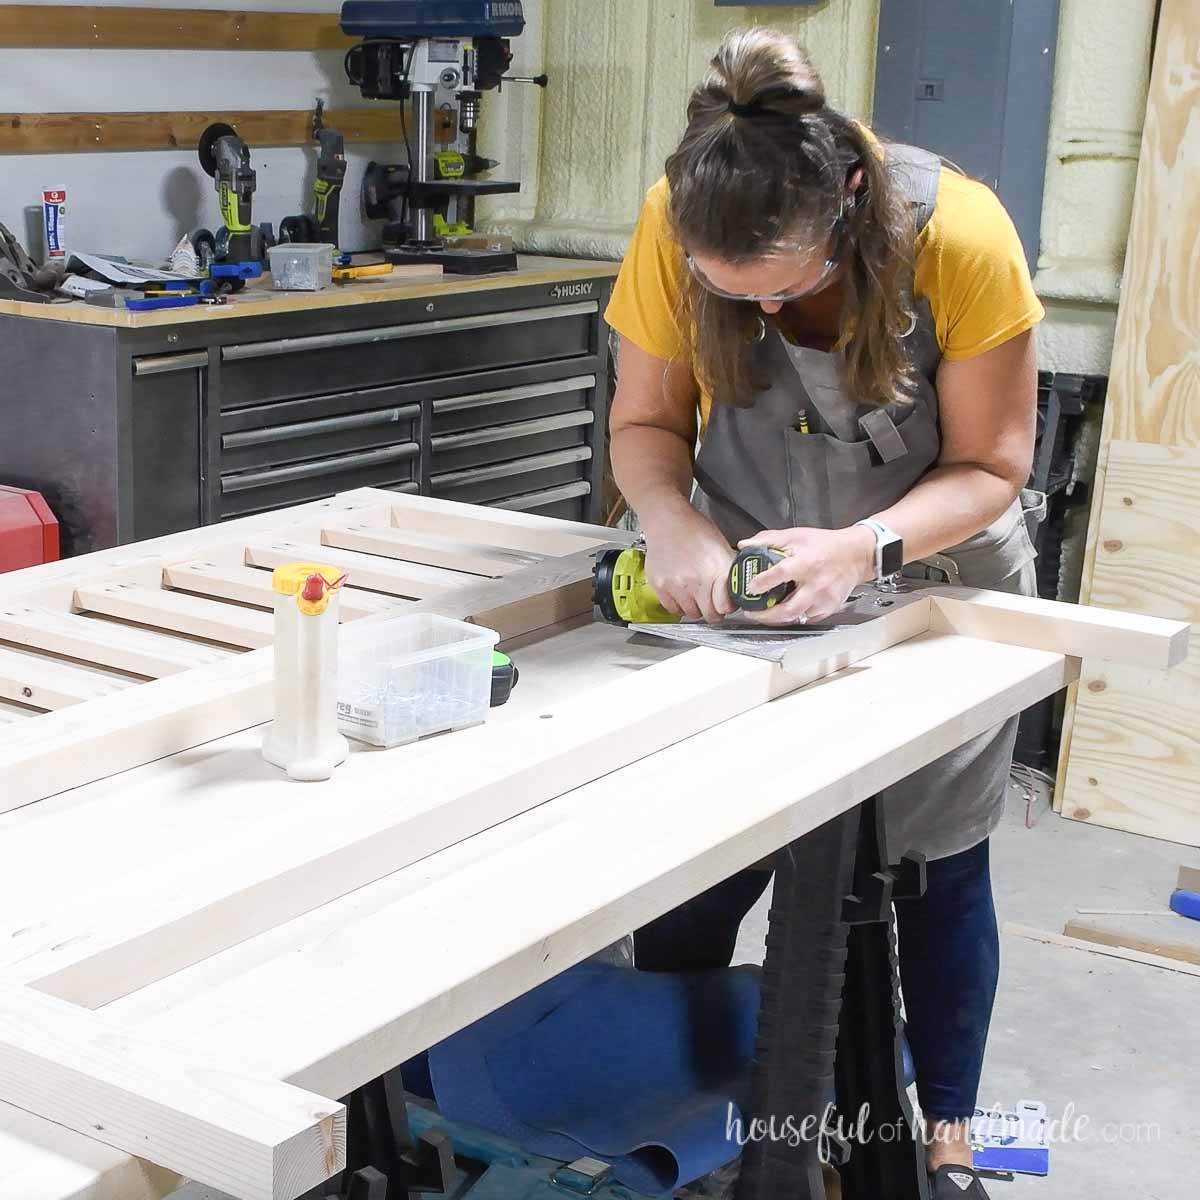
Lay the 2×2 rail support on the side rail pieces so it is centered side to side and set back from the top 1″.
If you squared off your 2x4s, you will have need to only set this board down 3/4″ (to accomodate the 1/4″ smaller board).
Attach the 2×2 to the 2×4 with 2 1/2″ pocket hole screws spaced every 6″ along the board. Countersink the screws with the Kreg quick-flip tool.
Repeat for the other side rail.
STEP 4- Build the Center Rail
For all beds, except twin, you will want a center rail to prevent your bed from sagging in the middle.
Drill pocket holes set for 1 1/2″ thick material in one end of the center leg board. For larger beds, I recommend 2 center legs (as noted in the PDF plans).
Attach it to the center edge of the rail board with wood glue and 2 1/2″ pocket hole screws.
I forgot to attach this board before staining the bed, so I stained just the leg while I had it all out. The center rail is not visible once the bed is assembled so it didn’t need staining.
STEP 5- Sand and Finish
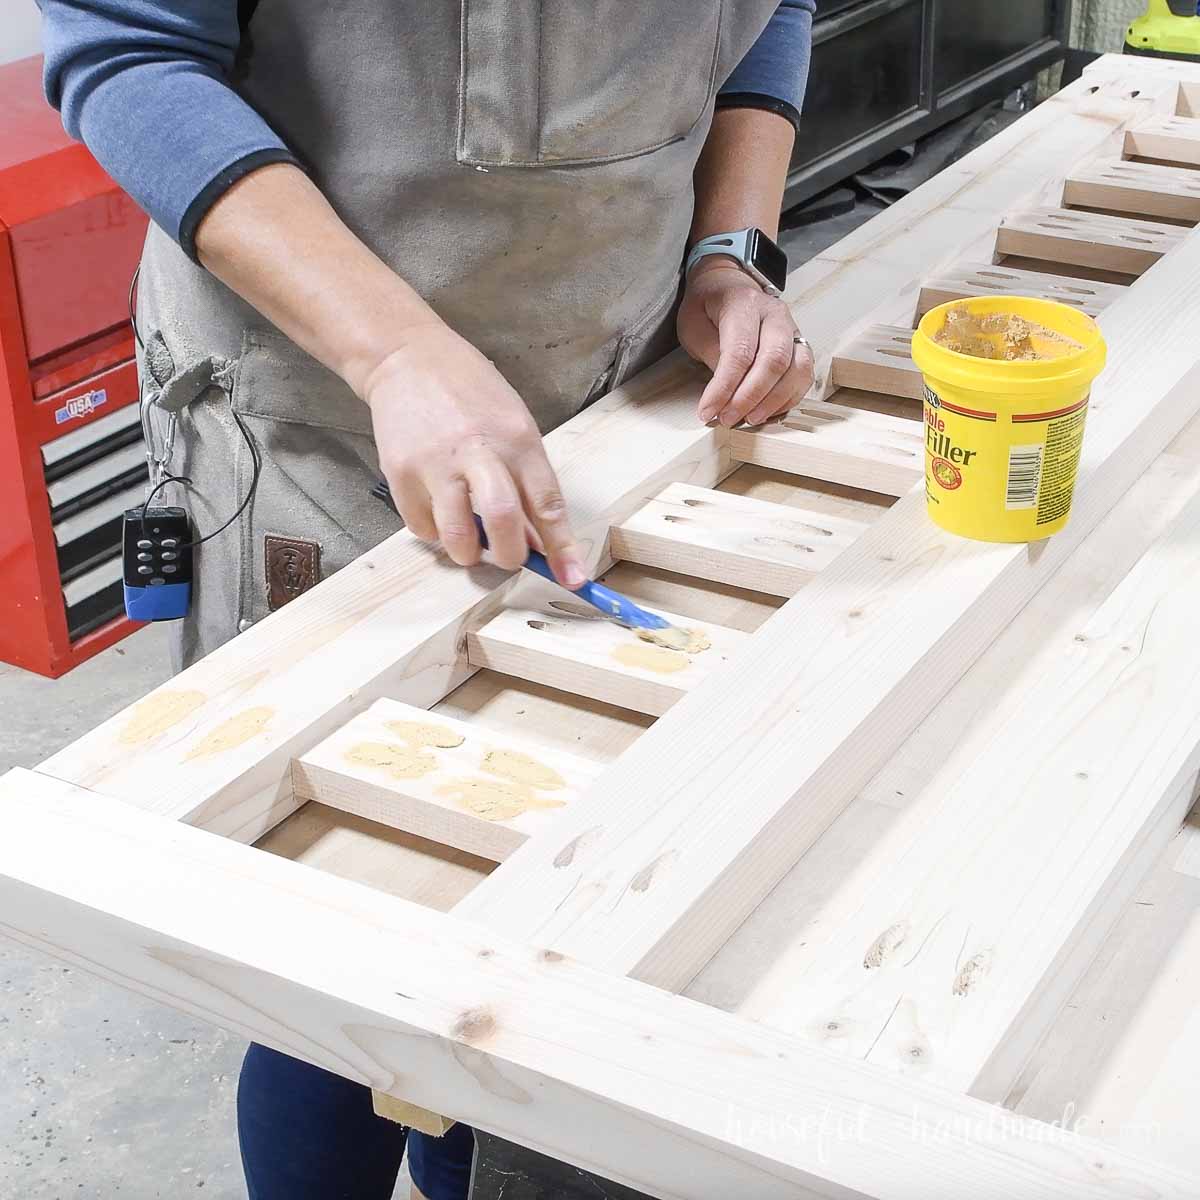
All the pocket holes are hidden on this bed once the mattress is on it.
But you might want to fill the pocket holes in the footboard since they will rub up against the mattress/bedding. It could cause a snag if there are any chips in the wood.
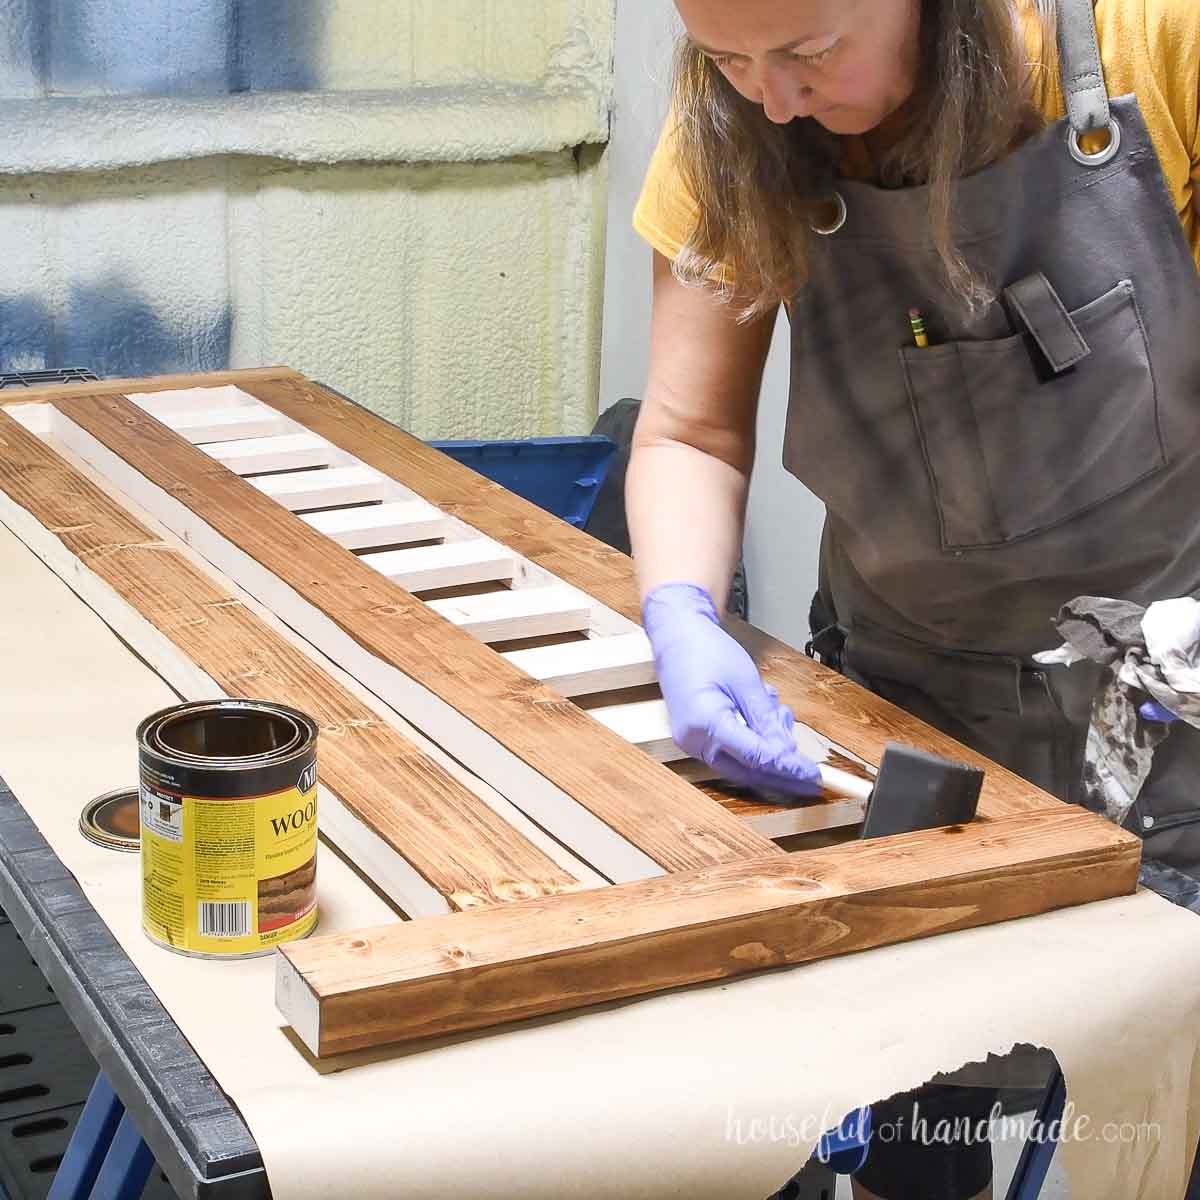
Now that all your pieces are built, you will want to sand and stain/seal/paint your pieces before adding your bed rail brackets.
I used Early American stain by Minwax and sealed it with a furniture wax for a matte finish.
STEP 6- Attach Bed Rail Brackets
I used these surface mount bed rail brackets. These are the same brackets I used for our king size platform bed frame and our bed is super sturdy.
The only downside is the bolt used to tighten the bed rails into the bracket is slightly too long. You can either use a washer under it or do what I did below.
Mark where the bracket will attach to the back of the footboard or front of the headboard. They will be set in 1 1/2″ from the outside edge so the side rails are flush with the side of the headboard/footboard.
Also, they will need be flush with the top of the middle rail on the footboard or the bottom rail on the headboard.
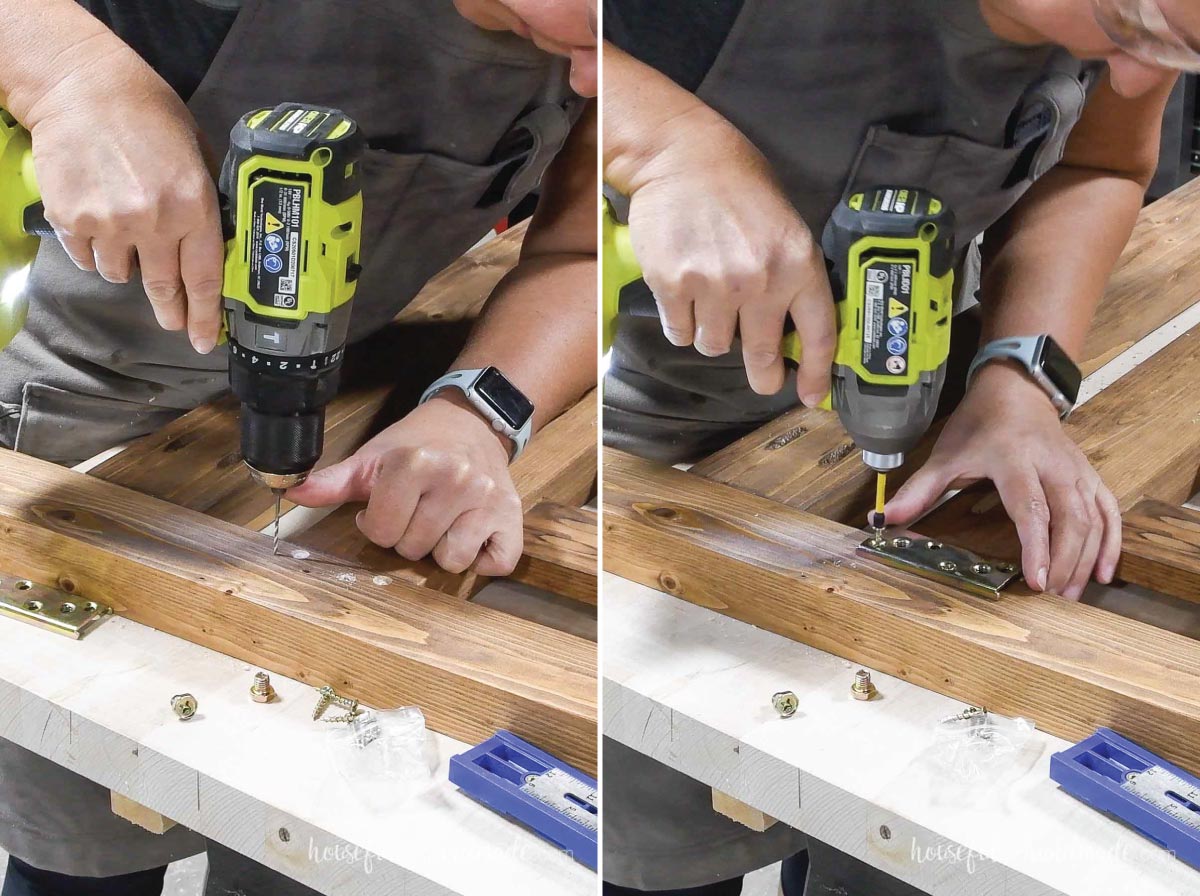
Remove the bolts from the bracket and lay it in position. Mark the inside of the hole where the bolt goes and the screws.
Drill an 1/8″ deep hole where the bolts go to allow them the room they need to tighten the brackets.
Also, predrill holes for the screws.
Then place the bracket back in place and secure with the 1″ long screws provided.
Screw the bolts back in place, but not fully yet.
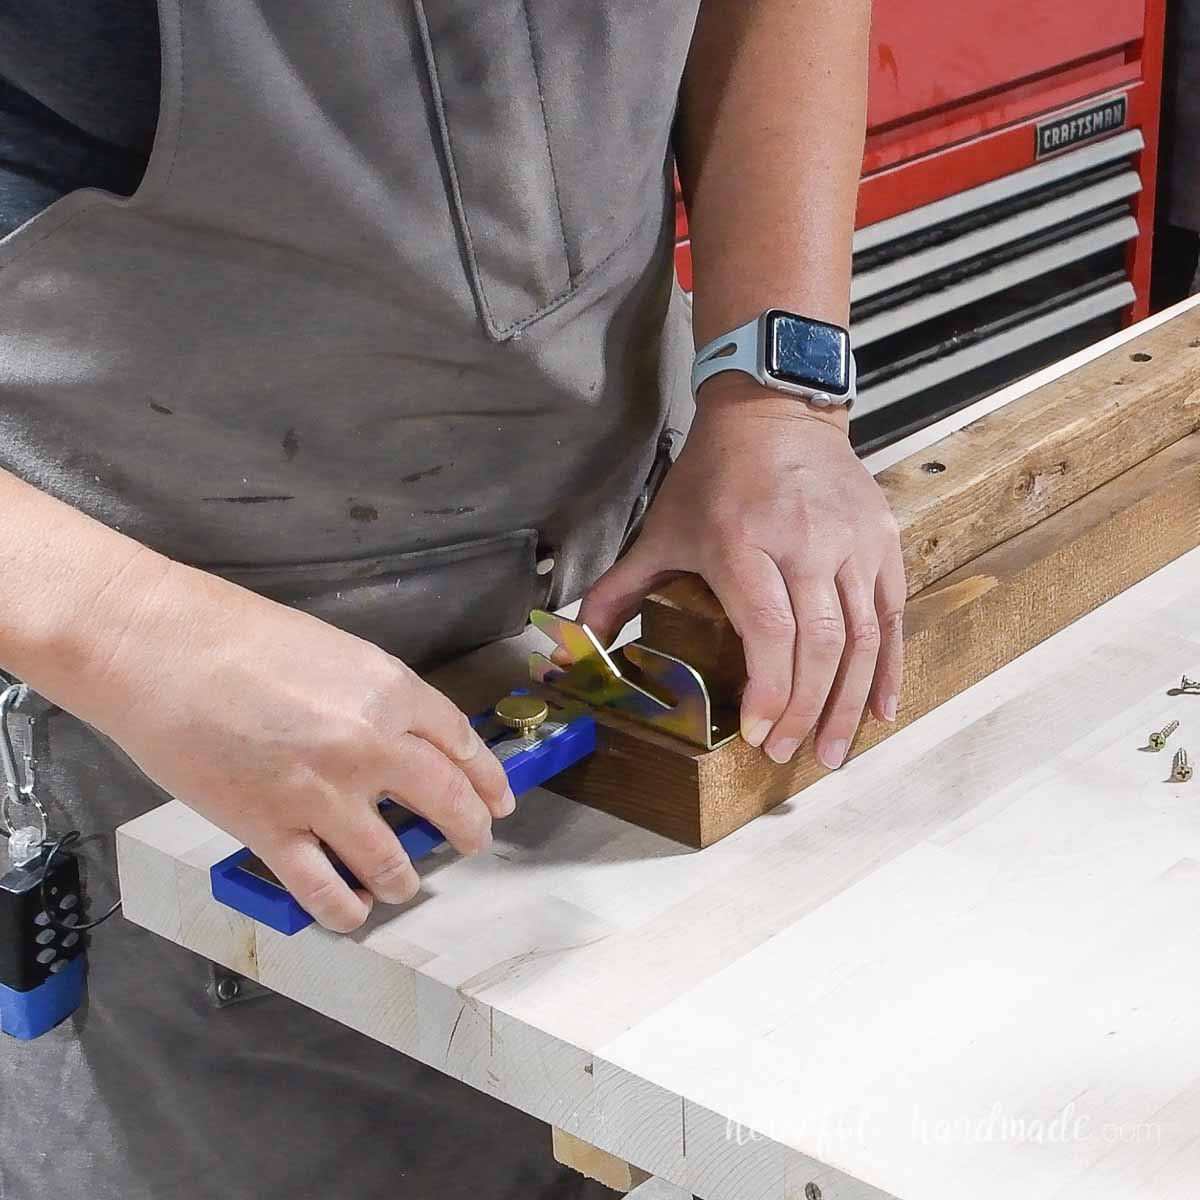
Next, measure the total height of the attached bracket. I love the Kreg Multi-mark tool for this.
When attaching the bracket piece to the side rails, it will need to be set back from the ends this amount.
Also, make sure the top is flush with the top of the rail. If you squared off your 2x4s so your board is only 3 1/4″ wide, the bracket will stick out the bottom about 1/4″. It is not visible once assembled.
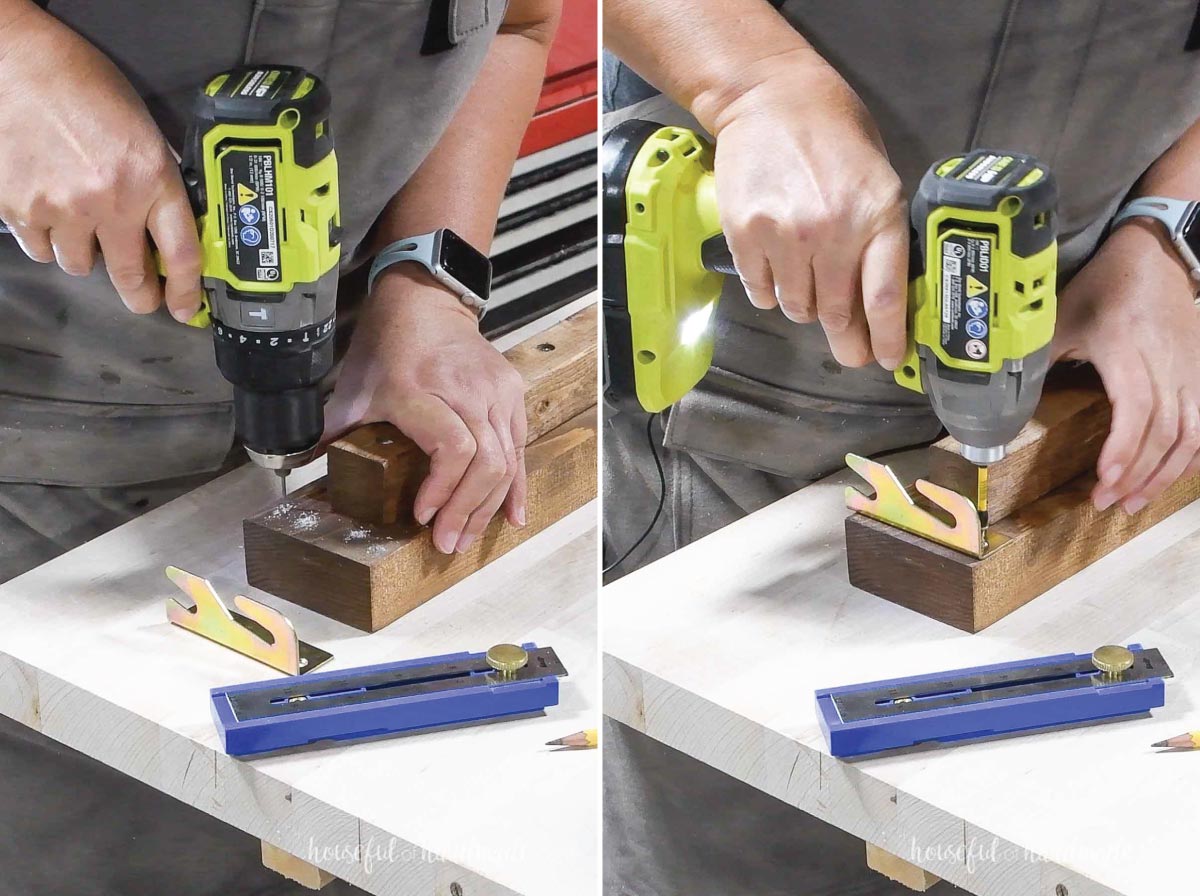
Mark where the screws go and then remove the bracket and predrill.
Place the bracket back where it goes and secure with the 1″ screws provided.
When attaching the brackets to the rails, make sure you mirror the brackets. There is a right and left side to them.
For the center rail, you will attach both brackets to one side of the rail and then slightly off centered (the same side) on the headboard/footboard.
These will attach to the rail that is 10″ up from the bottom of the legs.
Also, the bracket on the center rail will need to be flush with the bottom of the rail, not the top. This means it will stick up from the top about 3/4″ making it in line with the top of the other brackets.
STEP 7- Assemble the Bed
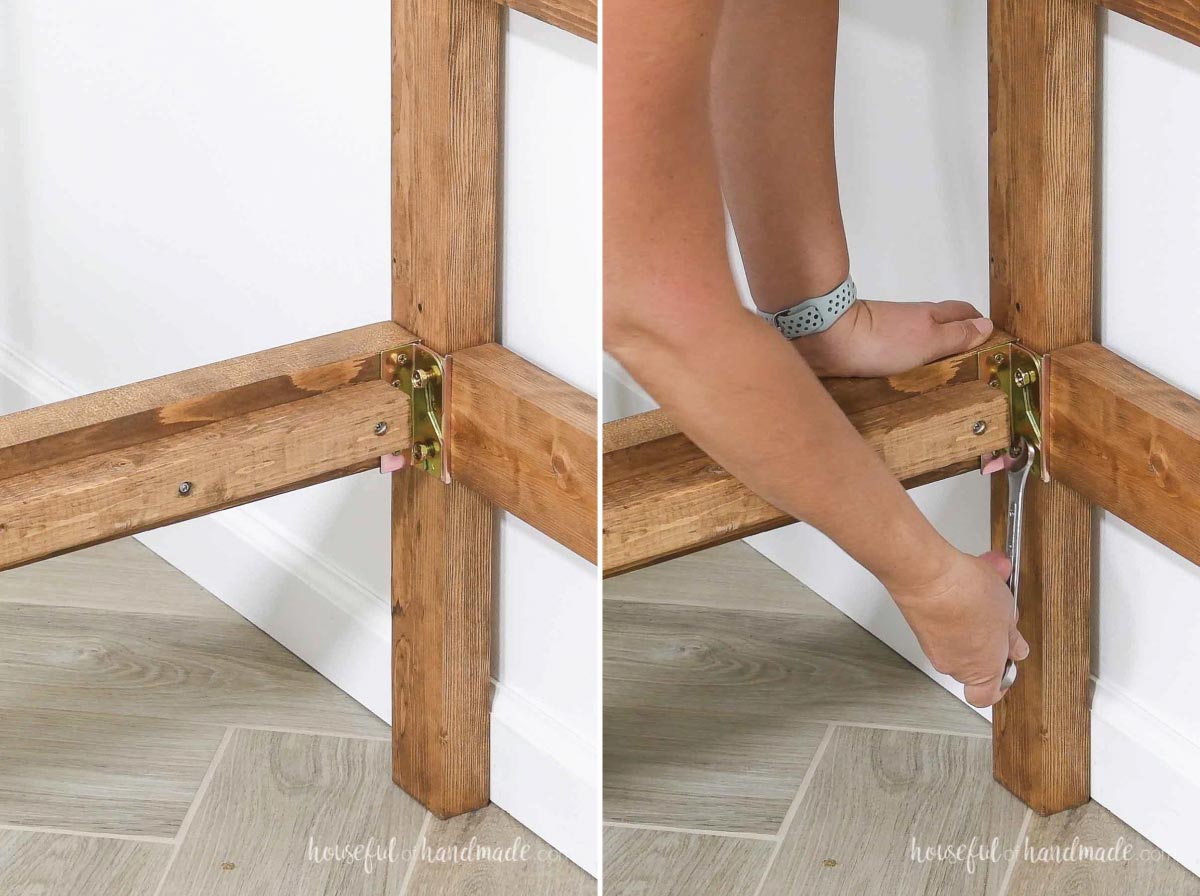
To assemble the bed, move the headboard in place and slip the brackets on the rails onto the bolts on the headboard bracket.
Then attach them to the footboard. Once all brackets are assembled, tighten the bolts to secure and prevent movement.
Add your desired mattress support. You can learn more about the different option in this general how to build a bed post.
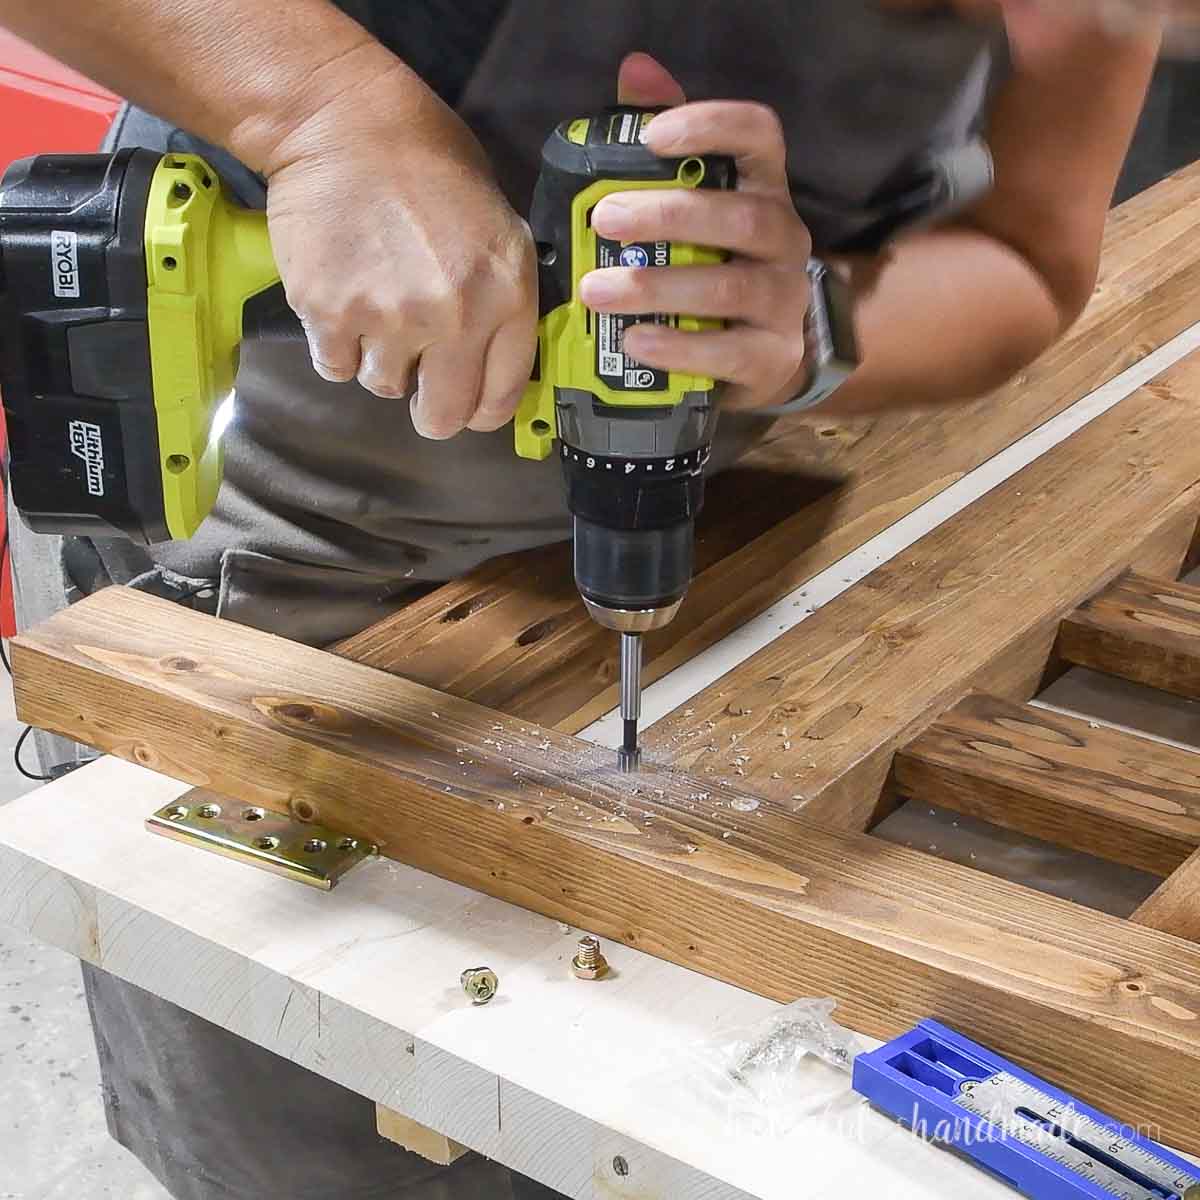
To make my own bed slats, I cut inexpensive 1×4 boards (13 total for the full bed) 1/4″ narrower than the mattress area.
Each board was secured with a screw into the side rail support board. I countersunk them with the Kreg Quick Flip tool.
Depending on what type of mattress you buy, you may need a plywood base or to have your slats closer or farther apart.
You did it!
Premium plans include:
- Recommended Tools
- Shopping list
- Easy to read cut list table
- Cut diagrams
- Step-by-step instructions with 3D renderings
- Helpful resources
- BONUS: 3D SketchUp file
Go lay down and enjoy your new amazing bed. You deserve it 😉
Happy building!
