
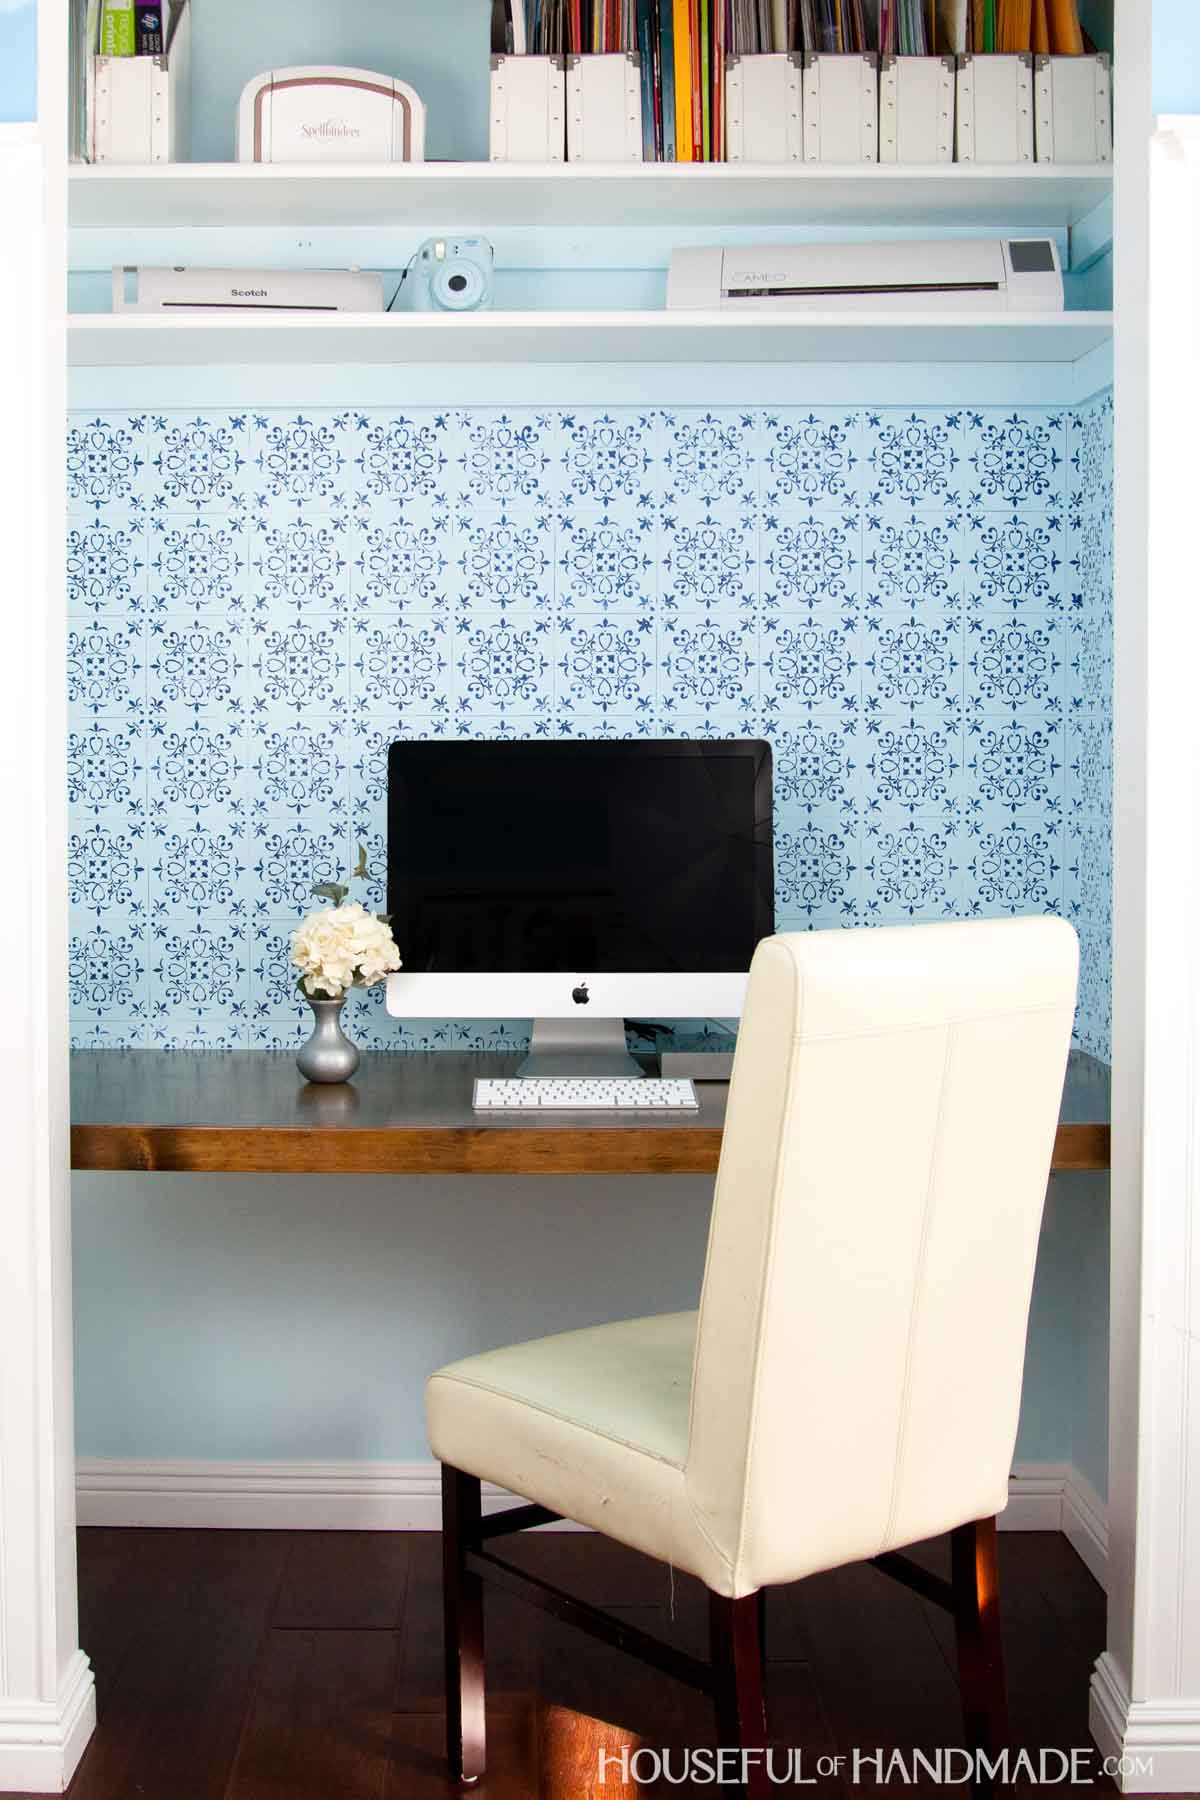
One of the most important parts of my office & craft room makeover was a desk. It is an office and I need a place for my computer.
When I first took over our old nursery, I knew immediately I wanted to build a desk in a closet in this room. There are two 5′ closets in this space so one could easily be spared.
It was a great way to add a desk without taking up much needed floor space. Also building a desk in the closet was the perfect budget friendly solution for my office.
This post may contain affiliate links. As an Amazon Associate I earn from qualifying purchases. Click here to read my full disclosure policy.
I needed to keep the cost of the desk build low because I am redoing my entire office & craft room for only $100.
It may seem impossible to makeover an entire room for so little, but it it totally doable with just a little creativity.
Using the walls of the closet at the base for my desk was the perfect creative solution. I built this entire office in the closet (including new paint) for only $40.
If you need more storage for your desk, consider building a built in desk with desk cabinets instead. And you can still build it in a closet to save floor space.
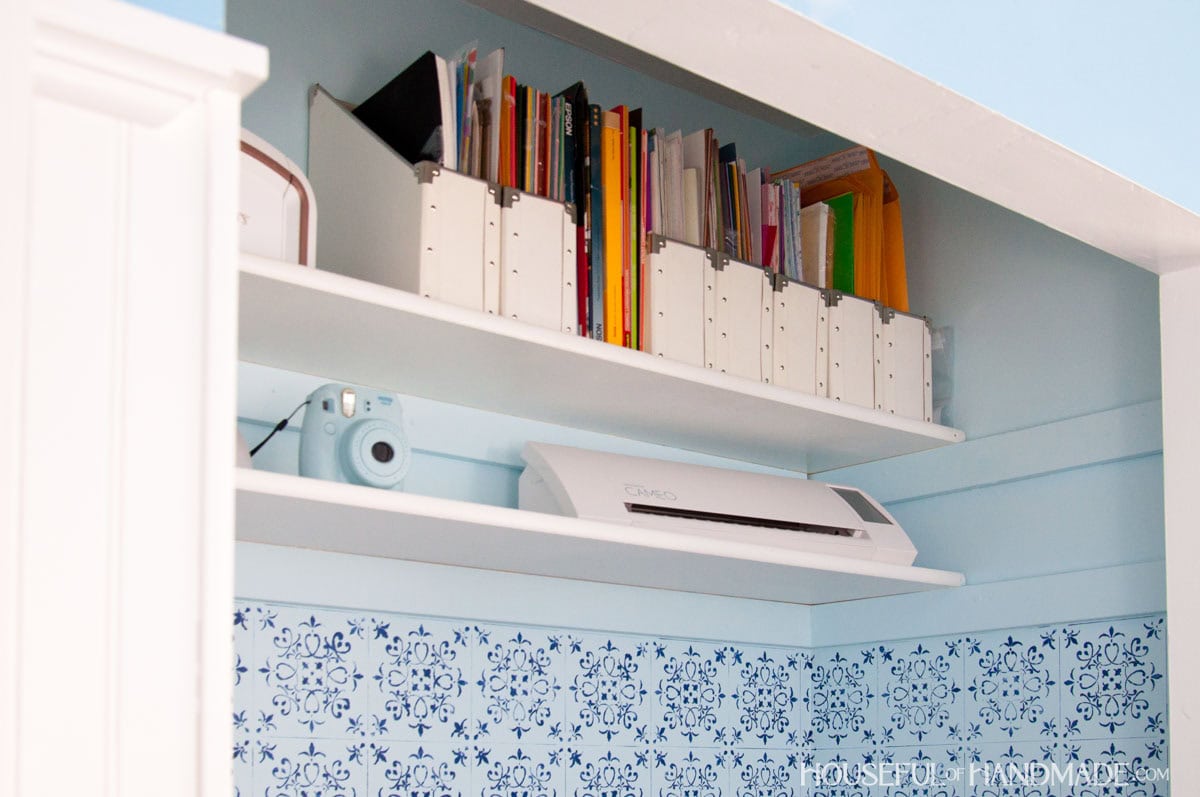
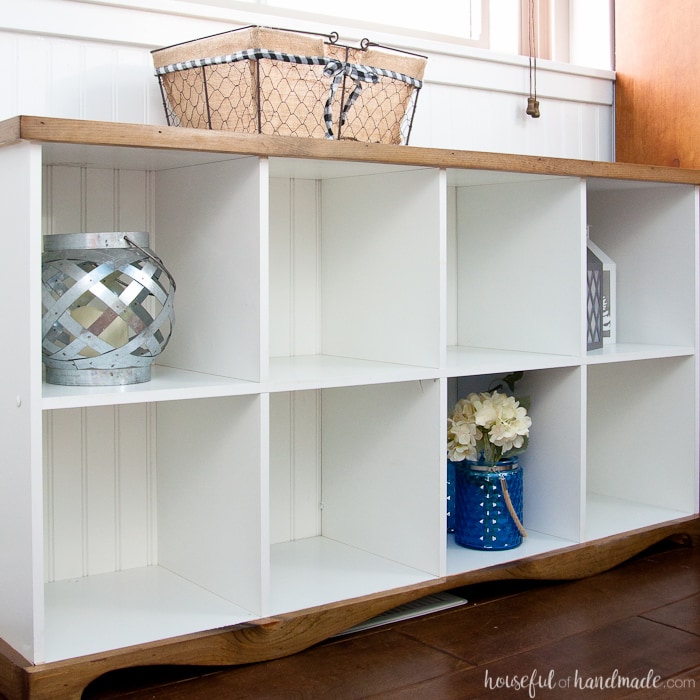
Since this was a clothing closet, there were already a couple shelves. I just moved them up and out of the way.
I also moved them closer together and now they are the perfect place to store my office and paper supplies.
More Budget Office & Craft Room Ideas
I has so much fun redoing this office and craft space on a tight budget. Here are some of my favorite projects.

To see the finished $100 room makeover, check out the Office & Craft Room Reveal here. And make sure to follow along to see even more creative DIY projects.
How to Build a Desk in a Closet
Tools & Materials
Recommended Tools:
- Level
- Miter saw
- Table saw or circular saw
- Kreg pocket hole jig
- Nail gun
- Drill
Supplies:
- Wood (the amount of wood needed depends on the size of your closet)
- 2×2 boards
- 1/2″ plywood
- 1×3 board
- 3″ wood screws
- 2 1/2″ pocket hole screws
- Finishing nails
- Wood glue
- Sandpaper
- Wood stain
- I used this homemade natural wood stain
- Polyurethane
- Cord grommet
STEP 1- Prep the closet
Start by deciding the height you want the desk. A standard desk is around 30″.
I made my desk 28 1/2″ because my 30″ desk was a little high for spending long hours typing. It might seem really low when you are building it, it did to me. But will be comfortable when you sit at it.
Using a level, mark a line 1/2″ below the final height of your finished desk.
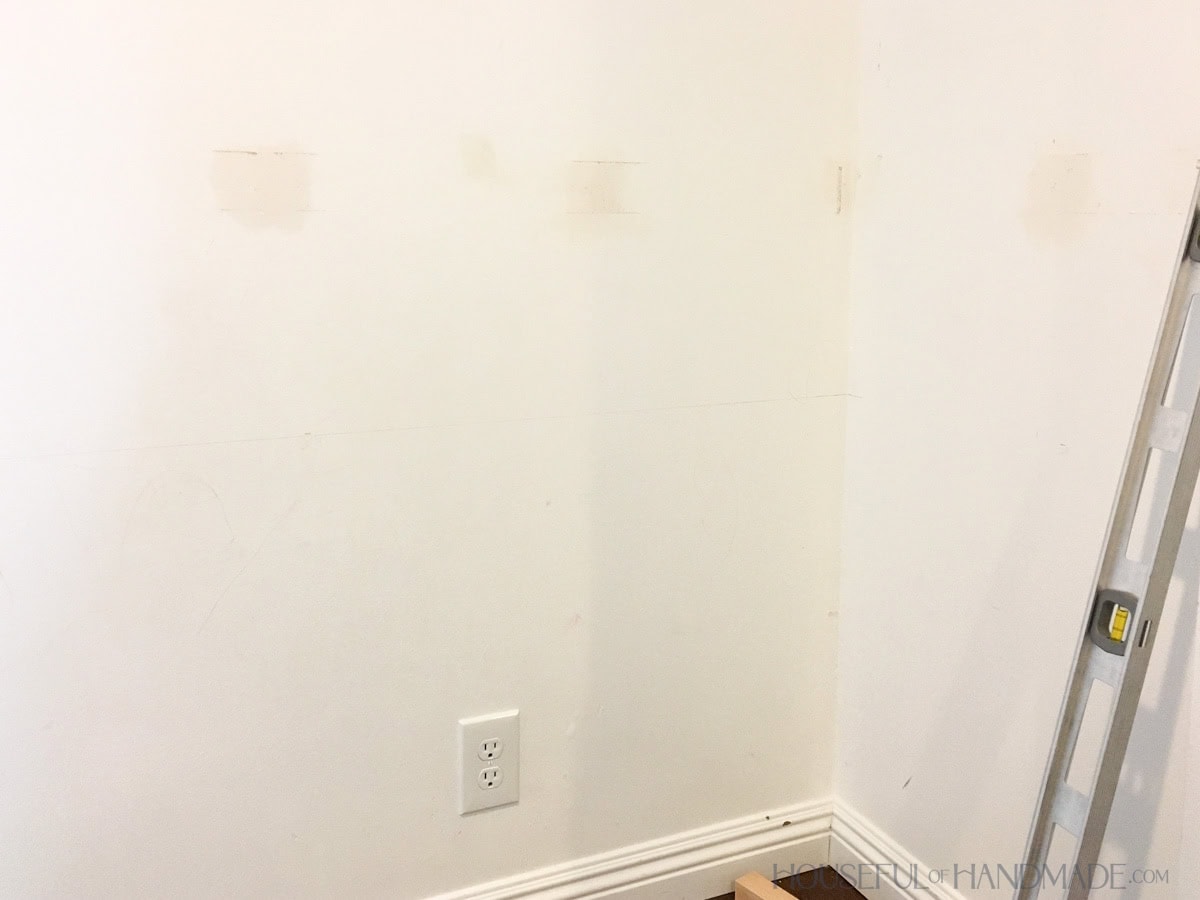
Along that line, you will need to locate your studs.
I used the “make lots of holes in the wall” method. I start by knocking on the wall to figure out approximately where a stud is, then confirming it with a nail until I locate the stud.
If you put your holes next to the level line, they will be hidden by the final desk.

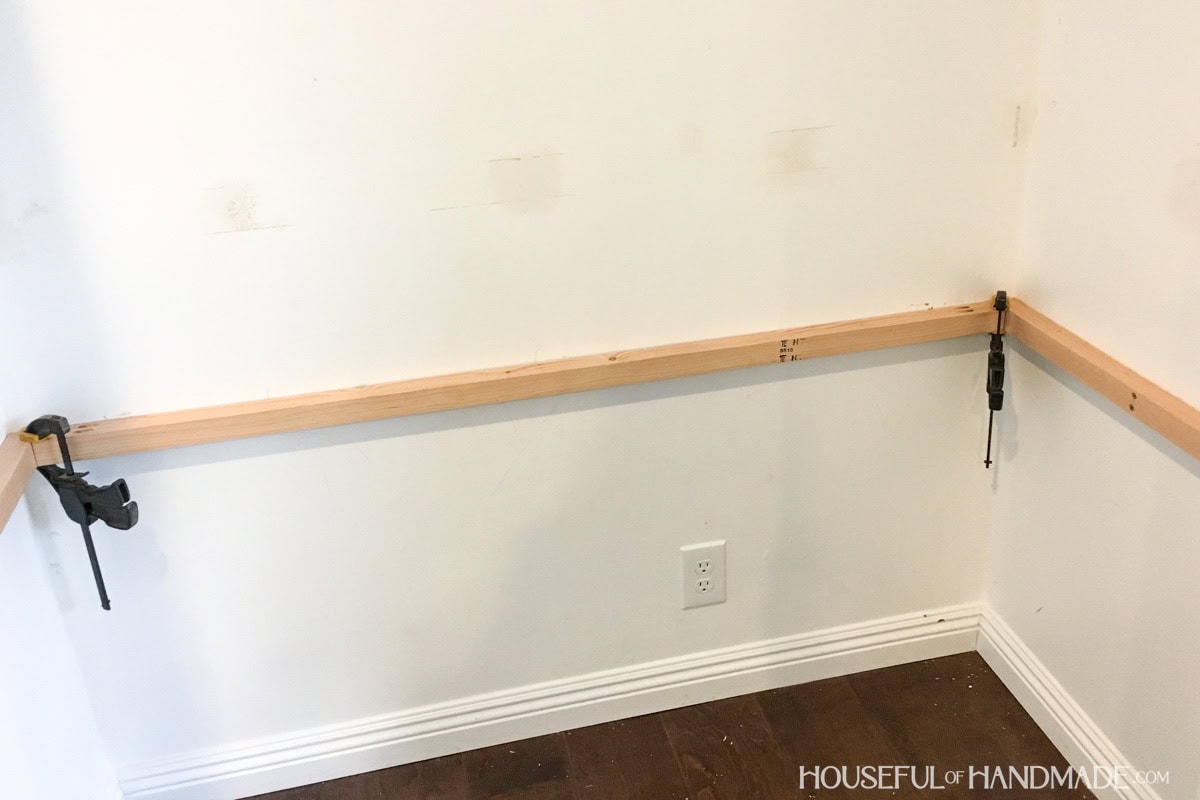
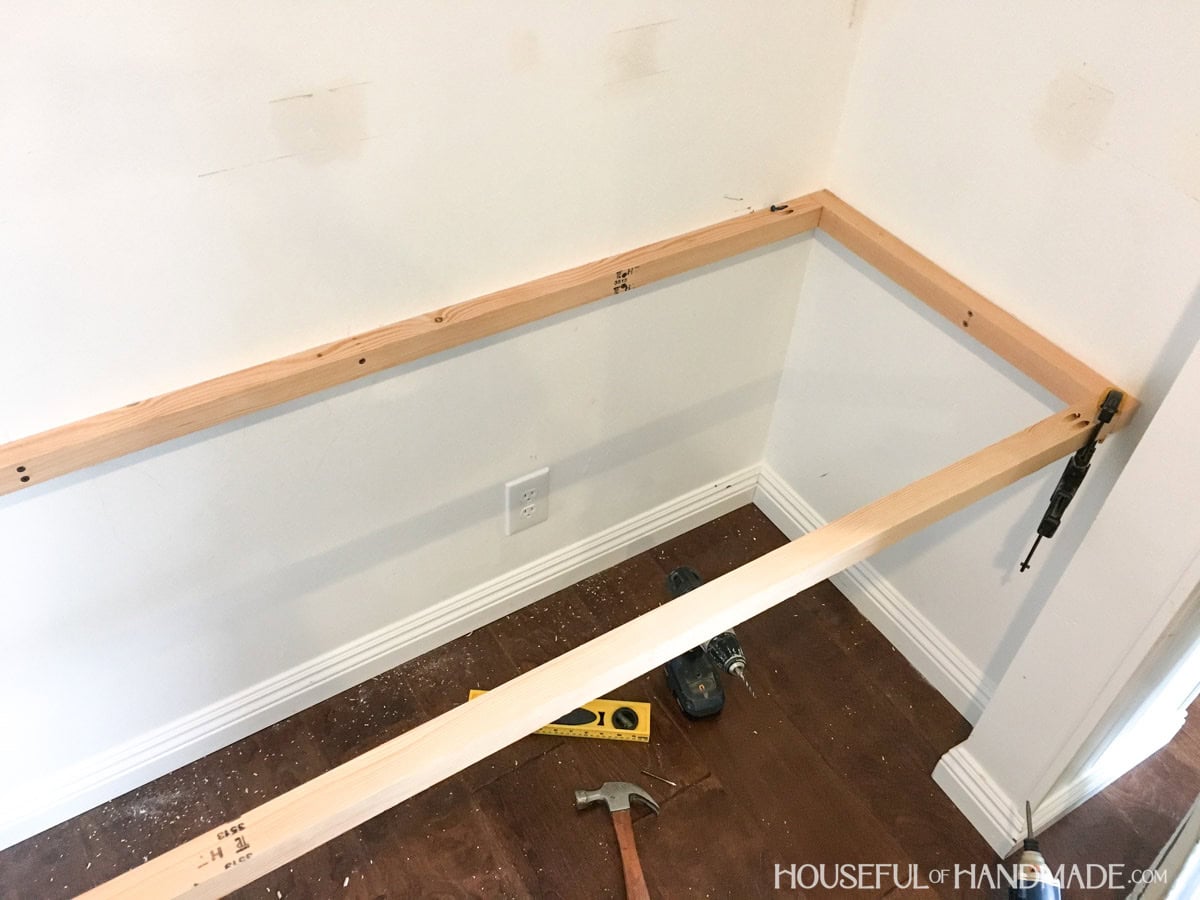
STEP 2- Build the desk frame
Next build a frame for your desk using the 2x2s.
Cut two boards to the desired desk depth minus 3/4″ to accommodate the depth of the 1×3 board that will be added at the end. Attach these to the sides of the closet so they are lined up with the level line.
Secure them to wall into the studs using the 3″ wood screws.
Then measure the space between the two boards. Cut a 2×2 board to that measurement, add pocket holes set to 1 1/2″ thick material to both ends.
Secure it to the walls with the 3″ wood screws and then attach it to the side boards with 2 1/2″ pocket hole screws.
If you put the pocket holes on the top of your frame, they will be hidden by the desk top.
For the front of the desk frame, measure the space between the front of the two side boards. Cut a 2×2 board to that measurement and add pocket hole screws to the ends.
Attach it to the front of the side boards with 2 1/2″ pocket hole screws. Make sure it is level with the two boards.
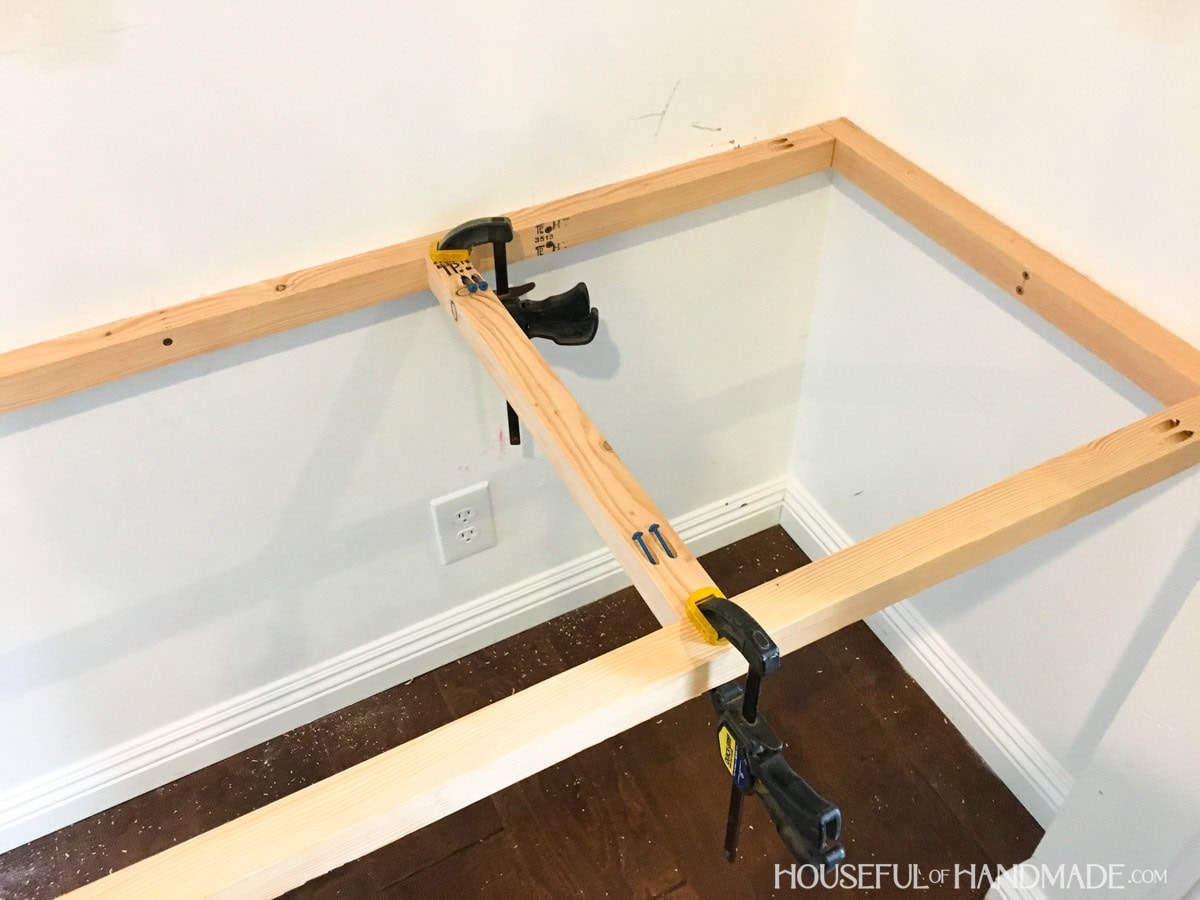
Now add some center braces to your frame. This especially helps if you put a lot of weight on your desk (like a computer or printer).
And since you have a few extra feet of inexpensive 2×2 boards, it doesn’t cost anything to add this extra support.
Measure the space between the front and back boards, cut two boards to this length and add pocket hole screws to the ends.
Attach these evenly between the two walls with pocket hole screws.
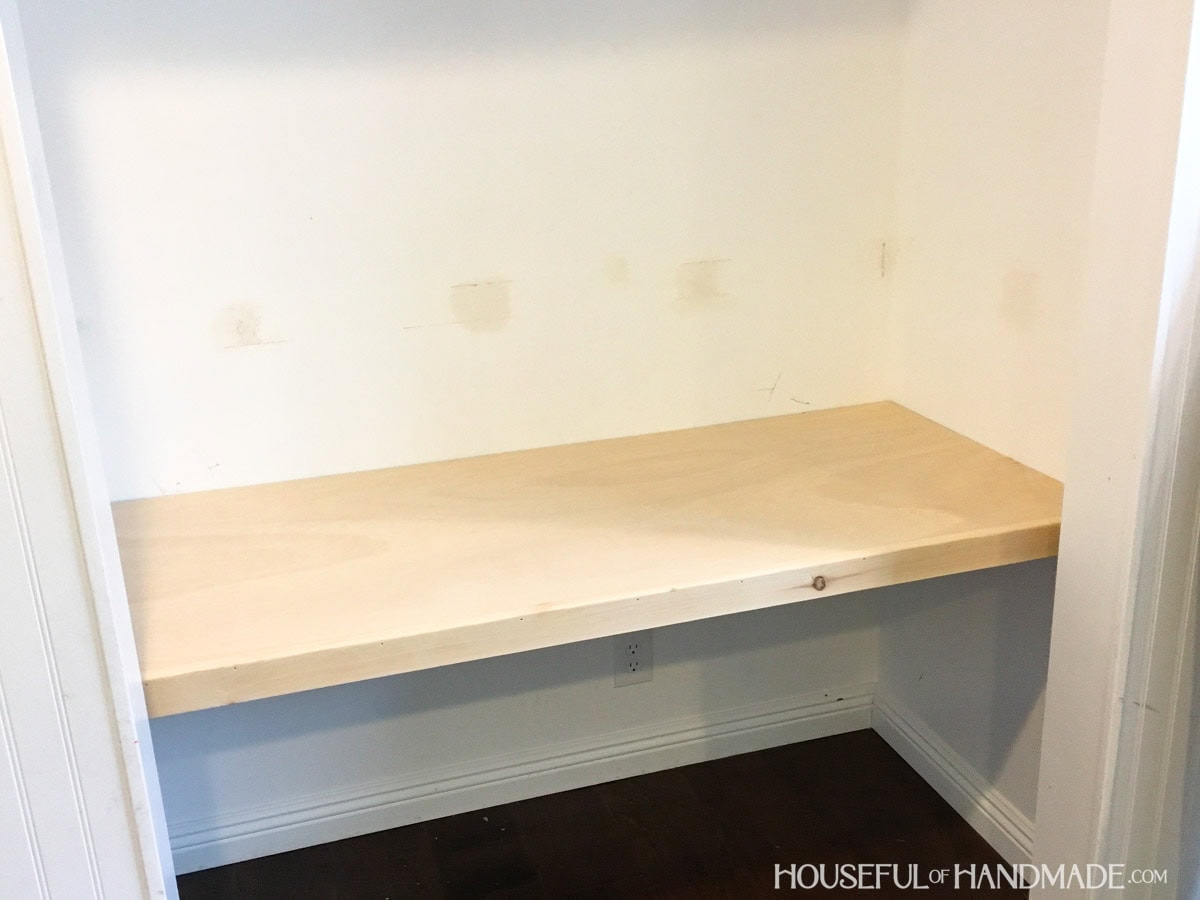
STEP 3- Add the plywood top
Once the frame is built, cut your plywood to fit over the top of it. Cut it so it is the width of the desk and the depth you want your desk minus 3/4″.
Dry fit the plywood to make sure it fits in your closet (this is why I don’t paint the walls before installing the desk, it can scrape up the walls).
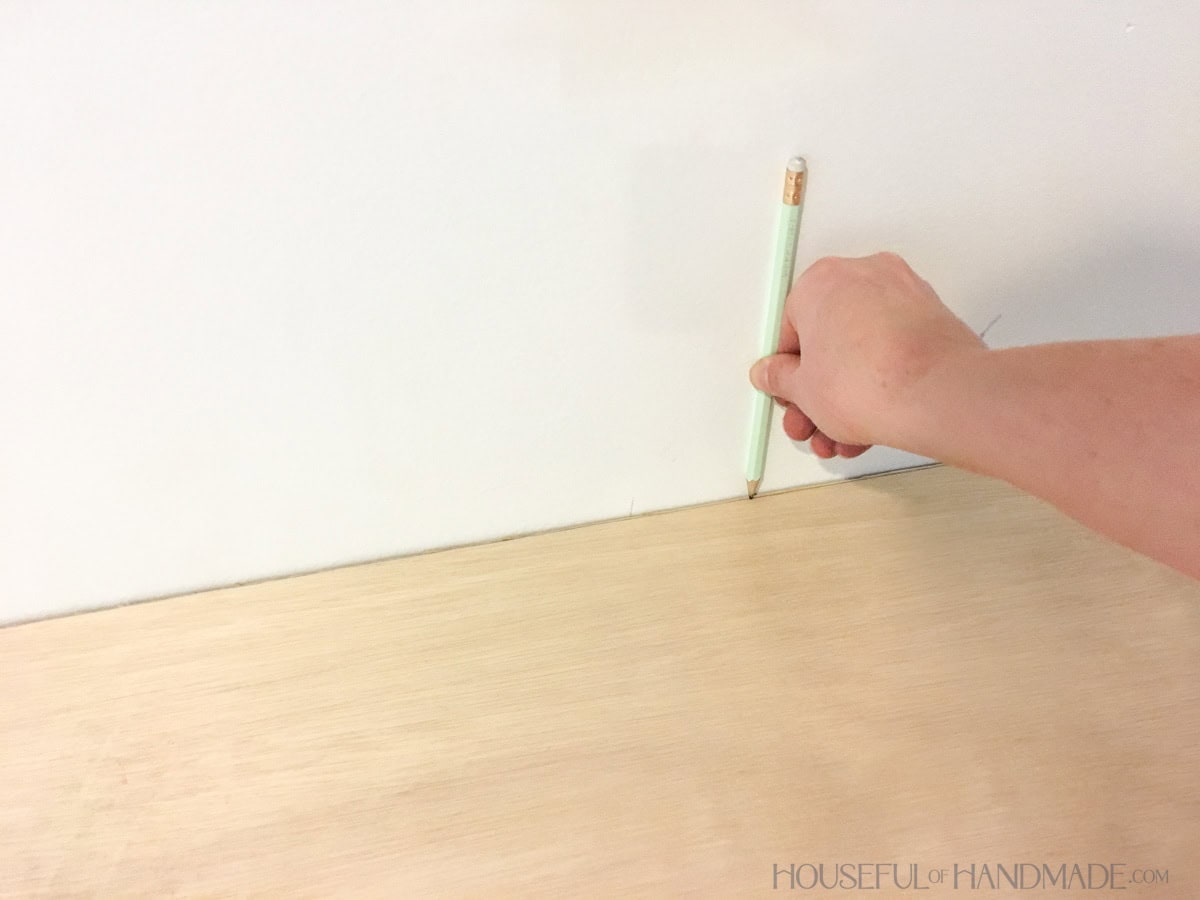
EXPERT TIP: Since walls are not perfectly straight, scribe the back of the plywood by running a pencil along the wall to transfer the curve of the wall onto the plywood. Then cut along this line to remove any gaps along the wall.
To ensure the tightest fitting plywood on the sides, you can create a template of the desk top like I did for these floating shelves in a nook.
Once you have the desk top fit, cut a piece of 1×3 board to the length of the front of the desk.
Secure it to the front of the plywood with wood glue and finishing nails. Sand well.
To attach the desk top, secure with a couple finishing nails around the edge/back. Then fill nail holes.
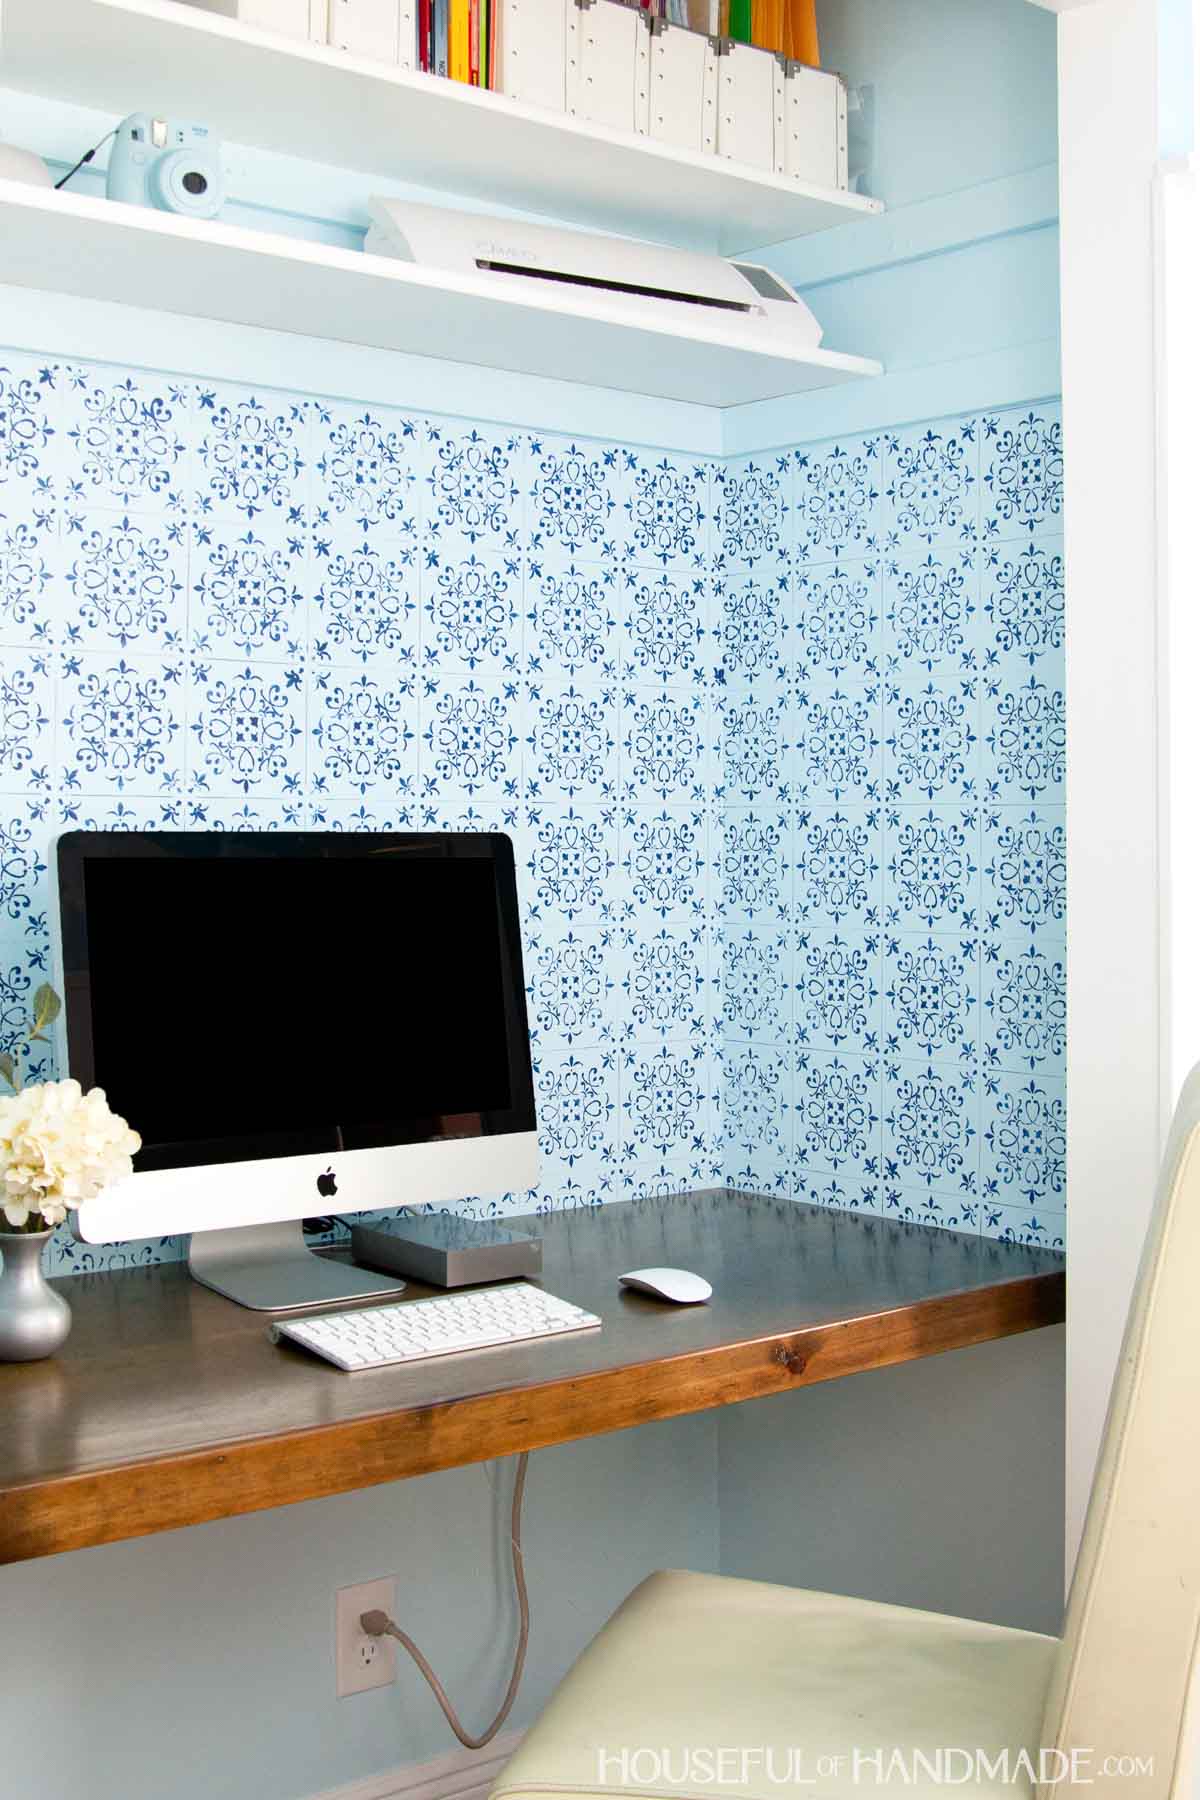
STEP 4- Finish the desk
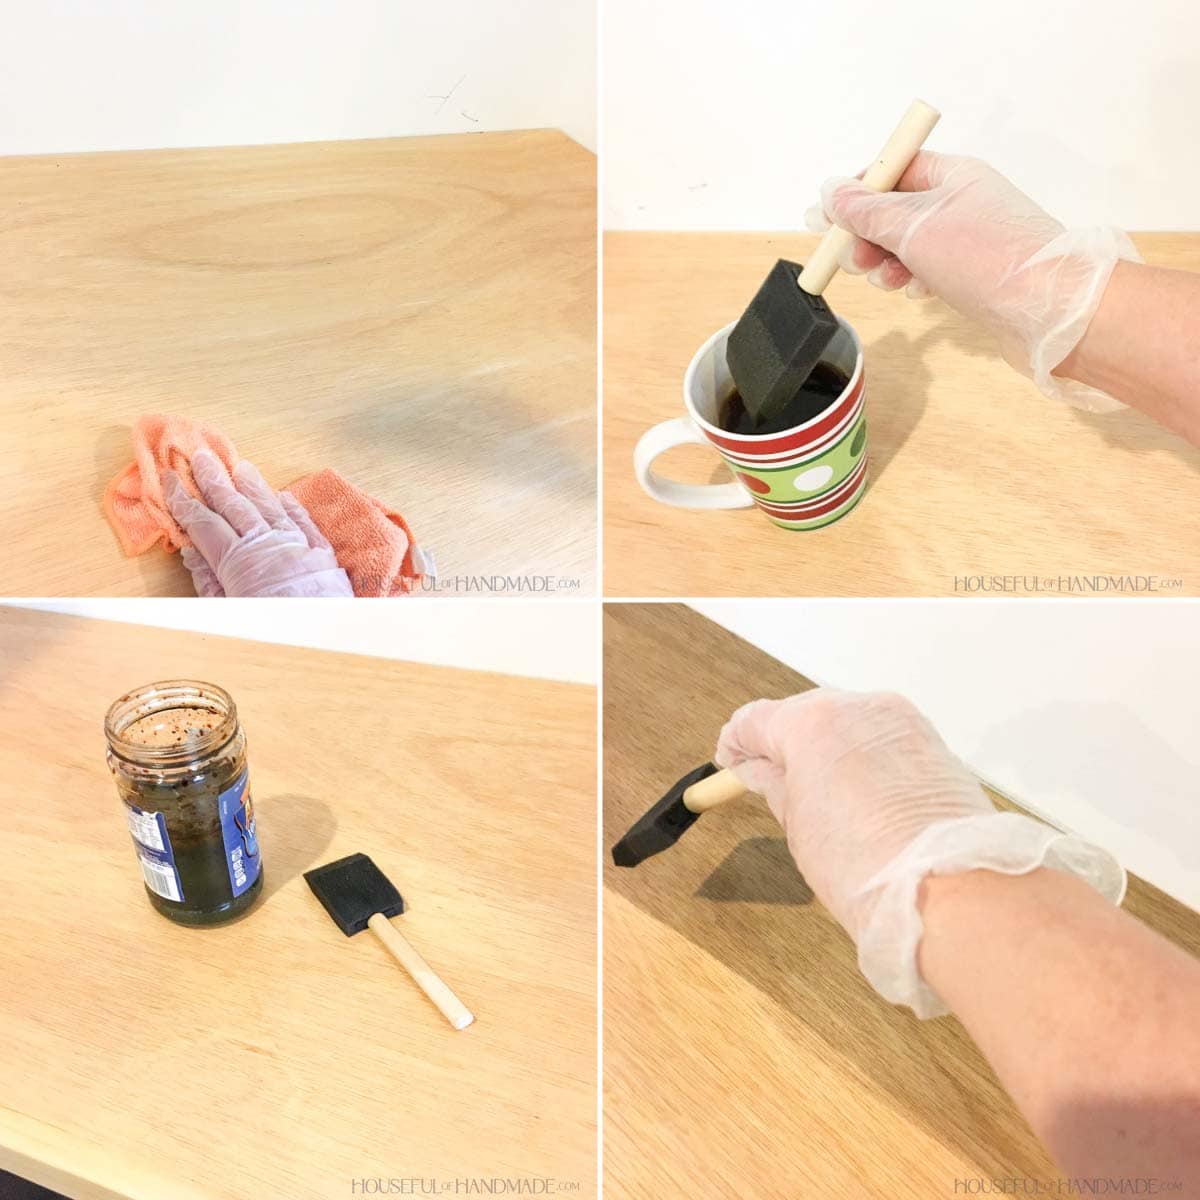
I used a DIY natural stain to stain my desk. Before staining, wipe the desk with a barely damp cloth to clean off the sawdust and open the wood up to get it ready to receive the stain.
Then brush on a coat of strong brewed black tea. Immediately, finish by brushing on a coat of a vinegar stain solution.
You have to do this quickly so you don’t get streaks (the wet wood from the wipe down and black tea also help reduce the streaks). The wood will immediately start to oxidize and will continue to deepen in color for a few hours.
Let the stain dry completely, then protect the desk off with 3 coats of polyurethane.
Sand between the coats to get a smooth finish.
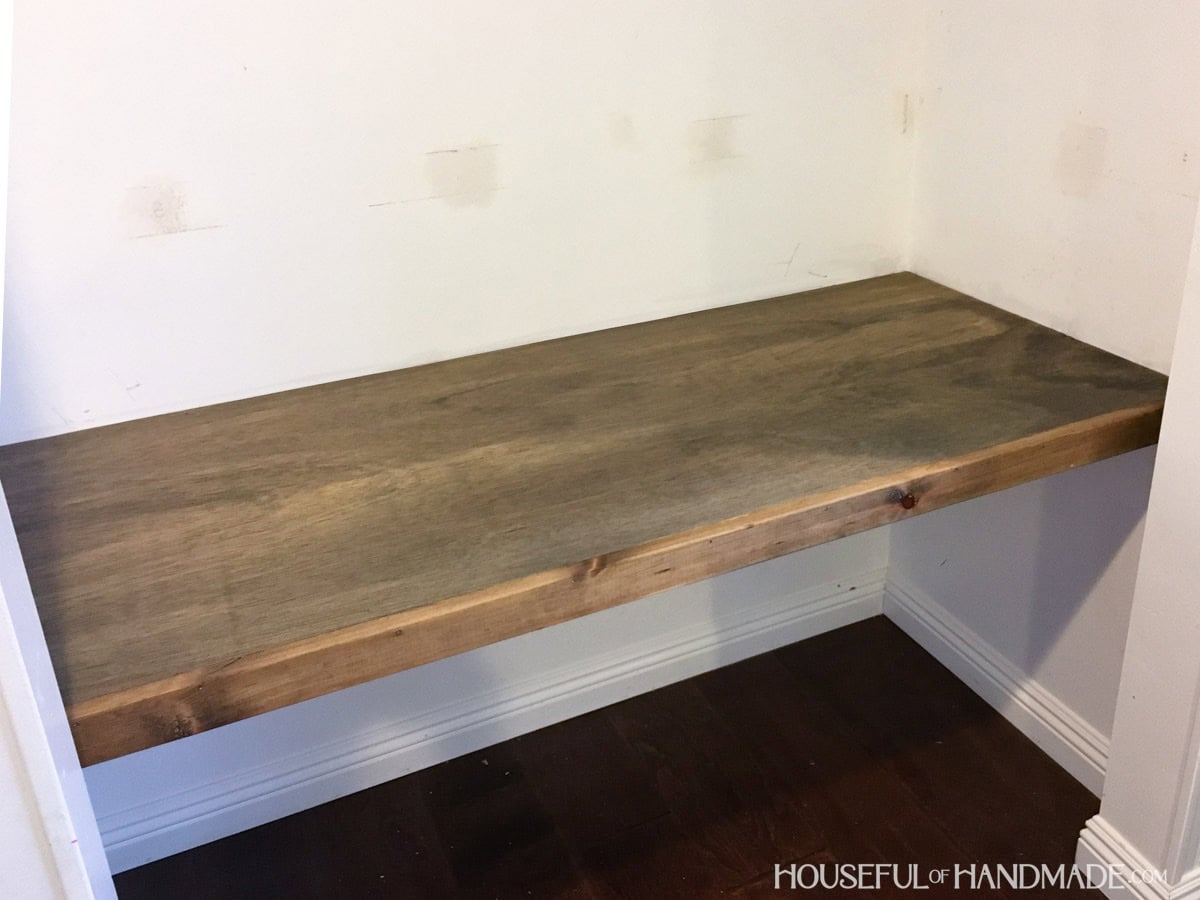
After the sealer is completely dry, cut a hole for your cords to go through. Then fill it with a cord grommet.

And you are done!
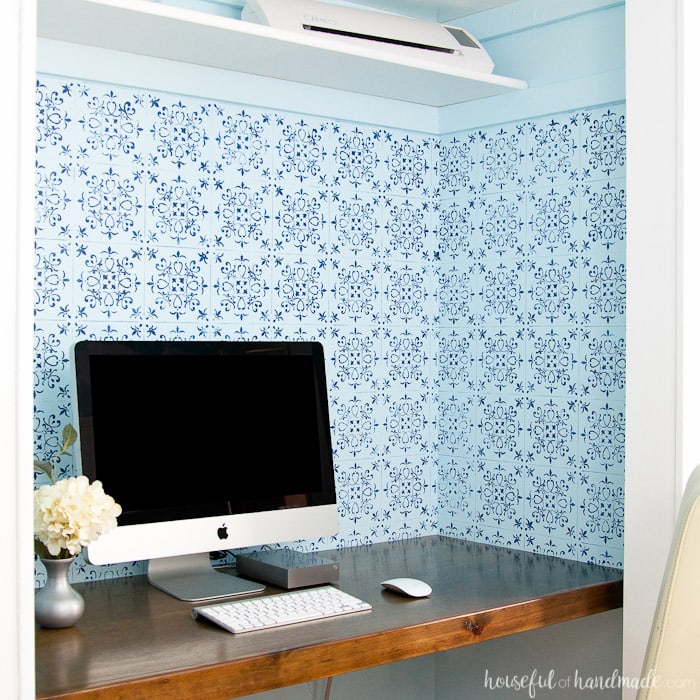
Now all that is left is to decorate. Since this desk is part of my $100 Room Challenge makeover, I have to keep decorate on the cheap.
This desk was my most expensive splurge (at a whopping $40). I painted the inside of my closet with the blue paint left-over from my dining room. It’s such a soft beautiful blue color.
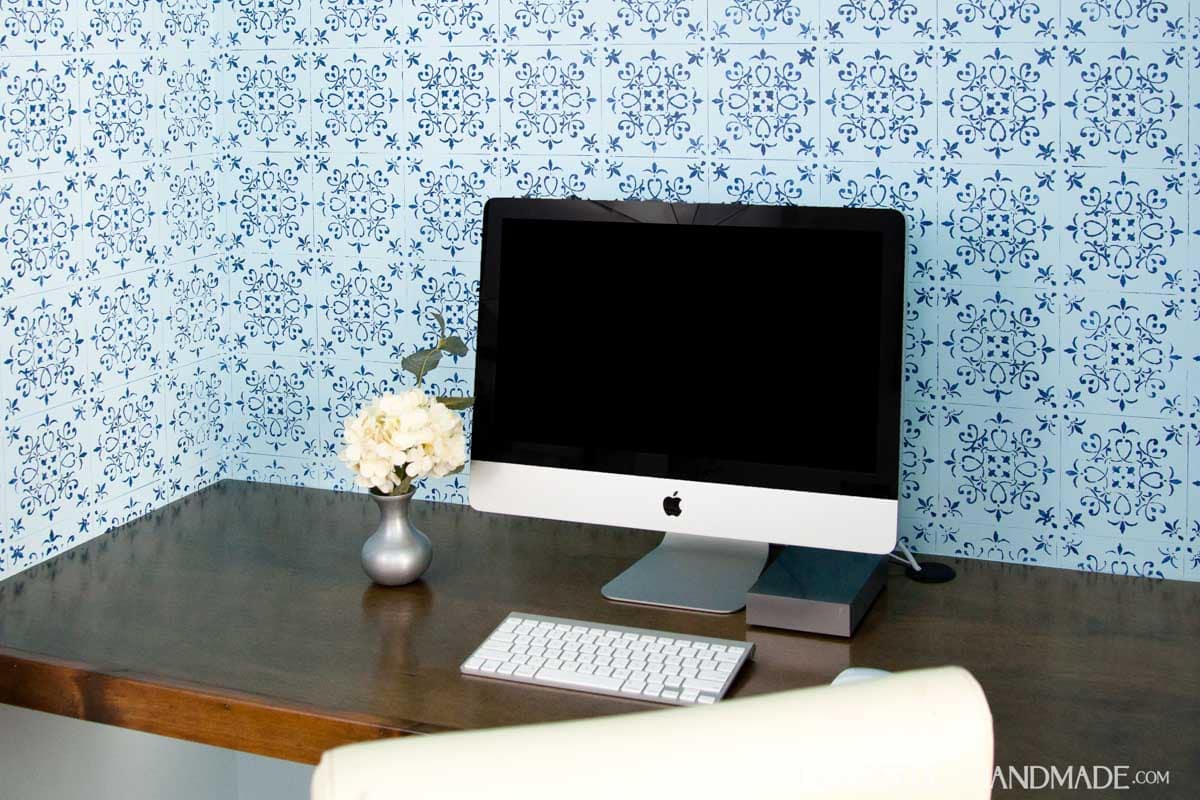
But then to add some style, I made a DIY wall stencil using my Silhouette cutting machine like I did for my son’s bedroom focal wall.
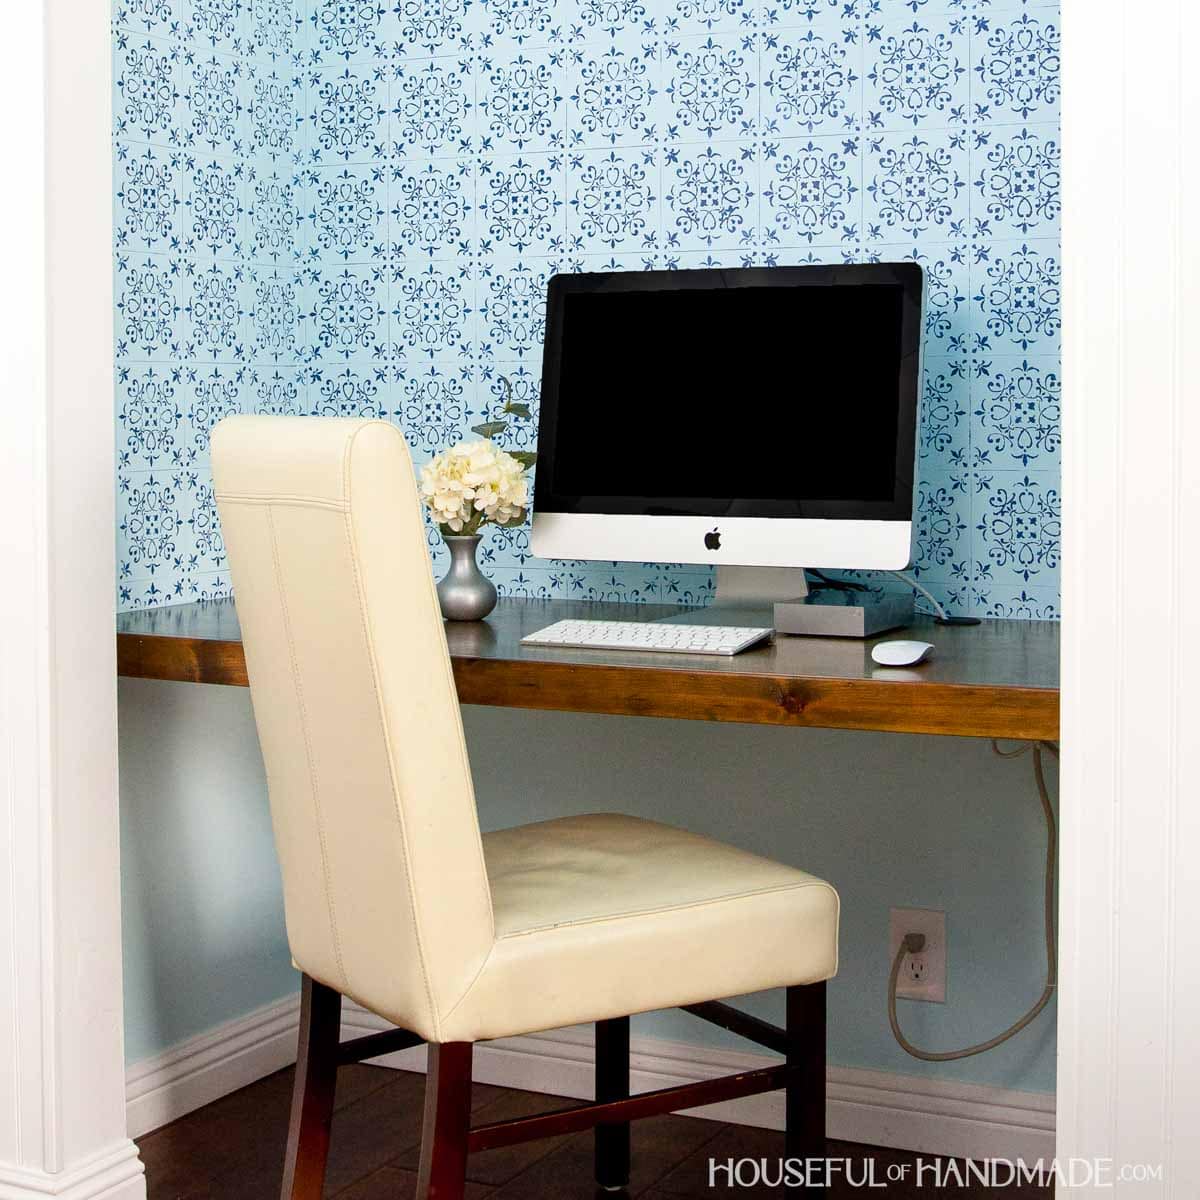
Then I used some left over navy blue paint to create this faux patterned tile design. I couldn’t be more excited with how it turned out.
And all this only cost me $40! Here’s the breakdown of where I spent it:
- Plywood – $31.20
- (3) 2×2 boards – $5.20
- Screws & sandpaper – $0 (already had)
- Steel wool, vinegar and black tea stain – $0 (already had)
- Polyurethane – $0 (already had)
- Cord grommet – $3.60
- Paint – $0 (already had)
- Painting supplies – $0 (already had)
- Stencil supplies – $0 (already had)
Now I have $43 (plus a half a sheet of plywood) to finish the room. I’m hopeful I can get it all done!
