Adding plants to your home is a great idea. It adds such a great layer of texture to your decor and cleans out your air. My goal is to add plants to every single room.
I have been finding different plants for the different lighting in each room. And even tried propagating my own with these gorgeous test tube propagation vases.
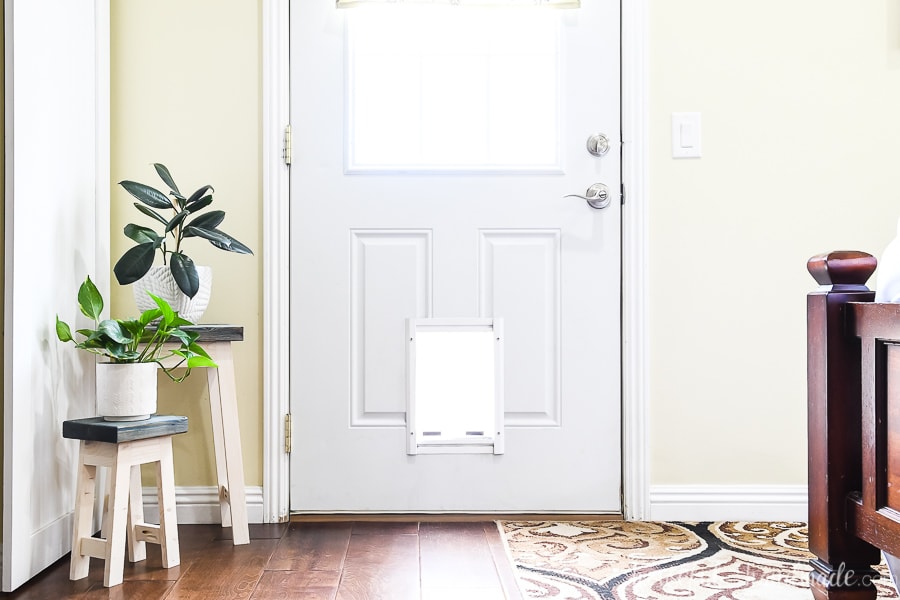
While I love hanging plant holders, some plants are too big and need a place down low to live.
This post may contain affiliate links. As an Amazon Associate I earn from qualifying purchases. Click here to read my full disclosure policy.
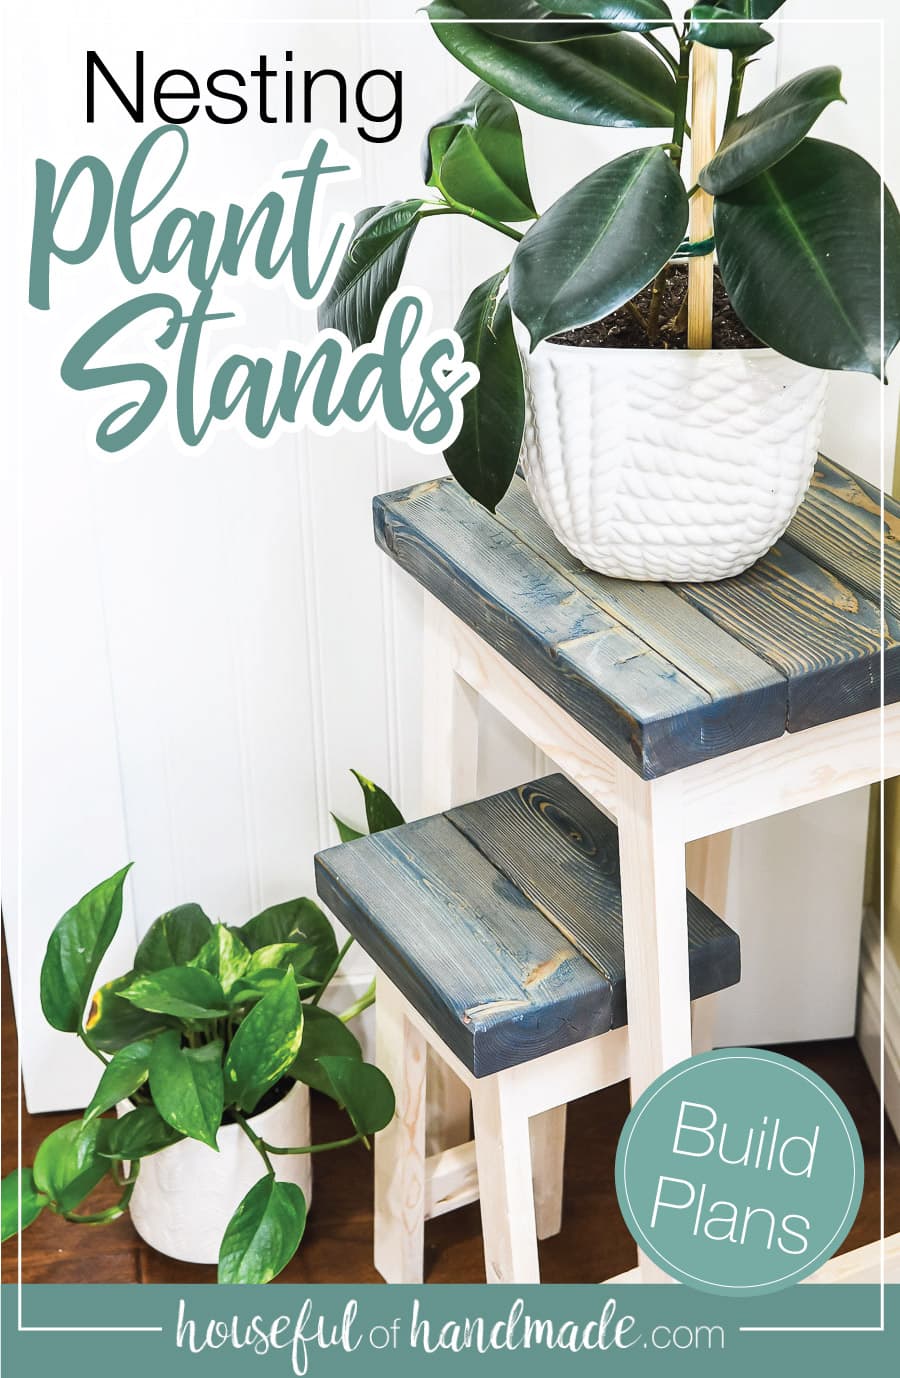
But all those plants needed a better home then the floor so I used up some piles of scrap wood to create these nesting plant stands. This is such an easy build, perfect for a beginner, and super useful too!
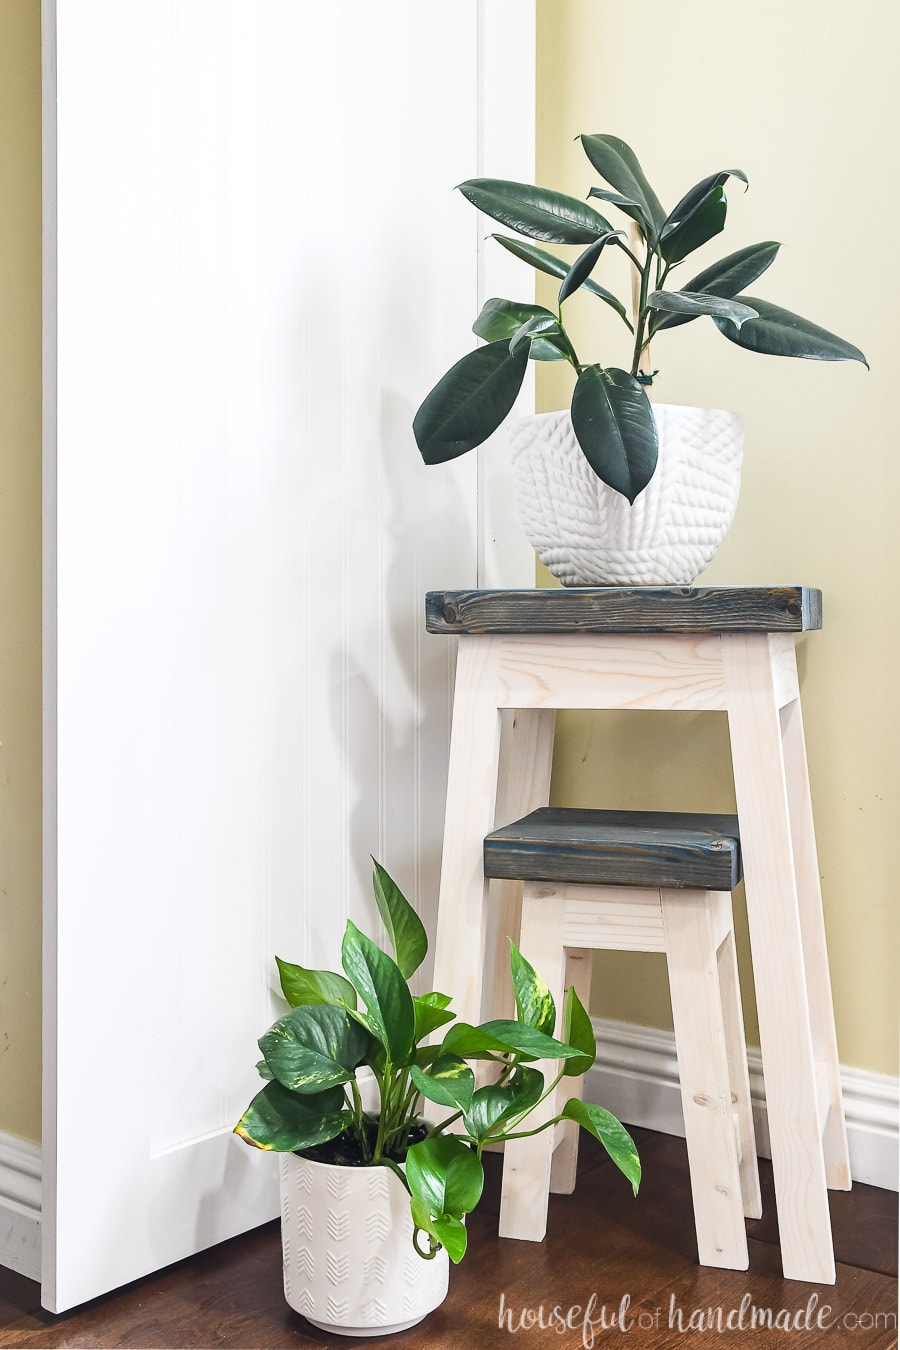
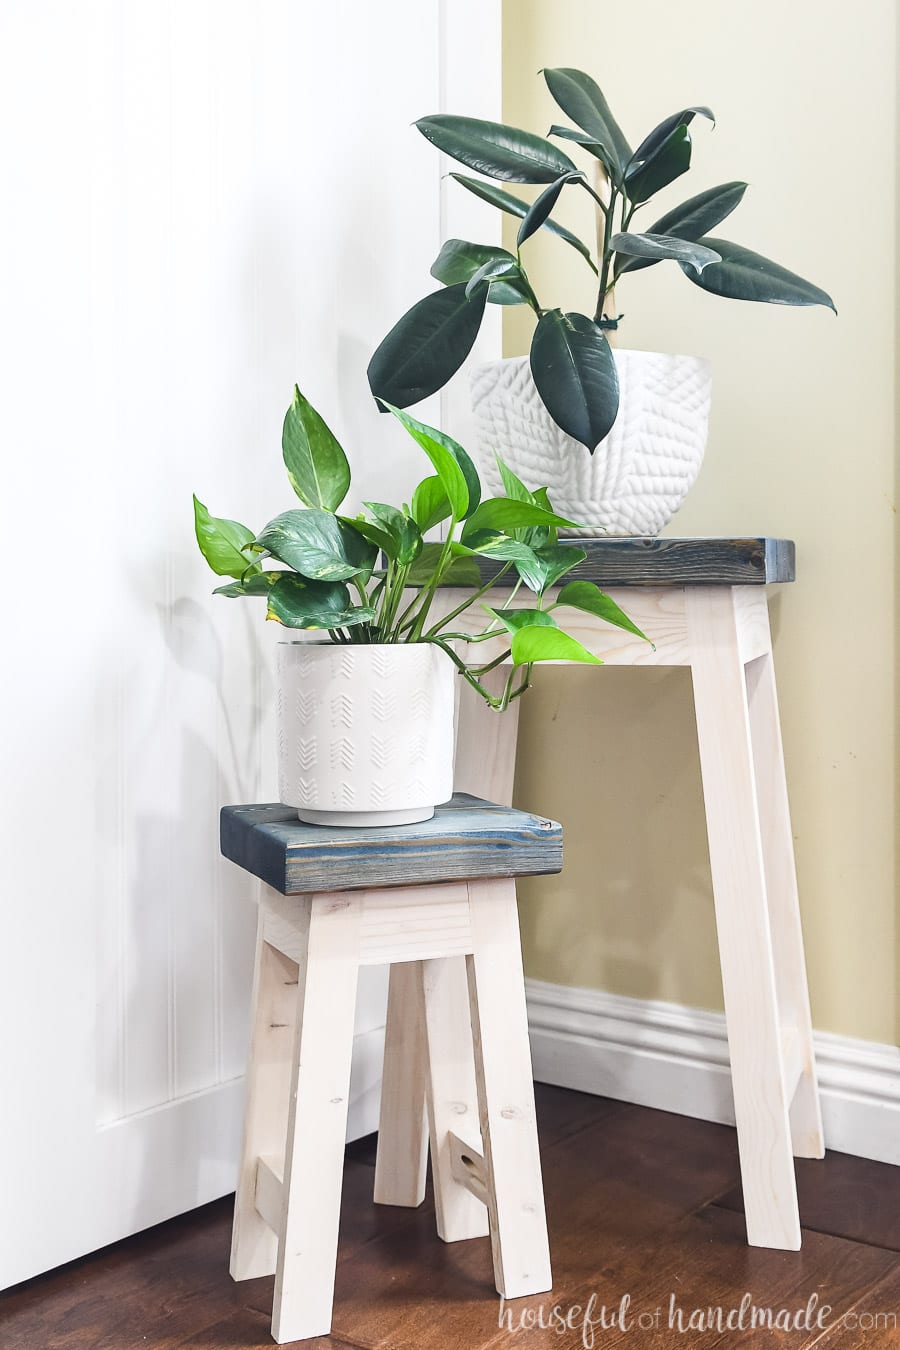
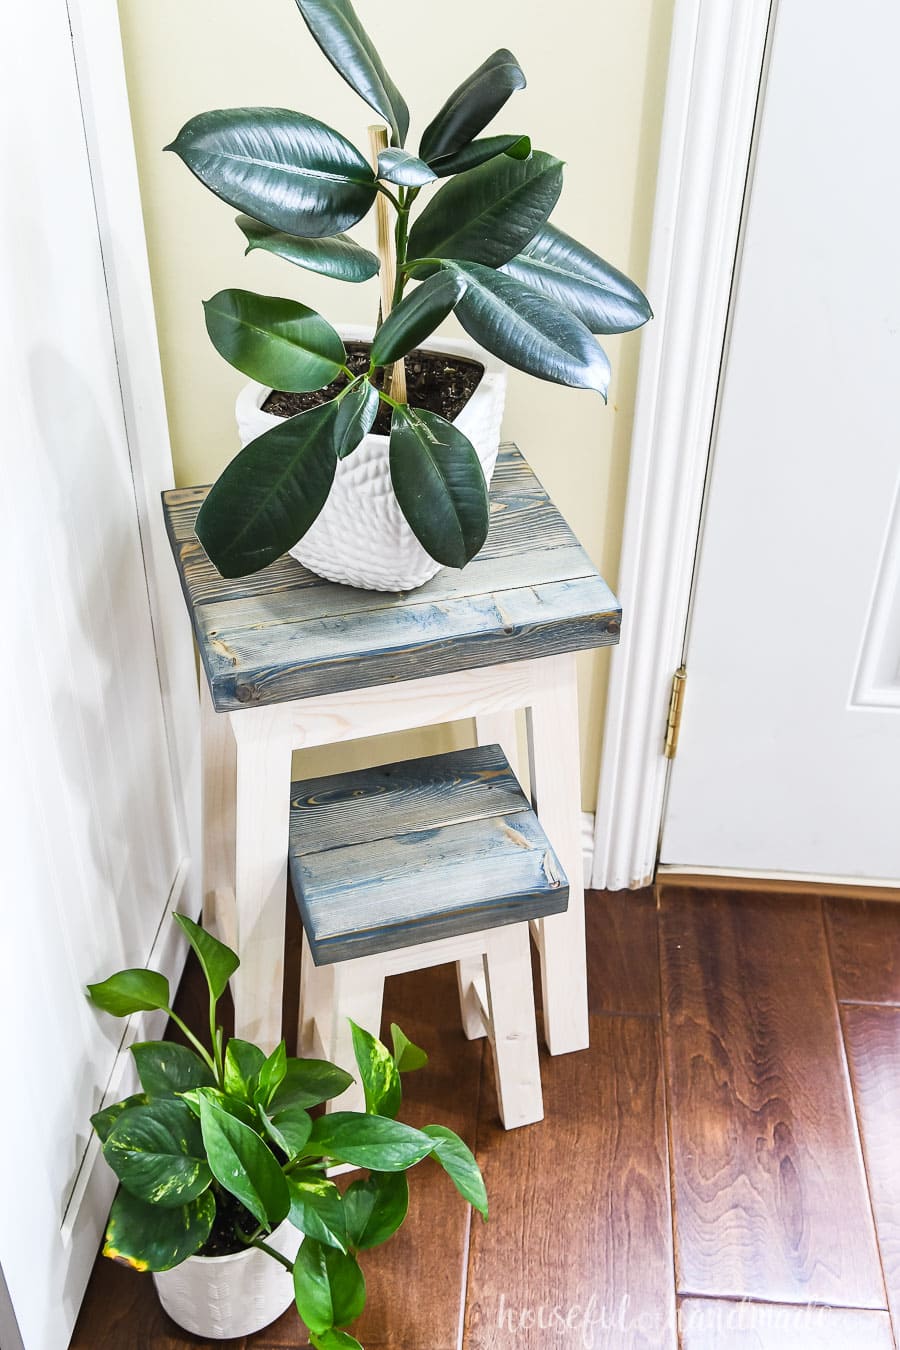
These two plant stands will add height to your house plants. The small stand sits nicely in the larger one so you can tuck it away when not in use. Perfect for use in a small space.
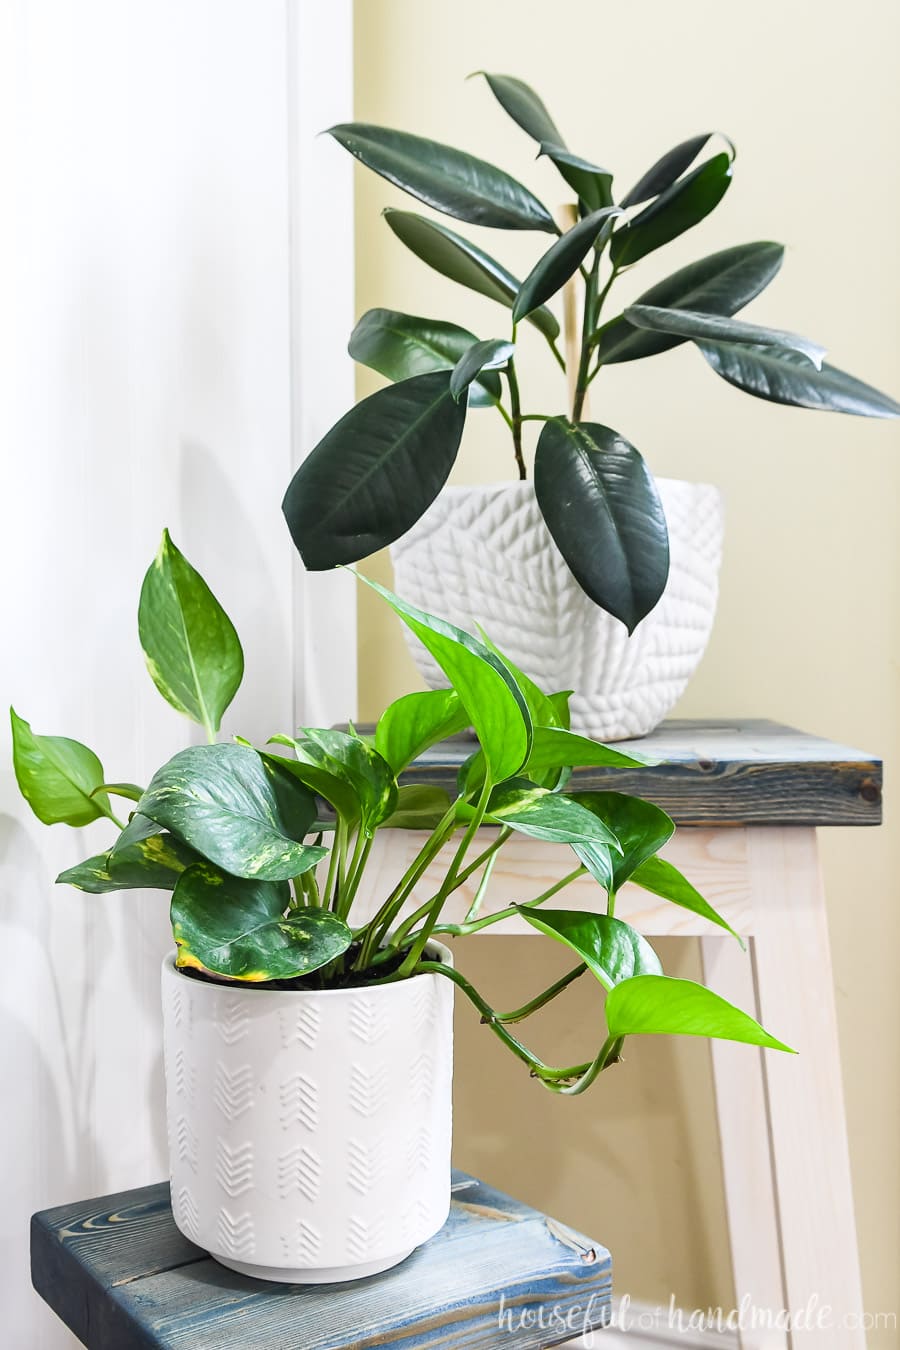
I like to pull it only out enough for my plant to fit, but leave it tucked in just a little bit.
That way the plants are nice and close to make a fun vignette from my plants.
Why use Plant Stands?
When you are creating a grouping of plants in a room, you want to them all at different heights. This will add texture to the grouping and allow you to see the all the plants.
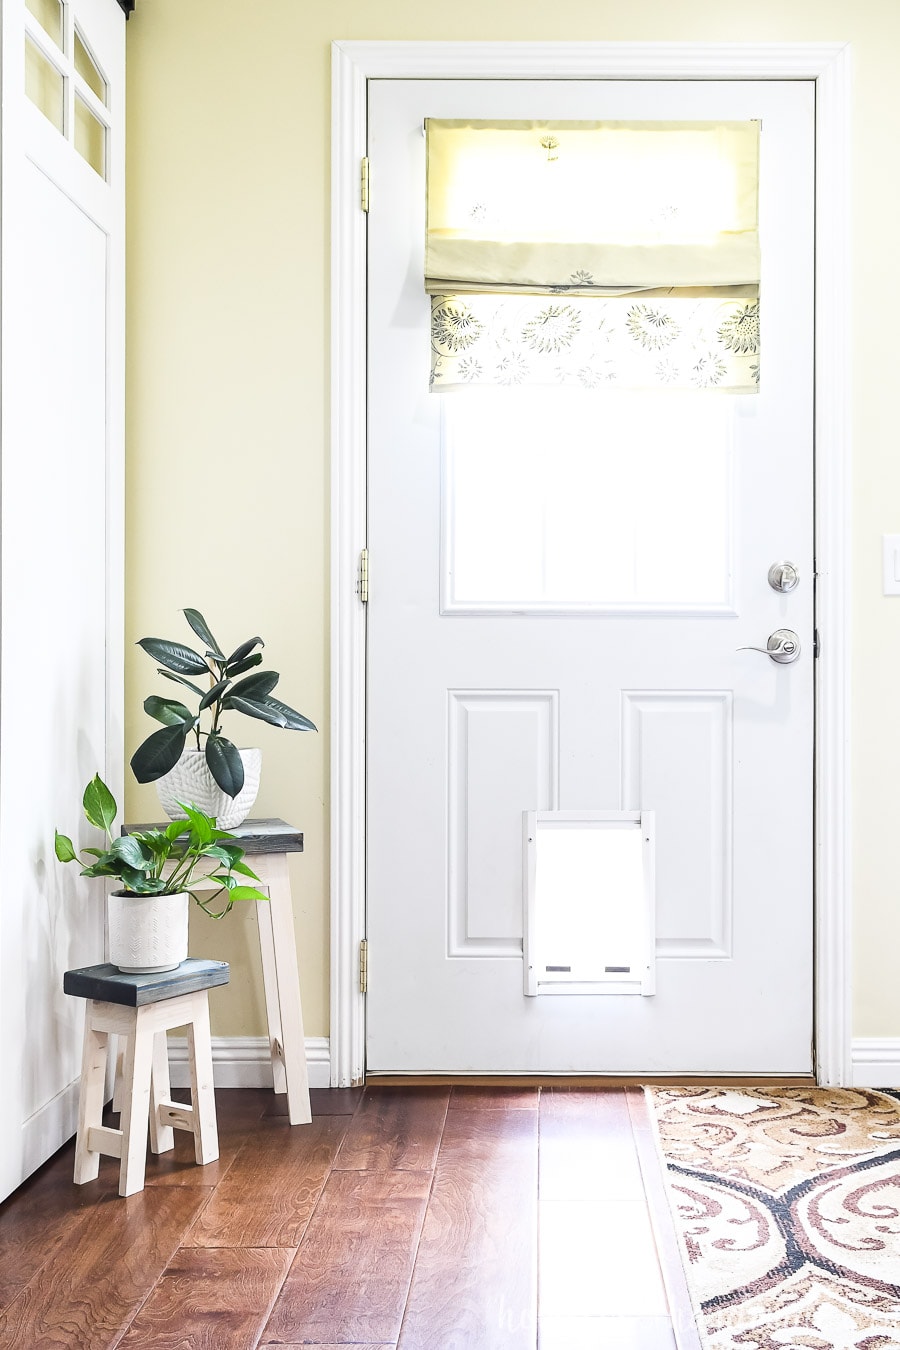
Plant stands are a great way to keep your smaller plants off the floor. This makes it easier to sweep under them and can save your back while caring for them.
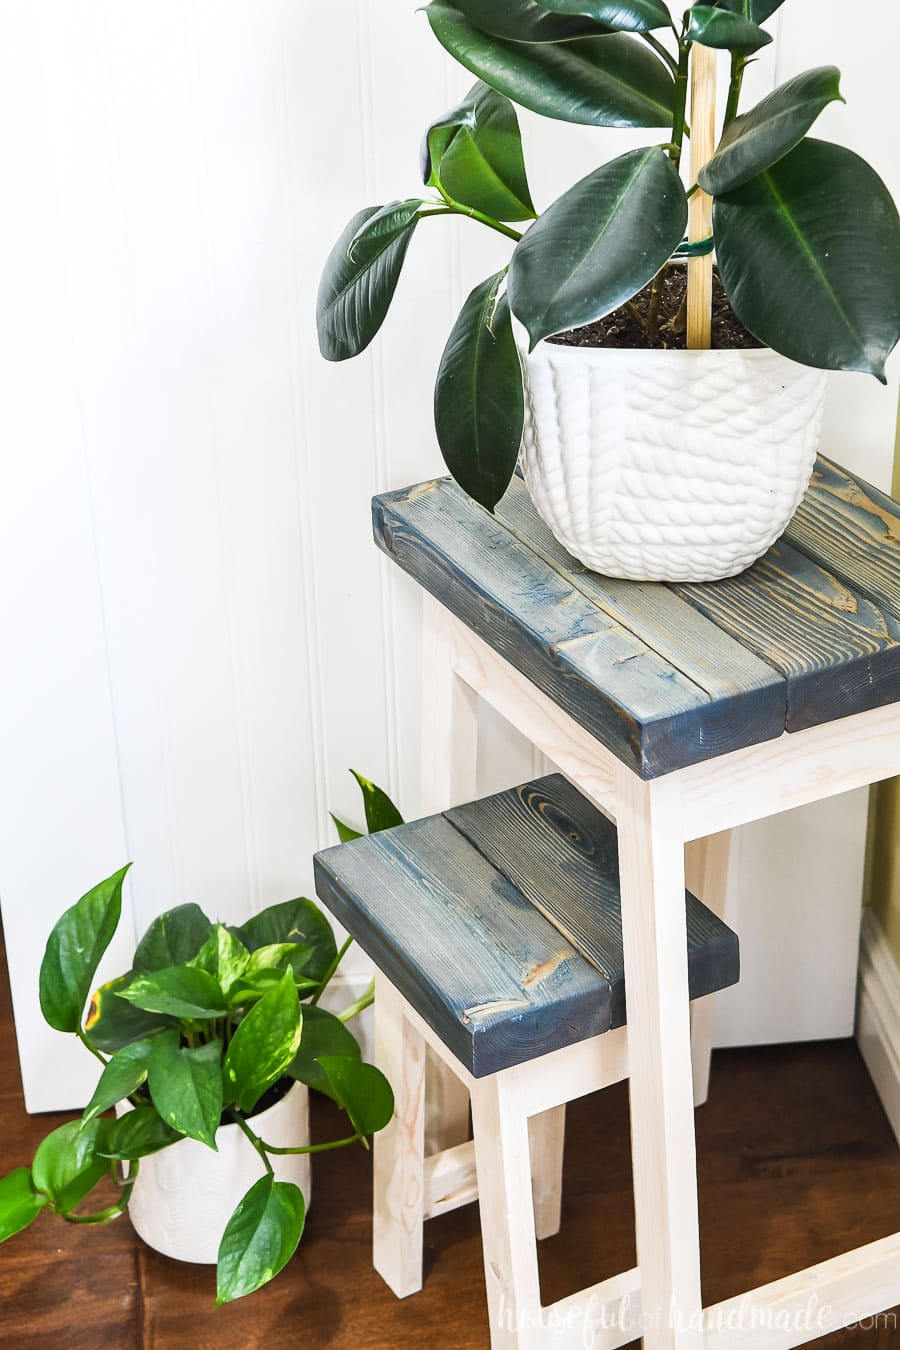
These nesting plant stands are great for offering two different height options to you plant display.
The larger table can hold a larger plant and the smaller table is perfect for small or trailing plants.
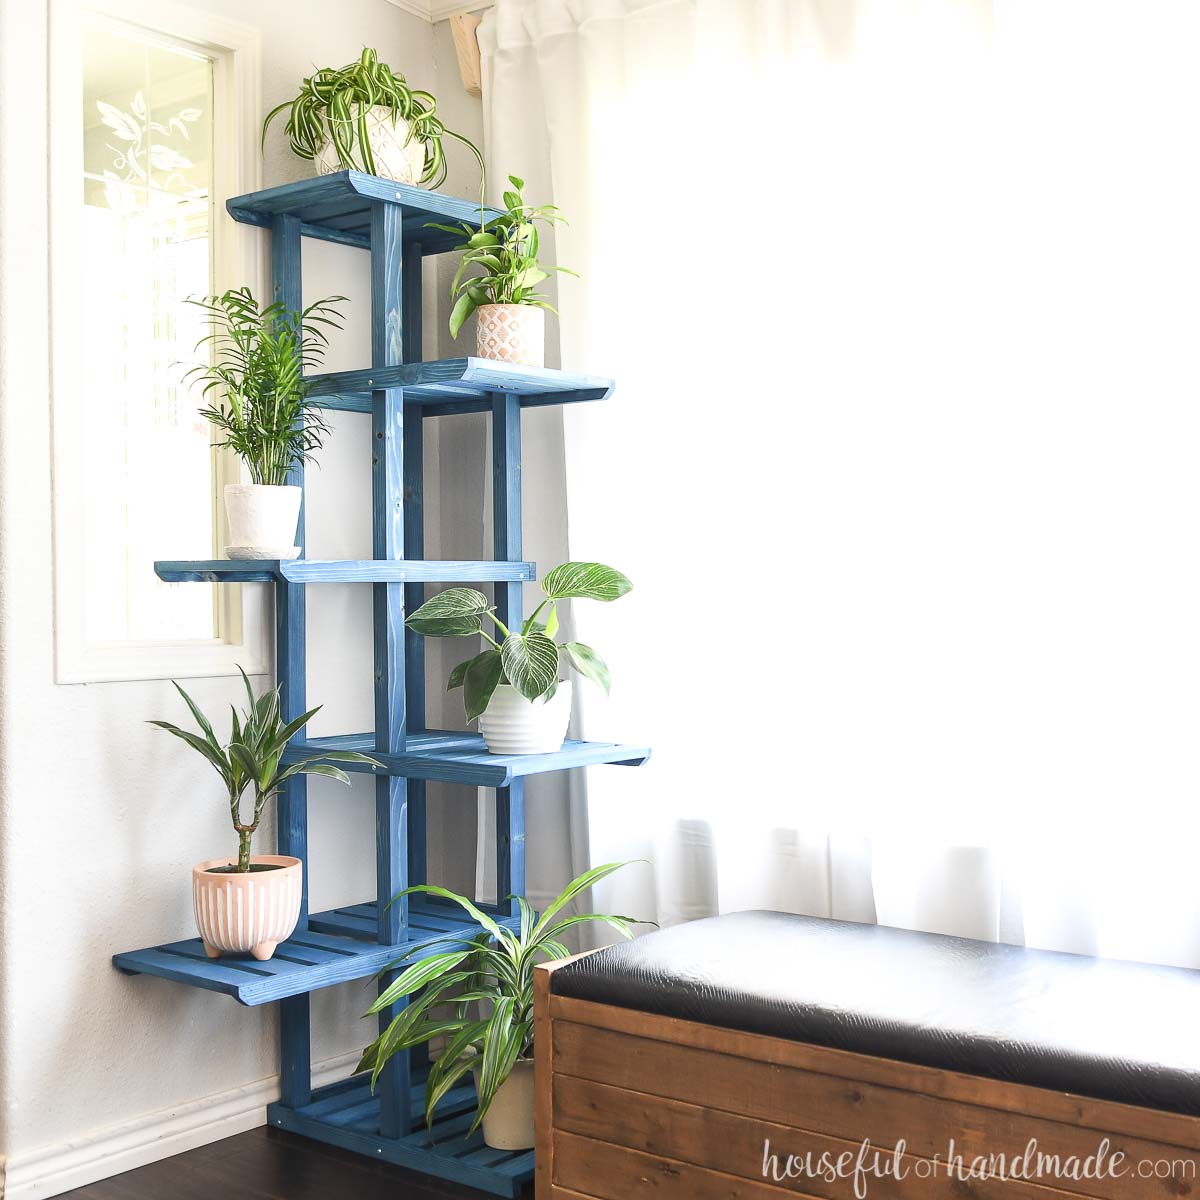
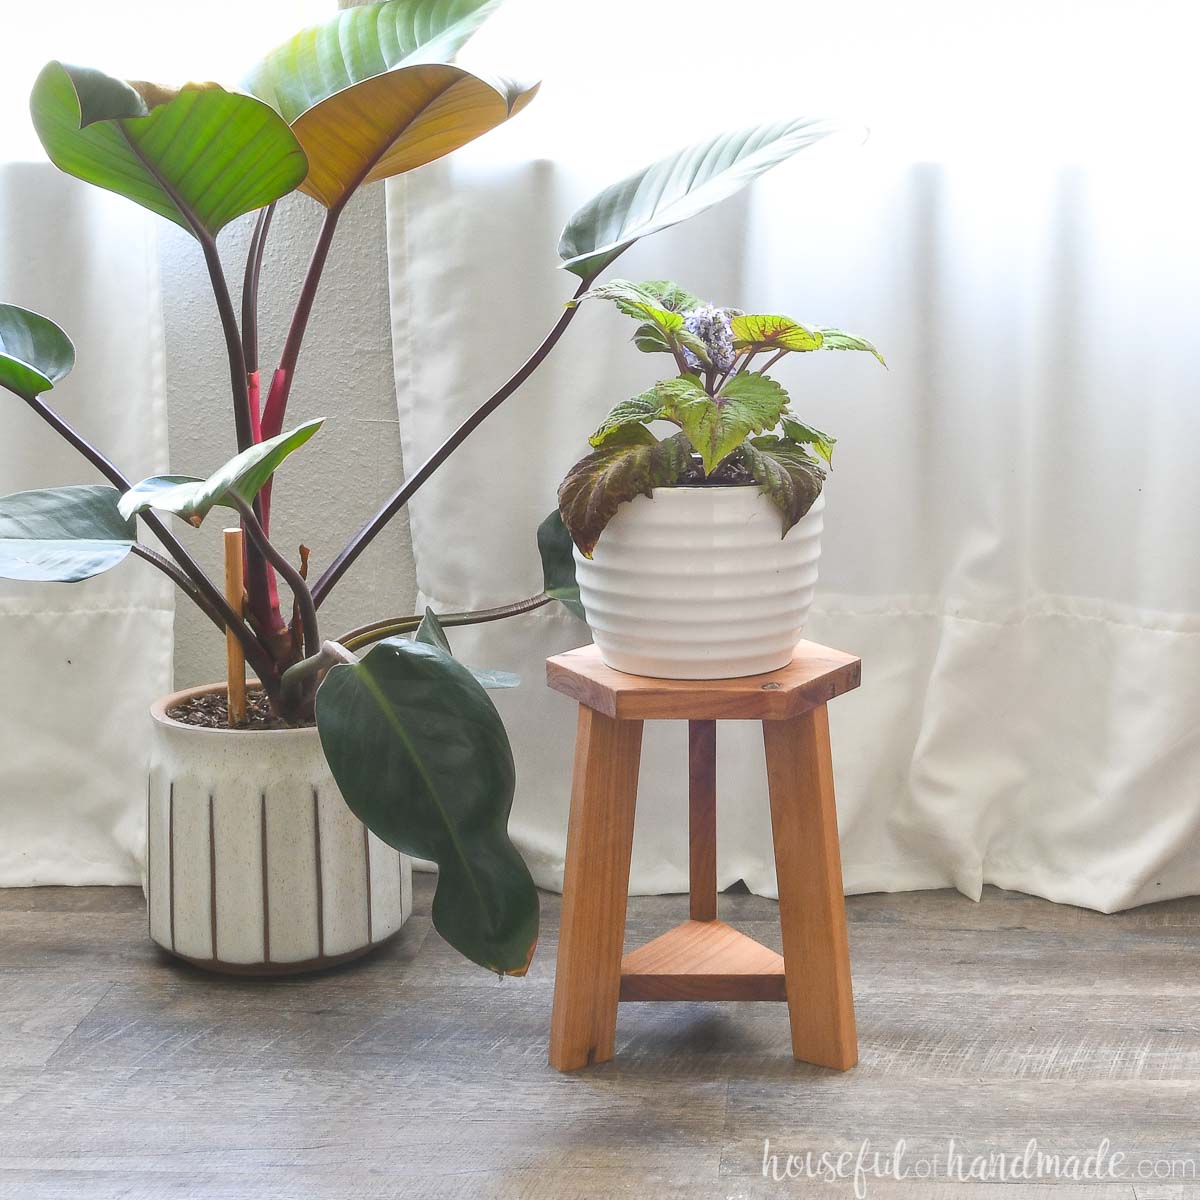
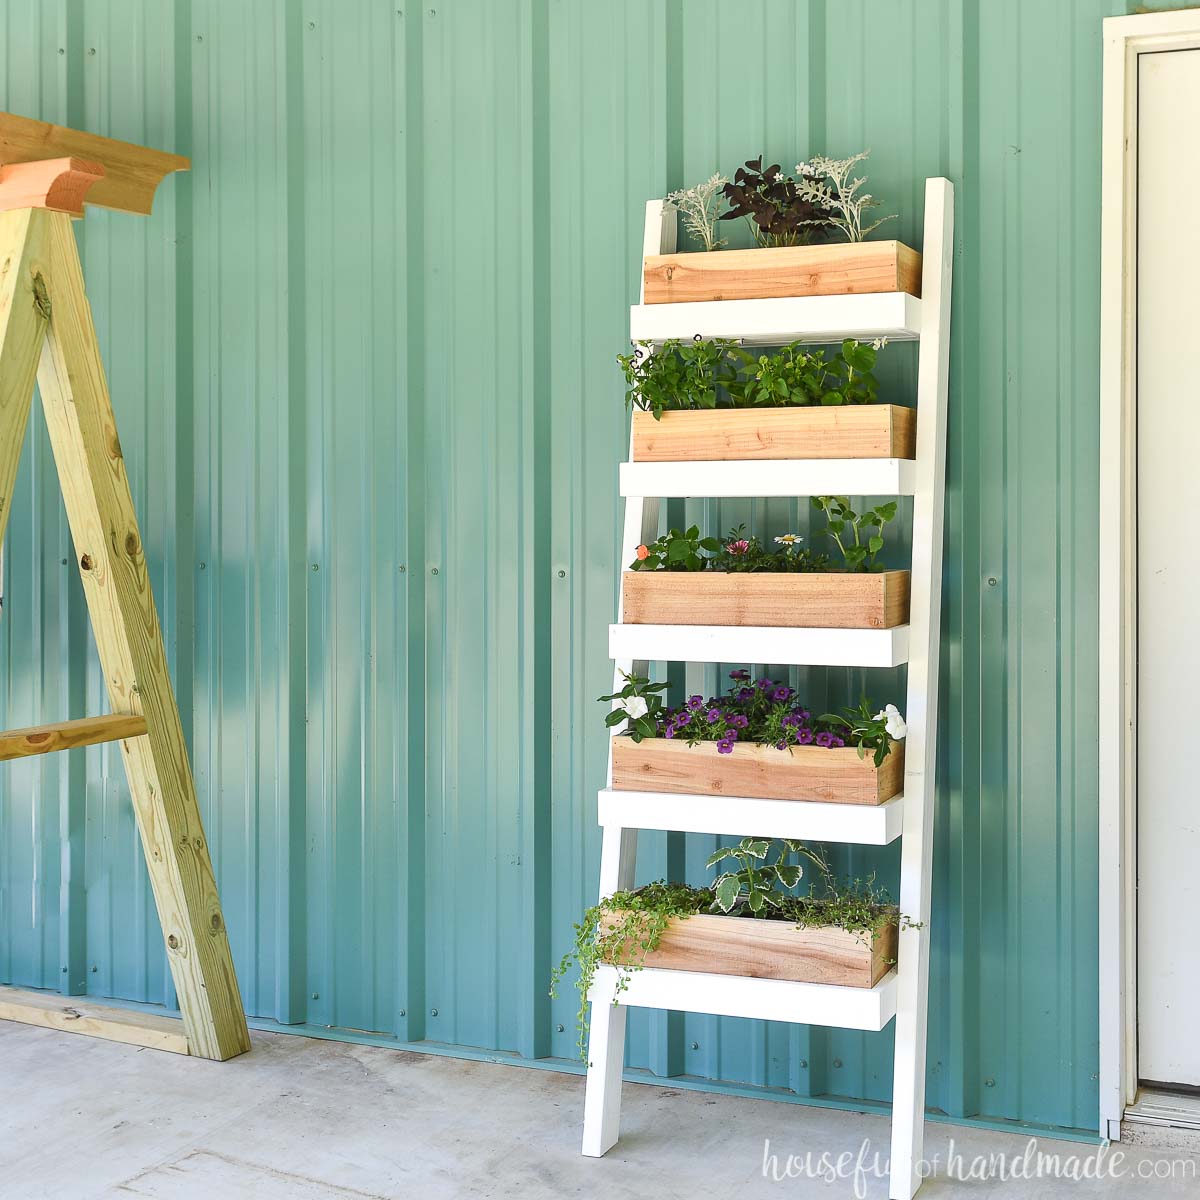
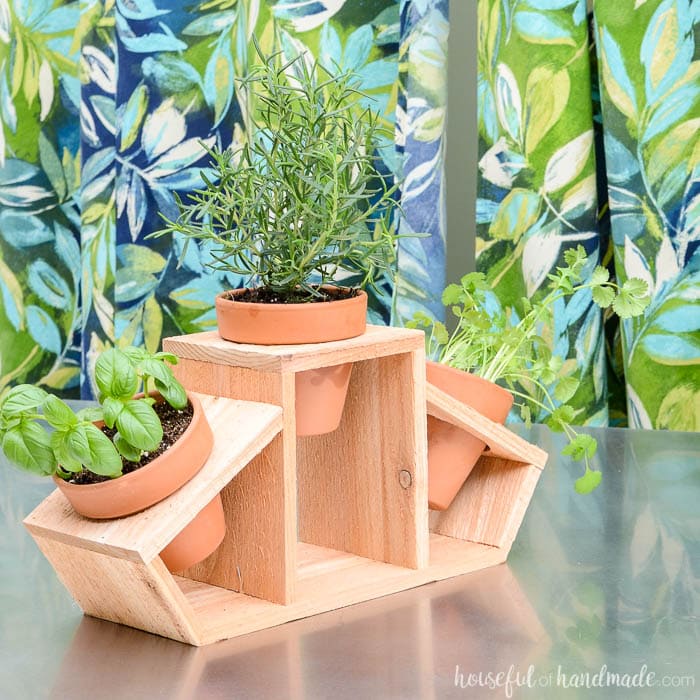
More DIYs for Your Plants
Nothing say I love plants like building the perfect home for them. Check out these fun DIYs to add green to you home.
How to Make Wood Plant Stands
Tools & Materials
Recommended Tools:
- Miter saw
- Pocket hole jig
- Drill
- Impact driver (optional, but I love not having to switch bits with the drill)
- Speed square
- Clamps
- Measuring tape
- Sander
Supplies:
- Lumber
- (2) 1×2 boards, 8′ long
- (1) 1×3 board, 4′ long
- (1) 2×4 board, 5′ long
- 1 1/4″ pocket hole screws
- 2 1/2″ pocket hole screws
- Wood glue
- I love this Gluebot for my wood glue
- Sandpaper
- Stain or paint
Cut List
Cut out the pieces according to the easy to read cut list in the premium PDF plans.

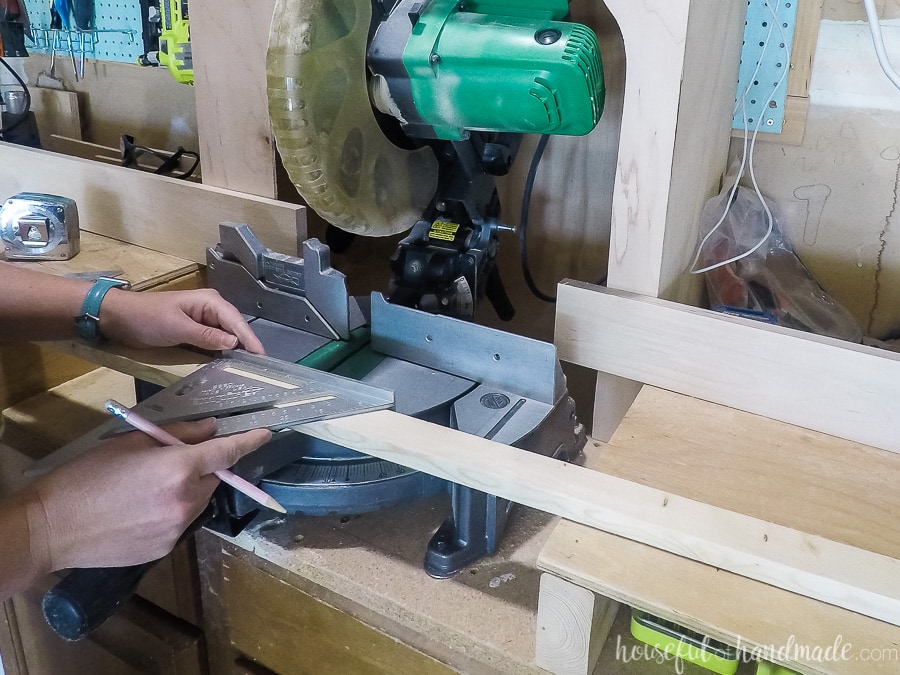
To lay out the angled cuts, I like to use a speed square.
Place the corner on the measurement mark. Then rotate it so the angle number on the angled side is up against the edge. Then draw your cut line.
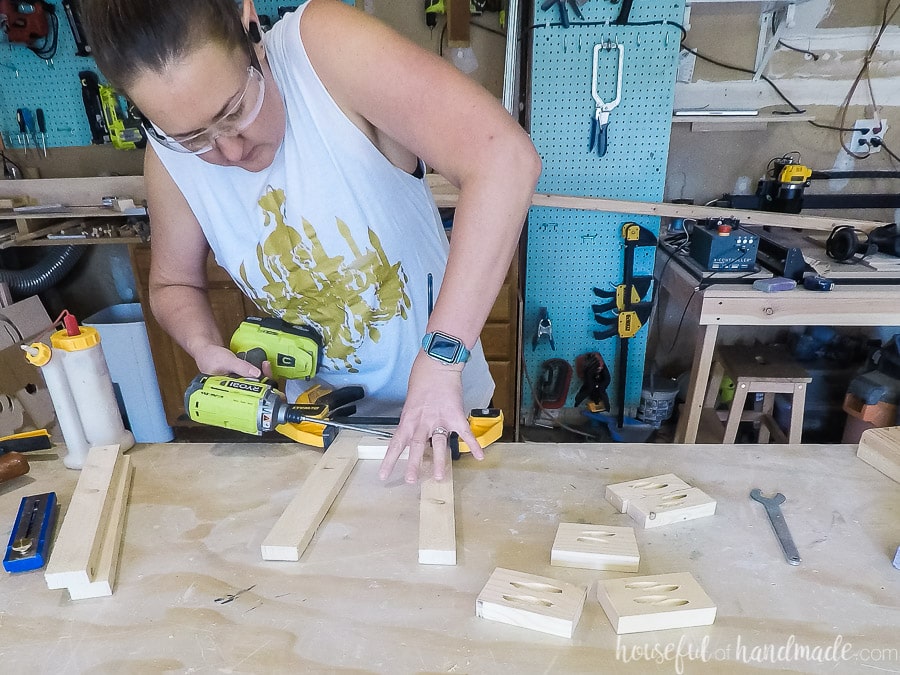
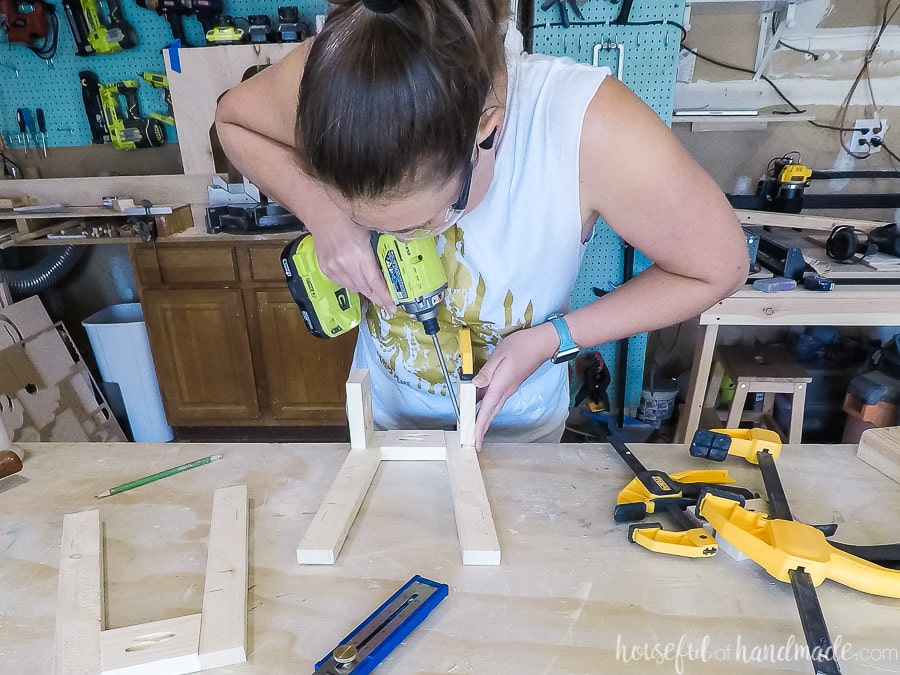
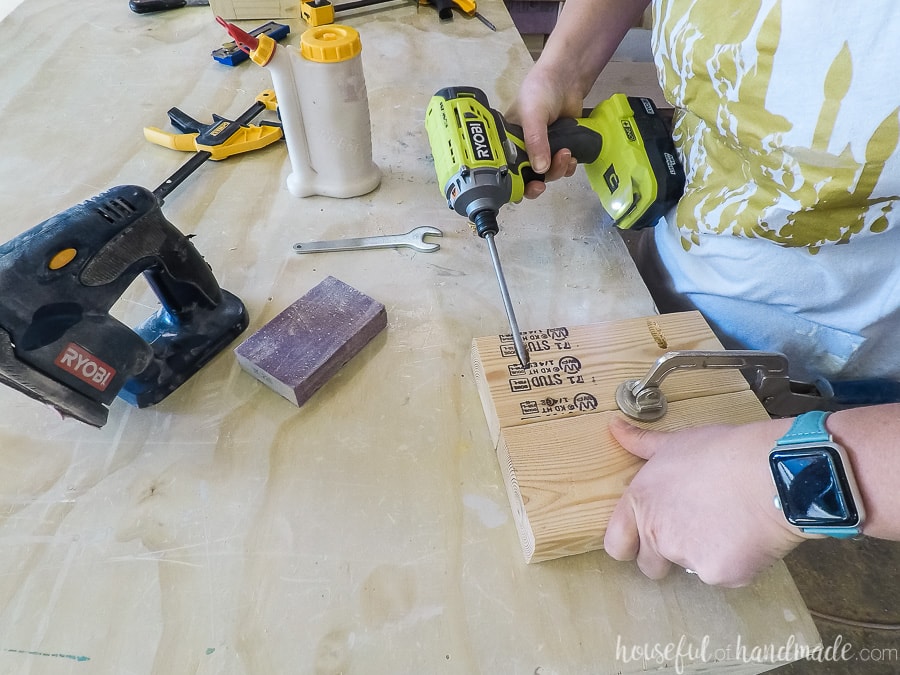
STEP 1- Build the base
Drill pocket holes set for 3/4″ thick material on the sides of the skirt pieces. Don’t get them too close to the top or the screws can end up poking through the top.
Make sure to line up the legs and skirt pieces so the angles are in the right direction making the top flat.
Attach the legs to either side of the skirt pieces with pocket hole screws and wood glue.
Repeat with the other skirt and leg pieces so you have 2 assembled pieces.
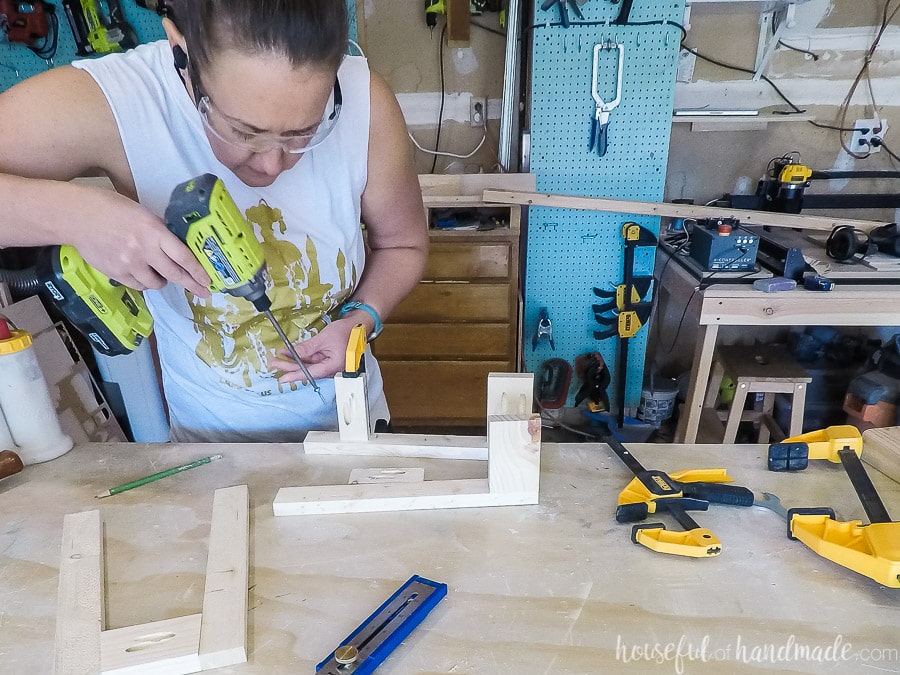
Mark the location of the leg supports as noted in the build plans. I love using the Kreg MultiMark tool for this.
Make sure to mark it on all 4 of the leg pieces.

Attach the side skirt pieces so they are flush with the top and flush with the outside of the legs.
Secure with wood glue and 1 1/4″ pocket hole screws.
Attach the leg support pieces on the marks so they are centered in the legs.
Secure with wood glue and pocket hole screws.
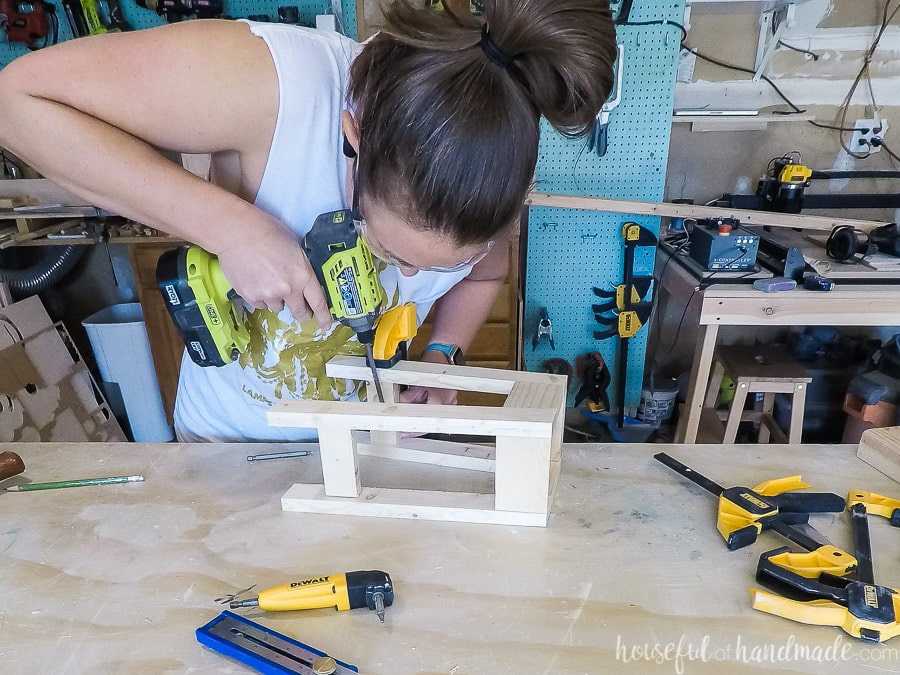
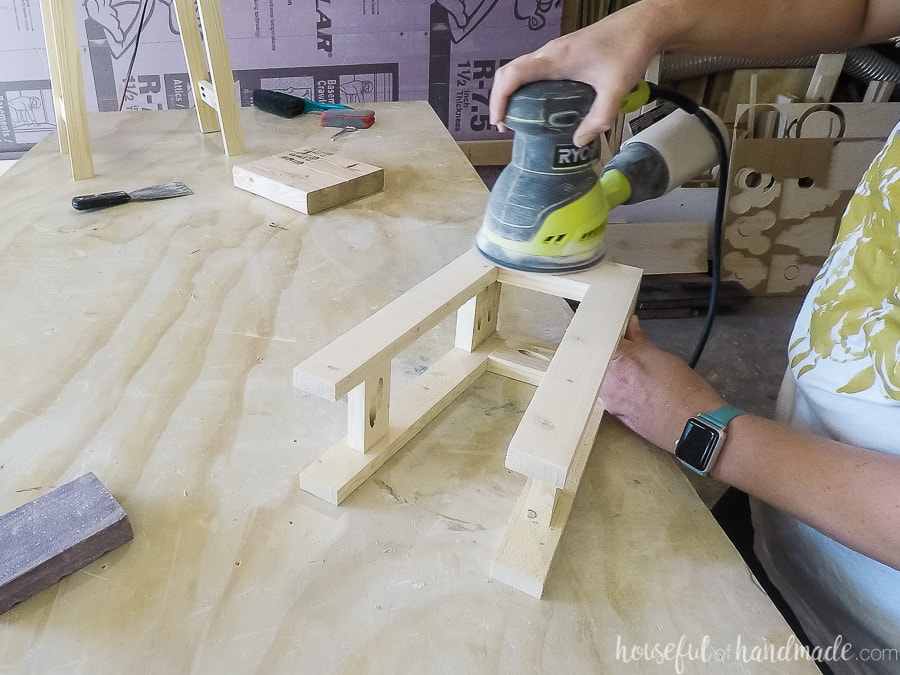
Once all the side pieces are secure, add a little glue to the unattached ends of all the pieces. Lay it on top of the second assembled front/leg piece.
Properly line up all the pieces and secure with pocket hole screws.
For the top skirt, you will need to use a right angle drill or bit to get into the small square to secure it.
I love this right angel bit for getting into tight spaces.
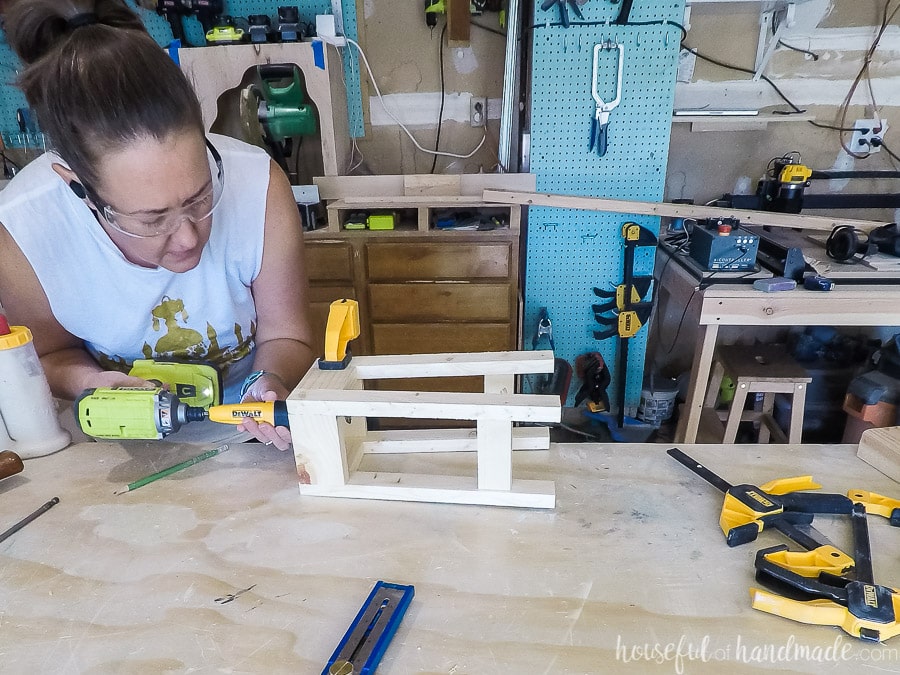
Don’t forget to secure the leg support pieces.
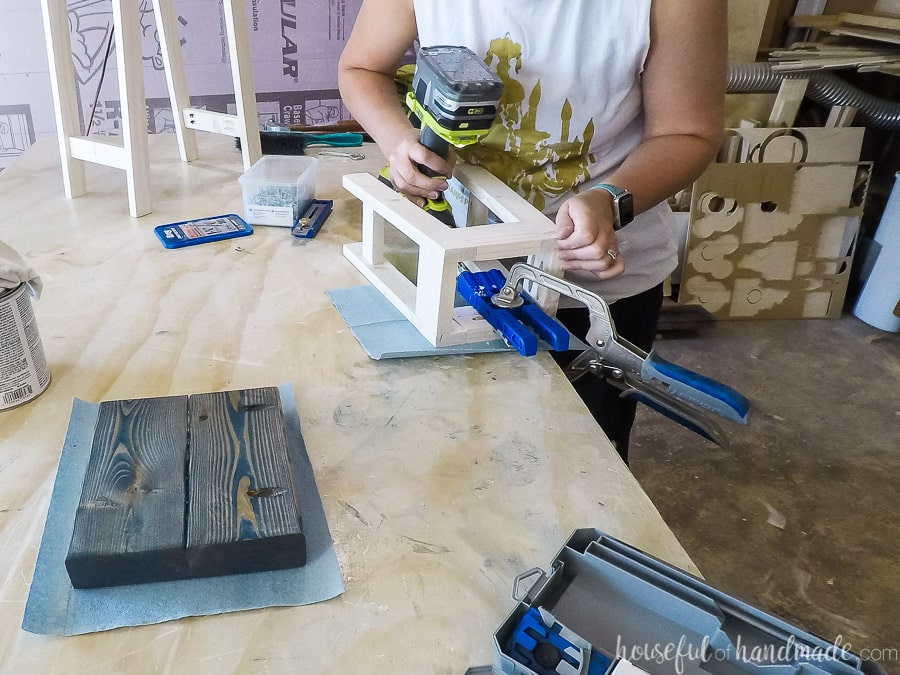
STEP 2- Build the Top
Assemble the top of the plant stands by drilling pocket holes in the edges of all but 1 of the top slat pieces. Add wood glue to the side.
Clamp them flat and tight together and secure with 2 1/2″ pocket hole screws.
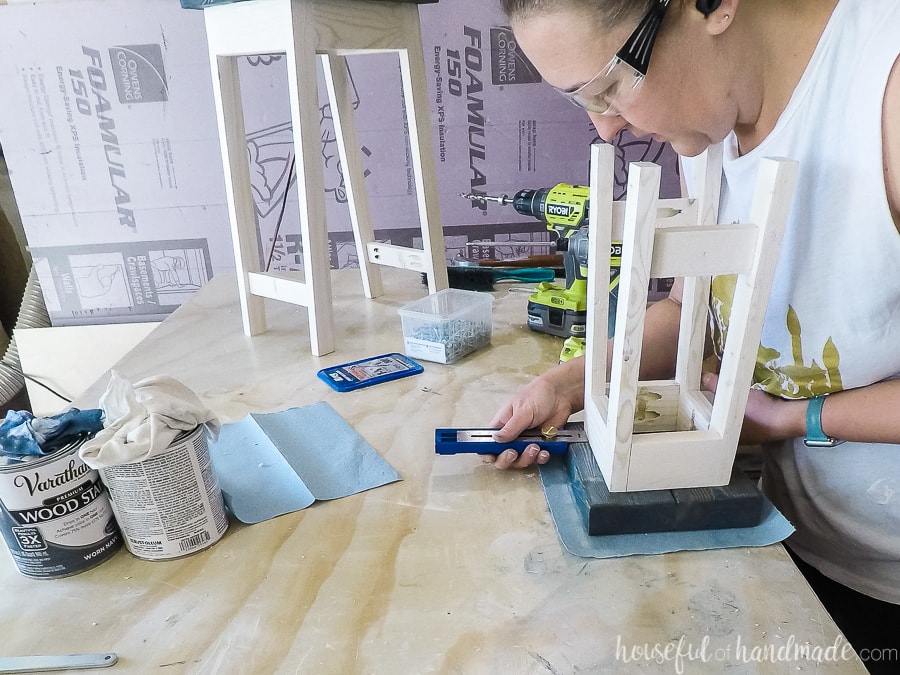
STEP 3- Finish
Sand down the base and top while they are unattached to make it easier.
For rough lumber, start with a medium grit paper and then move to a fine grit to get a smooth surface.
If you want to stain or paint the top of your plant stands a different color, stain them before finishing the assembly.
To attach the tops to the base, drill pocket holes in the inside top of the base.
I used the new Kreg 320 jig to easily add pocket holes to the assembled piece.
Place the top top down on the table and center the base on top of it.
Secure with 1 1/4″ pocket hole screws.
Now repeat for the second plant stand (the pictures above are of the small stand build).
The steps are all the same, just different measurements. Make sure to check the build plans for all the details.
Premium plans include:
- Recommended Tools
- Shopping list
- Easy to read cut list table
- Cut diagrams
- Step-by-step instructions with 3D renderings
- Helpful resources
- BONUS: 3D SketchUp file
And then you can use your new plant stands in any room of your house to display your beautiful house plants.
The new stands are perfect for adding some larger plants to our master bedroom.
I am hoping the wonderful light in the room will be perfect for going a tall rubber tree. It's been squished in the hutch in our dining room until now.
If these beautiful DIY plant stands are not motivation to add more plants to your home, I don't know what is. I think I love the so much I need to make more.
I think I am turning into the crazy plant lady!
Happy building!