Do you ever just get giddy about a project? Especially when it’s coming together and looks exactly like you want… or maybe even better?
Well these 3D pumpkins had me smiling uncontrollably!
This project was made possible, and easy, with my X-carve CNC machine. I partnered with Inventables to share this fun fall project.
This post may contain affiliate links. As an Amazon Associate I earn from qualifying purchases. Click here to read my full disclosure policy.
And you have plenty of time to make an entire pumpkin patch of these wood pumpkins.
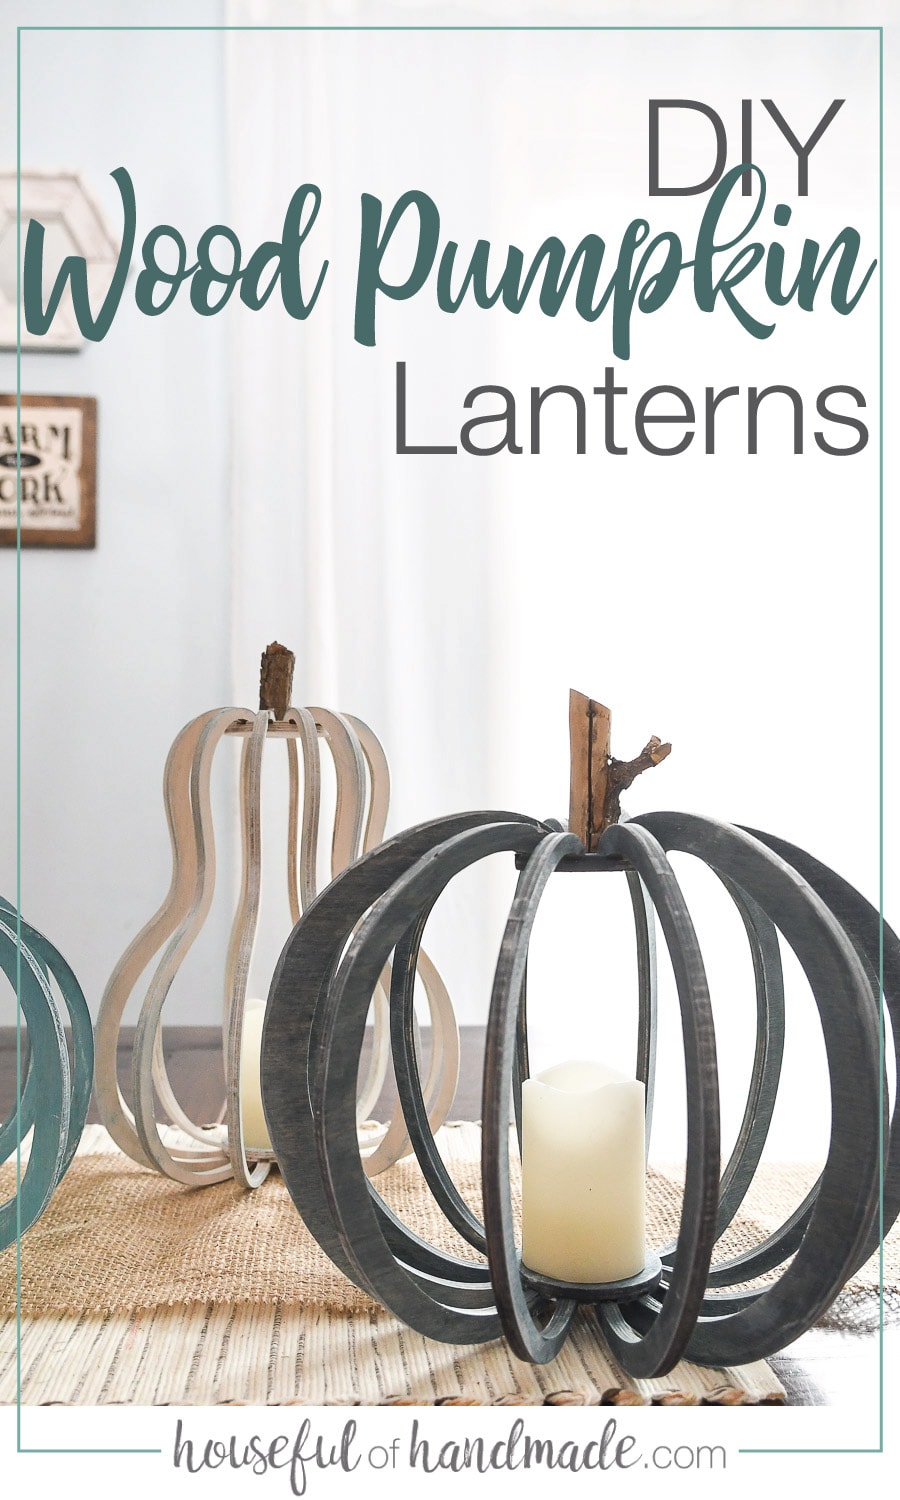
Decorating with Wood Pumpkins
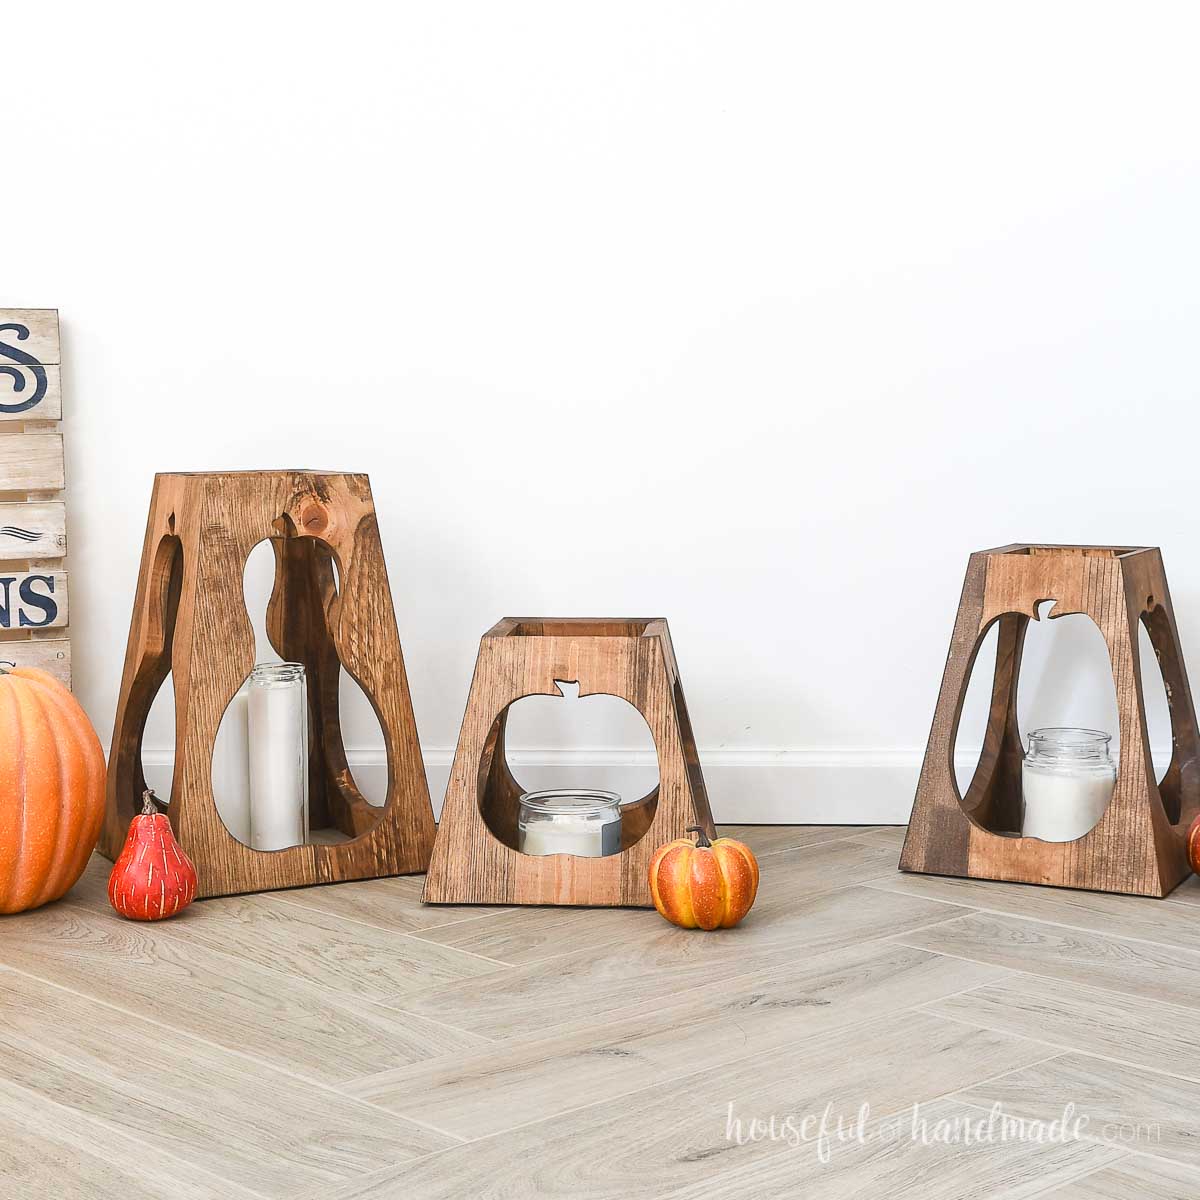
These wooden pumpkins are nice and big.
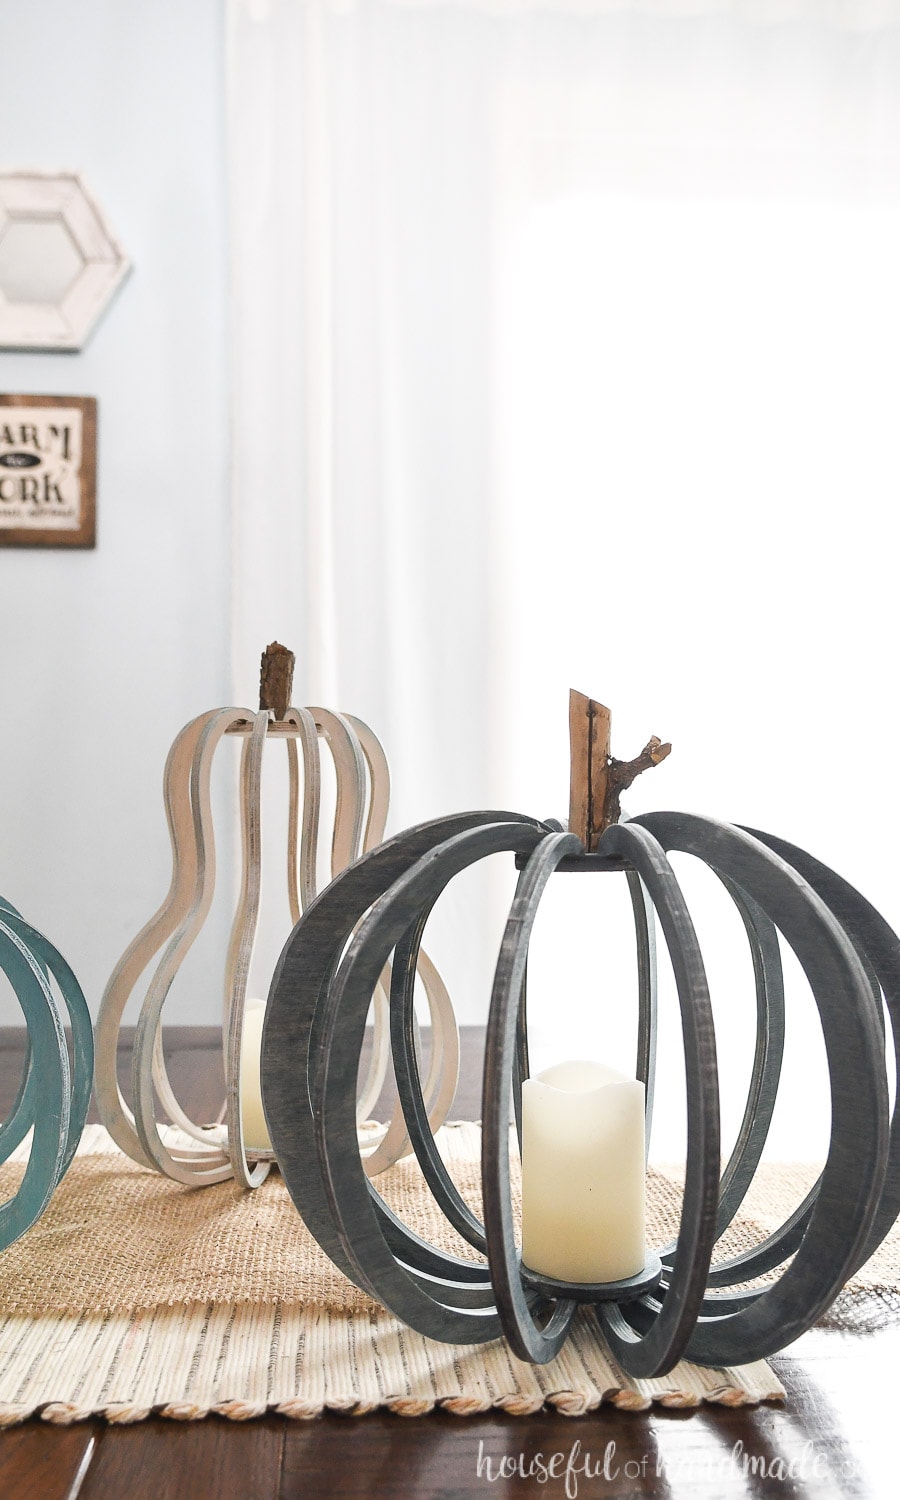
The short squashed pumpkin is approximately 13″ wide and 9″ tall. The round pumpkin is approximately 11″ wide and 10″ tall. And the gourd is approximately 8″ wide and 13″ tall.
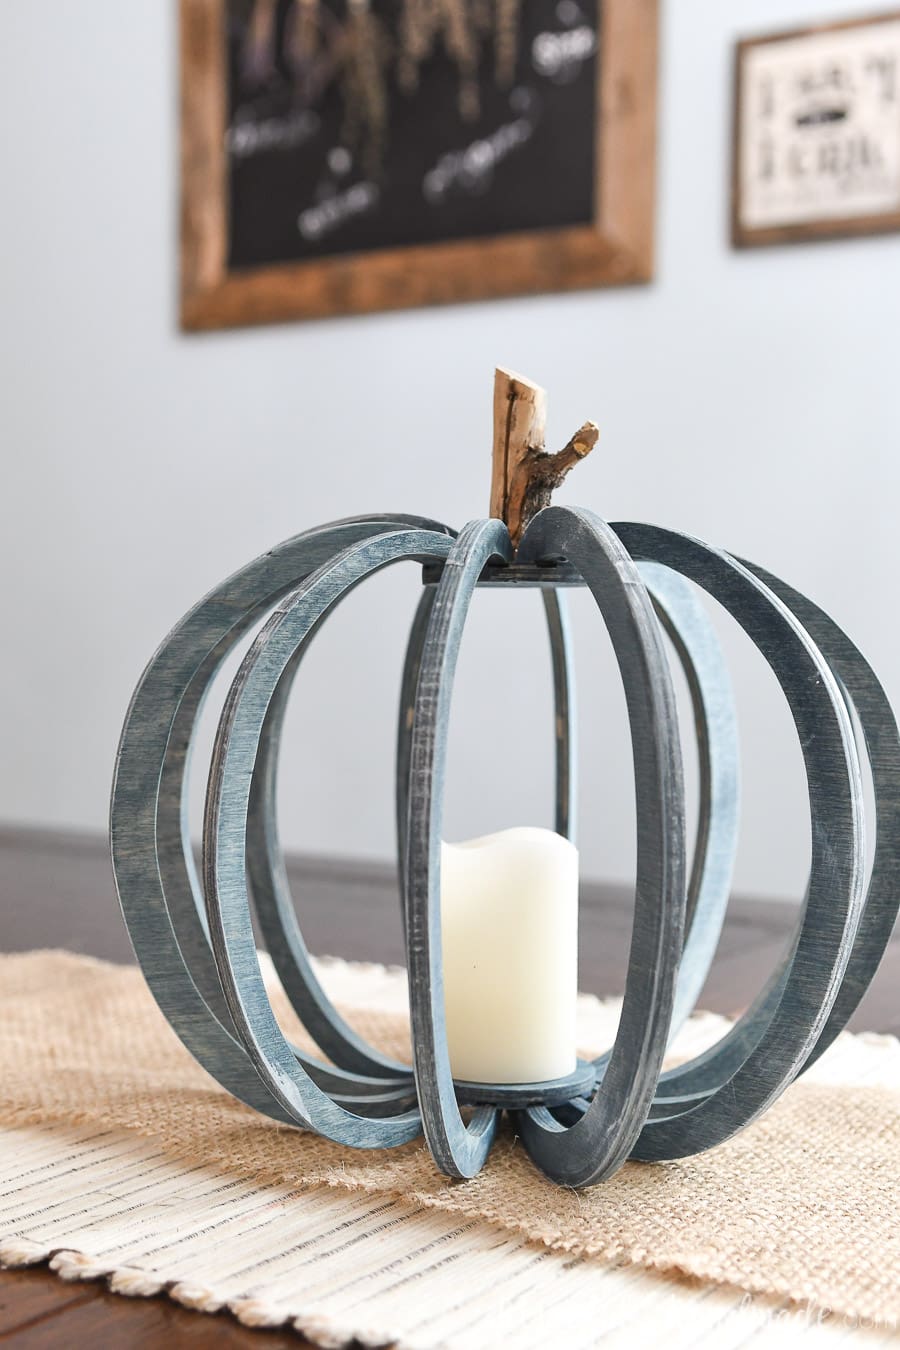
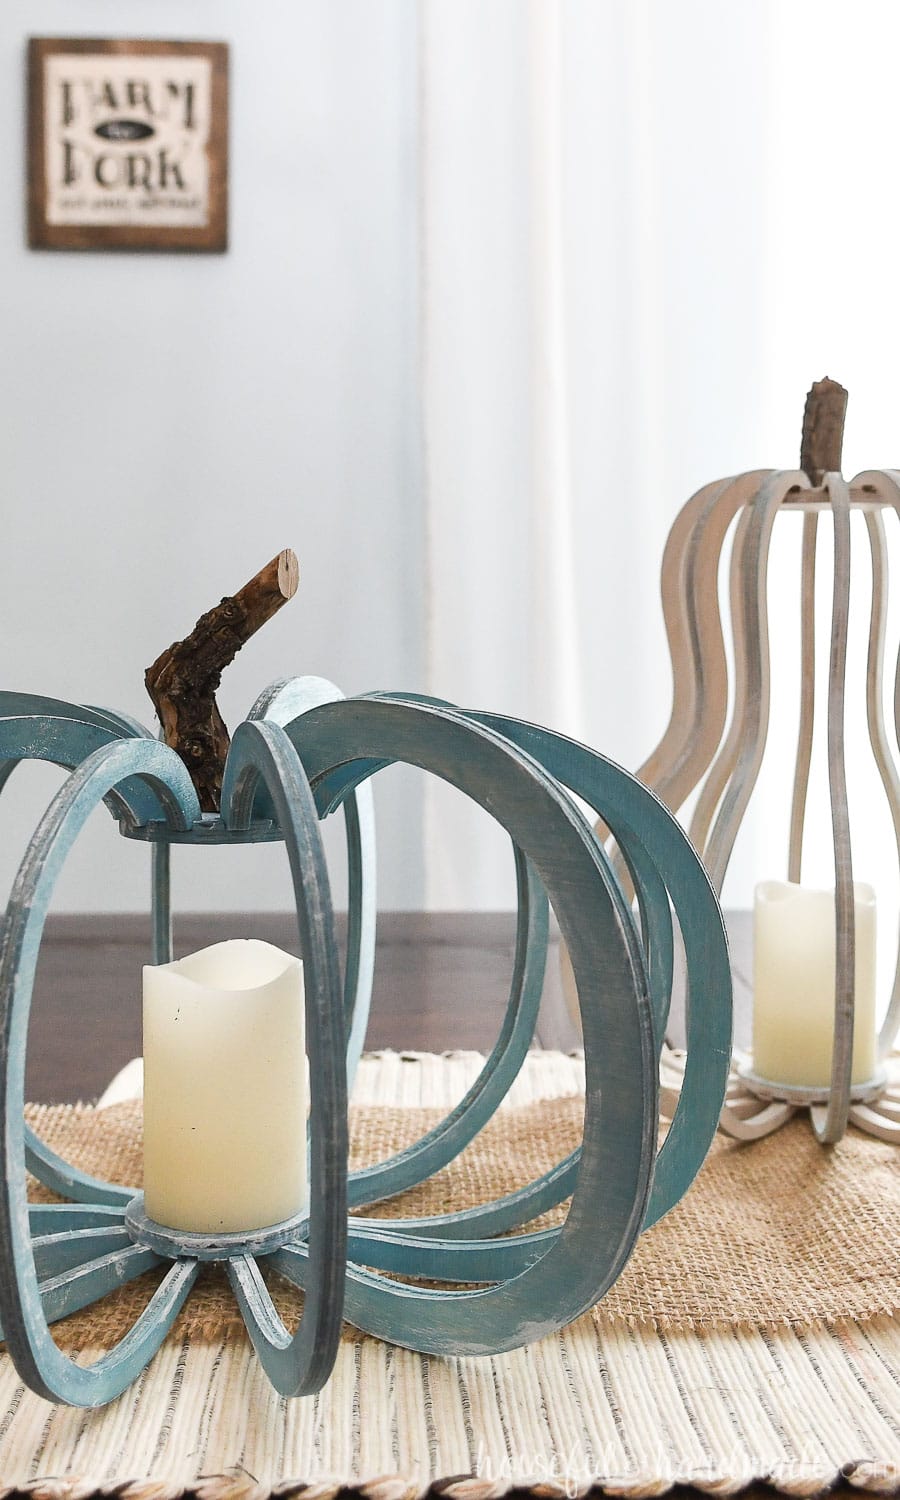
They work perfectly for decor on a table, mantel, or porch. I put an LED wax candle inside to turn them into gorgeous pumpkin lanterns.
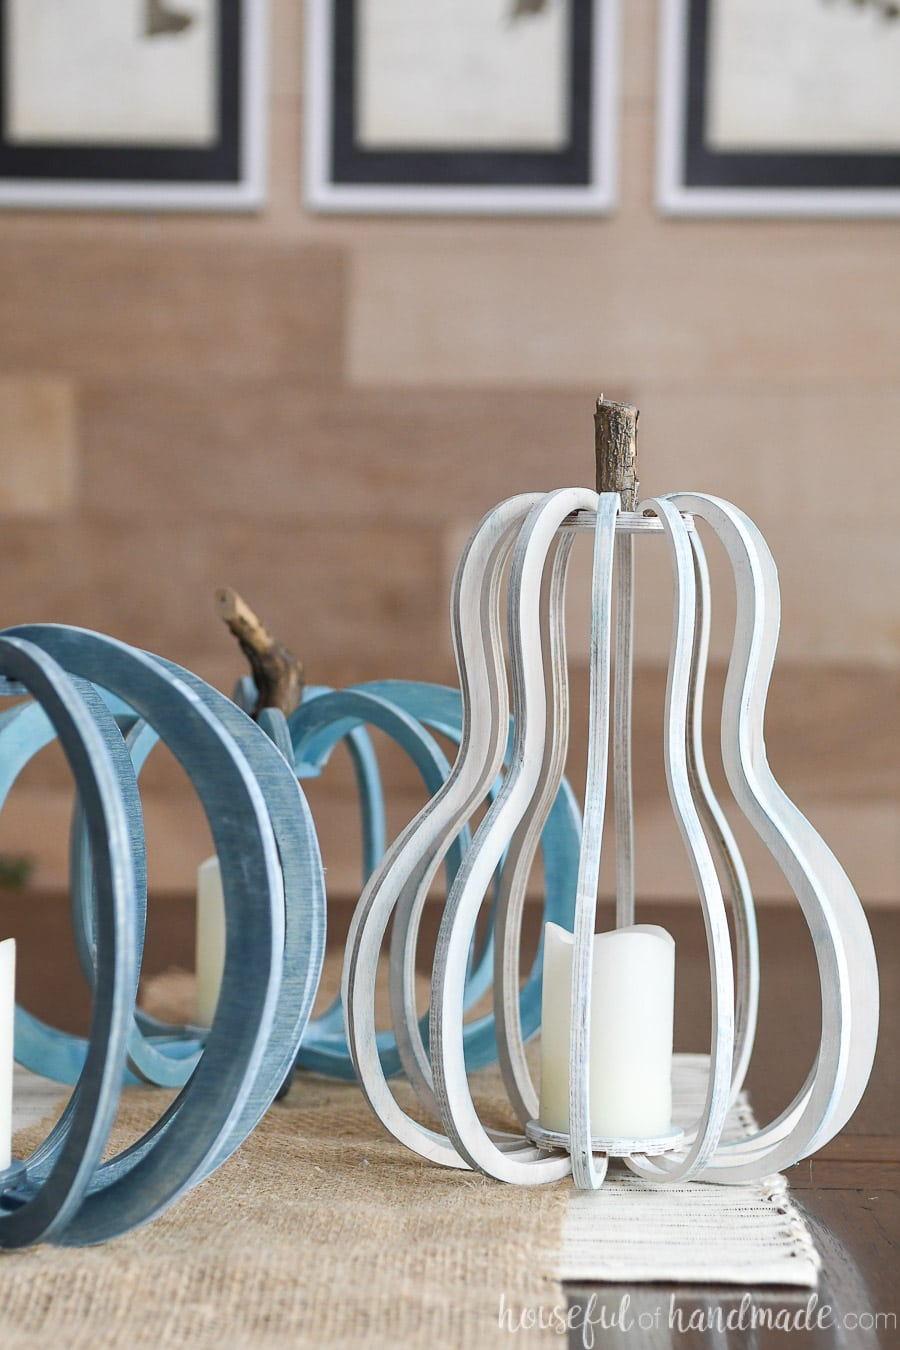
Also, you can paint your plywood pumpkins any color you want! I went with non-traditional fall blues and navy.
Using the Varathane colored wood stains allows the wood grain, and the plywood edge, to still show through which I love.
If you do not want the visible wood grain, you could cut the pumpkins out of MDF and paint them.
I keep thinking of doing a few more like this any spray painting them metallics… there are so many gorgeous possibilities.
Cost of Supplies
One of my favorite parts of this project, you can create 6-8 wooden pumpkins from one sheet of plywood.
I bought baltic birch plywood because it has less voids in it, meaning less holes. The cost of the plywood was around $20!
The other supplies needed are Gorilla super glue, sandpaper and stain or paint. I used such a tiny amount of stain for each pumpkin. You can use leftovers from other project.

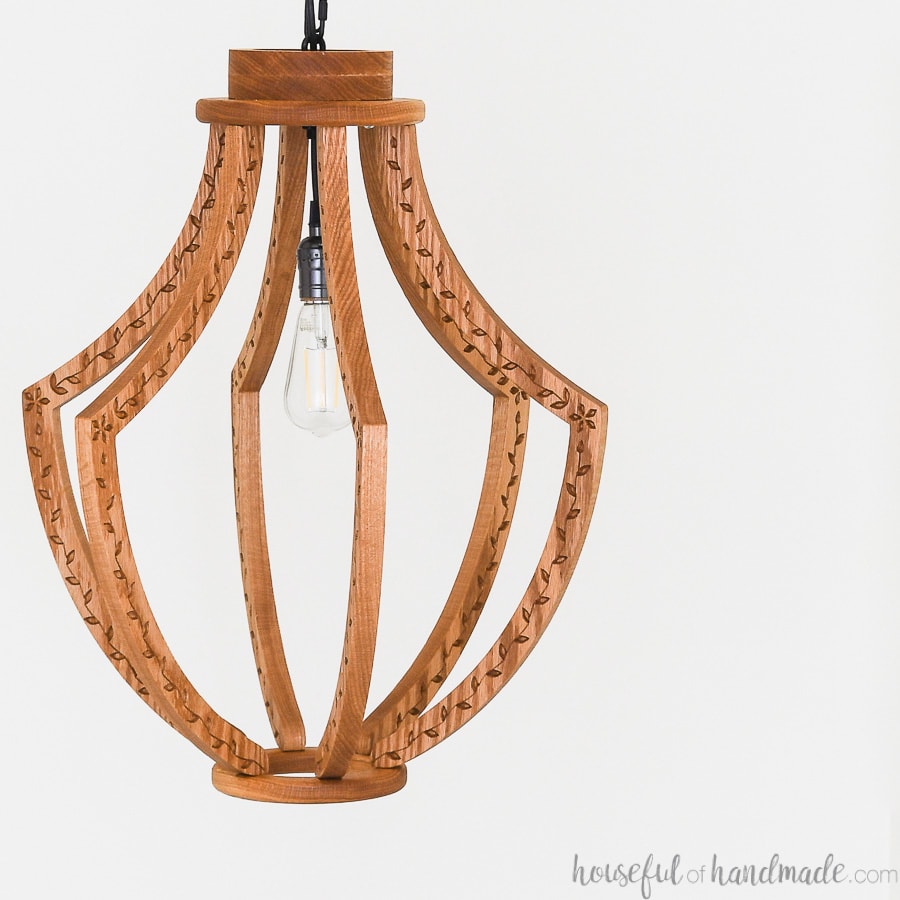
An X-carve would be a great investment if you want to start your own business or Etsy shop selling wood decor items.
You can carve so many cool signs and such. And these pumpkins would be a great product for fall since the cost of goods is so low.
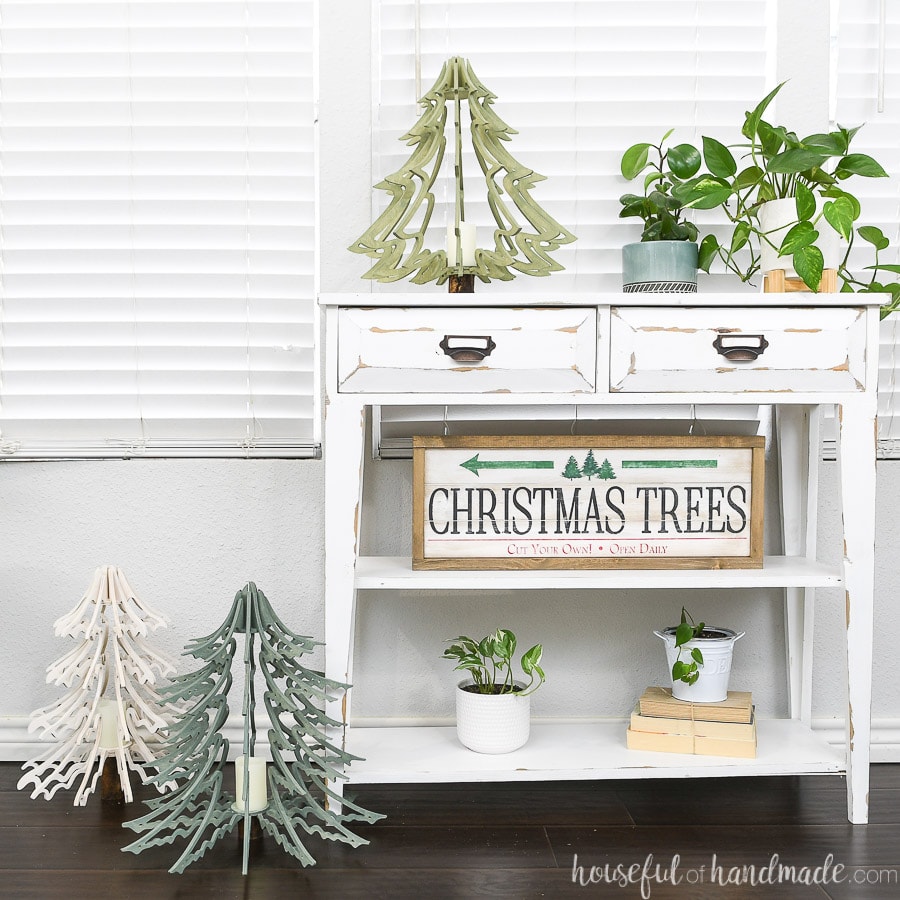
Or you can do what I do and just use it to make lots of fun things for yourself with it! I already made these gorgeous wood cake stands and a new window frame mirror for our bathroom.
More DIY Home Decor
I love decorating my home with things I made myself! You can do with these fun projects.
How to Make Wooden Pumpkins
Tools & Materials
Recommended Tools:
- X-Carve CNC machine
- If you do not have a CNC machine, you could also cut the pieces with a scroll saw.
- 1/8″ two flute downcut bit
- Digital Calipers
- Circular saw to cut plywood
- Clamps
- Chisel or knife
Supplies:
- 3D Pumpkins templates
- 1/4″ baltic birch plywood
- Sand paper
- Gorilla super glue
- Wood Stain
- Sticks
STEP 1- Carve the Wood Pieces
Each pumpkin or gourd is cut from a 24″ x 18″ piece of plywood.
In the file, there are 3 different workpieces on the bottom: one for each shape of pumpkin or gourd.
I learned that you need to have extra space between the pieces because the plywood can get loose and mess up the carving so don’t try to move them too close together to save wood.
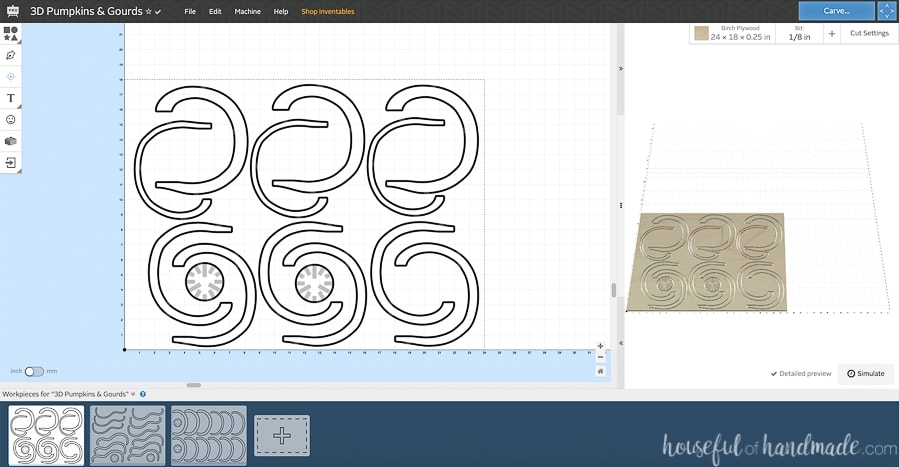
Luckily the wood is inexpensive. Clamp your piece down to the X-carve waste board.
To carve the pumpkin, make sure the cut path is set to the outside of the shape for the through cuts.
For the gray notches on the top and bottom circles, these should be set to cut 1/16″ to 1/8″ deep.
The Easel program has great pre-set cut settings for you to use. I definitely recommend starting with the recommended feed & speed settings if you are a newbie to CNC.
Now sit back and let the machine cut out all the pieces for your pumpkins!

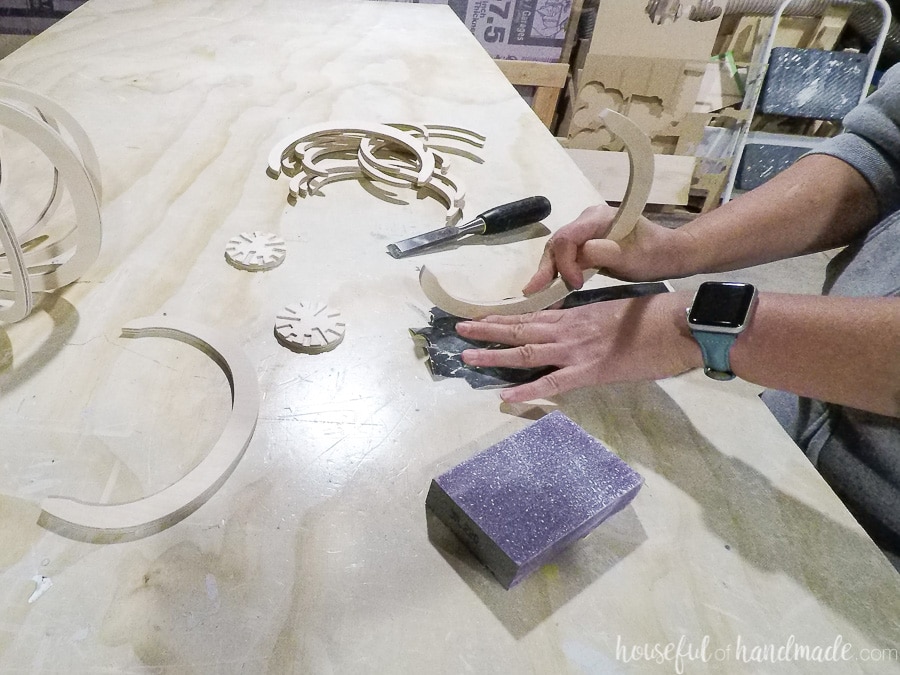
Once the pieces are all cut, use something sharp to cut the tabs.
I use a chisel and hammer to quickly tap them free, but you can use a small handsaw or Dremel in you have one.
Just be careful not to break the plywood since it can be delicate on the thinner pieces.
Sand the pieces to remove any leftover tab sections and clean up the edges. Then lightly sand the entire piece.
STEP 2- Glue together the pieces
I learned from hindsight, that I would recommend staining the pieces before assembly because some of the areas were hard to get into.
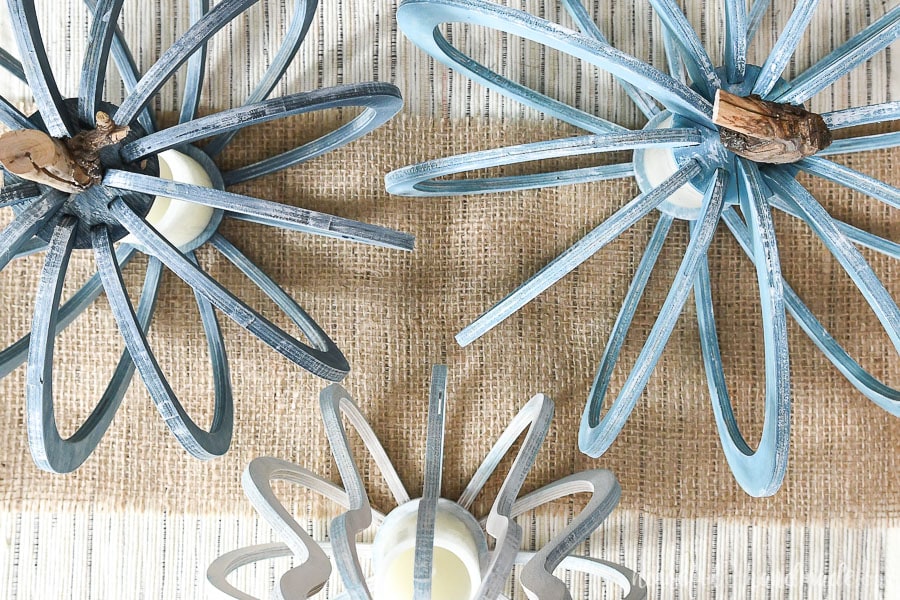
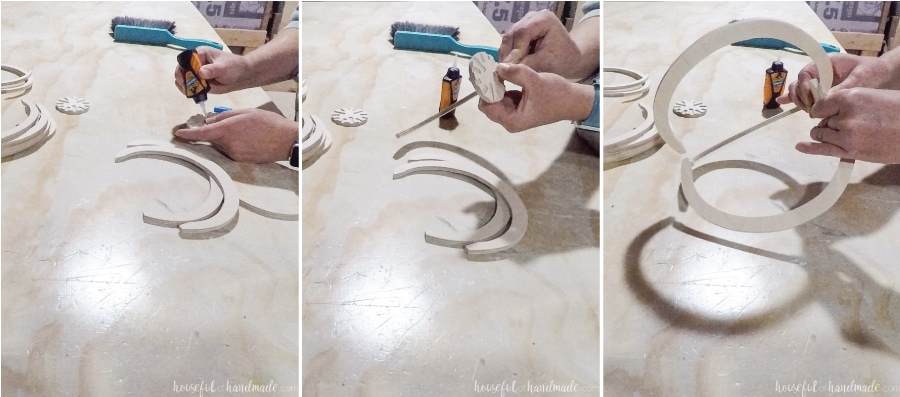
The top and bottom circles have notches carved into them to hold the pieces. This also allows you to keep the spacing perfect.
There are 3 different sizes of pieces to make up the pumpkins. This give them some texture. You will want to glue them together in the right order. Start with the 3 large sized pieces.
Use the super glue to place 1-2 dots of glue one of the largest grooves on one of the circles. Slide one of the large pieces into it it and hold for 10-20 seconds until it is sticks.
Be careful as this is only a temporary hold until the glue fully cures. Bumping it too hard will make it come apart. If that happens, just hold again to secure.
Repeat for the other 3 large pieces around the circle in the 3 large grooves.
Flip the pumpkin over and balance it on the top. Use the second circle with notices to secure the bottom of the 3 large pieces into the large grooves again. Use clamps if you want to help things stay in the right place while drying.
Once you get all the large pieces secure, let it sit a bit longer to really let the glue dry before moving on. These three pieces will need to hold well as you place the rest of the pieces.
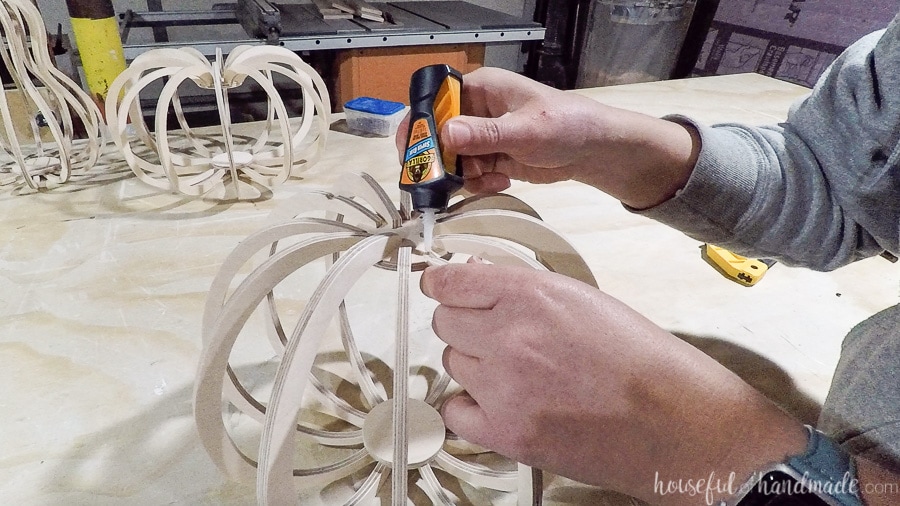
Next flip the pumpkin back over and secure the top of the rest of the pieces around the circle. The medium sized piece go in the medium sized grooves and the small pieces go in the small grooves.
Let them dry a bit and then flip the pumpkin over and repeat to secure the bottom of all the pieces.
If you didn’t stain or paint the pieces before securing, let the glue cure overnight so you have a strong hold.
Otherwise you can easily knock some of the pieces out as you try to get in and around all the parts to stain them.
STEP 3- Finish the Pumpkins
Stain or paint your pumpkins and gourds however you want.
I used the 3 colors of stain and layered them on each other to get a worn or weathered look. The top coats were dry brushes )or done with a light rag) on top to add dimension to the colors.
After the paint is dry, cut a piece of a stick to fit into the top of the pumpkin. Make sure one side is flat and glue it down with some of the super glue.
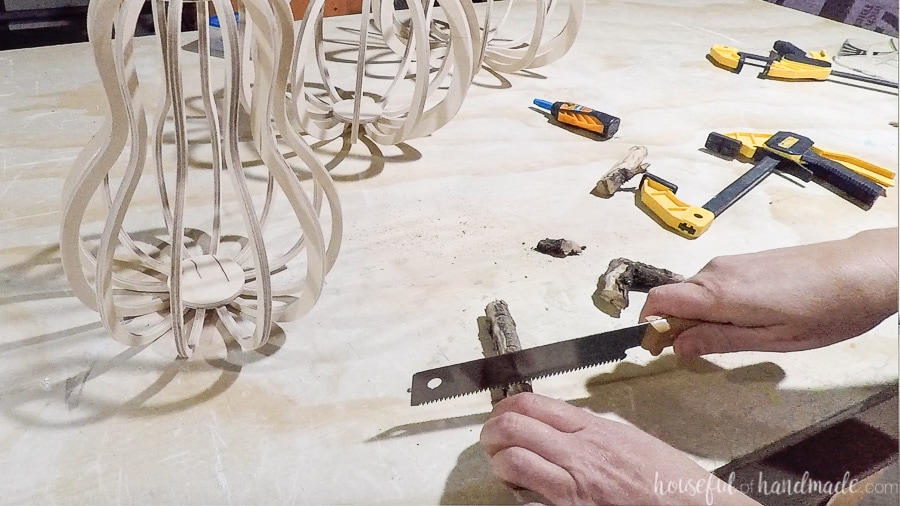
Now your 3D wood pumpkins and gourds are ready to display!
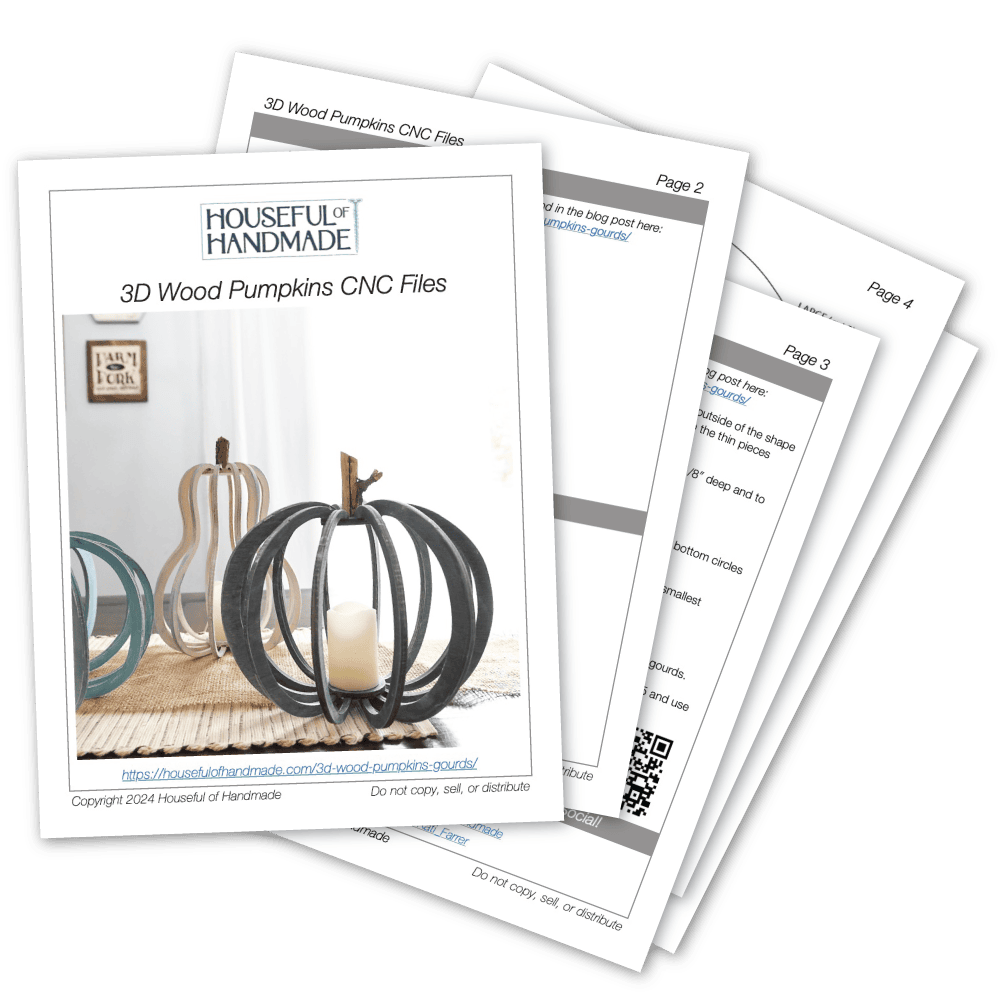
Premium templates include:
- Printable PDF template for hand cutting
- SVG and DXF files for CNC machines
- Recommended Tools
- Shopping list
- BONUS: Printable PDF Instructions
Slide a candle in to sit on the flat circle (but probably not a good idea to use a real candle, I recommend using flameless wax candles for a safe but real look).
I put our new wooden pumpkins on the table as a beautiful fall centerpiece. The colors and textures are perfect in our dining room.
I love that our home is really starting to look ready for fall!

Thank you to Inventables for sponsoring this post. I only recommend products that I use and love and all opinions are 100% my own. Click here to read my full disclosure policy.
Hey Kati,
absolutely adore the design of these pumpkins; they’re fantastic. However, I have a CO2 laser machine, not a CNC machine. This means I can cut all the way through the material but can’t carve out notches. Do you have any suggestions for assembling the pieces without the top and bottom notches?
Cut 2 pieces for the top and bottom, one with no notches and one with the notches totally carved out. Then glue them together!
Have you considered use of the Shaper Origin?
Hello,
I do not have an Xcarve or any other CNC machine. I do most of my work on a scroll saw and I was curious if this pattern would be able to be printed out and cut on the scroll saw?
Thanks you for your time,
Matt
Hello! I was wondering if you sell the actual SVG file for the pumpkins so we can use them with other laser machines? I would be more than happy to pay. They are awesome!!!
Great idea! I will work on getting it set up (hopefully by the end of this week).
Were you able to set up the SVG file?
I just got the SVG for this file set up today. You can find it here: 3D Wood Pumpkin Cut Files.
It won’t let me download the pumpkin file, says it hasn’t been shared publicly when I click on it. I did get a free account at Easel but file won’t download for me to open.
Whoops, I think I fixed that. Can you please try again?
I love this pumpkin! This is the first time that I have even heard of an x-carve. I looked for one in my are and a school an hour plus away has one. I guess I won’t be able to make one. Do you sell the pumpkins? I think it would be cool if you just sold the cut wood pieces of wood as a kit. I could stain and put together myself. Thanks!
Thanks for the idea Ruth! I have thought about selling the pieces, but I have a hard time spending my time working on making kits to sell when I have so many new projects to share with you. I’ll keep it in mind though.
I would love to buy the pumpkin and gourd pieces too! Assembly and staining myself is easy enough but cutting the pieces not so much.