
Laundry has never been my favorite task. And when we got our front loading washer it became worse. Bending over so far to search for socks stuck to the inside of the drum is the worst!
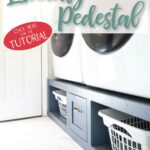
So I partnered with Kreg Tools to make an easy DIY washer dryer platform that brings the washer and dryer up 16″. No more bending over for laundry.
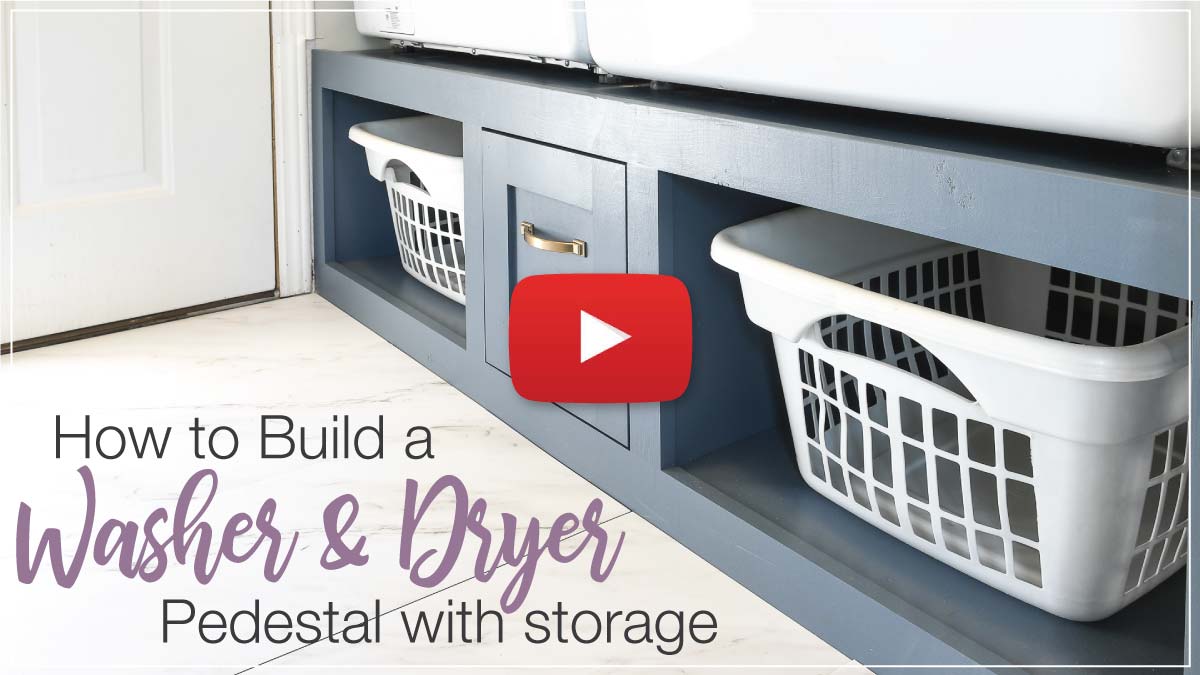
And this washer pedestal is super sturdy thanks to the power of the pocket holes. Plus, I couldn’t help myself and added lots of storage to the space underneath.
This post may contain affiliate links. As an Amazon Associate I earn from qualifying purchases. Click here to read my full disclosure policy.
Washing Machine Pedestal
Why would you want a laundry pedestal? The drum of the front loader washer is only a few inches off the floor. So you have to bend over and reach very low to get everything from the inside.
But if you raise it up 16″, you now have easy access to everything inside! And it brings the controls for your washing machine right to eye level.
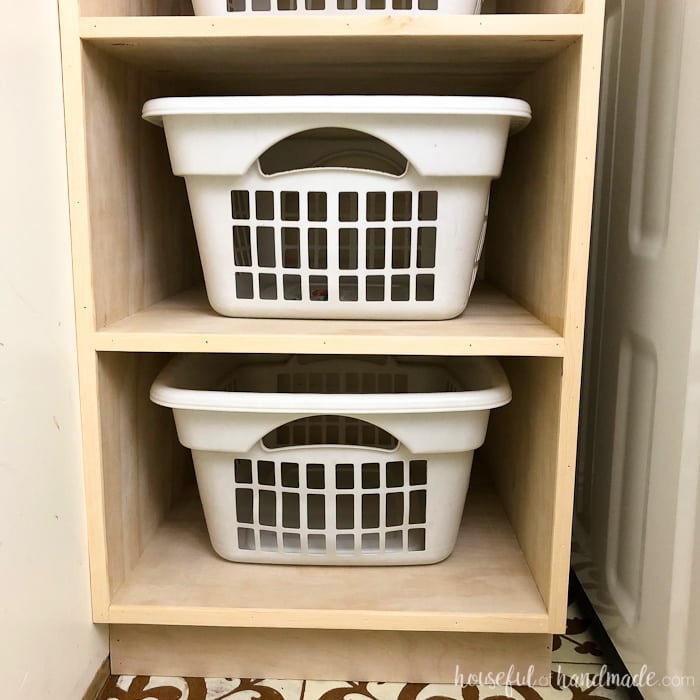
A washing machine pedestal will not work for a top loader or washer with controls on the back. If you have those machines, check out these amazing laundry basket storage shelves instead.
But for a standard front loader washer, a washer and dryer platform may make you fall in love with laundry again 😉
Sturdy 2×4 Base
The base of the washer and dryer platform is made from 2×4 lumber. It makes the base less expensive and super sturdy!
The platform is built just like a wall in your home, but with the 2x4s even closer together. This creates plenty of strength to hold a filled-to-the-top washing machine.
Plus is it shake proof during the spin cycle.
Pocket holes are used to easily assemble the 2×4 base. No framing experience necessary.
Then the 2x4s are hidden behind 1/4″ plywood or MDF (or you could even use beadboard for a cottage look).
And finally the base is completely covered with a simple face frame of 1×3 boards. This completely hides the 2x4s and gives the washer and dryer platform the look of a beautiful cabinet.
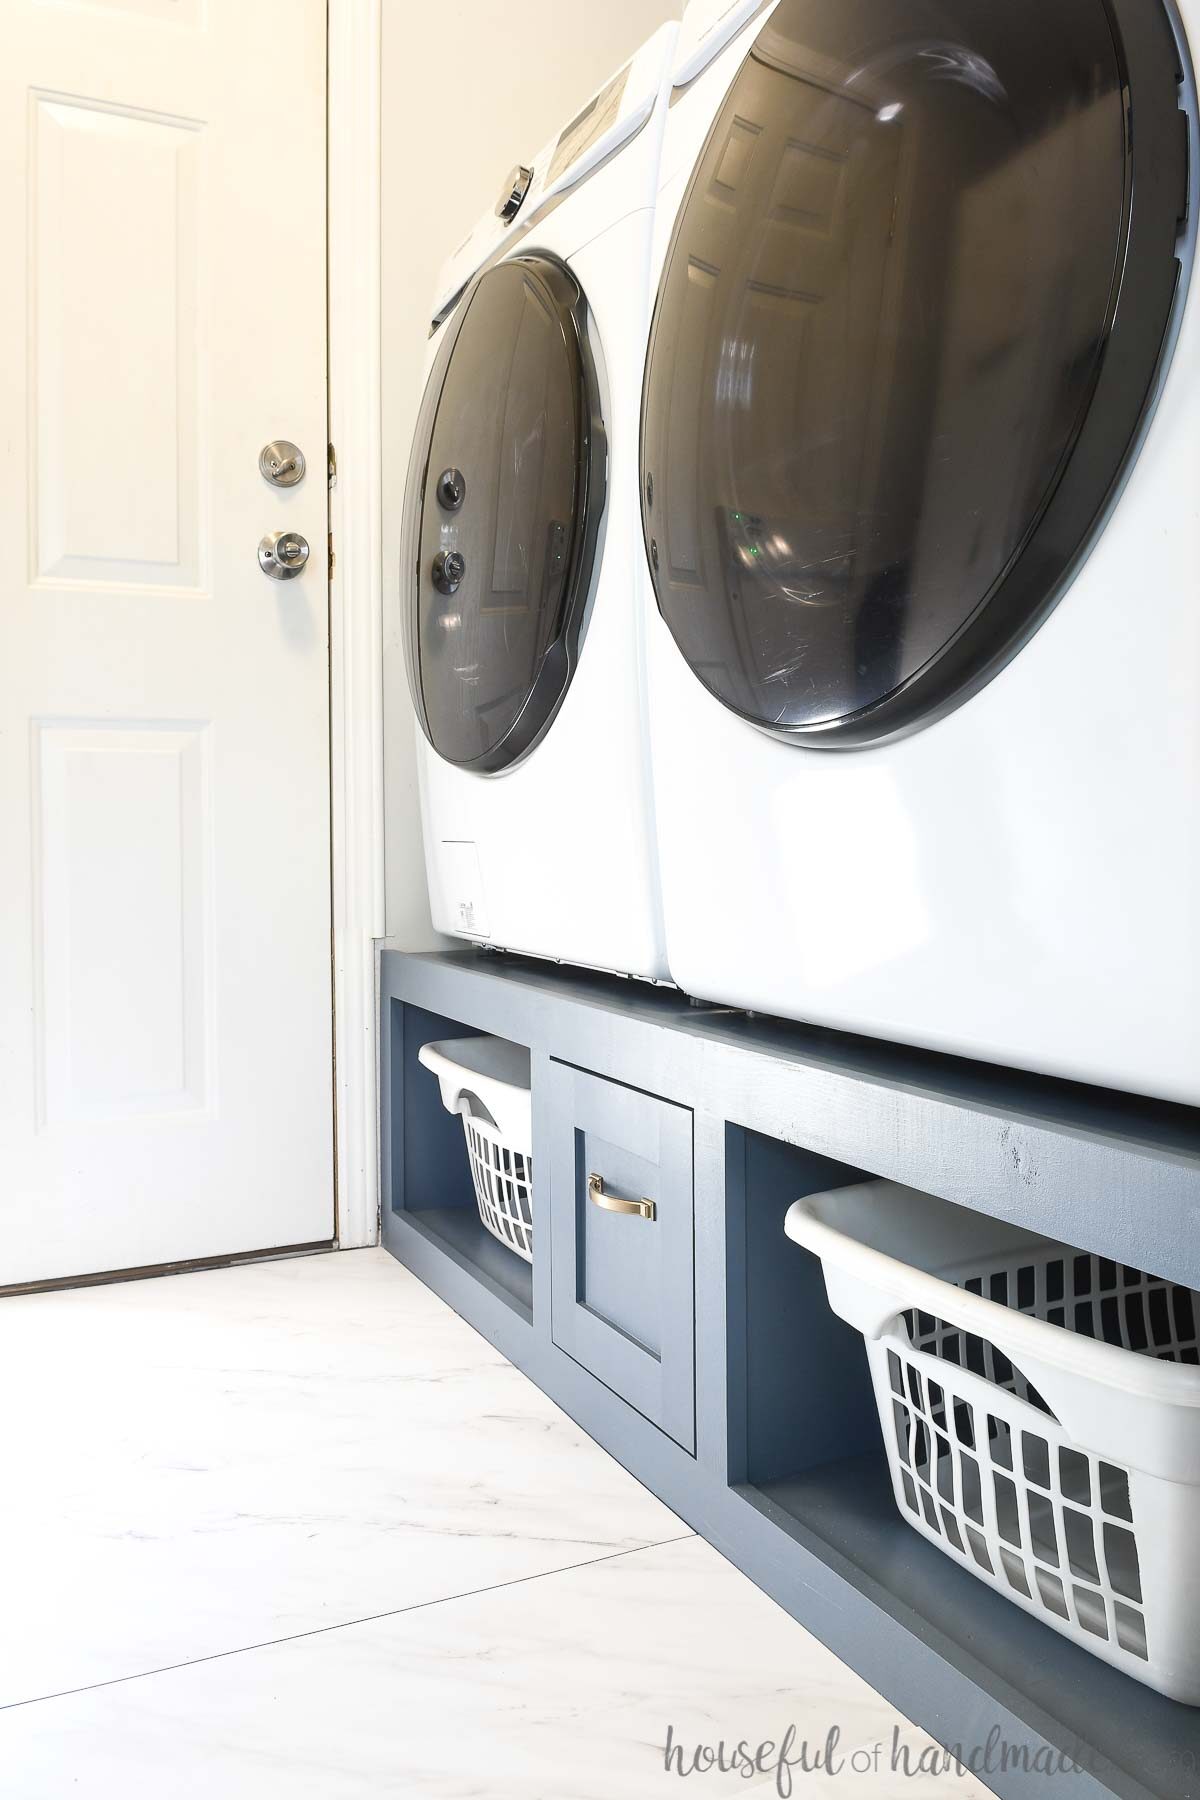
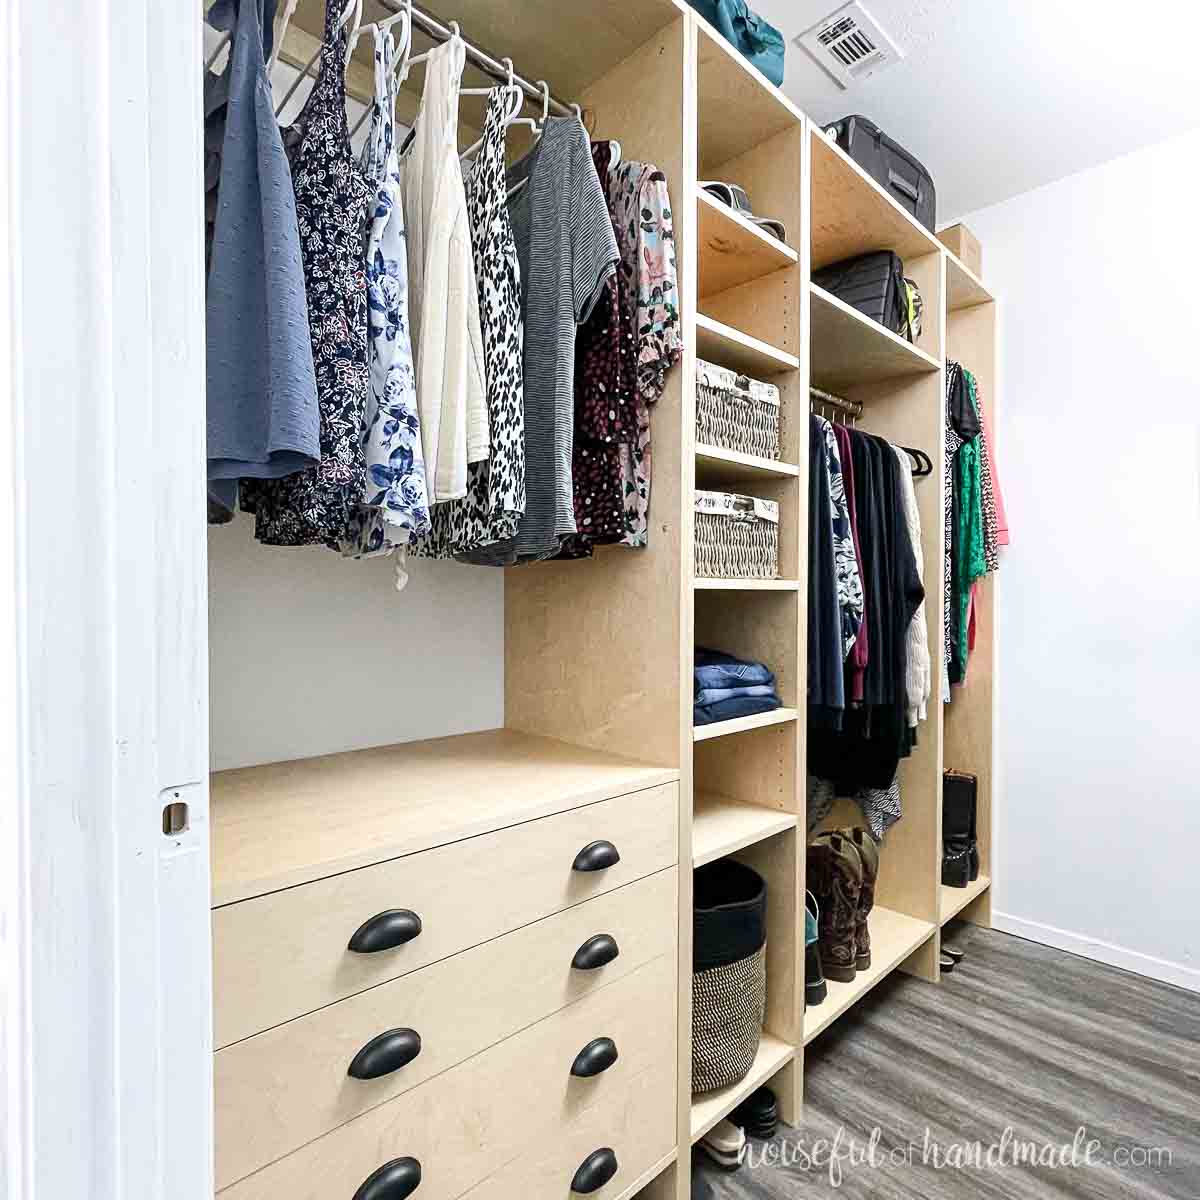
Large Drawer and Laundry Basket Storage
If you life your washing machine up off the floor, you can now make use of the space underneath it!
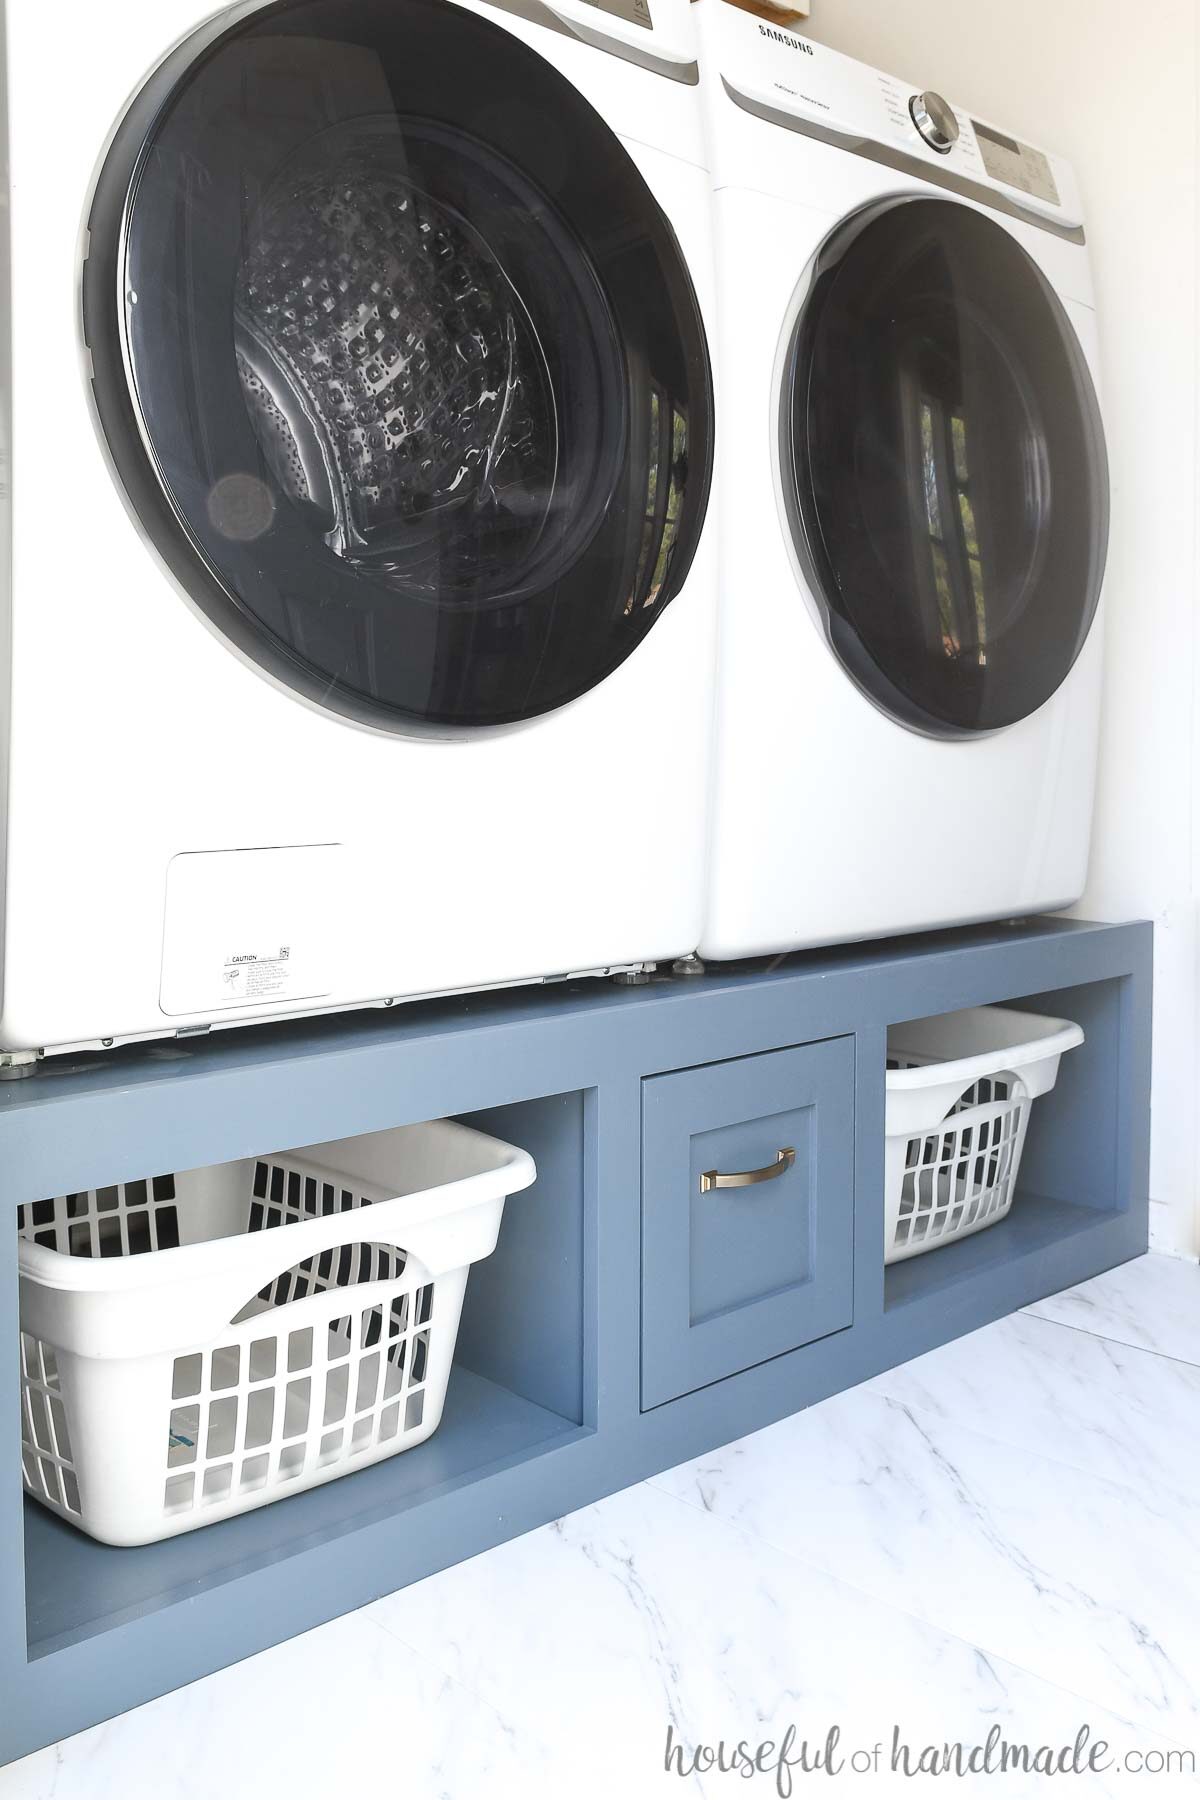
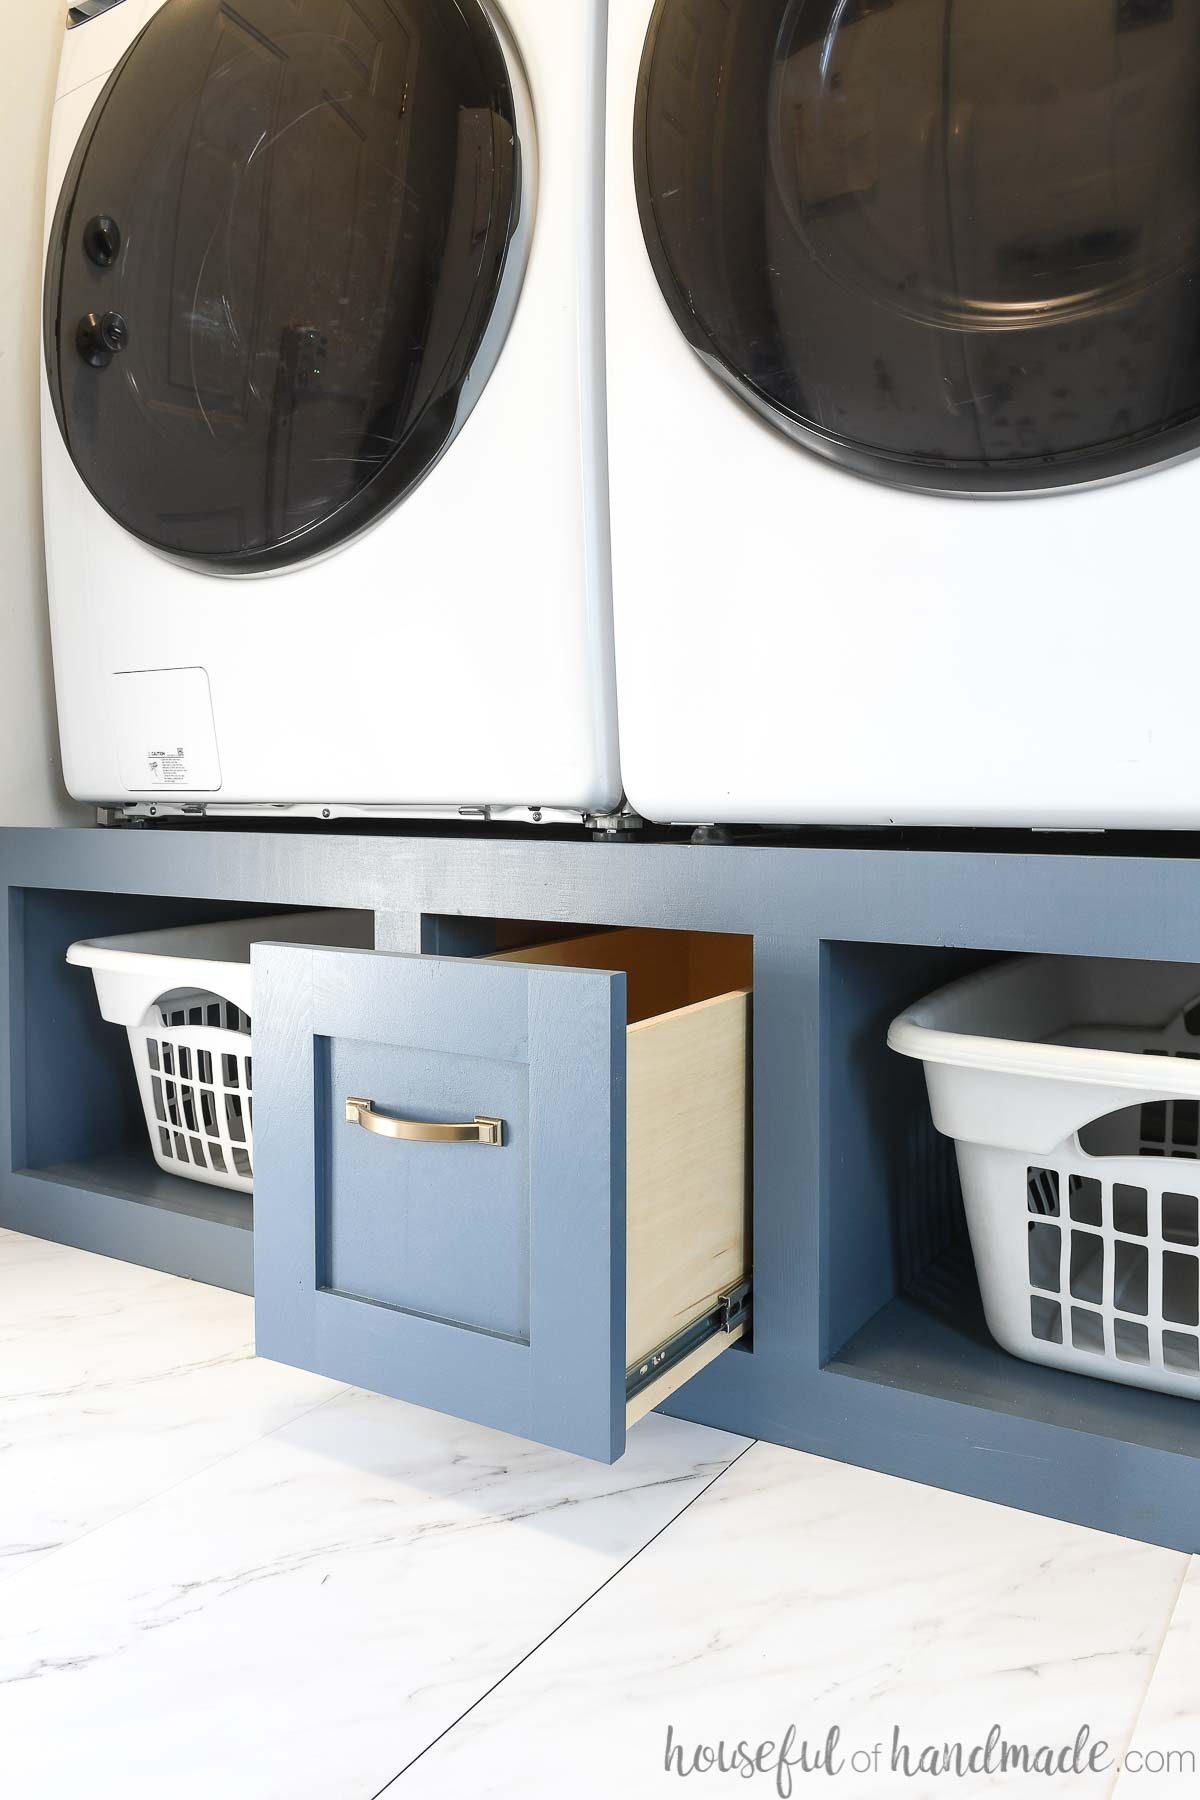
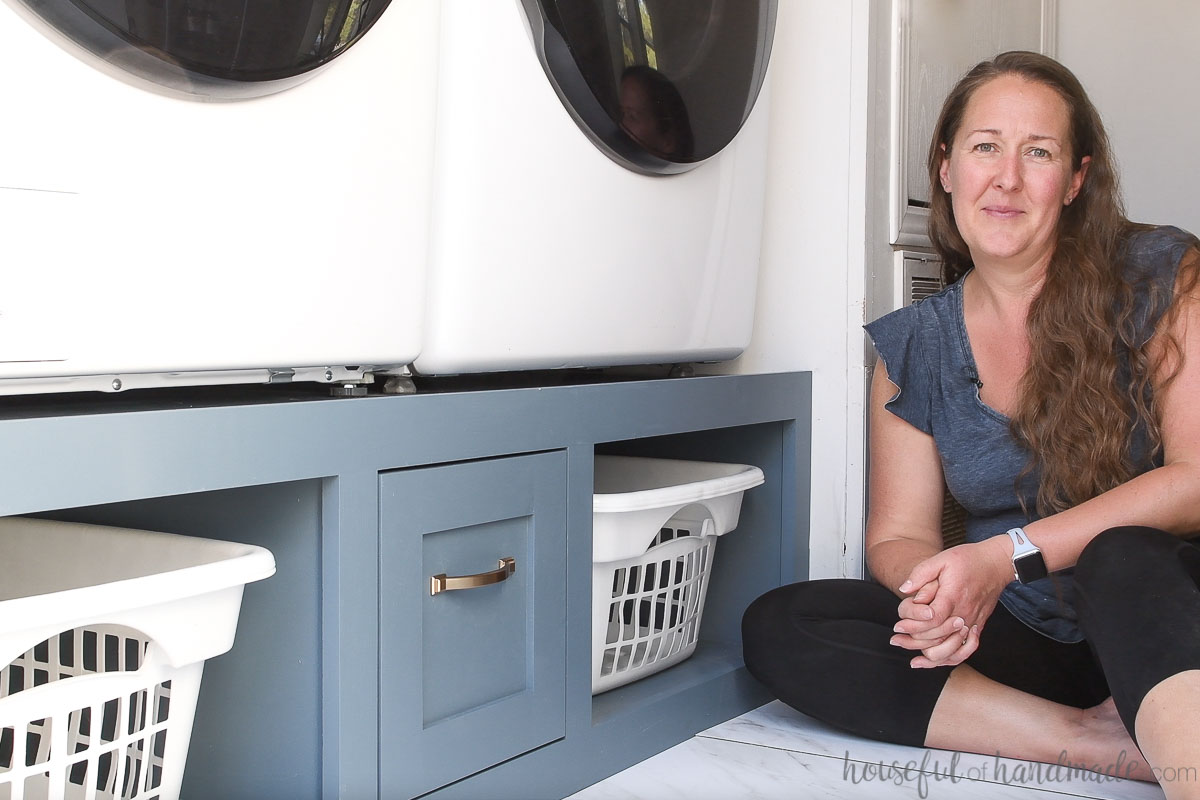
The 16″ tall platform leaves 12″ of usable storage space. I split the space into 3 sections. For added strength in base.
The two outer sections are sized to hold an 18″ wide laundry basket. Keep your sorted laundry out of the walkway and easily ready for washing.
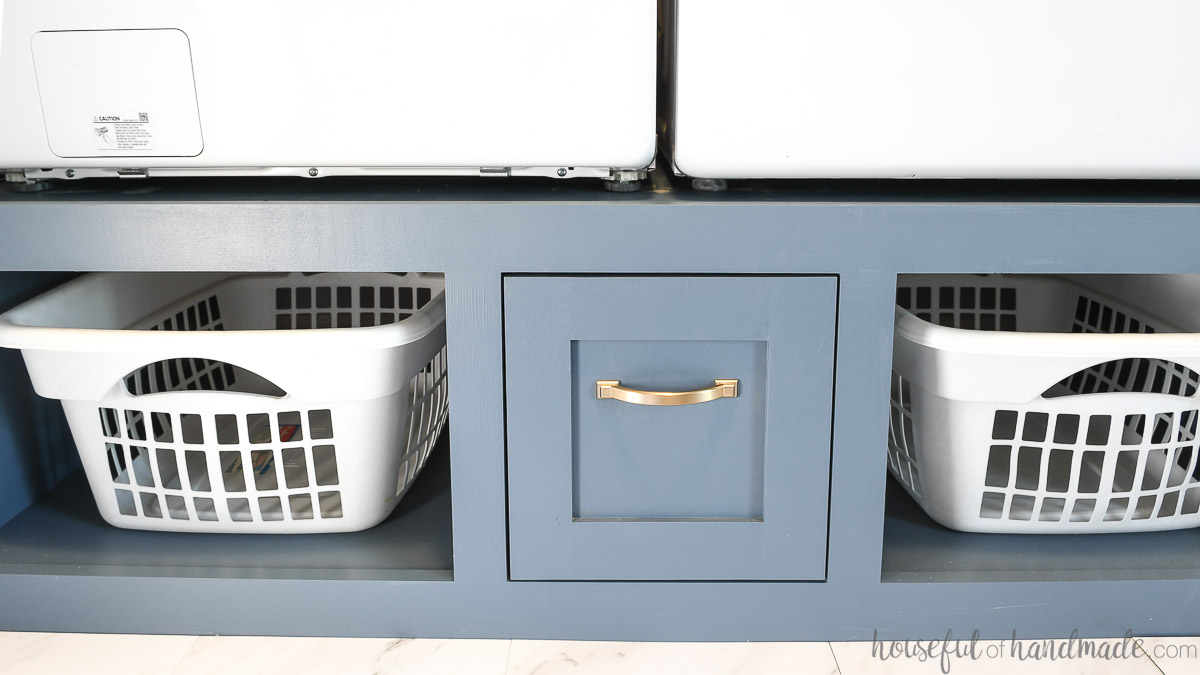
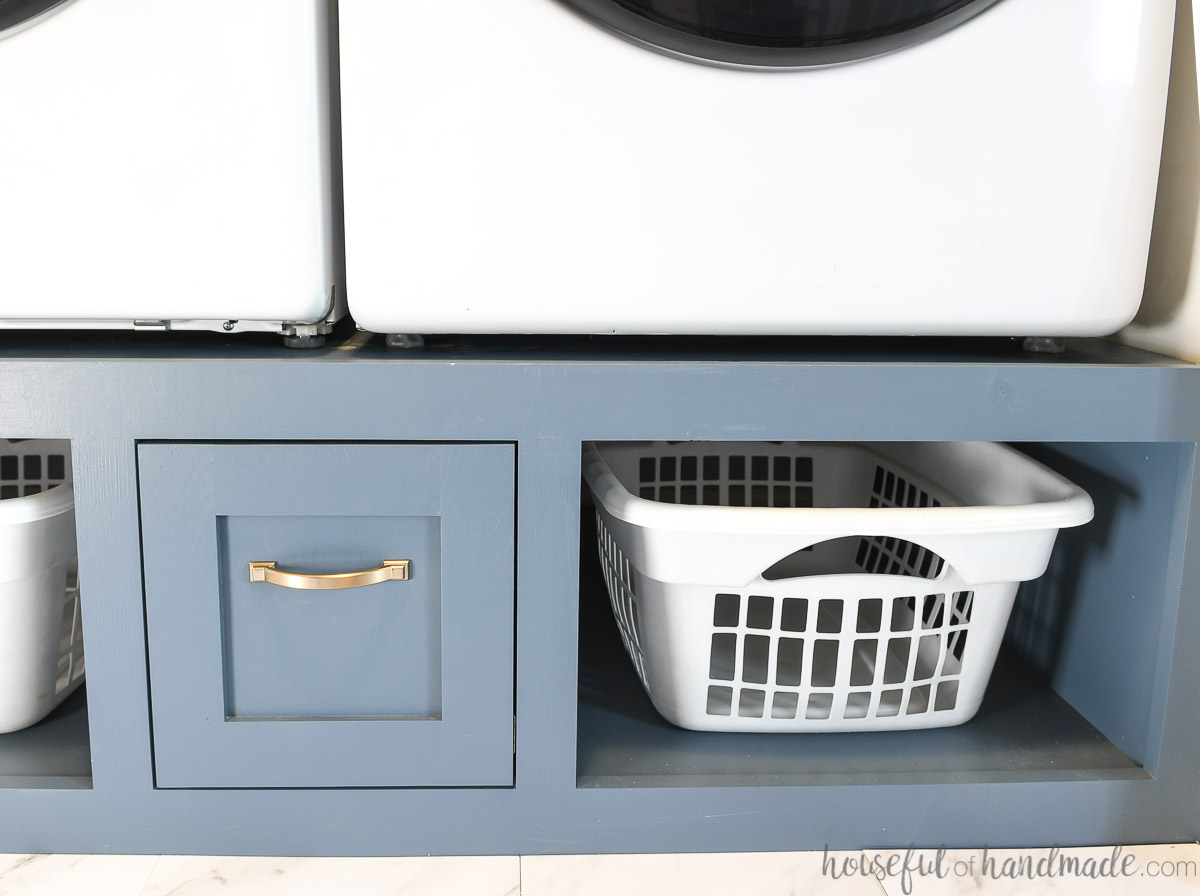
And that leaves room for a large drawer in the center section.
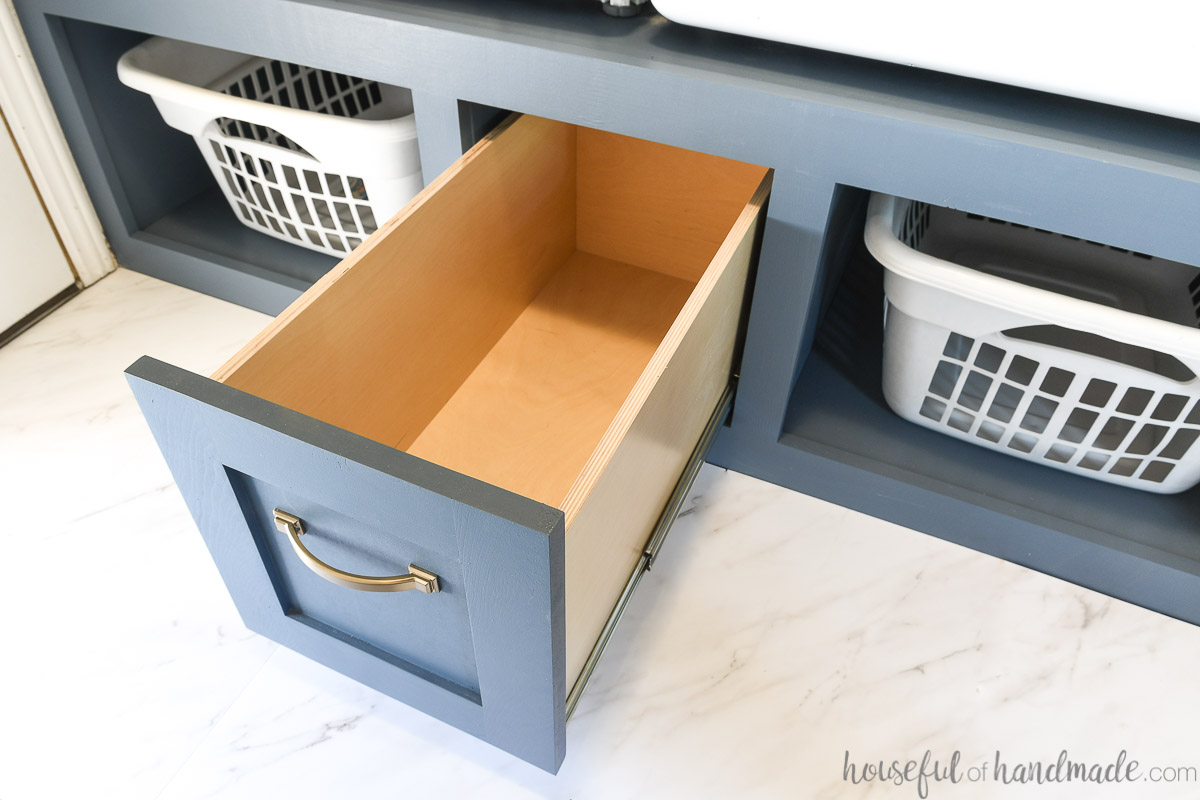
The 10″ wide x 10″ tall x 24″ deep drawer is perfect for storing extra laundry supplies or cleaning supplies. Learn how to build easy DIY drawers here.
I used 1/2″ plywood for the base of the drawer to make it strong enough for storing heavy items (like laundry soap). And all the drawer box pieces can be cut from one 2×4 sheet of plywood.
More Laundry Room Ideas
Keep you laundry room organized and ready for the dirty job of cleaning your clothes with these DIY ideas.

How to Build a Laundry Platform
Tools & Materials
Recommended Tools:
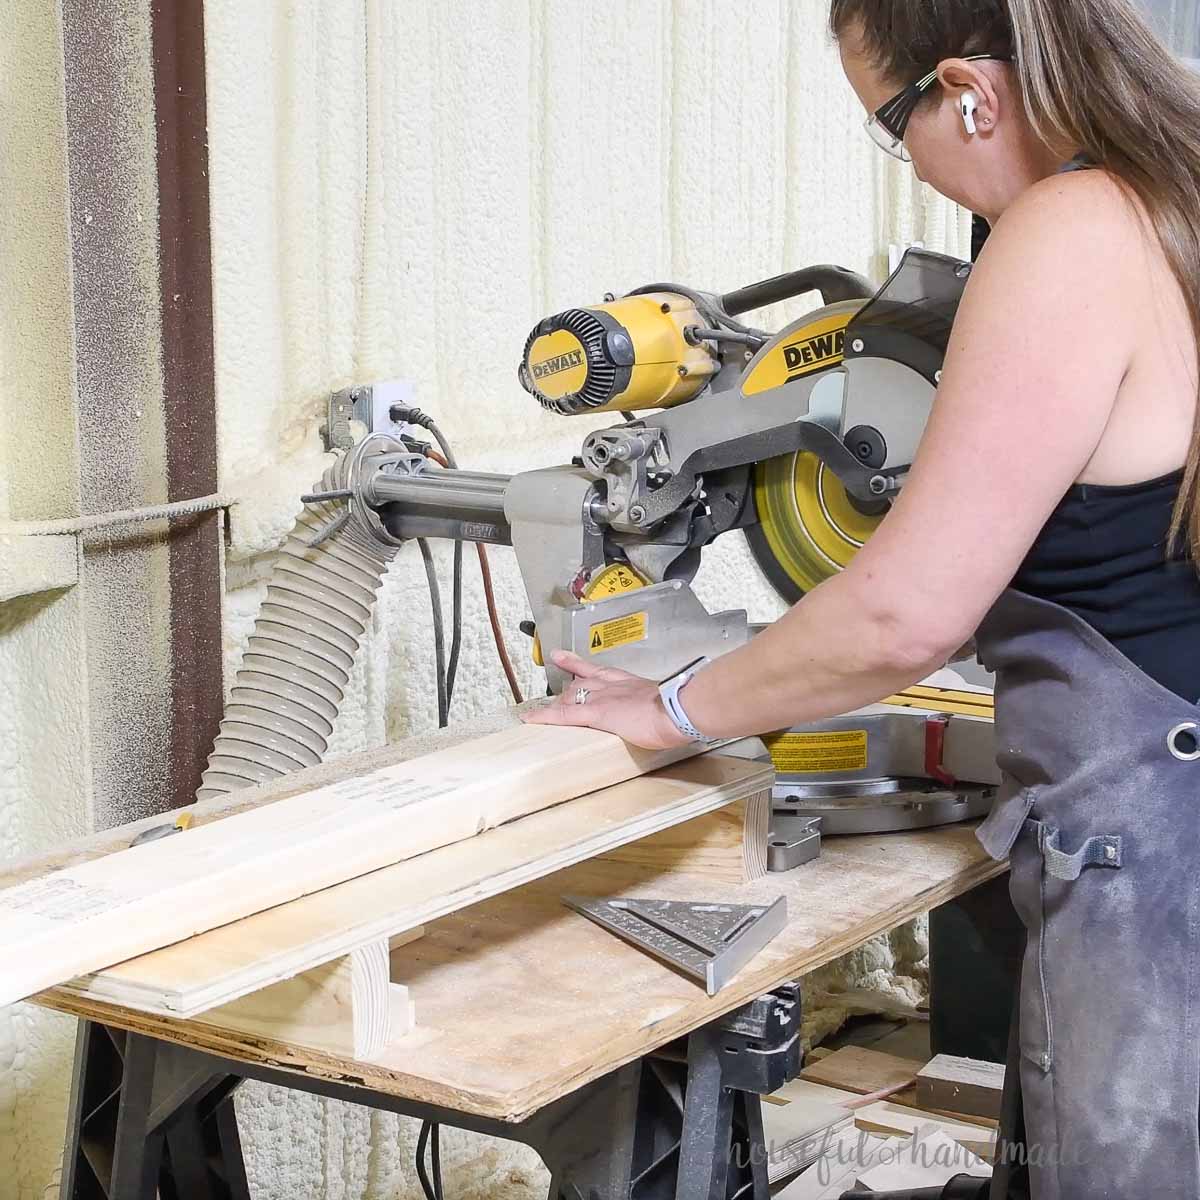
- Miter saw
- I recently upgraded to this larger sliding miter saw (watch for it to go on sale), but all my projects before were built with this inexpensive miter saw that I loved.
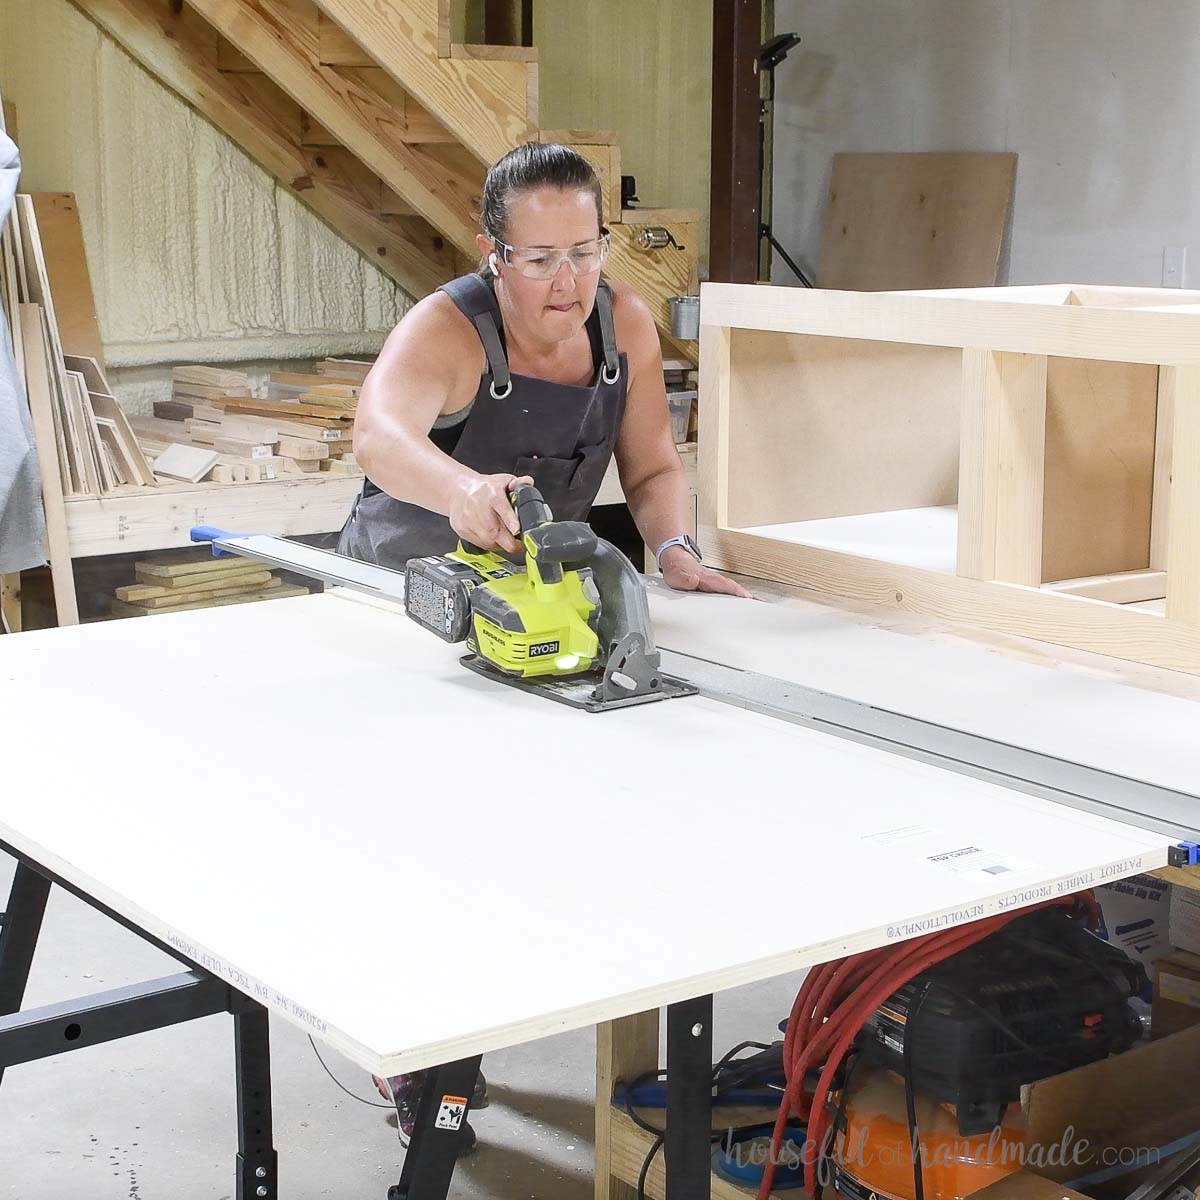
- Circular saw with guide track
- Pocket hole jig
- Drill
- Impact driver (optional, but I love not having to switch bits with the drill)
- Multi-mark measuring tool
- Right angle clamp
- Face clamps
- Brad nailer
- Trim router
- Sander
Supplies:
- Wood products
- (7) 2×4 boards, 8′ long
- (3) 1×3 boards, 8′ long
- (1) 3/4″ plywood, 4×8 sheet
- (1) 1/4″ plywood or MDF, 4×4 sheet
- (1) 1/2″ plywood, 2×4 sheet
- 2 1/2″ pocket hole screws
- 1 1/4″ pocket hole screws
- 1″ pocket hole screws
- 5/8″ brad nails
- 1 1/4″ brad nails
- Wood glue
- (1 pair) 22″ ball-bearing drawer slides
- (1) drawer pull
Overall Dimensions
The finished laundry pedestal is 60″ wide by 31 3/4″ deep and 17″ tall.

Cut List
Cut out the pieces according to the build plans on Kregtool.com.
I used a miter saw to cut the 2×4 boards for the frame and 1×3 boards for the face and drawer front.
To cut the plywood, I recommend using a circular saw with a guide track. Learn my tips for easily cutting plywood with a circular saw here.
STEP 1- Assemble the 2×4 base
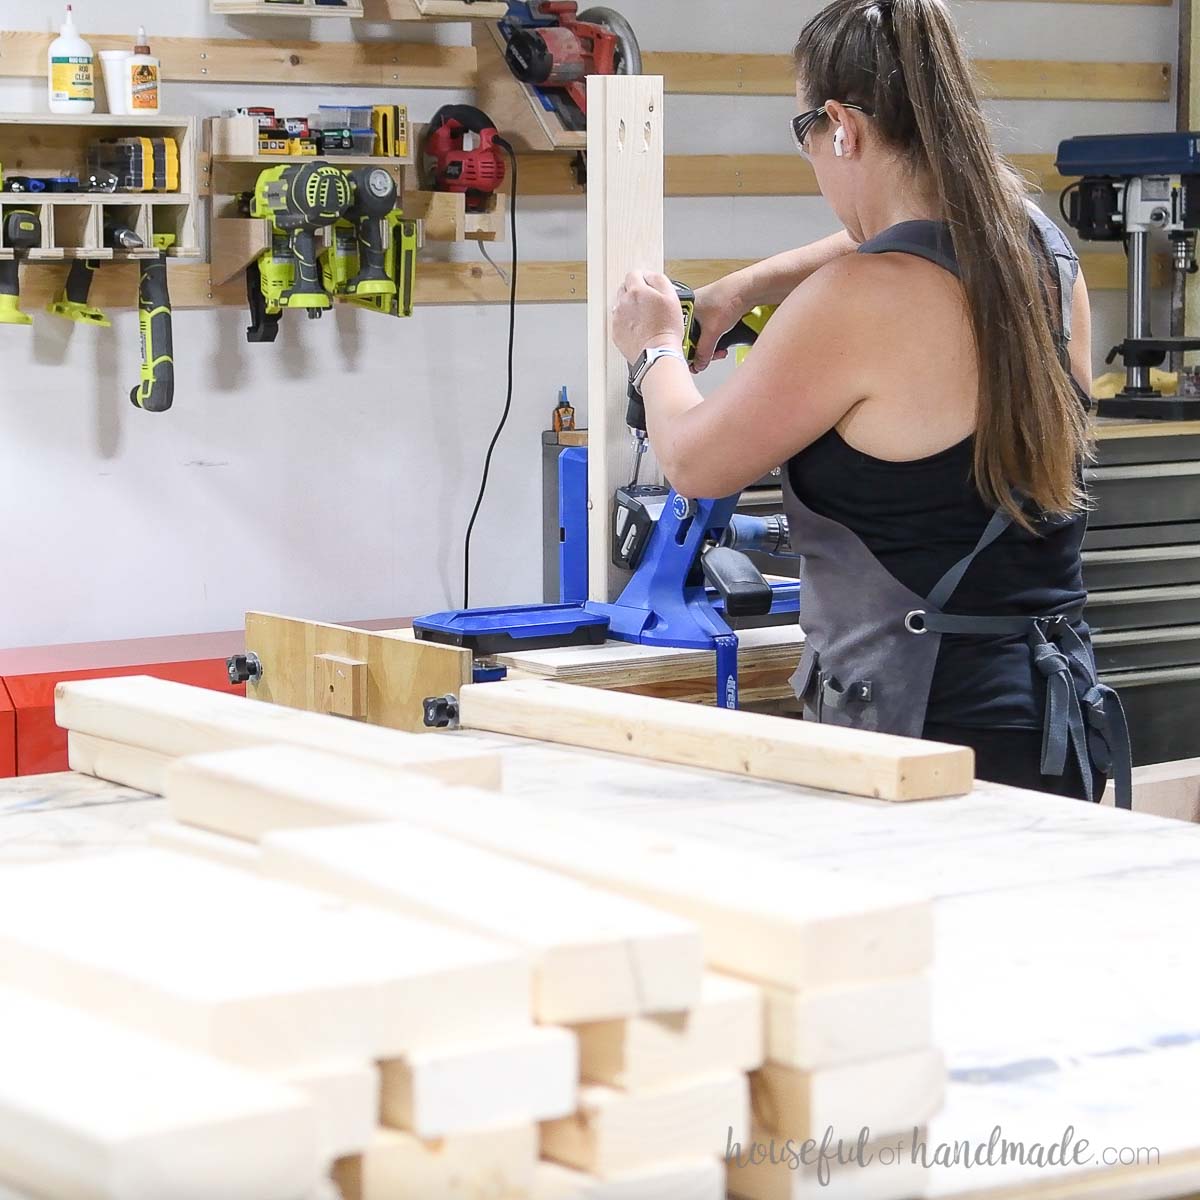
Set your Kreg pocket hole jig for 1 ½” thick material. Drill 2 pocket holes in each end of the platform joist boards.
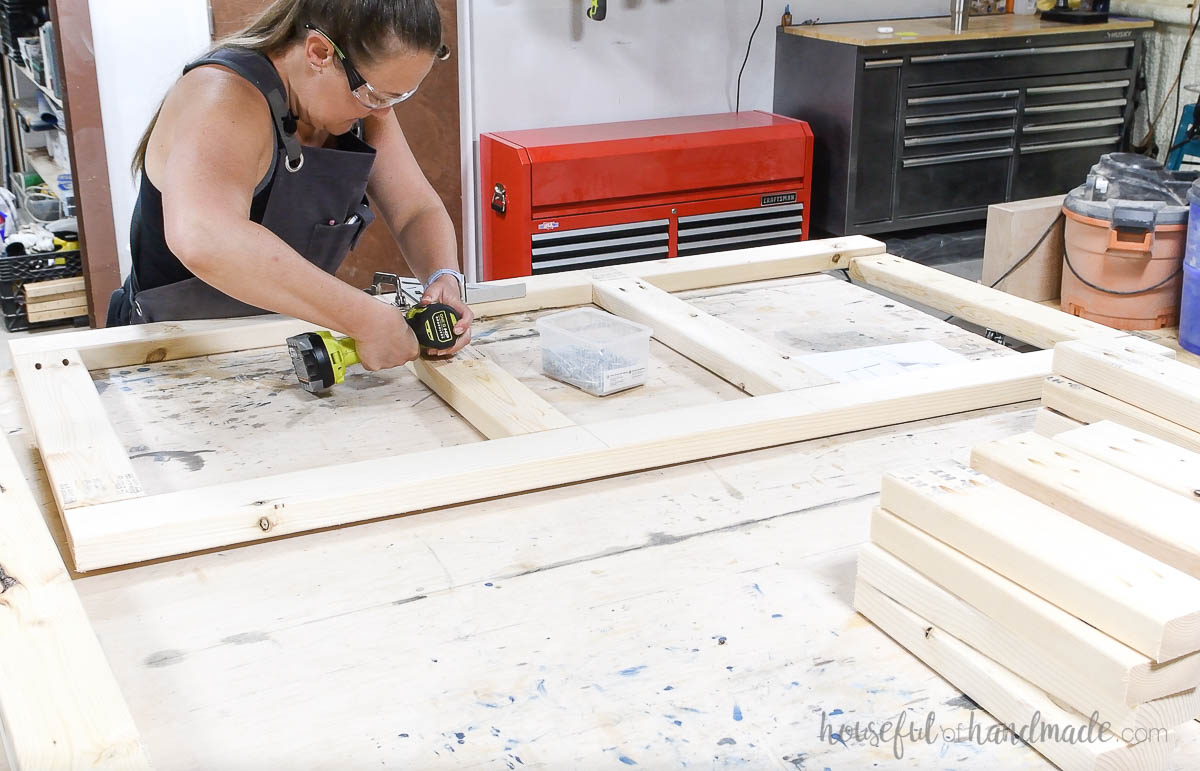
Attach the joist boards between the platform front/back boards with 2 ½” pocket hole screws so that the outside board is flush with the ends of the boards and the inside boards are 14” in from the edge.
Make sure to leave a 12” gap in the center for the drawer section.
Repeat to have 2 identical pieces.
With the pocket hole jig still set to 1 ½” thick material, drill 2 pocket holes in each end of the leg pieces.
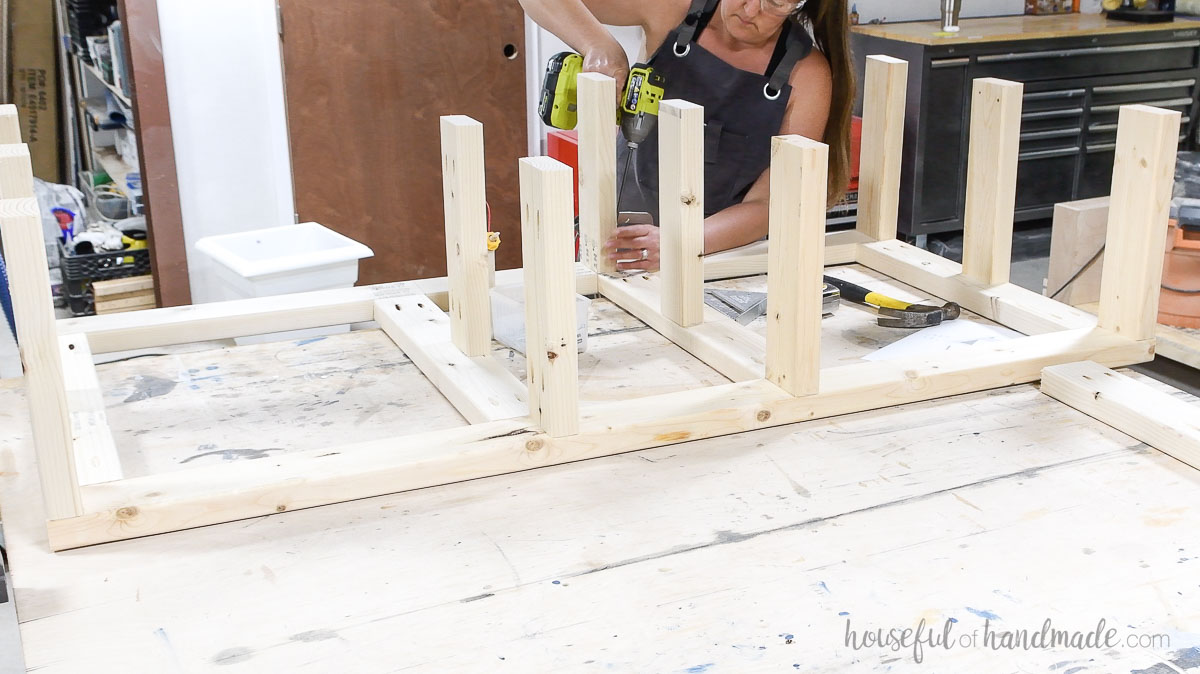
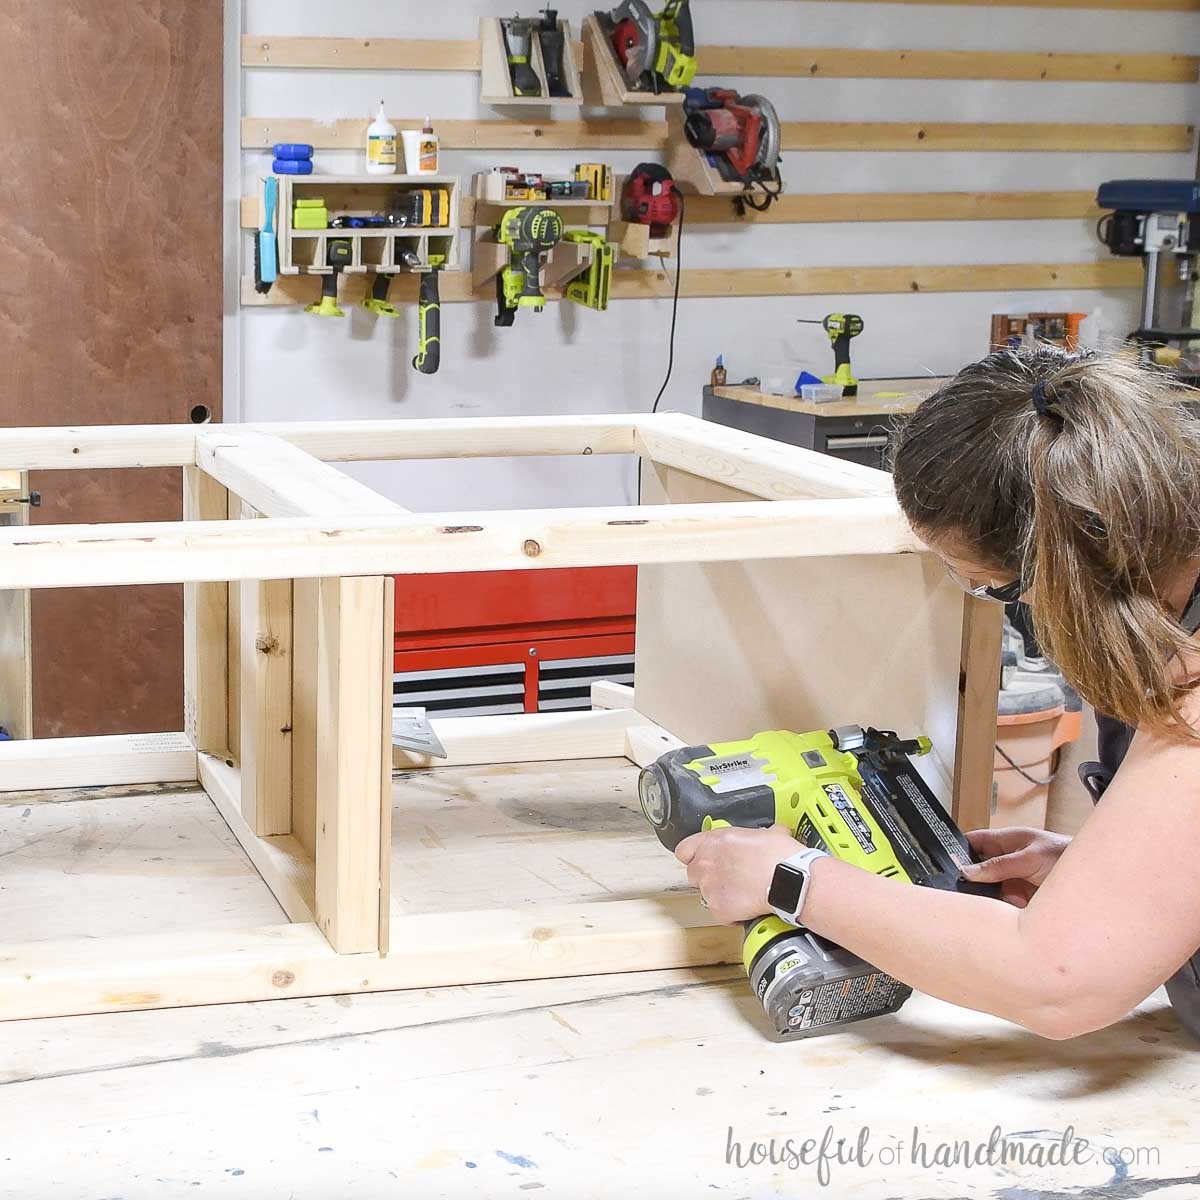
Attach 3 of the legs to the far edge of one of the assembled base top/bottom pieces with 2 ½” pocket hole screws.
Then attach 3 to the other end and finish with the other 6 along the 2 joists in the center.
Make sure to leave a 12” space between them for the drawer box.
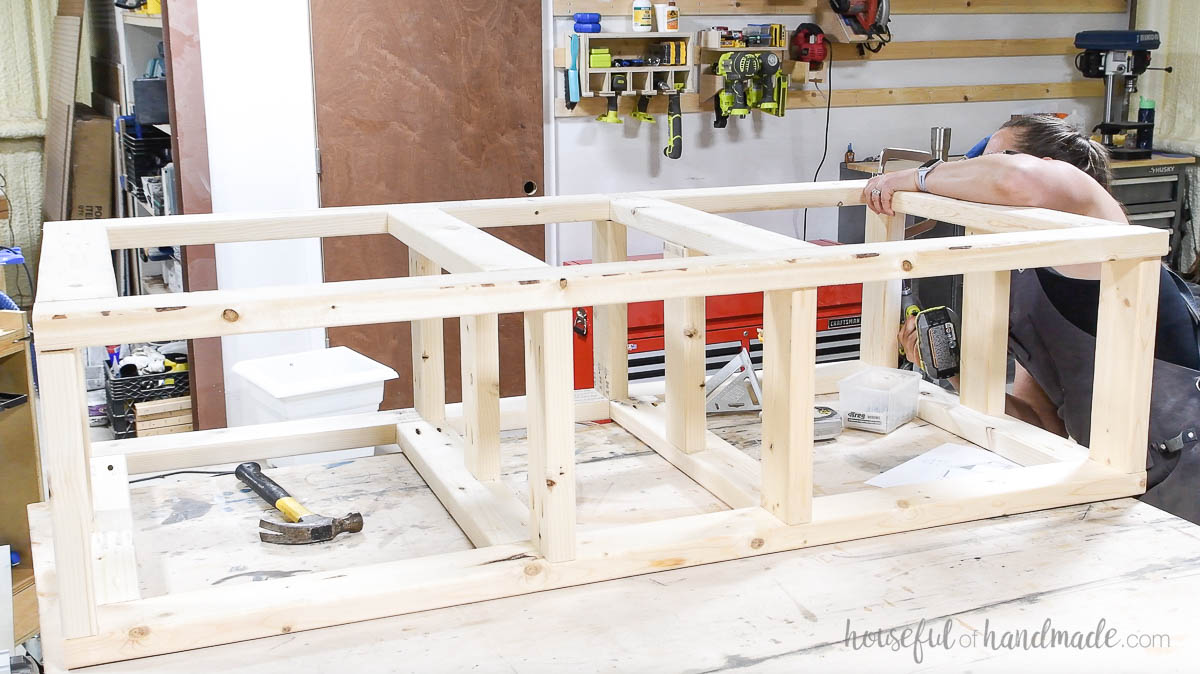
Then attach the other assembled piece to the top with the screws on the other side of all the leg boards.
STEP 2- Cover the base
Attach the ¼” material to the inside of the shelf areas. Use ⅝” brad nails and wood glue to attach it to the inside of the 2×4 legs.
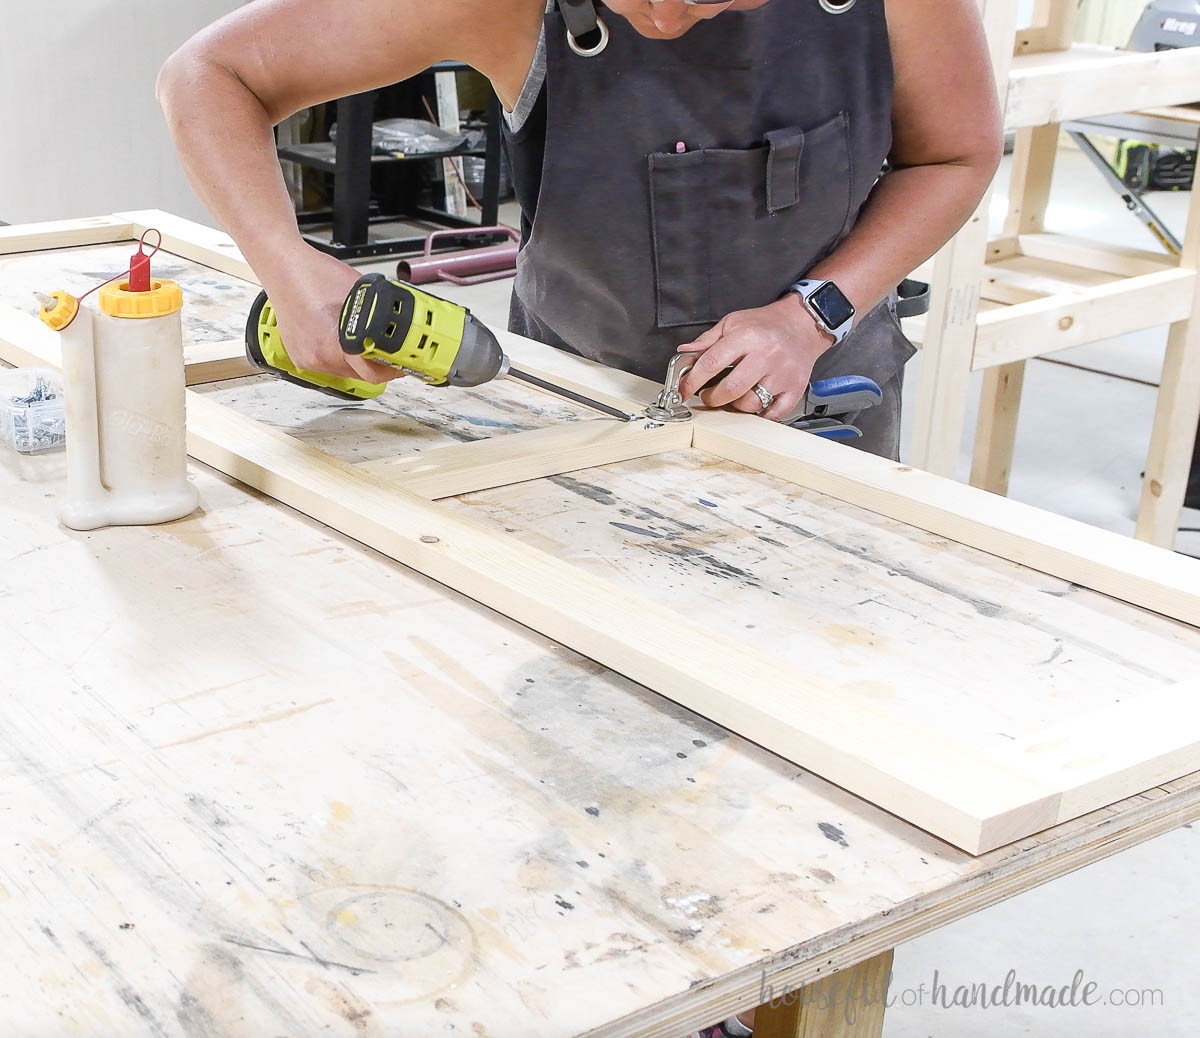
Set your pocket hole jig for ¾” thick material. Drill 2 pocket holes on each end of the face frame side pieces.
Attach them between the face frame top/bottom pieces with 1 ¼” pocket hole screws and wood glue.
Attach the sides so they are flush with the edges of the top/bottom board and the 2 center piece leave a 12” gap in the center for the drawer box.
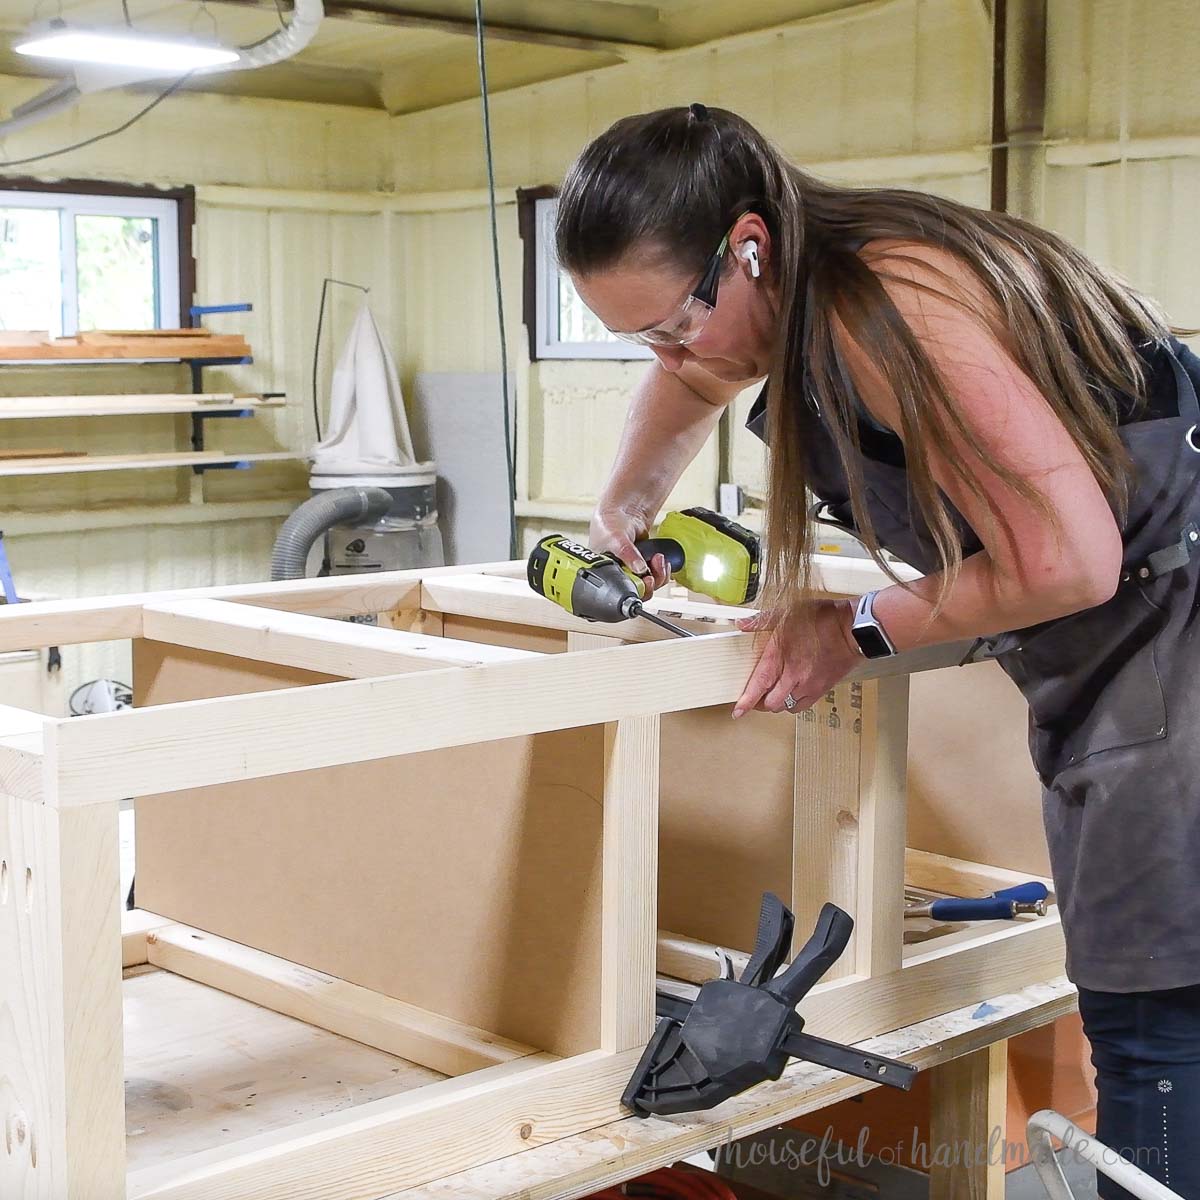
Drill pocket holes set for ¾” material in the top front of the platform base and the shelf sections (I used the 300 series pocket hole jig for this).

Attach the face frame with 1 ¼” pocket hole screws so it is flush with the sides and bottom of the platform.
The top of the face frame should stick up 1” from the top.
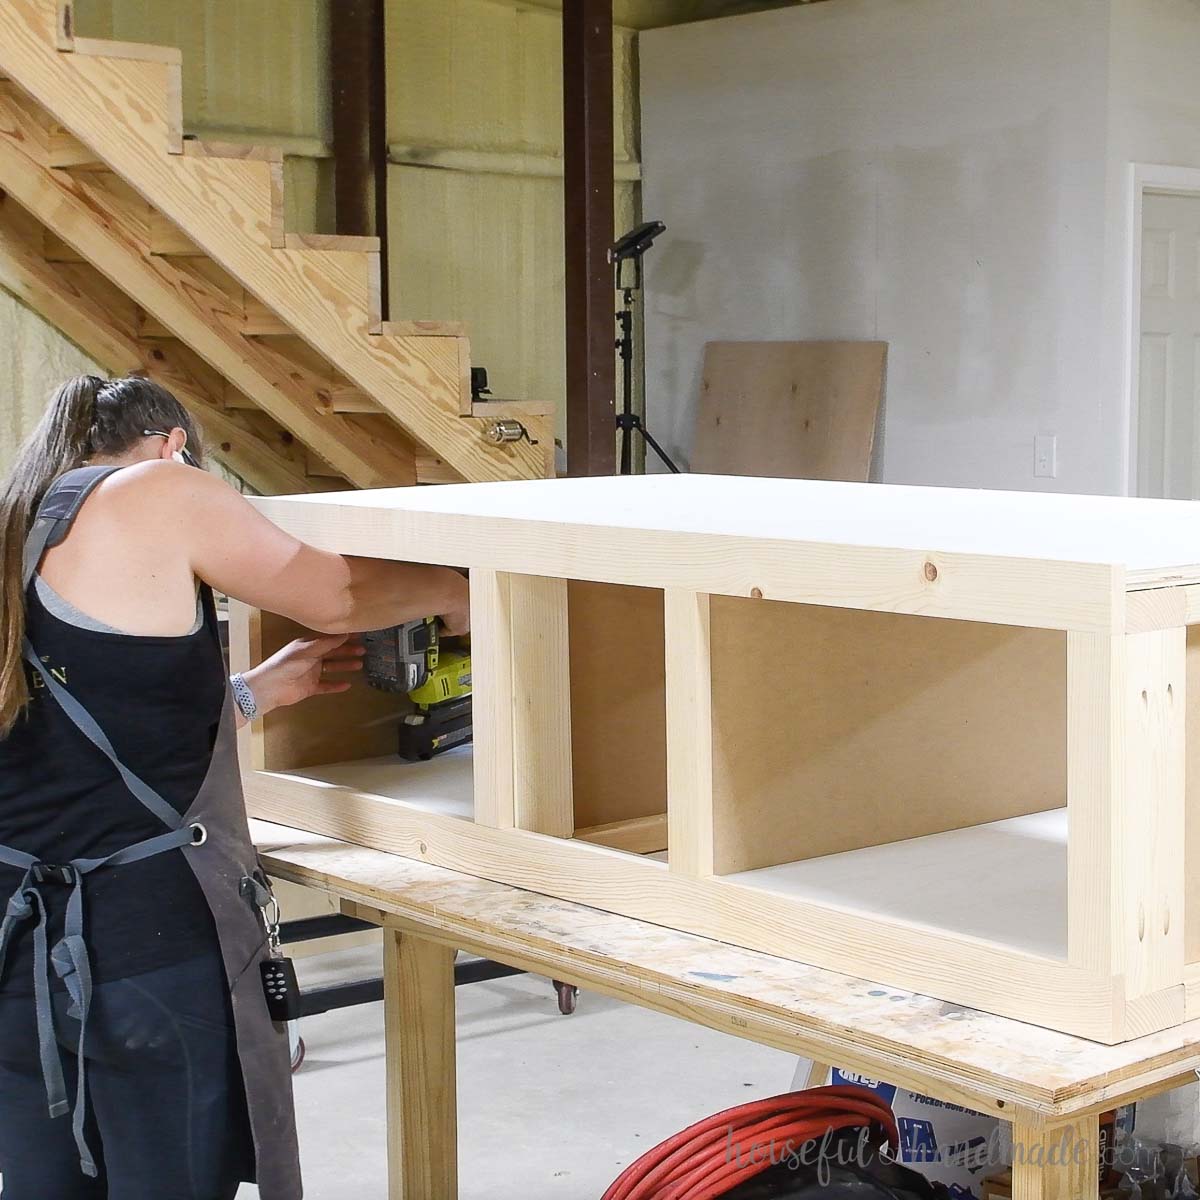
Place the shelf bottoms on top of the bottom base in the shelf cubbies. Attach with wood glue and 1 ¼” brad nails.
Repeat for the plywood top on the very top of the pedestal.
STEP 3- Build the drawer
This drawer box is a thicker bottom to help hold heavier things (like extra laundry soap).
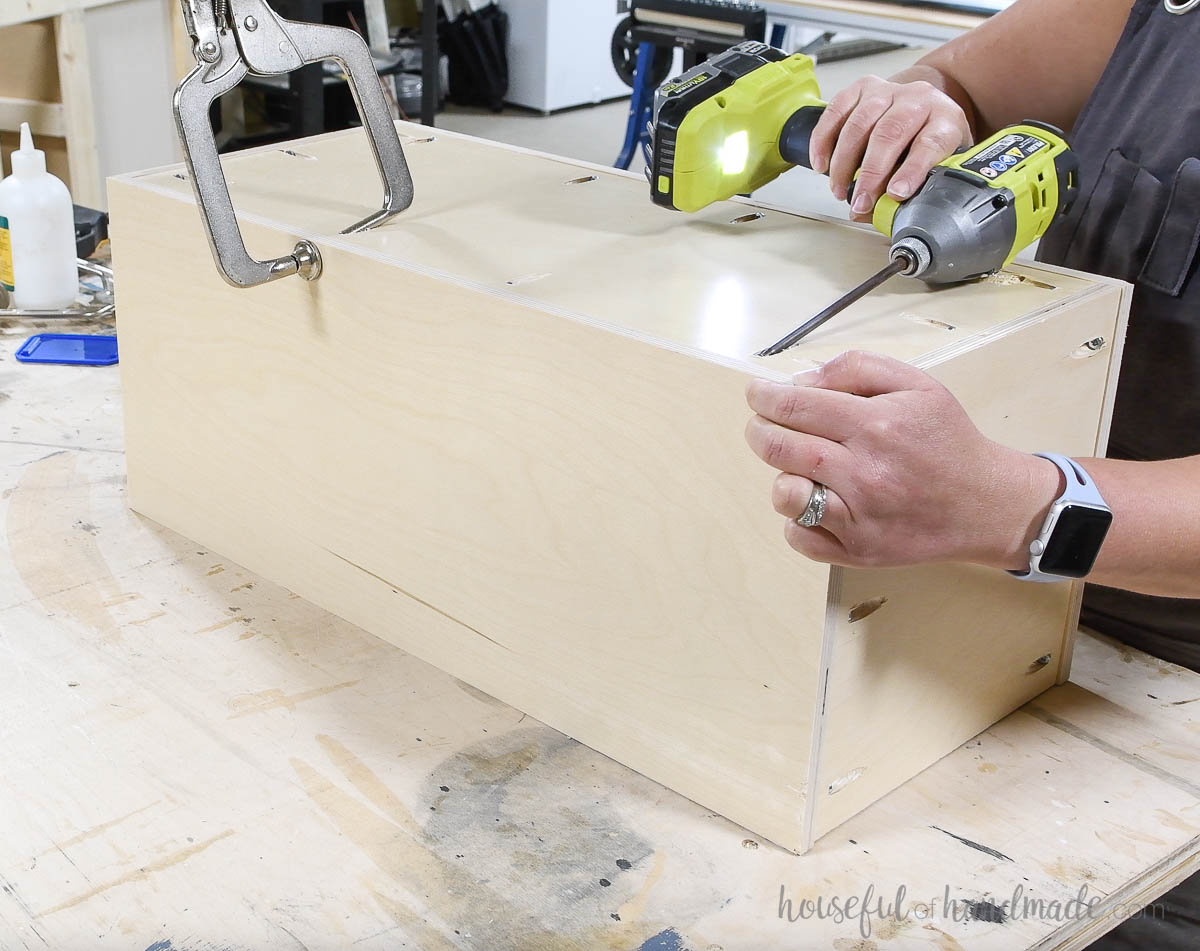
Drill pocket holes set for ½” thick material in the sides of drawer box front/back pieces and all edges of the drawer box bottom piece.
Attach the front/back pieces to the bottom pieces with 1” pocket hole screws and wood glue using the pocket holes on the bottom piece.
Then attach the drawer box sides to the bottom and front back with wood glue and 1” pocket hole screws.
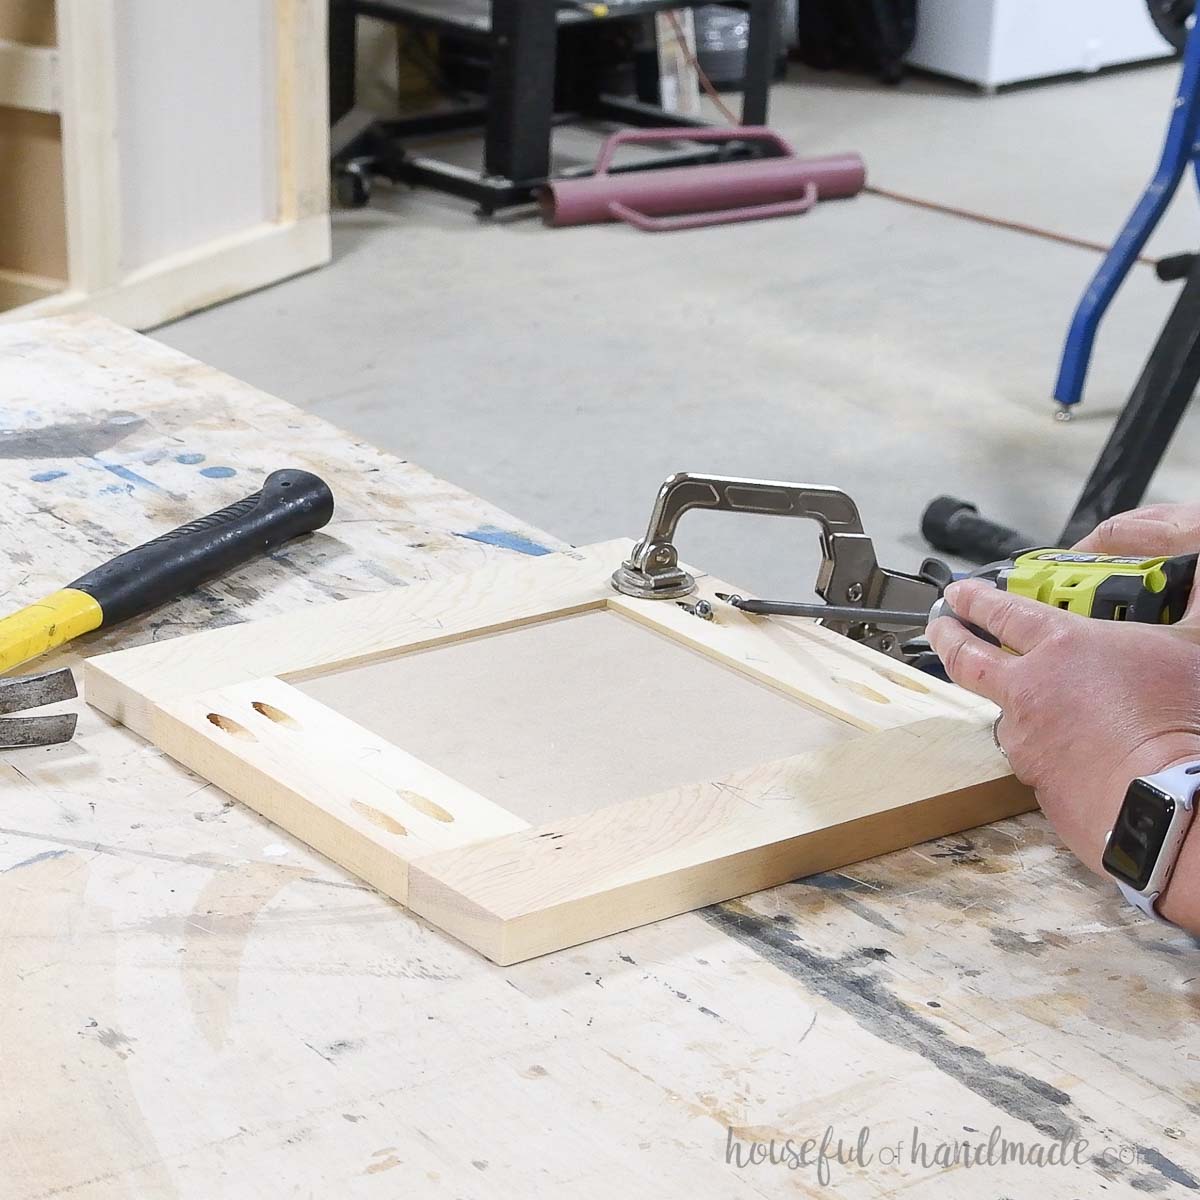
To build the drawer front, router a ¼” deep by ¼” wide groove in the drawer front rails.
On the drawer front stiles, measure 2” from each end and draw a line. Router a ¼” x ¼” groove in one side of the board between these lines.
Set your pocket hole jig for ¾” thick material. Drill 2 pocket holes in the back side of the drawer front rail pieces.
Place the drawer front panel inside the grooves. And secure the rails to the stiles with 1 ¼” pocket hole screws and wood glue.
Click here for more details, or for instruction on how to build a drawer front without a router.
Install the drawer slides so they are set back ¾” from the front of the completed pedestal (flush with the inside of the face frame) and flush with the front of the drawer box.
Attach the drawer front to the front and add a drawer pull.
Learn my trick for installing your drawer fronts here.
STEP 4- Install
Paint/stain your new laundry pedestal. I painted mine NYPD by Behr.
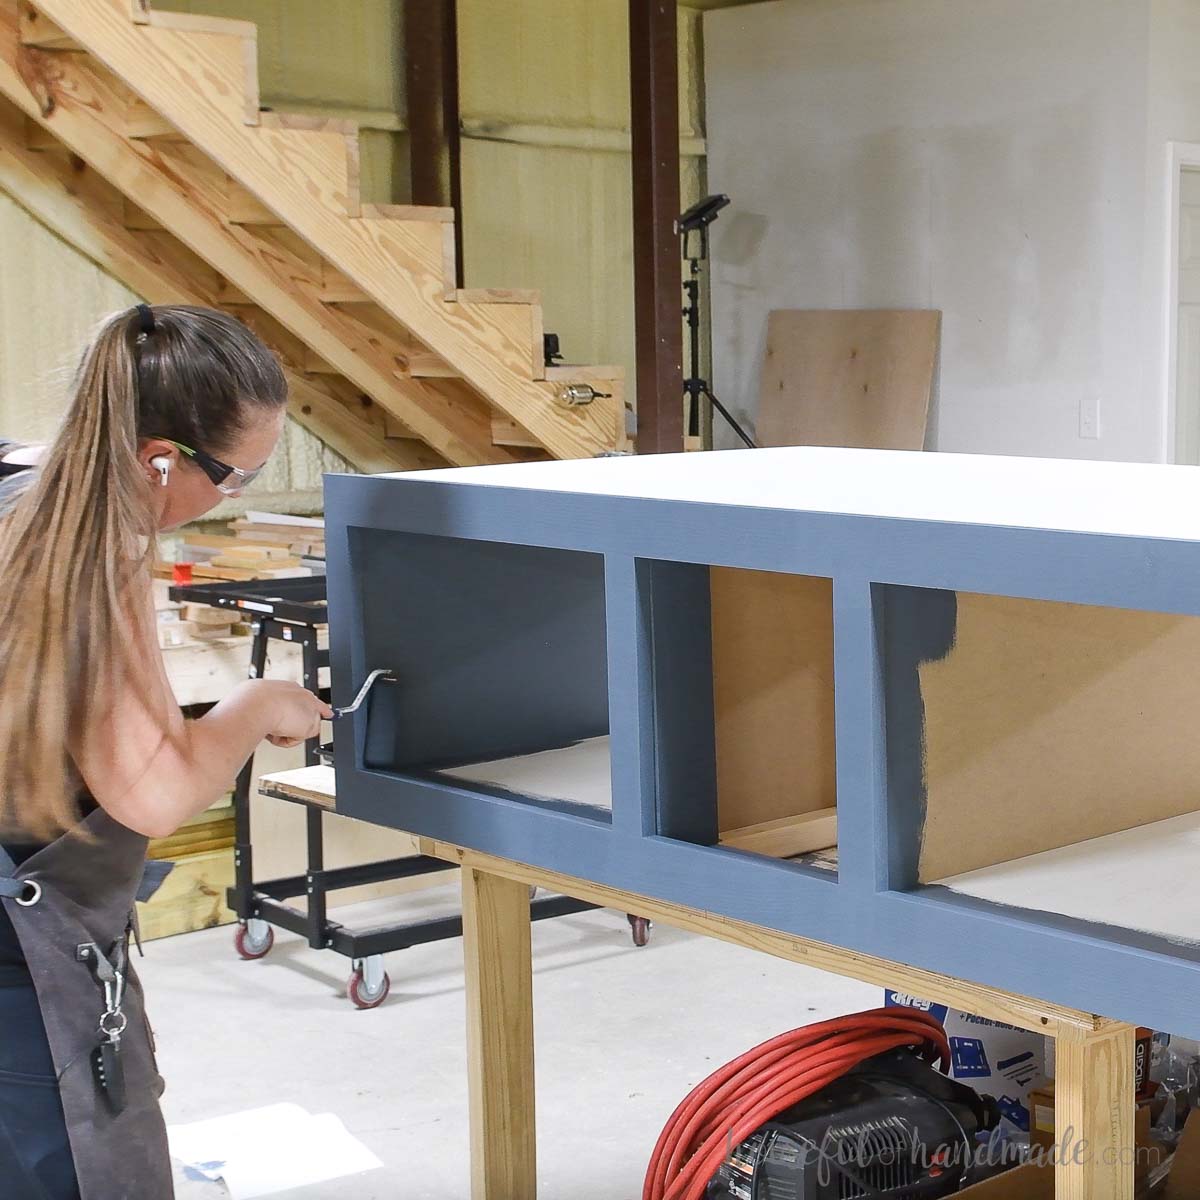
Using a second (and maybe third) set of hands, move yoru washer dryer platform to your laundry room and place it where your machines go.
Mine is set in a nook so I didn’t have to finish the sides. But I did have to remove the baseboards inside the nook.
I recommend attaching it to the walls into studs for extra sturdiness.
And watch the full YouTube video for more tips as you get ready to build!
Happy Building!

Thank you to Kreg Tools for sponsoring this post. I only recommend products that I use and love and all opinions are 100% my own. Click here to read my full disclosure policy.