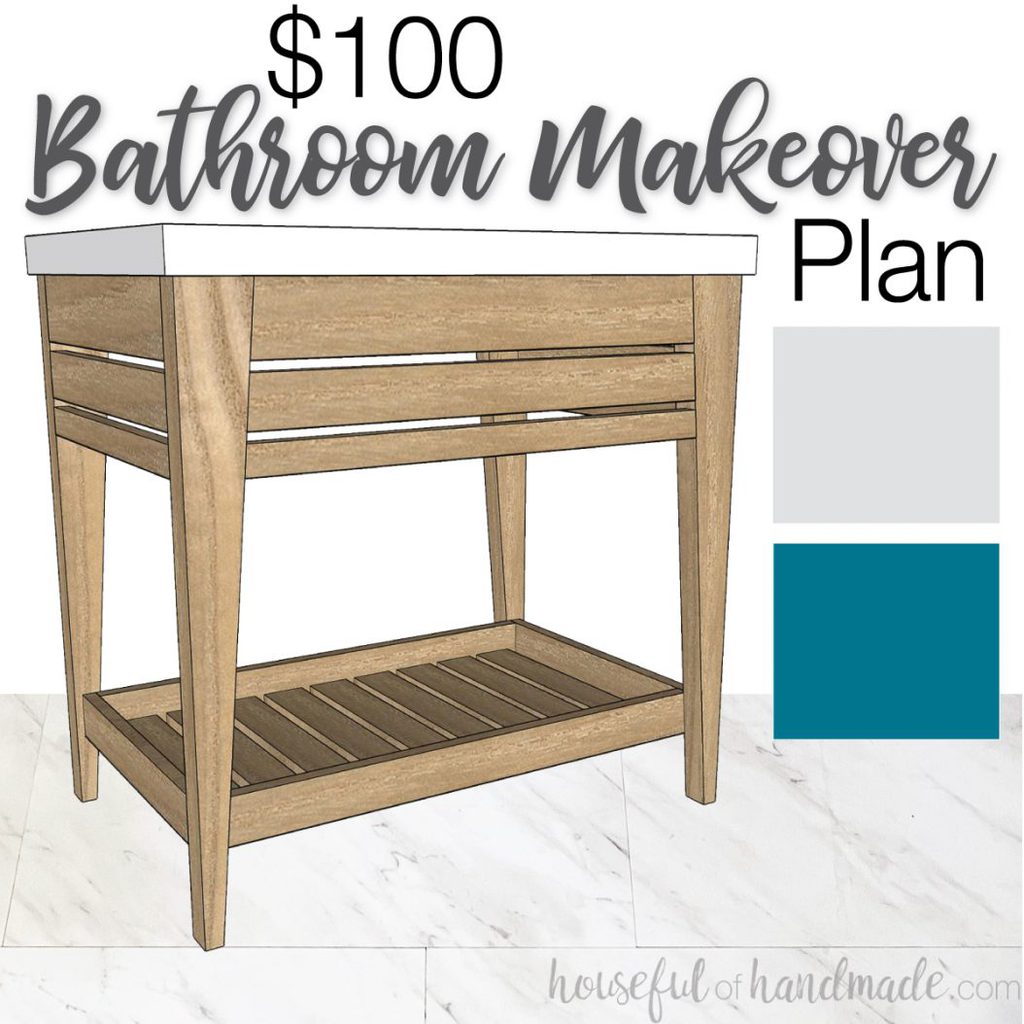
I am so excited to do another $100 Room Challenge. And this time it is my first budget bathroom makeover!
Updating a room in your home can be expensive, but it doesn’t have to be. In our last home I updated an office/craft room, walk-in master closet, laundry room, and kids closet each for only $100.
And this month we are tackling our first $100 Room Challenge in our new home: the kid’s bathroom!
This post may contain affiliate links. As an Amazon Associate I earn from qualifying purchases. Click here to read my full disclosure policy.
What is the $100 Room Challenge?
The $100 Room Challenge was created by my friend Erin from Lemons, Lavendar, and Laundry. For the challenge, you have to makeover 1 room in just 1 month for only $100!
To give a room new life on such a tight budget, you have to get very creative.
That is the fun of the challenge. How can you find deals, repurpose or reuse things without spending lots of money.
So follow along this month as I share DIYs and ways to remodel on a very small budget!
Update: Our bathroom remodel is (mostly) done!
- I installed inexpensive peel and stick flooring
- Added an easy board and batten wall for added style
- Built a new budget friendly open vanity
- Made a cheap DIY concrete vanity top
And the final $100 bathroom remodel reveal can be found here!
Bathroom Remodel Plan
The kid’s bathroom is small and very much in need of a remodel!
There are so many big things that need updating which will require a lot of creativity and using of things we already have to make it happen.
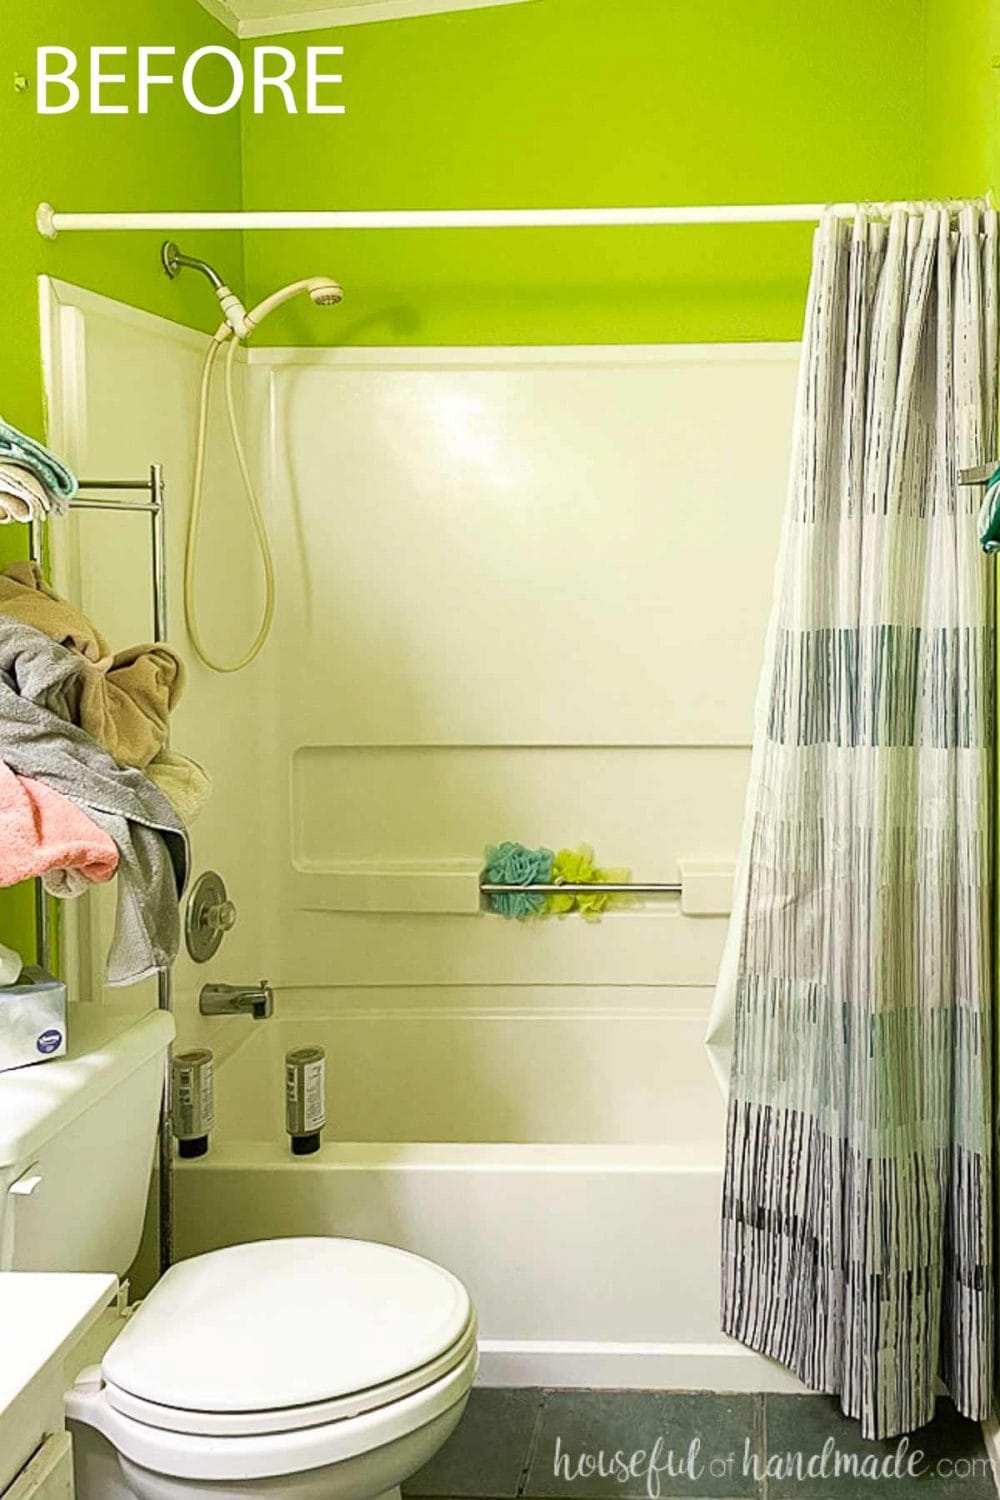
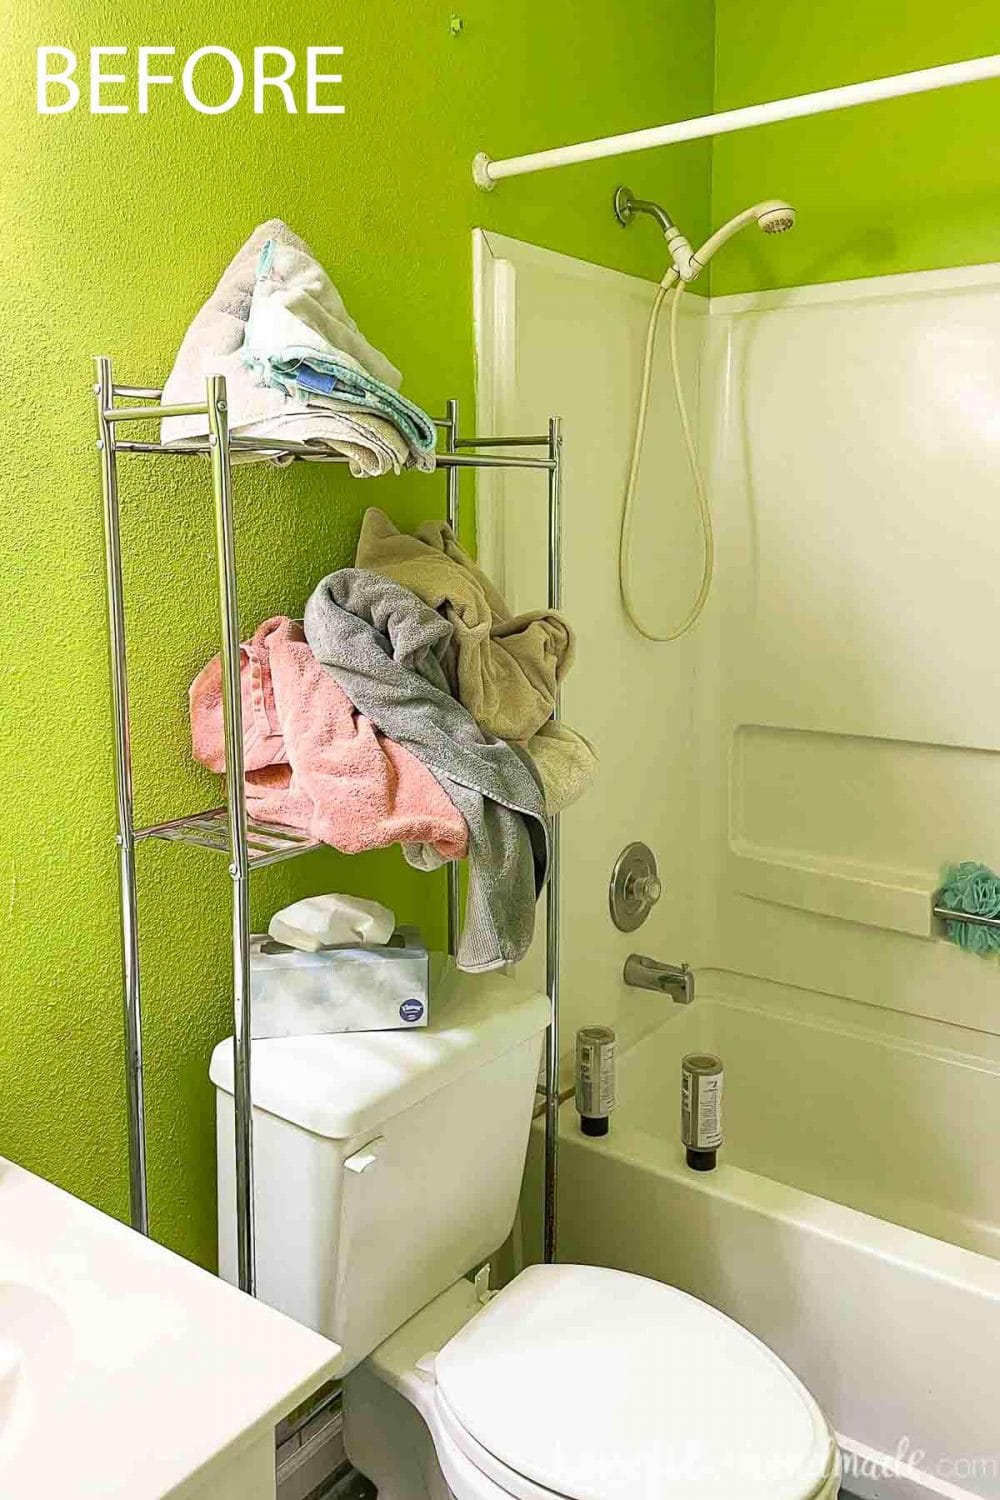
So let’s start with a before picture…
New Paint on a Budget
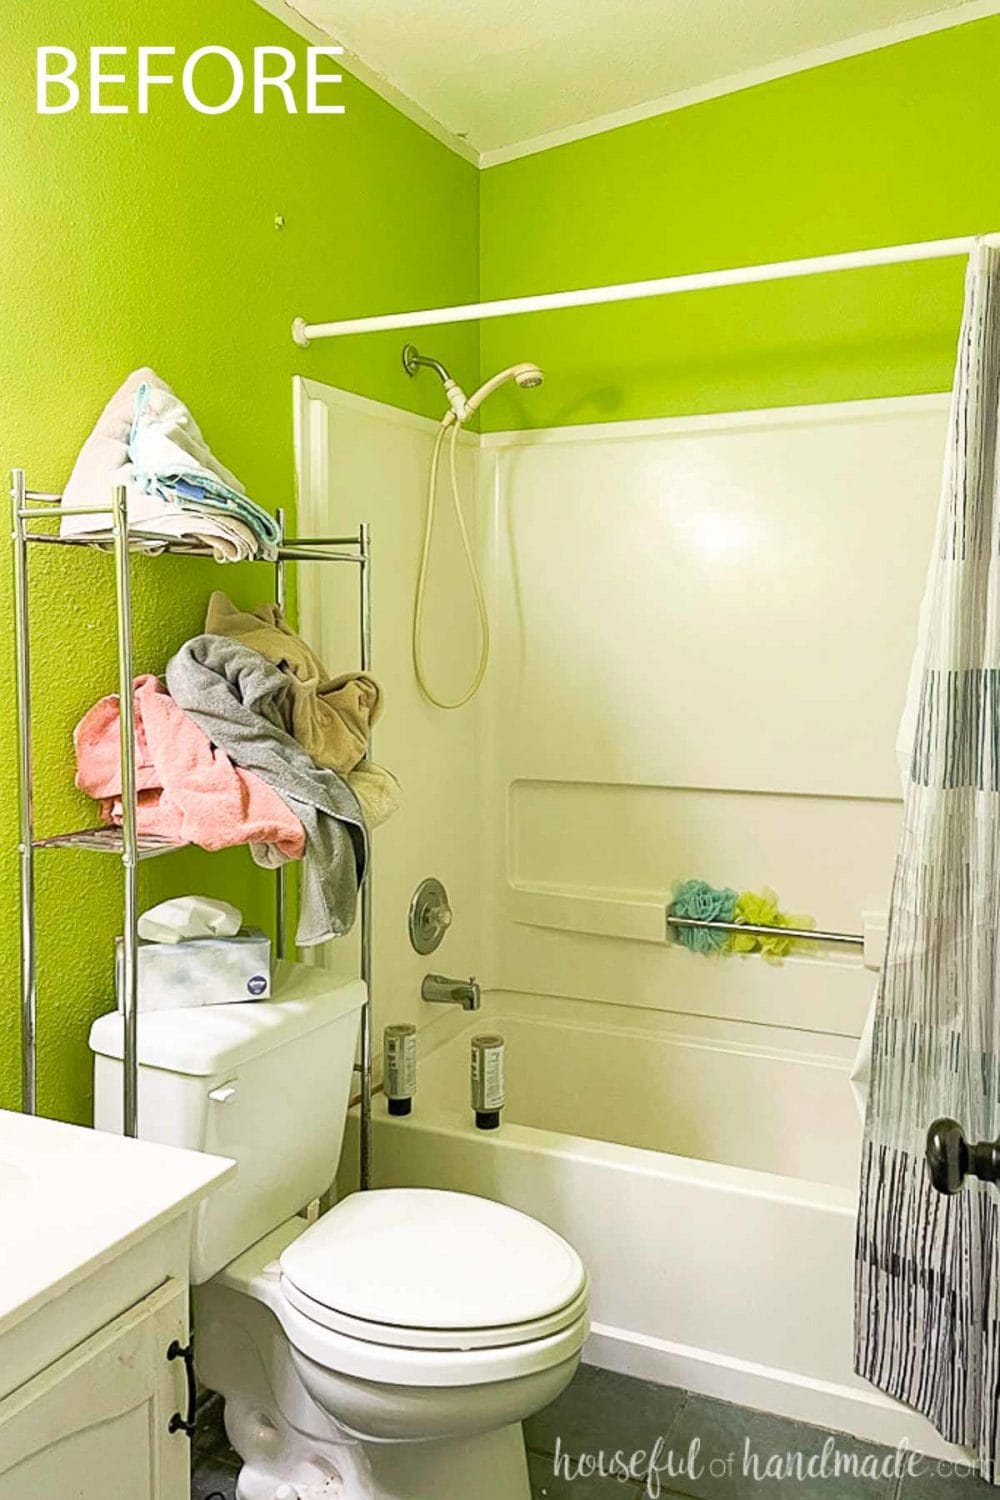
The first thing you see is the need for new paint! Electric green is not a good color for a bathroom. It makes you look a little sick when you are trying to use the mirror.
A gallon of paint typically costs $30-$50. Which is way out of our budget since we need a lot of larger items in the space.
So when you don’t have money to buy paint, here are some options:
- Use leftover paint from another project
- Ask friends/family if they have leftover paint you can use
- Check the paint/home improvement stores for “Oops” paint that is sold at a fraction of the cost
- Look for paint at garage sales or resell stores
- Mix your own paint from leftovers
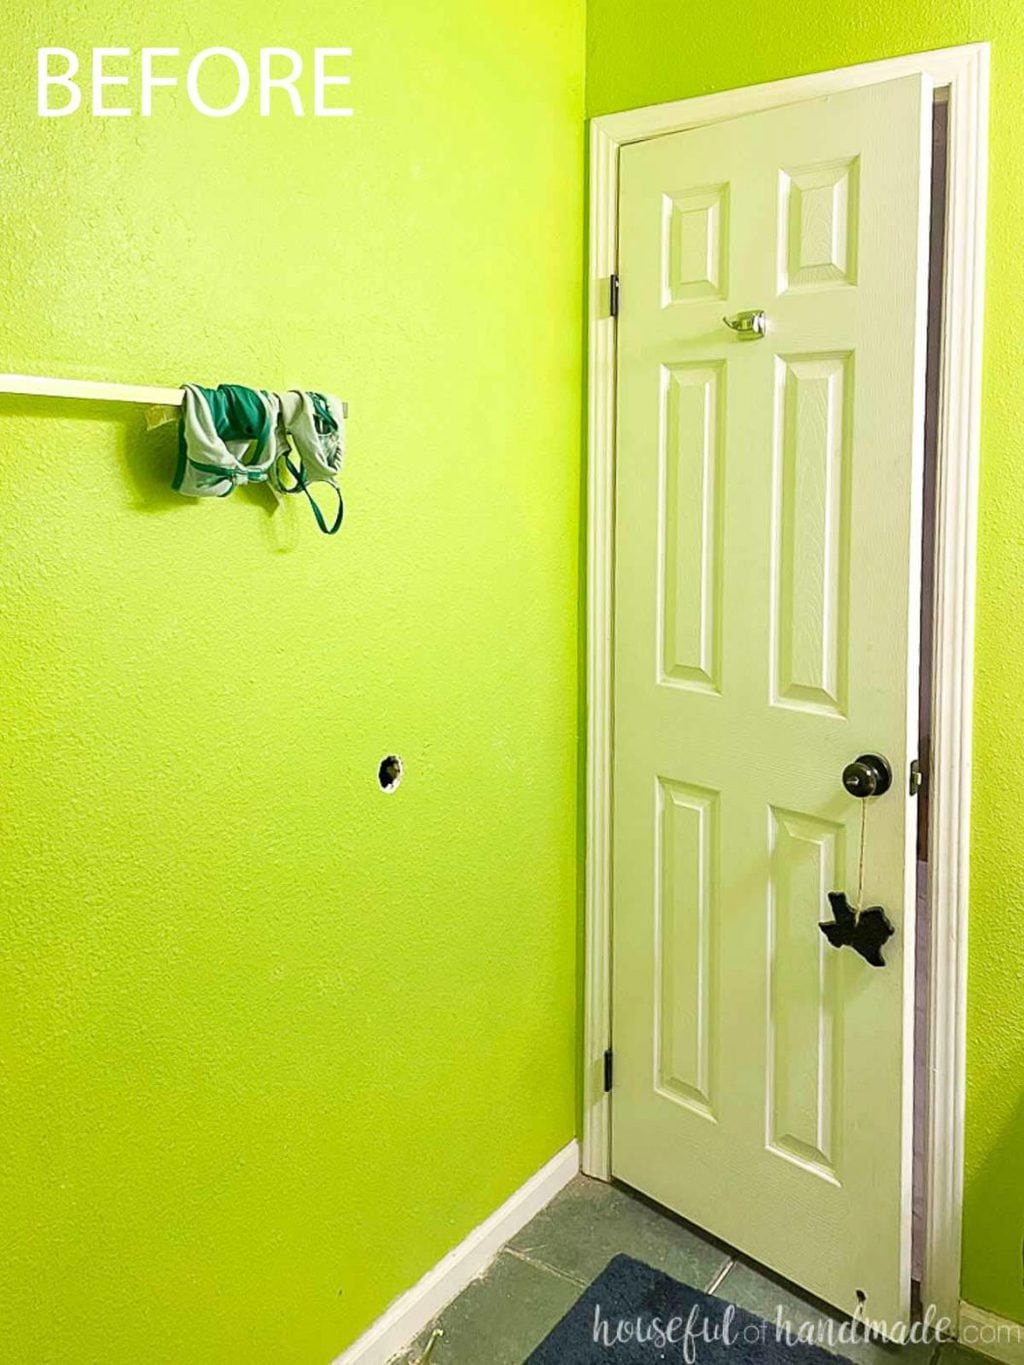
Since I left all the paint from our previous home with the new owners (in case they need to do touch-ups), the only paint I have is a soft gray that is the color the entire house here is painted.
I was hoping to add some personality to this room with a color. But will use the leftover paint if needed as a last resort.
Currently my father-in-law works for the local home improvement store so we have him keeping an eye on “Oops” paint for us. Hoping to find a color that will work for us or that can be mixed.
I have had great success with turning not-the-right color paint into the perfect color before. The ceiling of the office/craft room remodel was painted with mixed paint.
If not, he has some teal-blue leftover paint from his rental property that might work out if I combine it with the gray that I have on hand.
Inexpensive Bathroom Vanity
The bathroom vanity desperately needs to be updated. It is old, boring, and too small. Since there is space to add a larger vanity, we are definitely going to take advantage of it!
But bathroom vanities cost a lot of money. So to get a completely new vanity in our budget I am going to build one!
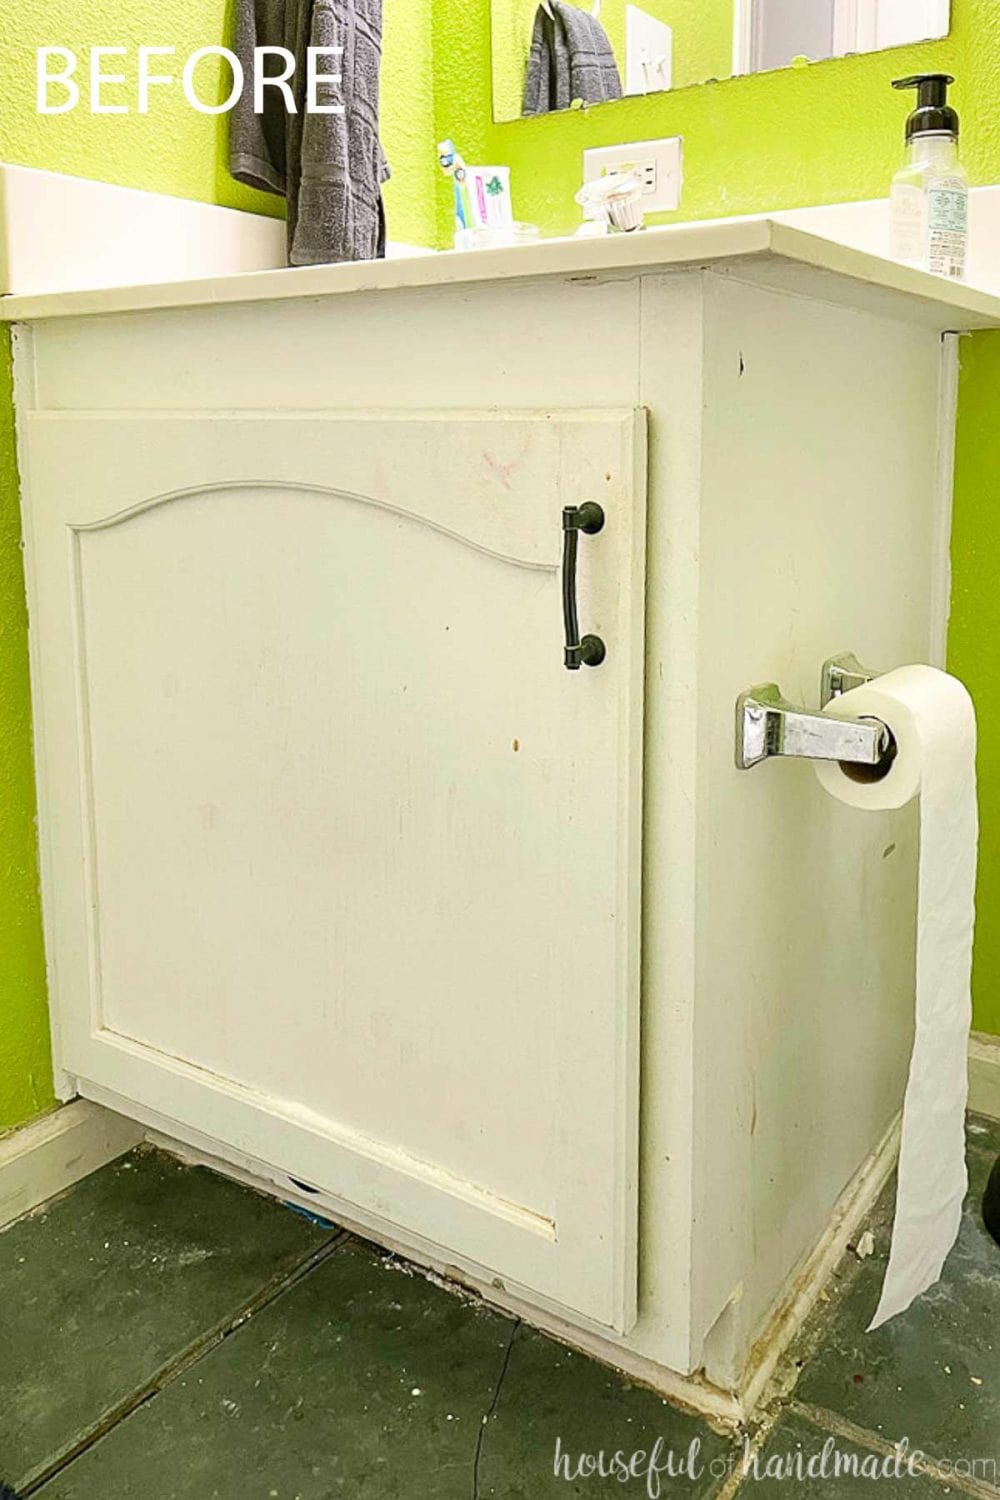
I have built vanities in the past. This 8′ master bathroom vanity was a great budget option for the space (not under $100 but only $400 for an 8′ a hardwood vanity is such a steal).
And the gorgeous ash vanity in our guest bathroom only cost $150. But of course, we need even less expensive than that to hit our $100 budget.
Ways to Save Money on a Bathroom Vanity
- Limit or eliminate drawers: Drawers require more wood and drawer hardware can add to cost. Instead use inexpensive baskets and bins for storage.
- Create an open vanity: An open vanity will cost less than one with sides and doors since it uses less material and no door hardware. It is also faster to build.
- Use inexpensive wood: Woods can range in prices. Find less expensive woods that fit your budget.
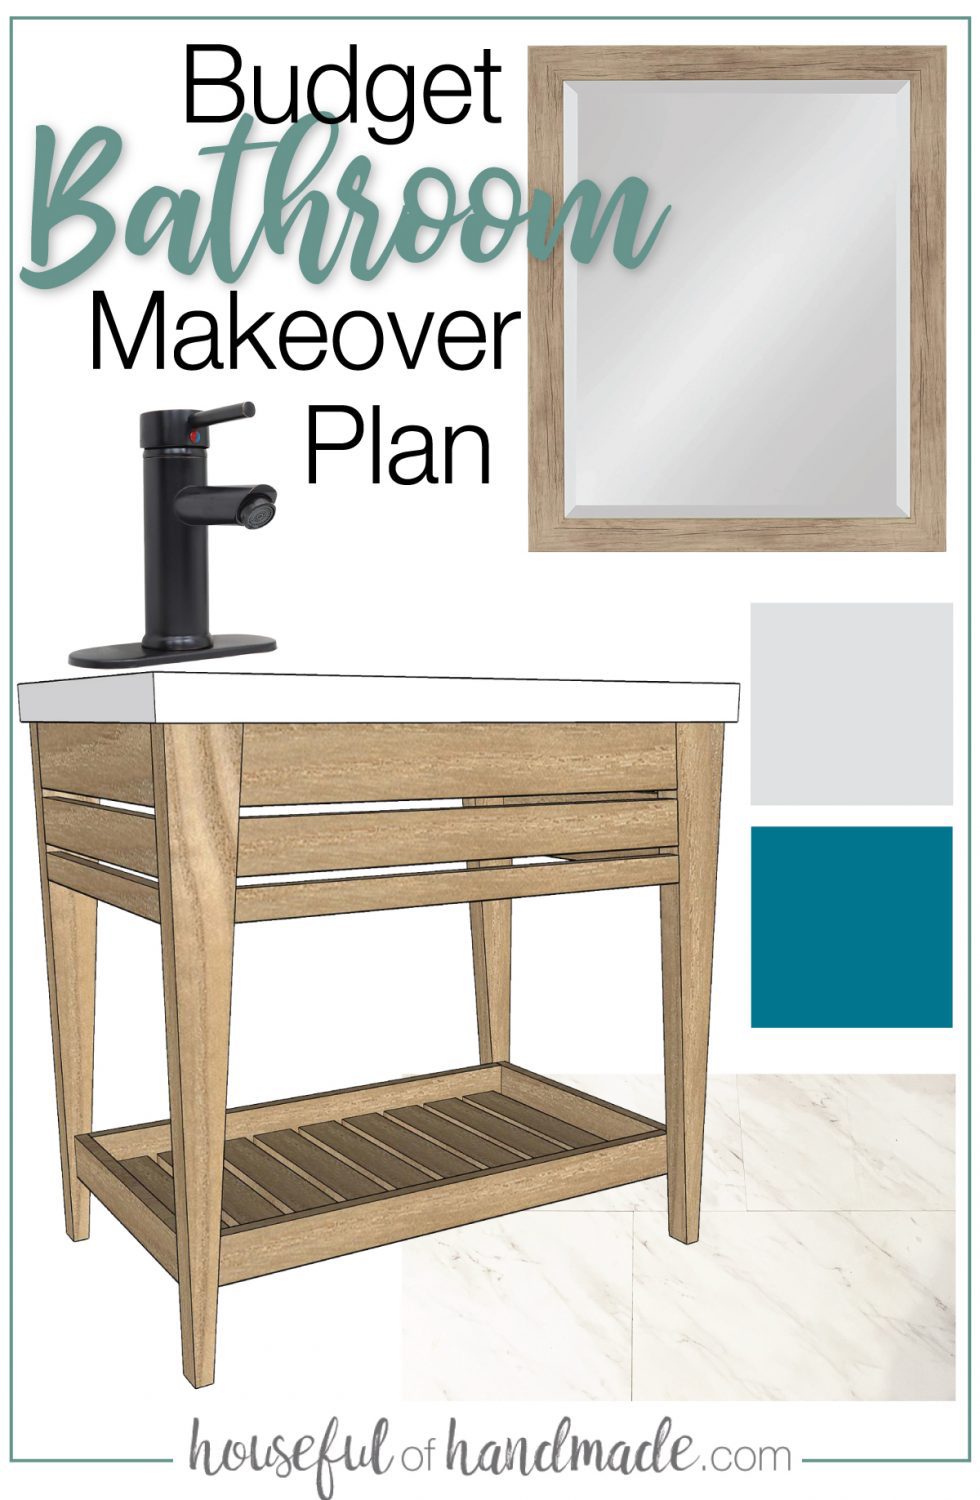
Here is the design for our budget bathroom vanity! It is going to be an open vanity with no drawers.
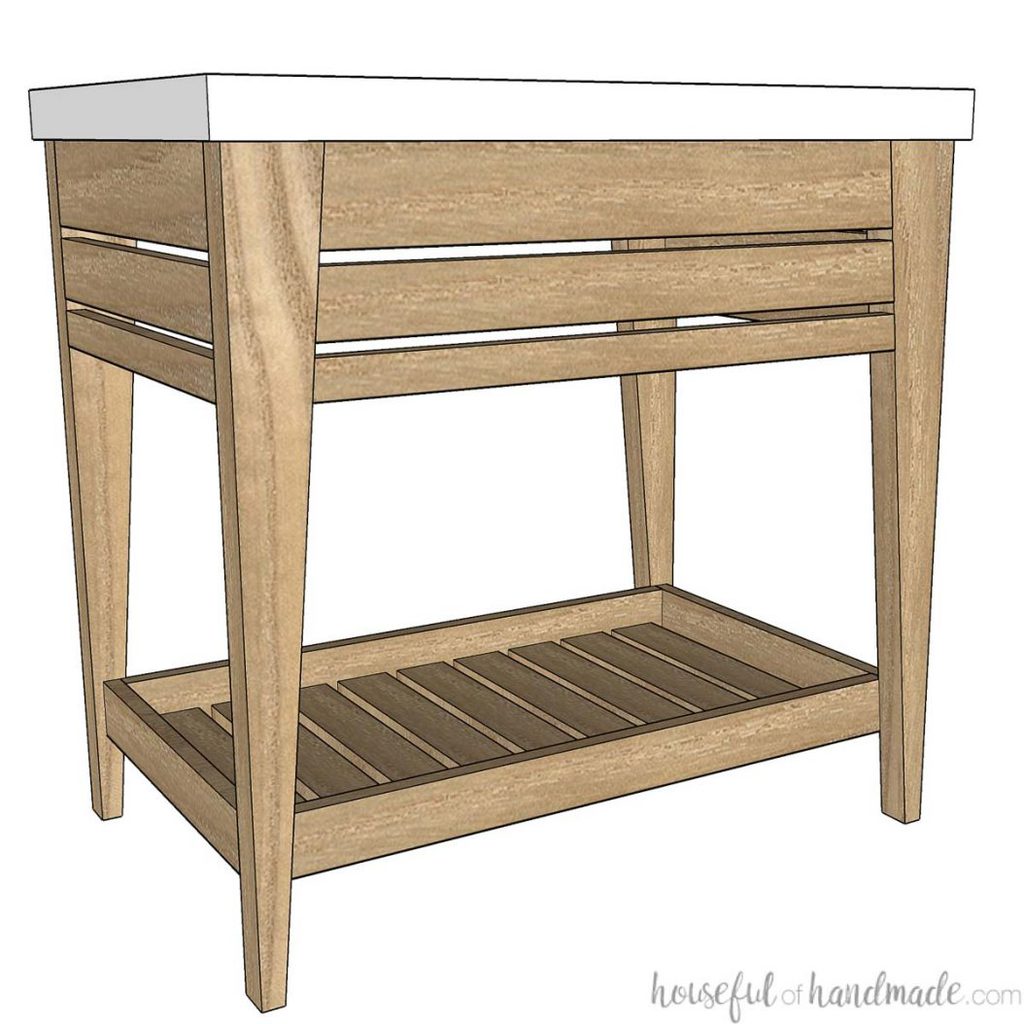
Currently under the vanity my children are storing practically nothing. My son uses a toothbrush and that is it. My daughter has a Caboodle with all her hair accessories in it and her toothbrush.
These can easily be stored on the open shelf and with a cute toothbrush holder on the vanity top. And the other space will be perfect for storing towels.
The vanity will be built out of inexpensive 2x4s. We even have some left over from other projects so hoping that will save my budget!
Budget Vanity Top
Adding a new vanity on a tight budget is not just about the cabinet, you also need a top, and a sink, and a faucet, and a drain… All those things add up to $$$!
I would prefer an undermount sink for my kids bathroom. They tend to make a huge mess on the vanity and I know cleaning around the base of a sink will end up becoming a big stress.
The cheapest undermount sink I have found is $40. That is a big chunk of the $100 budget. It is in stock at my local home improvement store so I can use it as a last resort.
But I have a crazy idea for an inexpensive undermount sink. Stay tuned for that…
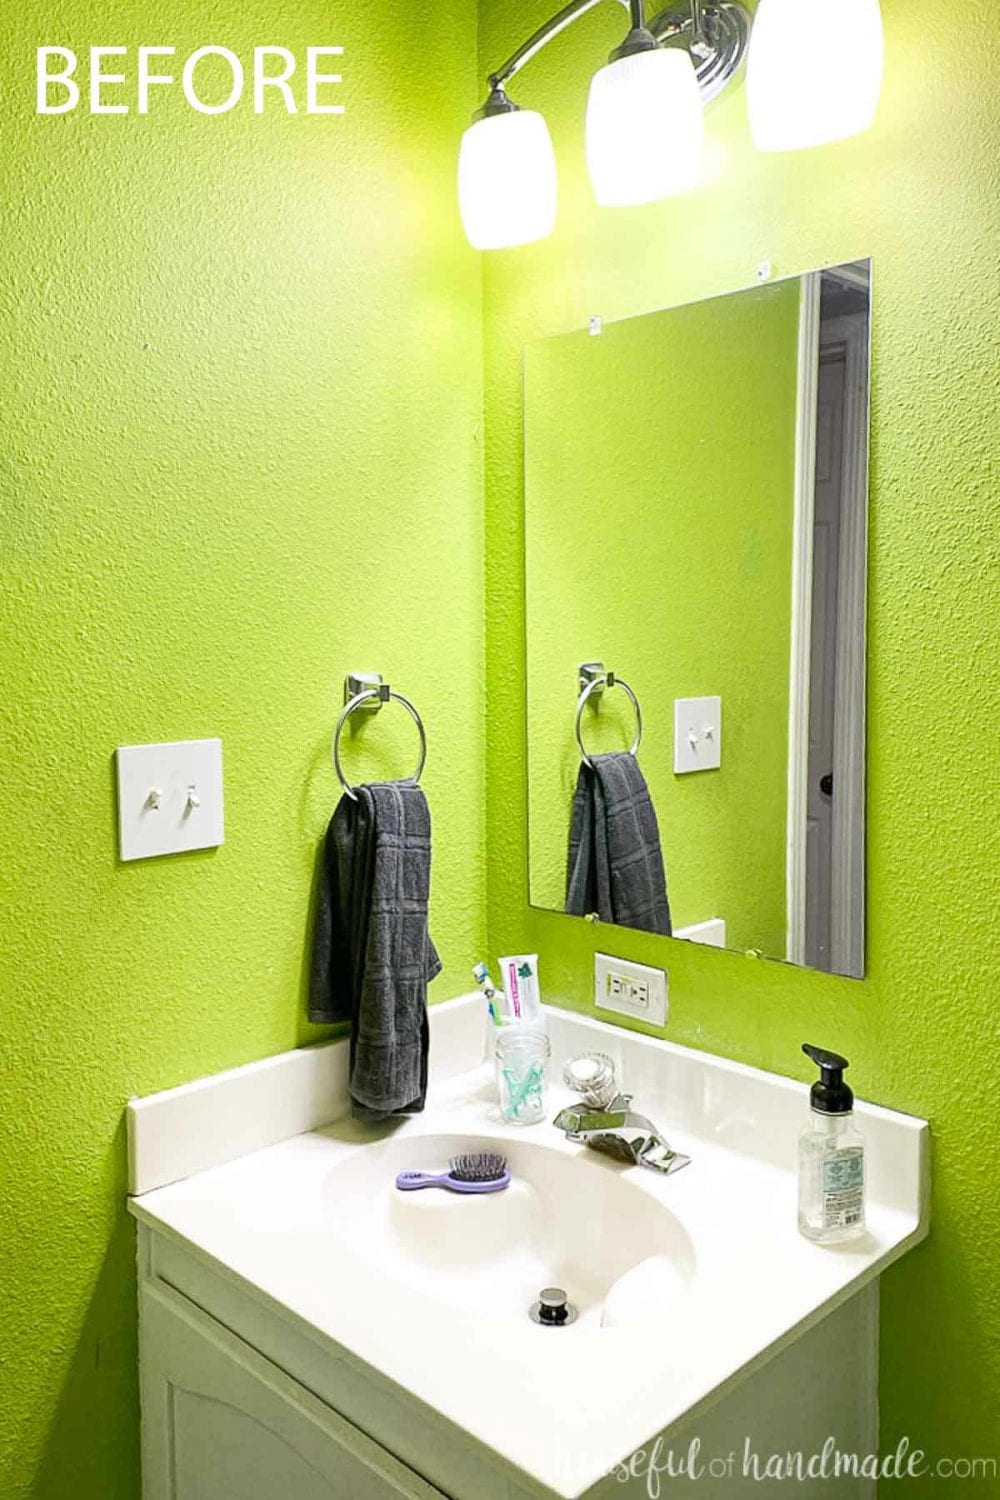
And then of course there is the vanity top. I have already done a great budget friendly wood vanity top in our previous master bathroom and it was great! That is one option I have for this bathroom.
The other option is one I just finished for a kitchen vanity. I will be sharing that post on Friday. Which one I choose will be determined by the paint color we end up using.
Inexpensive Bathroom Flooring
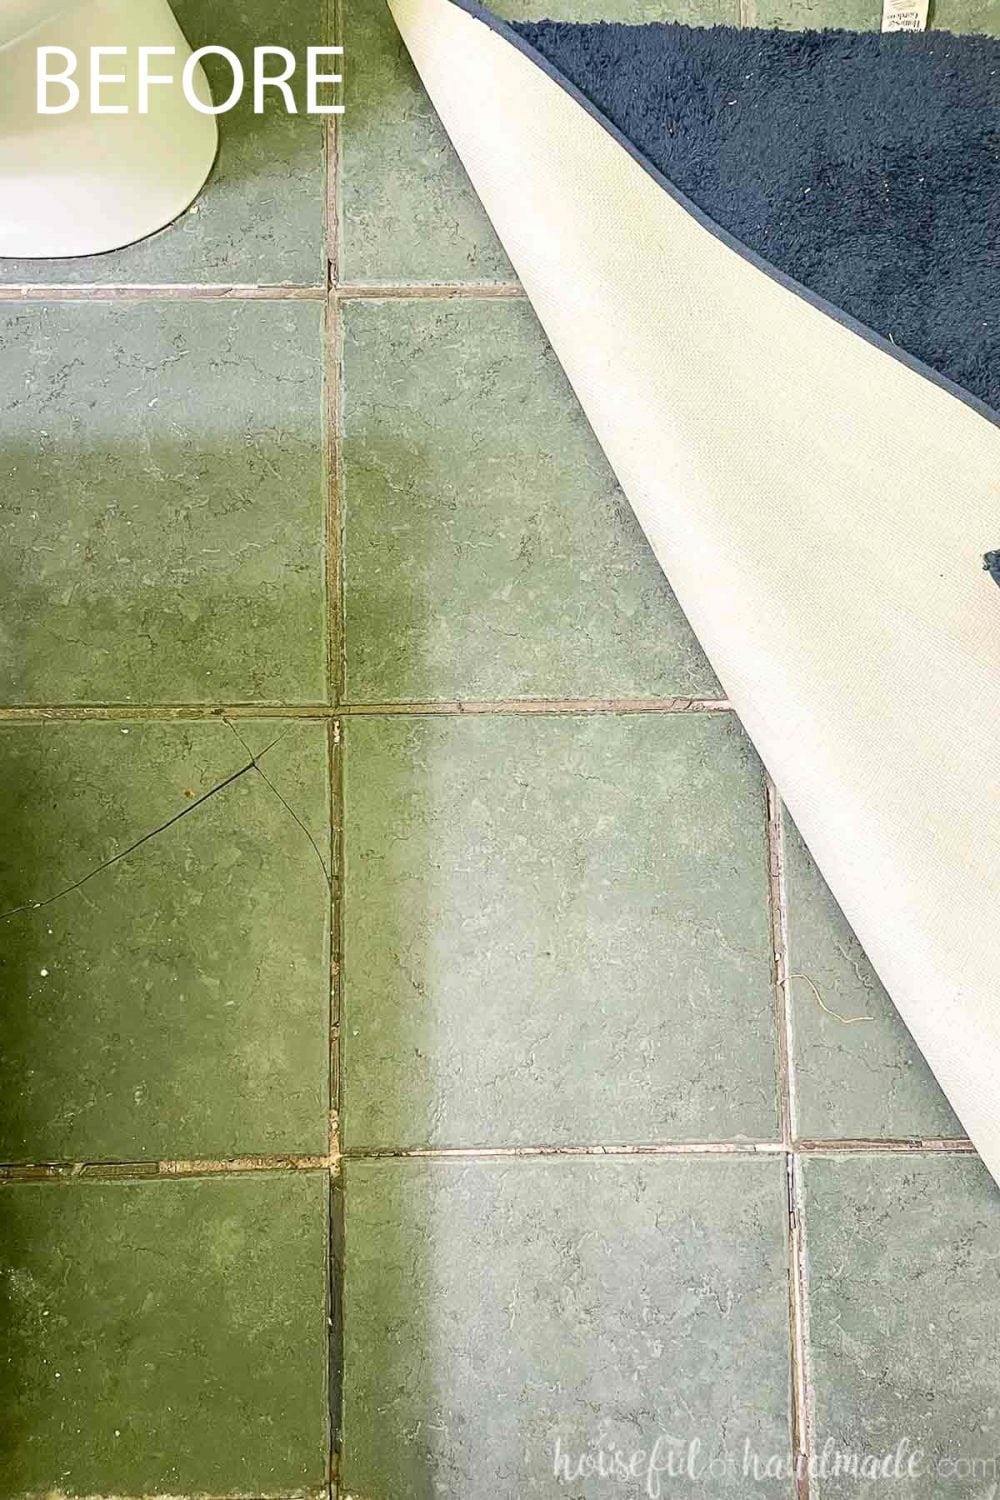
The flooring in the bathroom desperately needs to be replaced. These are the same tiles that were in the entire kitchen & dining room area in the house.
The tiles are not even attached to the floor in most places and some are completely broken. I cannot in my right mind update the bathroom without updating the flooring.
But again, flooring is another high cost item. For our budget bathroom makeover I am planning on using the same flooring I replaced the tiles in the kitchen with.
These vinyl floor tiles are just over $1 per square foot. I have some left over from the kitchen/dining room so I should be able to replace the entire bathroom floor with the leftovers (that I forgot to return, yay for putting things off).
If I did have to purchase tiles, the bathroom flooring would still be a great budget friendly option for the small bathroom.
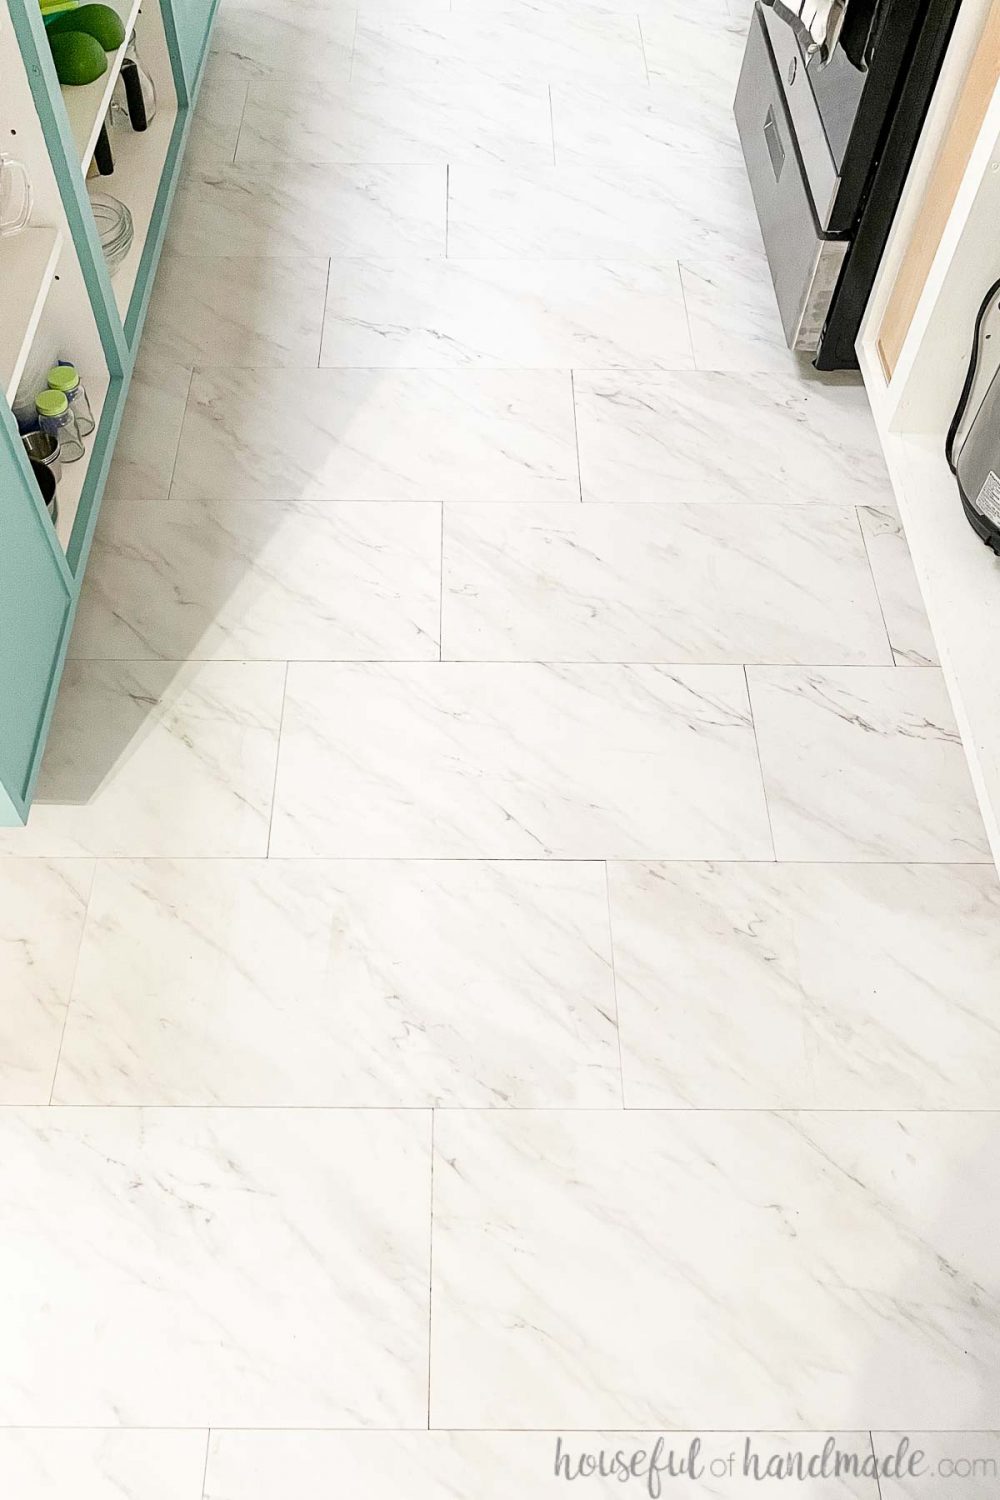
Since our bathroom is only 5′ wide by 5 1/2′ long (minus the tub) I would only need 27 1/2 square feet of flooring. This inexpensive flooring would cost under $40 for the entire space.
And if you are lucky enough to have vinyl flooring in your room, you can lay the vinyl tiles right over the top of it. Since we have not-attached and broken tiles, it will require some demo and we will have to lay down a piece of subfloor to prep for new flooring.
Bathroom Storage and Accessories
The last part is to add some storage shelves above the toilet. Currently we have a wiggly, rusty, old set of metal shelves that need to go.
I want to add shelves so I can also add personality to the space. Since we have a lake house, my plan for the decor is to do fisherman/mermaid type decor. It will be a whimsical fun room for the kids.
I also plan to add a new shower curtain, update the light, and frame the mirror if time and budget allows.
So I guess it is time to put on my safety glasses and get to work. I cannot wait to take you along on the big remodel with a tiny budget!

