I am done wrapping presents on the floor! Gone are the days of crawling around with rolls of paper and loosing my scissors.
This year I made life a lot easier by building myself a super functional gift wrapping cart instead. This cart has so much storage for wrapping paper rolls, gift bags and boxes, ribbons, bows, tape, scissors and more.
And best part is, this wrapping paper cart is a fun and easy build thanks to my favorite Kreg Tools (#kregpartner).
This post may contain affiliate links. As an Amazon Associate I earn from qualifying purchases. Click here to read my full disclosure policy.
Buy them for yourself or as a gift, cause now you have the perfect place to wrap them!
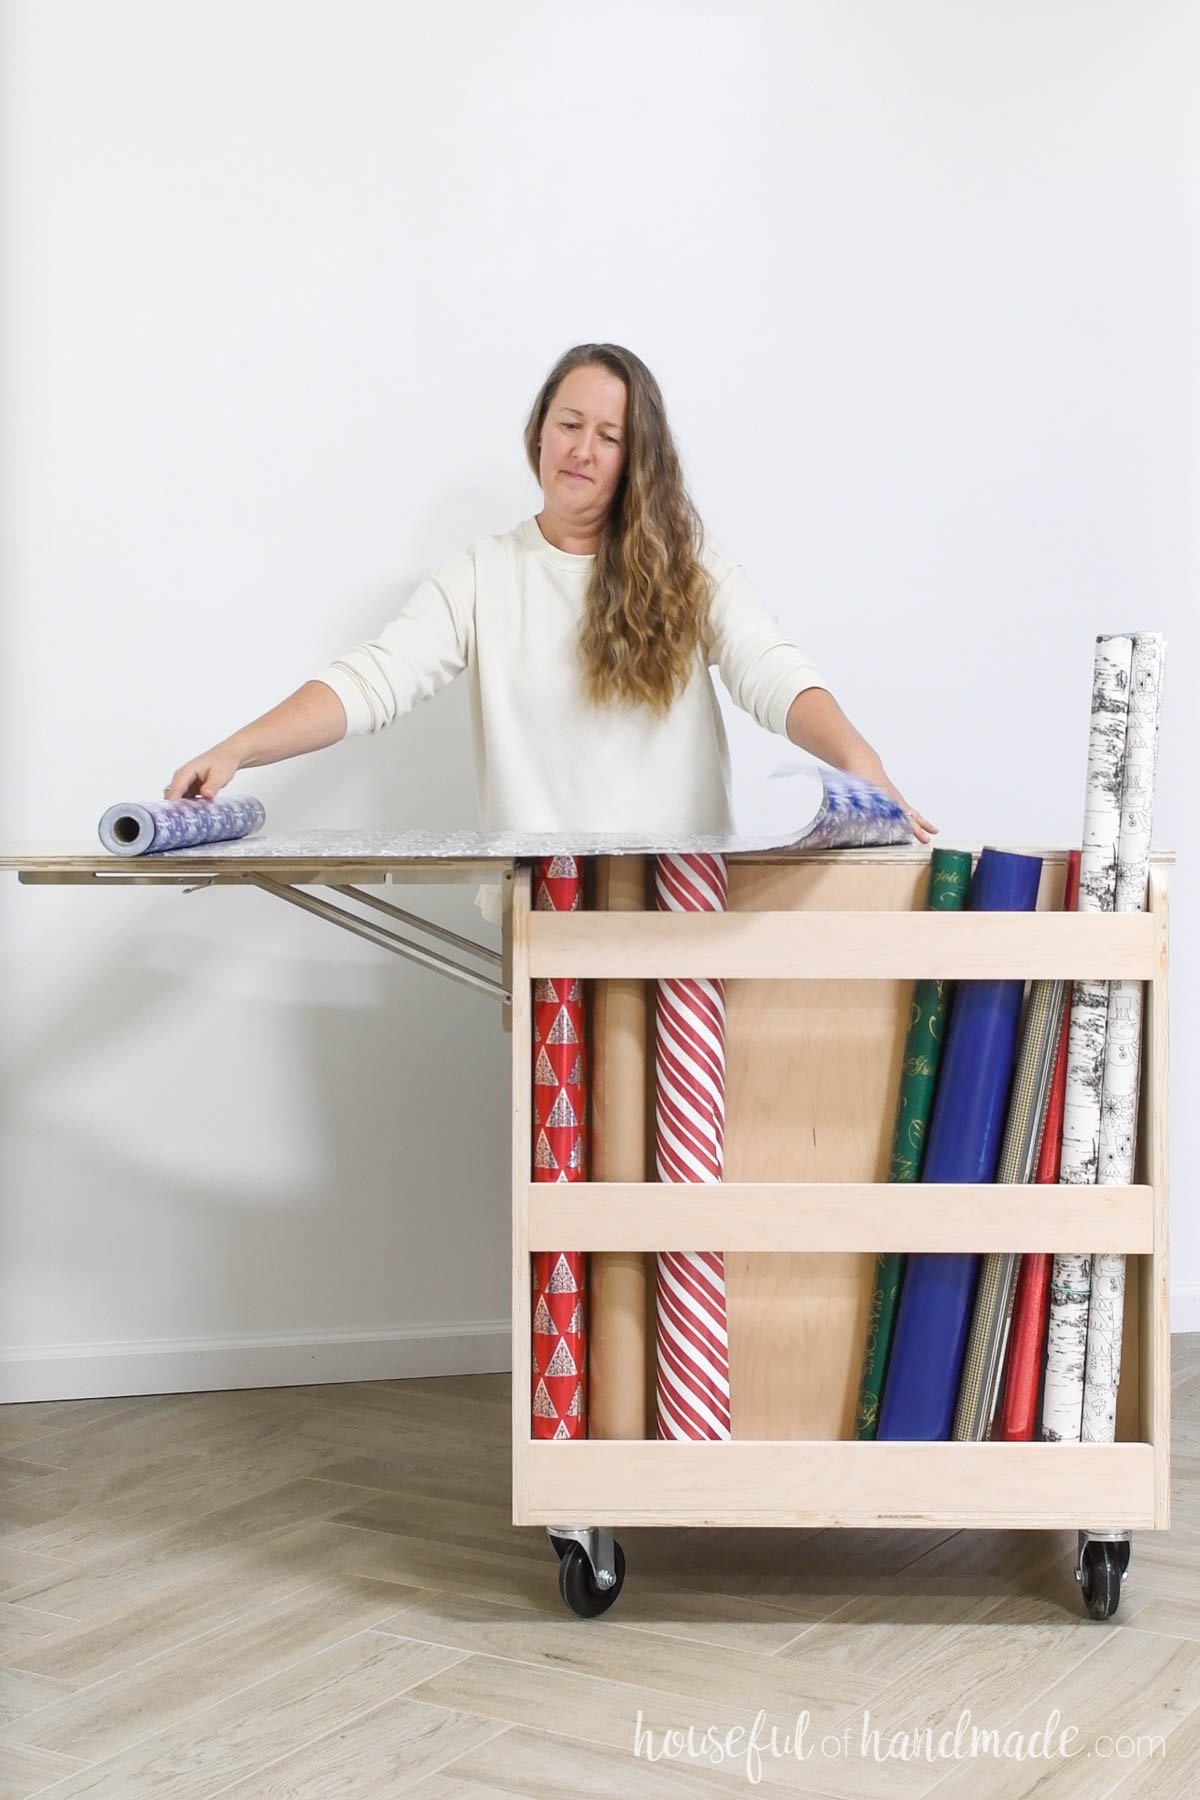
Functional Gift Wrapping Storage
I thought very hard about the design on this gift wrapping cart. The list of needs was long:
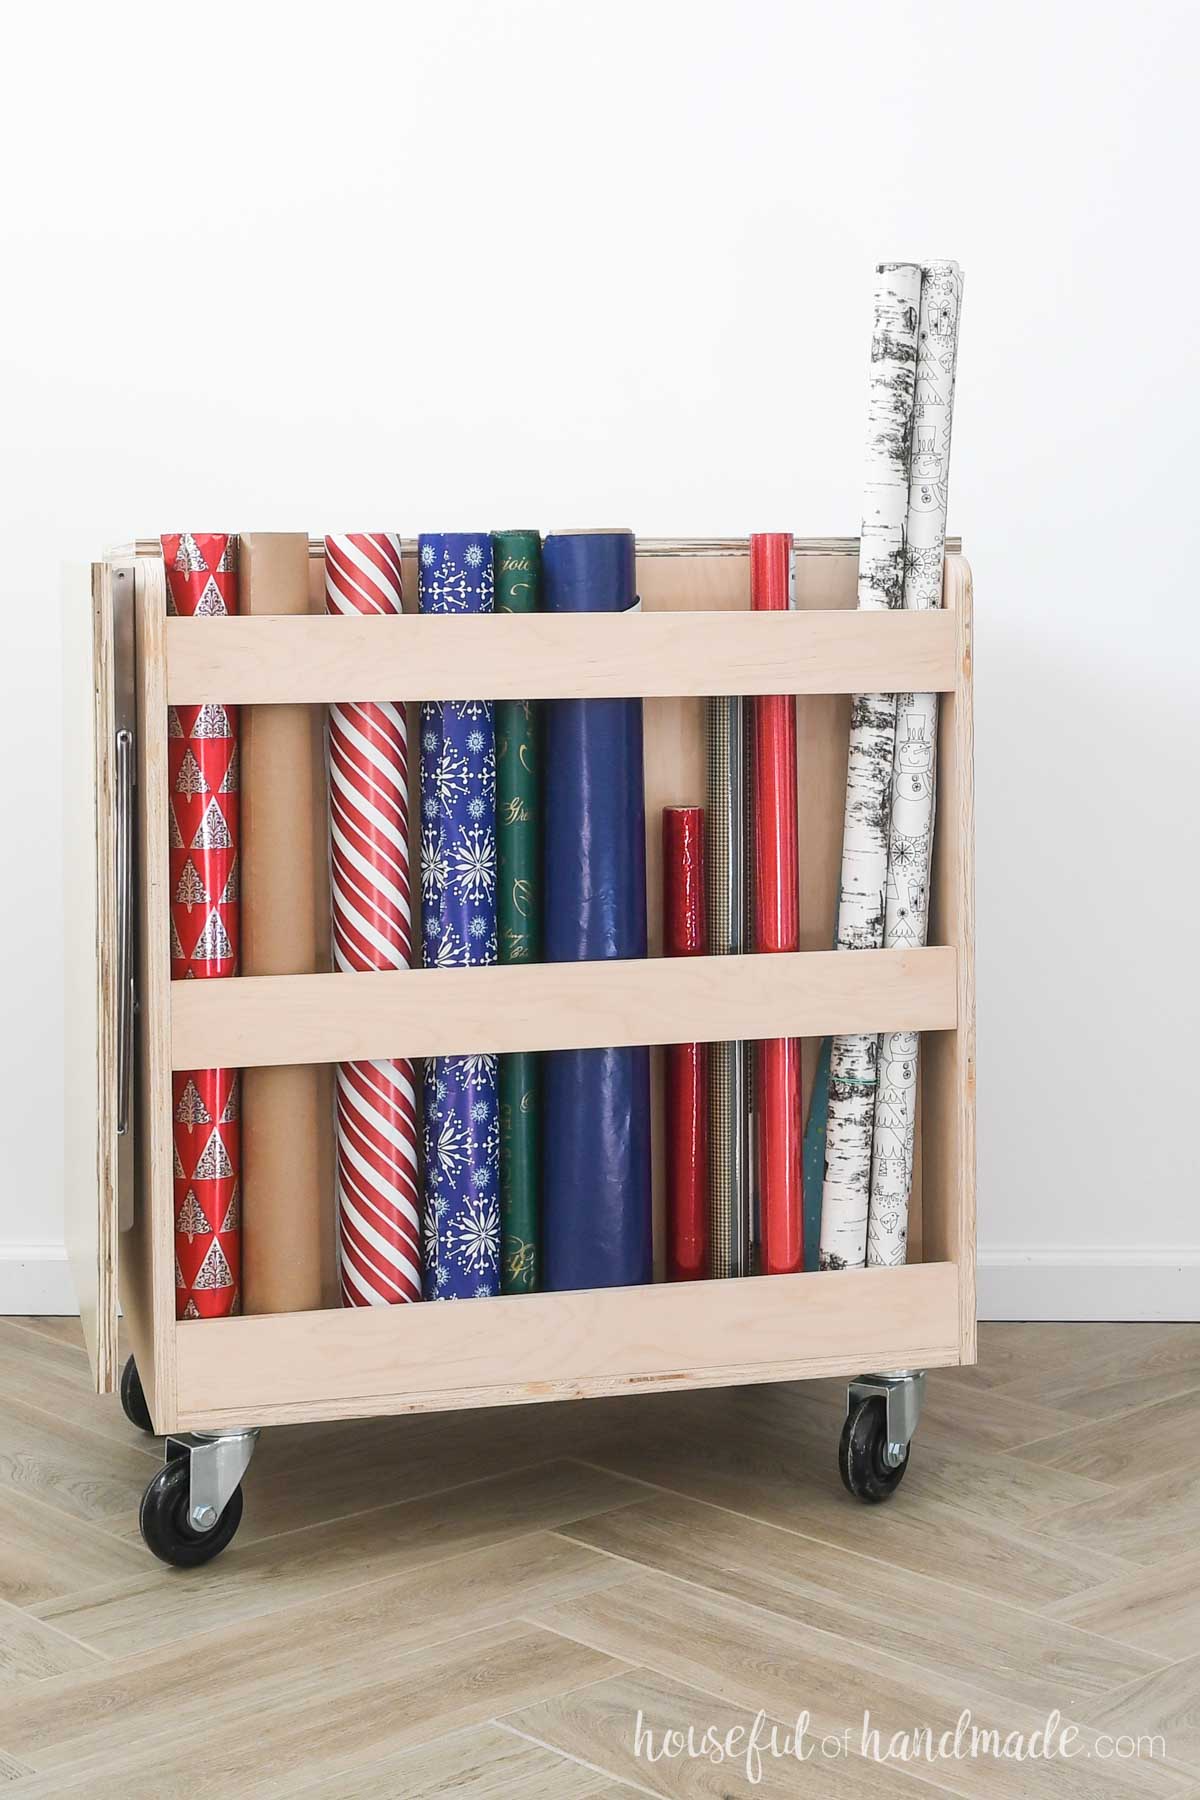
- Wrapping paper storage
- Gift bag/box storage
- Lots of drawers for small items (tape, scissors, bows, ribbon)
- Space to wrap presents
- Mobile
- Small enough to store in a closet
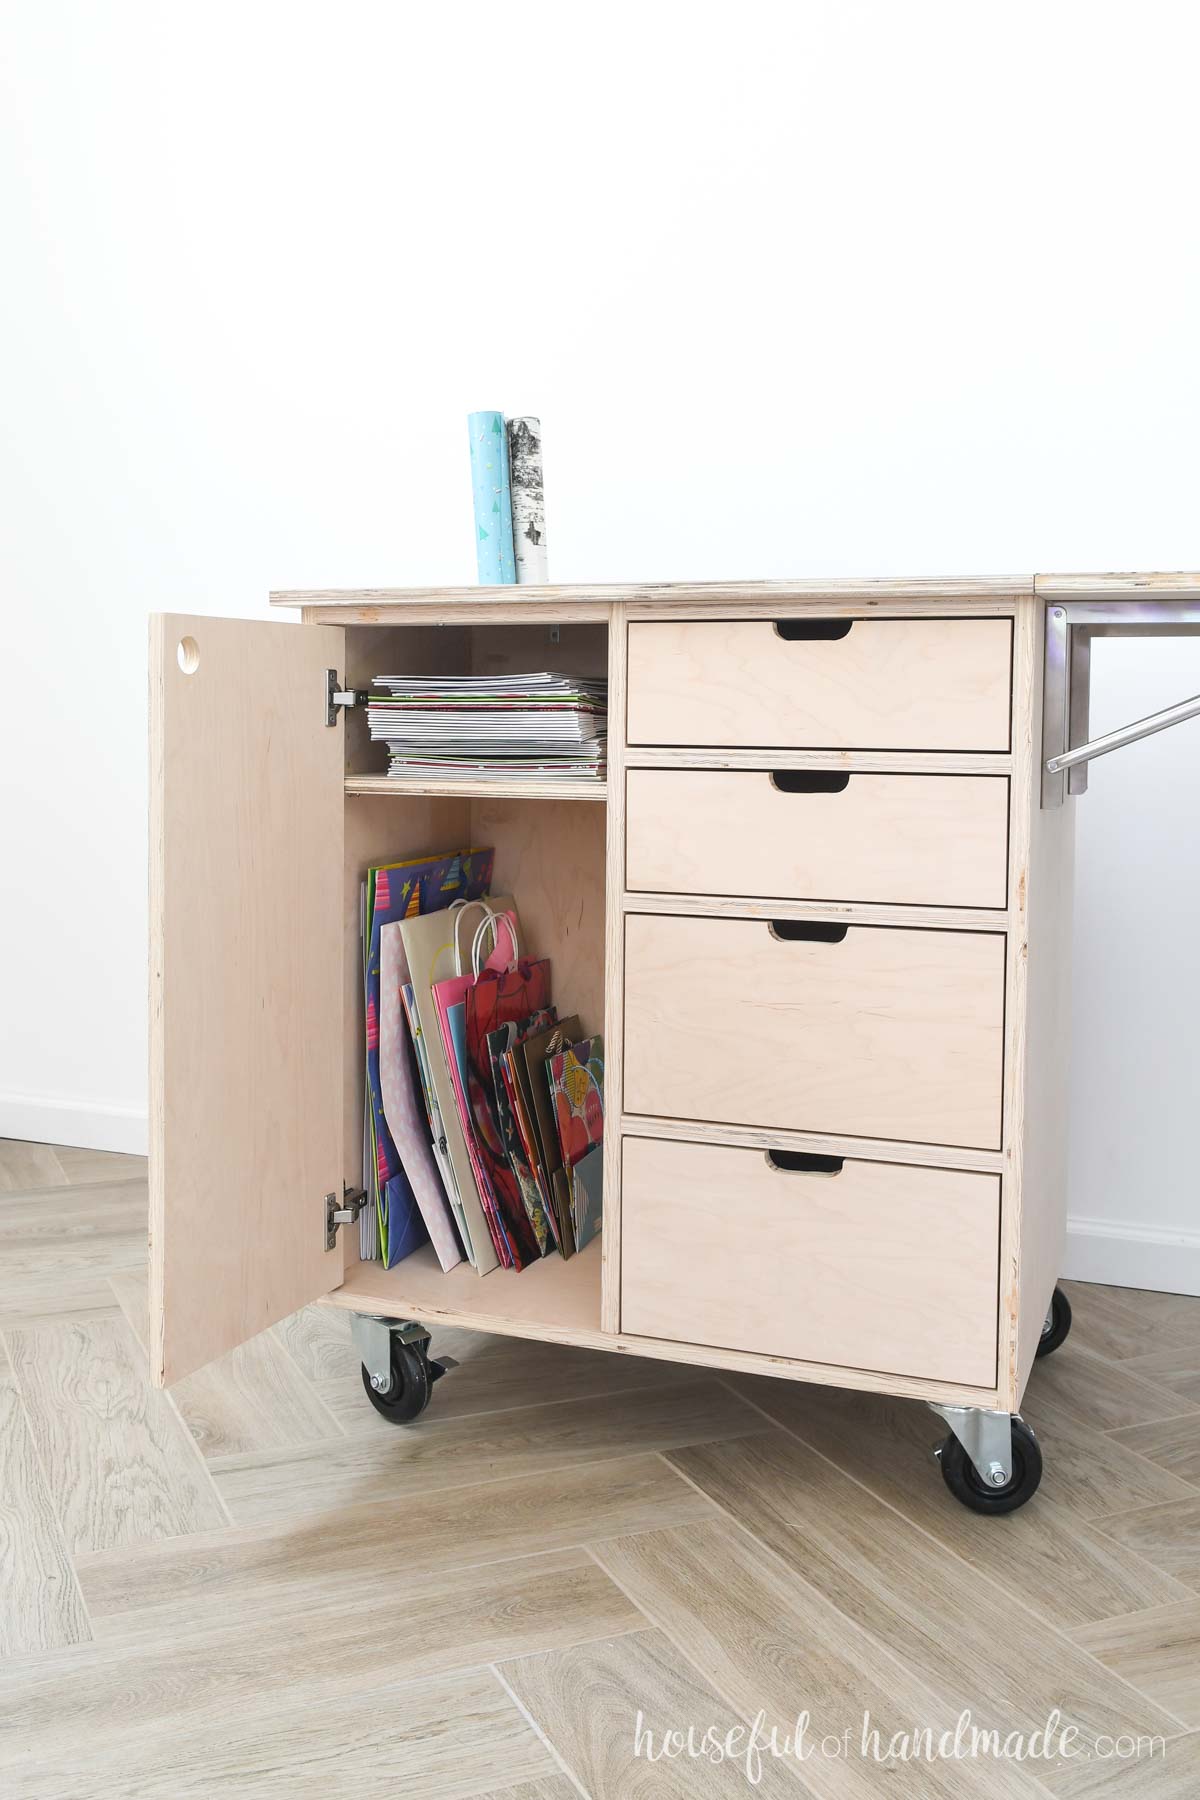
And would you believe, this amazing build crossed-off every item on my wish list!
And I ended up with more storage than I even needed so I have room to grow.
More Mobile Storage Ideas
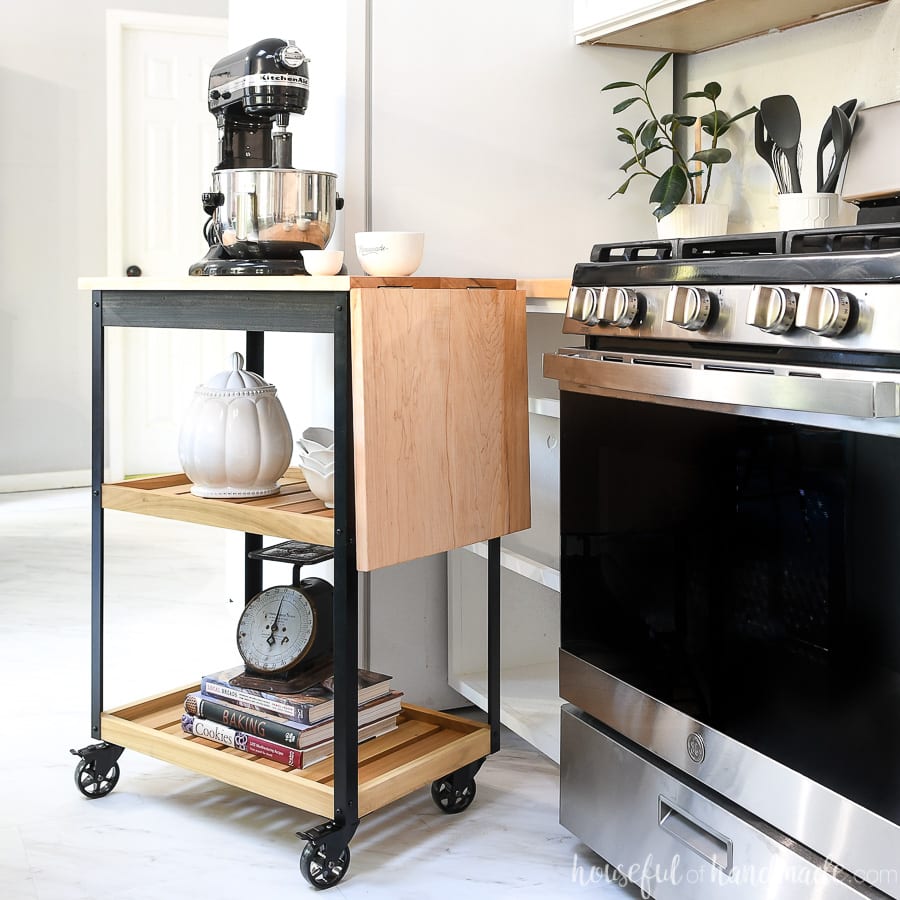
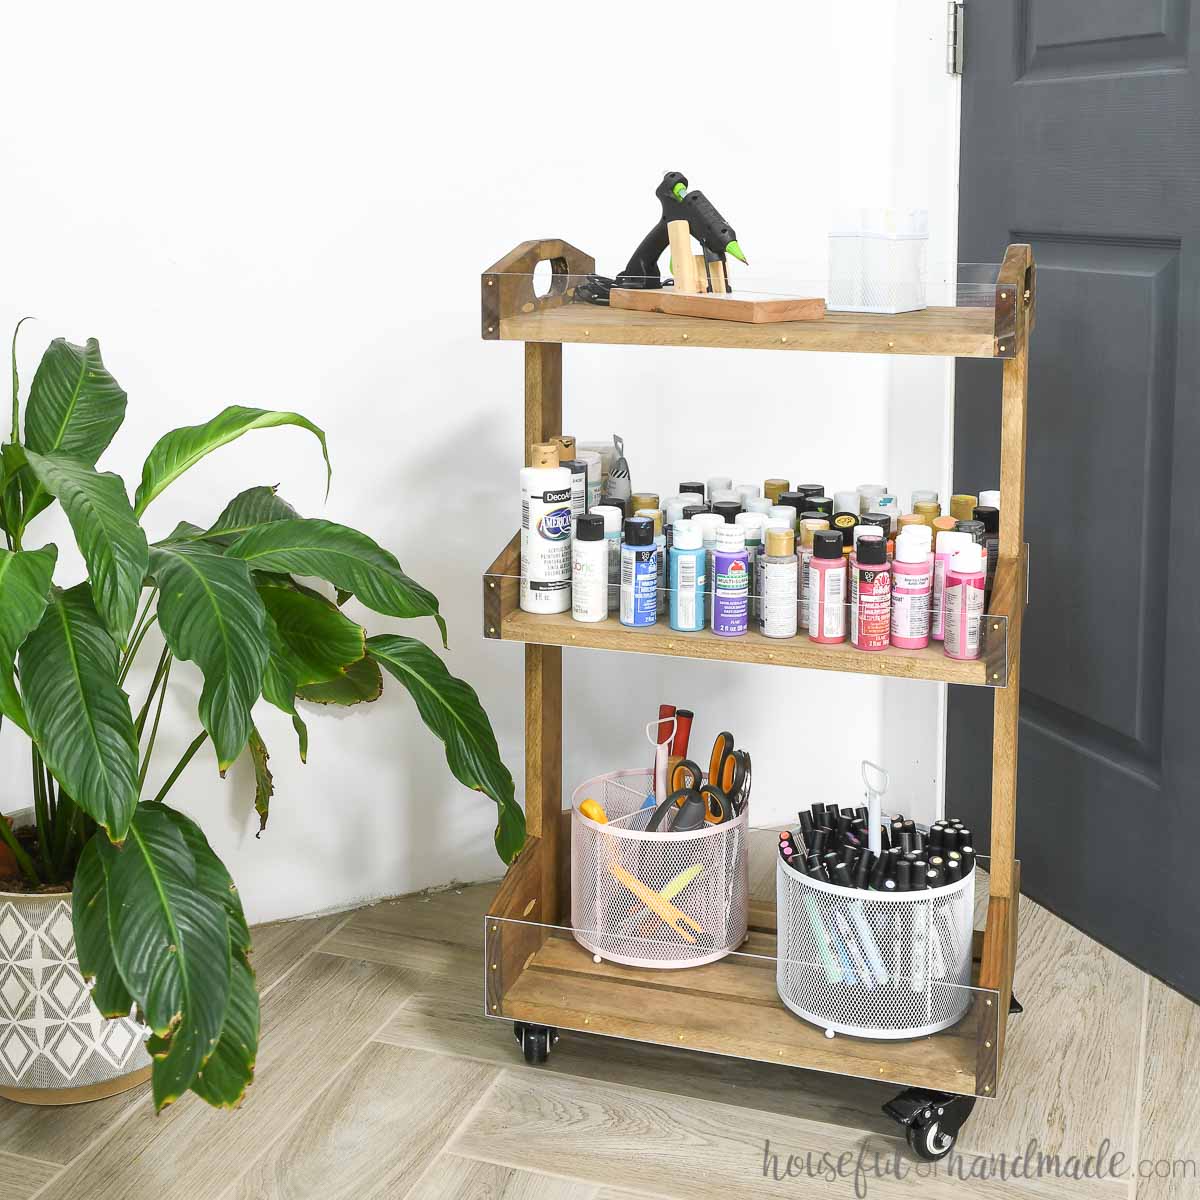
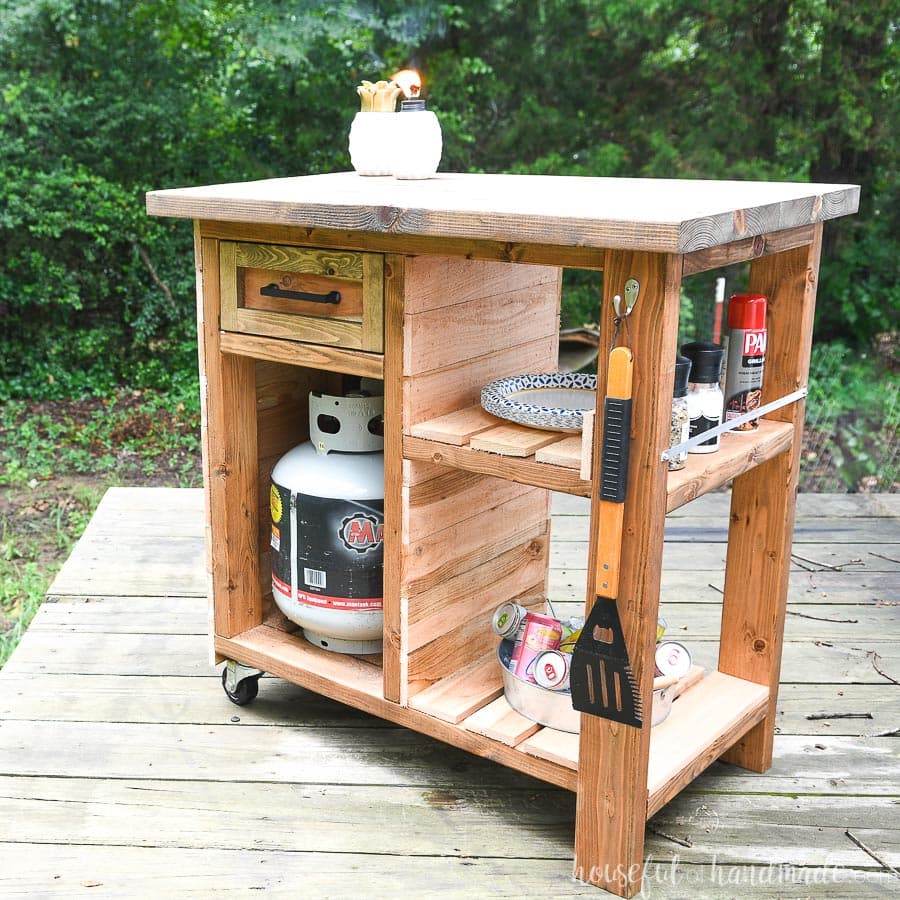
Storage does not have to be permanent. I love building carts to offer storage when I need it, but can be put away when I don’t!
How to Build a Gift Wrapping Station
Tools & Materials
Recommended Tools:
- Miter saw
- I recently upgraded to this larger sliding miter saw (watch for it to go on sale), but all my projects before were built with this inexpensive miter saw that I loved.
- Circular saw
- Kreg AccuCut guide track
- Pocket hole jig
- Jig saw
- Drill
- Impact driver (optional, but I love not having to switch bits with the drill)
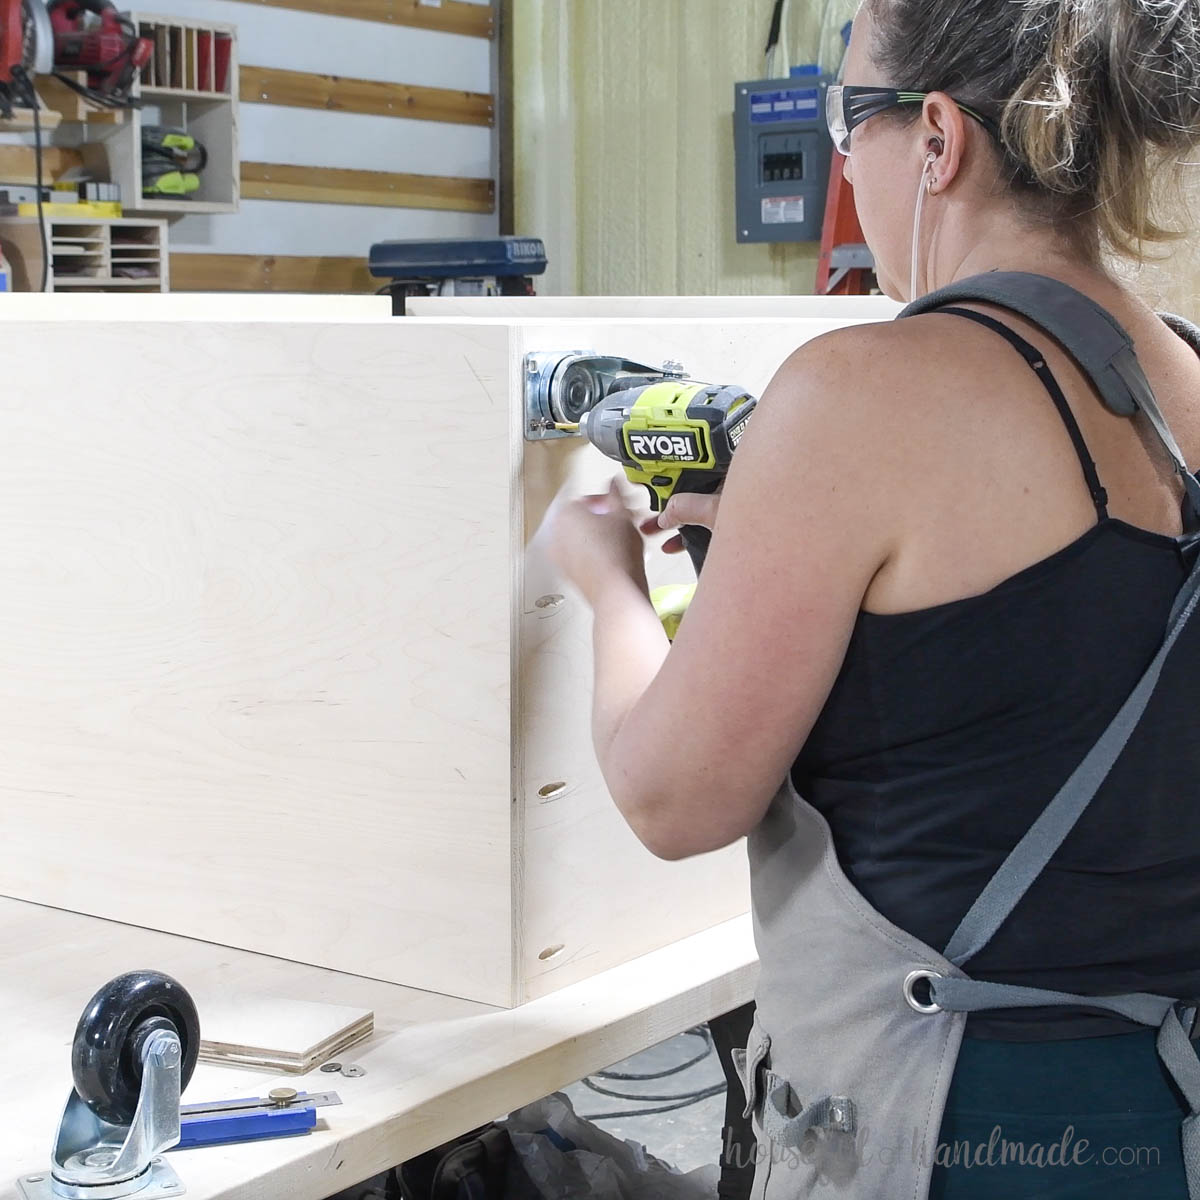
- 90 degree drill adapter
- Right angle clamp
- Kreg Shelf pin jig
- Kreg Concealed hinge jig
- Sander
- Optional: Pneumatic stapler with air compressor
Supplies:
- Wood products
- (1) 3/4″ plywood, 4×8 sheet
- (1) 3/4″ plywood, 4×4 sheet
- (1) 1/2″ plywood, 4×4 sheet
- (1) 1/4″ plywood, 4×4 sheet
- 1 1/4″ pocket hole screws
- 1″ wood screws
- (2) 1″ L brackets
- 1″ pocket hole screws or pneumatic staples
- Wood glue
- (2) inset door hinges
- (4 pair) 14″ drawer slides
- (2) 24″ folding shelf brackets with screws
- (4) locking casters with screws
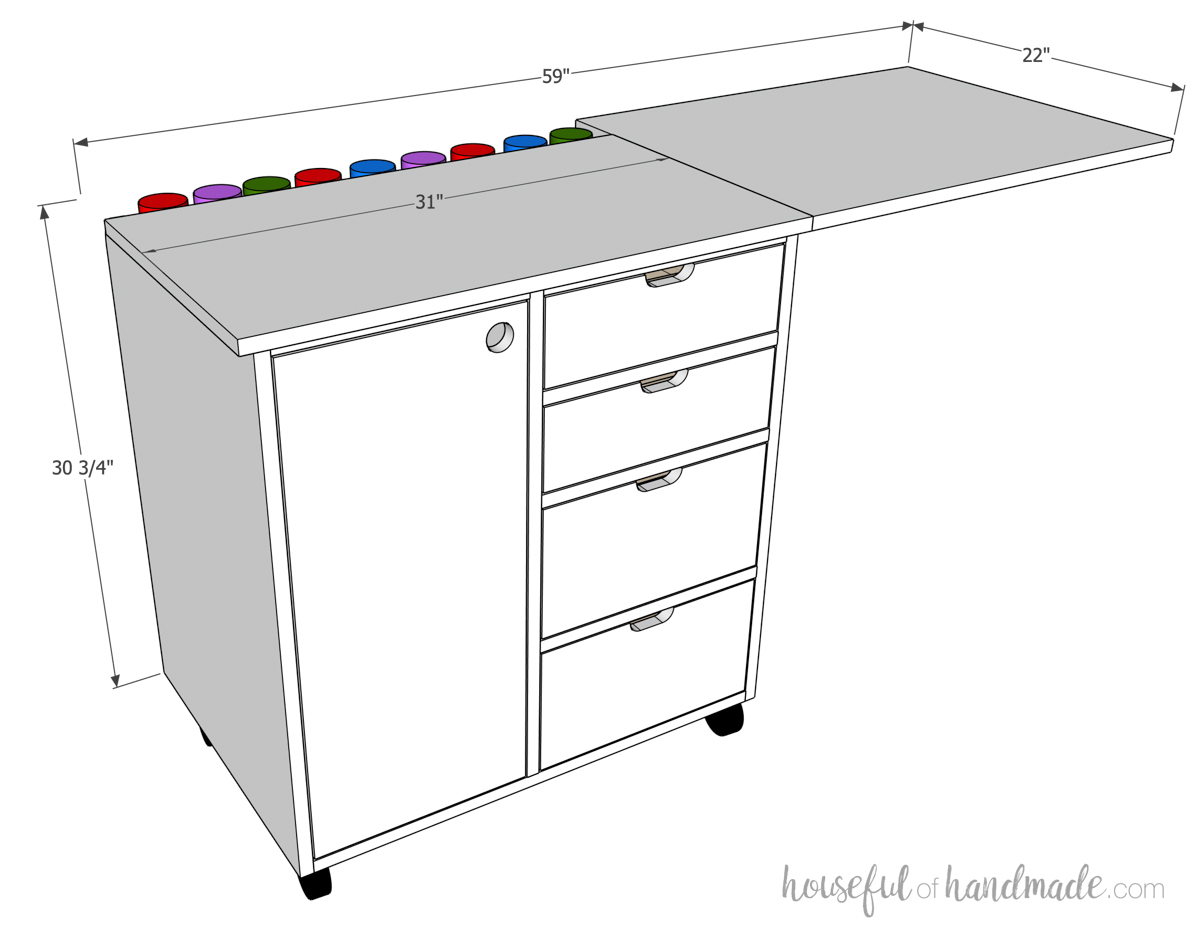
Overall Dimensions
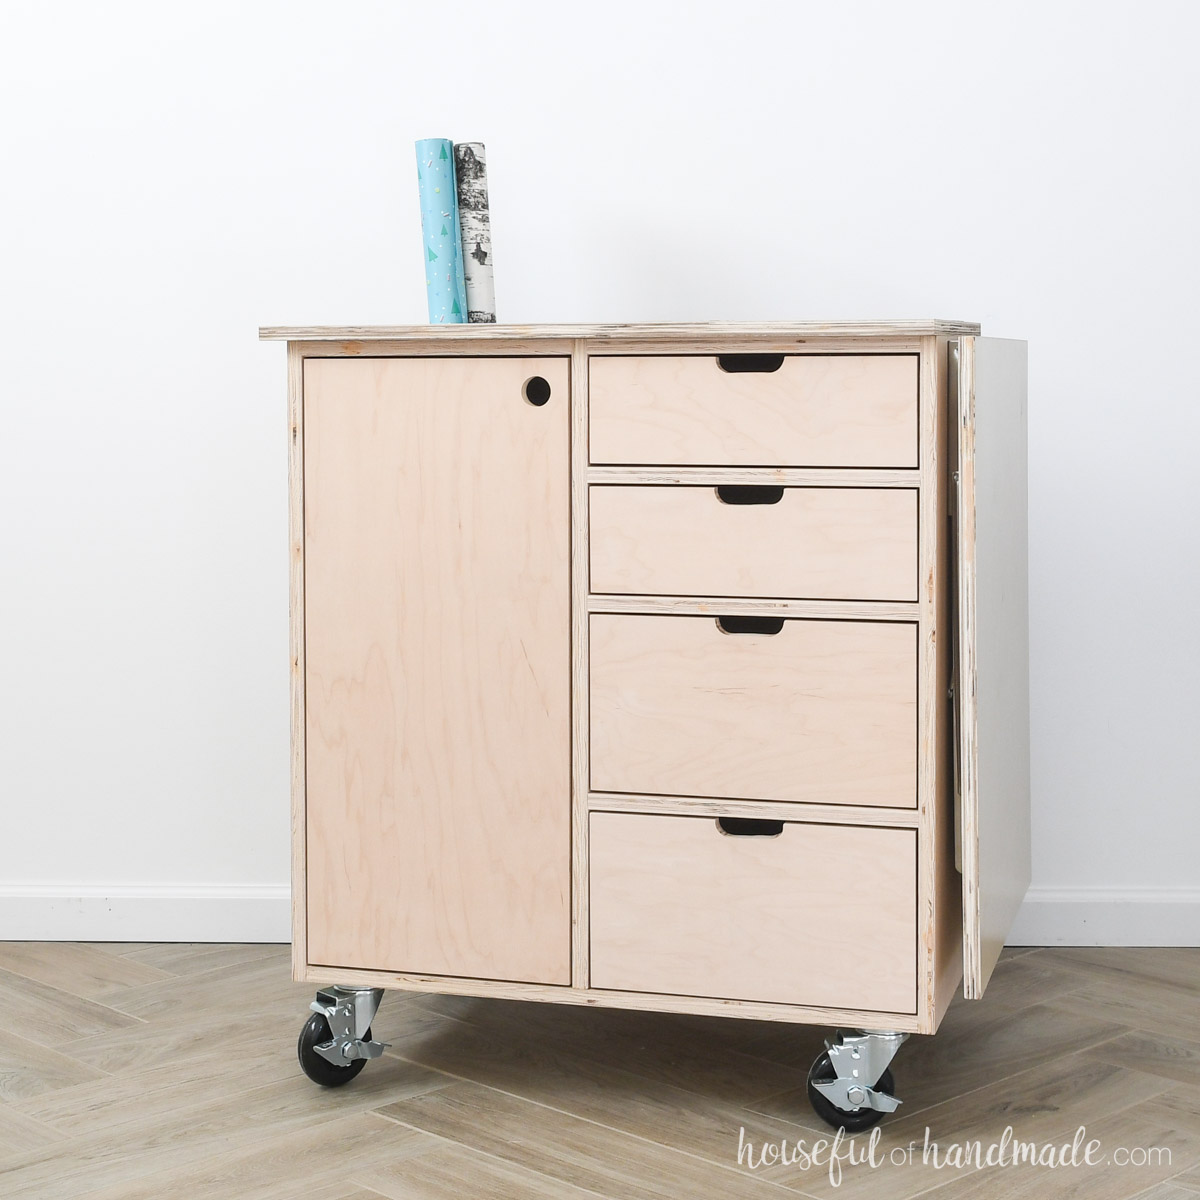
The finished gift wrapping cart is made to fit inside a standard closet. It is 22″ deep by ~32″ wide and 30 3/4″ tall (without wheels).
With the leaf raised, the top is 59″ wide for easy gift wrapping.
Cut List
Cut out the pieces according to the easy-to-read table in the premium PDF plans.
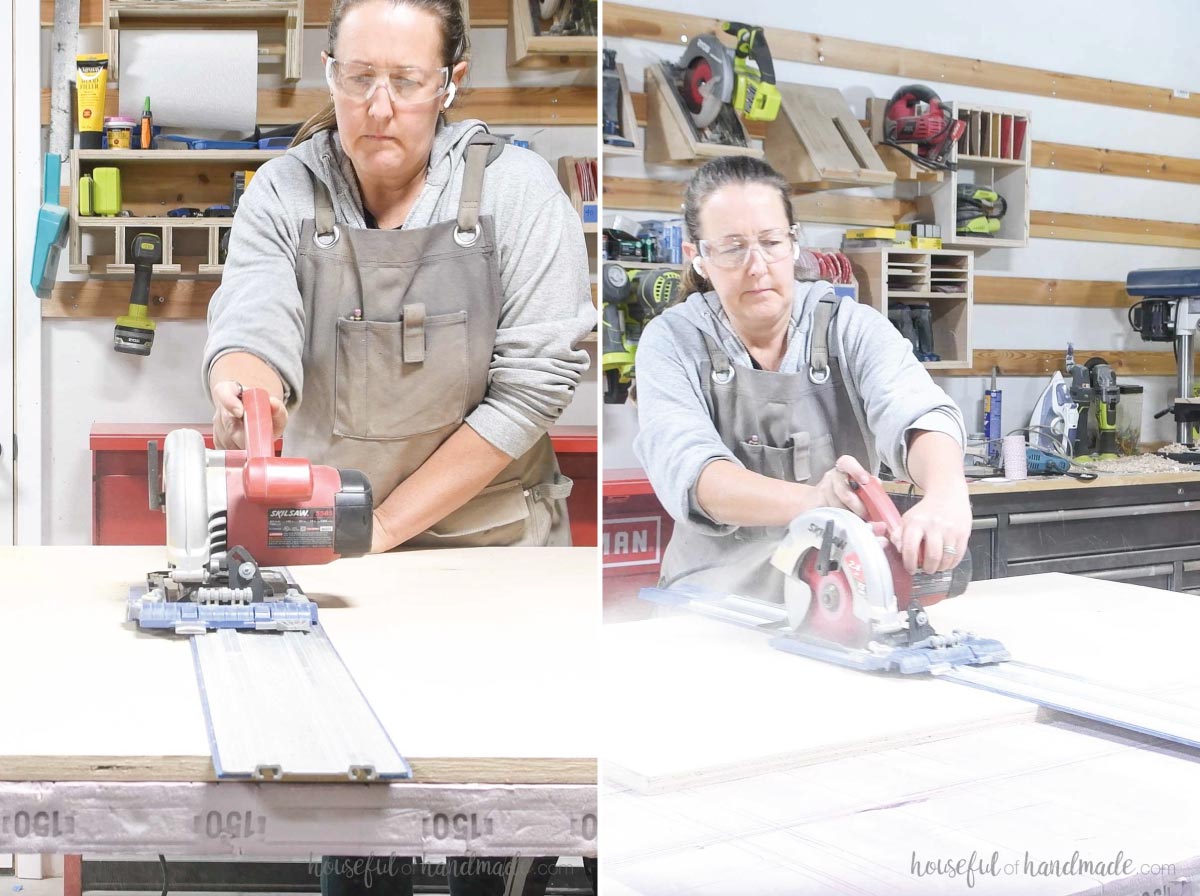
Use the Kreg AccuCut as a straight edge for your circular saw to break down the plywood into the individual pieces.
Learn my tips for breaking down plywood with a circular saw here.
STEP 1- Build the cart
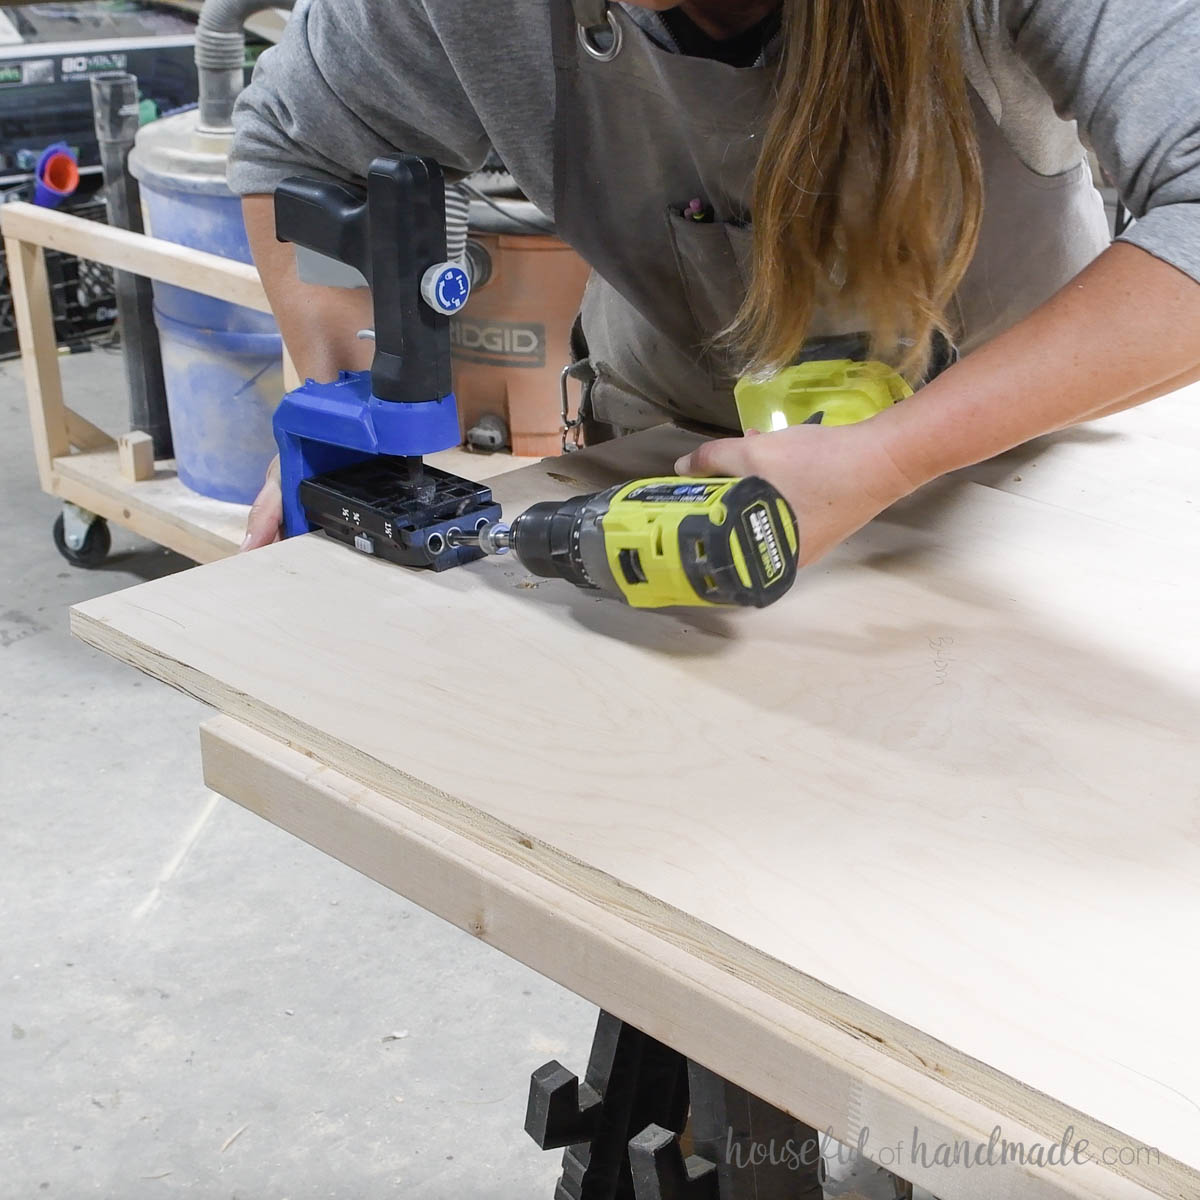
Set your pocket hole jig to drill holes in 3/4” thick lumber.
I loved using the Kreg 520Pro jig for this project. It was easy to add pocket holes in the larger pieces of plywood because you can leave the plywood flat on the workbench.
Drill pocket holes on the:
- Sides of the bottom board (seen to the right)
- Back and bottom of the center board
- Sides and bottom of the back board
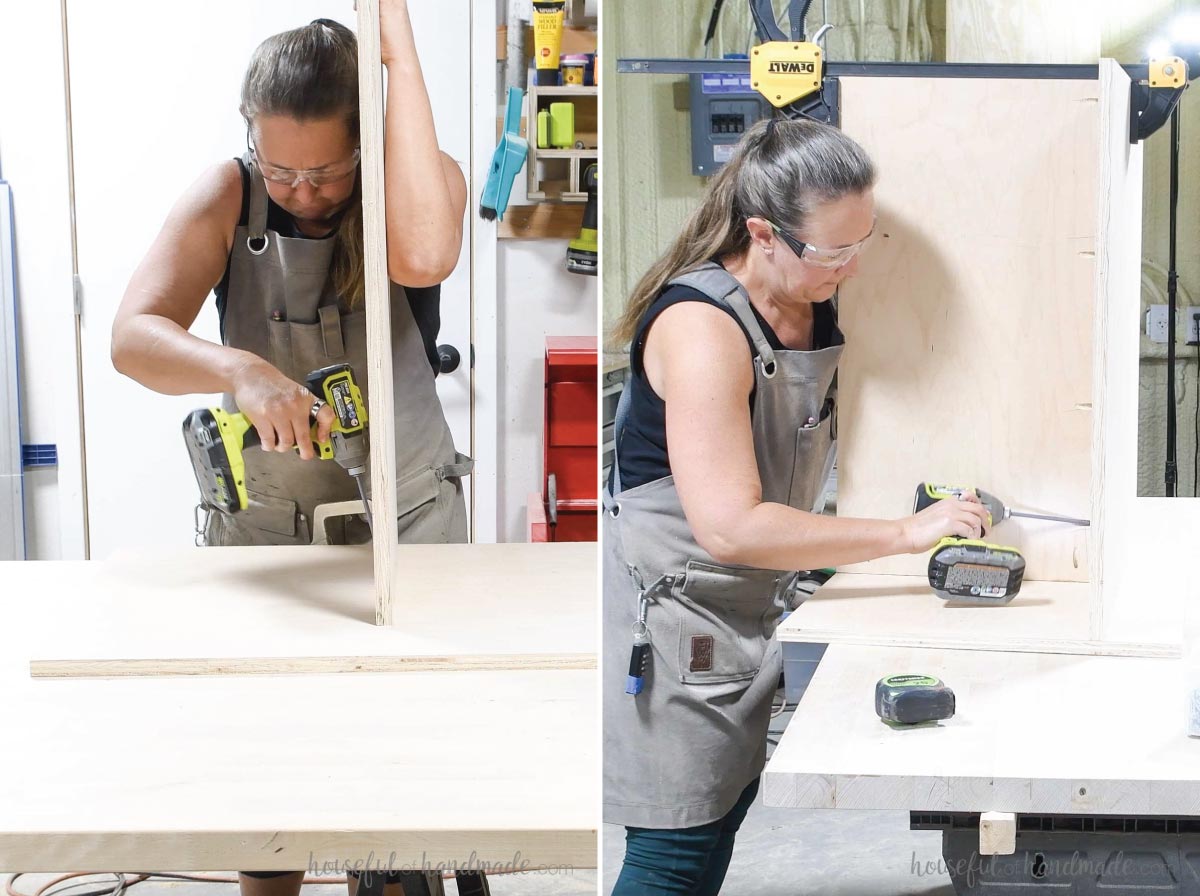
Attach the center so it is flush to the front and spaced according to the diagram in the plans. Then attach the back so it is flush with the back of the center and sides of the bottom.
Secure with wood glue and 1 1/4” pocket hole screws.
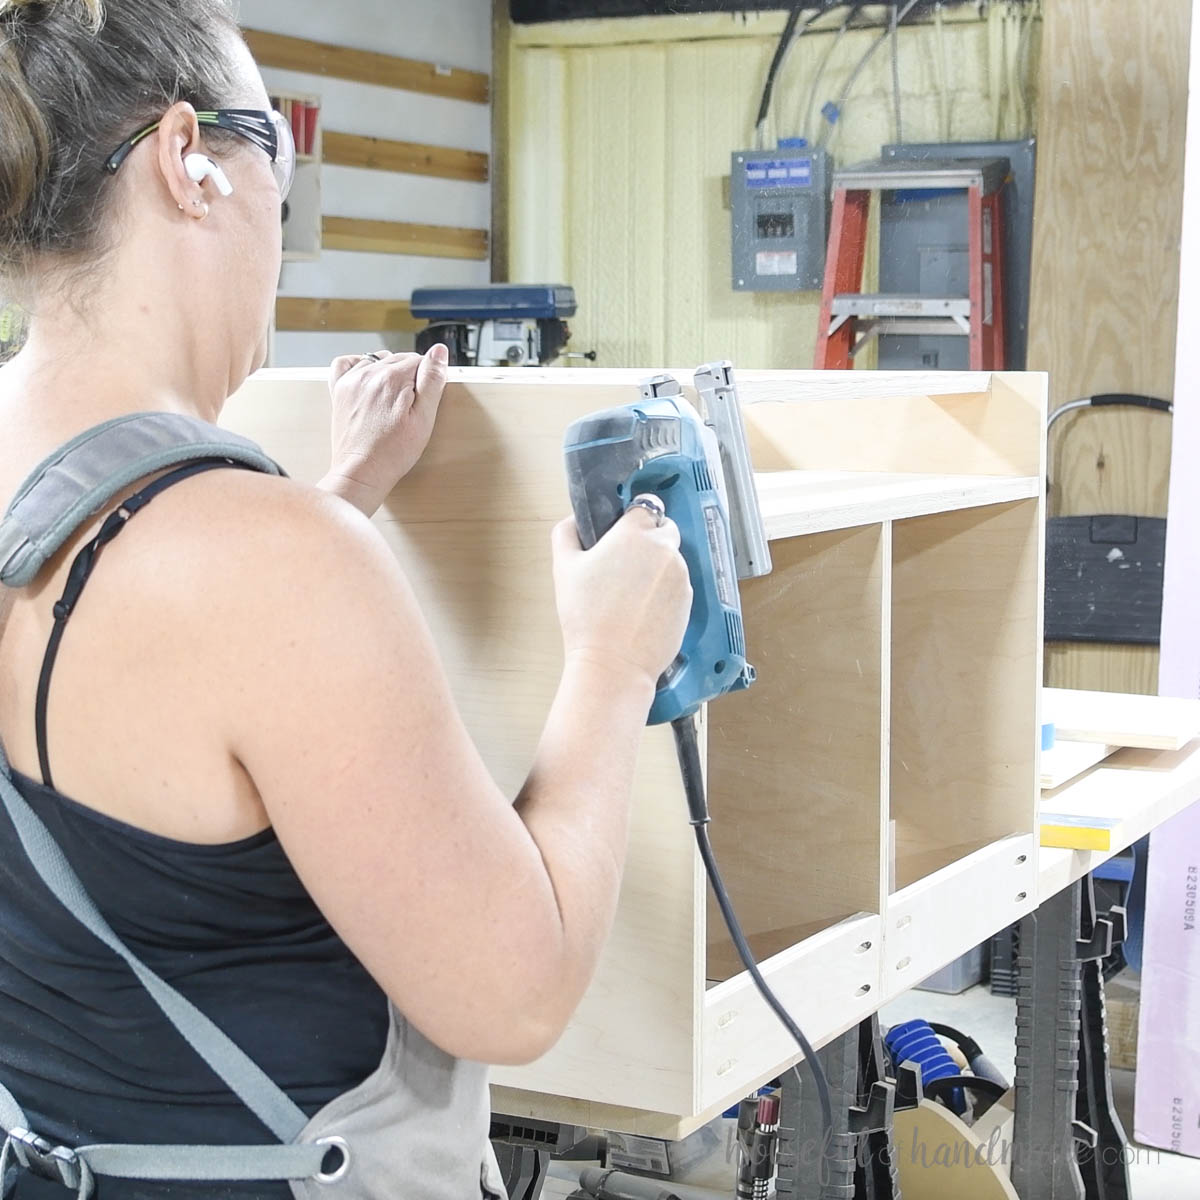
If desired, round the top back corner of the side boards using a jig saw.
I decided to do this after the cart was assembled, I would definitely recommend doing it before assembly.
Attach the sides using the pocket holes in the bottom and back boards. The sides should be flush on the bottom.
Secure with glue and 1 1/4” pocket hole screws.
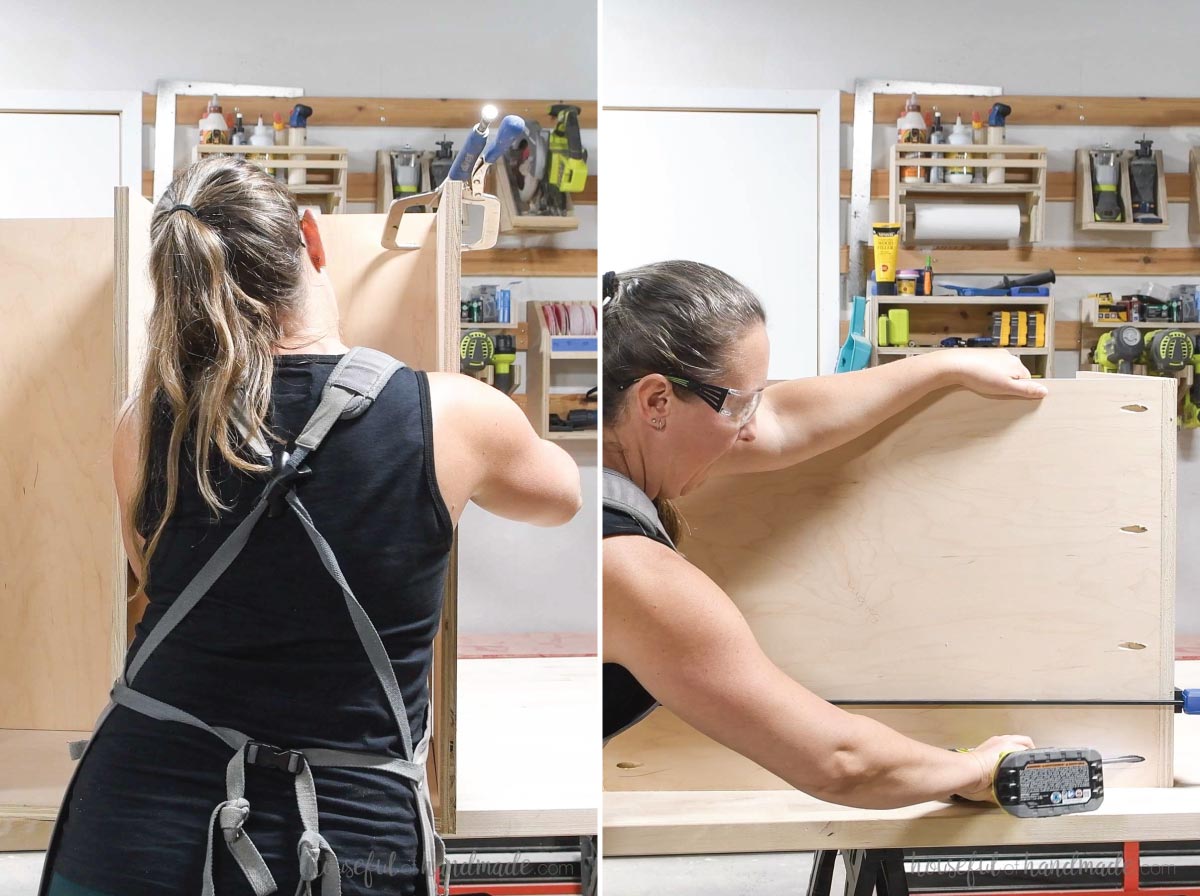
Drill 2 pocket holes in both ends of the back slat pieces.
Attach the back slats to the sides to create storage for wrapping paper rolls. The lower slat will be flush with the bottom, the top 2” below the top and the middle one is centered between them.
Secure with glue and 1 1/4” pocket hole screws.
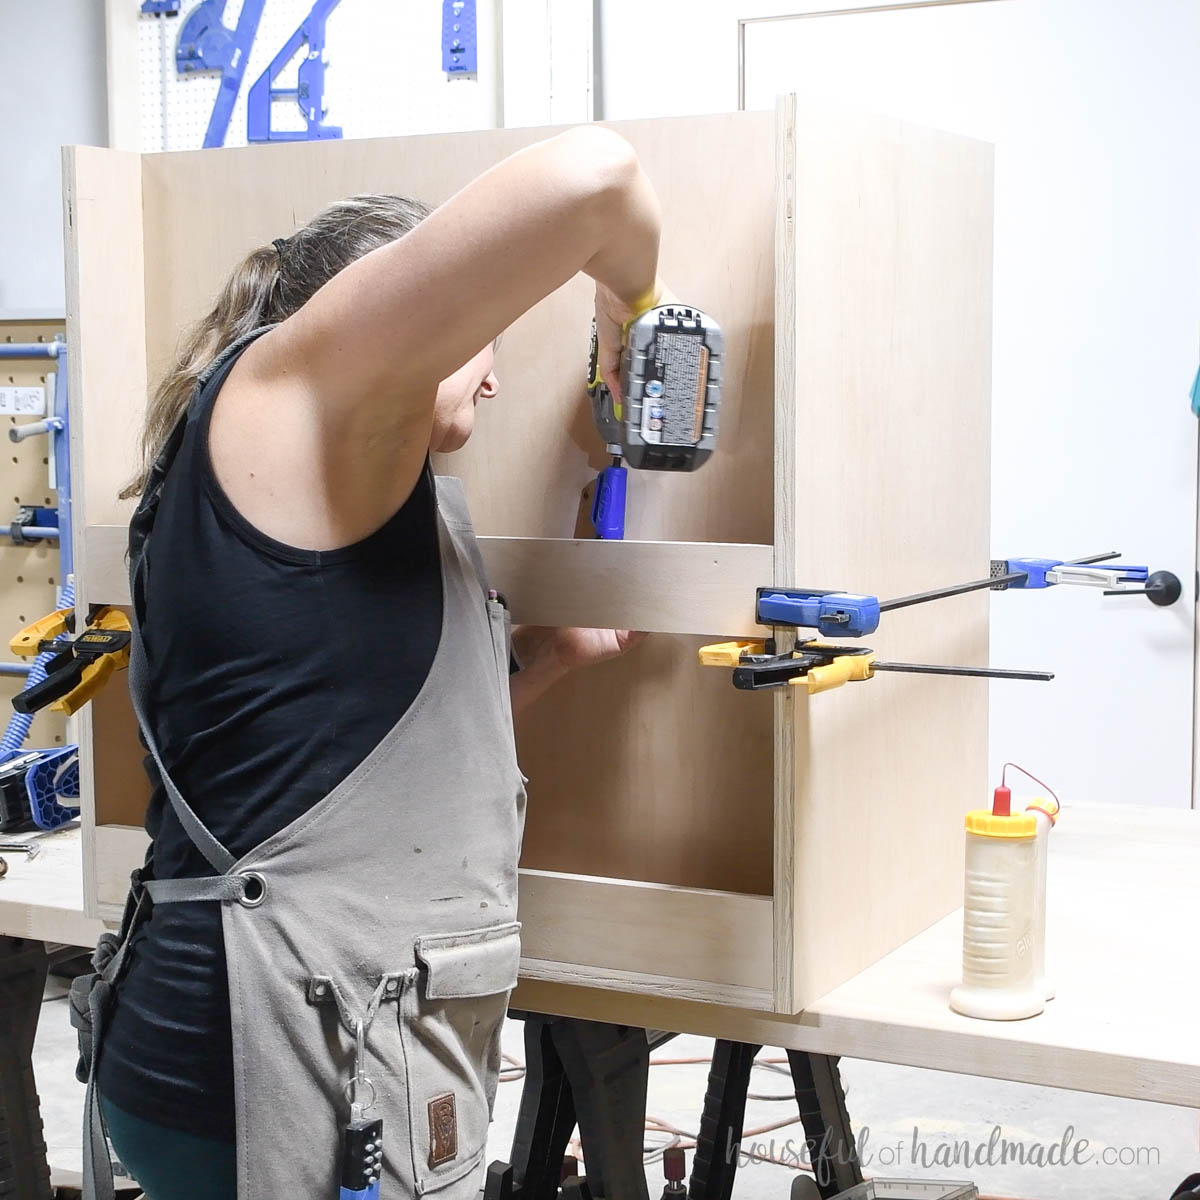
Drill 2 pocket hole screws in both ends of the top support and drawer divider pieces.
Attach the top support so it is flush to the top in the cabinet section on the left. Then attach one of the drawer dividers in the section on the right.
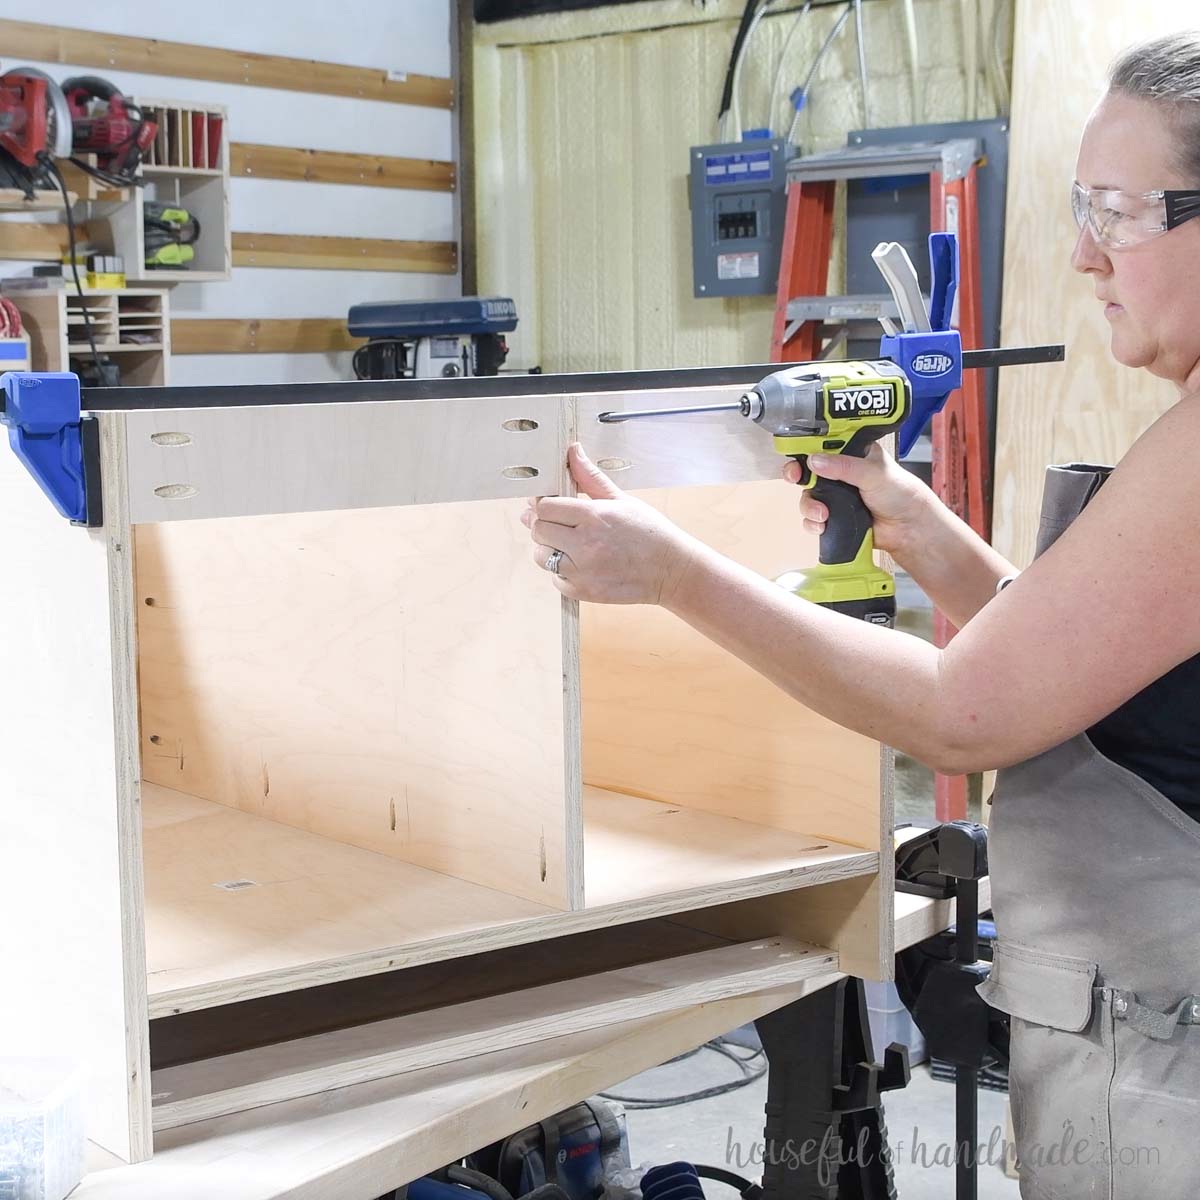
Attach the remaining drawer dividers so they are spaced according to the diagram in the plans.
Ensure they are square to the front of the cart.
Secure with glue and 1 1/4” pocket hole screws.
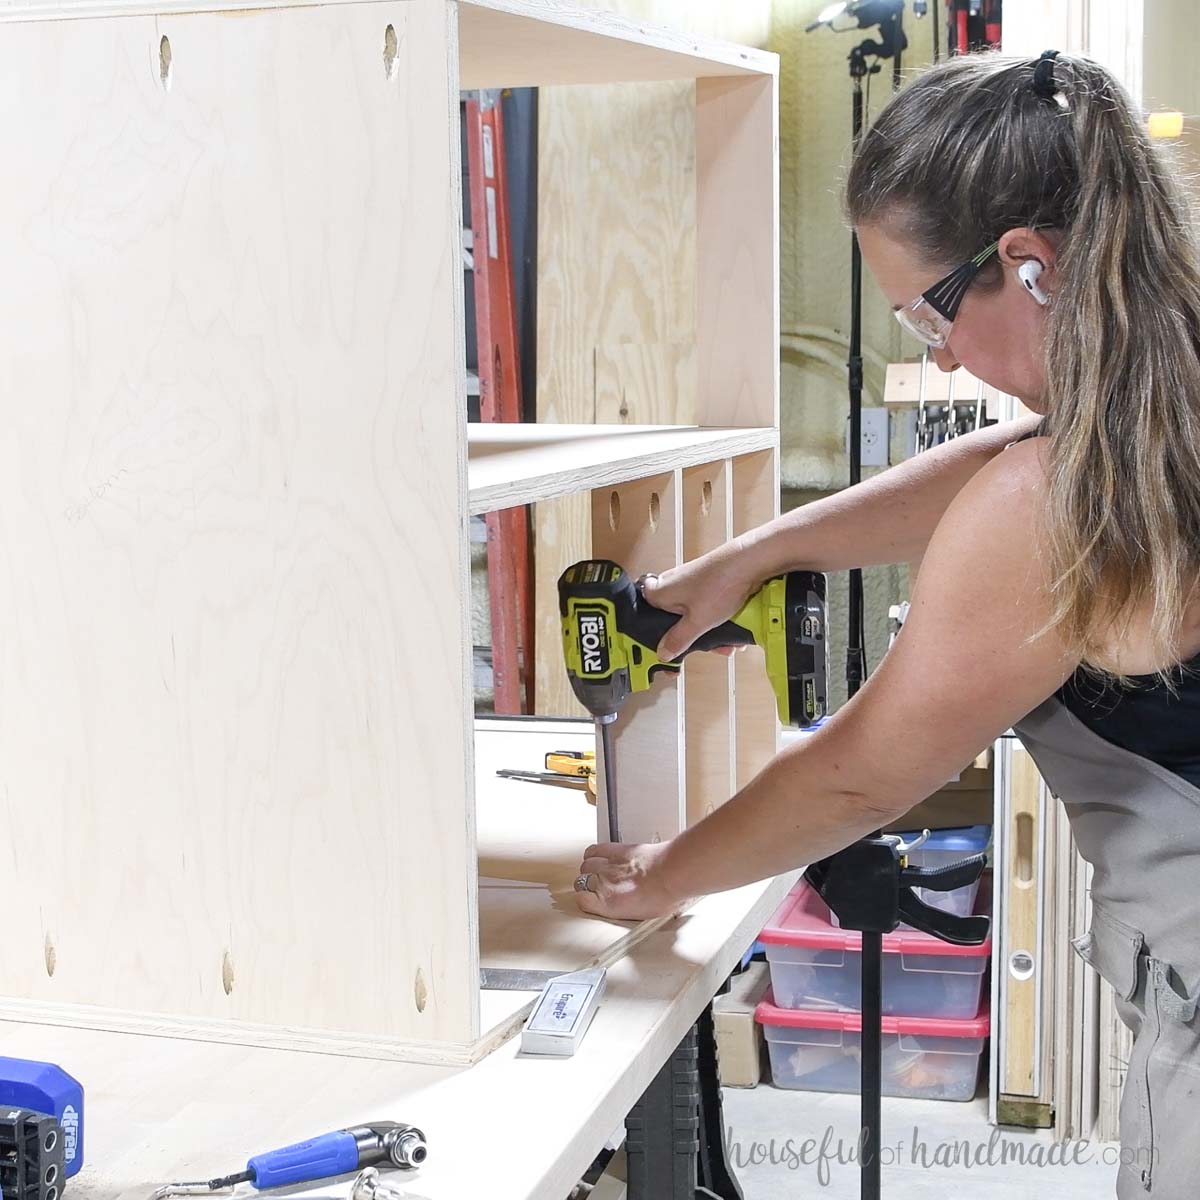
STEP 2- Attach the top and leaf
Flip the cart body over on top of the top piece.
Line it up so it is flush with the drawer side and flush with the back piece. It should hang over the front and cabinet side 1”.
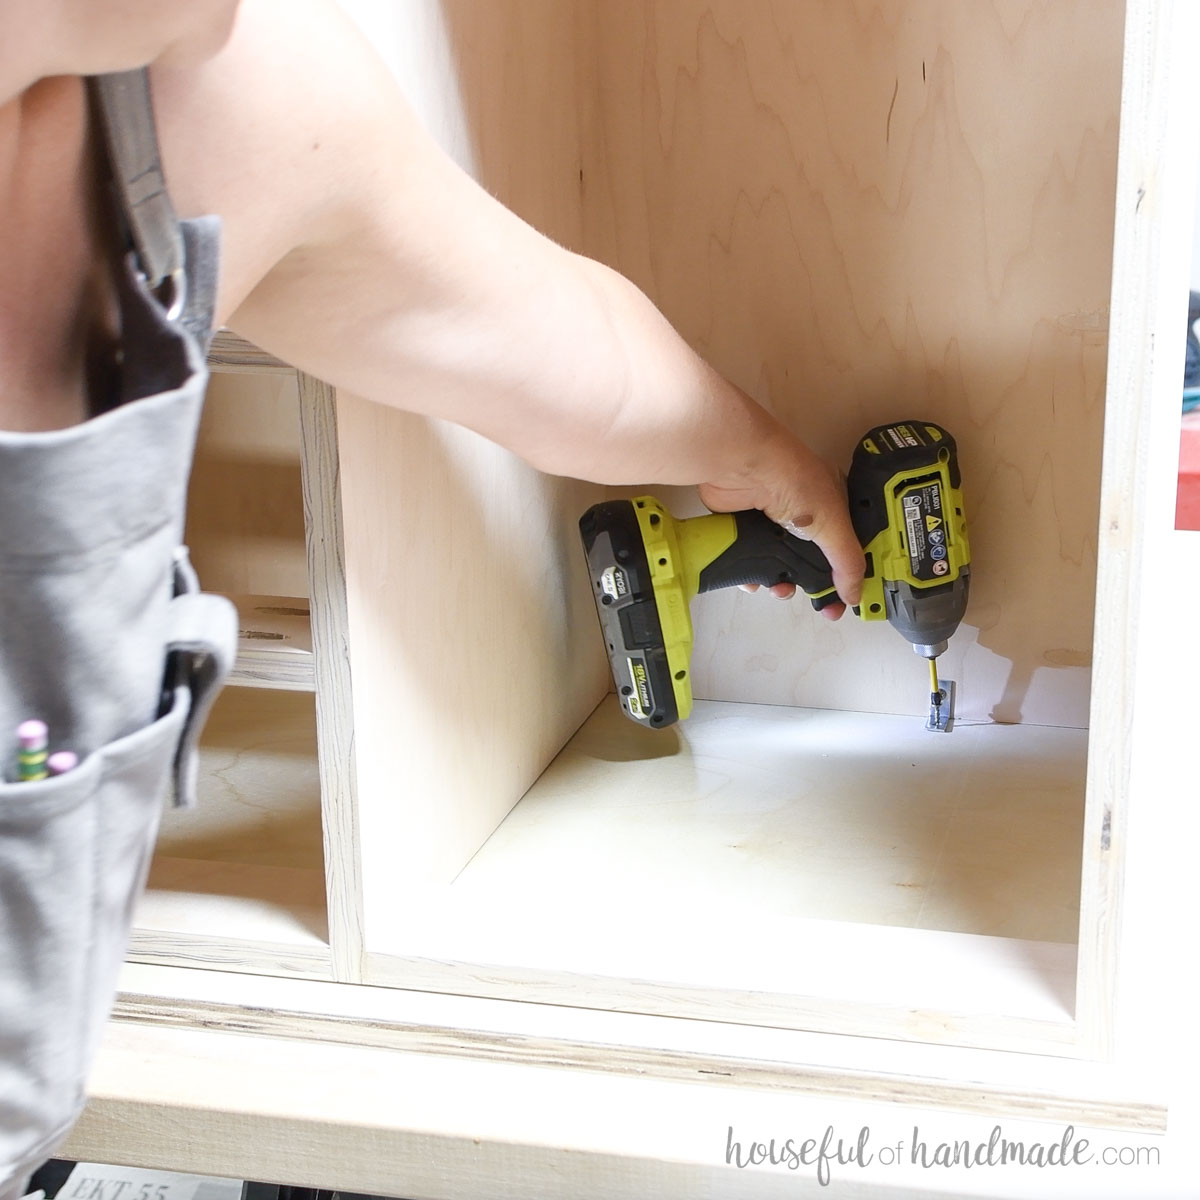
Secure the top with two 1” screws through the top support and top drawer divider into the top. Then use two 1” L brackets to secure the top at the back.
Then lay the top leaf next to the cabinet so it is flush with the drawer side edge of the top.
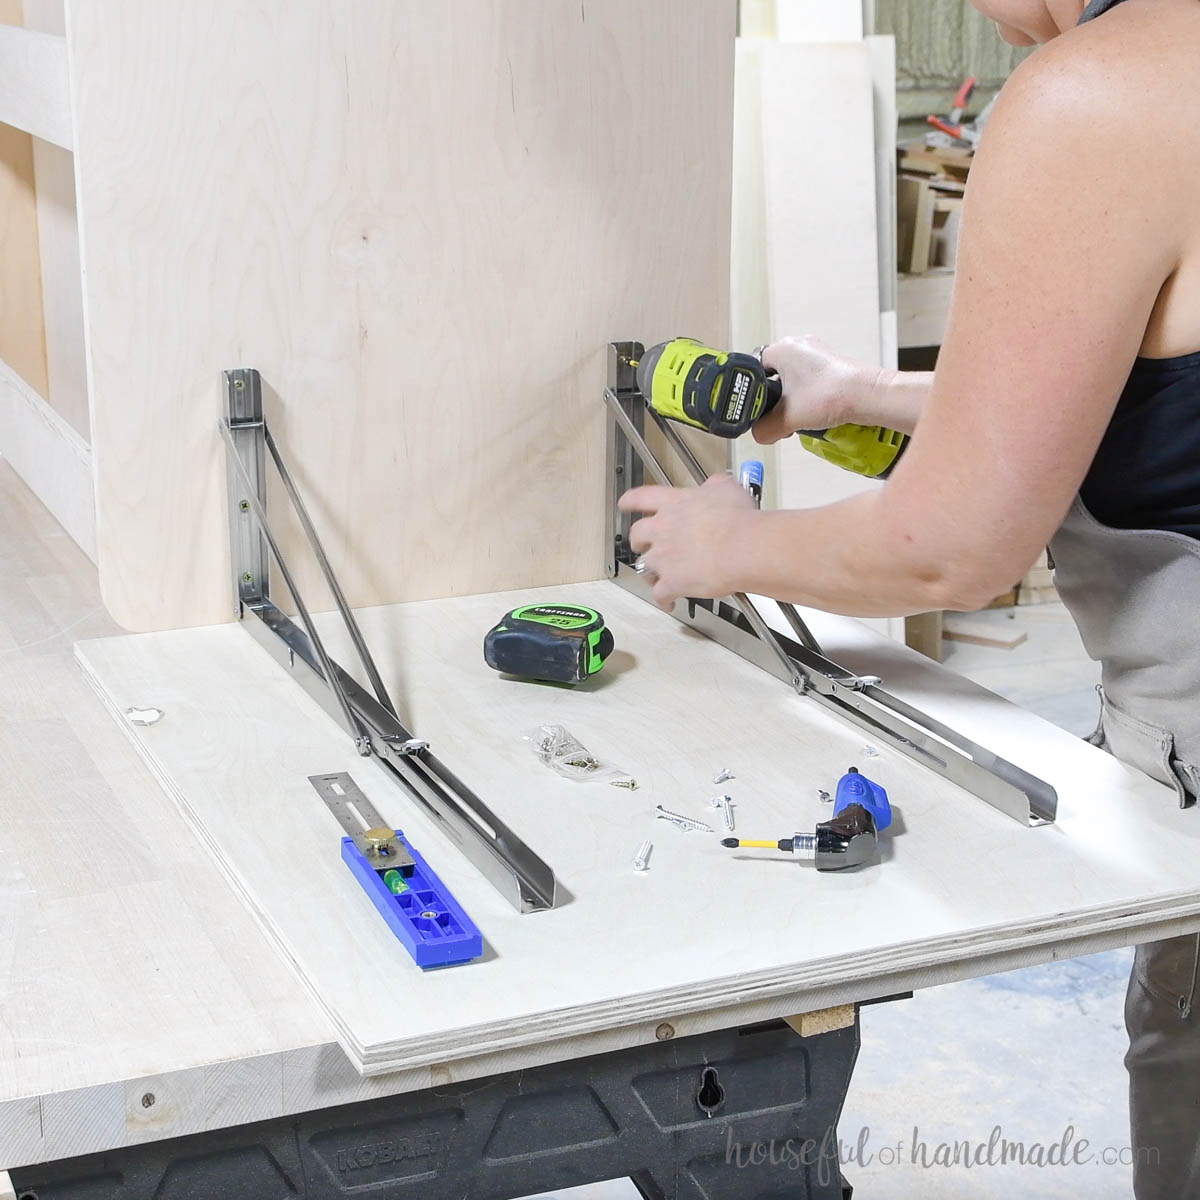
Secure the folding shelf brackets into the cabinet and leaf.
I spaced the back bracket so the center (where the screws go) was 4 3/8” in from the back of the side so the screws would go into the back panel and I could use 1 1/4” wood screws.
For the front bracket, set it back so the center is 4” from the front and secure with 3/4” long wood screws.
Use 3/4” wood screws to attach it to the leaf.
STEP 3- Build and install drawers
I built my drawers so the bottom sits inside a groove. If you do not have a way to cut a groove, learn more ways to build DIY drawers here.
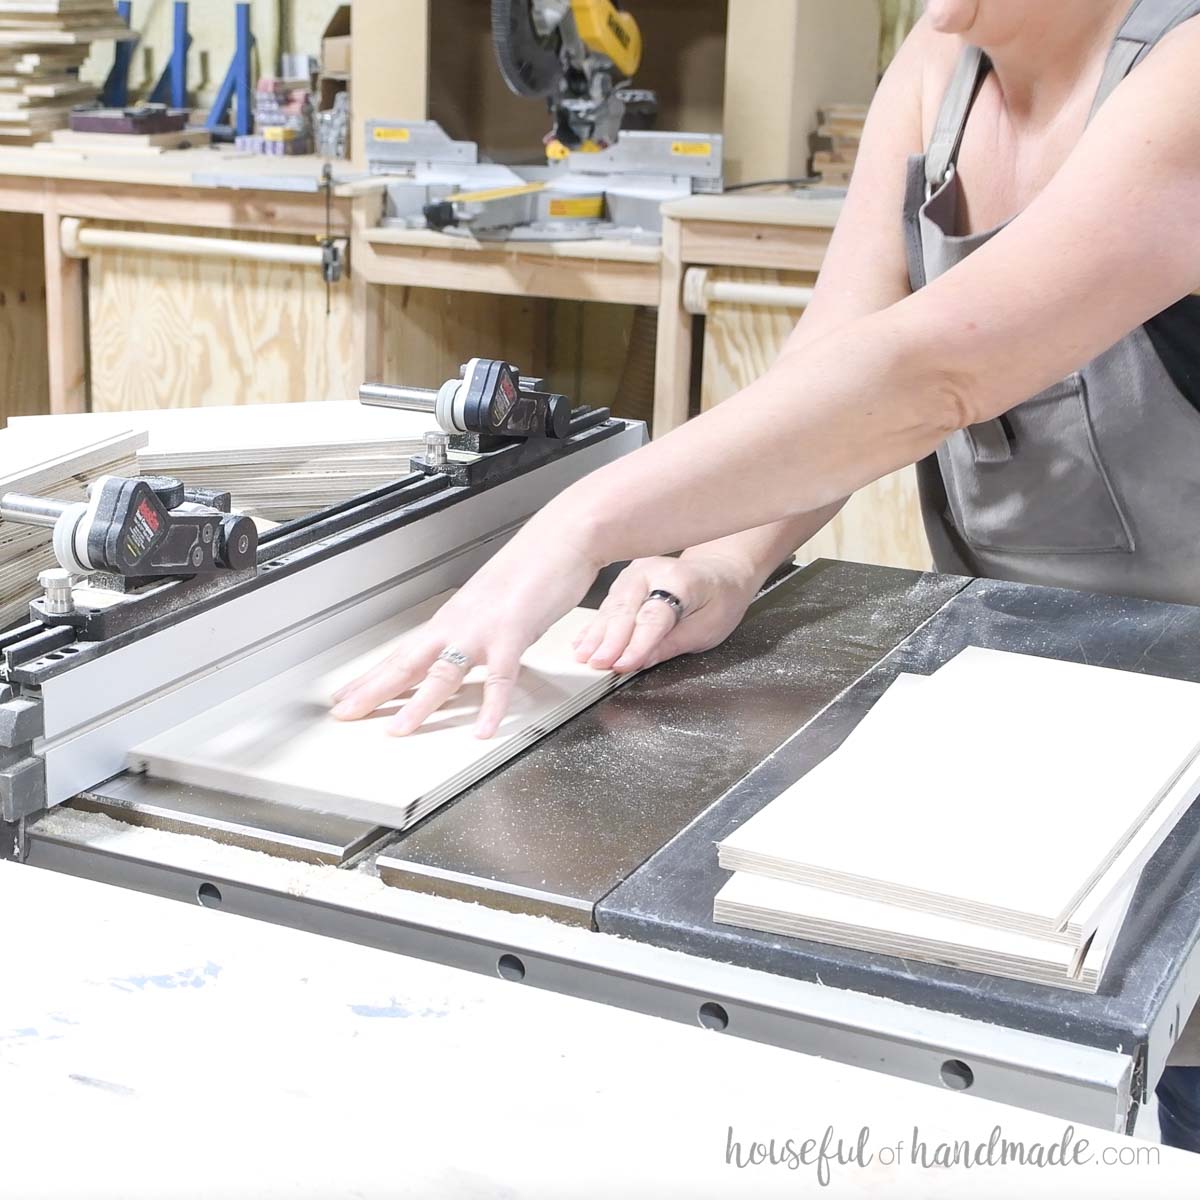
Cut a 1/4″ wide by 1/4″ deep groove in the inside of the drawer box pieces 1/4″ up from the bottom.
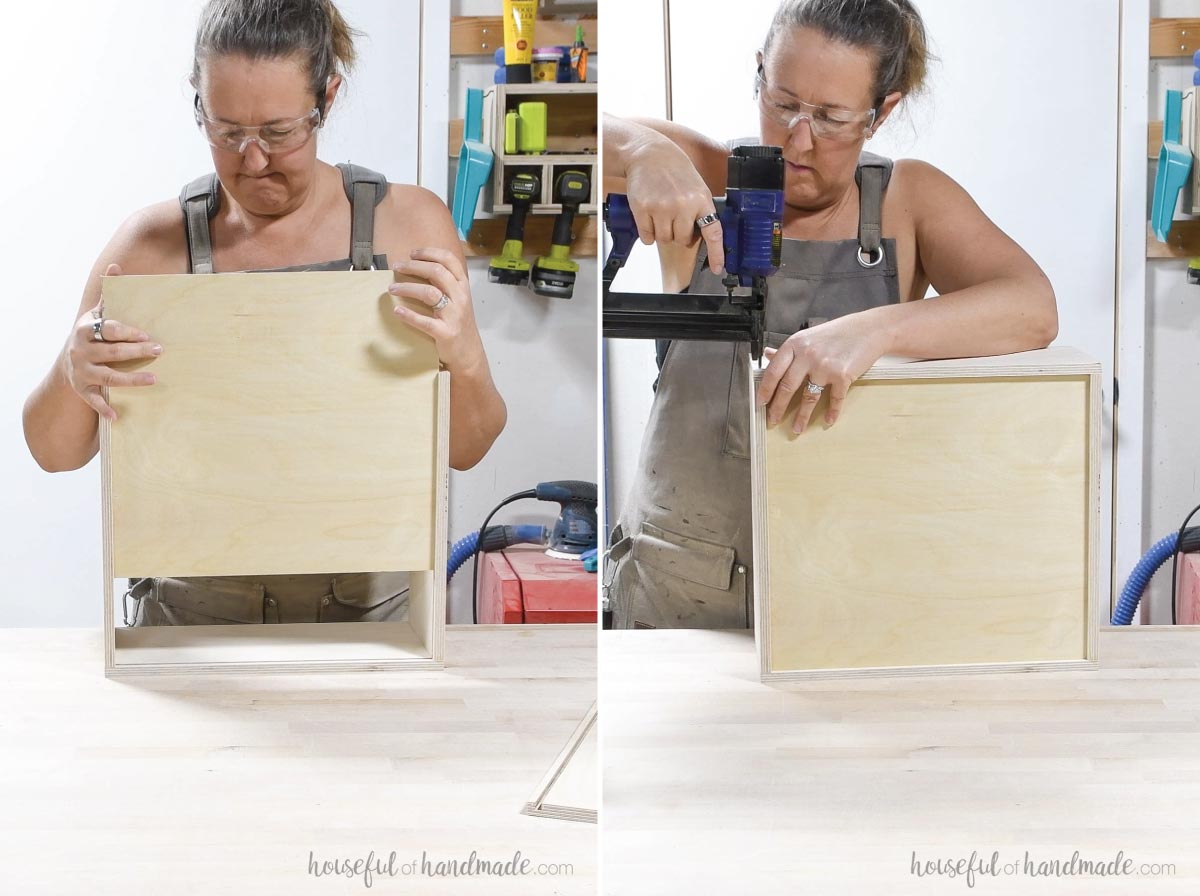
You can assemble the drawers with pocket holes or pneumatic staples.
If using pocket holes, drill pocket holes set for 1/2″ material in the outside sides of the drawer box front and back pieces (not the same side as the groove).
Build the drawer boxes by securing the front/back boards to one side board with wood glue and 1″ staples or pocket hole screws.
Make sure the top of all the drawer box pieces is flush.
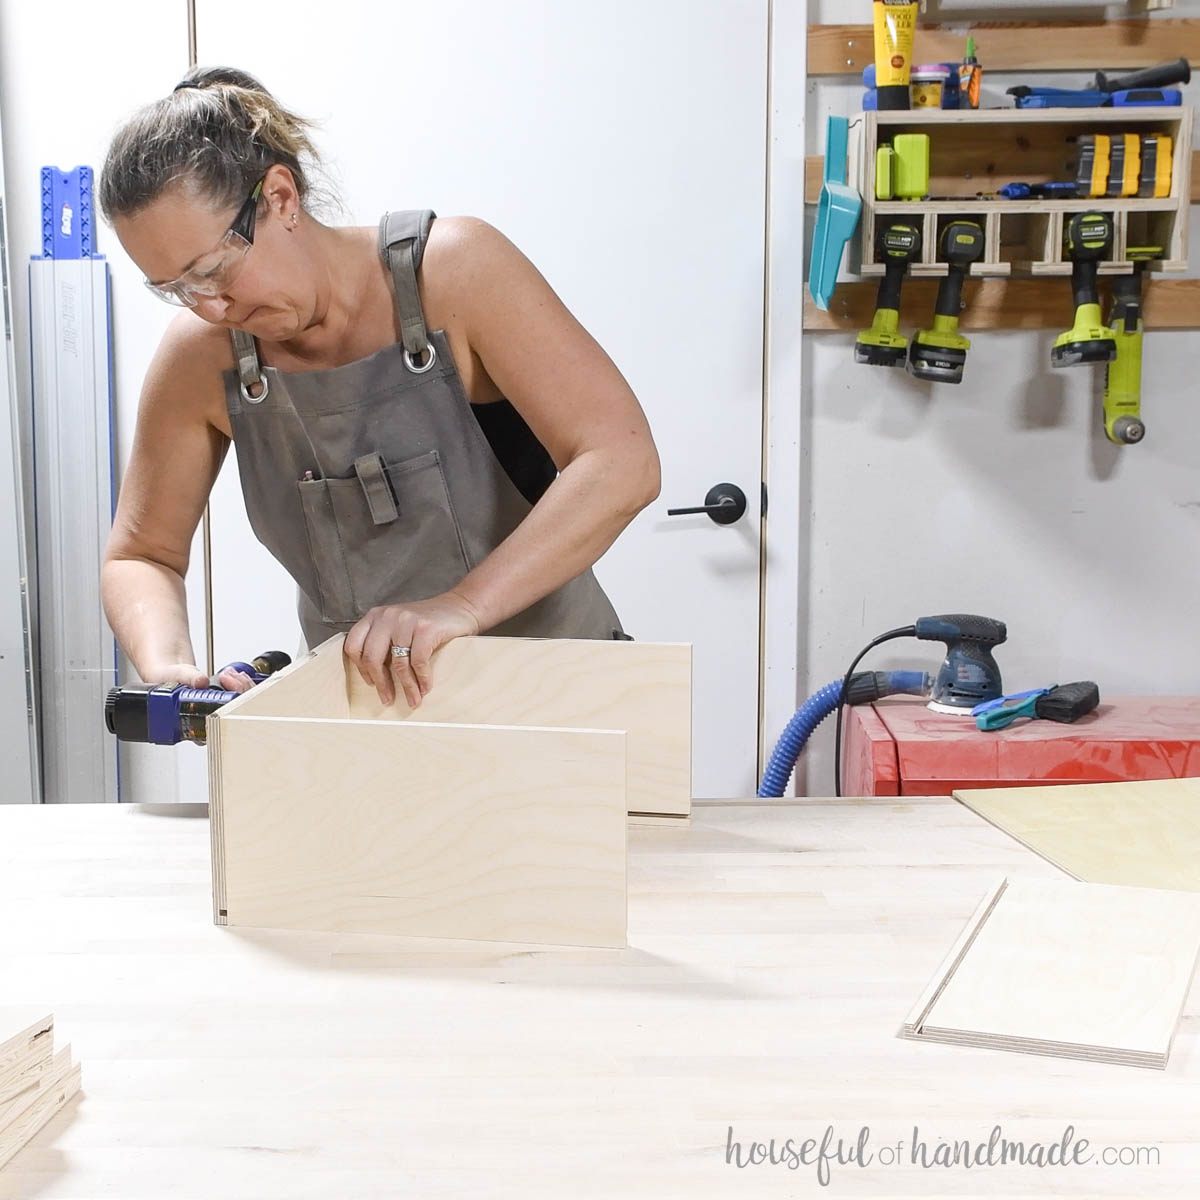
Insert the drawer box bottom into the groove.
Then attach the other drawer side with glue and pocket hole screws or staples to enclose it in.
Repeat for all 4 drawer boxes (2 shallower ones and 2 deeper ones).
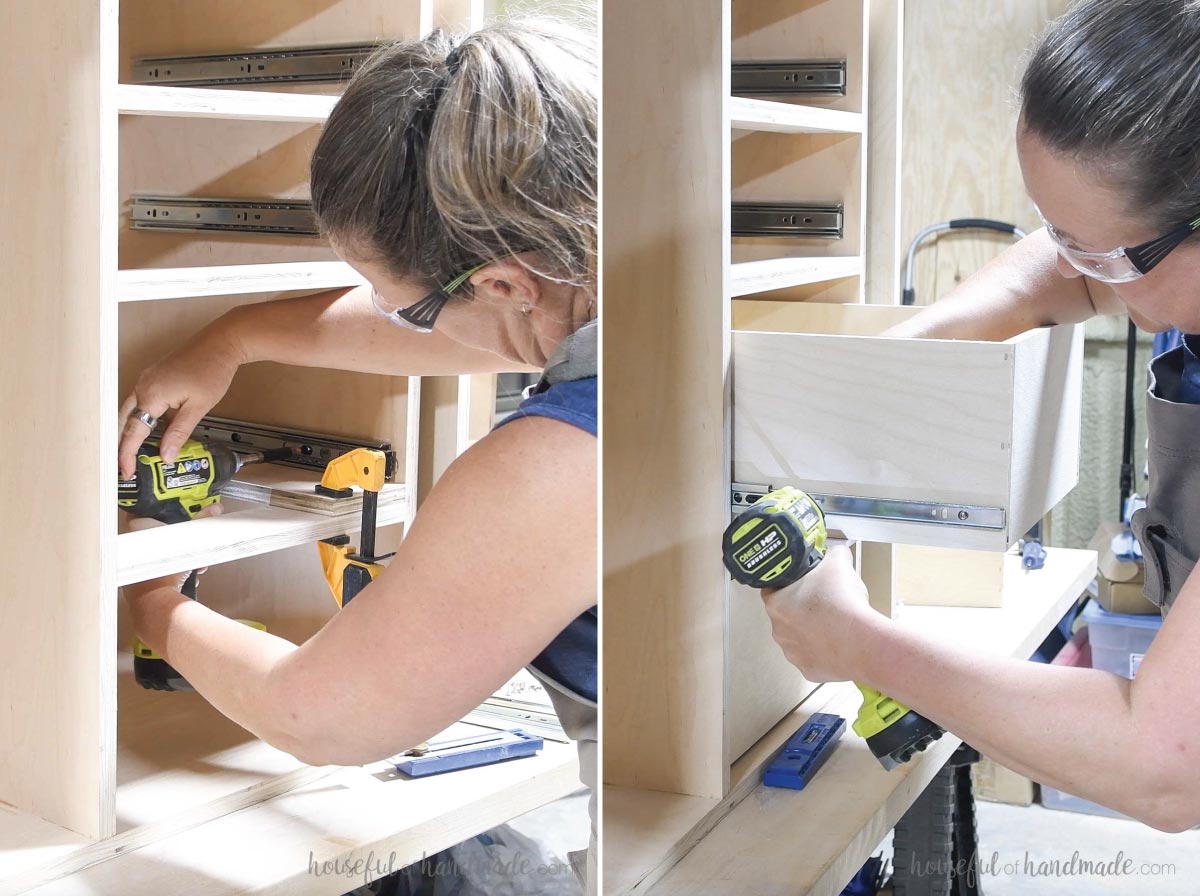
Install the drawer slides so they are set back 3/4” from the front of the cabinet for inset drawer fronts.
Then attach the small piece of the slide to the side of your drawer so you have approximately 1/4” clearance below the drawer box.
Learn all my tips for installing drawers here.
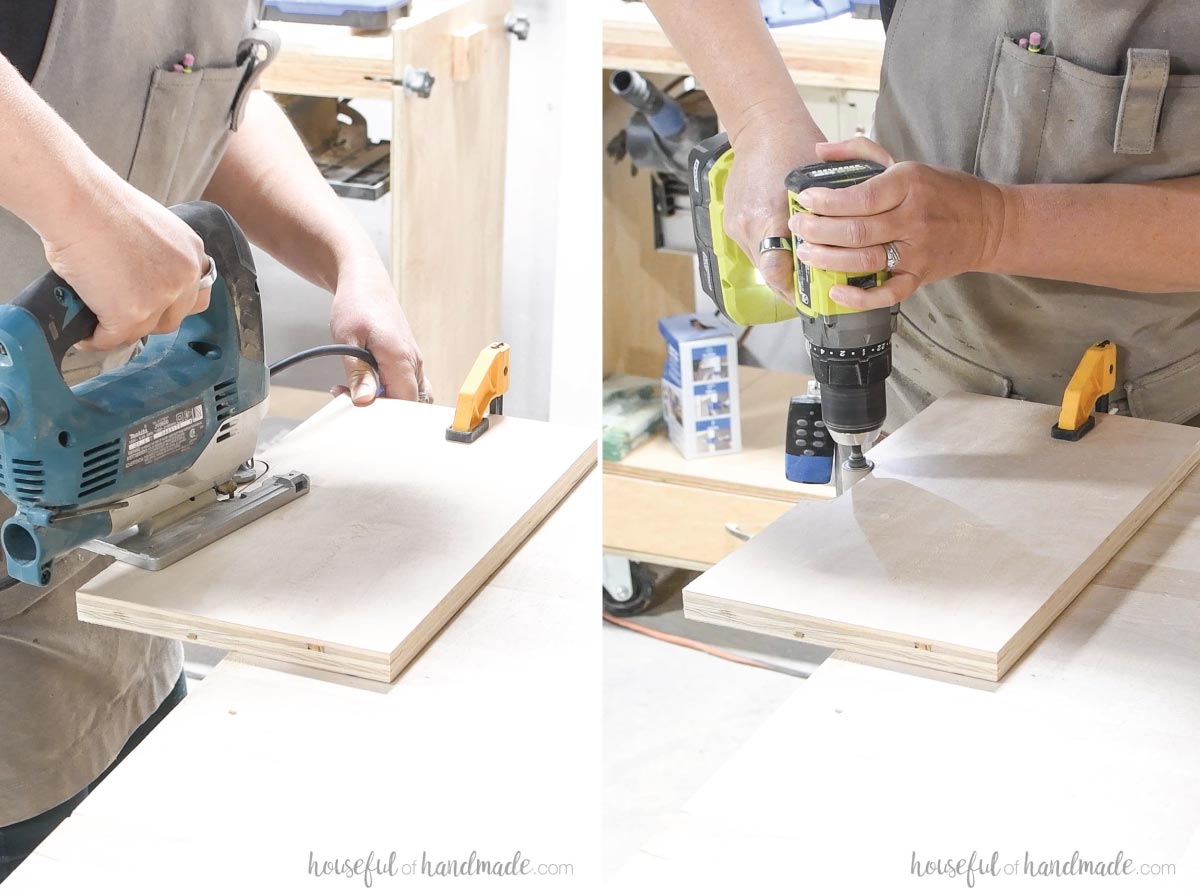
Cut an opening to use for the drawer handles in the top of each of the drawer front pieces with a jig saw.
I love sanding the curve smooth with a drum sanding kit for the drill.
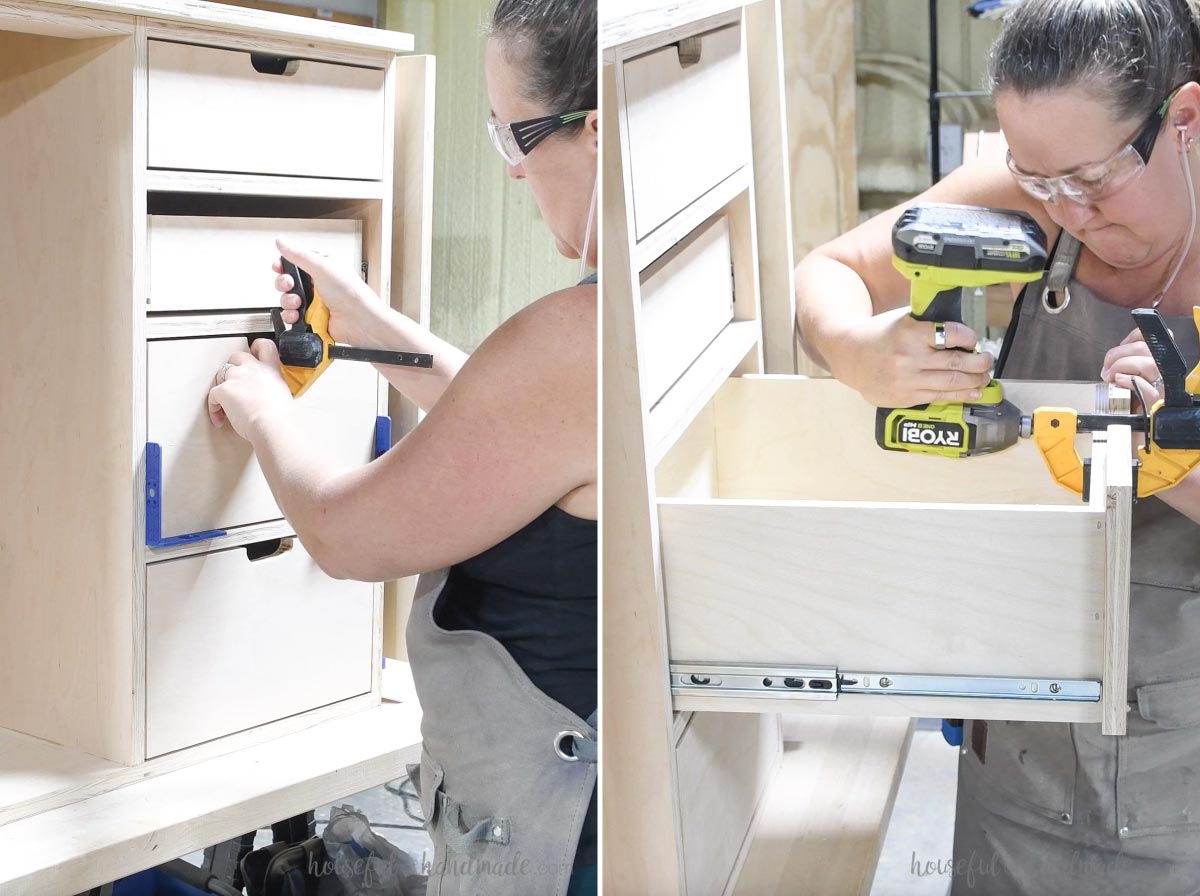
Place a clamp inside the drawer through the cut out handle. Line up the drawer front so it sits inside the cabinet with an 1/8” gap all around. Secure the clamp.
Then open the drawer and permanently attach the drawer front with 1” wood screws, use 4 per drawer.
Learn my tips for installing drawer fronts here.
STEP 4- Add cabinet door
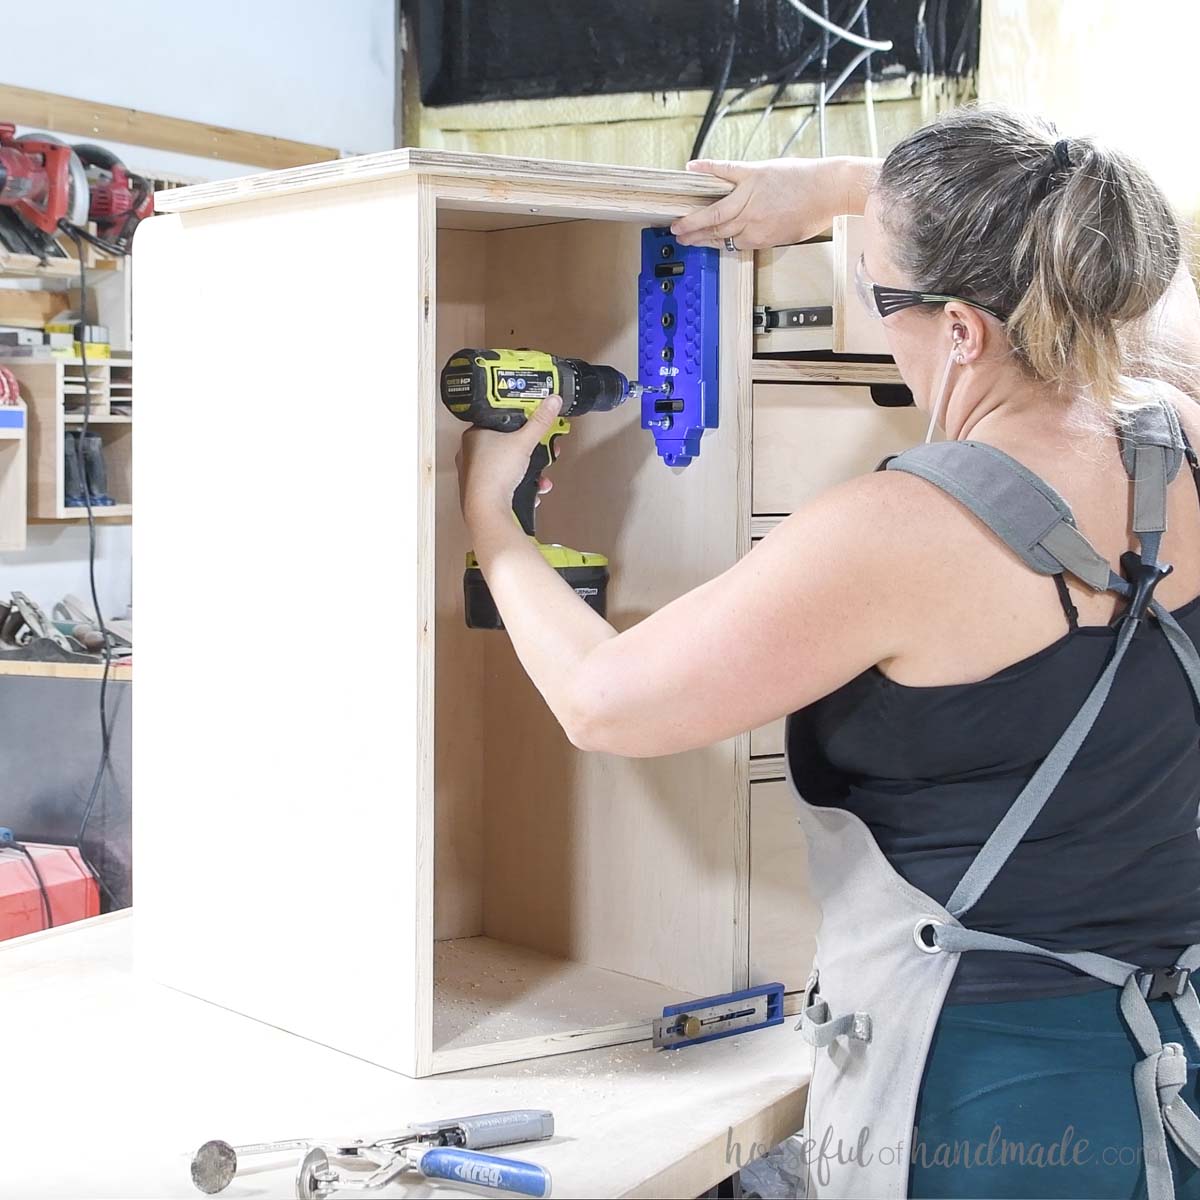
Drill holes in the upper part of the cabinet for an adjustable shelf with the Kreg Shelf Pin jig if desired.
The shelf can help keep the door level in the cabinet, if you do not want a shelf, you may want to add a stop block to the top corner of the cabinet for the door to sit on.
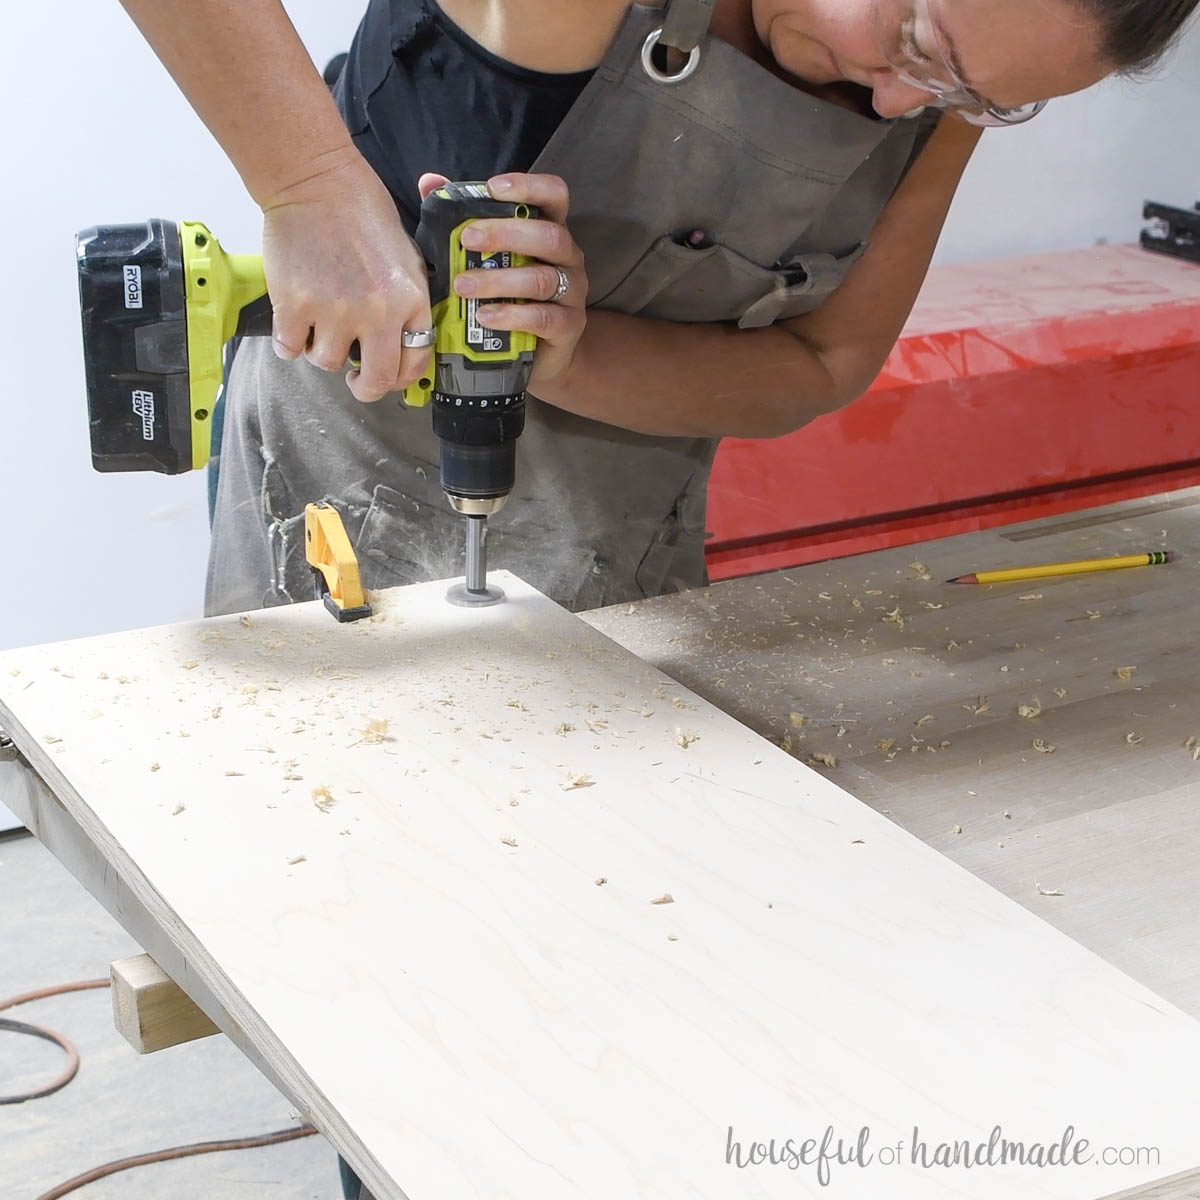
Drill a 1 1/2” wide hole 1” down and 1” in from the side as a handle for opening the door.
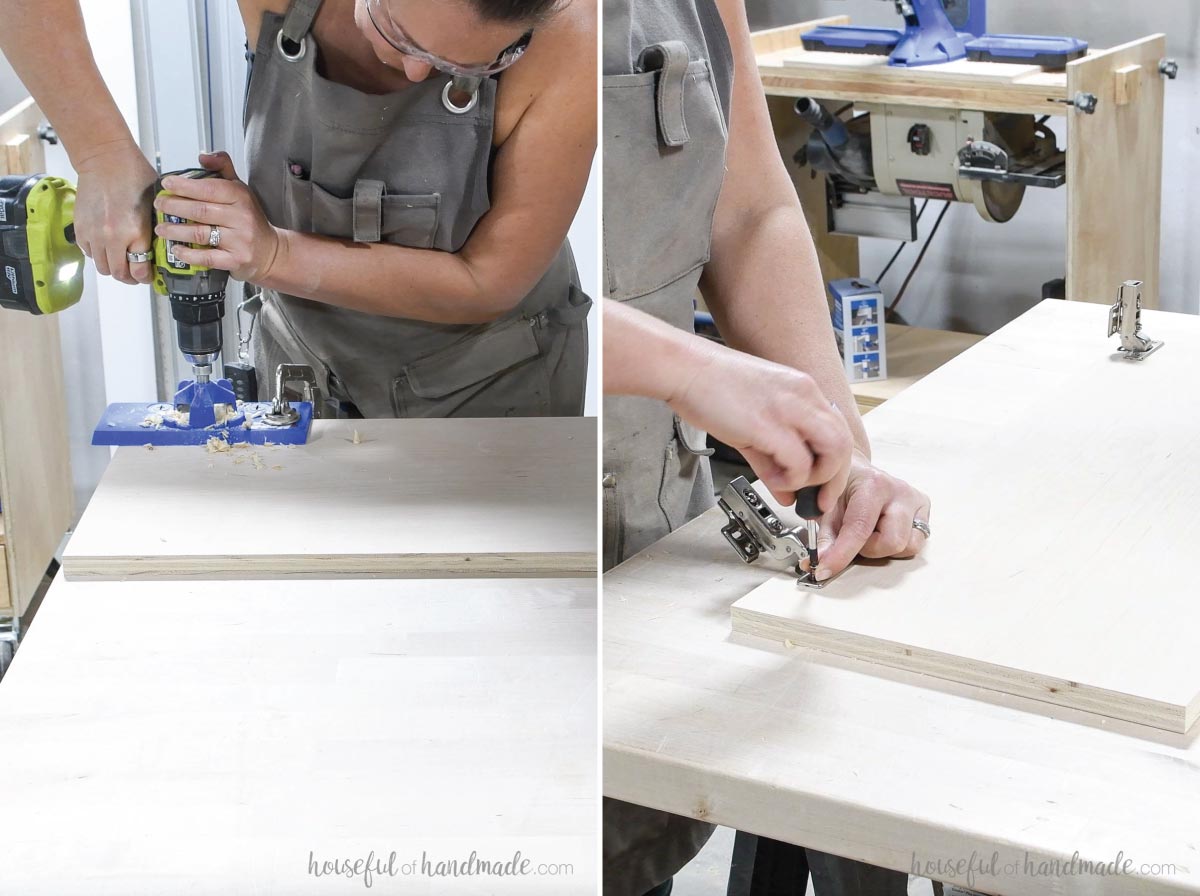
Use the Kreg Concealed Hinge jig to drill holes for the cabinet hinges. I set my hinges in 3 1/2″ from the top/bottom of the door.
Then place the hinges in the holes and secure with the screws in the pilot holes drilled with the jig.
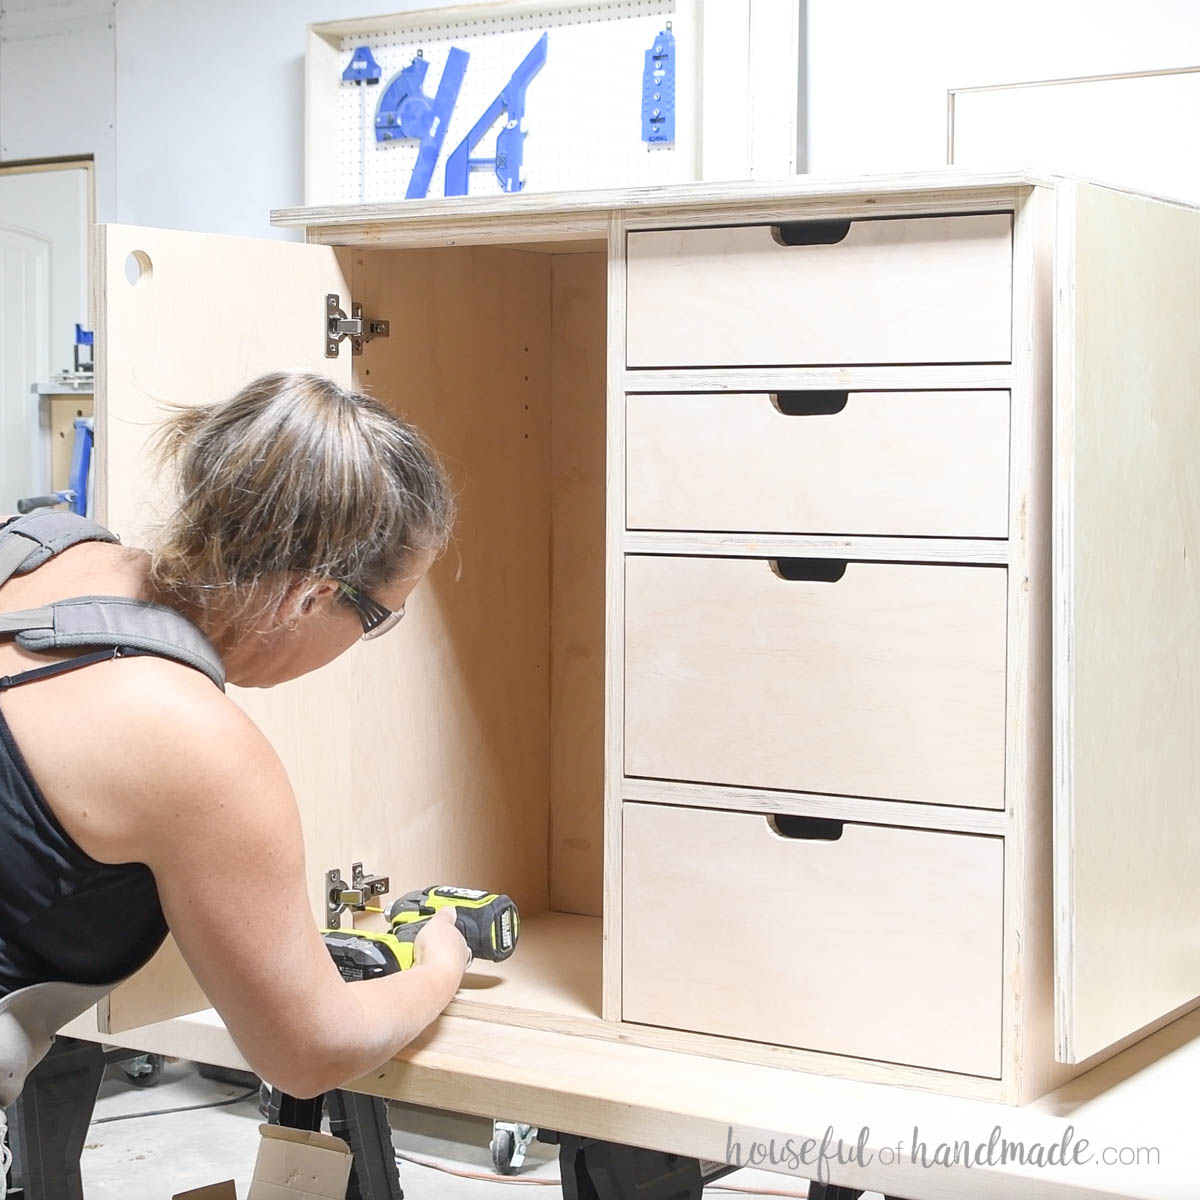
Attach the door with inset frameless hinges. The door should sit inside the opening with 1/8” gap all around.
Learn how to install cabinet doors here.
STEP 5- Finish and enjoy
Sand and finish your new wrapping paper cart.
Then add locking wheels to the bottom. The height of your wheels will determine the finished height of your cart so pick bigger wheels if you want it taller.
You did it!
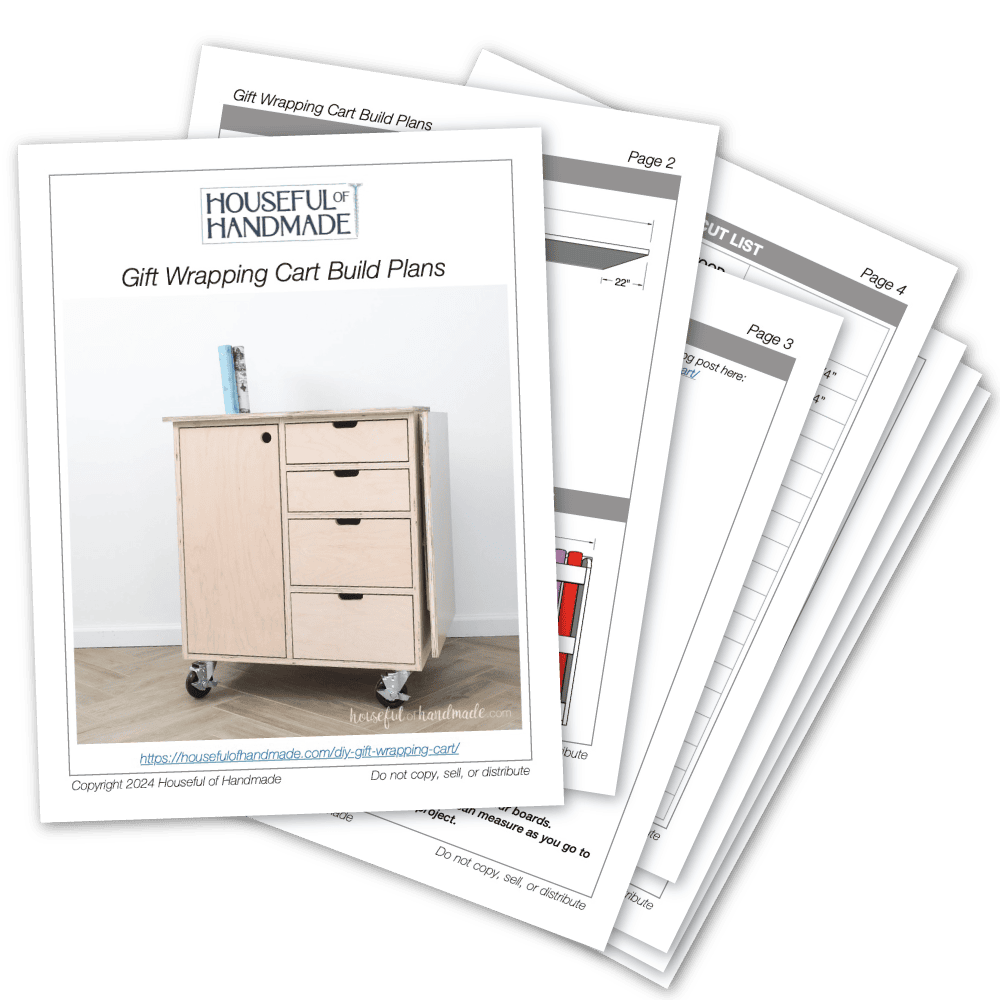
Premium plans include:
- Recommended Tools
- Shopping list
- Easy to read cut list table
- Cut diagrams
- Step-by-step instructions with 3D renderings
- Helpful resources
- BONUS: 3D SketchUp file
Place the wrapping paper rolls in the back compartment.
Then load up all your bags and boxes in the cupboard and fill the drawers with tape, scissors, bows, ribbons, and more.
Happy building!

Thank you to Kreg Tools for sponsoring this post. I only recommend products that I use and love and all opinions are 100% my own. Click here to read my full disclosure policy.

