

Turn a standard closet into an organized space with these DIY plywood closet organizer build plans.
Having an organized closet just makes life better! And a custom closet doesn’t have to cost a lot. You can build this DIY closet organizer from plywood for under $100!
Building a closet system will save you so much money over purchasing a custom or pre-fab one. And even better, you can change it up to fit your own closet and wardrobe.
I built our custom closet to turn a small walk-in closet into an amazing dressing space and I absolutely love it. Now I can find my clothes and accessories easily!
This post may contain affiliate links. As an Amazon Associate I earn from qualifying purchases. Click here to read my full disclosure policy.
And I have all the details and build plans for our plywood closet shelves so you can build one too!

Room Makeover for Only $100
I built this custom closet organizer as part of the $100 Room Challenge. For the challenge, you make over one room in just one month for only $100!
Sounds impossible, right? It is not! I have already completed an amazing office/craft room remodel and farmhouse laundry room remodel with the very tight budget.

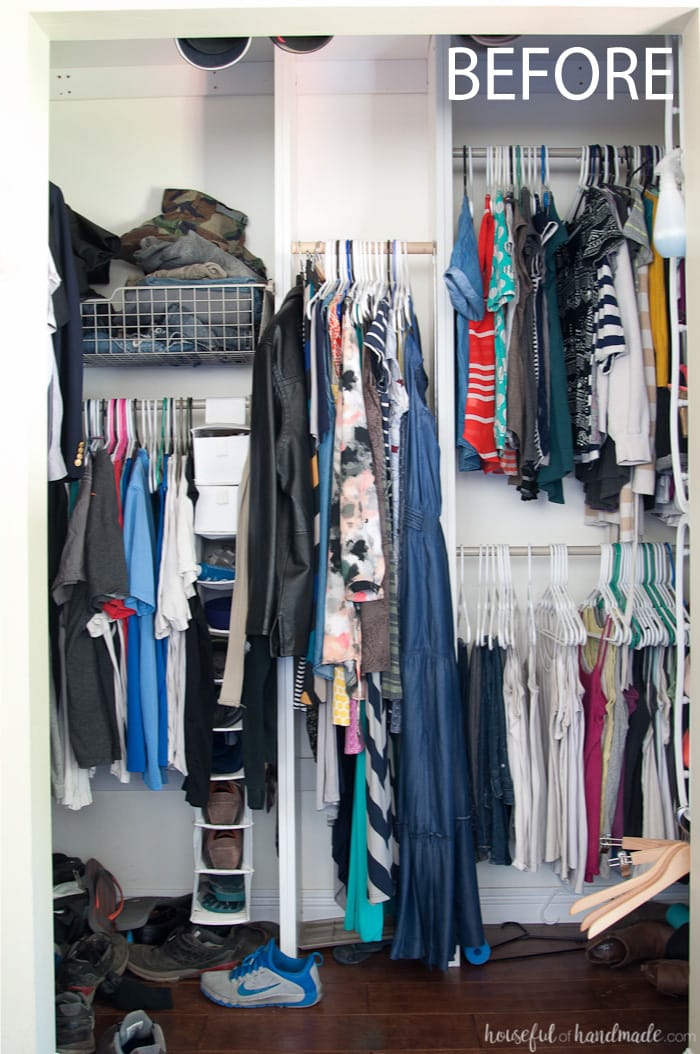
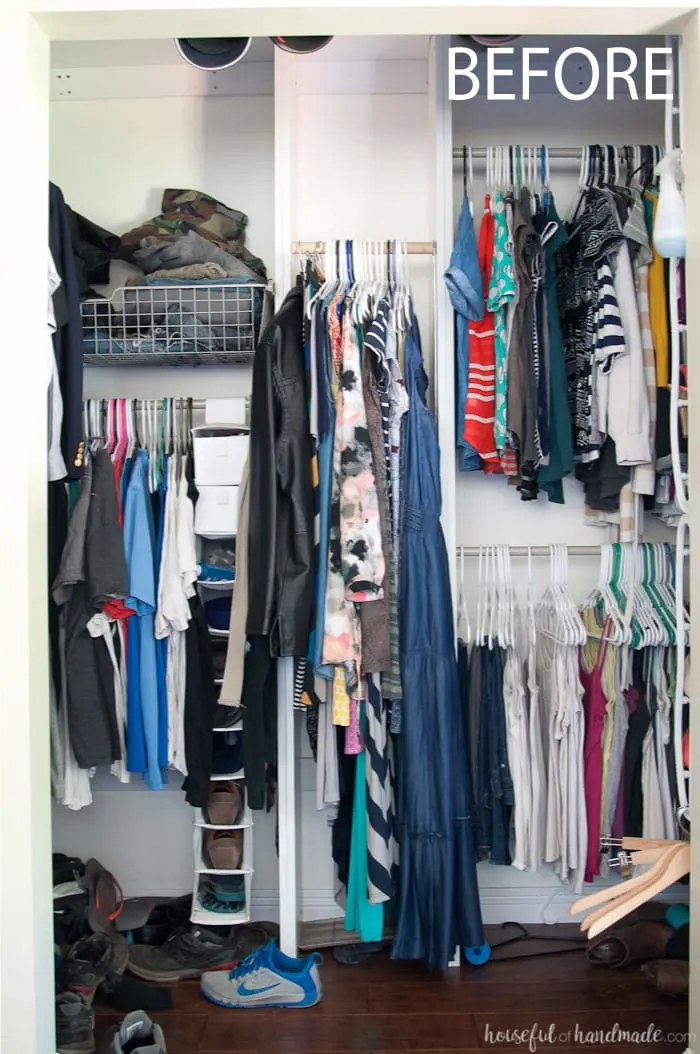
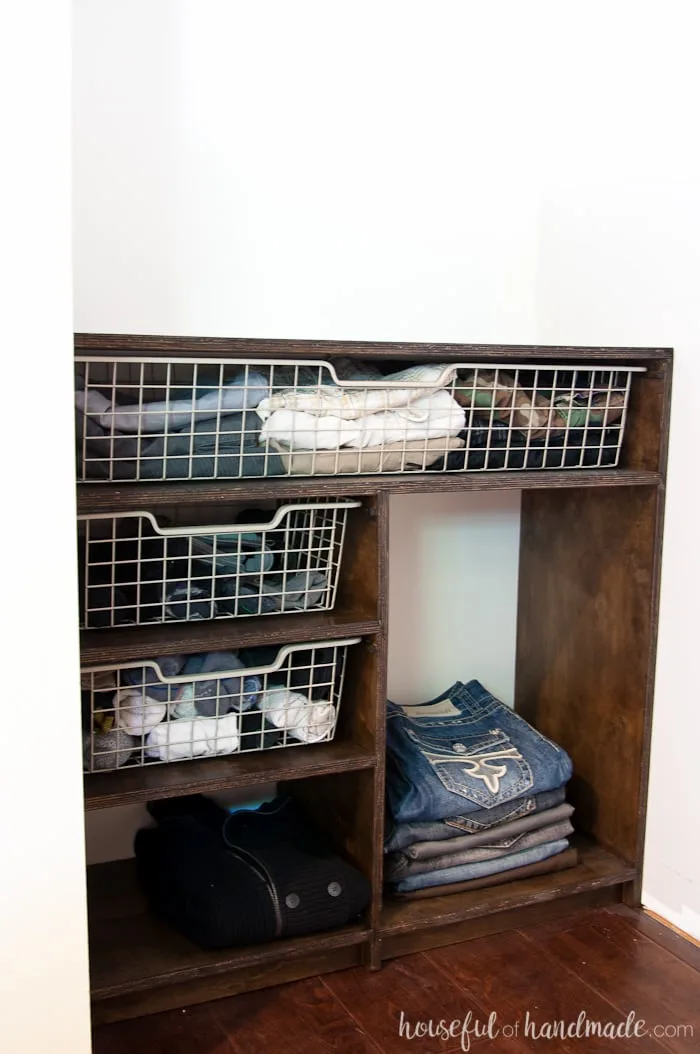
The majority of our custom closet makeover was to create lots of organization with the plywood closet organizer system. I was sick of just having hang bars to store all out clothes.
Did you know you are not suppose to hang knit clothing? Most of my clothing is knit!
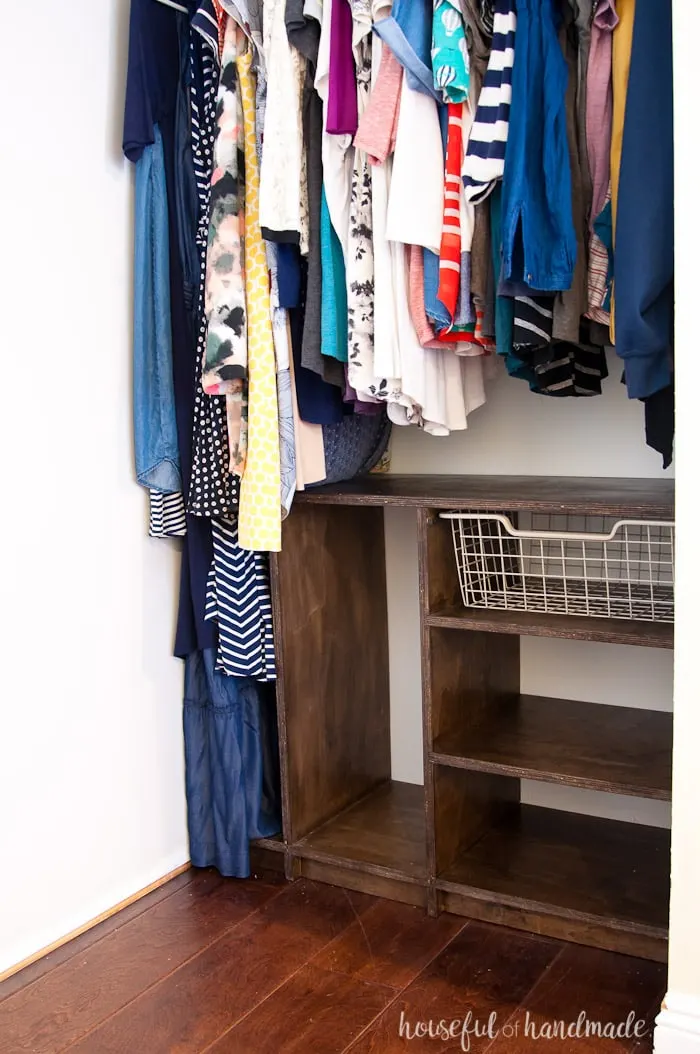
I love the comfort when working on projects. But hanging it can stretch out. The closet shelves added room for baskets and drawers for all those knits. Plus room for shoes and pants and more!
How Can I Organize my Closet Cheap?
- Add lots of shelves/cubbies with inexpensive plywood
- Cover boxes to make pretty storage boxes for holding items
- Look for unused storage baskets in your home to add to your closet
- Use wall space for hanging shoe storage
- Swap out hangers so they all match, it instantly makes your closet feel cleaner
- Pair down your wardrobe and accessories – less is easy to organize
Building Closet Shelves from Plywood
Since our closet makeover needs to be done on a tight budget, building our own closet shelf systems was the only way to go.
I had the budget to buy 2 sheets of 3/4″ plywood. So I set out to create two custom closet organization systems using only that! Each closet system would have space to address what each of us needed.

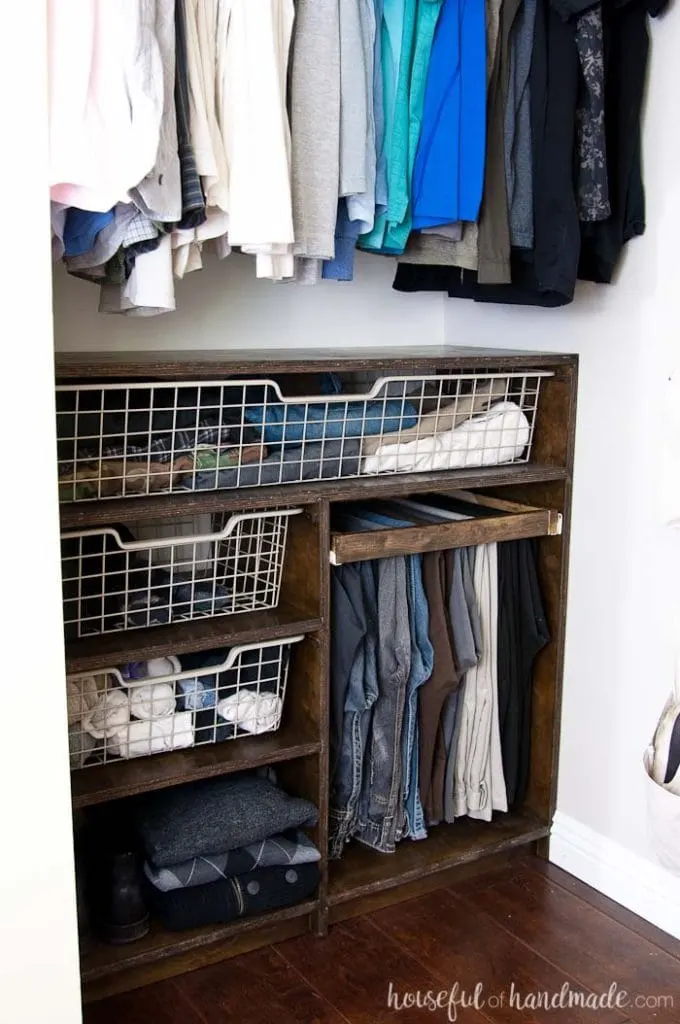
And the result is already so much better than it was before! Instead of a cramped closet with lots of hidden corners, we have an open walk in space that you can even get dressed in.
Instead of non-functional shelving and wasted space, we have beautiful shelves with designated spaces for everything (and room for more).

What type of Plywood to Use for Custom Closet
There are many different types of plywood. For closets you want to stain, you want to use a cabinet grade plywood. These plywoods have a wood veneer on the outside to make your shelves looks like wood.
For closets you want to paint, MDF (medium density fiberboard) is another great option. It is very strong, cuts easily, and is super smooth so it looks amazing painted. Most painted cabinet doors have an MDF center panel.
For shelves, plywood should be a minimum of 1/2″ thick. But 3/4″ is better for stronger shelves that can hold more weight without bowing.
You can find many different ranges and prices of cabinet grade plywood. Cheaper versions will usually have more voids in them (less strong and you may see holes in the cut sides). They will may require more sanding to get a smoother surface.
Because I was working on a $100 budget, I used pine plywood that I found at the Home Depot. Each 4’x8′ sheet cost $35.
To finish off our plywood closet organizers, I still need to add the pull out pants racks (this is the part my husband is so excited about) and find boxes to cover to add to some of the shelves.
I have already discovered a few that fit perfectly into the spaces! And then I need to figure out the best way to organize our piles of shoes without taking up the beautiful open space we are both loving.

Closet Makeover Progress
If you want to follow along on the entire closet makeover, check out the other weeks below:
Closet Remodel Plan || Week 2 || Closet Reveal
Before we get into the tutorial for the DIY Plywood Closet Organizer Build Plans, I want to share how we are doing so far with the budget. It’s a little scary since I know I want to add so much more to the space.
- (2) sheets plywood = $35
- (3) 3/8″ square dowels = $3
- Nails & wood glue = had on hand
- Wood stain & polyurethane sealer = had on hand
- Paint = left over from living room
- Painting supplies = most on hand but had to buy a roller $3 like these on amazon.
- Closet rods = made due with the ones from the old closet
- Baskets = were in the old closet
- Boxes = gotta love ordering online!
So far we have spent $76 of our $100 budget.
I know the pant racks are going to take a big part of the $24 that is left. So shoe storage needs to be cheap!!!! That’ll be fun since my husband and I love our shoes 😉
But enough of that, let’s get on with the building! Click the arrow below for the tutorial.
How to Build a Plywood Closet Organizer
Tools:
- Circular saw
- Router
- Level
- Nail gun
- Clamps
- I used (4) 6″ clamps to hold the boards while routing and a 24″ clamp to clamp the cabinet while glueing. A larger clamp could have been useful too but not necessary.
- Sander
- Hammer
- Optional: Table saw and Kreg Rip Cut
Supplies:
- (2) 4’x8′ sheets 3/4″ plywood
- 3/8″ square dowels
- Metal baskets
- We used old Ikea Pax wardrobe baskets that were already in our closet (measuring 17 1/2″ wide, 7″ tall and 13 1/4″ deep). Any basket will work, just adjust your shelving to fit as needed.
- Wood glue
- Wood stain
- I used Minwax Jacobean and love the dark wood. It makes the closet look expensive.
- Polyurethane sealer
- Construction adhesive
- Nails
Measure Your Closet
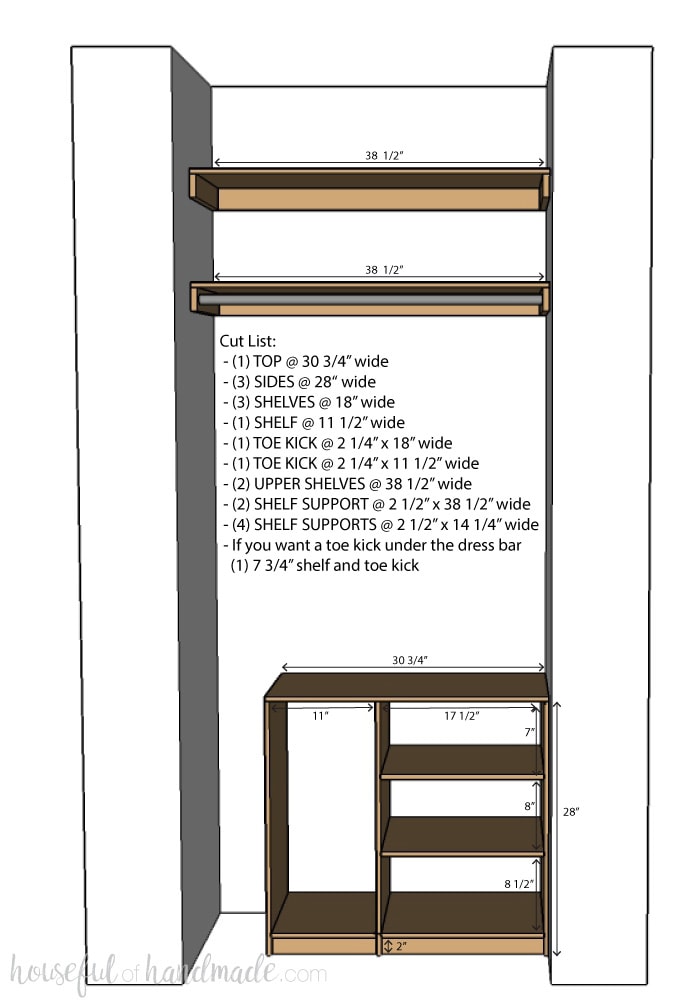
Each of these closet organizers fills a 38 1/2″ closet area. If your closet is bigger, you could easily add more shelves to one side or a hang bar. Making them larger will require more plywood so make sure to account for that in your budget.
Feel free to use these ideas to figure out your own custom plywood closet organizer!
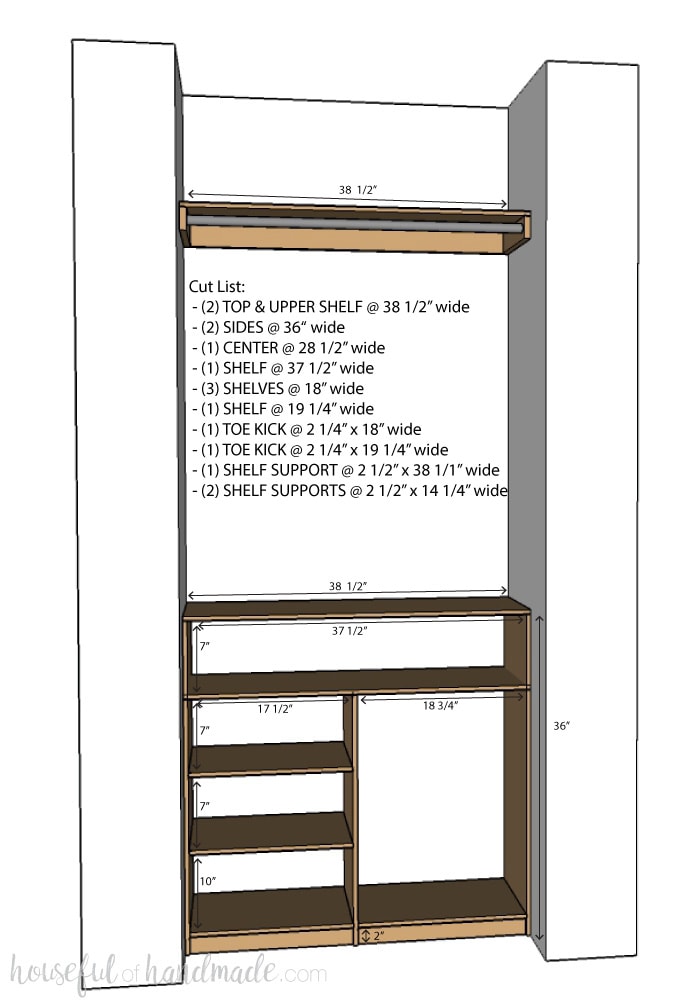
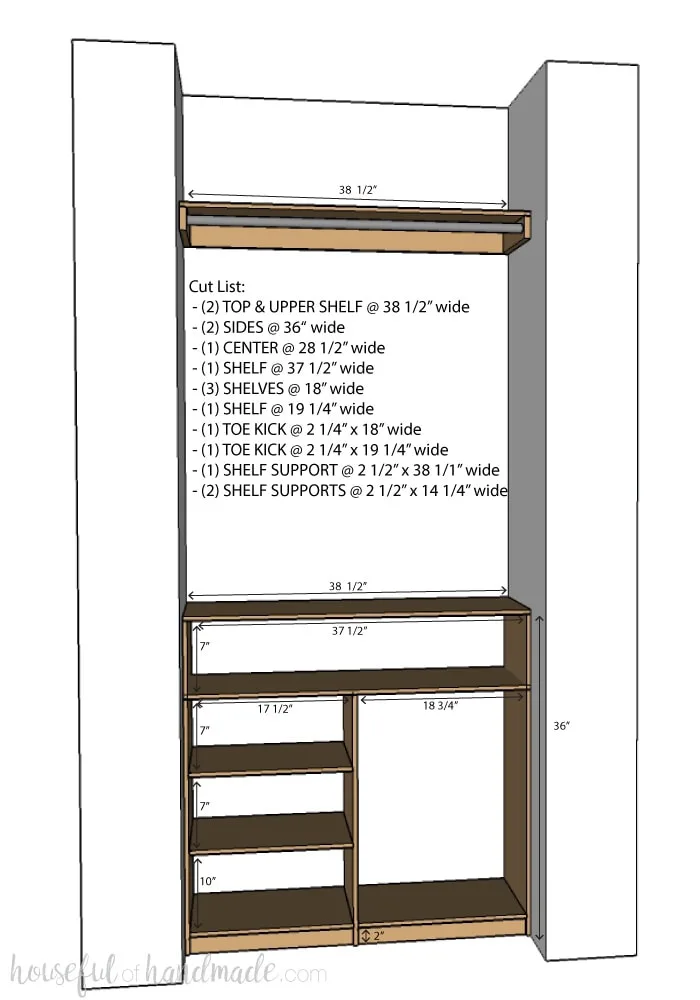

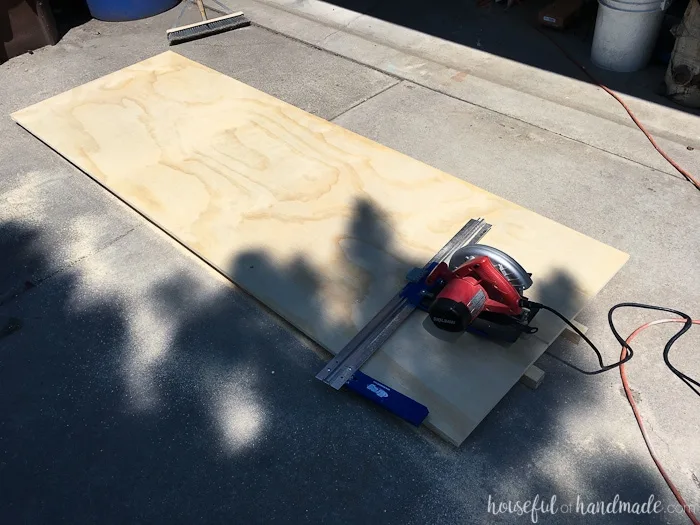
Cut the Plywood Pieces
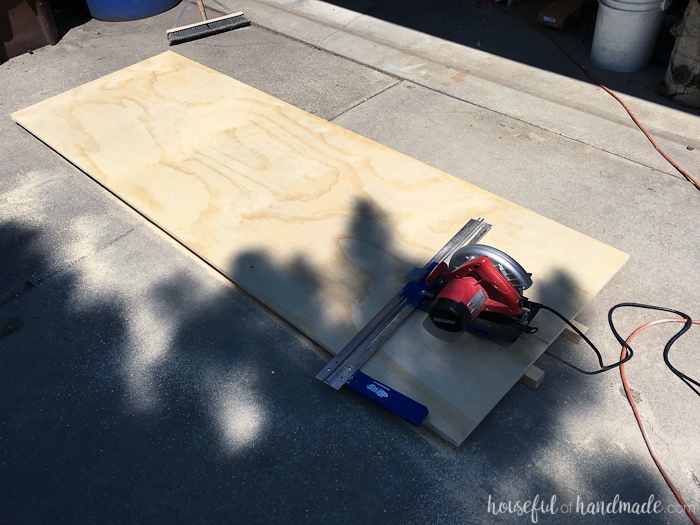
Cut the plywood down to 15″ x 8′ boards. I used my circular saw and Kreg Rip Cut to do this (so much easier than trying to cut large sheets of plywood on a table saw), but you can also have them cut at the home improvement store.
Don’t throw away the approximately 2 1/2″ end piece, it is needed for the plans.
Cut the 15″ wide boards down into the widths needed for each closet organizer. Make sure you are careful not to waste any pieces by always cutting the largest piece possible from any left over boards.
You will have a little wiggle room (but not much) if creating these closets exactly. If you are customizing your own plywood closet organizer, add 1/2″ to any shelves to allow them to sit inside the routed dados.

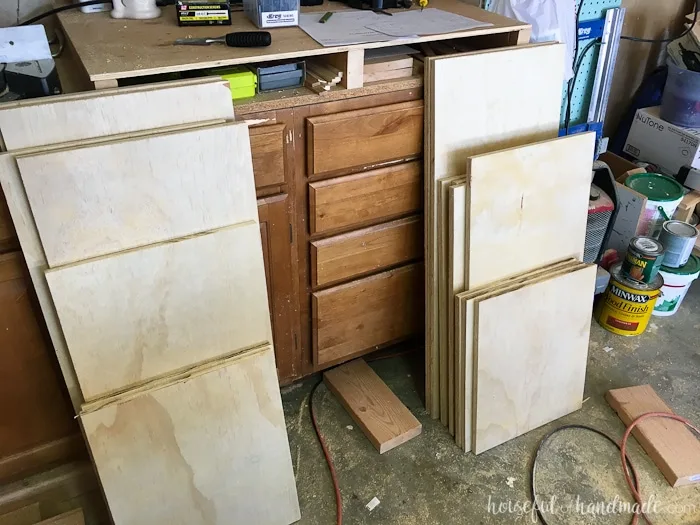
Dry Fit the Unassembled Pieces
Since my cabinet is going to fill the entire closet space, I did a dry fit to make sure the measurements were correct. This saves a lot of headache in the long run.
However, for the other side of the closet, even thought I did a dry fit, I discovered an issue.
Since the cabinet was not filling the entire space (I needed room for long dresses to hang), I built the entire cabinet. Then I wanted to add a toe kick and bottom shelf to go under the dresses to keep the dust and dog hair away from my clothing.
I put the cabinet in the space then dry fit the toe kick piece. It worked so I assembled it.
Later I learned that the closet curved a little bit at the front, so the cabinet could not slide into the space assembled (I’ll share how I fixed it later). So double check that when dry fitting as well.


Router Grooves for the Shelves
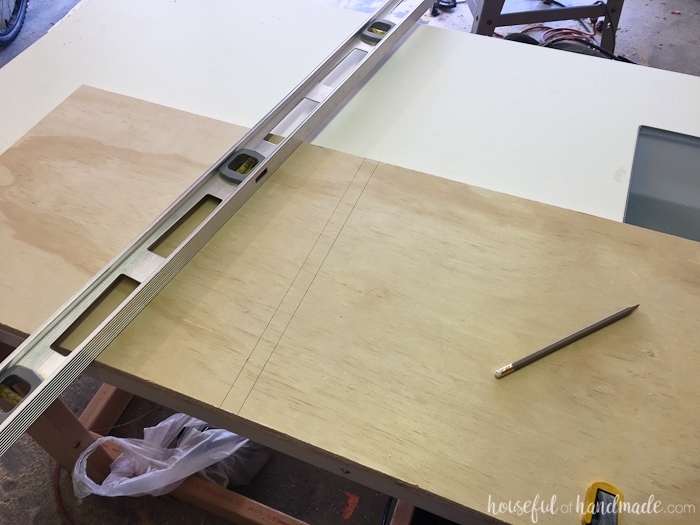
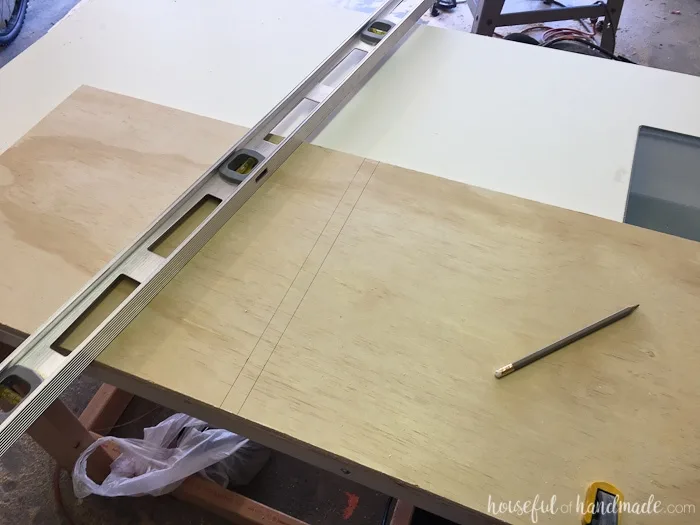
Using the router, cut 1/4″ deep grooves into the sides of the boards where your shelves will sit (this is called a dado).

I don’t have a 3/4″ dado router bit so I measured out where the 3/4″ dado needed to be. Then I used the 1/2″ bit and went down each edge of the 3/4″ opening. It wasn’t perfect, but saved me the $20 to buy the bit I needed.
I’ll probably invest in it later if I see myself making lots more cabinets (like in our kitchen maybe).
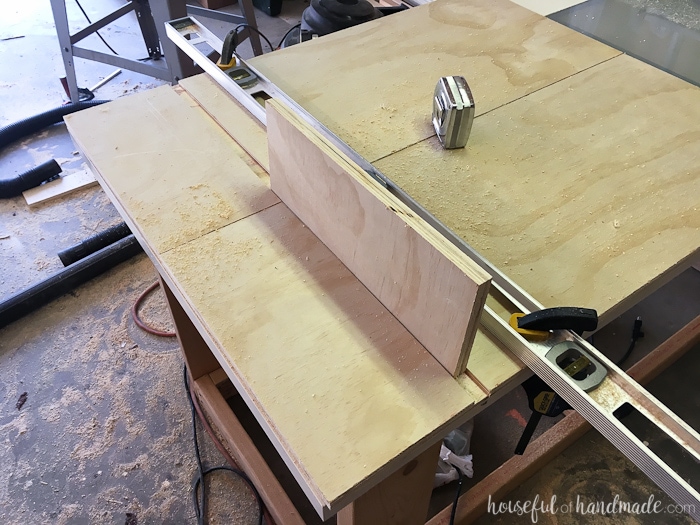
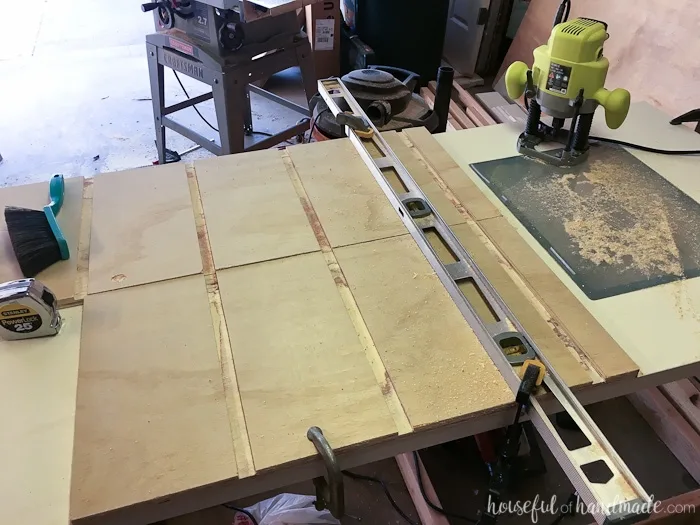
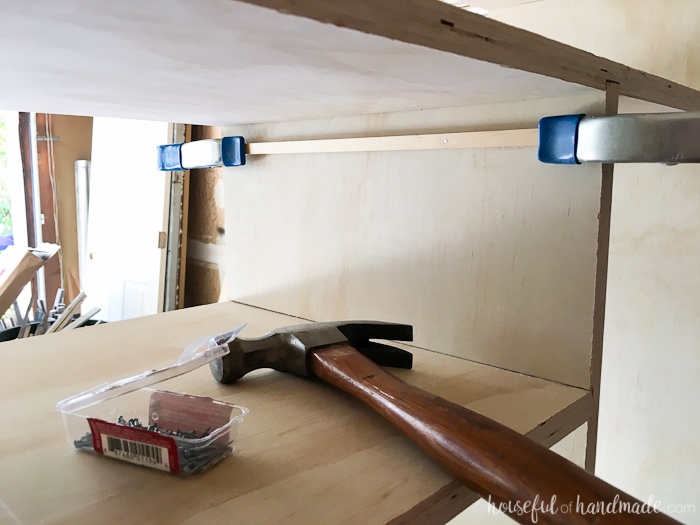
Clamp the two side boards next to each other before you router the dado so the router line is identical for each side of the shelf.
If you do not have a fancy routing table (it’s on my wish list too), clamp a straight edge like a level to the board so that you can router a straight line. I measured the distance the straight edge needed to be from my line based on the edge of the router bit to the edge of the router.

For the bottom of the cabinet, I added a toe kick to keep dust and dog hair from finding a place to hide.
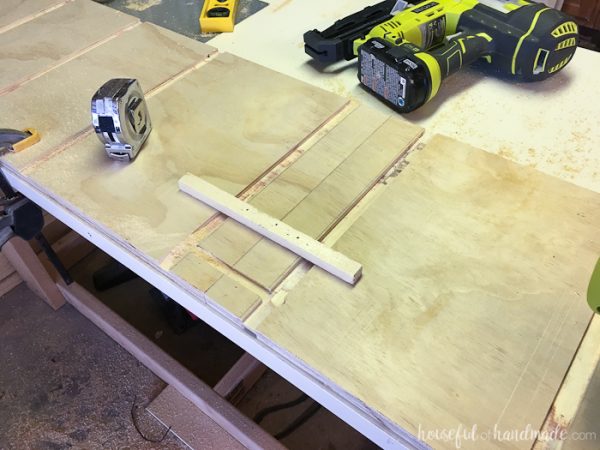
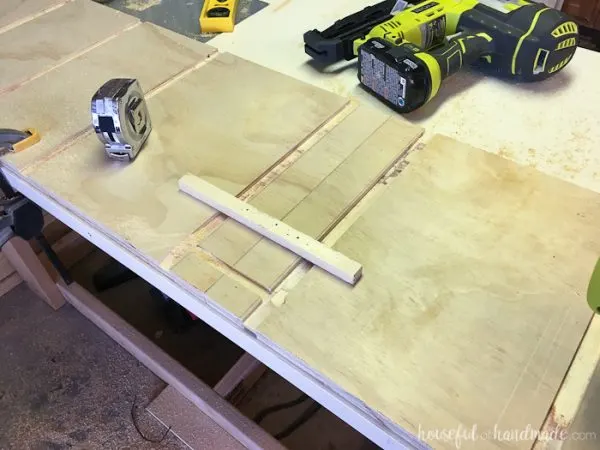
To do this router your dado 2″ up from the bottom of the cabinet (for the bottom shelf), then router another dado 1″ in from the front of the cabinet from the bottom of the board to the bottom shelf dado.
Instead of clamping a level to router this piece, I found it was easier to nail a scrap piece of wood to the boards. These nail holes were positioned to be hidden inside the toe kick.
For the boards up the center of the closet, you will need to router the dados on both sides to correspond with the shelf layout.
Assemble the Plywood Cabinets
Once all the dados are cut into the sides of the cabinets, it’s time to assemble. This part goes really quickly with the prep work that has already been done!
Add a healthy amount of wood glue to the inside of the dados and then place the shelf inside it.
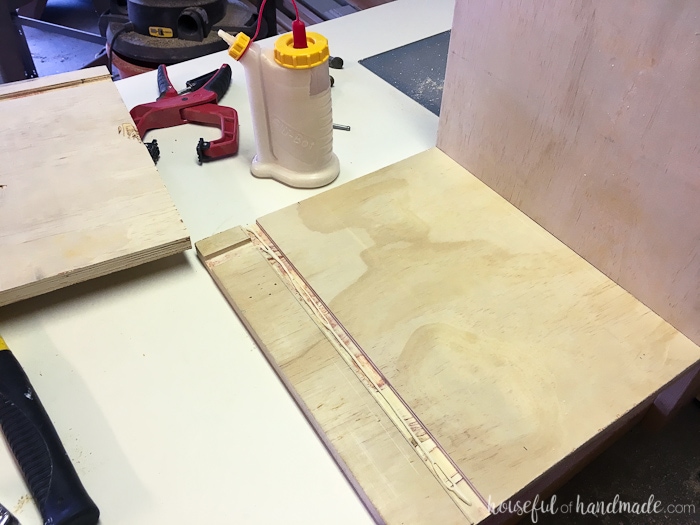

Add all the shelf pieces to the side before adding the top piece.
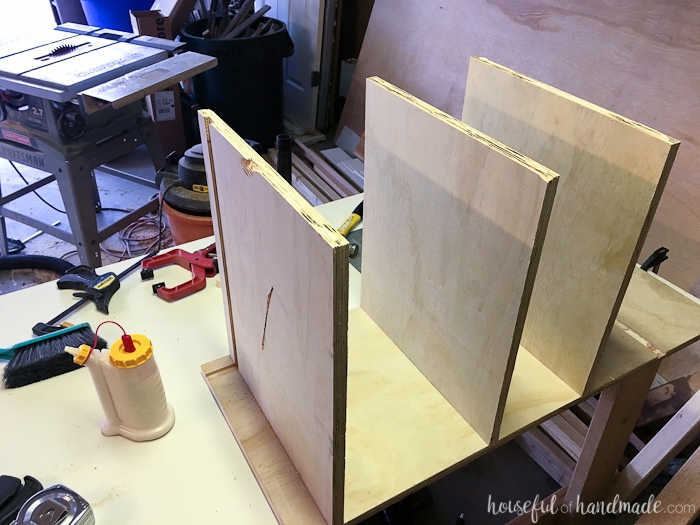
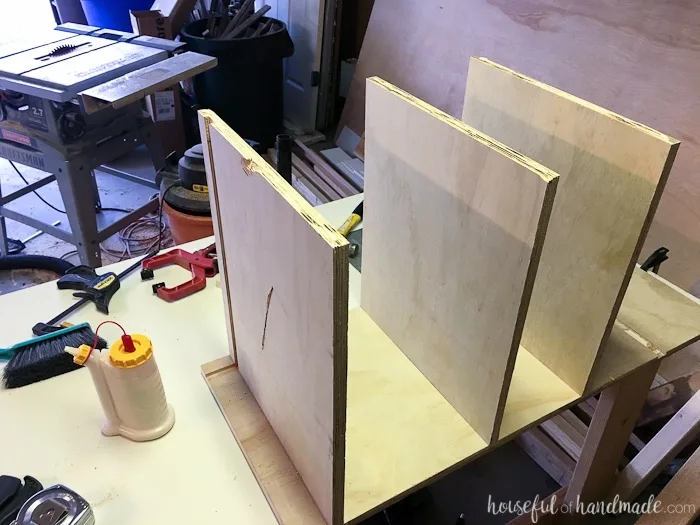
Add glue to the edges of the boards then lay the other side piece on top like a puzzle. It may take a little maneuvering to get them all to slide into their dados.
Clamp the cabinet and secure the shelves with a few 1 1/4″ nails into the ends. Make a straight line across the outside of the shelf area to make sure your nails go into the shelf straight and don’t stick out into your cabinet.
To add the toe kick, rip the left over piece of plywood to 2 1/4″ wide. Then cut to the same width as the shelf above it.
Add wood glue to the dados and slide the toe kick into the area. Clamp until dry. I only used a couple nails to secure this piece because it isn’t going to be able to move once the cabinet is standing on it.

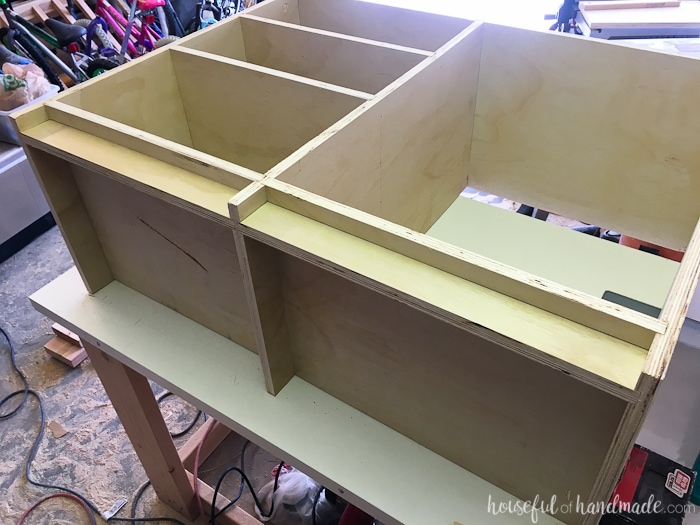
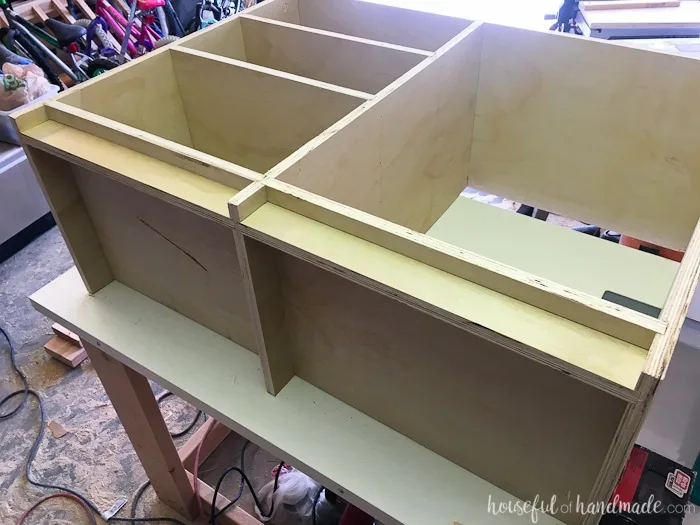
Add Drawer Slides for Ikea Baskets
You can stop here and use boxes or just leave these beautiful shelves to hold all your clothing. But I wanted to use the Ikea baskets that we had in our previous closet so I added some ledges for them to slide on.
Cut the 3/8″ square dowels to the depth of your basket. Put wood glue on the back of it and then secure it to the front of the drawer 3/4″ down from the top. I used clamps to help hold it in place while I hand nailed in 5/8″ finishing nails.

Then cut another small piece of the dowel to add to the back. This keeps the basket from sliding all the way to the back of the cabinet.

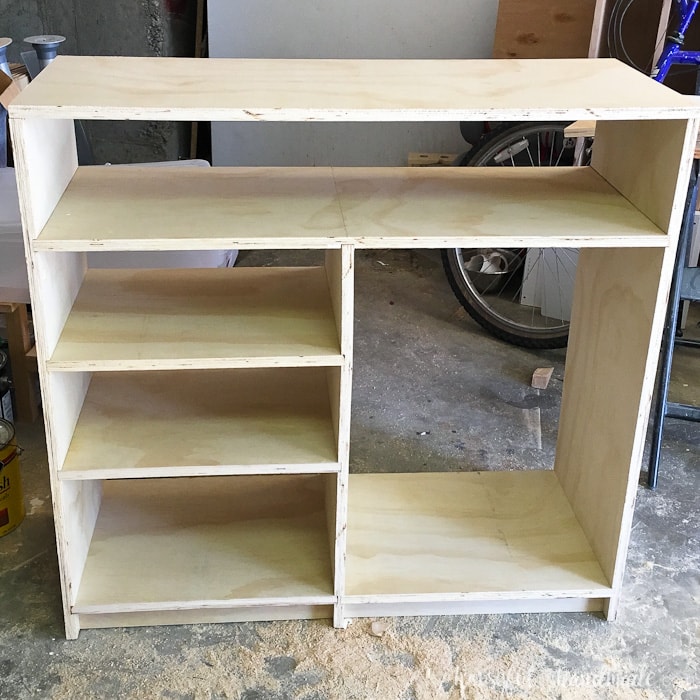
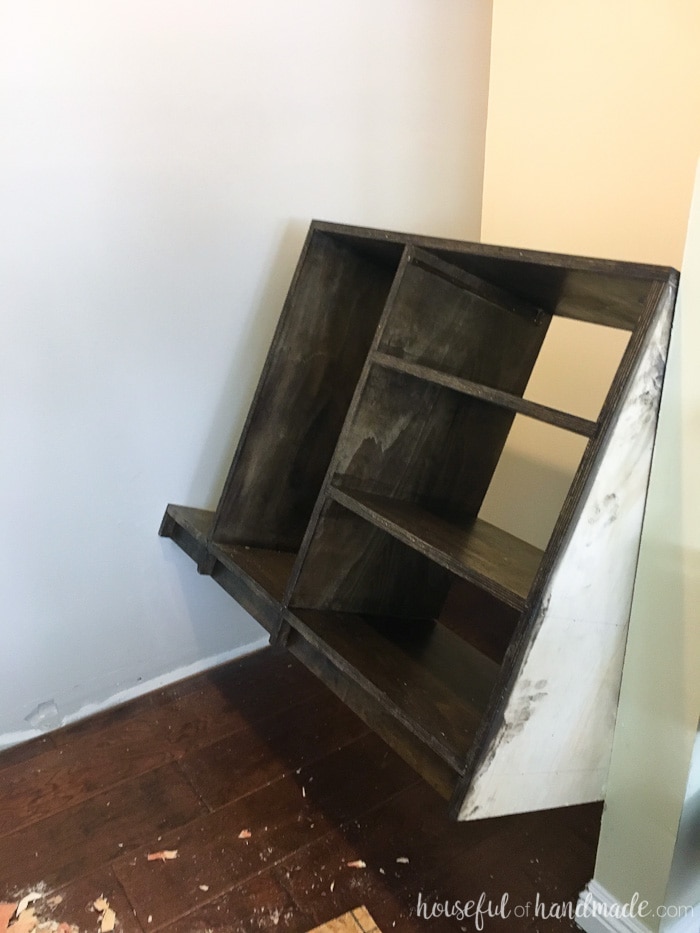
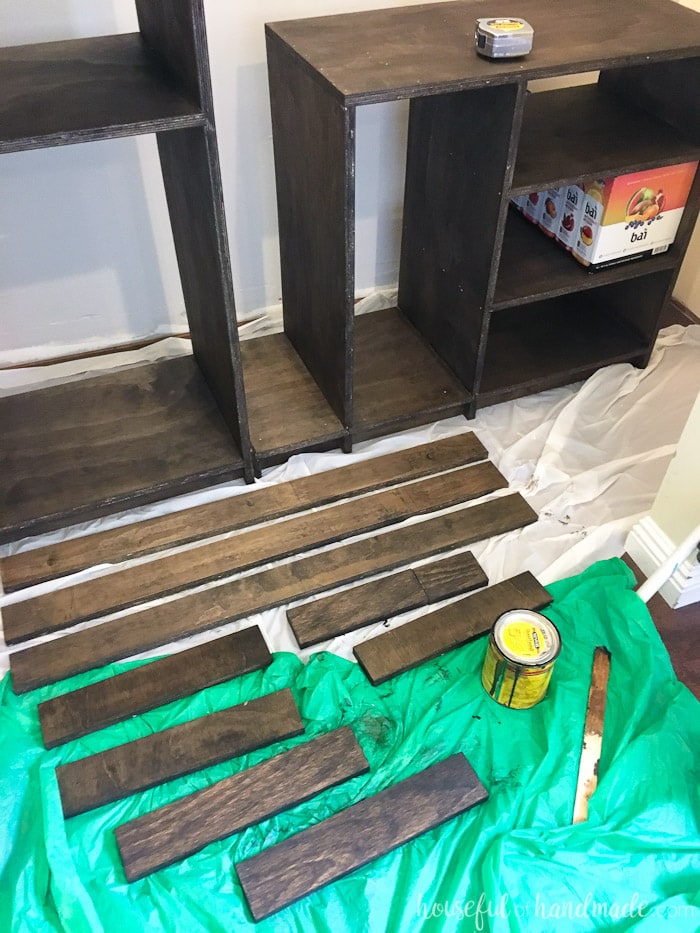
It’s time to sand, stain and seal the finished closet organizer. I chose to leave the edges of the plywood uncovered because I like the look of the layered plywood.
It’s a little bit industrial. But if you do not, you can always cover with iron on banding or wood strips ripped to 3/4″ x 1/4″.
Install the DIY Closet Organizer
Now if you are lucky and measured and dry fit properly, you can slide those cabinets right into your closet! If your floor is not level, use wood shims to level the plywood closet organizer system.
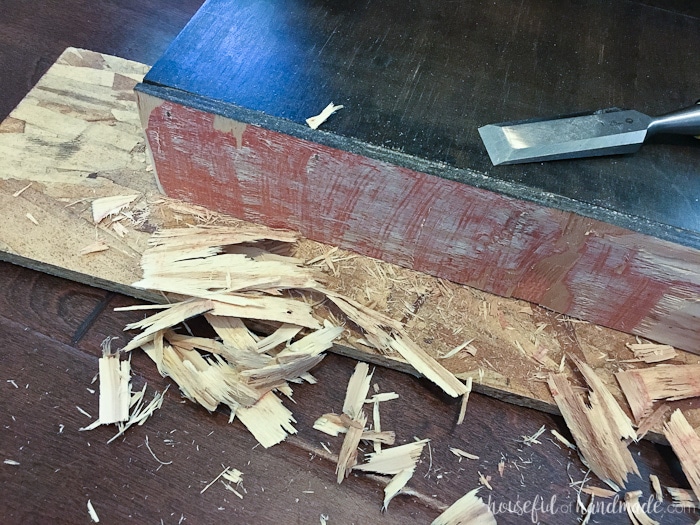
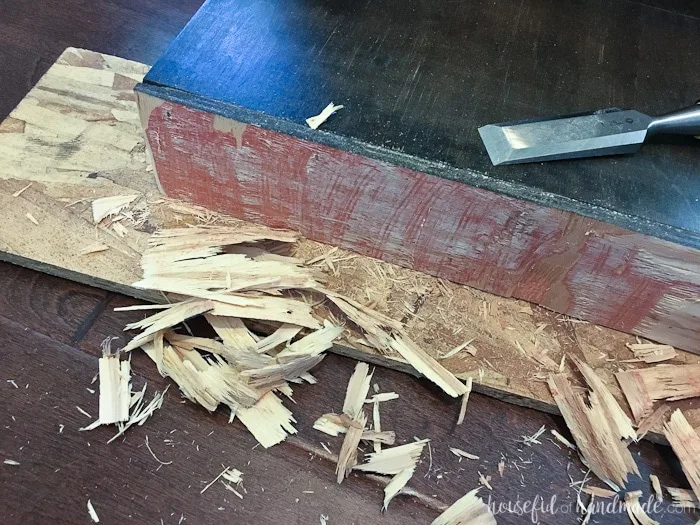
If you are not as lucky, like my side of the closet, you will need to shave off some of the plywood to get it to fit.
I chose to shave off the toe kick platform that goes under my dresses. After trying to just sand off enough to get it to fit (no luck), I used a wood chisel and was able to shave off a couple layers of the plywood.
Then I measured the closet area to find the largest part (where the wall doesn’t curve in 1/2″), and lifted the cabinet into that space.
Using a scrap piece of wood to protect the edge of my cabinet, I tapped the cabinet into the closet with a hammer. Go back and forth on each side so it slowly moves into the space without getting lodged into one side.

I’m not going to lie, this part sucked! I fought the cabinet for 2 hours, measuring, chiseling, tapping and repeating until it slid into place. But it made victory even better!
Secured the cabinets with a few screws into the wall studs. Mine were are pretty tight in there and didn’t really need a lot of securing.
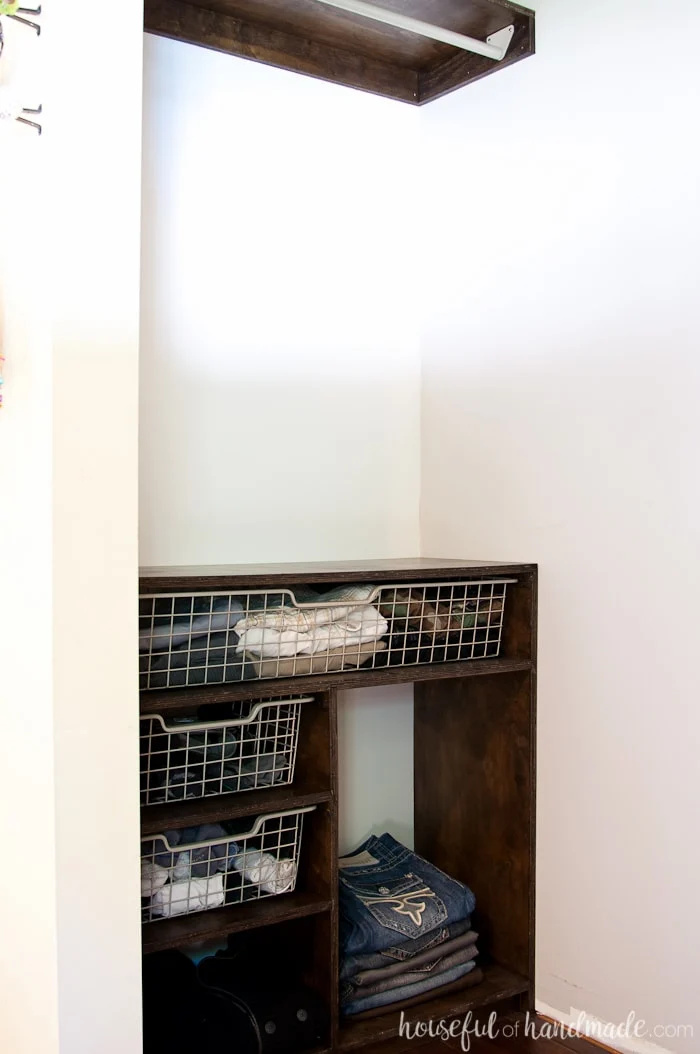
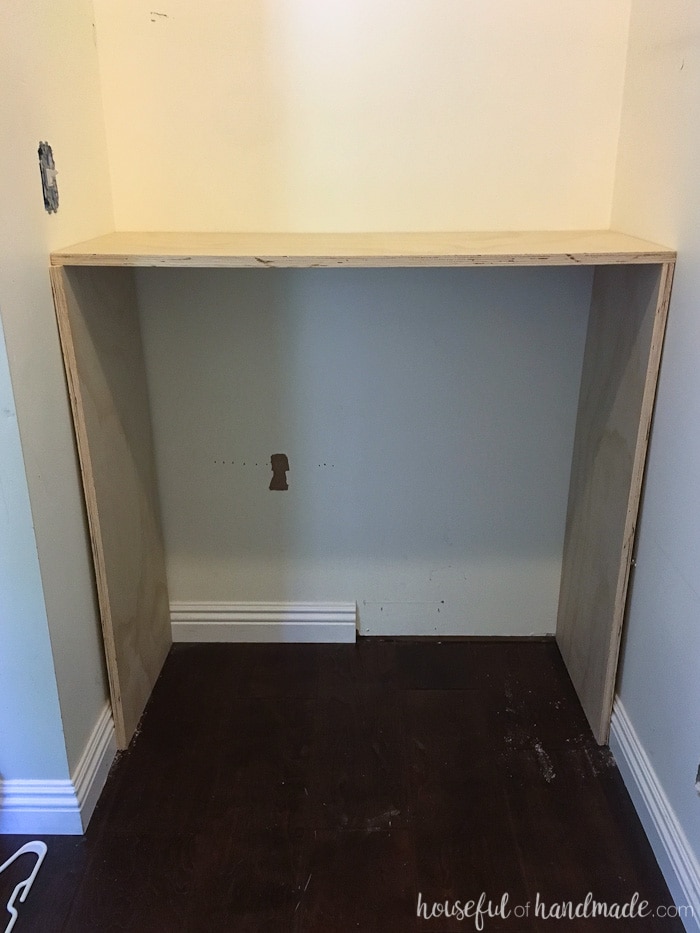
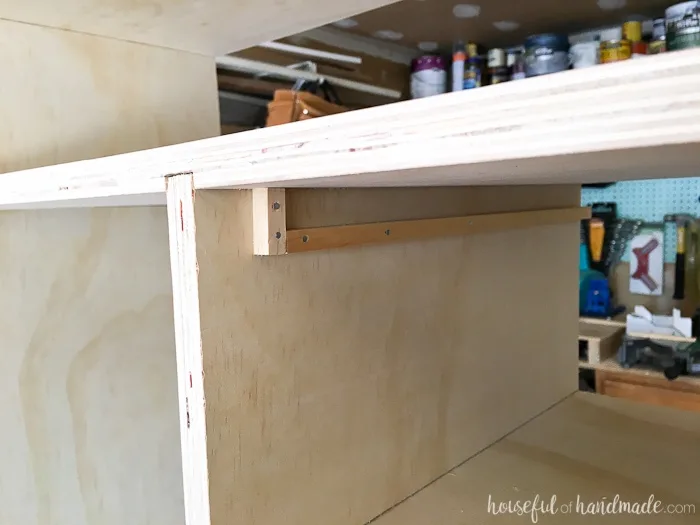
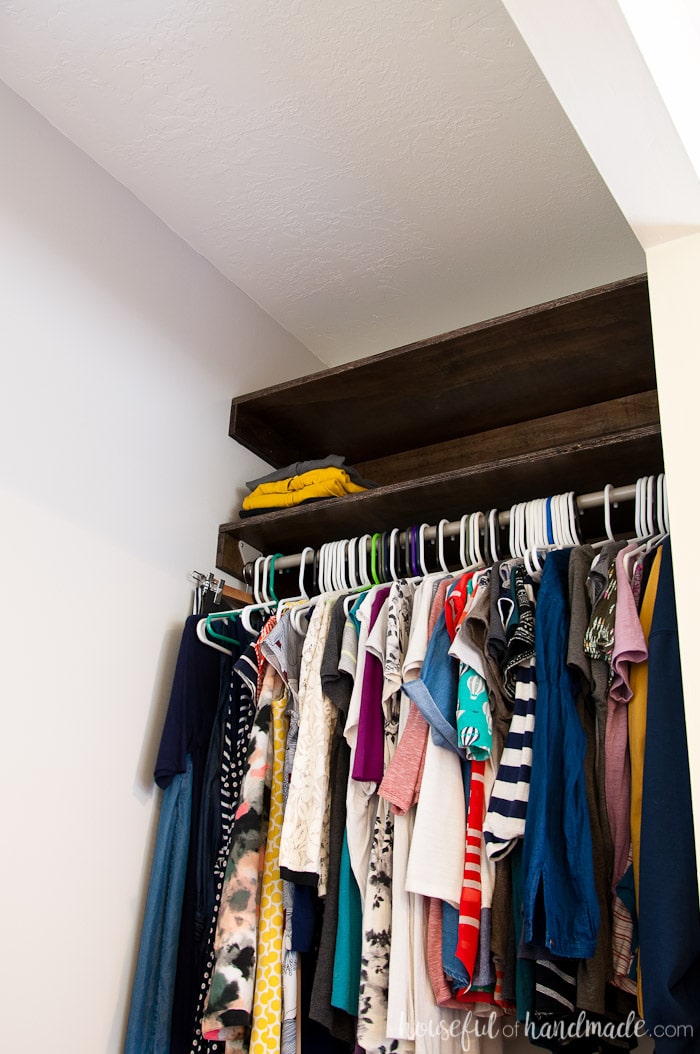
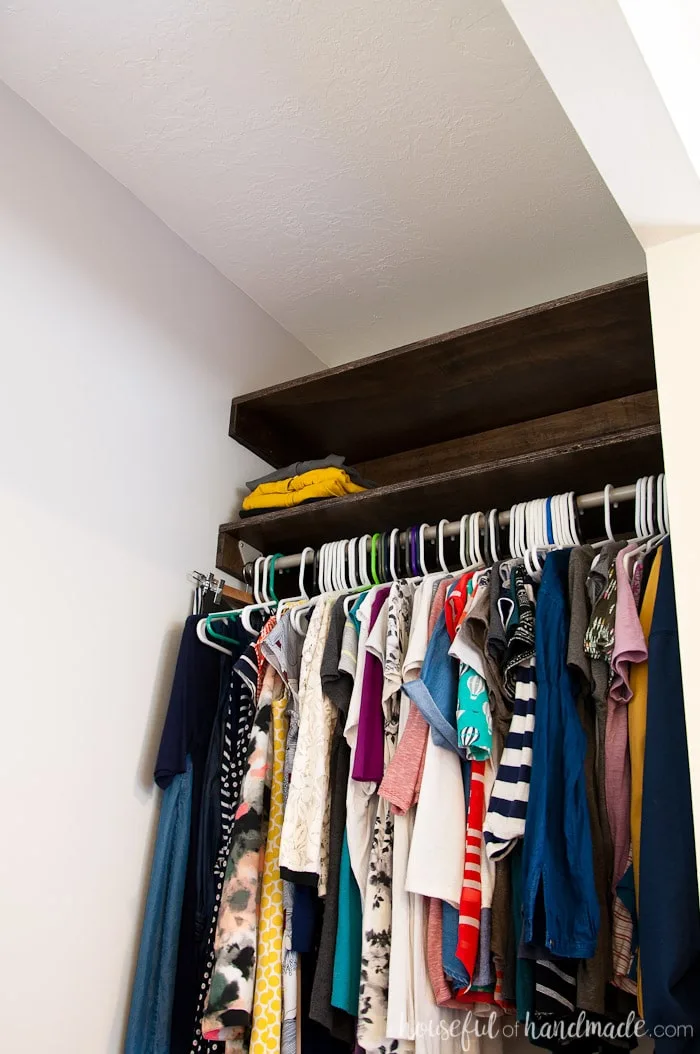
Install Upper Shelves in the Closets
Using the remainder of the approximately 2 1/2″ left over strips of plywood, cut a piece the width of the closet for the back of the shelf support.
Then cut 2 more pieces 14 1/4″ for the side supports. I didn’t have enough left over plywood to support all 3 shelves, so I had to use some scrap wood for 3 pieces of side support. Sand and stain these boards.

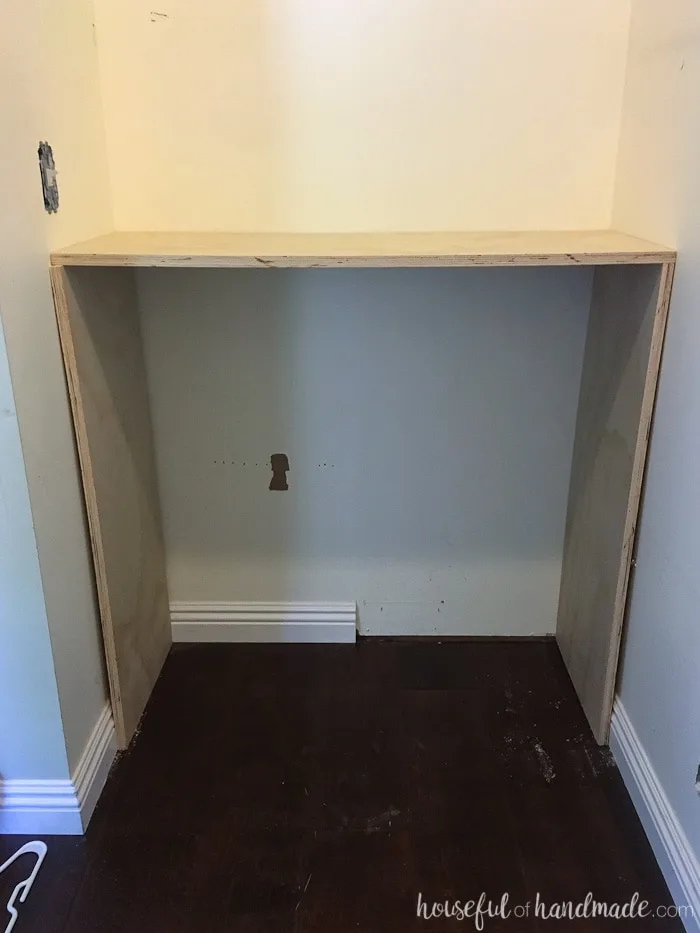
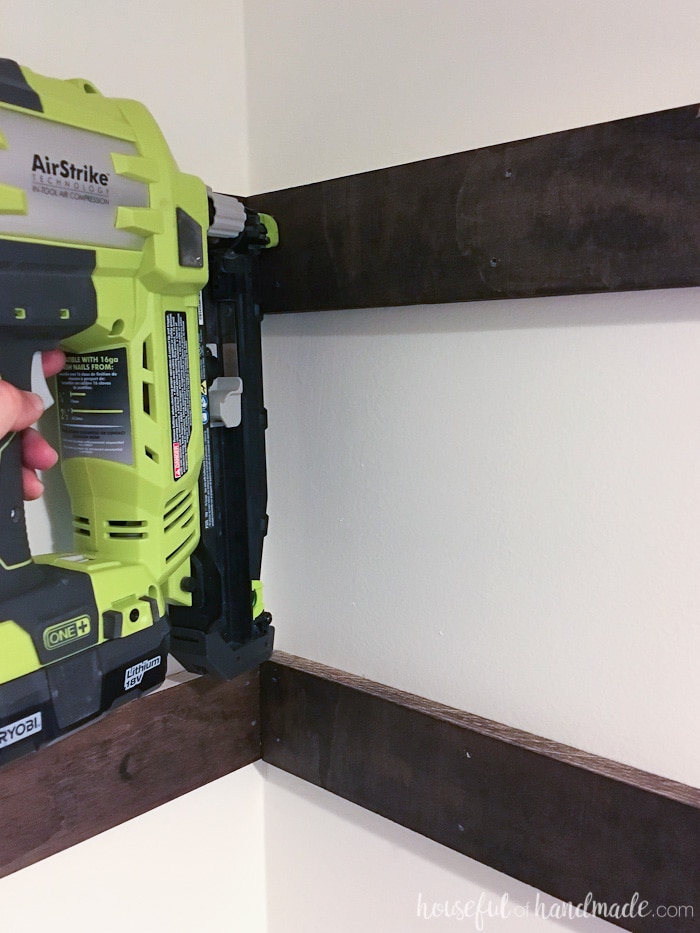
Add a bead of construction adhesive (AKA liquid nails) to the back of the board then attach it to the wall with 2 1/2″ nails into the studs.
Use a level to make sure your shelves are nice and level. Attach the back boards first them secure your side boards in front of them.

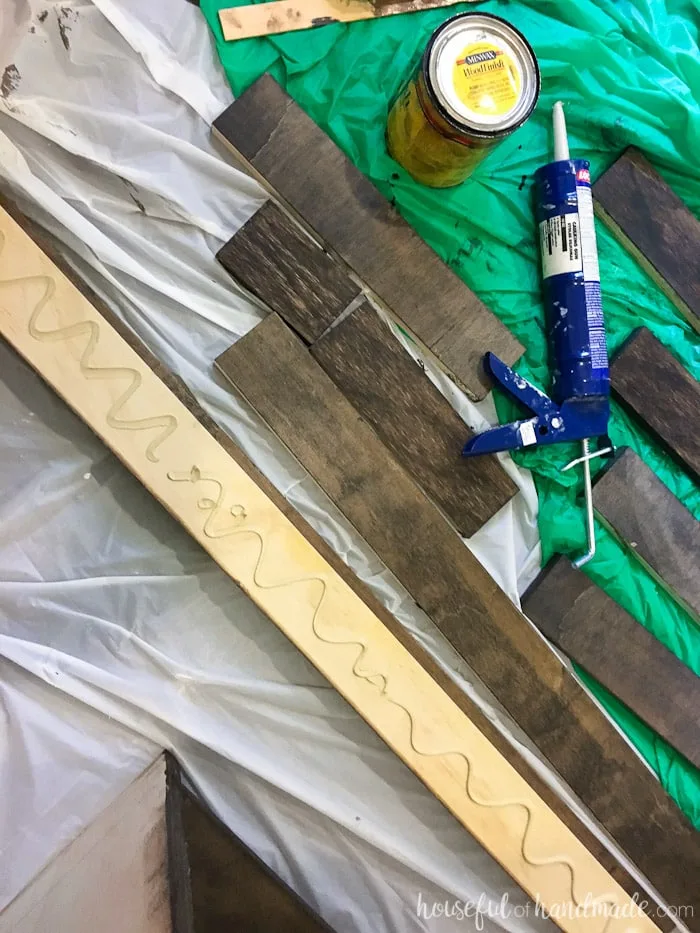
Try to get the nails into as many studs as you can, but the construction adhesive will help keep these boards secure once cured.
And unless you put a ridiculous amount of weight on them (which I am not going to be doing since they are in my clothes closet), they will be very sturdy.

Cut your 15″ plywood boards to fit on top of your shelf supports. Dry fit them to make sure they fit.
Then sand and stain and lay them on top of the supports. Secure them to the supports with a few 1 1/4″ nails in the back.
Finish by sealing the shelves with a couple coats of polyurethane and you are ready to go!
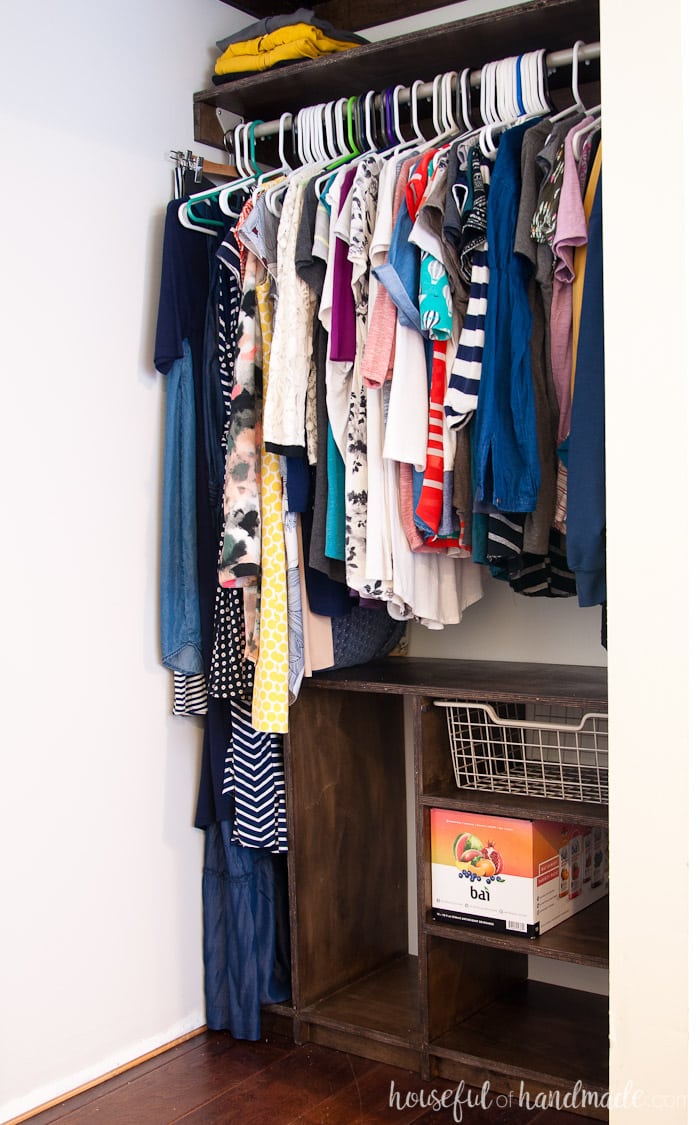
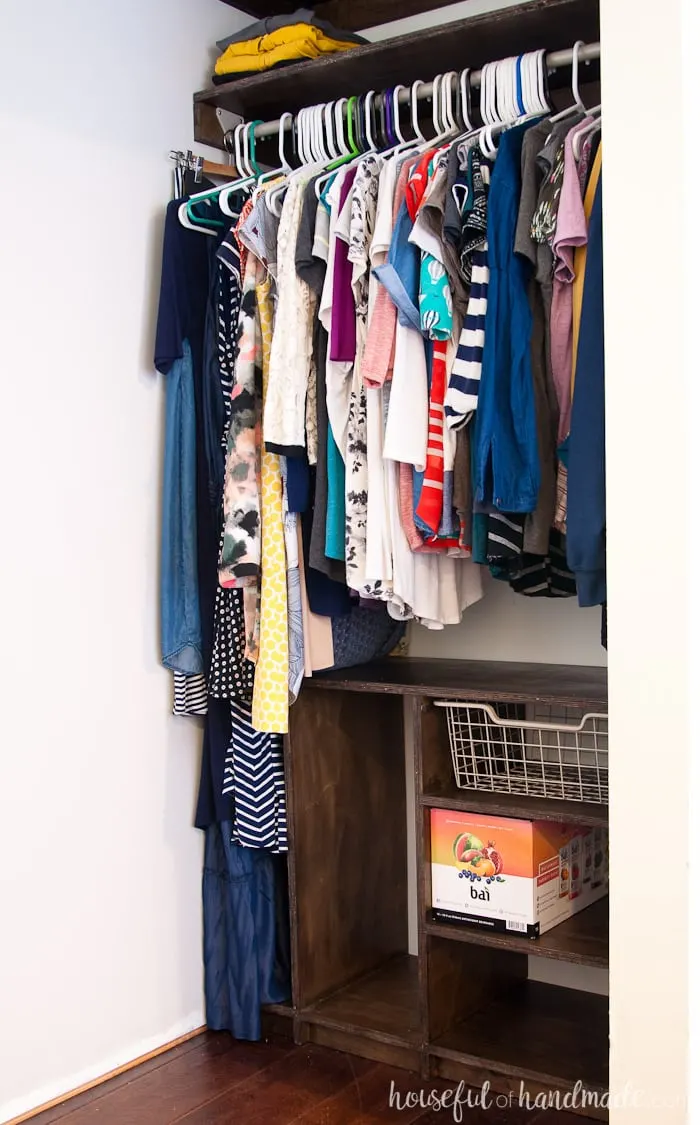
Install a Hang Bar
Add a hang bar to the shelf supports (this will allow you to secure the hang bar without needing to go into a stud).
I used a pipe cutter to cut the hang bars from our old closet to fit (they were about 1/2″ too big).
And then start loading the closet up. I can’t believe how much space I have!
It looks so much smaller, but because of the function and no hidden corners, everything fits so much better. I really wish I had done this earlier.
Such a transformation already and we are not done yet!
Stay tuned as I finish this remodel for next week (hopefully).


And don’t forget to follow-along with all these other awesome bloggers as they redo a room for only $100 too!
Hannah
Saturday 6th of June 2020
Love how this turned out! I'm currently doing some homework before I redo my closet. What site/app did you use for your design? I'm having such a hard time finding user friendly ones!
Kati
Monday 22nd of June 2020
I create my designs in SketchUp. But it takes a while to figure out how to use it, I have been using it for 3 years now and still get hung up on some things.
Erin
Monday 31st of July 2017
Beautiful organizer! This space is look fabulous already! Looking forward to the big reveal!
Kati
Monday 31st of July 2017
Thank you Erin!
Meredith @ The Palette Muse
Wednesday 26th of July 2017
It looks so much better already! Storage solutions make me so happy!
Kati
Monday 31st of July 2017
Storage solutions make me happy too!
Maria Brittis
Monday 24th of July 2017
Sorry for being late to post and read your post. Just finished the third week still need to do 4th. This is a great DIY for my room above the garage. Thanks for the inspiration. I needed something like this to get ideas. Maria
Kati
Monday 31st of July 2017
I'm so glad it will work for you. Thank you Maria!
Tracy
Saturday 22nd of July 2017
Your organizer turned out awesome!!!! I can't wait to see the final reveal next week!
Kati
Monday 31st of July 2017
Thank you Tracy! I hope I can get it all done ;)