
The bathroom vanity can be a huge expense if you want to makeover your bathroom. But you can save lots of money if you make your own DIY vanity instead!
Then you can make one of these cheap DIY vanity tops to complete your budget vanity.
We are remodeling our kids bathroom for only $100 this month as part of the $100 Room Challenge. With such a tight budget, I had no choice but to build a vanity.
This post may contain affiliate links. As an Amazon Associate I earn from qualifying purchases. Click here to read my full disclosure policy.
Then I also made a DIY concrete vanity top to finish it off on a budget too!
If you want to see how we are managing a full bathroom makeover with such a small budget, check out the bathroom makeover plan here.
Last week I added this easy DIY board and batten wall. And this week, the vanity!
Update: Our bathroom remodel is (mostly) done! You can check out the completed budget bathroom remodel here.
How to save money on a bathroom vanity?
Even with a traditional vanity, the costs can really add up.
As much as I love the mission style bathroom vanity and bottom drawer vanity that I built earlier, they just did not fit in the $100 budget.
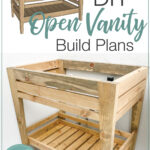
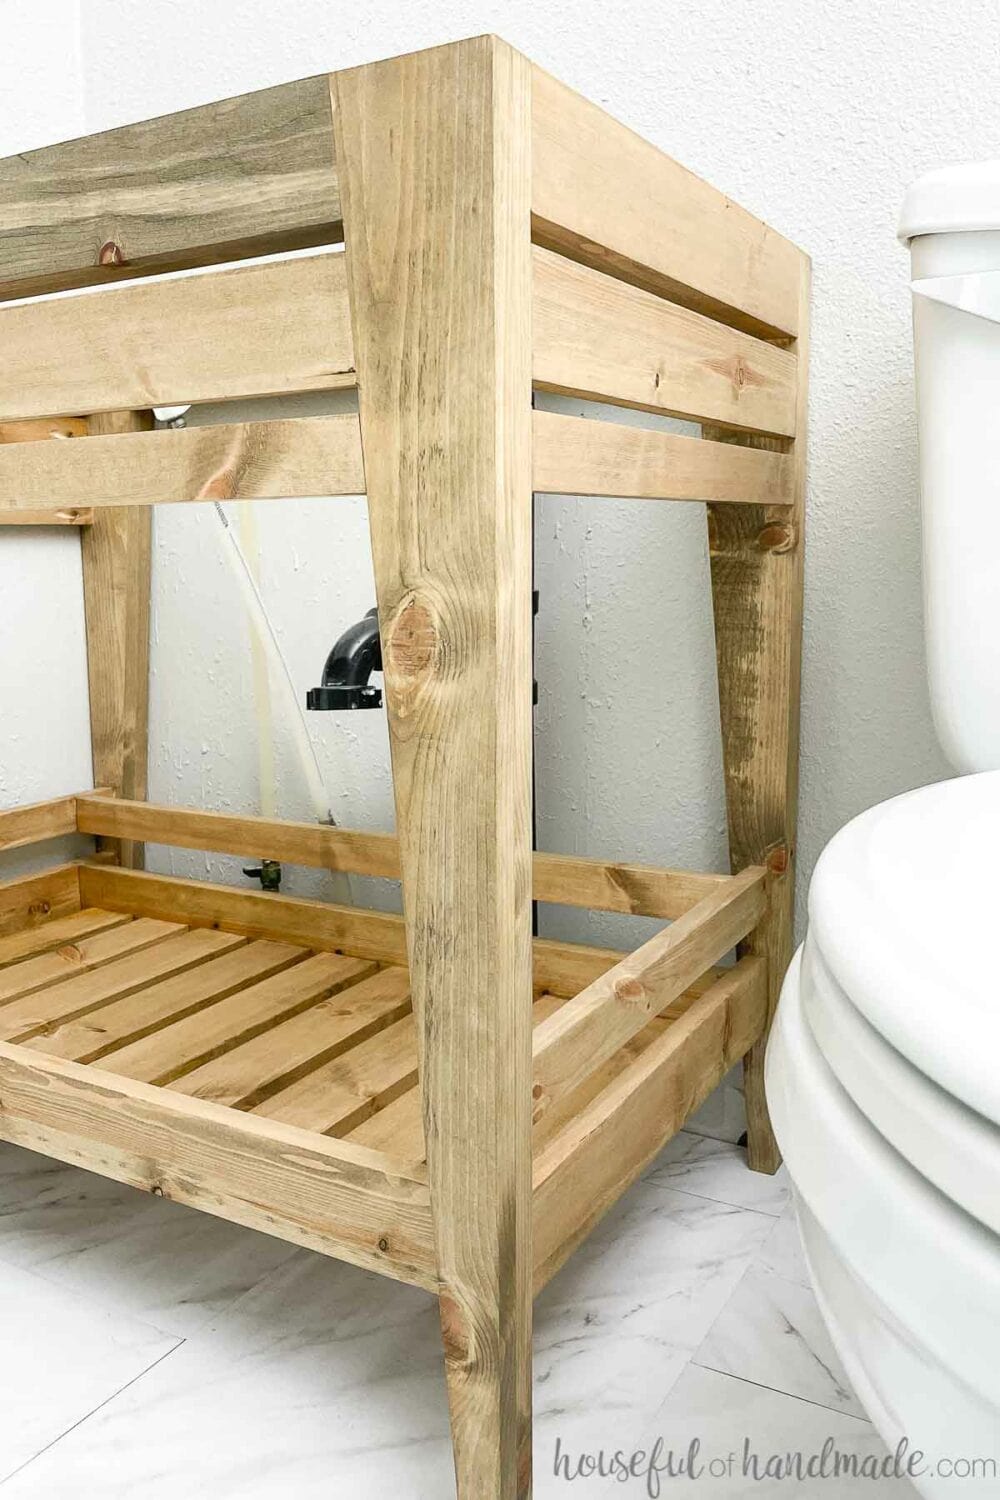
So instead of a traditional vanity, I designed a beautiful open vanity that uses inexpensive lumber.
The design of this vanity is a show stopper! No one will even notice the things that were left out of the design to save on budget.
The first thing I did to save money was to eliminate drawers. Drawers are super useful and I rarely recommend not having as many as you can.
But a set of good drawer slides can cost at least $15. Plus you need additional lumber to create the drawer.
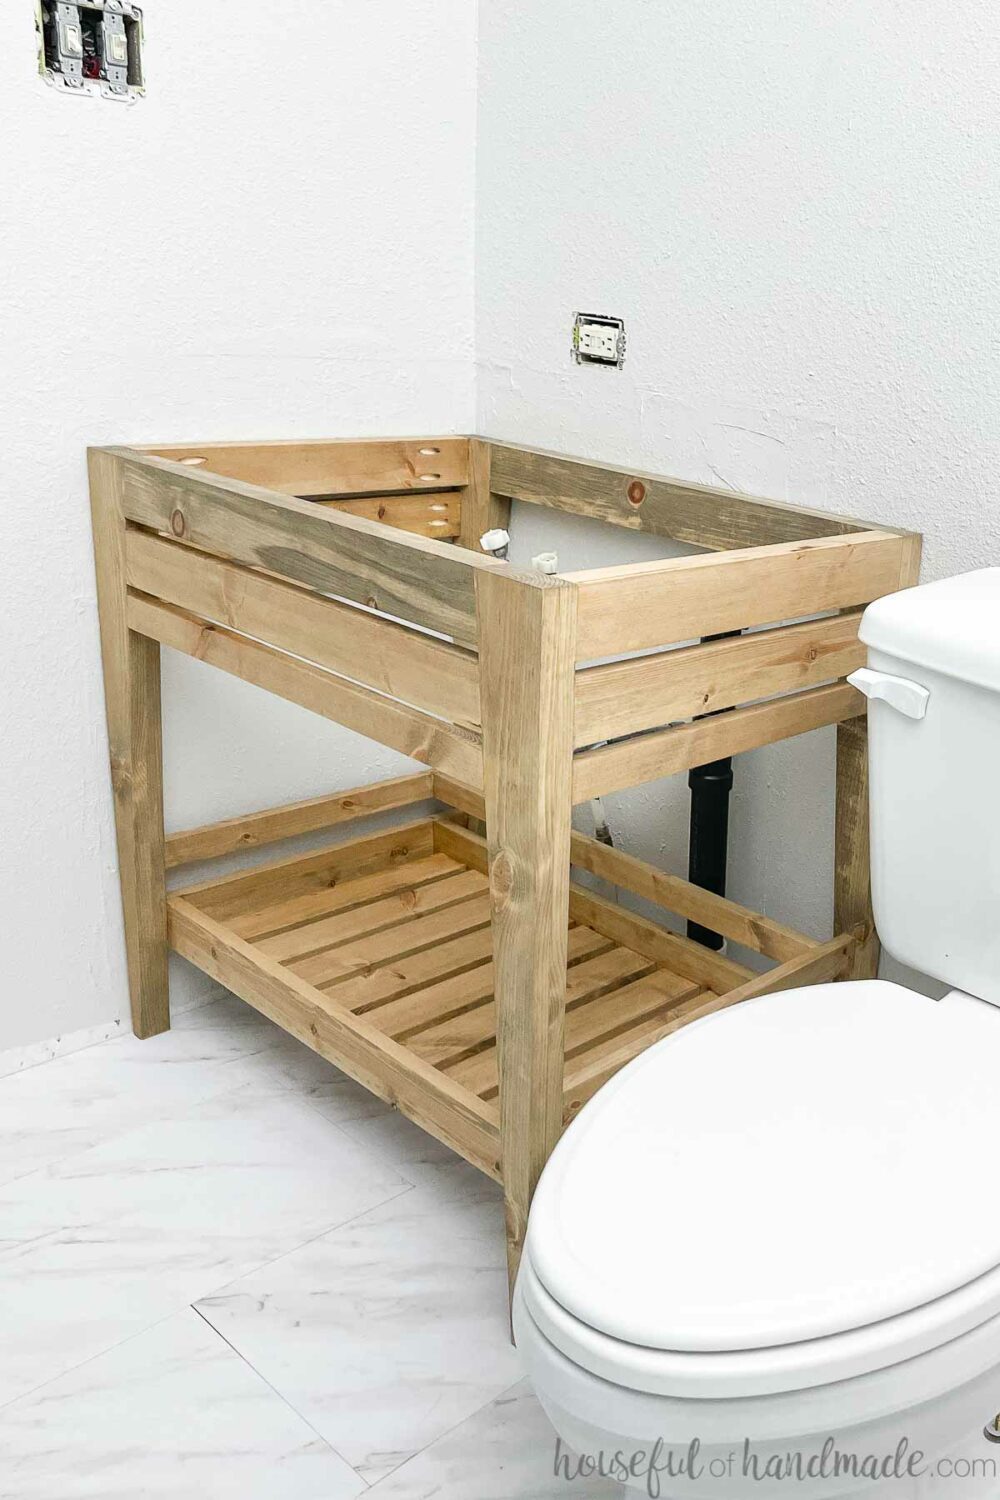
Instead of drawers, this bathroom vanity has a large open shelf. The shelf is a great place to organize things in bins or totes.
And since it is open, it will help you stay minimal in the items you keep in the bathroom.

The open vanity design also saved money by eliminating cabinet doors.
The doors are another big cost when building a vanity since you not only have to have lumber, but also hardware, for them.
Lastly, the open vanity also eliminated the need for wood for the sides and back. All these little things added up to lots of savings!
Saving Money on Lumber
This beautiful bathroom vanity was designed to use only 2×4, 1×3 and 1×2 boards. All these boards can be purchased inexpensively at your local home improvement store.
To save my budget for our bathroom vanity build (since I only had $100 to spend), I opted to use up wood left over from our DIY fire pit with benches.
At the last minute I adjusted the fire pit design and eliminated the backs from the front 2 benches. This left me with a few 1×6 boards that have been taking up space in my shop for 6 months.
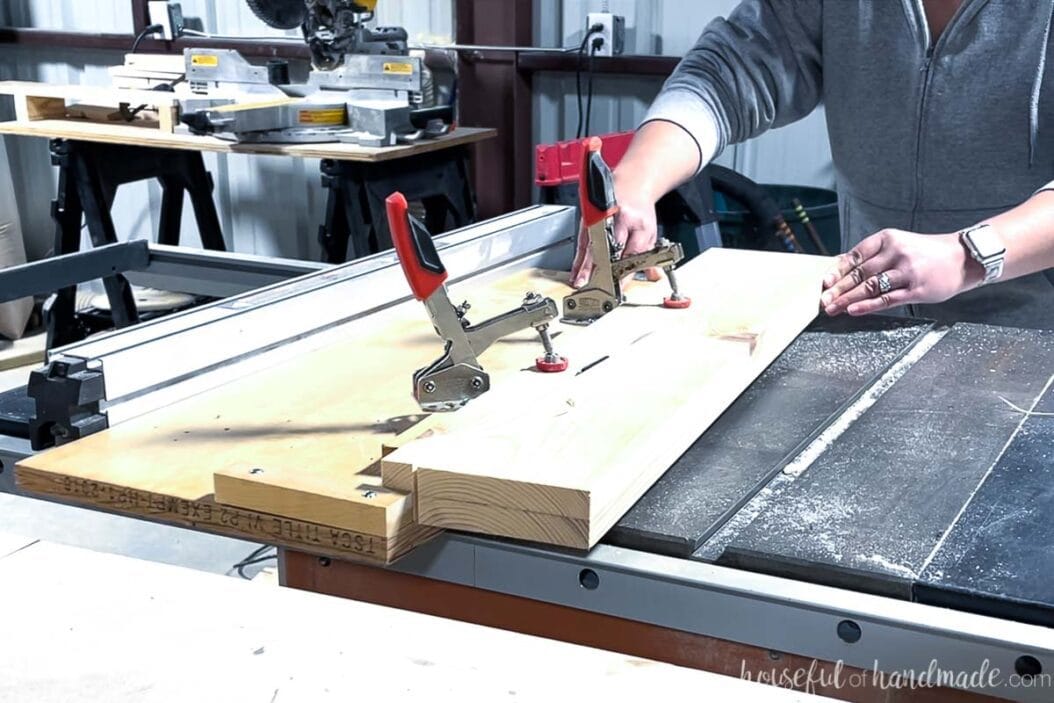
I glued some of the 1×6 boards together to get the thickness needed for the 2x boards. Then I cut all them down to size with my table saw.
I also ripped the remaining boards down on the table saw to the 1×3 and 1×2 size needed for the vanity.
But don’t worry, even if you don’t have lumber taking up space in your garage, these vanity plans are still cheap to make. You can still buy all the wood needed to build it for as low as $40.
Prefer to Watch? Check out the Video Below
How to Build a Bathroom Vanity Cheap
Tools & Materials
Recommended Tools:
- Miter saw
- I recently upgraded to this sliding miter saw (watch for it to go on sale), but previously used this inexpensive miter saw that I love.
- Table saw or Circular saw with guide track
- You will want this quick DIY tapered leg jig if using a table saw.
- Pocket hole jig
- Drill
- Impact driver (optional, but I love not having to switch bits with the drill)
- Brad nailer
- Sander
- Clamps
Supplies:
- Lumber-
- (2) 2×4 boards, 8’ long
- (1) 2×4 board, 18” long
- (4) 1×3 boards, 8’ long
(2) 1×2 boards, 6’ long- Check out my beginners guide to buying lumber to pick out the best boards, even on a budget!
- 2 1/2” pocket hole screws
- 1 1/4” pocket hole screws
- 1 1/4” brad nails
- Wood glue
- Sand paper
Overall Dimensions
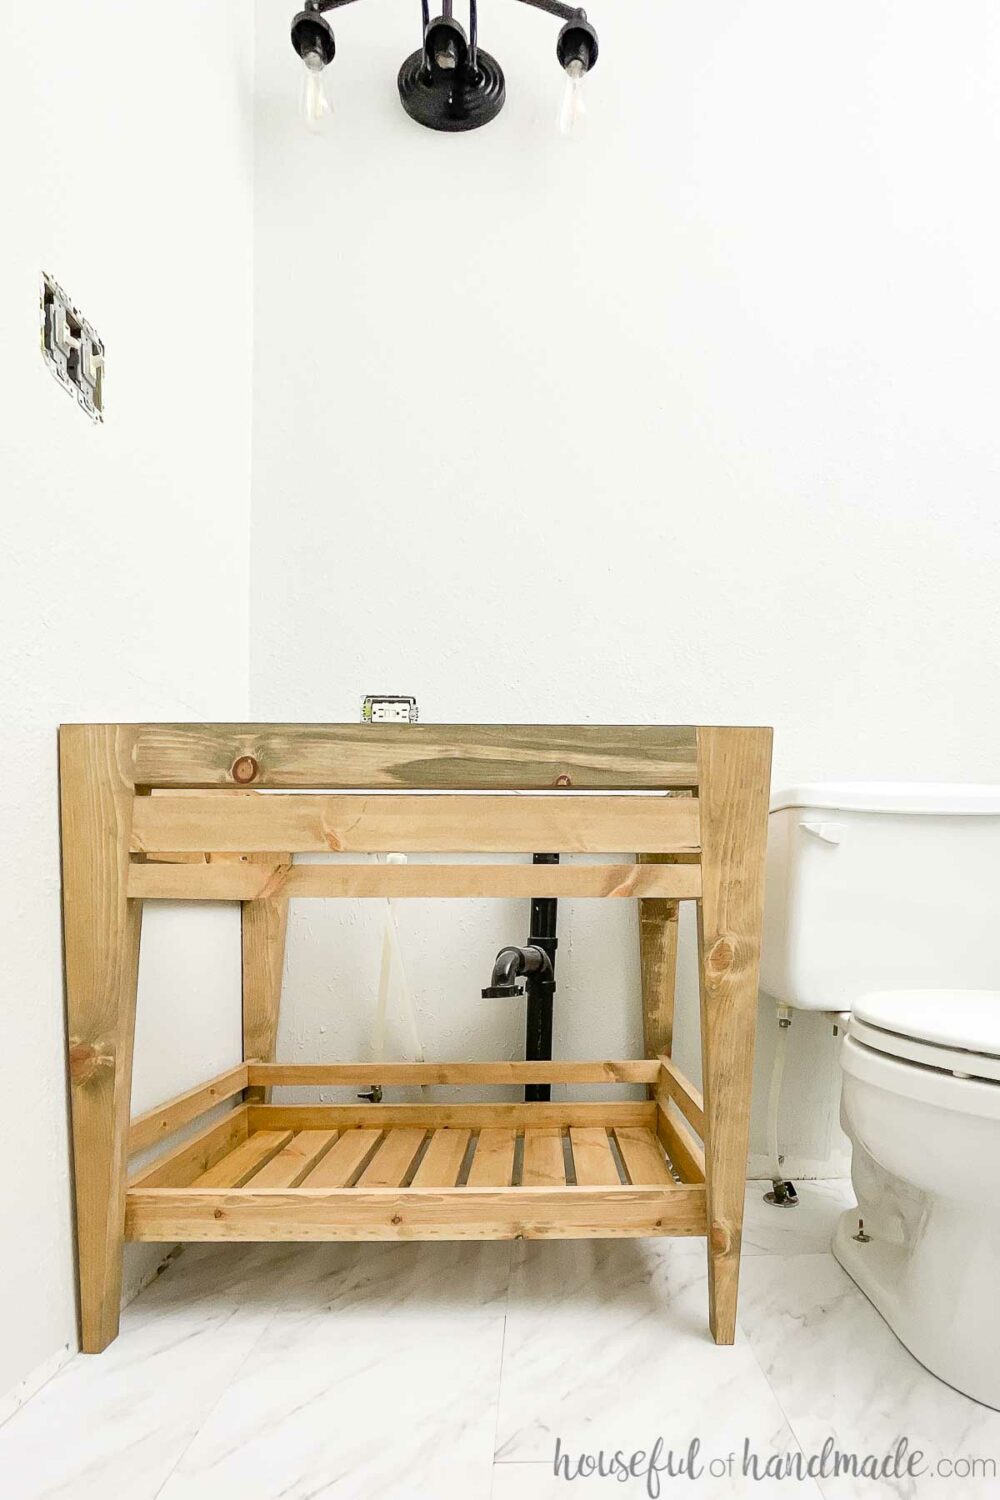
The completed vanity is 30″ tall, 21″ deep and just shy of 32″ wide.
Cut List
Cut the pieces out according to the easy to read cut list in the premium PDF plans.

For the front & back skirts, cut the 2x4s at a 5 degree angle so they are angling toward each other.
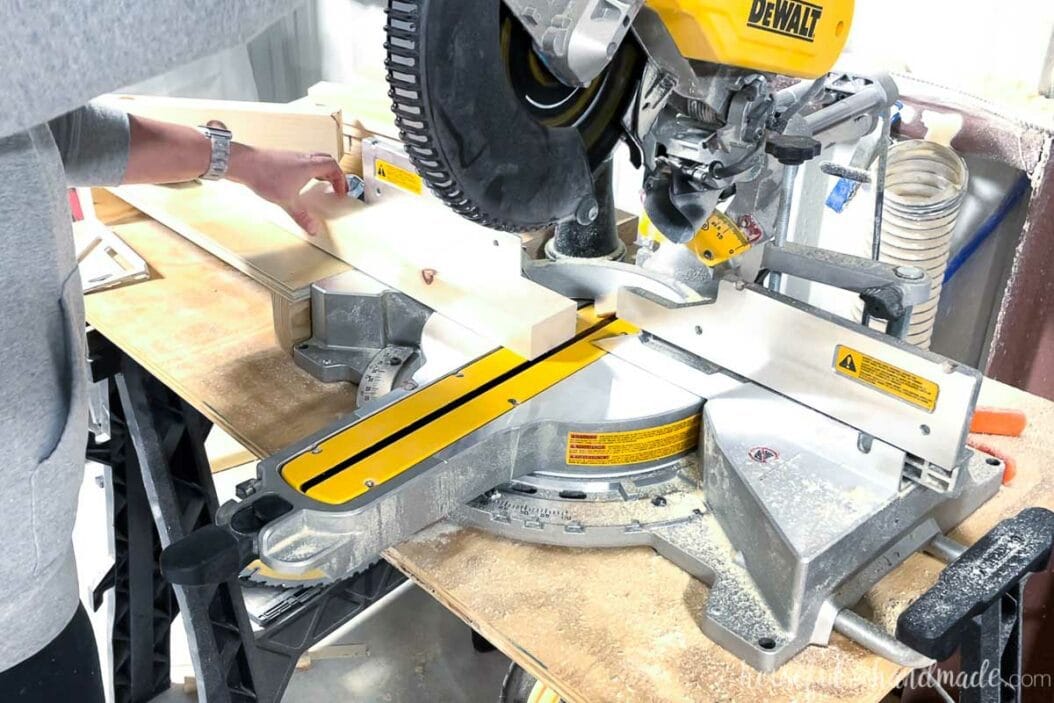
Using a tapered leg jig or a circular saw with a guide track, cut the legs so the top is the full 3 1/2″ wide of the board and the bottom is 7/8″ wide.
I have been using a simple DIY tapered leg jig from scrap wood for many projects (like this modern coffee table and the fire pit benches).
For the front skirt decor, cut the piece long with a 5 degree angle on one end.
STEP 1- Assemble the frame
Build the front
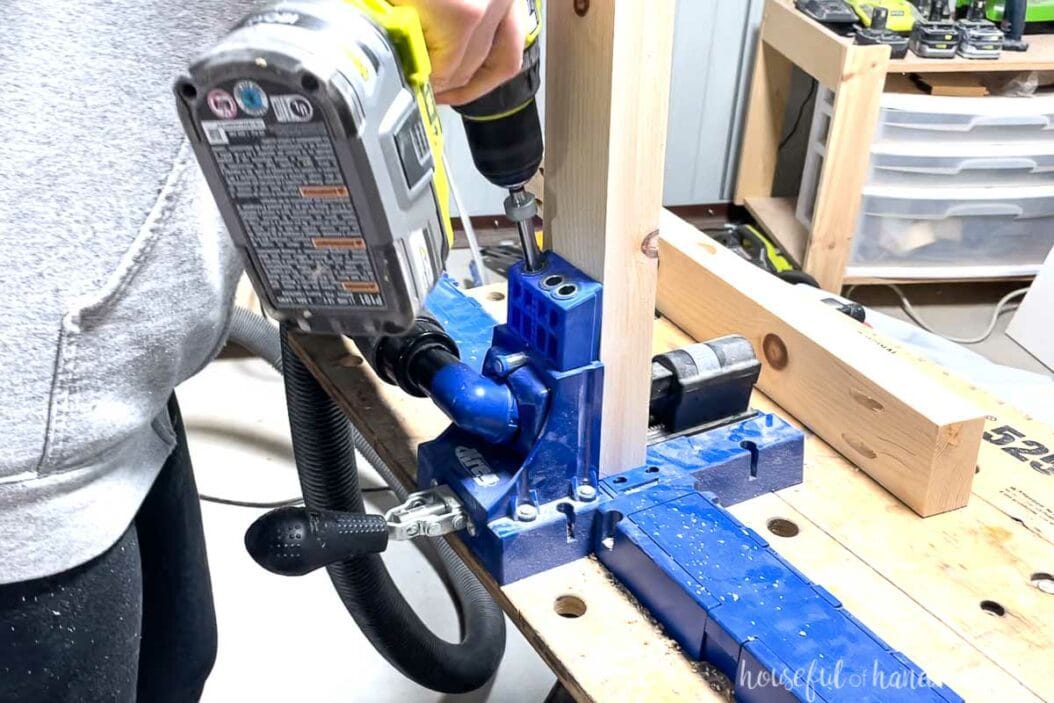
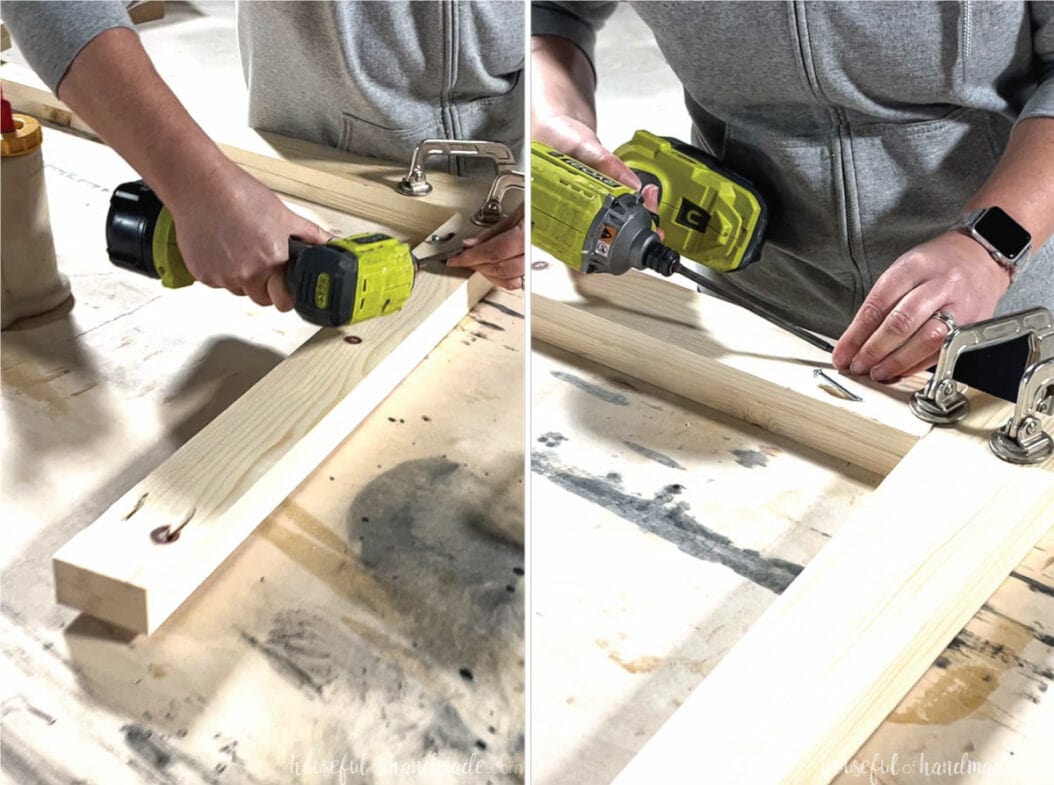
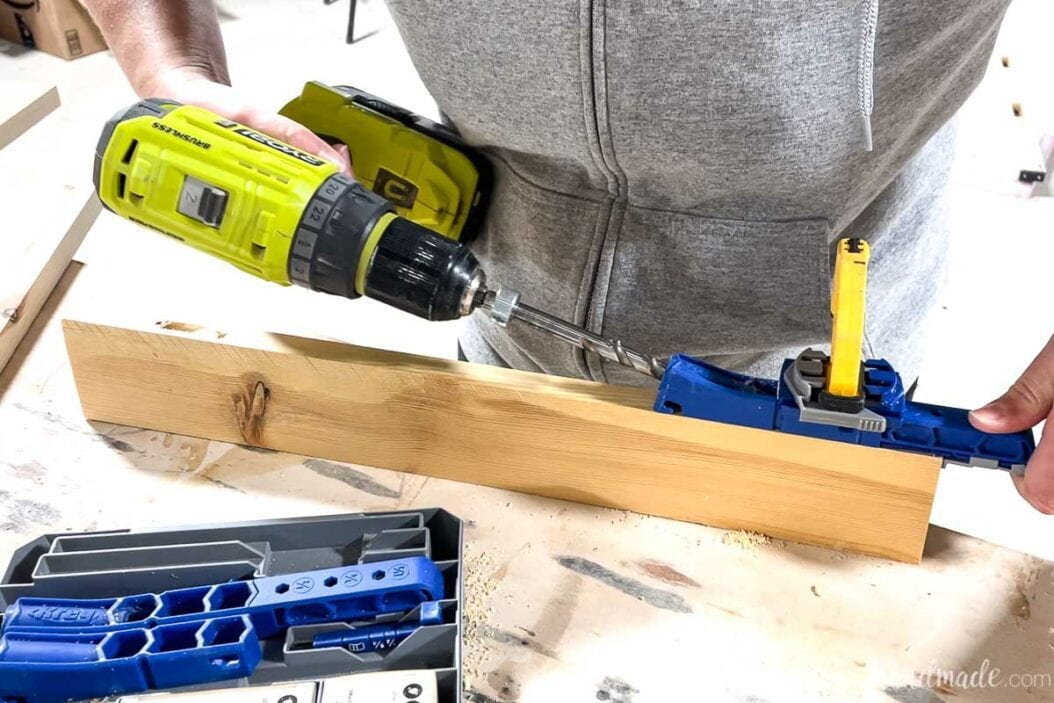
Drill pocket holes set for 1 1/2″ thick material in the back of all the top skirt boards cut from the 2x4s.
Using wood glue and 2 1/2″ pocket hole screws, attach the front/back skirt pieces between the legs.
The wider part of the skirt pieces will be on the bottom and the shorter side on the top. The top should be flush with the top of the legs.
Repeat with the back skirt piece and the other 2 legs.
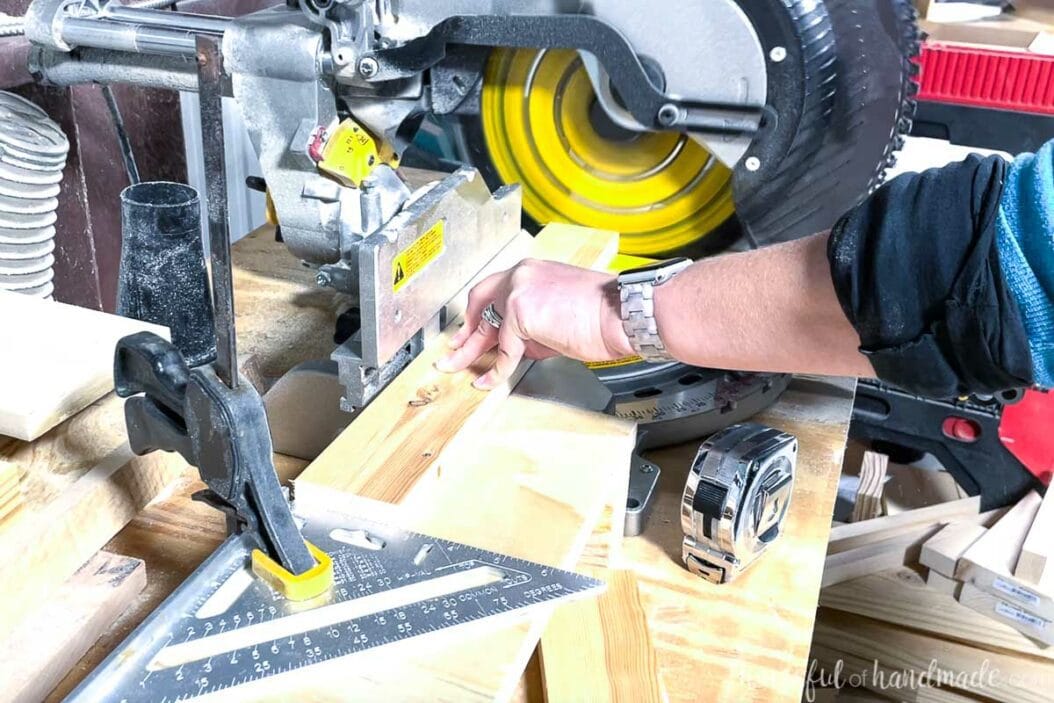
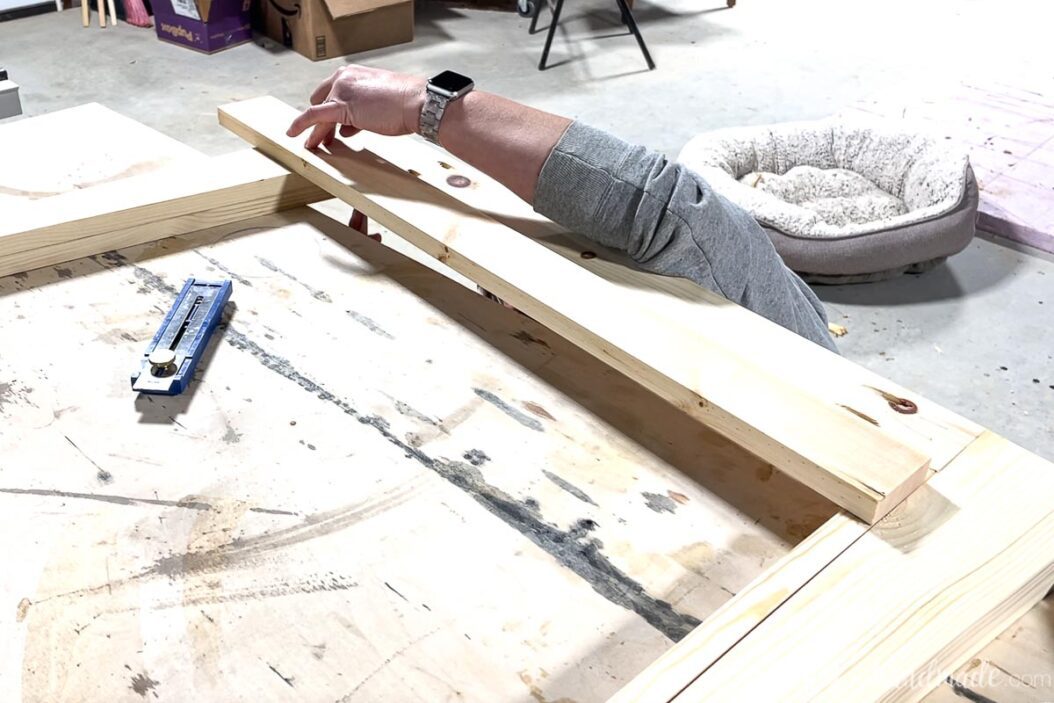
Next, lay the 1×3 skirt decor piece in between the legs where it will go. Use a scrap of 1×2 to hold it level on the side that is already cut an an angle.
Leave a 1/2″ gap between the top skirt piece. Then draw a line where the angled cuts need to be. Cut the other side at the mark.
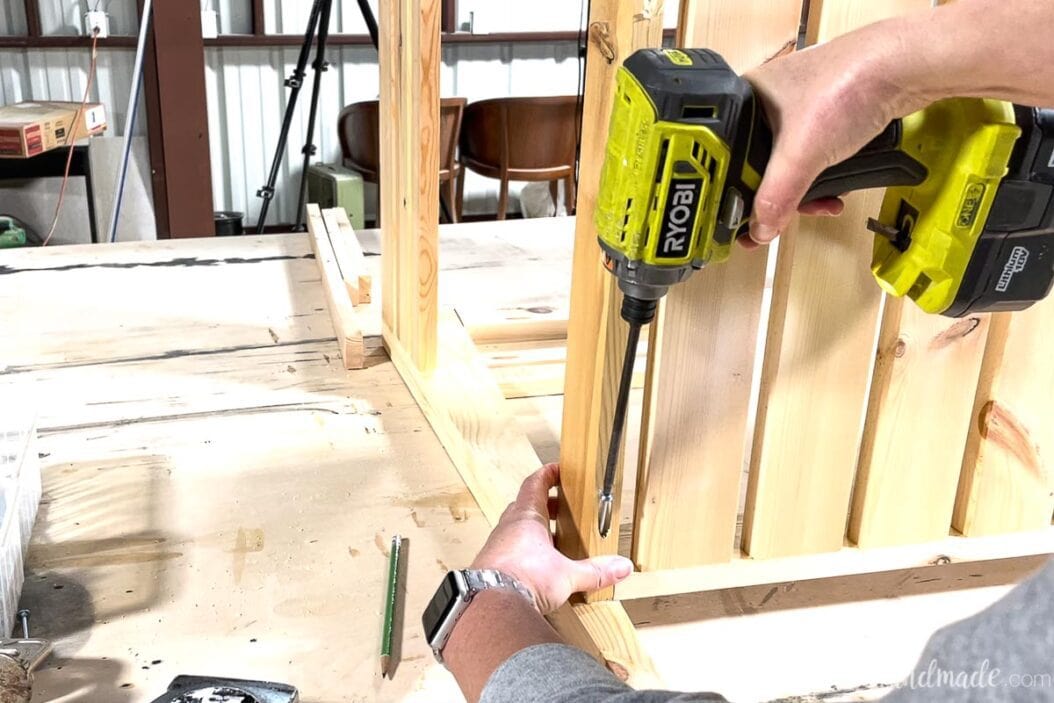
Add pocket holes set for 3/4″ thick material to both sides of this board and attach to the front of the vanity with 1 1/4″ pocket hole screws.
Repeat for the 1×2 front skirt decor piece.
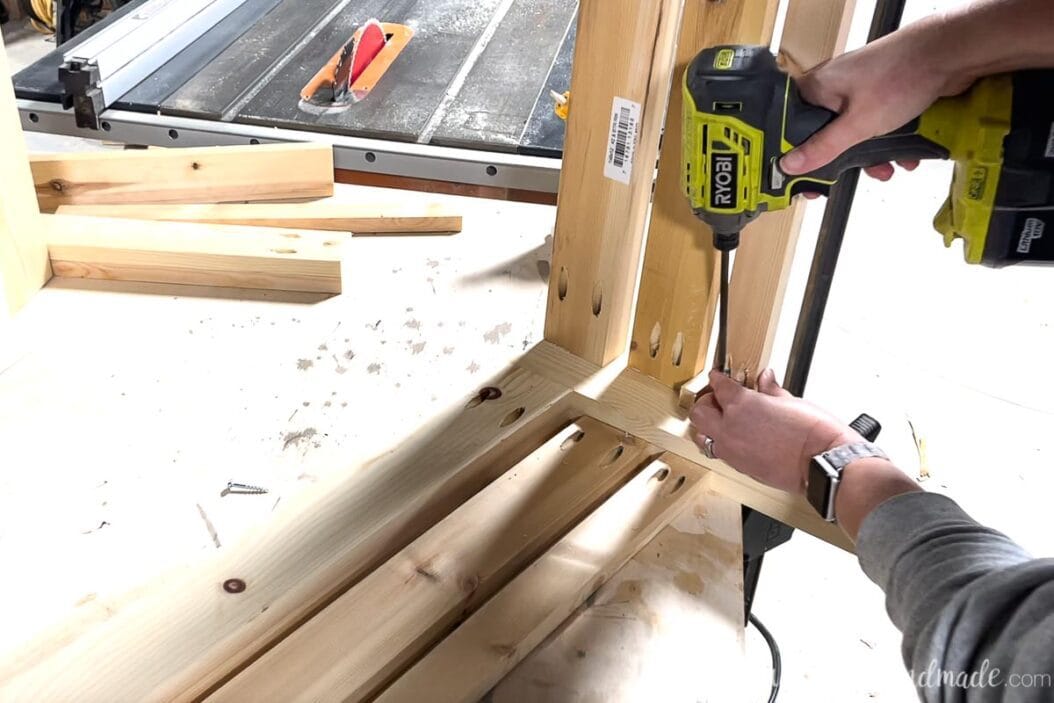
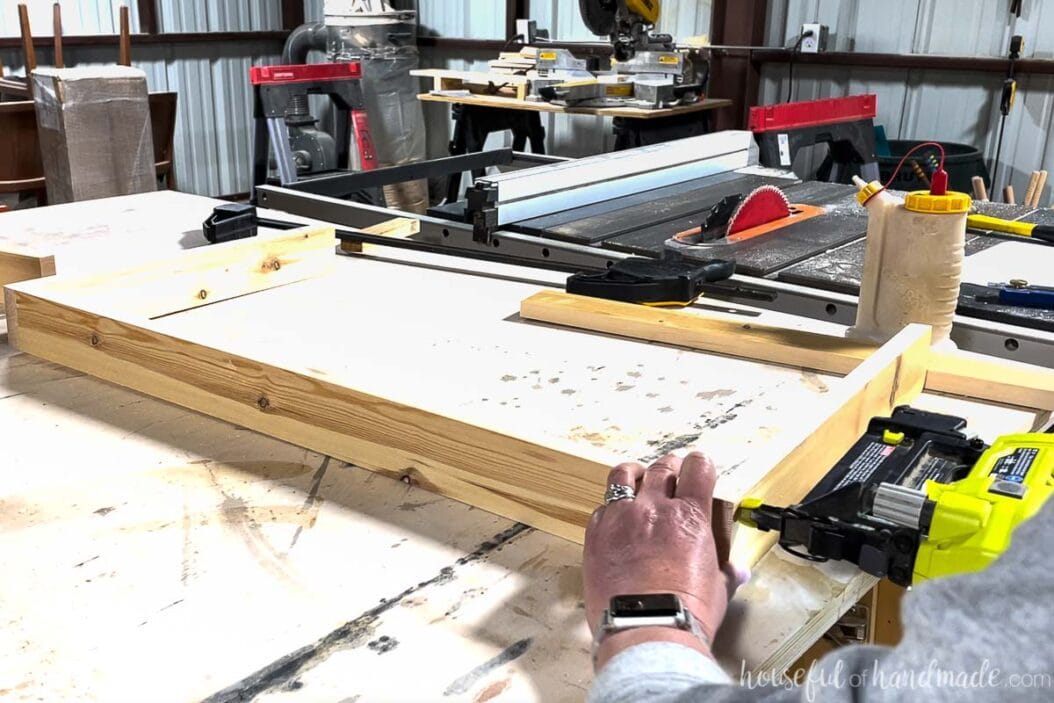
Attach sides
Attach the top side skirt piece to the top of the assemble front. The edges should be flush with the outside of the legs.
Secure with wood glue and 2 1/2″ pocket hole screws.
Then add the side skirt decor pieces leaving a 1/2″ gap between them. Secure with 1 1/4″ pocket hole screws.
Repeat on the other side.
Attach back
Finally secure the back by attaching all the side skirt pieces to the legs the same as you did for the front.
Make sure to leave the 1/2″ gap between the pieces.
If you don’t want a shelf on your open vanity, you can sand and finish it now. I think it would look amazing as is with a large basin sink on top… ideas for the next house!
STEP 2- Build the Shelf
To attach the shelf and shelf rail without visible pocket holes, drill a pocket hole set for 1 1/2″ thick material on both ends of the bottom edge of the 1×3 shelf side pieces and 1×2 shelf rail pieces.
I realized this after already attaching the shelf so I had to attach the shelf rail with visible pocket holes and fill them later. But if you do as I say, you can eliminate this step!
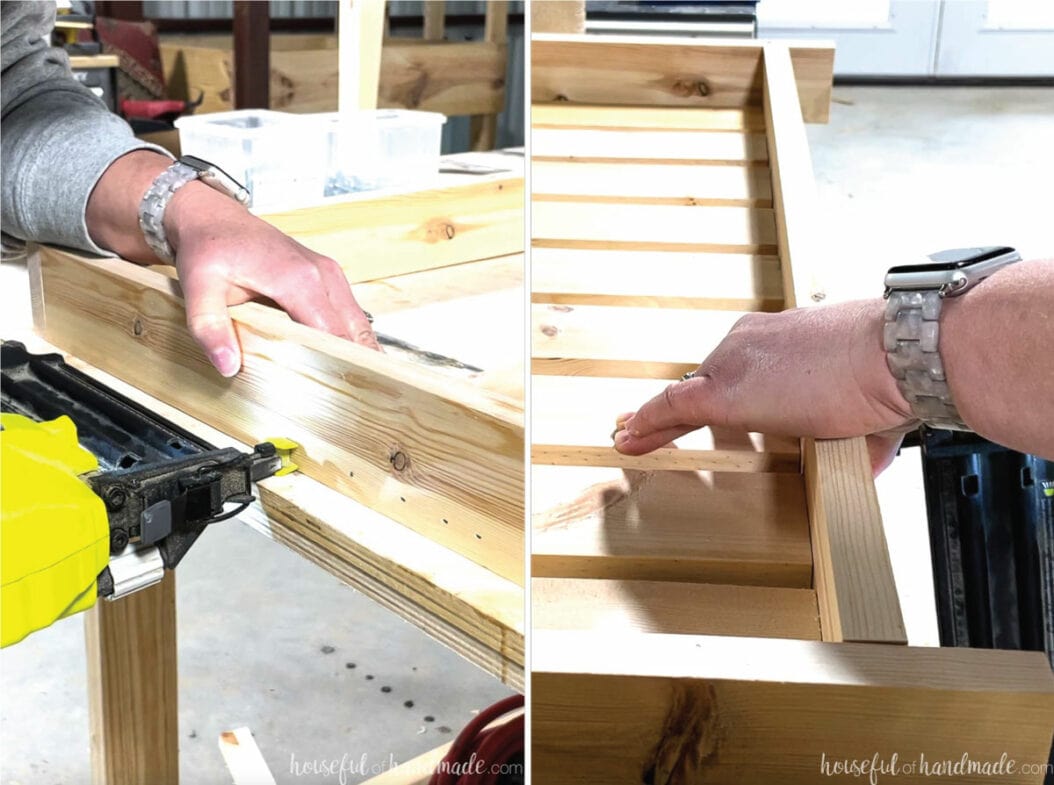
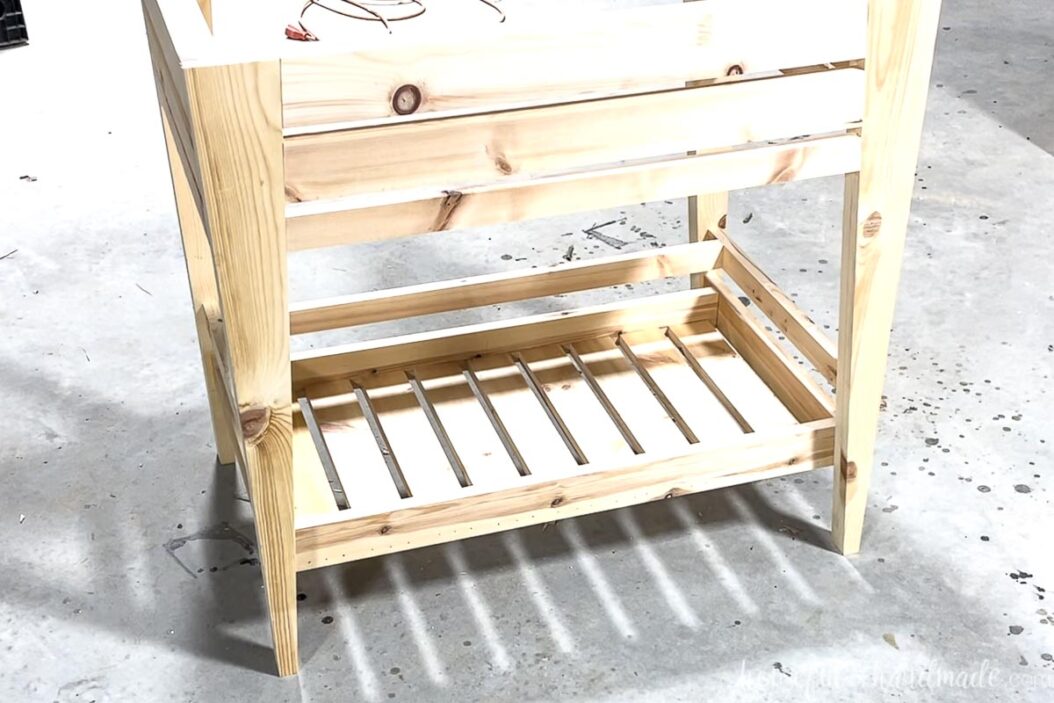
Assemble the shelf by attaching the front pieces between the sides with wood glue and 1 1/4″ brad nails. Make sure to pay attention to where the pocket hole is so you do not put a nail through it.
Then attach the slats on the inside. Attach the first slat so it is centered on the shelf front and flush with the bottom. Secure with wood glue and brad nails.
Then leave a 5/8″ gap on either side and attach the other 2 boards to either side. Continue until you have attached all 9 slats. The outer gap will be slightly larger than 5/8″ (which is why you want to start in the center and not on the edge).
Finish the shelf by attaching the back piece between the sides and flush with the slats. Again, be mindful of your pocket holes.
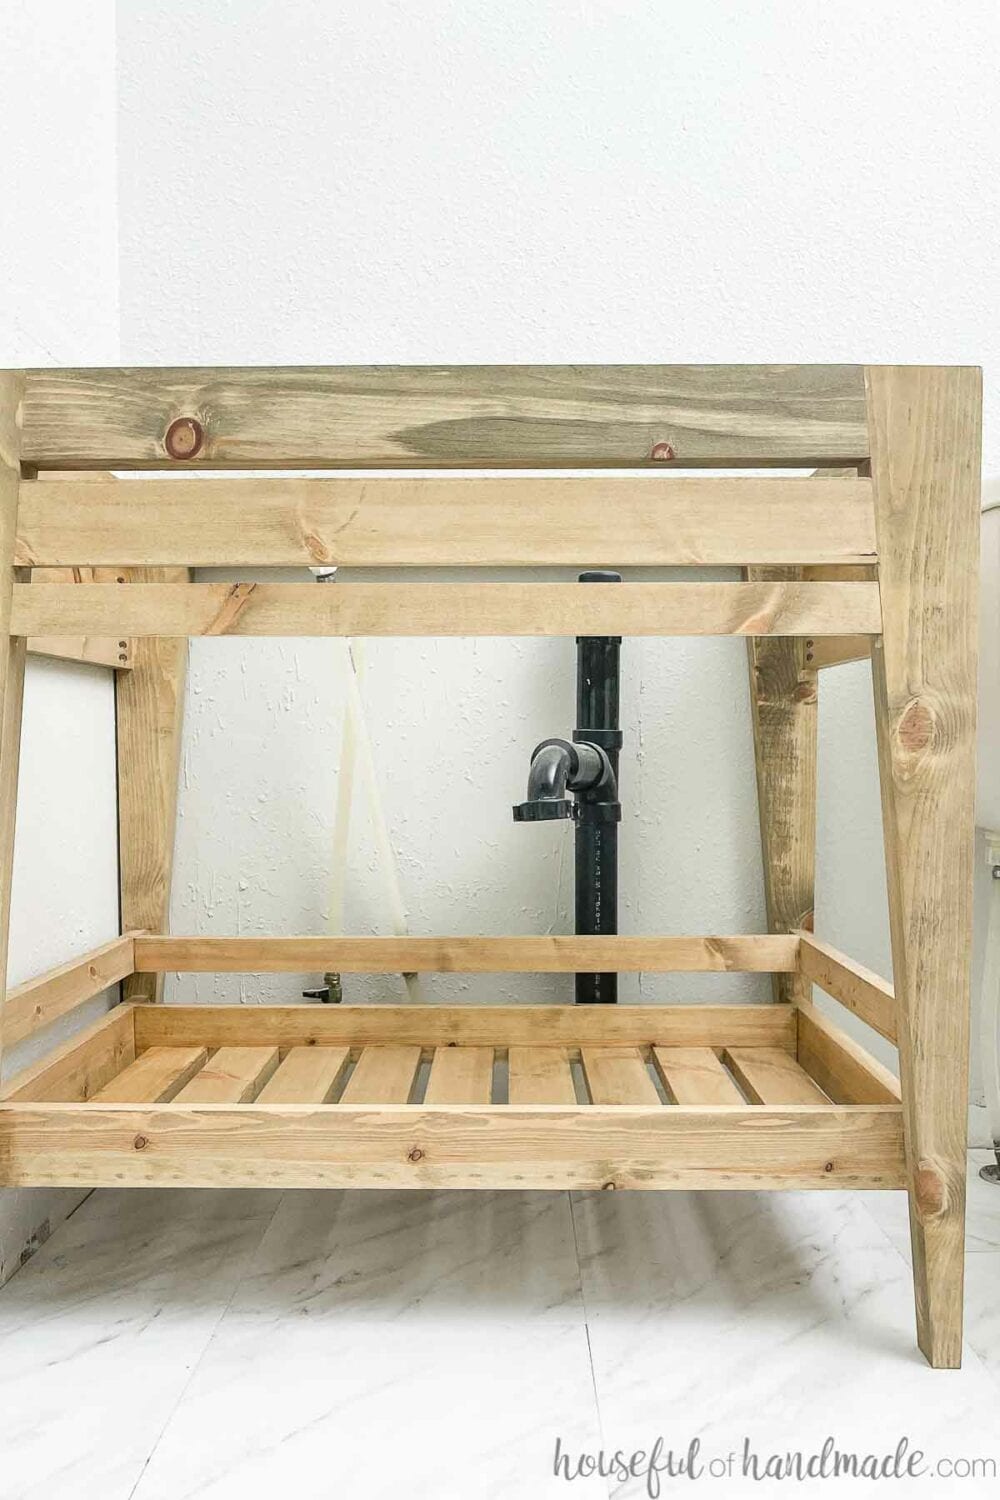
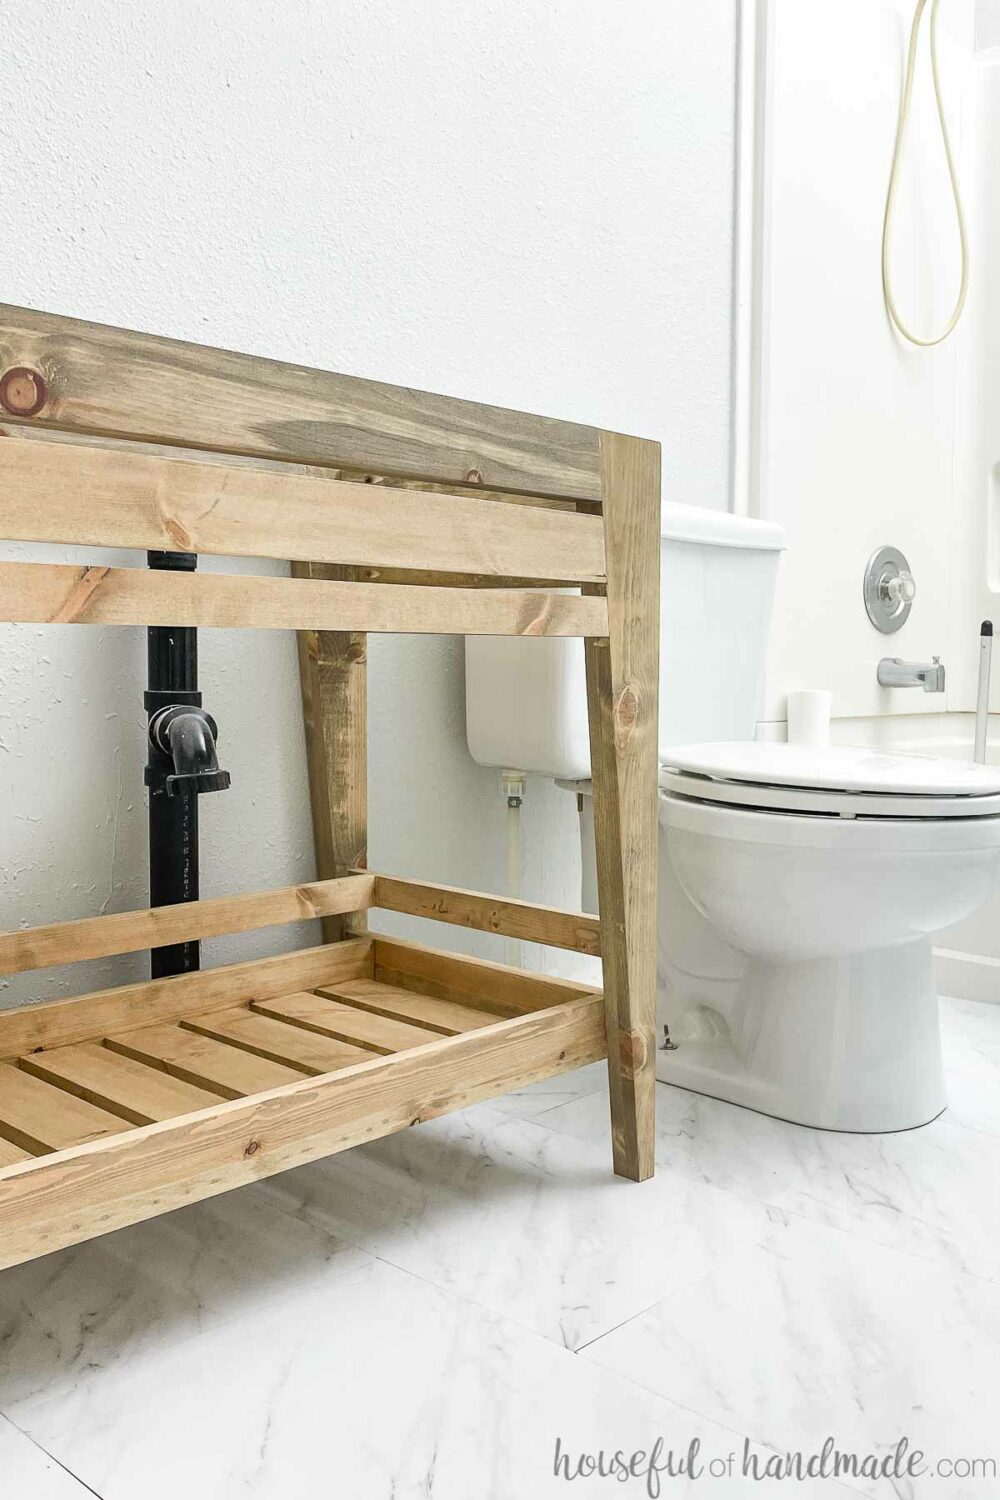
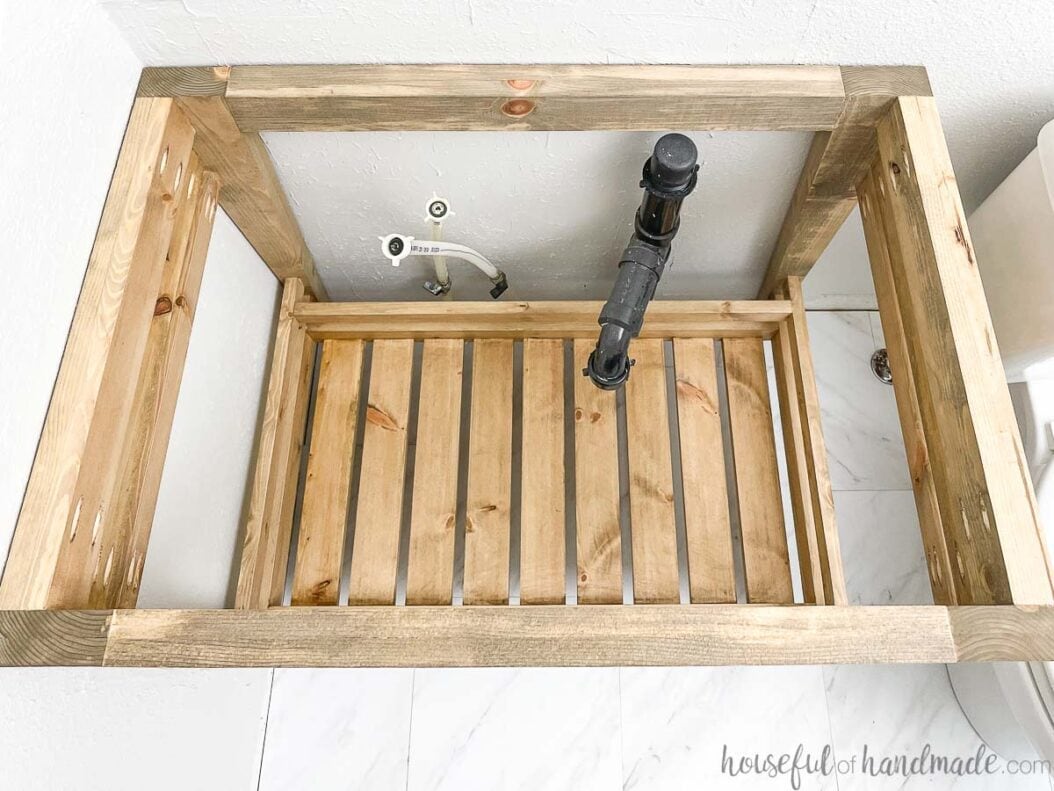
My shelf slats were cut only 15″ long so I could inset the shelf to make room behind it for the sink pipes that came up through the floor.
If you have pipes in the floor, you can inset your shelf too. Just measure how far from the wall to the front of the pipe and adjust the shelf slats as needed to make room.
Next build the shelf rail. I did this out of order so the photos may look off, but I fixed it in the printable plans with 3D drawings.
Drill 2 pocket holes set for 3/4″ thick material on either side of the shelf rail back piece. Then secure it to the side rail pieces (it will not be attached to the vanity yet like in my pictures).
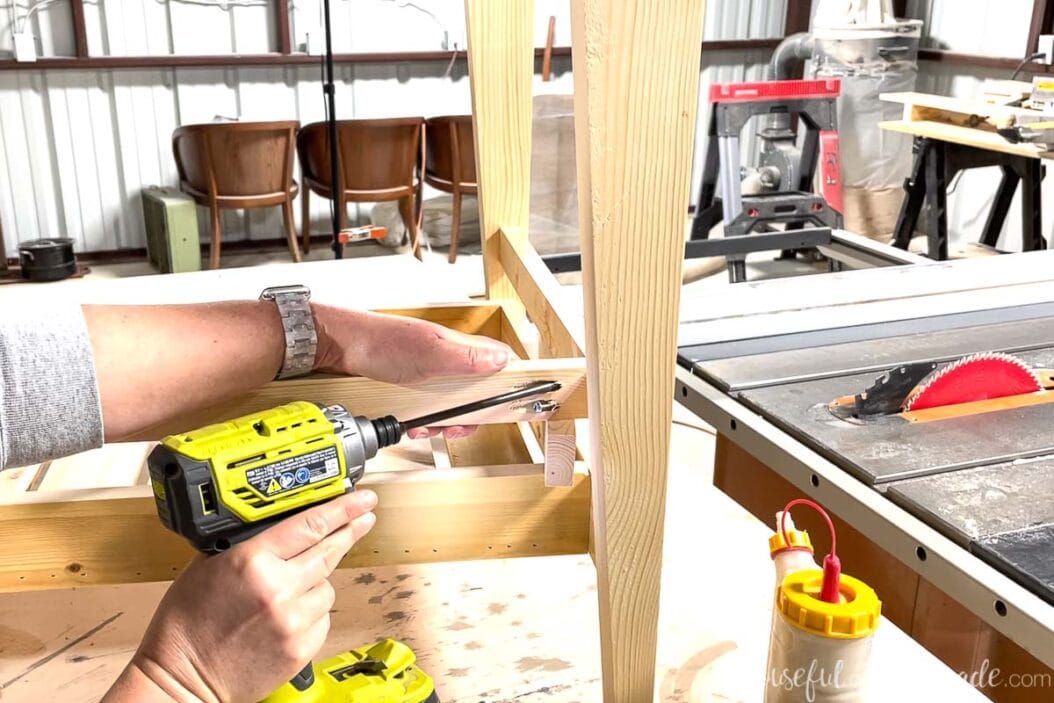
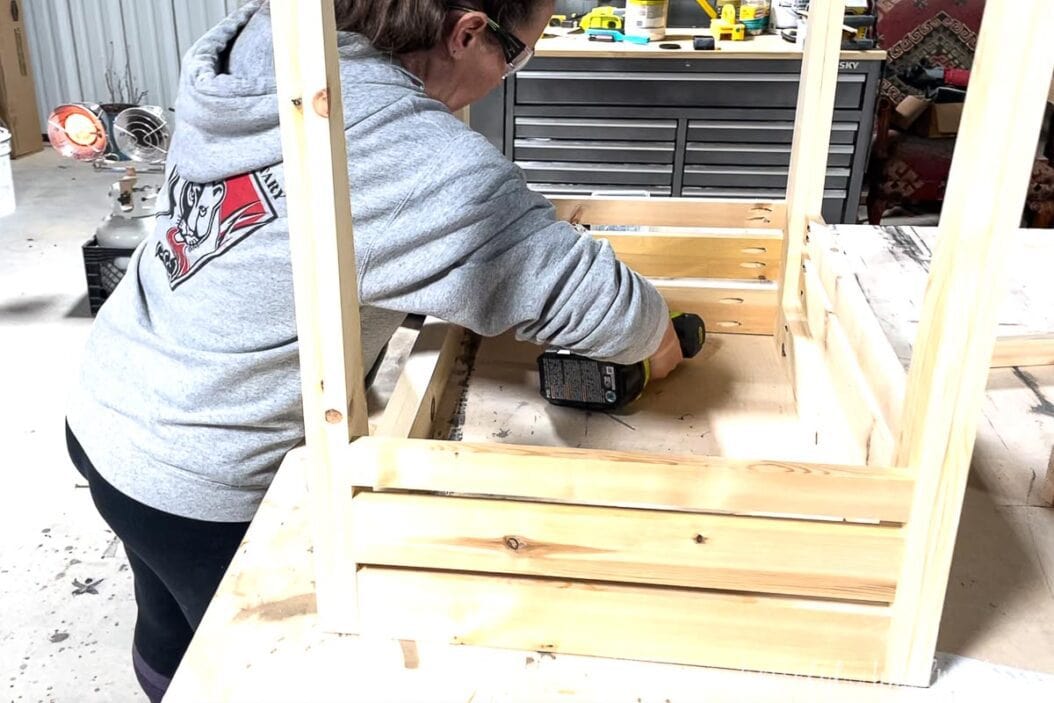
STEP 3- Attach the shelf
Now it is time to attach the shelf rail to the vanity first, that way you can use the pocket hole drilled on the underside of the side pieces (if you do it after you do not have room to do it this way).
The shelf rail should be 1 1/2″ above the top of the shelf. I had to make my shelf 5″ up from the floor to accommodate the pipes, but you can put it where ever you want.
Center the shelf rail in between the legs and attach with 2 1/2″ pocket hole screws and wood glue. The rails and shelf will be inset from the edge of the legs approximately 7/16″.
Then center the shelf below the shelf rail and attach.
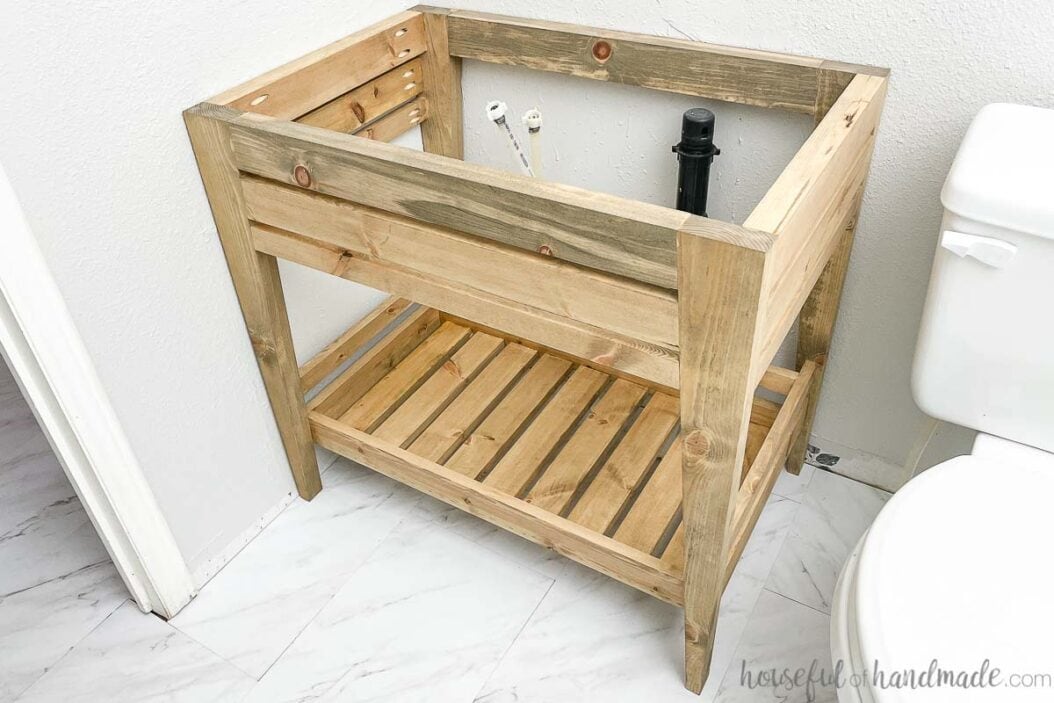
STEP 4- Finish
Now your vanity is ready to sand and finish!
To save even more money, I finished my vanity with a custom mixed stain.
I mixed a splash of darker stain in with Minwax Weathered Oak for this warm weathered look.
Then I sealed it with a rub-on polyurethane made by mixing equal parts oil finish (like tung oil or linseed oil), oil based polyurethane, and mineral spirits. This easy finish is applied with a rag.
Two or three coats of the homemade sealer should work to protect the wood from water in the bathroom.
Also, don’t forget to seal the bottom of the feet to prevent water from wicking up them.
You did it!
Premium plans include:
- Recommended Tools
- Shopping list
- Easy to read cut list table
- Cut diagrams
- Step-by-step instructions with 3D renderings
- Helpful resources
- BONUS: 3D SketchUp file
You can install the vanity and then add a top.
And now we need to hurry and make the vanity top for our budget DIY bathroom vanity!
The big reveal of this $100 bathroom makeover is in just 2 days!!!
Happy building!
