Building Cabinets
Learn everything you need to build your own cabinets!
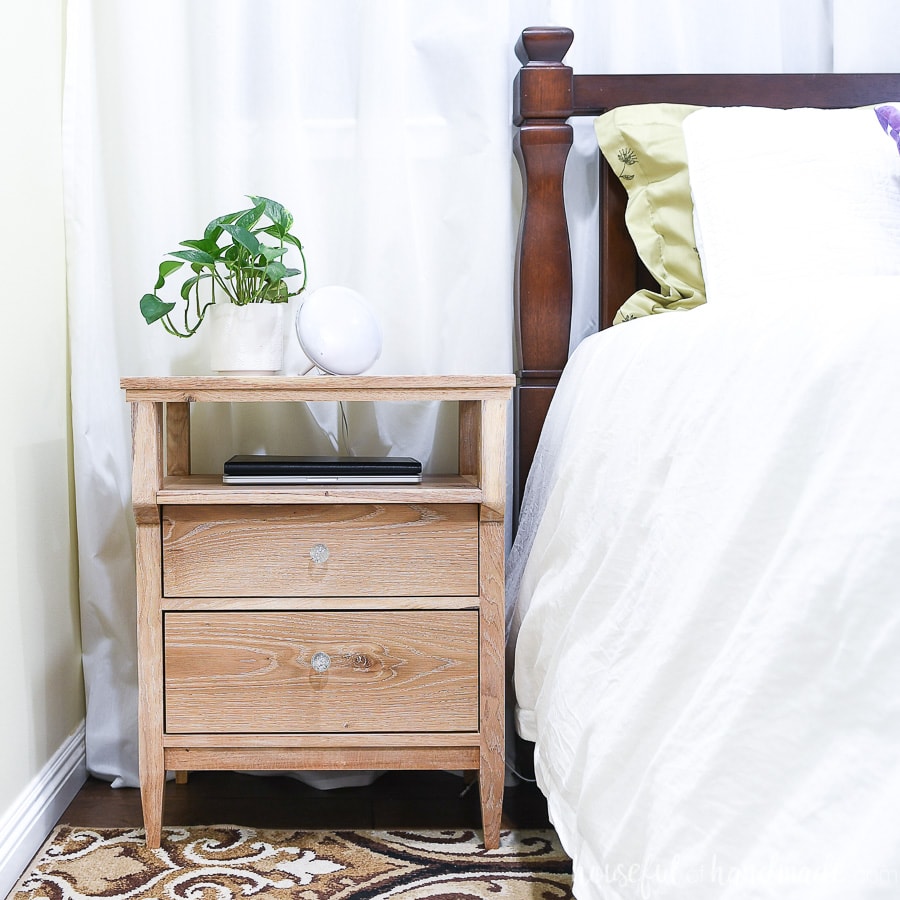
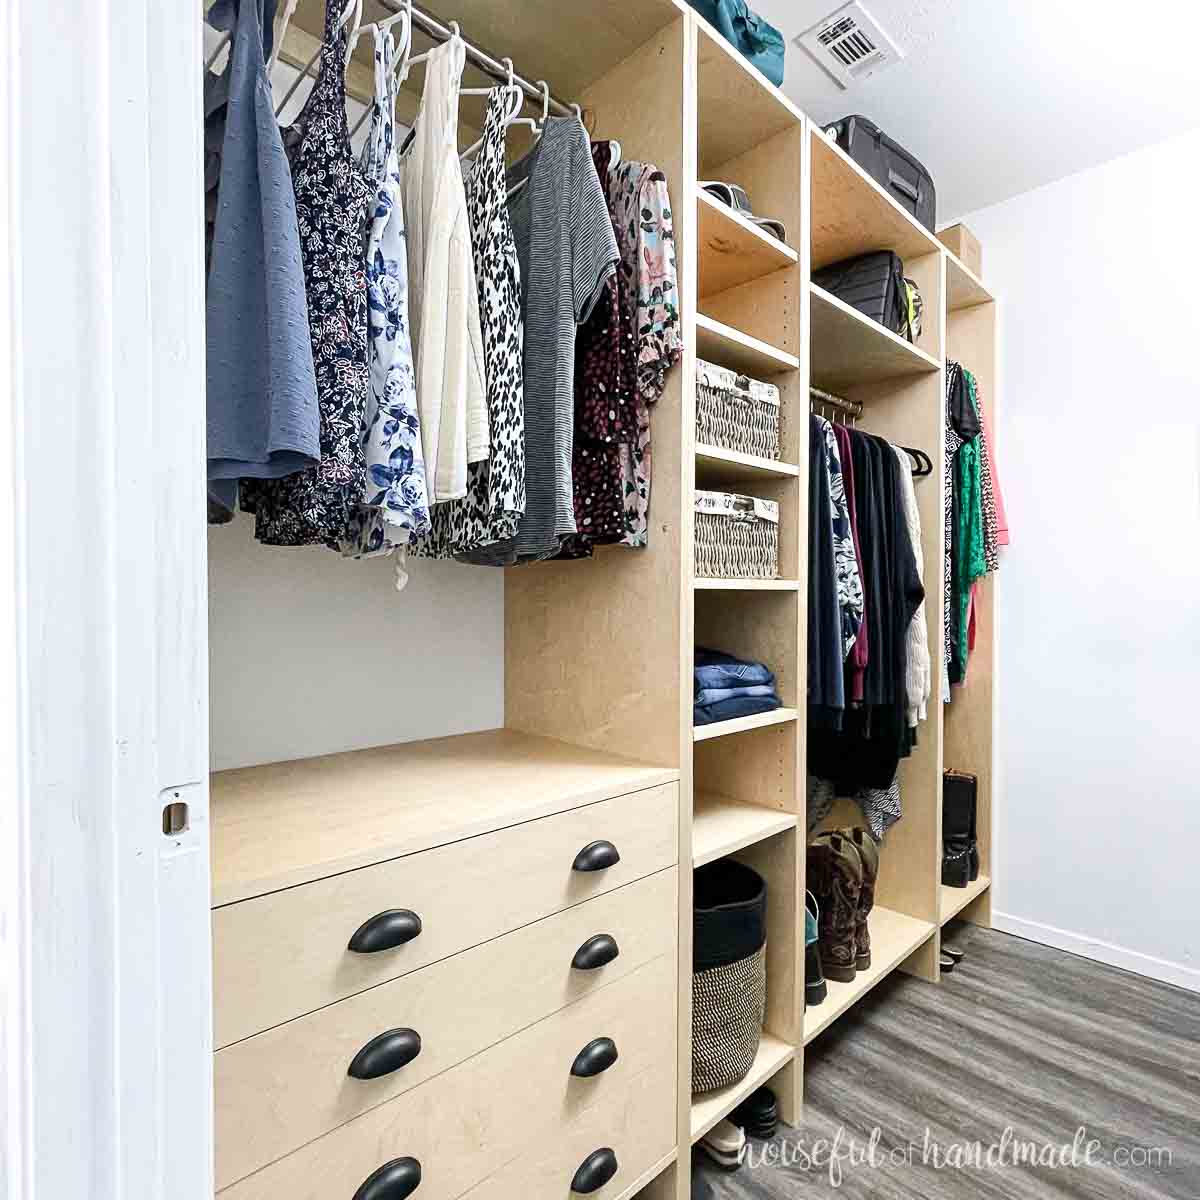
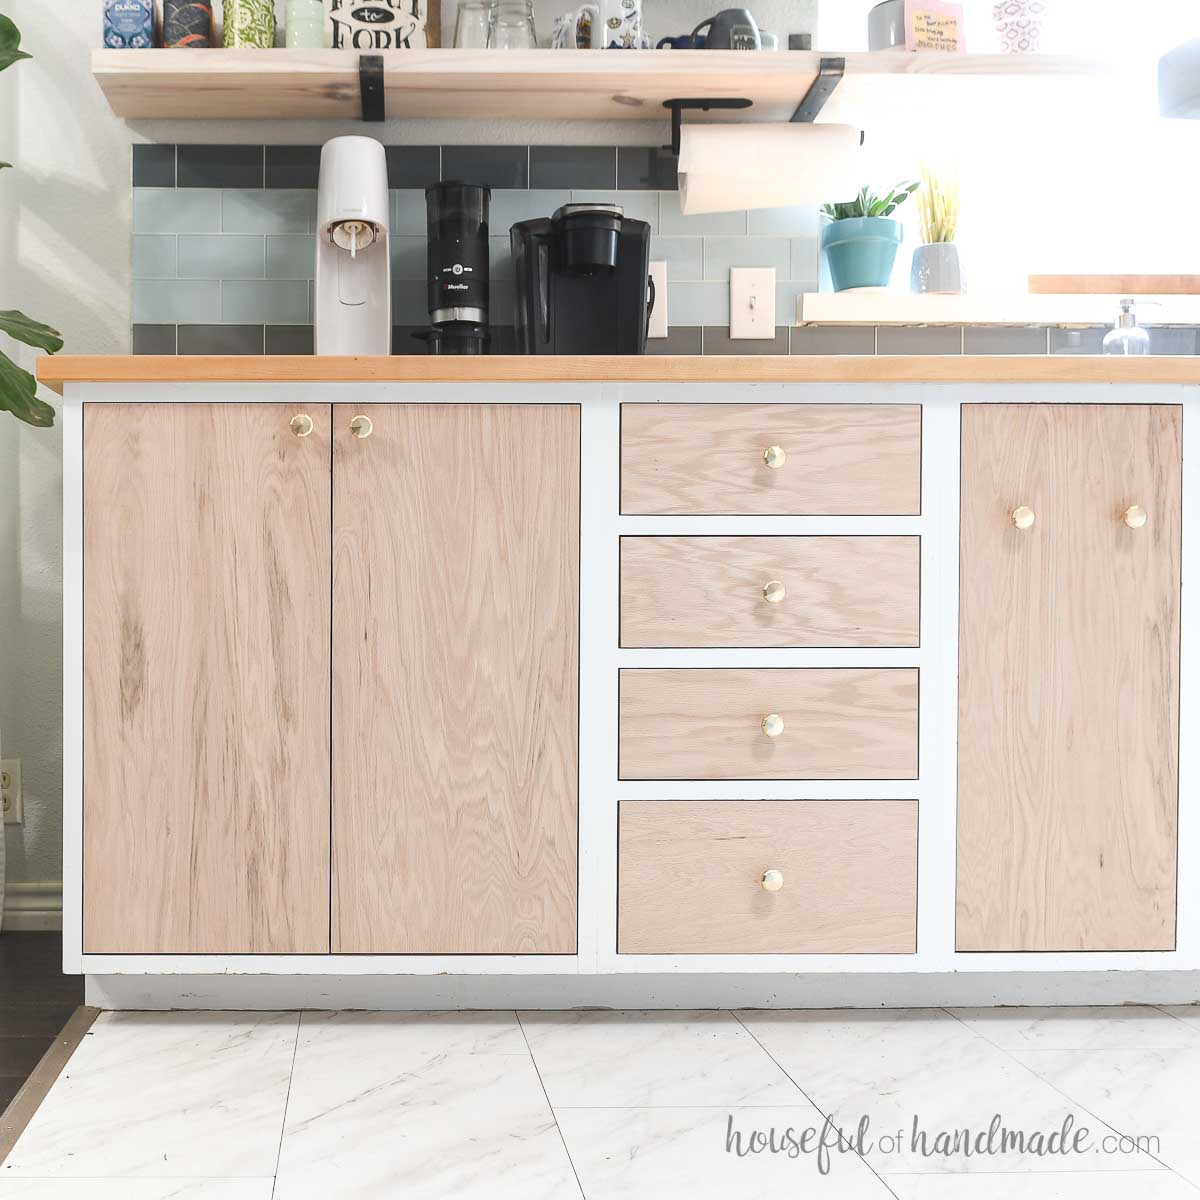
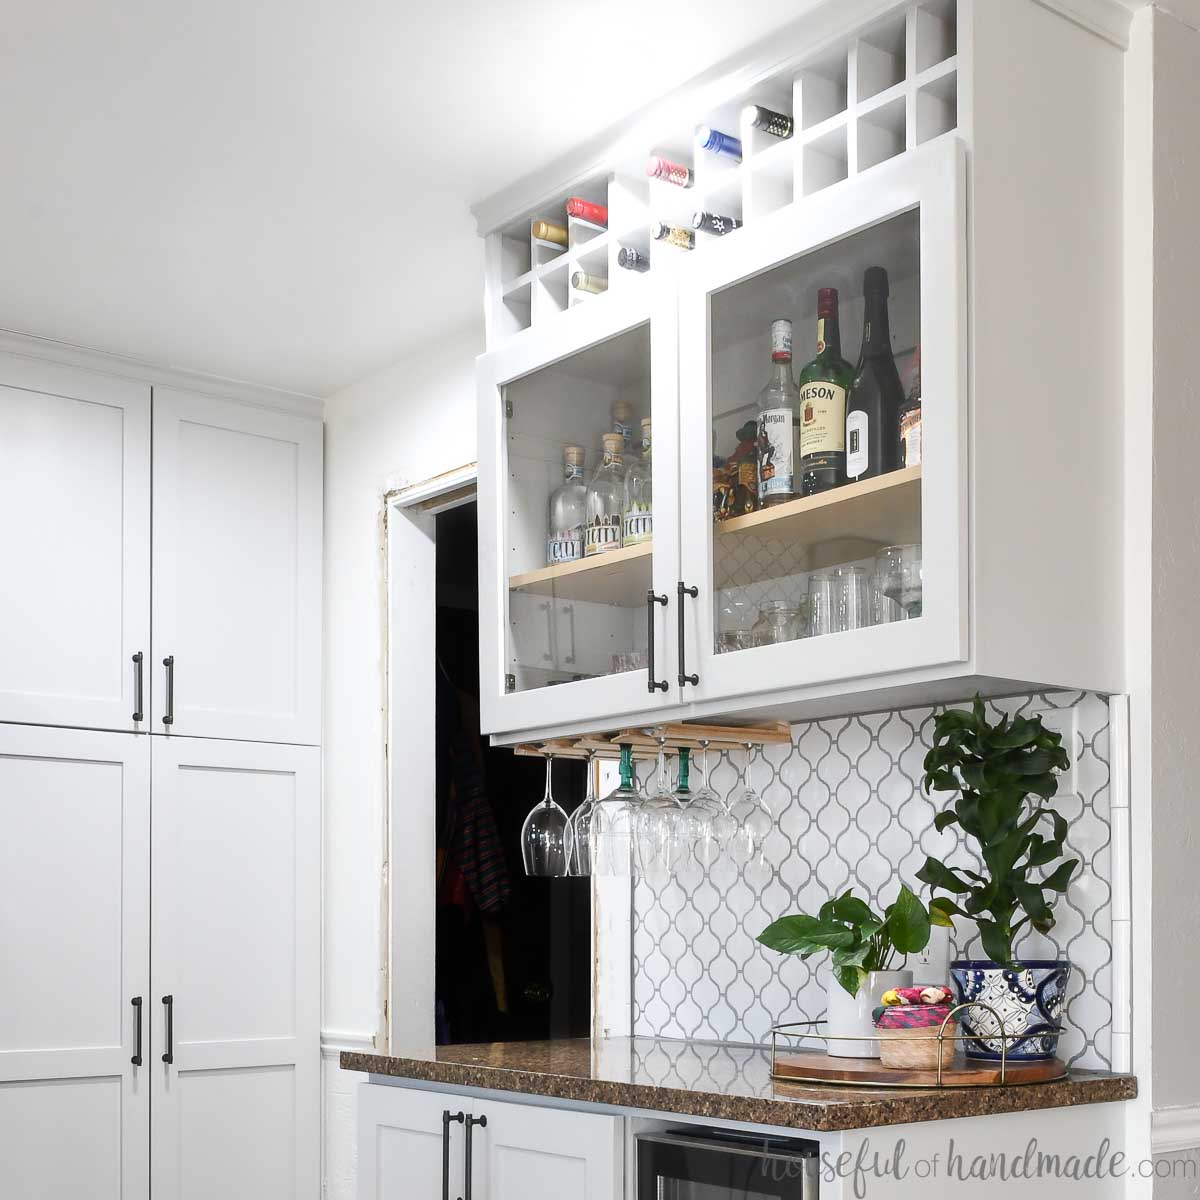
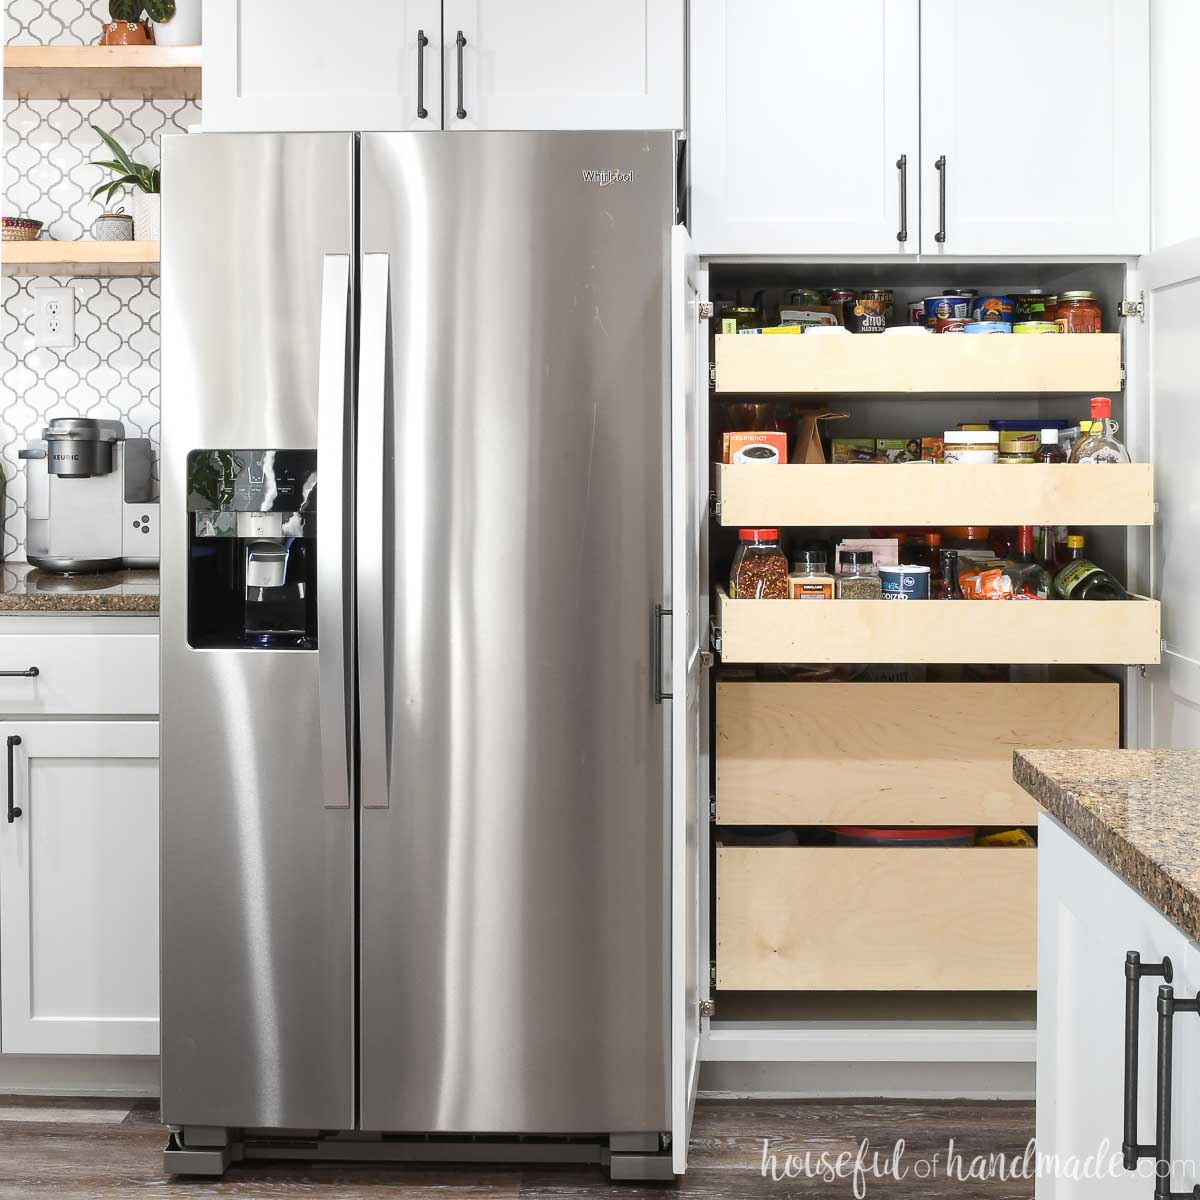
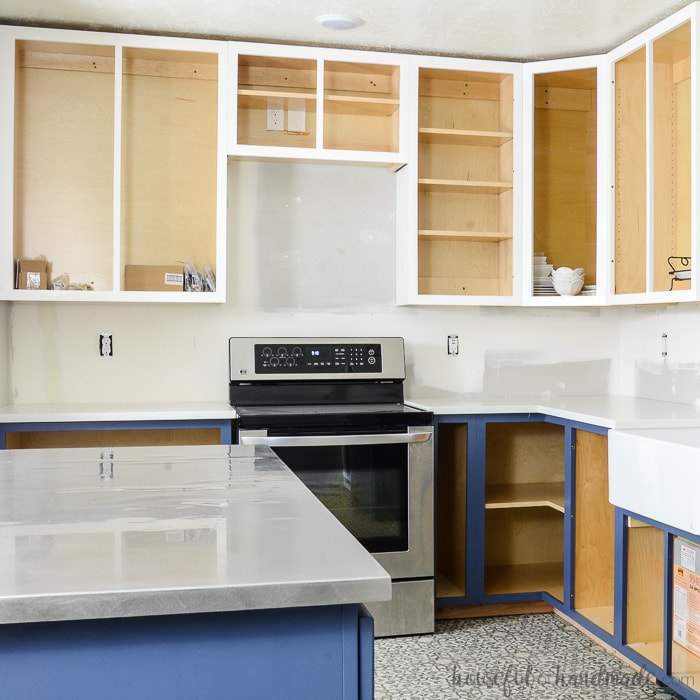
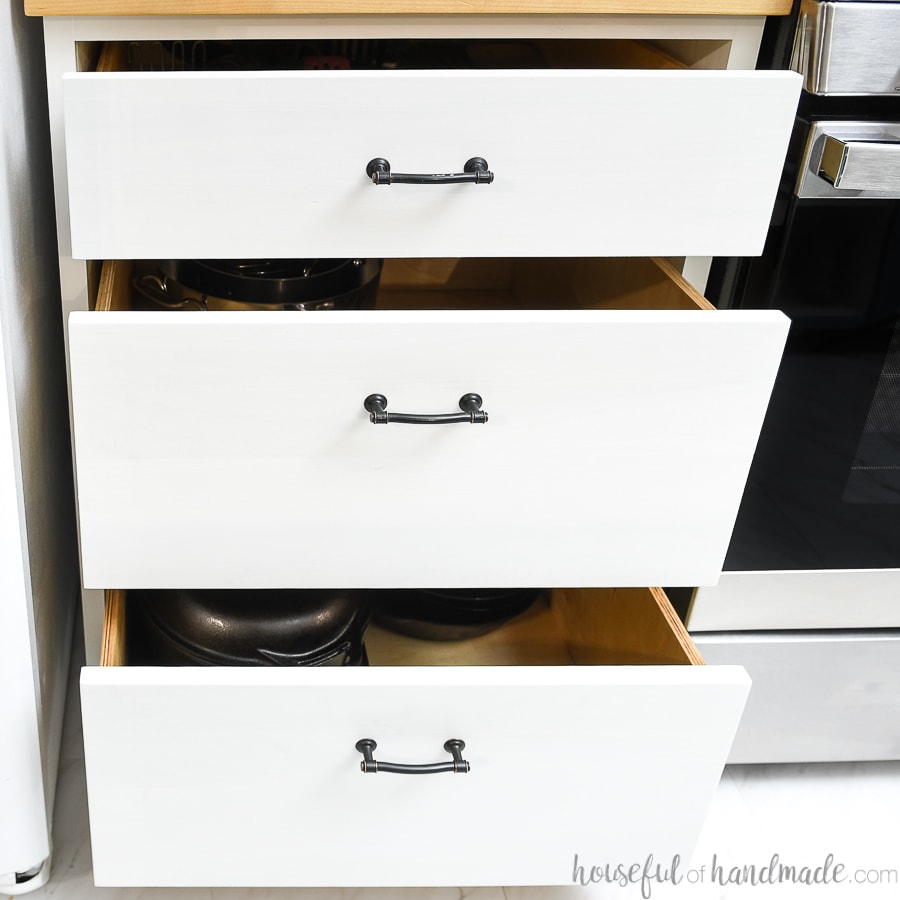
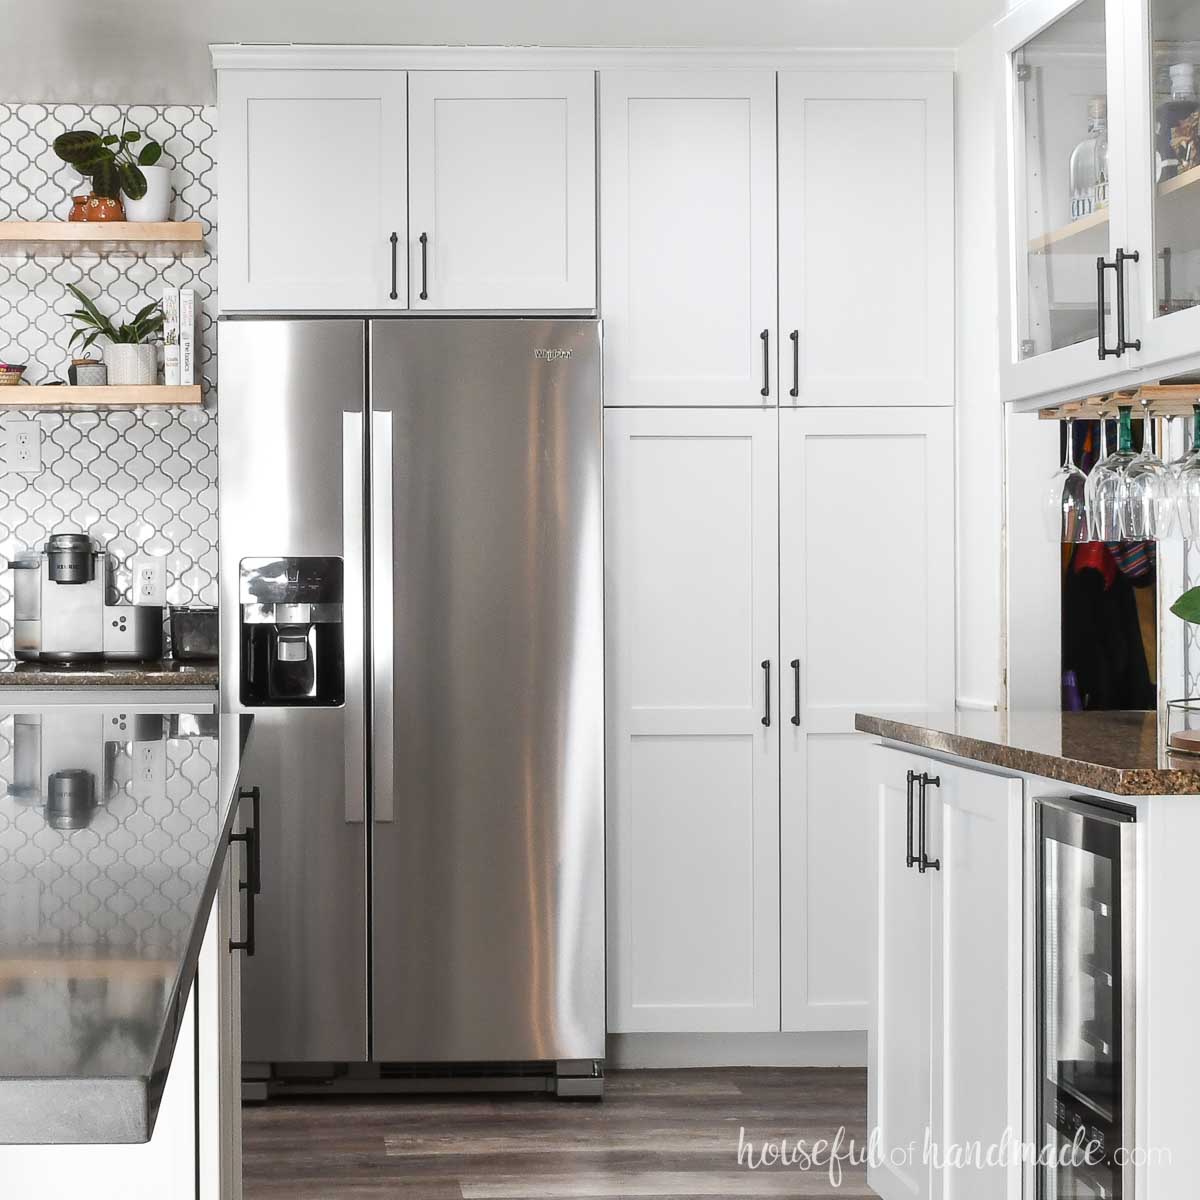
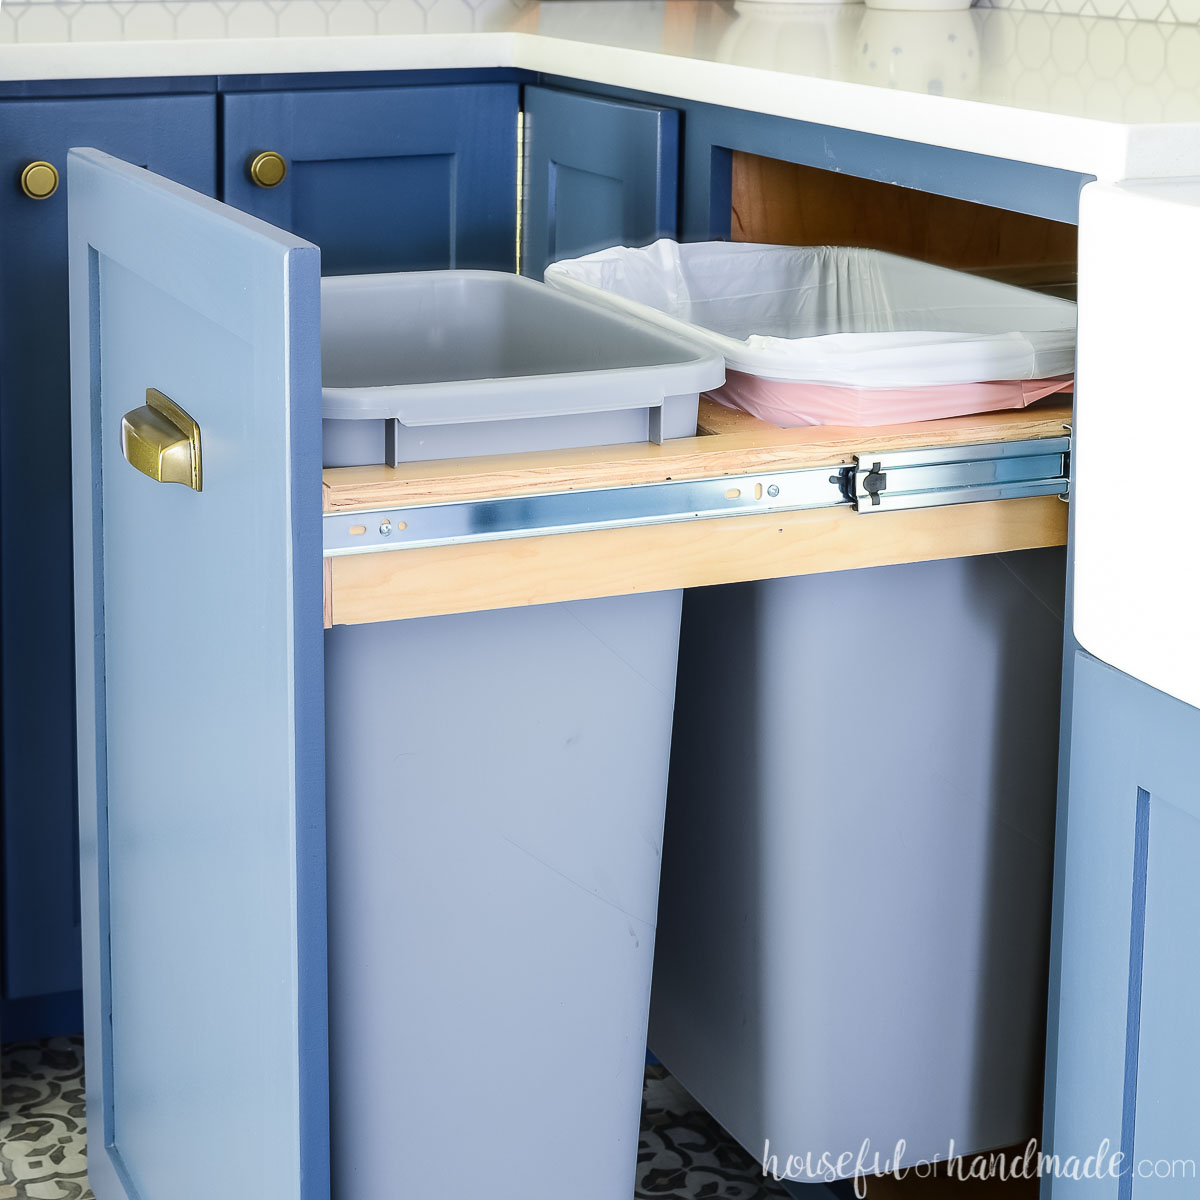
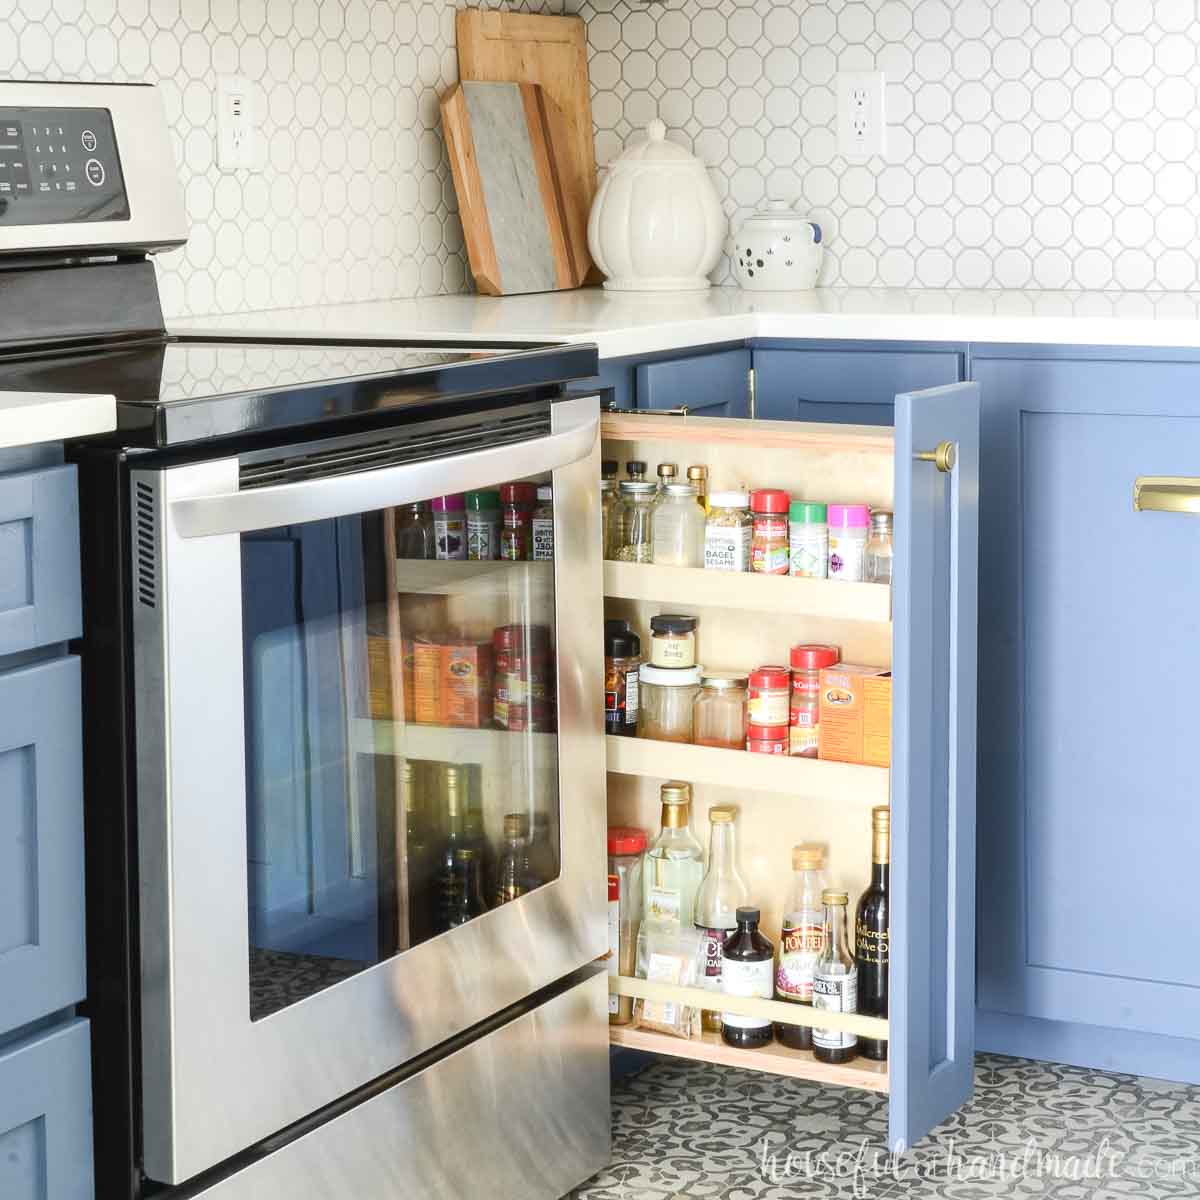
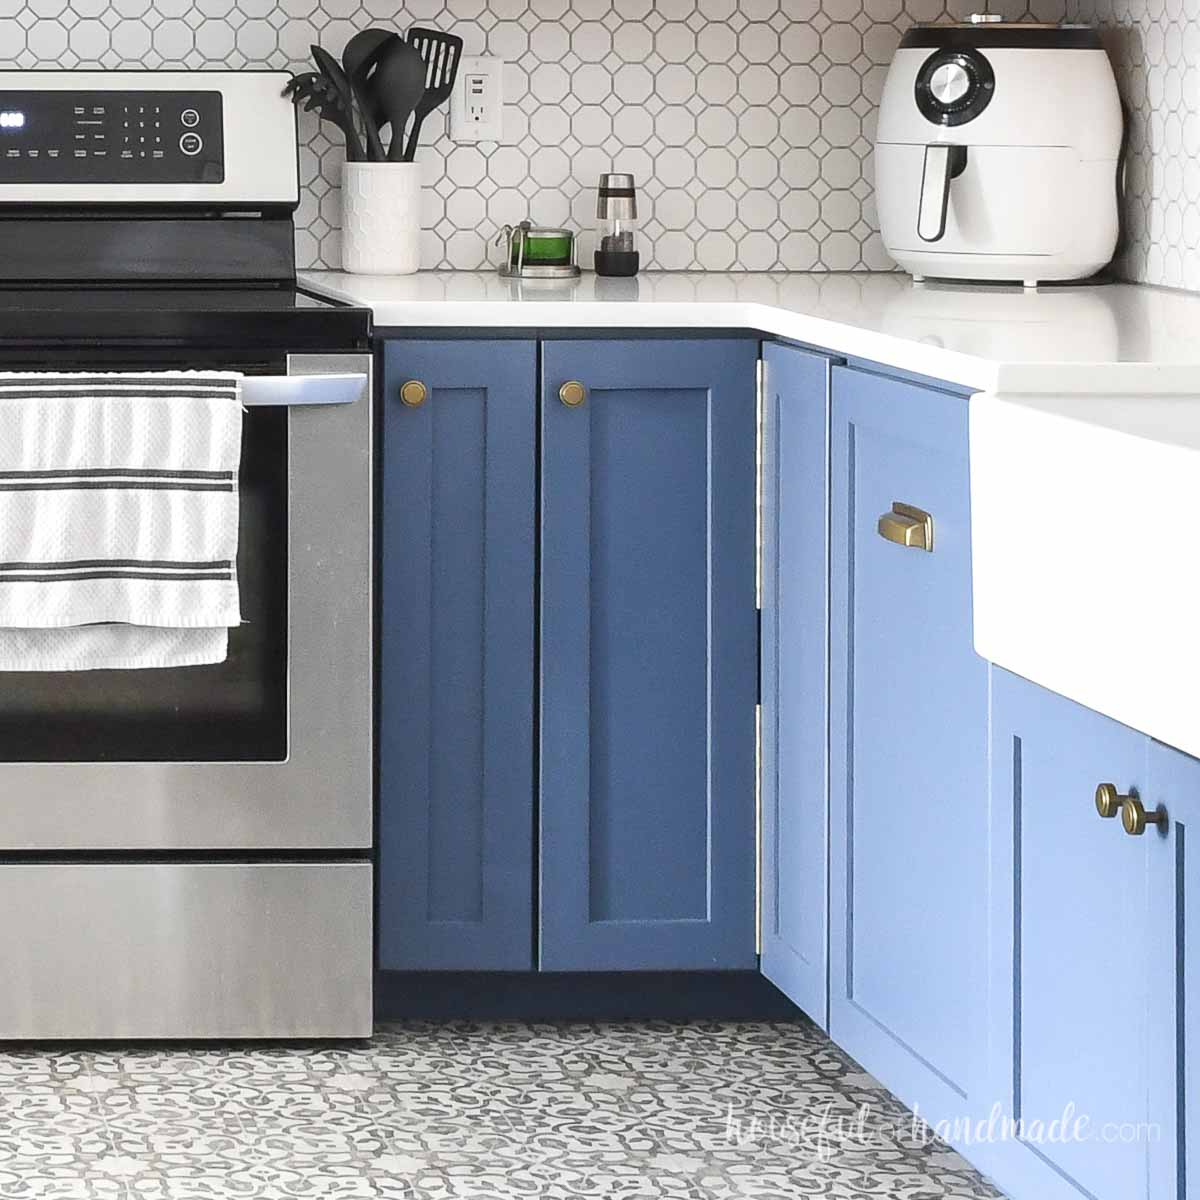
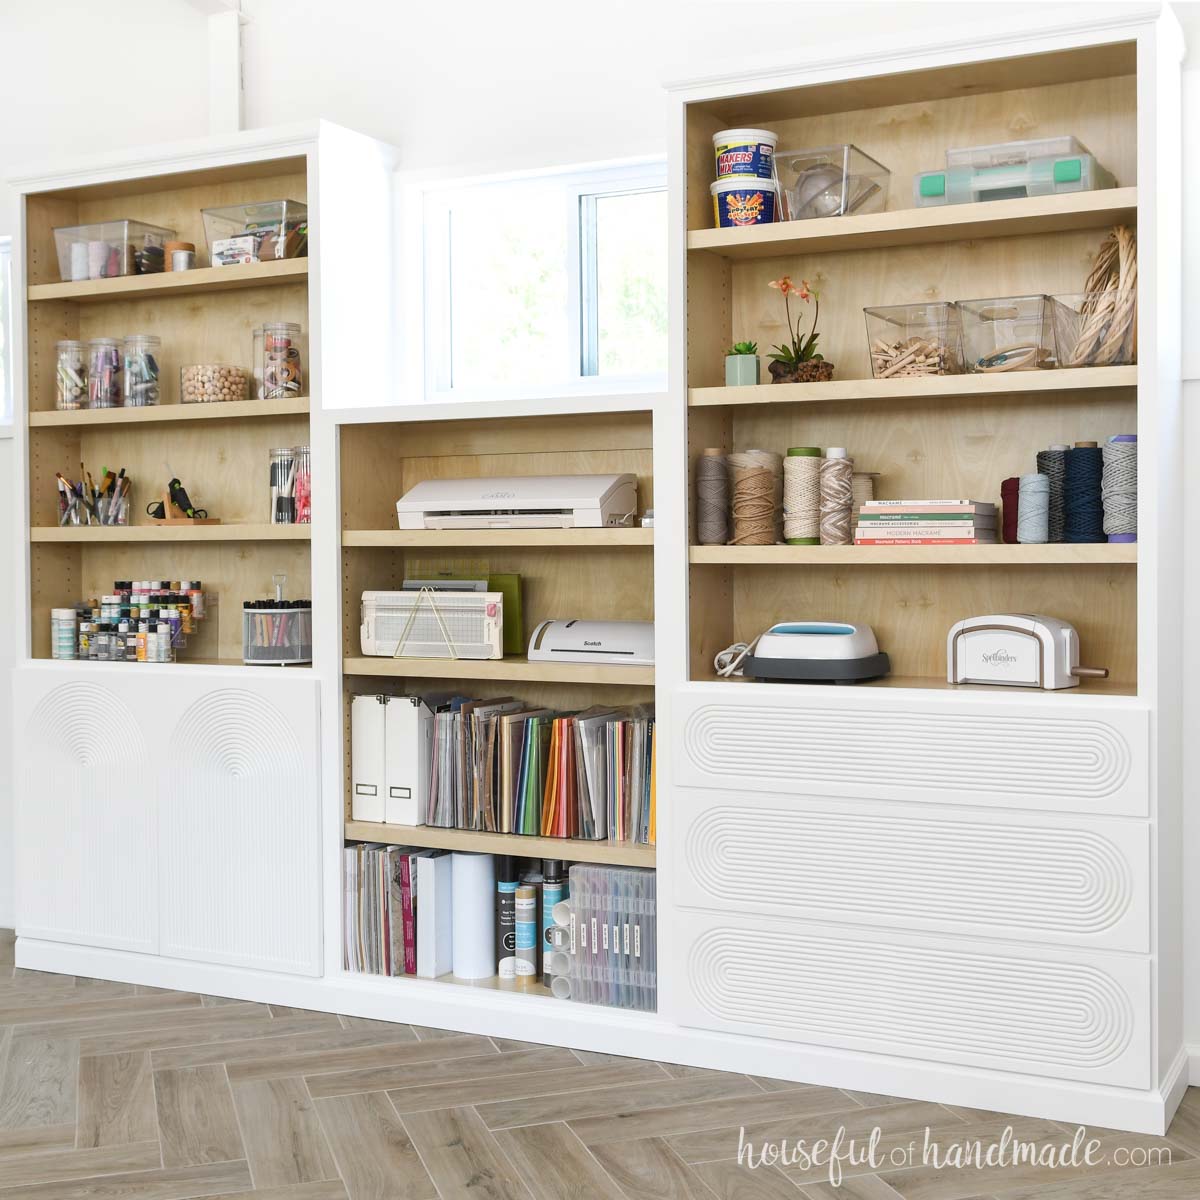
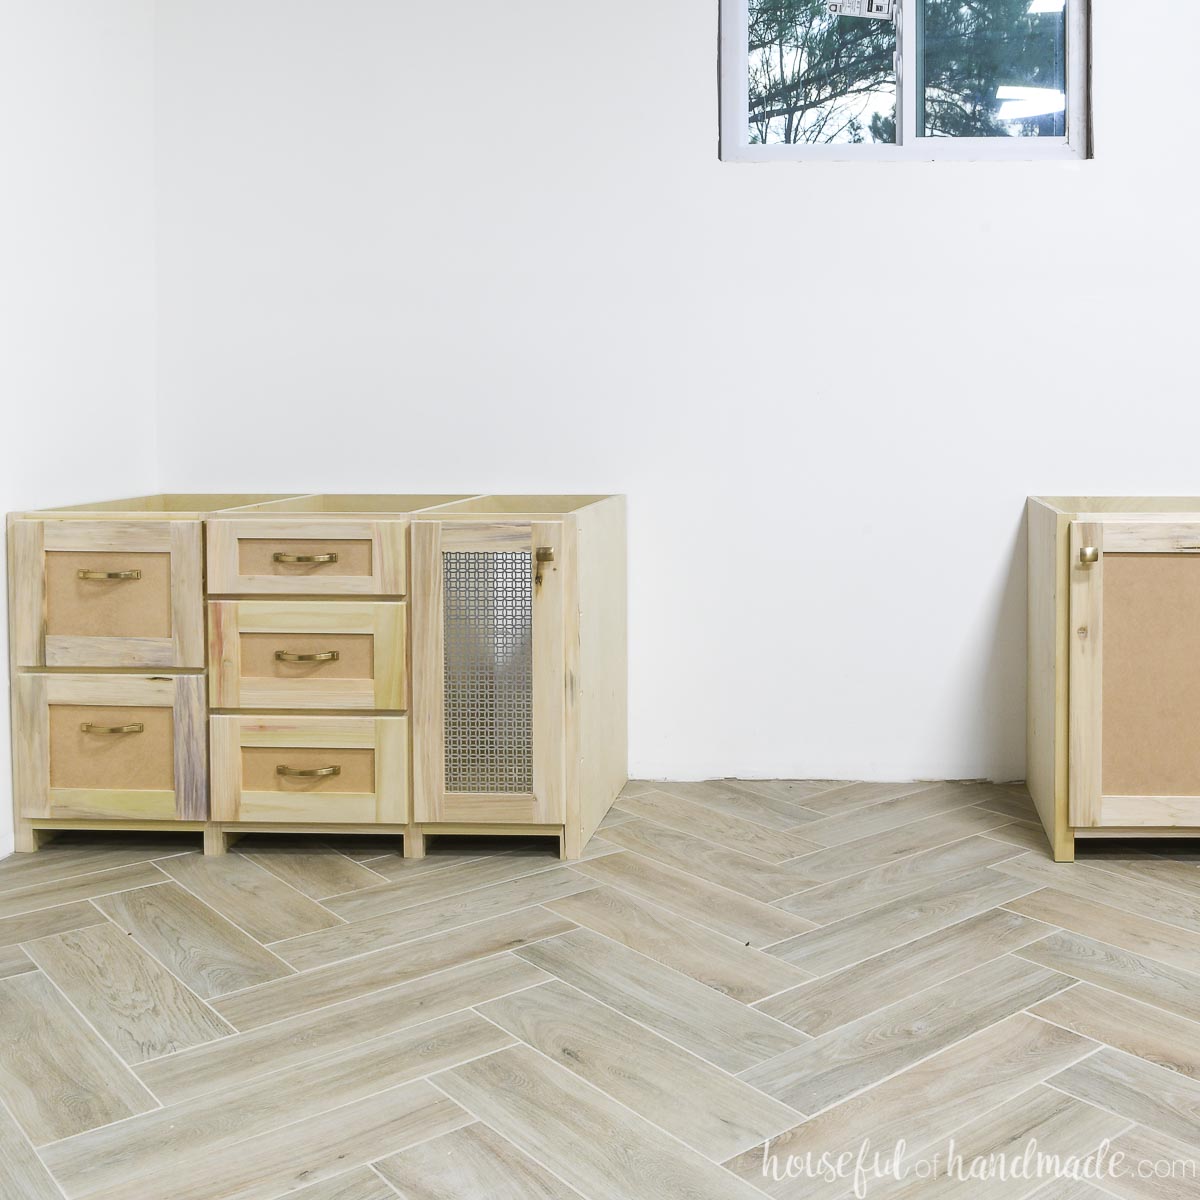
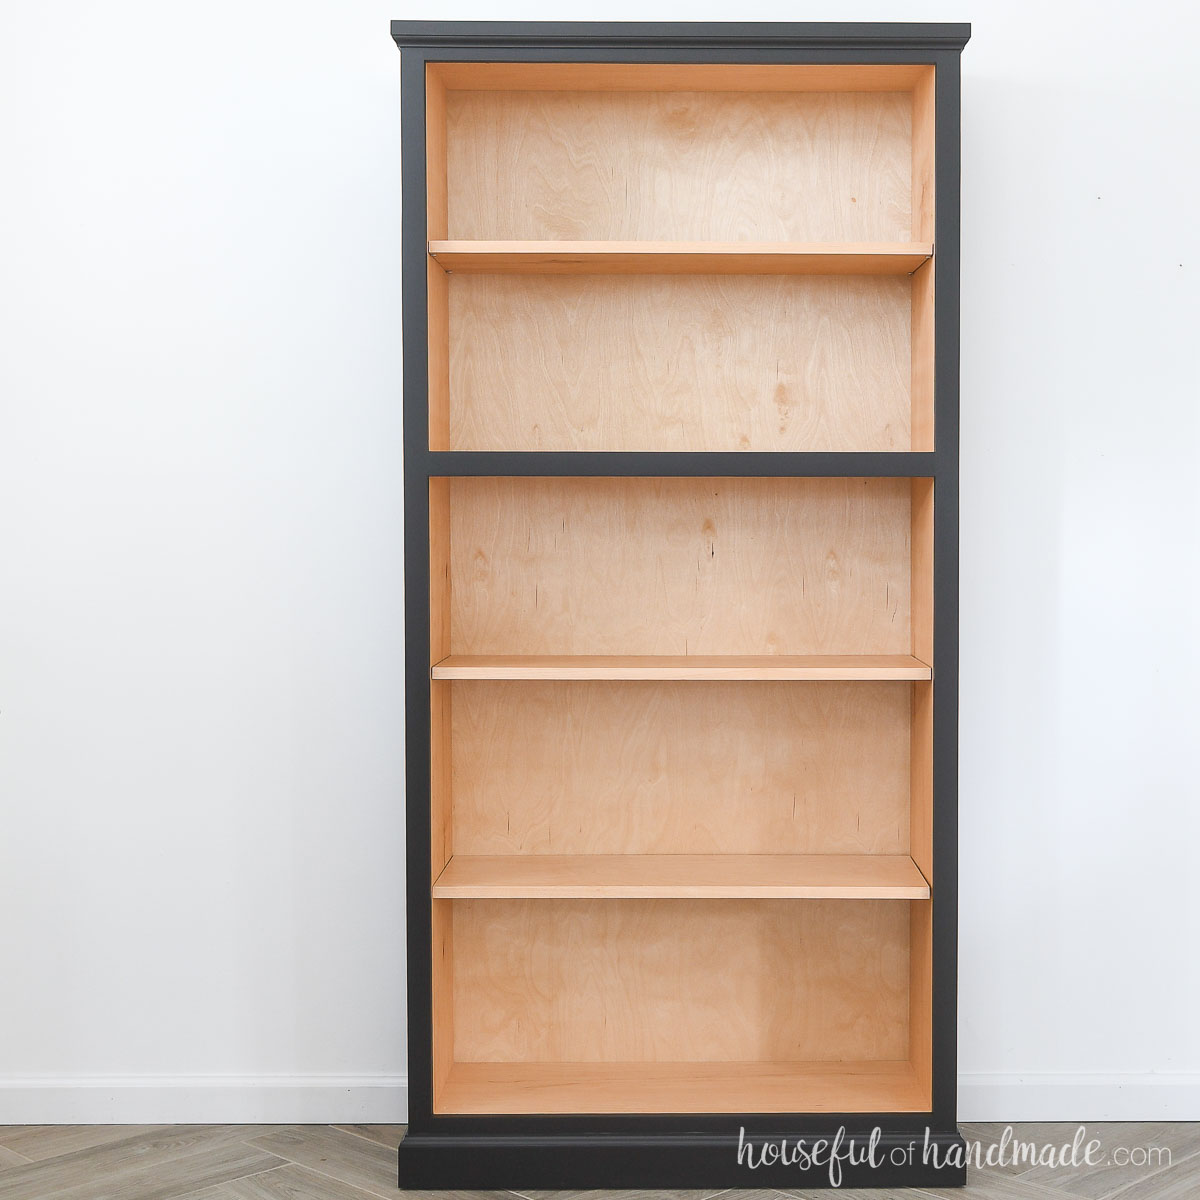
Cabinets are used in so much more than just the kitchen. Cabinets boxes create built-ins, bathroom vanities, bookcases and more. Then add doors and drawers to your cabinets to really make them amazing.

Different Types of Cabinets


Now Available
PDF Cabinet Building Guides
Create Custom Cabinets Easily
Our cabinet building guides will help you build your own cabinets in any size! PDF guide can be printed or are easy to view on your phone or tablet. Includes cut list calculations, shopping list, step-by-step instructions, 3D diagrams, plywood layout tips and a bonus SketchUp file!